¡Hola comunidad de Hive!
Hello Hive community!
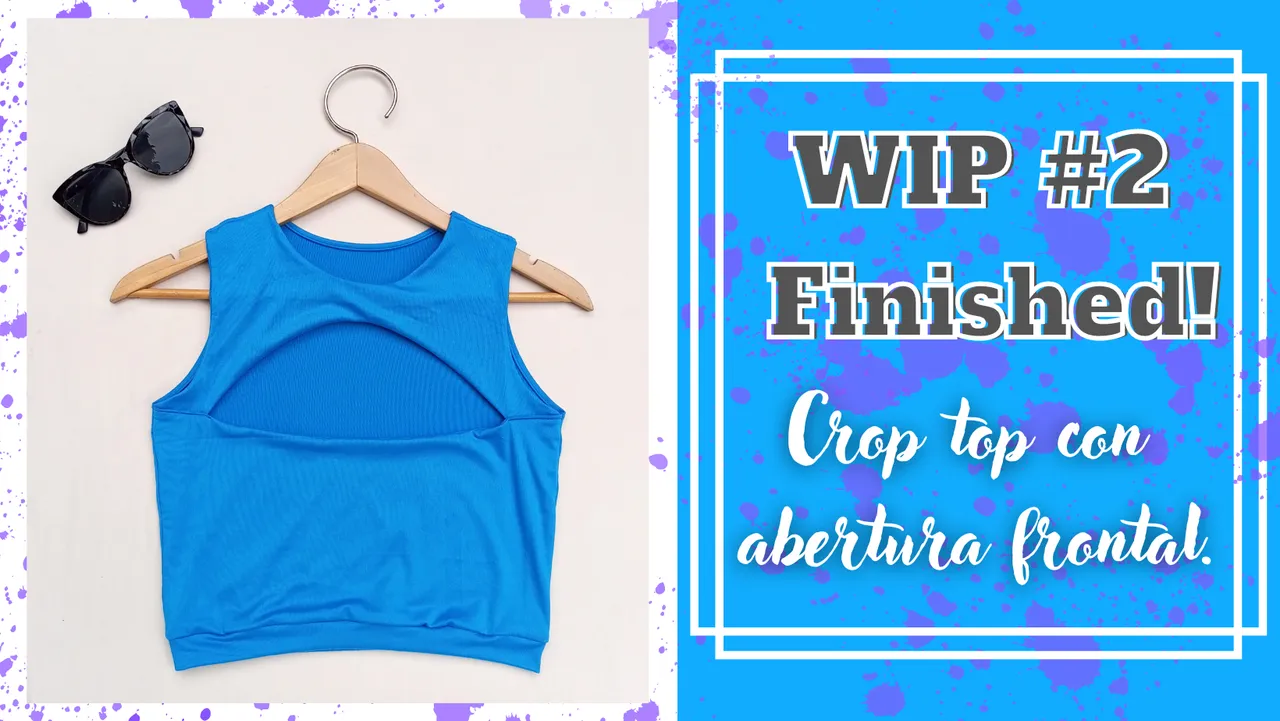
Hola queridos Needleworkers, feliz y maravilloso fin de semana, espero su día sea súper productivo 😚🤗 estoy muy feliz de poder mostrarles el resultado final de mi proyecto WIP #2 un hermoso crop top con abertura frontal, fue todo un reto para mí comenzando por qué es primera vez que logro coser la tela de microdurazno, que es una tela bastante suave y con mucho stretch y me atreví a confeccionar este modelo con abertura.
Hello dear Needleworkers, happy and wonderful weekend, I hope your day is super productive 😚🤗 I am very happy to show you the final result of my WIP project #2 a beautiful crop top with front opening, it was a challenge for me starting because it is the first time I sew the microdurazno fabric, which is a very soft fabric and with a lot of stretch and I dared to make this model with opening.
Tengo que mejorar un poco el acabado en este tipo de tela, pero para ser mi primer trabajo en microdurazno me encantó, espero pronto repetir este modelo en otra tela como el micro rib que también quedaría espectacular 😍 así qué, si quieres ver cómo realicé este hermoso top puedes ver mi post anterior [aquí] y seguir viendo esta publicación que es la continuación del tutorial.
I have to improve a little the finish in this type of fabric, but for my first work in microdurazno I loved it, I hope soon to repeat this model in another fabric like micro rib that would also look spectacular 😍 so, if you want to see how I made this beautiful top you can see my previous post [here] and continue watching this publication which is the continuation of the tutorial.
🧵🧷🧵🧷🧵🧷🧵🧷🧵🧷🧵🧷🧵🧷🧵🧷🧵
Necesitaremos || We will need
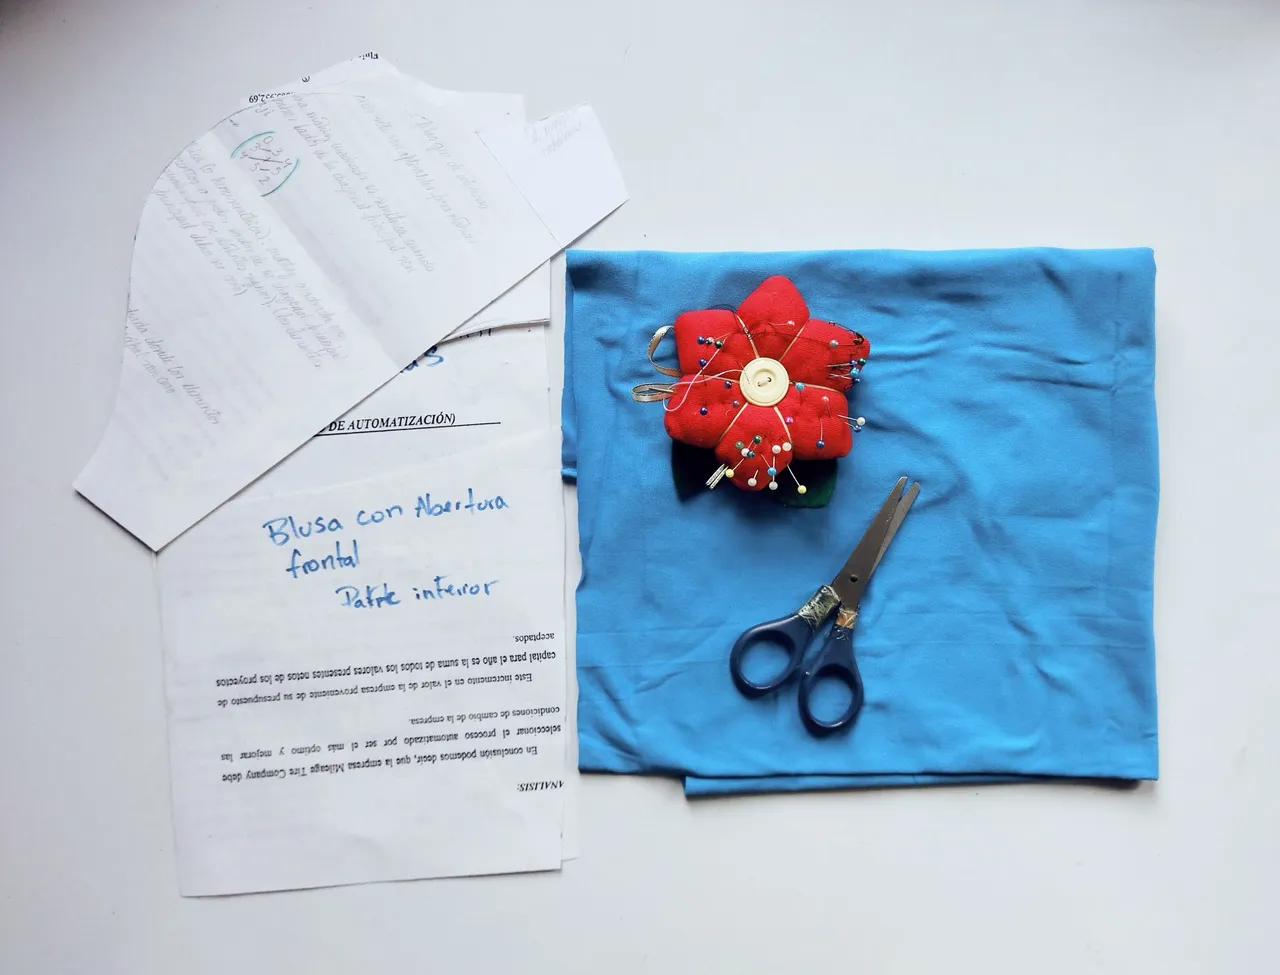
- Medio metro de tela microdurazno o piel de durazno
- Hilo azul
- Alfileres
- Tijera
- Cinta métrica
- Patrón en papel
- Aguja y máquina de coser
- Half a meter of micro-peach or peach skin cloth
- Blue thread
- Pins
- Scissors
- Tape measure
- Pattern on paper
- Needle and sewing machine
🧵🧷🧵🧷🧵🧷🧵🧷🧵🧷🧵🧷🧵🧷🧵🧷🧵
Continuación || Continued
Paso 5|| Step 5
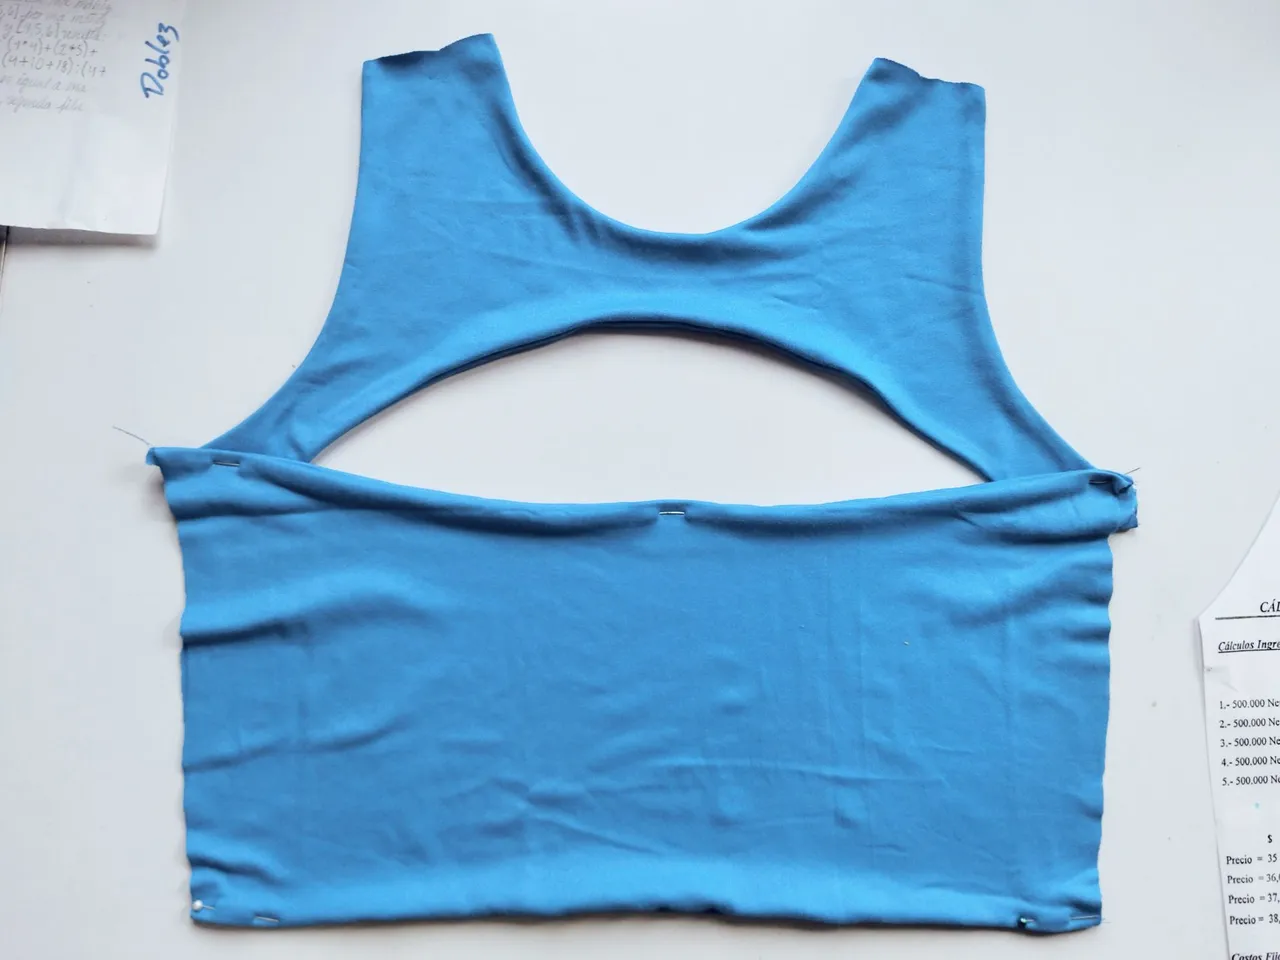
- En el post pasado quedamos en este paso, luego de haber volteado las piezas delanteras quedarían como te muestro en la imagen 👆 y así ya formada esta parte del top, ahora nos toca superponer la pieza delantera inferior sobre la superior, y sujetamos las esquinas con alfileres para luego coser.
- In the last post we were in this step, after having flipped the front pieces would be as I show you in the image 👆 and so already formed this part of the top, now we have to superimpose the lower front piece on the top, and hold the corners with pins and then sew.
Paso 6 || Step 6
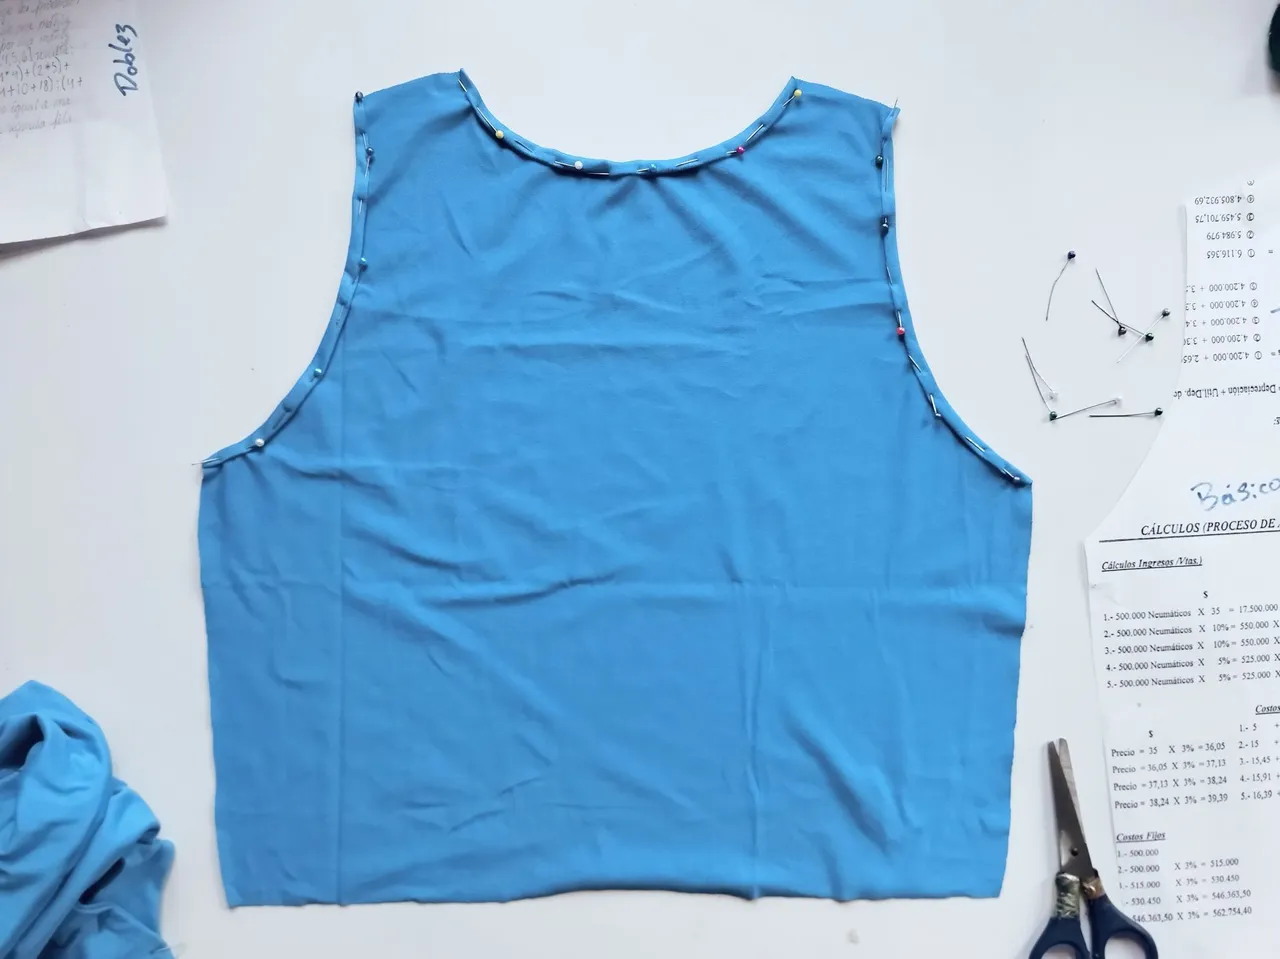
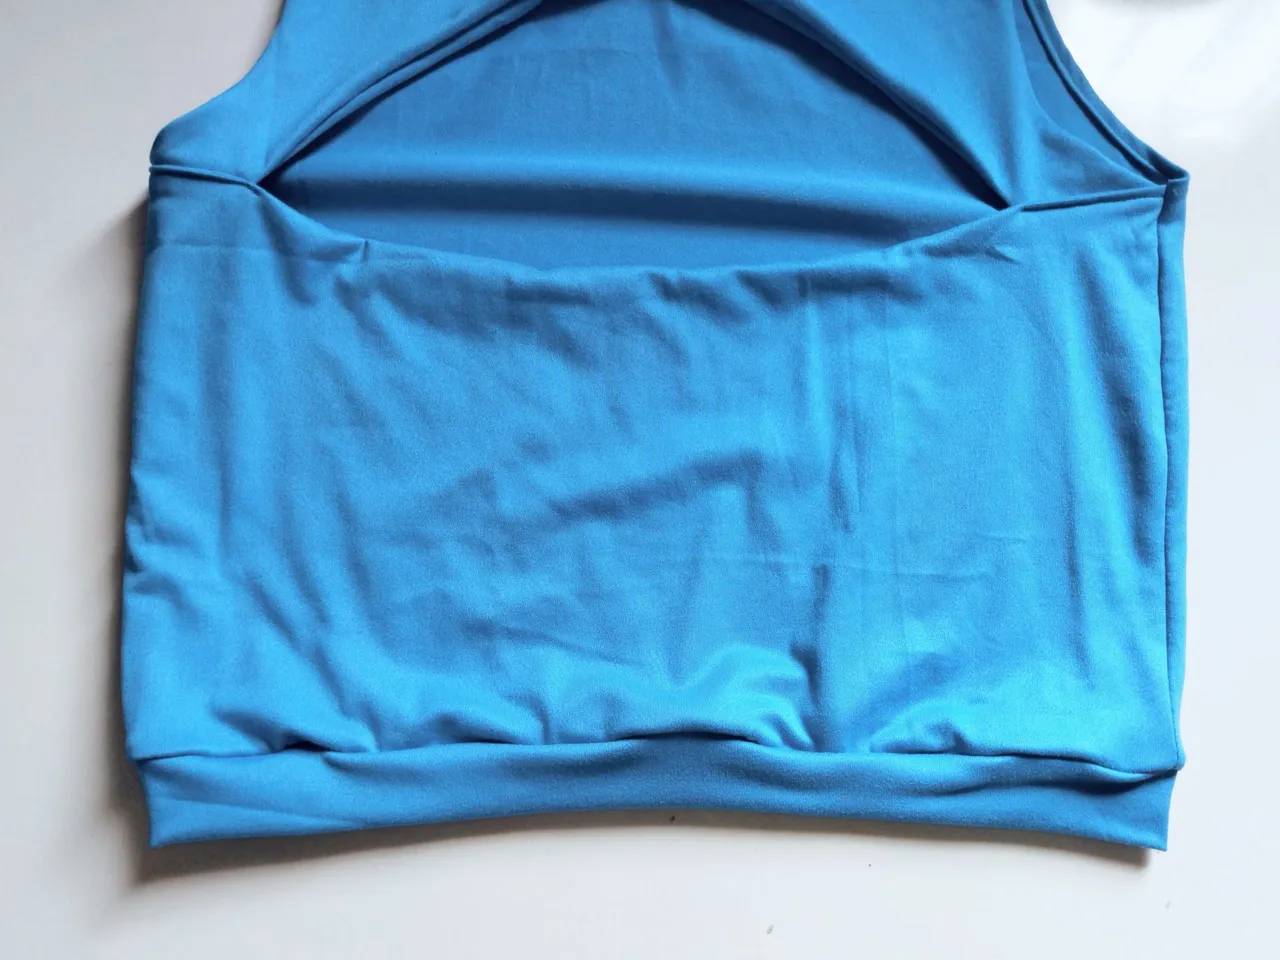
- Para la pieza trasera del top haremos un dobladillo en las sisas del top y en el cuello, realicé un dobladillo de 0,5cm doblando hacía el revés del top, luego cosí con costura recta.
- For the back piece of the top we will hem the armholes of the top and at the neckline, I made a 0.5cm hem by folding towards the back of the top, then sewed with a straight seam.
Paso 7 || Step 7
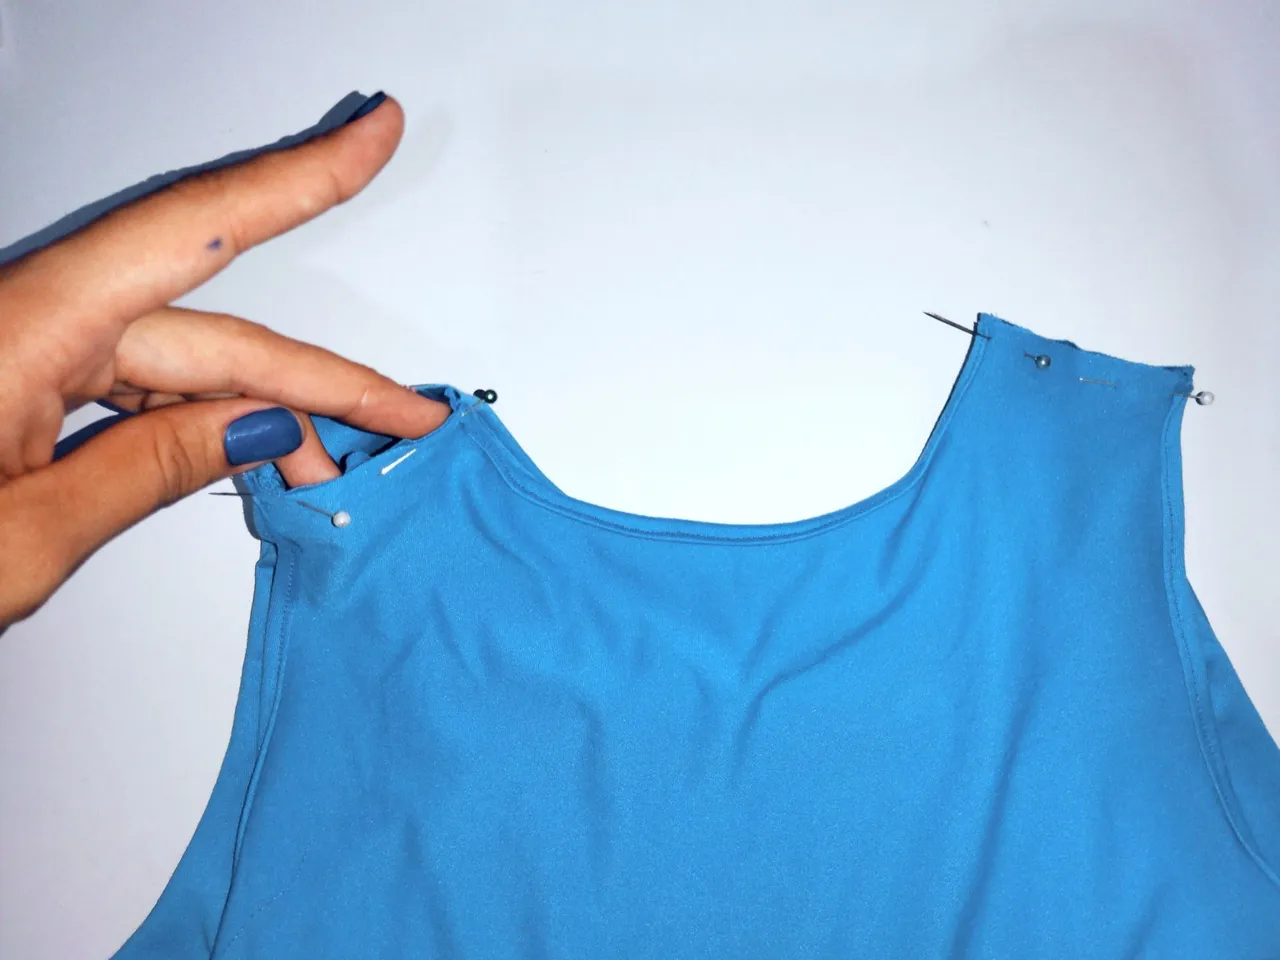
- Colocaremos sobre el derecho de la pieza delantera con el de la trasera y con alfileres sujeta los hombros del top, cosemos hacer una costura escondida en esta parte o simplemente pasar costura recta.
- We will place on the right side of the front piece with that of the back piece and with pins pin the shoulders of the top, we sew a hidden seam in this part or simply sew a straight seam.
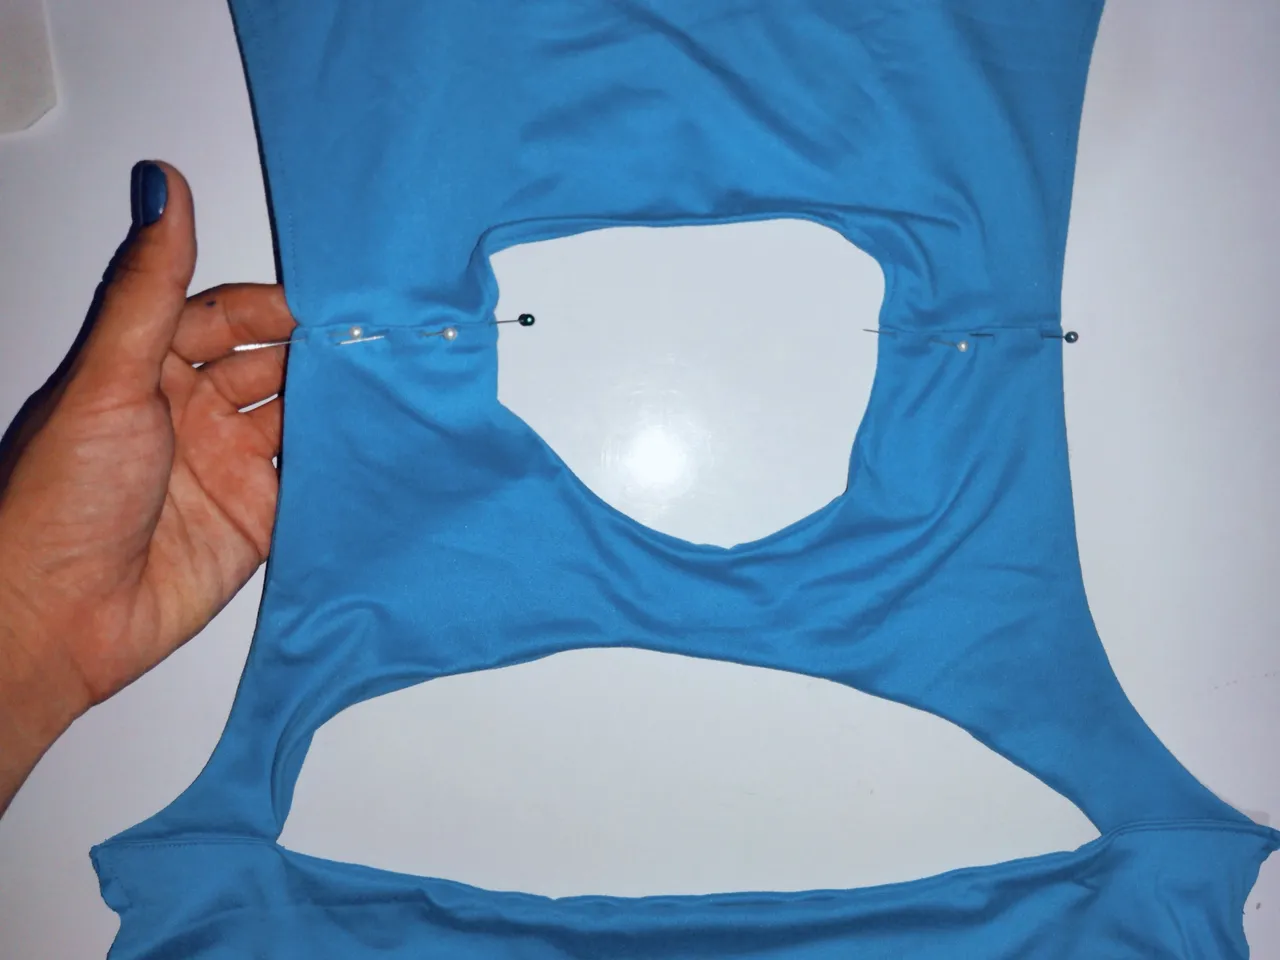
Paso 8 || Step 8
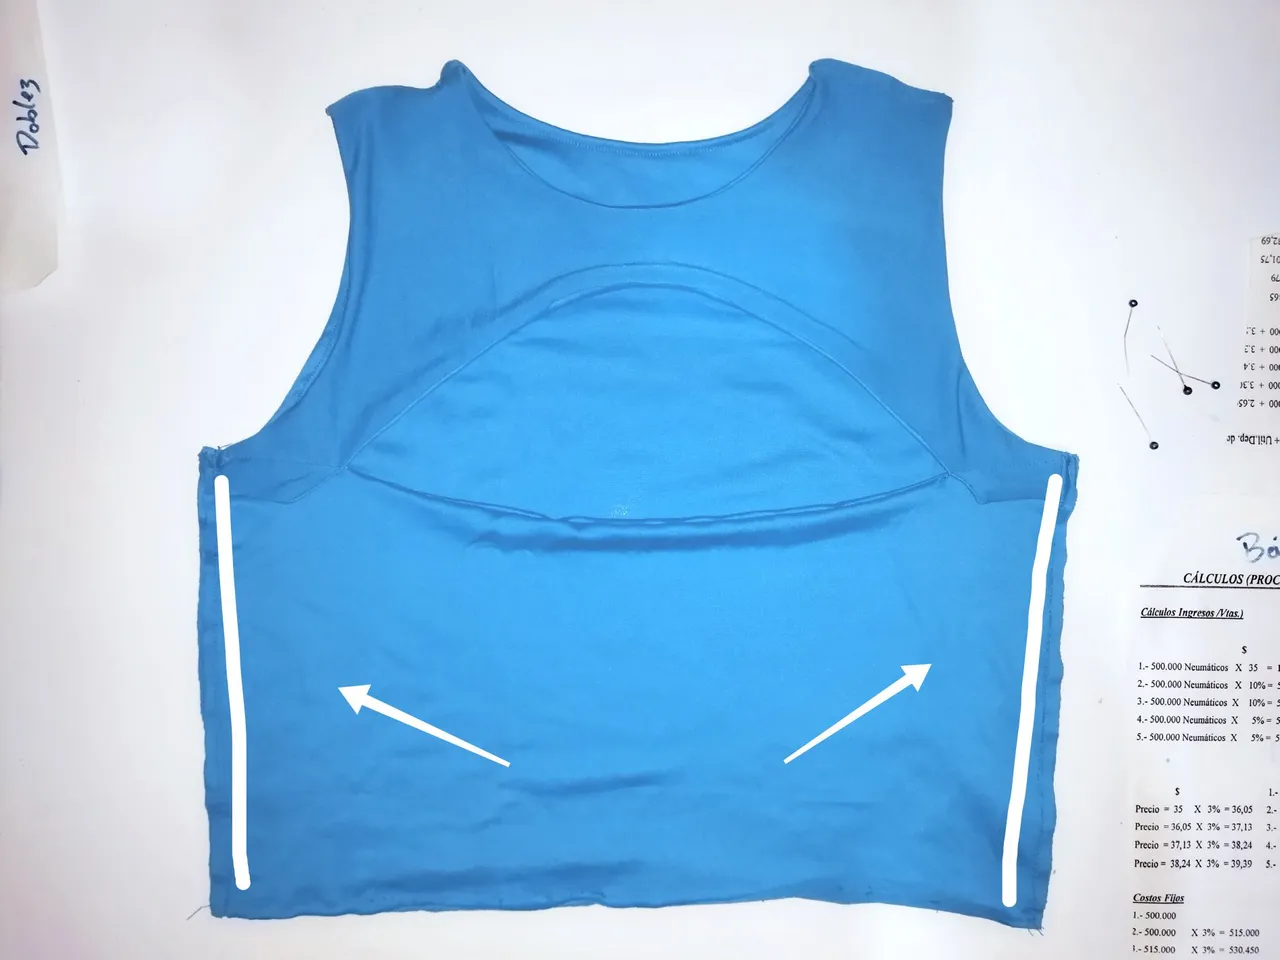
- Luego de tener los hombros ya cosidos unimos los costados del top con puntada recta y luego zigzag para darle mejor acabado, si tienes máquina overlock mucho mejor.
- After having the shoulders already sewn we join the sides of the top with straight stitch and then zigzag to give it a better finish, if you have an overlock machine much better.
Paso 9 || Step 9
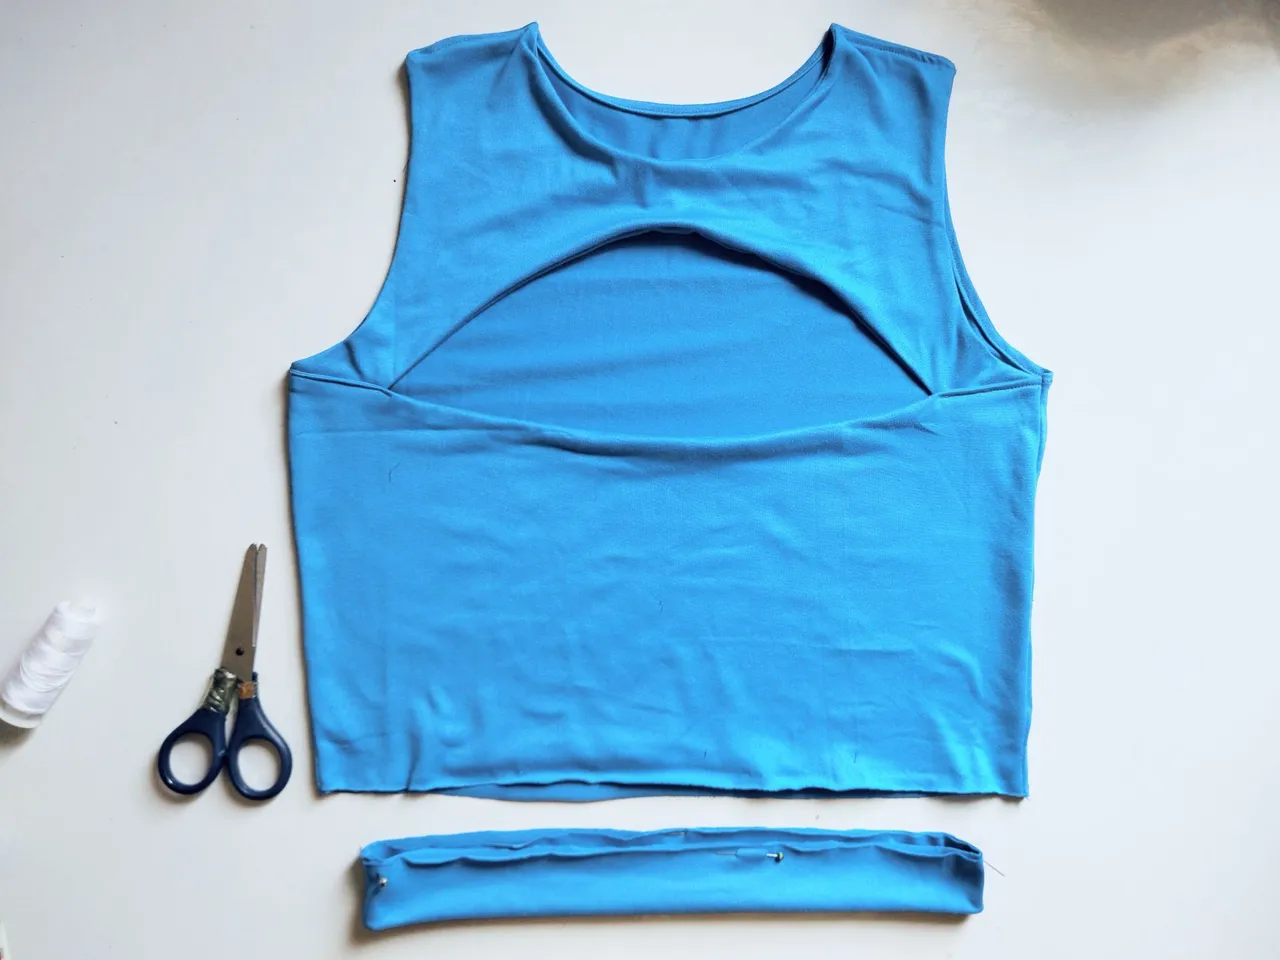
- Continúe cortando una cinturilla de 10 cm de ancho, la doblé a la mitad y sujeté al borde del top para luego pasar costura recta en la máquina de coser y listo.
- I continued by cutting a 10 cm wide waistband, folded it in half and fastened it to the edge of the top and then sewed it straight on the sewing machine and that was it.
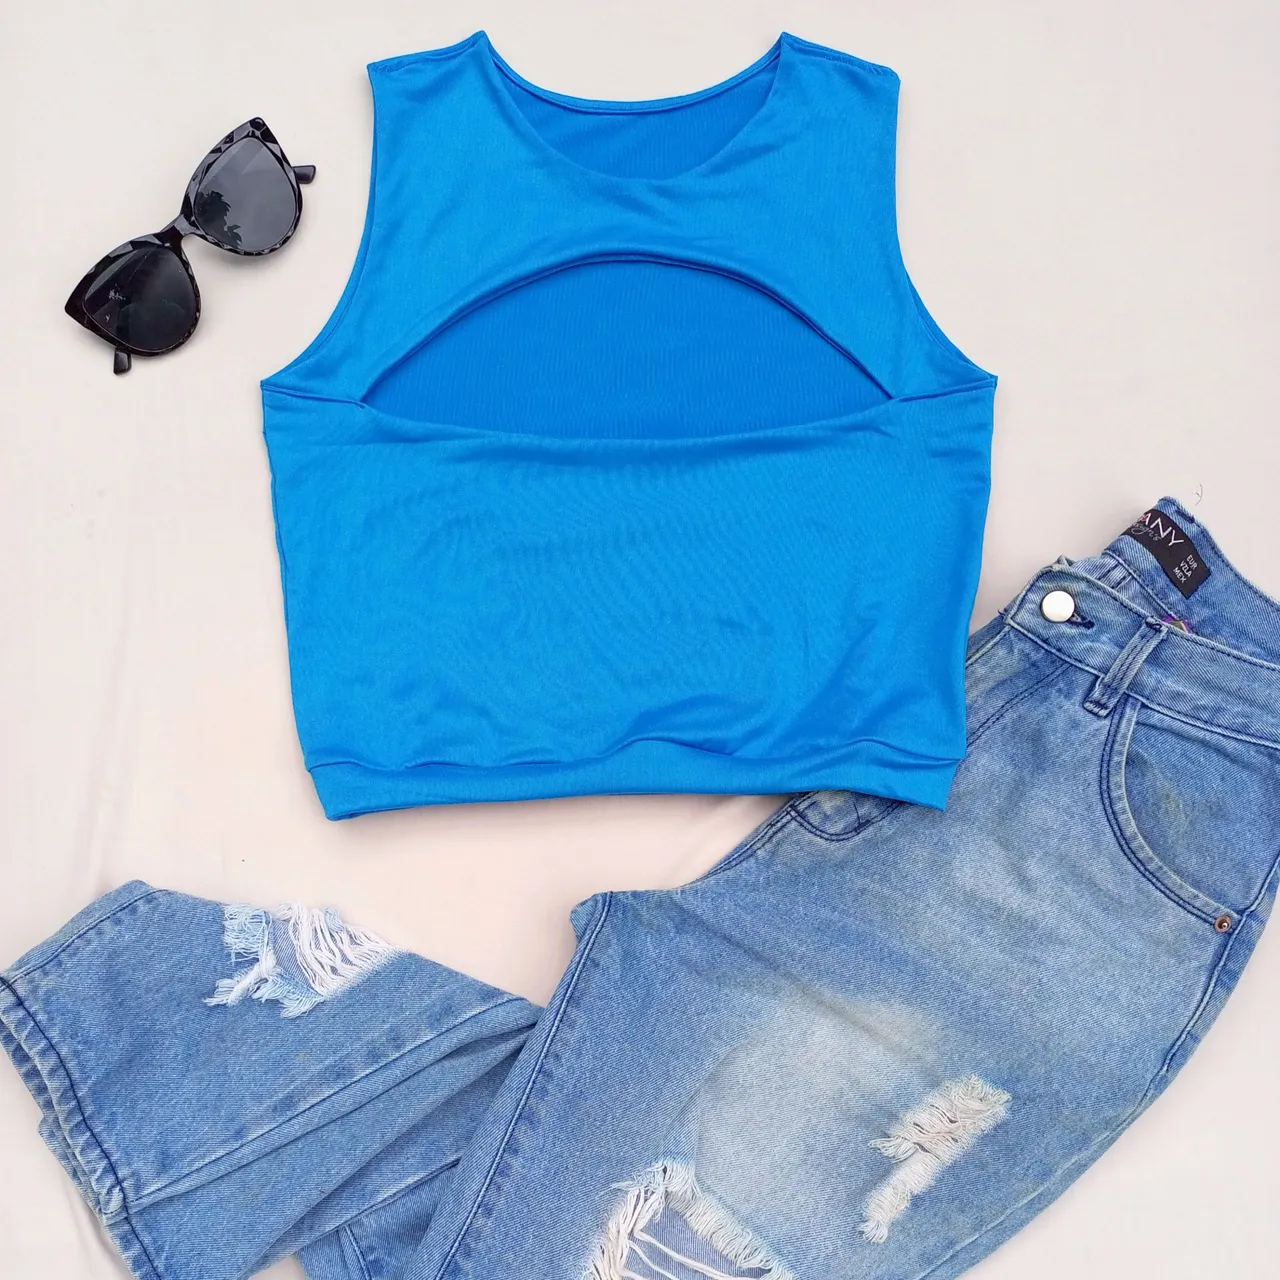
Resultado final.
Final result.
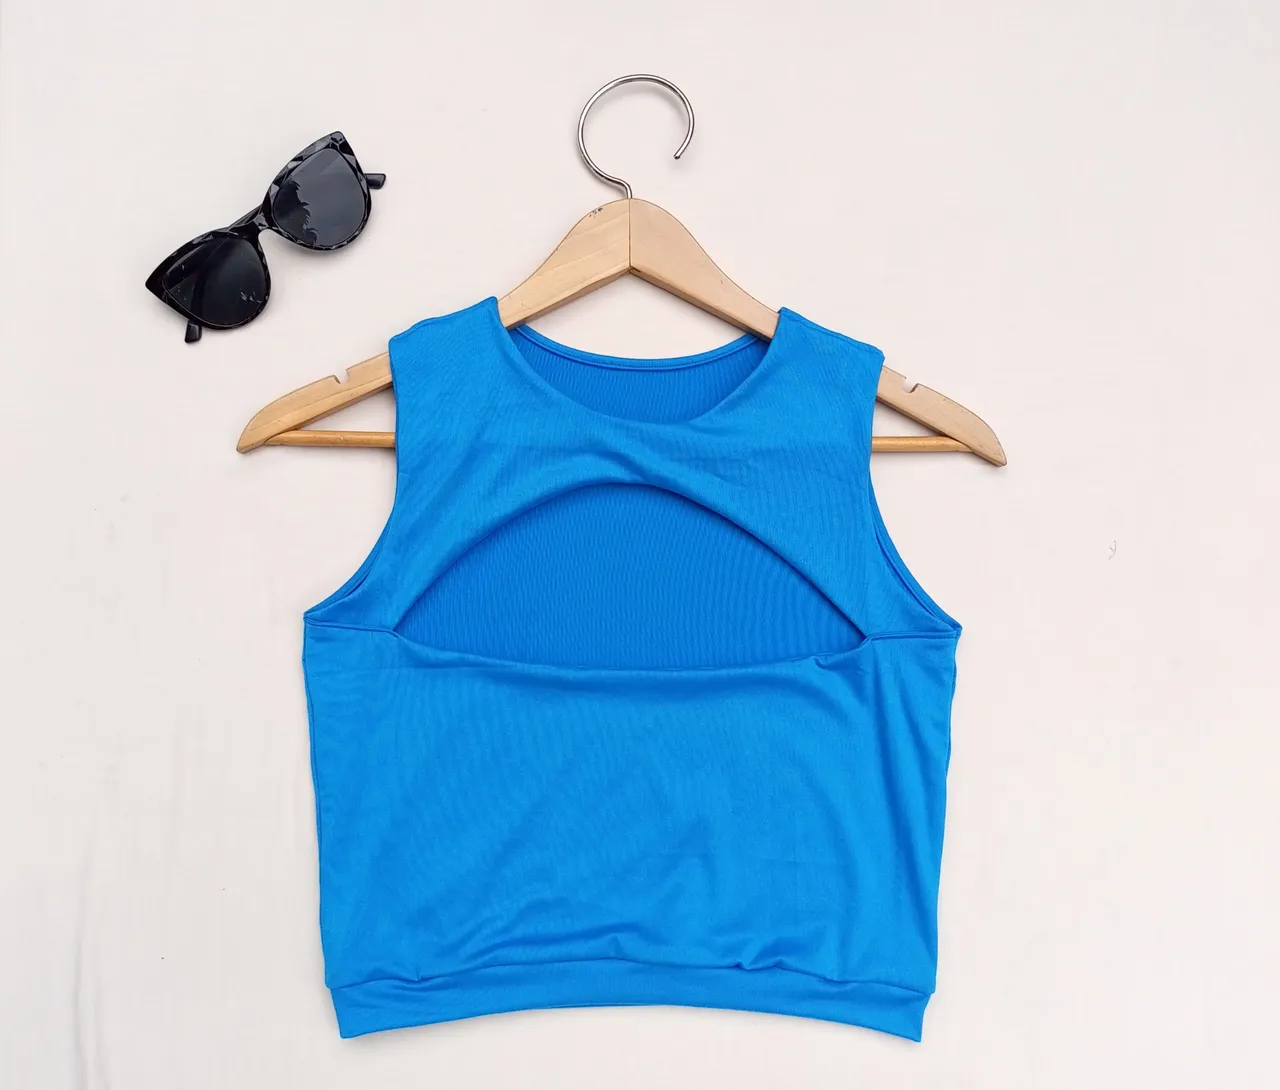
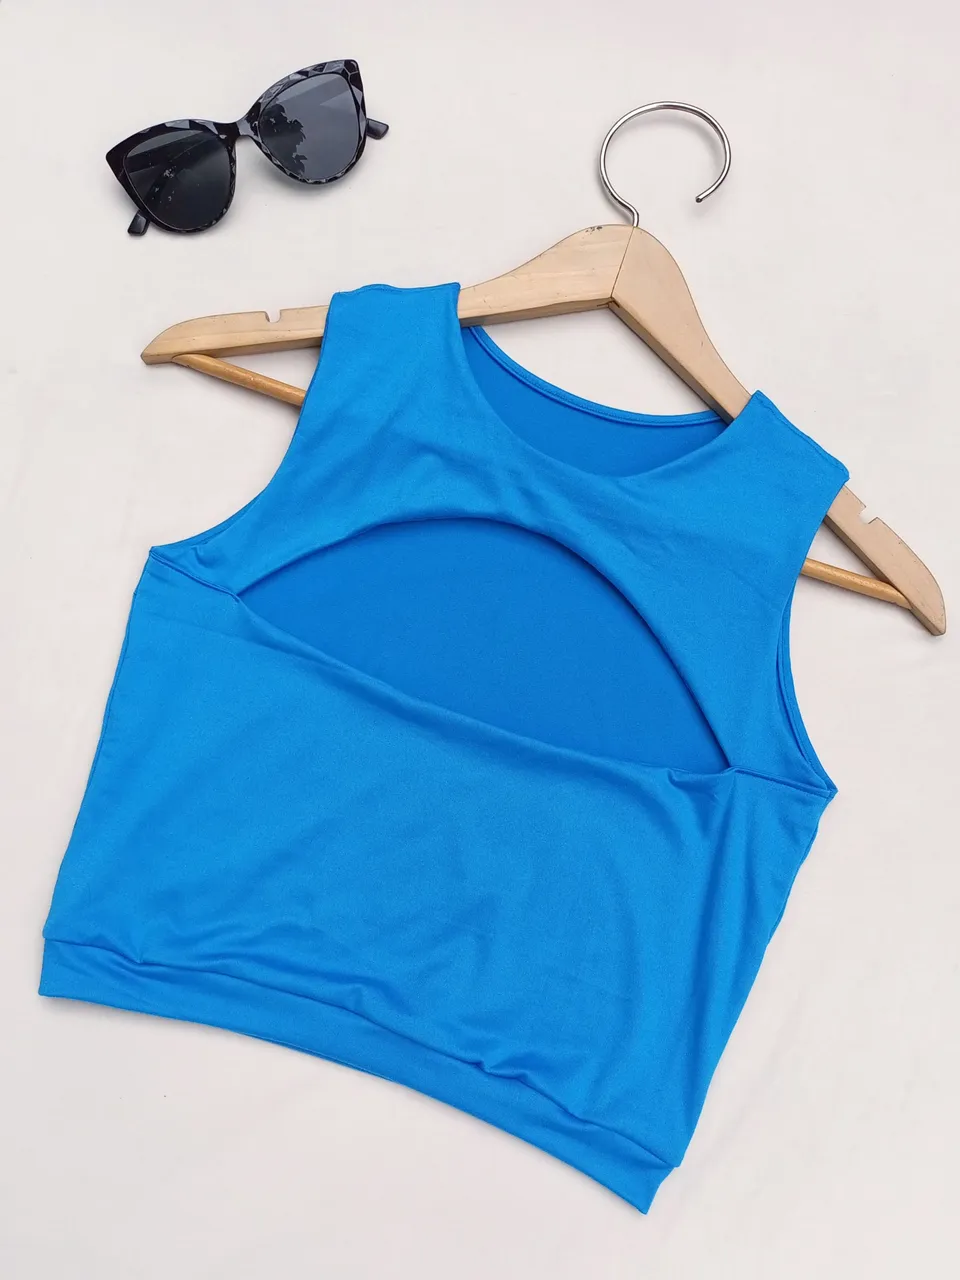
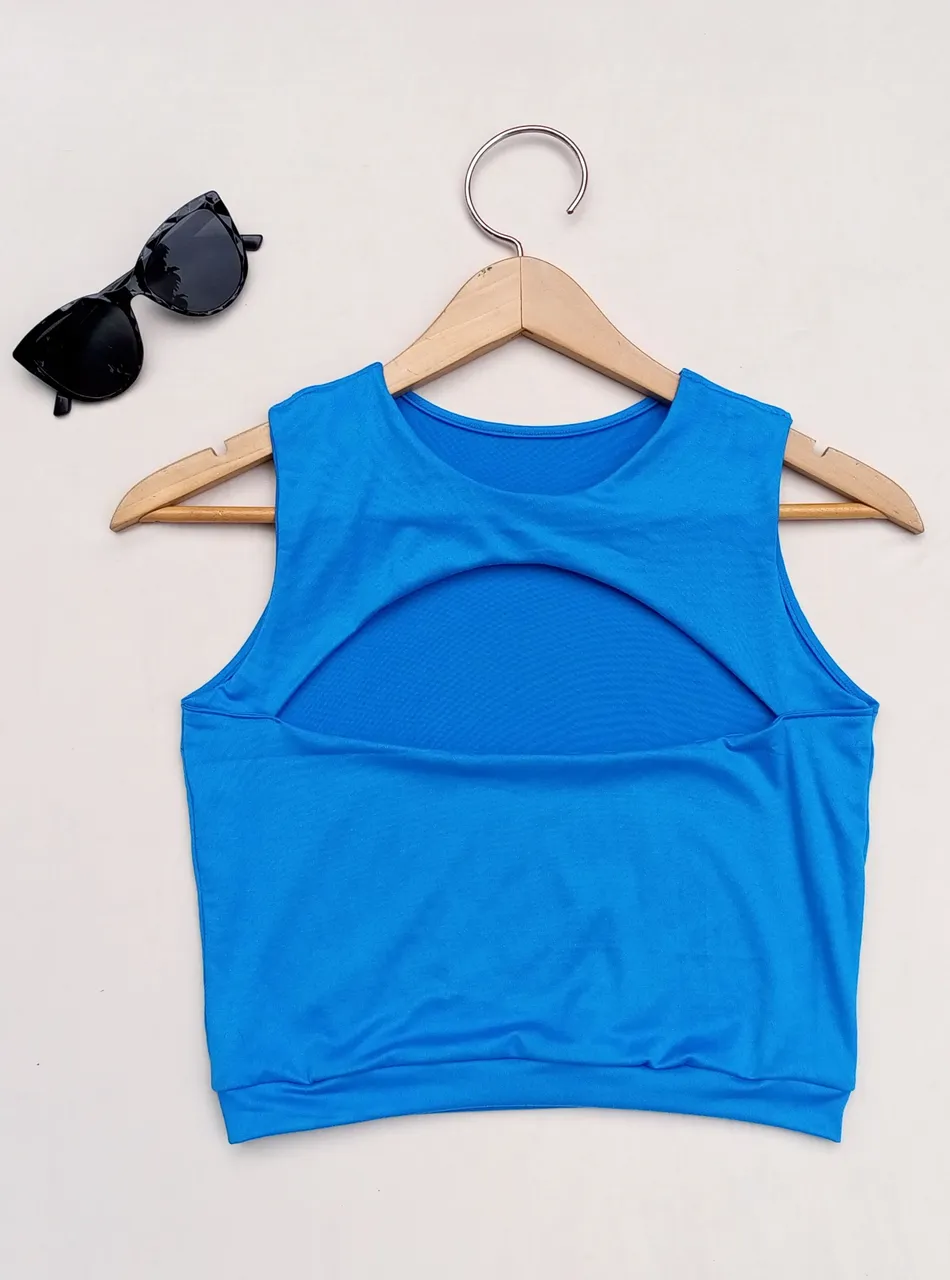
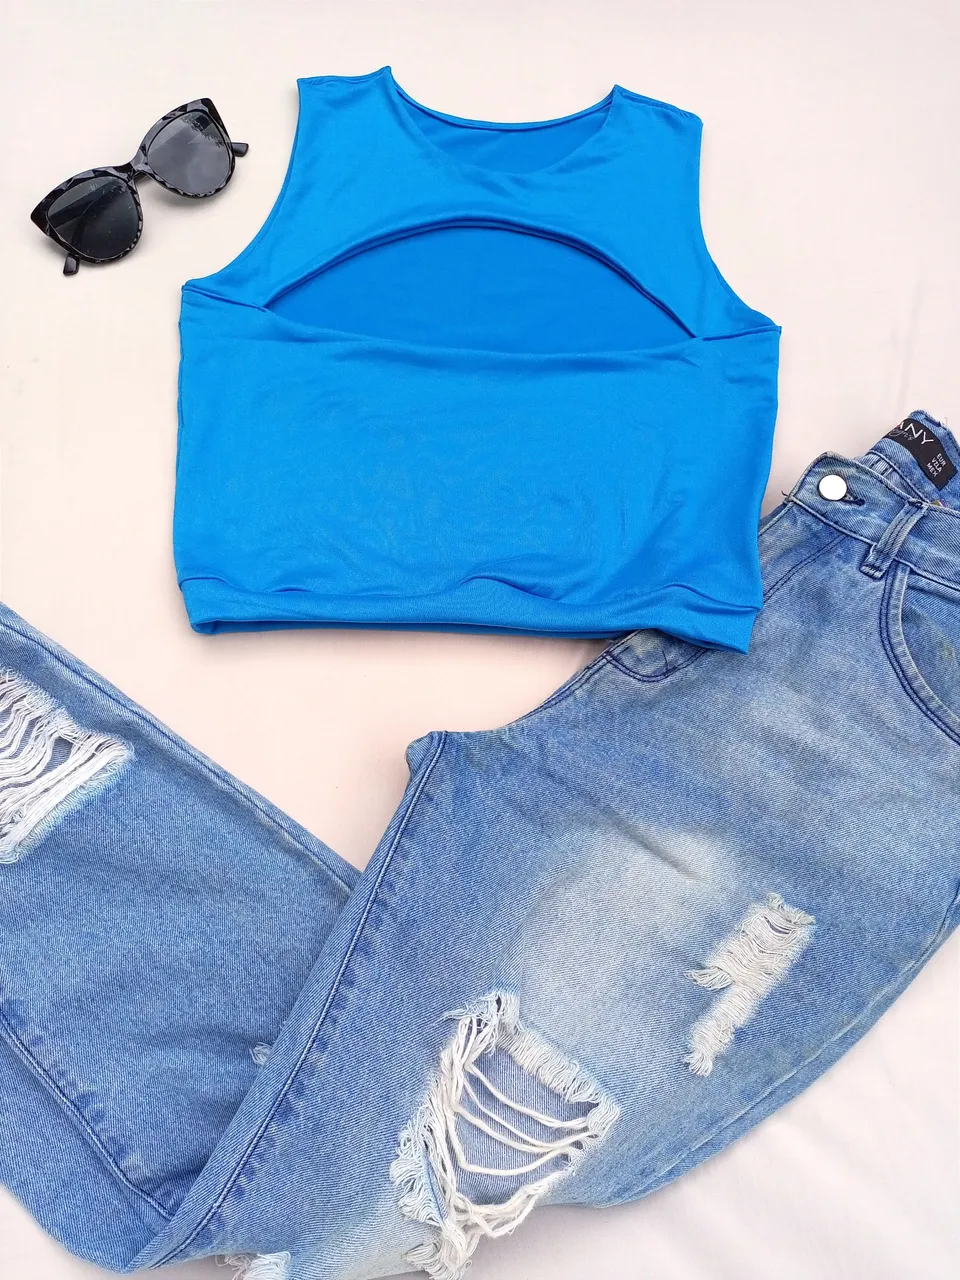
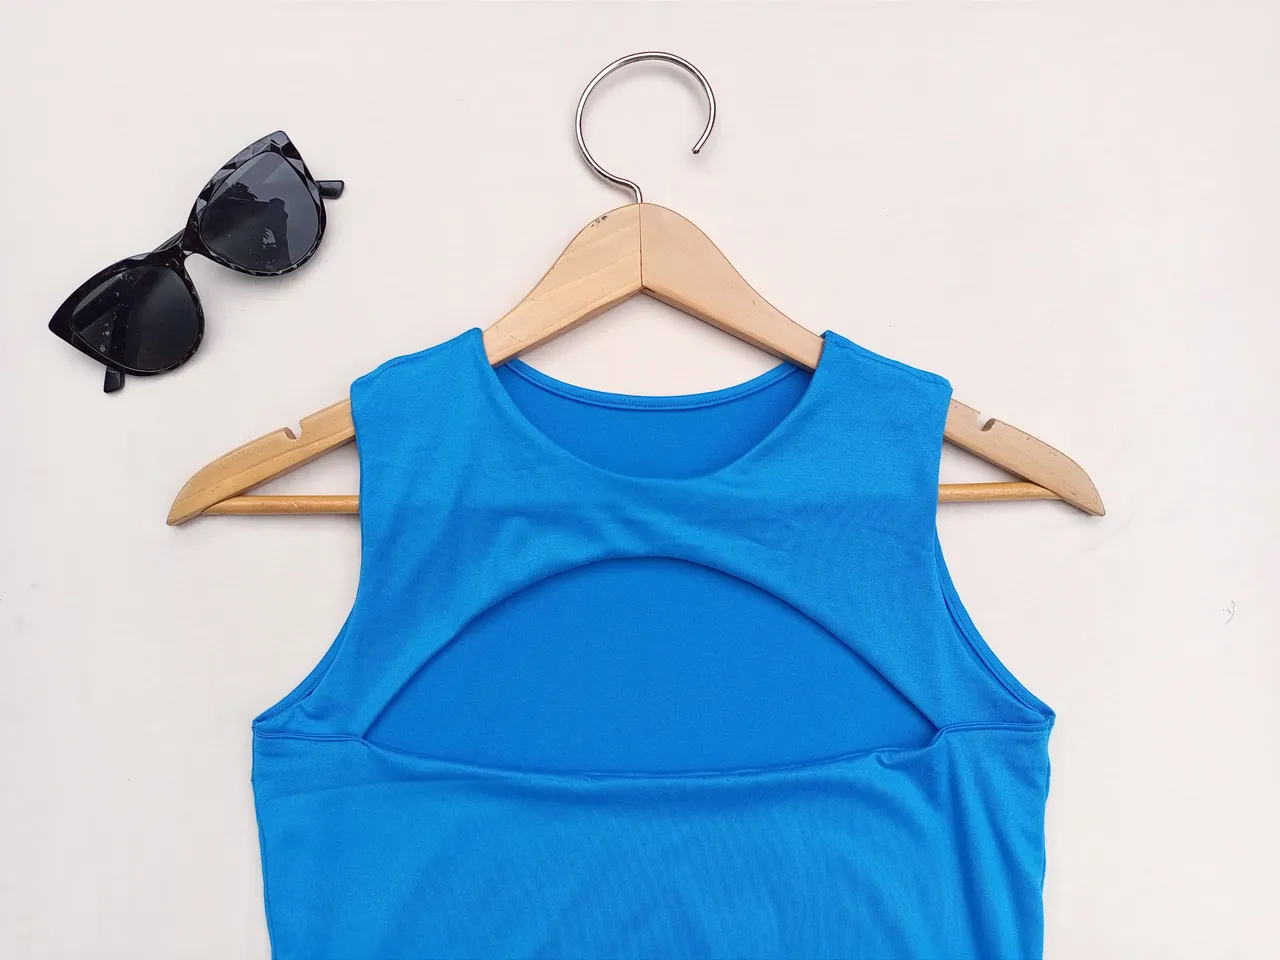
Amigos hasta aquí este post,estoy muy feliz y satisfecha de como ha quedado el resultado final de este crop top,está es mi segundo proyecto WIP terminado espero que les hay gustado tanto como a mí y si llegaste hasta aquí mil gracias por leer mi post ❤️🥰 un fuerte abrazo.
Friends up to here this post,I am very happy and satisfied with how the final result of this crop top has turned out,this is my second WIP project finished I hope you liked it as much as I did and if you got this far thanks a thousand thanks for reading my post ❤️🥰 a big hug.
All images are my property / Todas las imágenes son de mi propiedad
Camera: Xiaomi Redmi 9T.
Translation: Deepl.com