Hello needlework community, I never really understood the modis of the community but I hope i can share and learn more creative stuffs to and from other members. The whole learning process has been tedious but it's great fun when I have to settle to make an outfit.
After a class, I was given an assignment to make a full outfit of skirt and blouse.

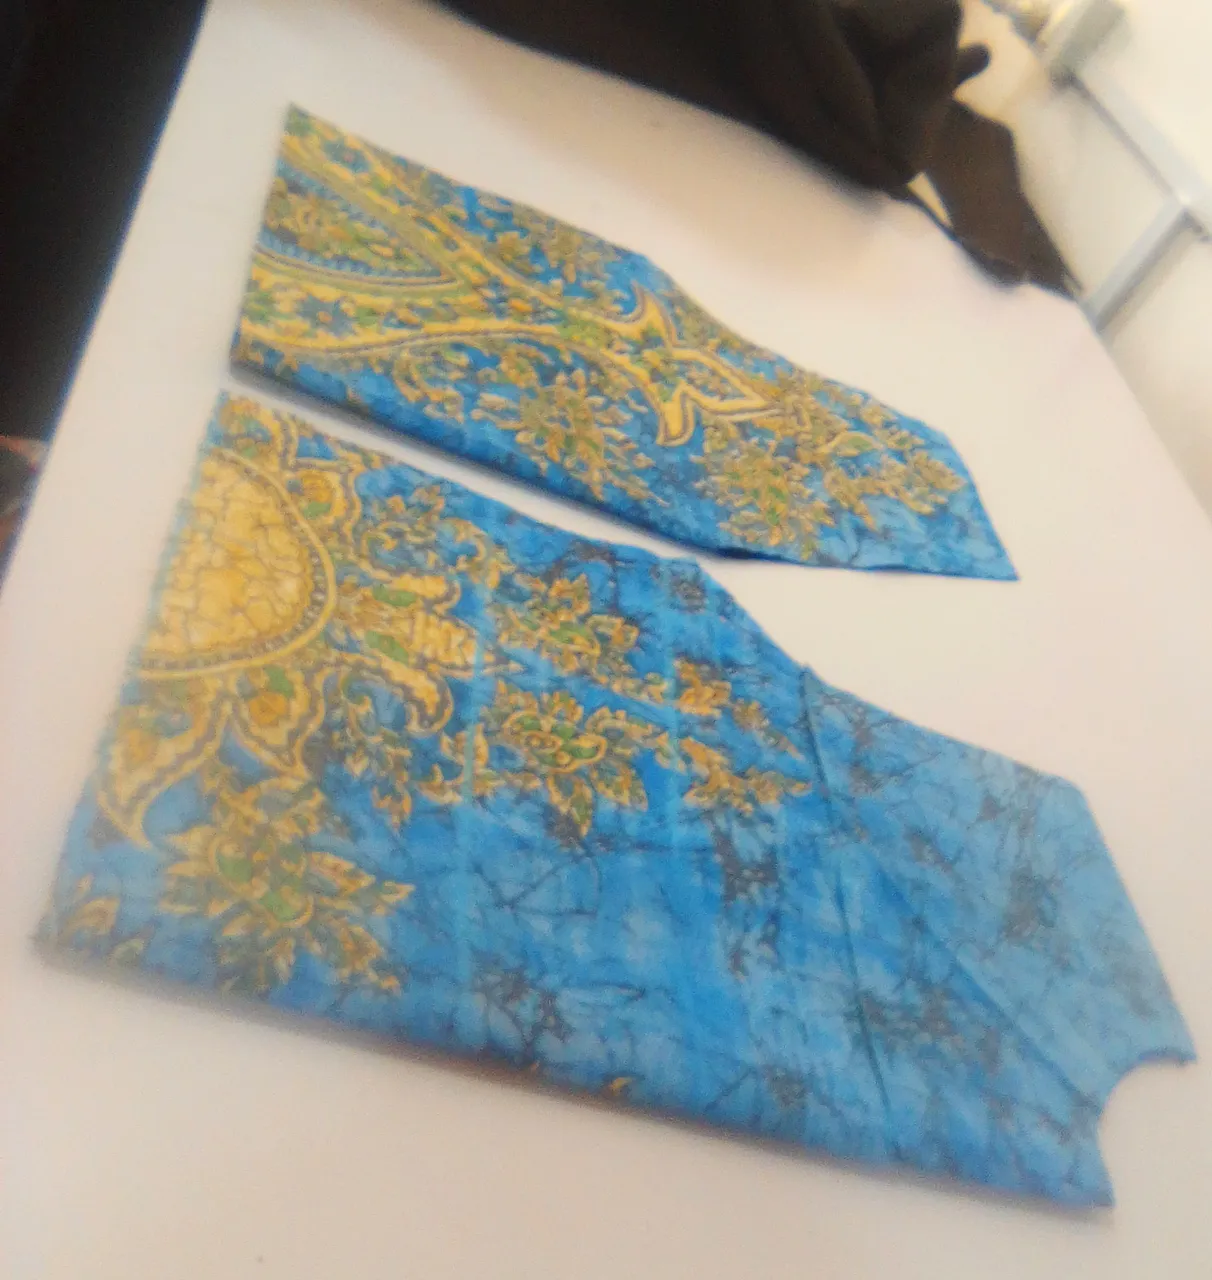
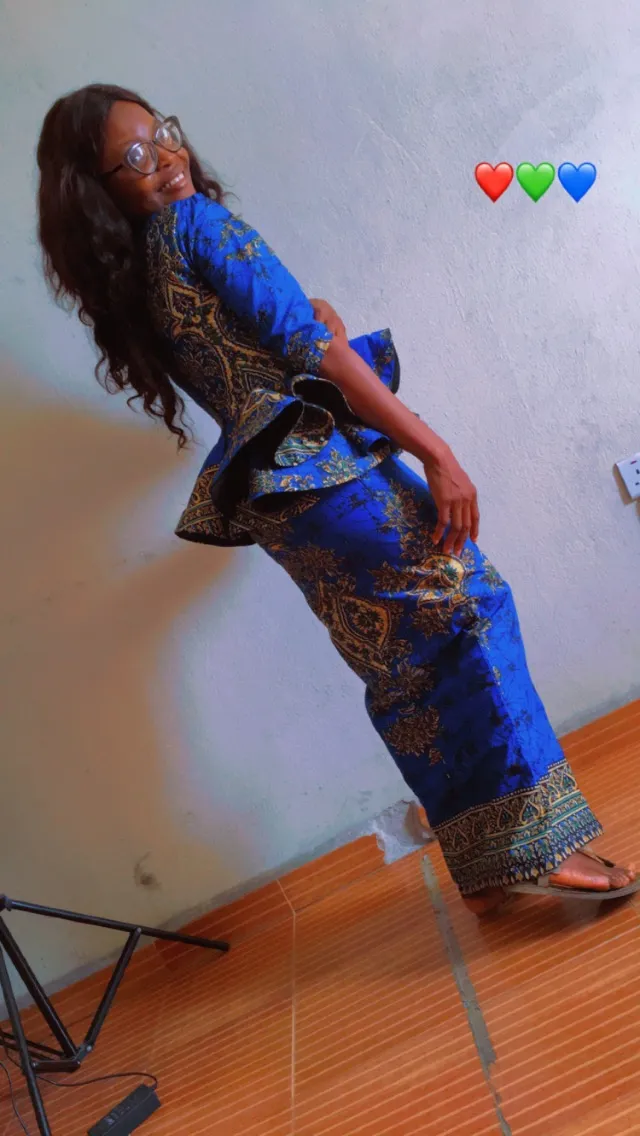
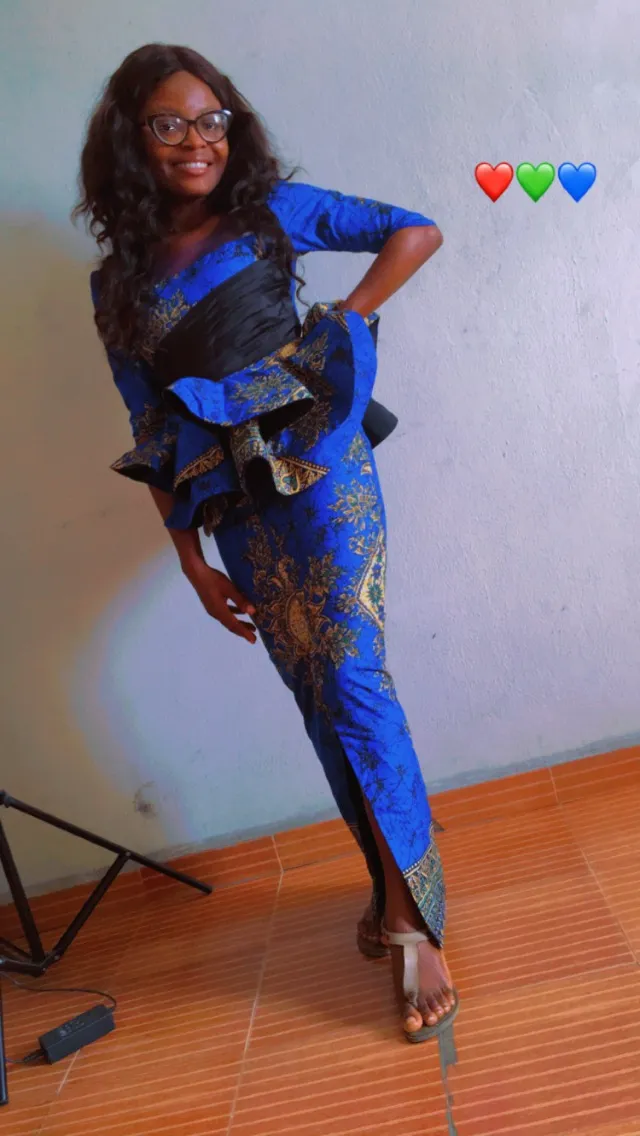
This is a long penciled skirt with a pepplum blouse and I would be pleased to share the process.

I would be starting off with my skirt and the measurements I require include;
- Skirt length
- Length from tommy to hip
- Tommy
- Hips
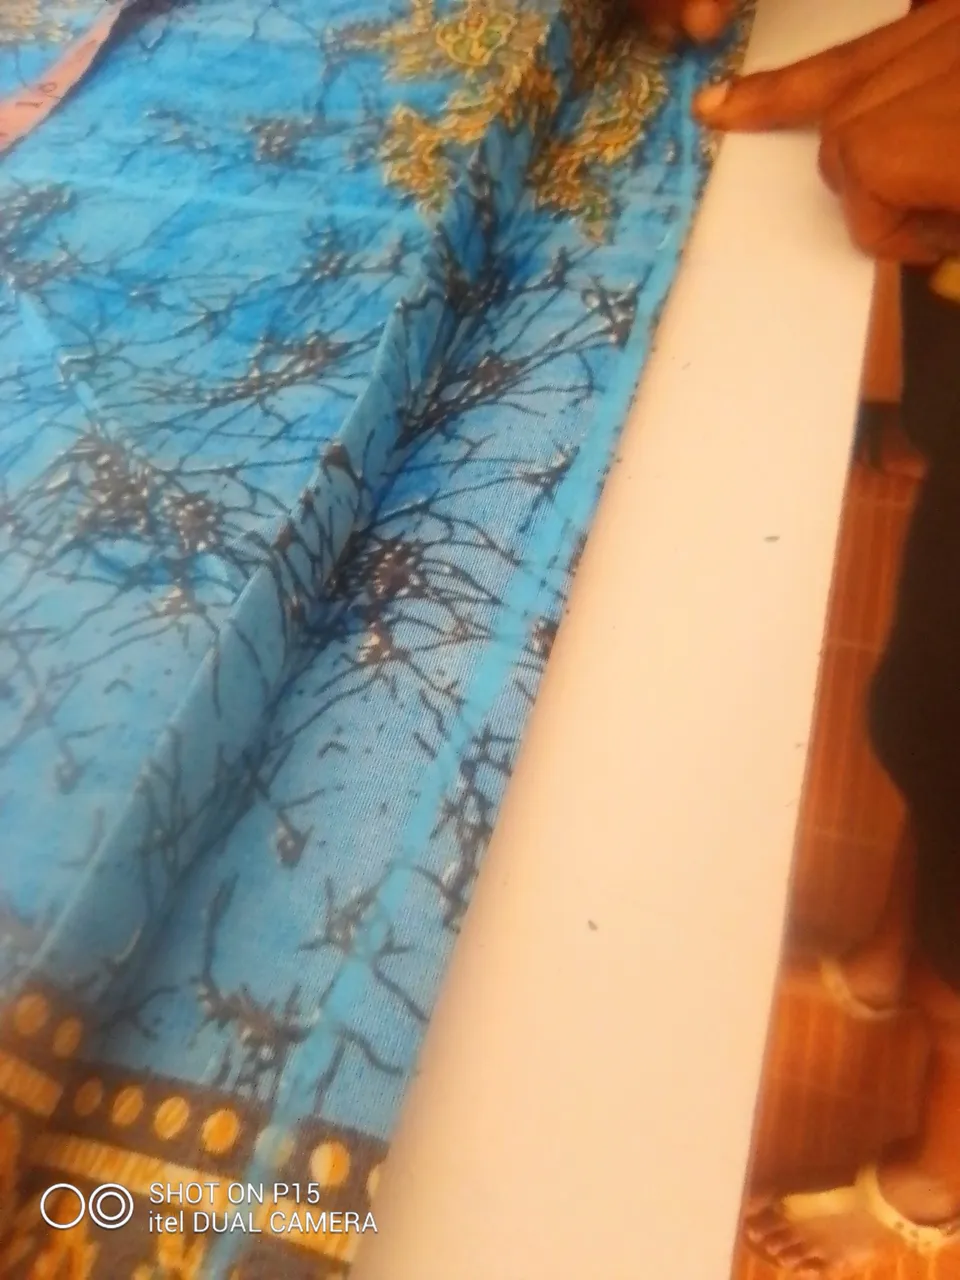
After making out these, I connect the points with lines using my ruler and I cut following the lines appropriately. For my lining fabric, I simply place the cut out of the main fabric and follow suit to cut. Thereafter I proceed to couple my skirt.
Coupling is simply attaching the lining and the main fabric together. Thereafter I attach the skirt sides together.
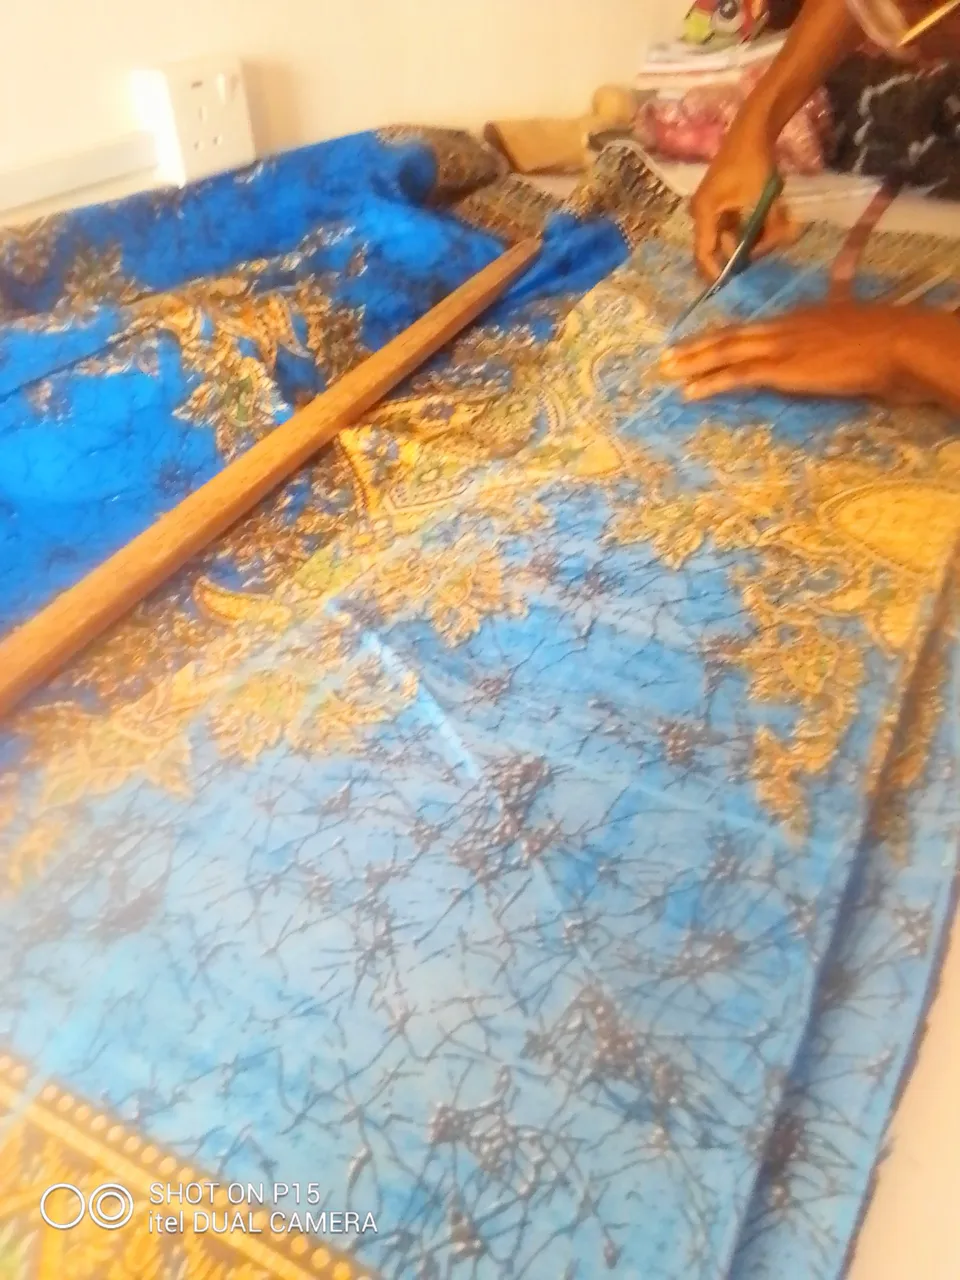
I finish off by attaching my waist band of about 4 inches before I finally add my zipper to the skirt.
The next procedure is the blouse which is quite a procedure that took alot of timr and measurements required include;
- Shoulder
- Blouse length
- Shoulder to bust tip
- Shoulder to underbust
- Round bust
- Round underbust
- Sleeve length
- Round arm
- Sleeve mouth
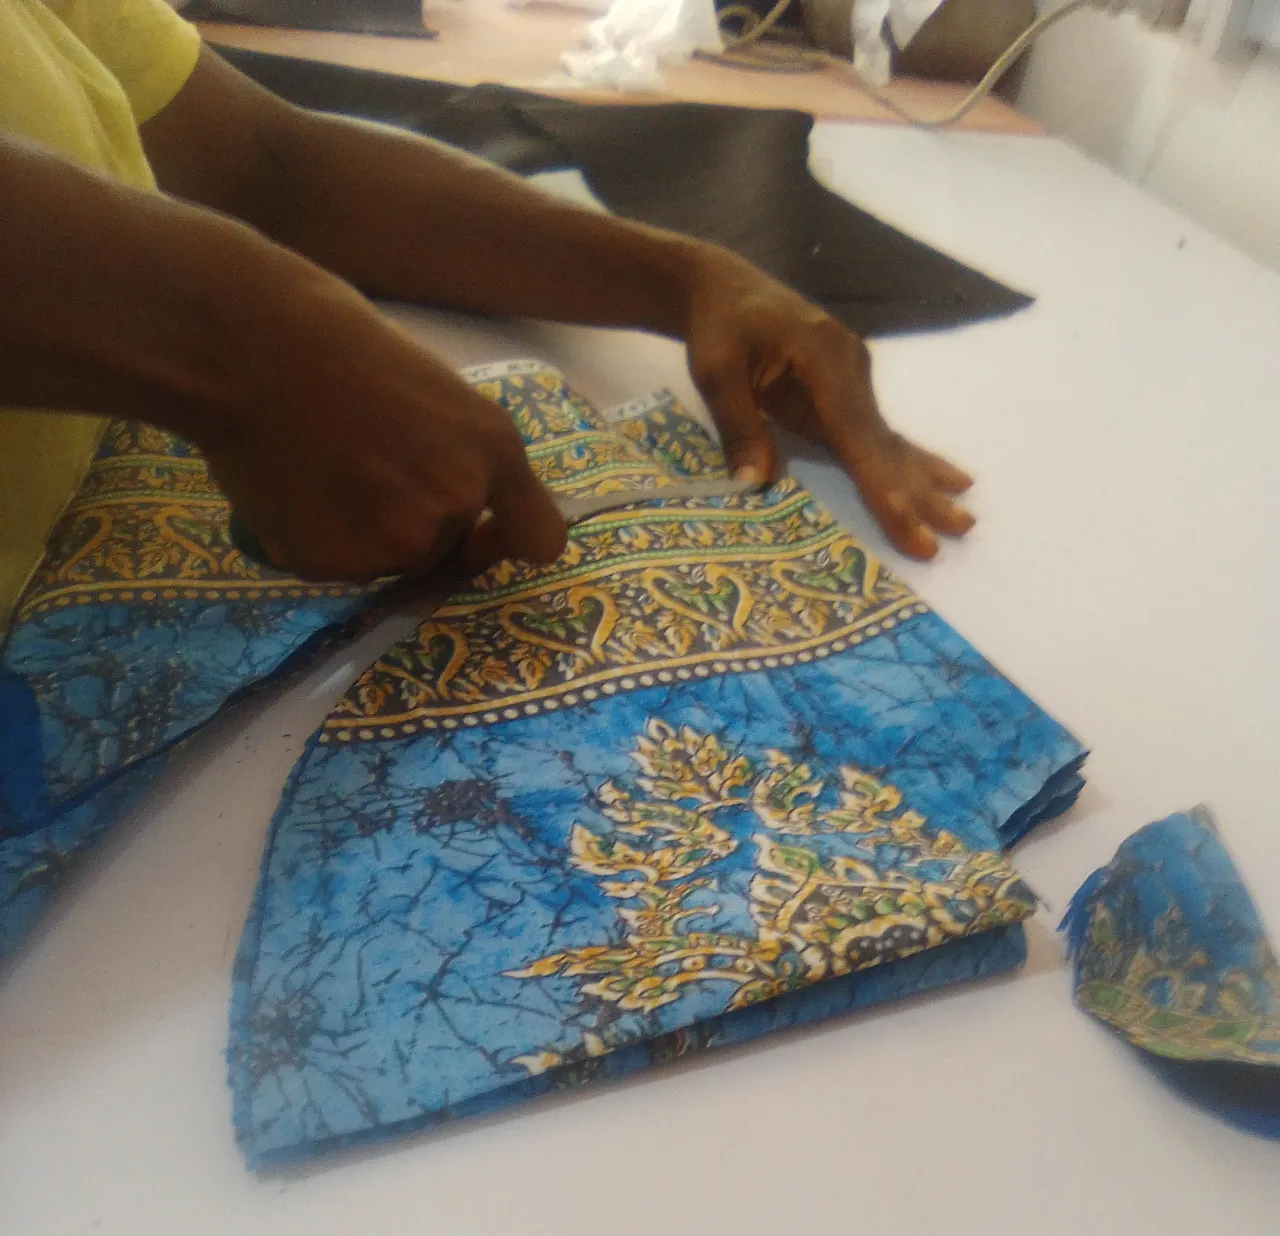
I mark out these measurements first, dividing every measurement for wideness by 4. Thereafter I connect the points using my ruler and cut out the fabric neatly. The place the cut-out fabric on my lining fabric and trace out the shape.

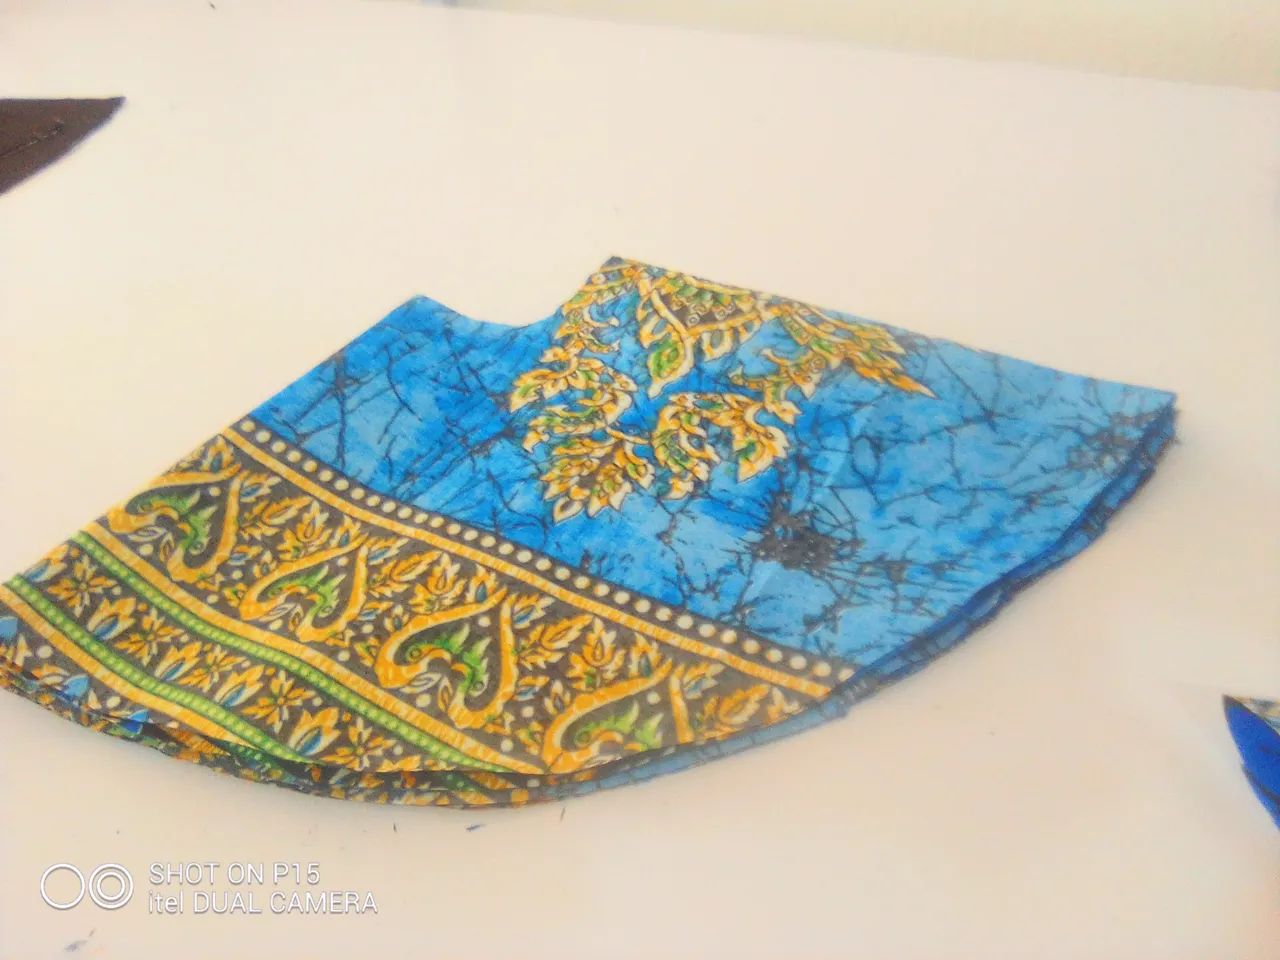
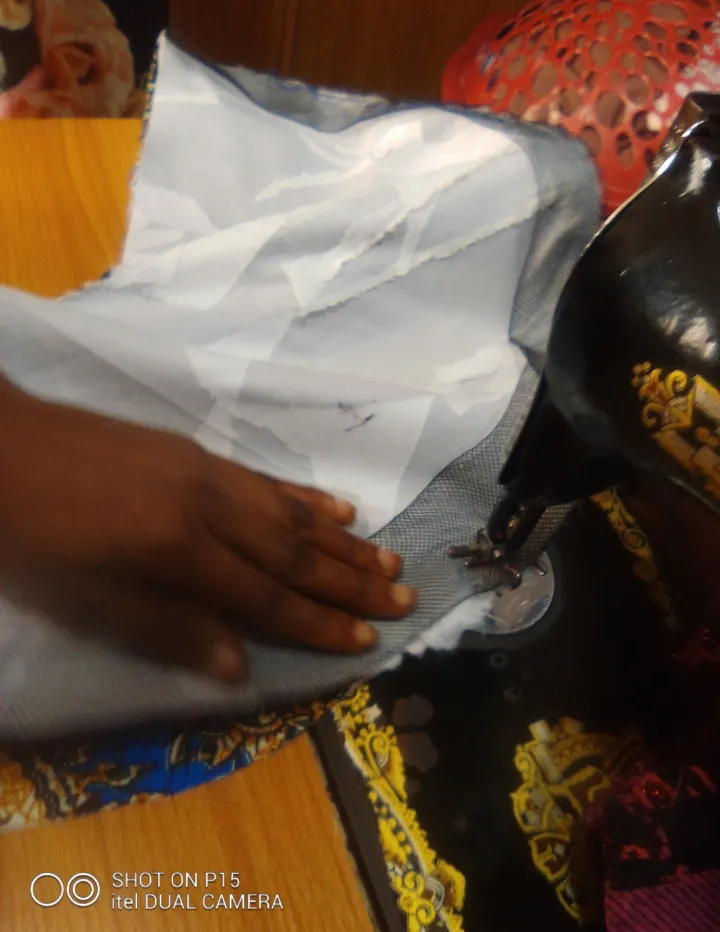
For this design, the front placement of my blouse would have a net attached to, so I cut out the fabric portion at the point at which I need the attachment.
I use the a-stray on all portions of my blouse fabric. This will help my fabric to acquire a certain level of firmness and softness which I love. Thereafter the main fabric is coupled with the lining and darts sewn where necessary.
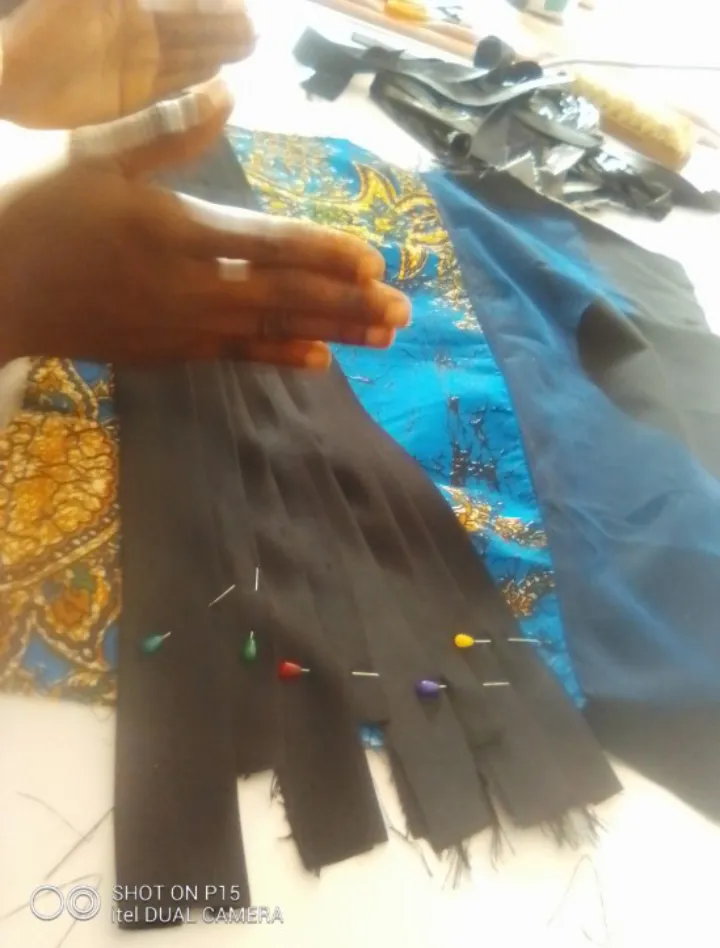
Up-next is working on my flare, which is the peplum. I need a two step flare and I would be cutting out the 720° flare. The tommy size is first divided by 8 to get the radius of the flare with a length of choice, of which I used 9 inches after which it is cut out. Thereafter each of my flare is attached with an A-stay still for firmness of my pepplum.

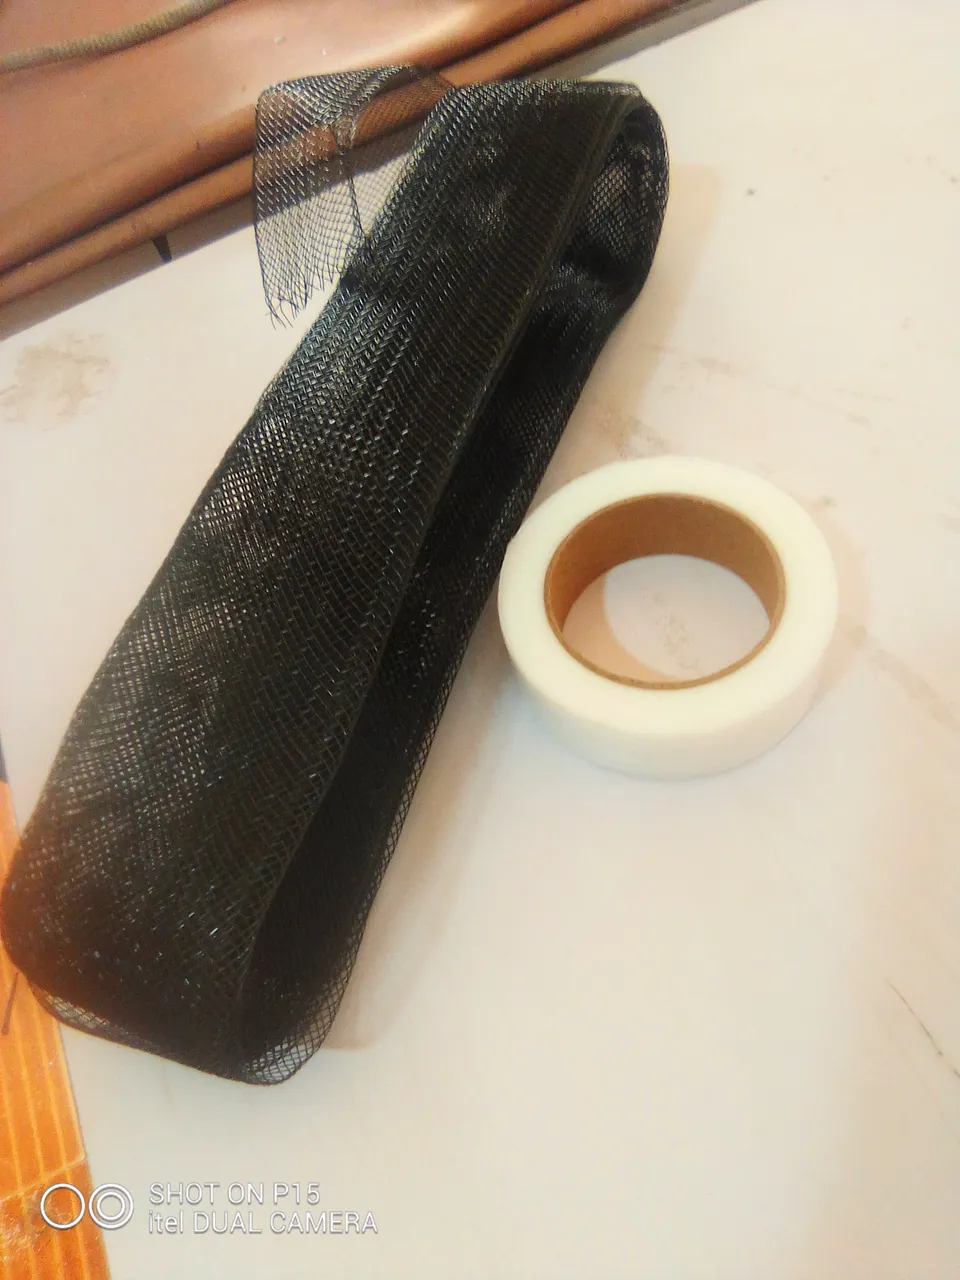
For my pepplum to stand very well, I use crinoline and hemming gum to attach while sewing the main fabric and lining together.
After which, it is hot pressed using a steam iron so that I can have an obvious edge.
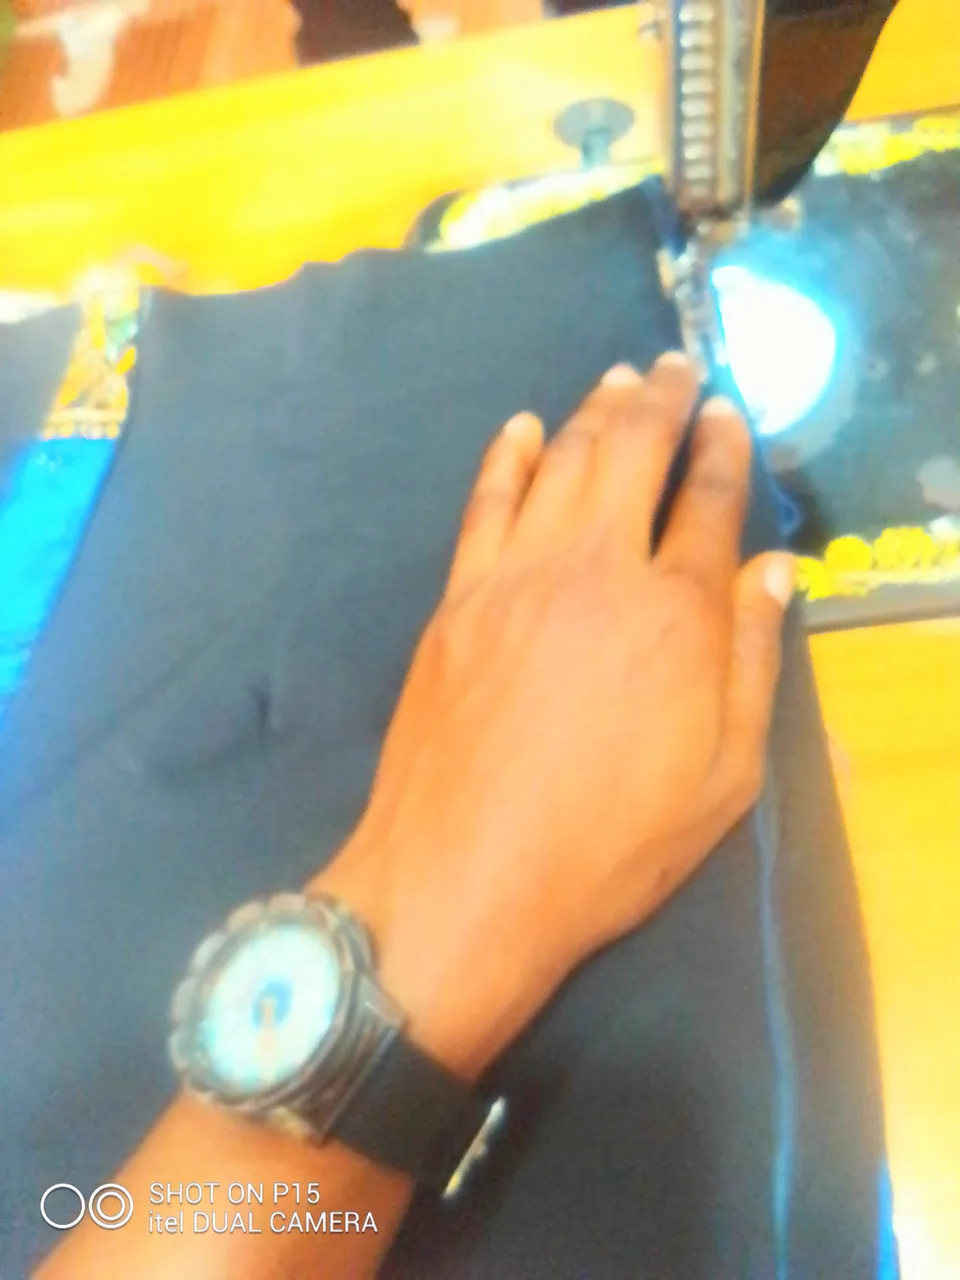
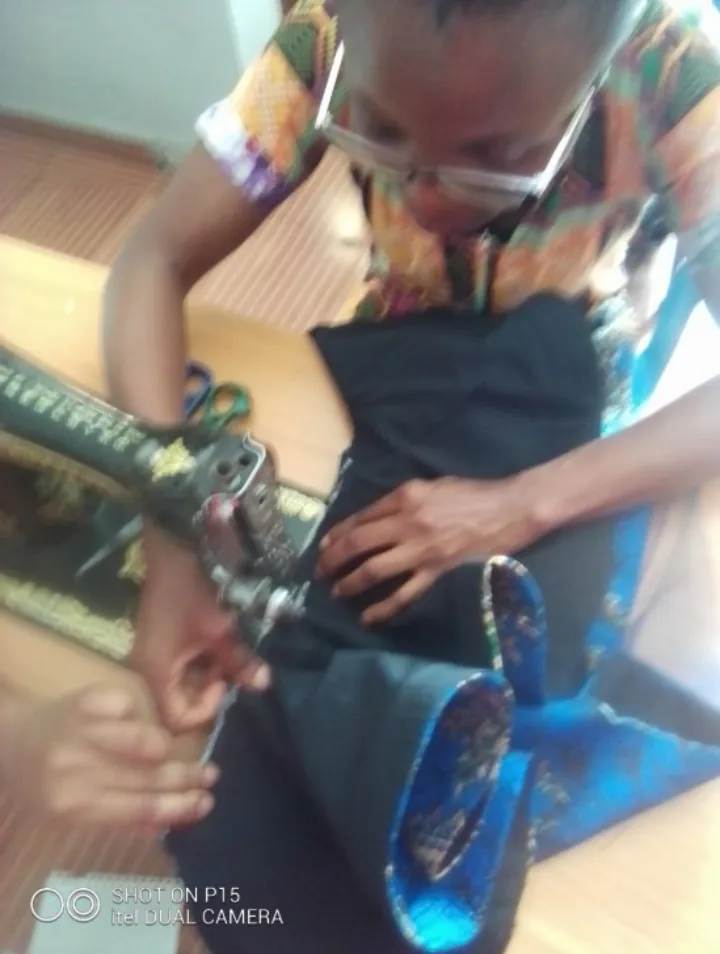
Back to my blouse, of which I need to attach cross bars.

For the designing of my blouse, I use a plain fabric running through both edges of the blouse before I stitch but to avoid mistakes I first of hold my attachments to my fabric using pins thereafter I see through neatly ensuring that the plain fabric lays out straight. When this is done, I attach the back of the blouse to the front using the locking method and attach flare to the hem of my blouse by 1/2 inch
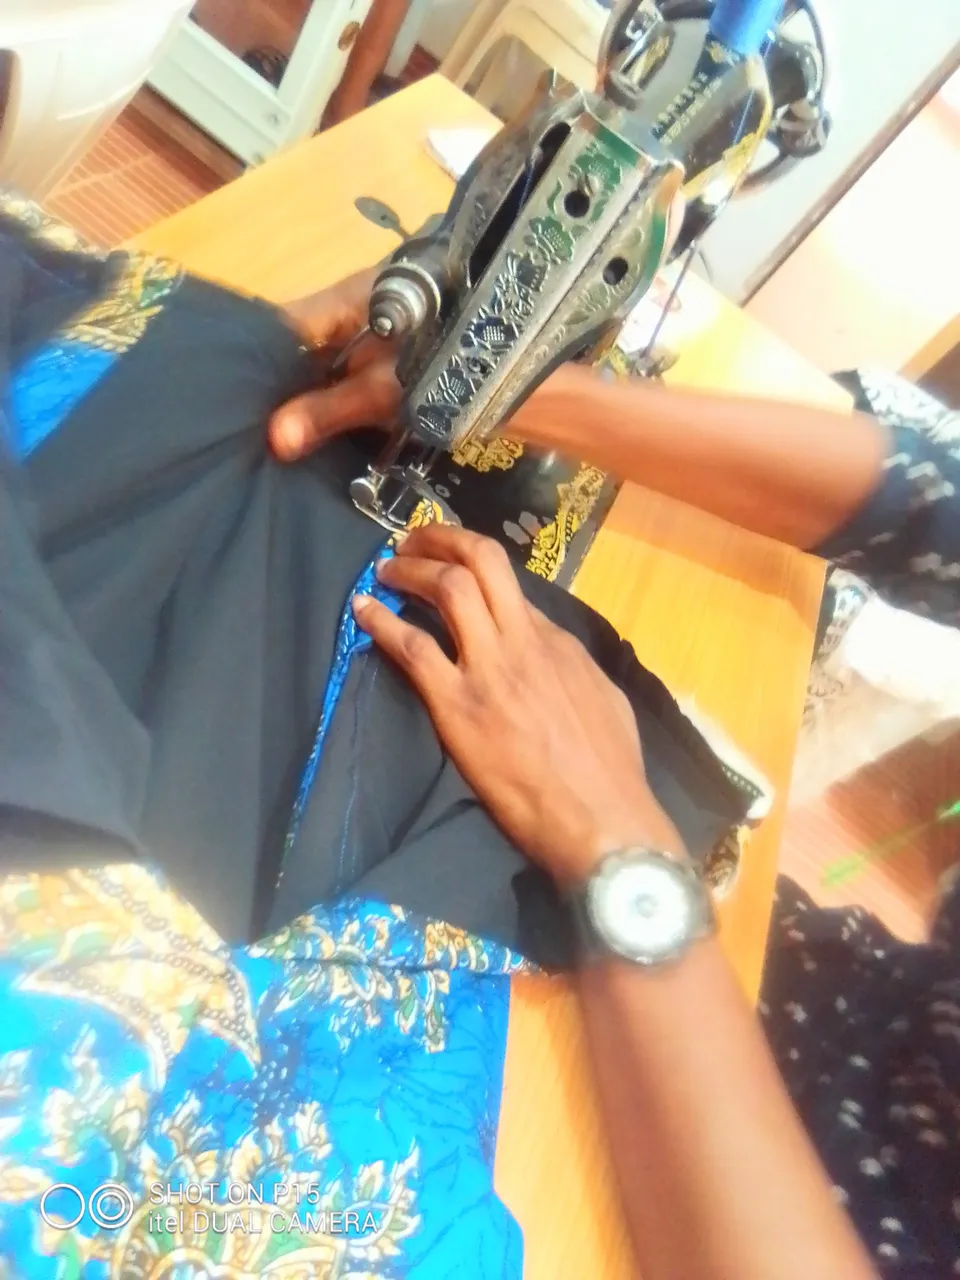
This is my final step as my outfit is ready to be slayed.
Finally I attach my sleeves to my blouse before finishing off by attaching the zipper.
I hope you enjoyed this and I believe this would be helpful to my readers. Thankyou for stopping by.
Have a beautiful day