We continue with the challenge of @irenenavarroart, I'm already on day 2, if you can!!!
If you want to know what it's about click on the link: Halloween and encourage you to participate.
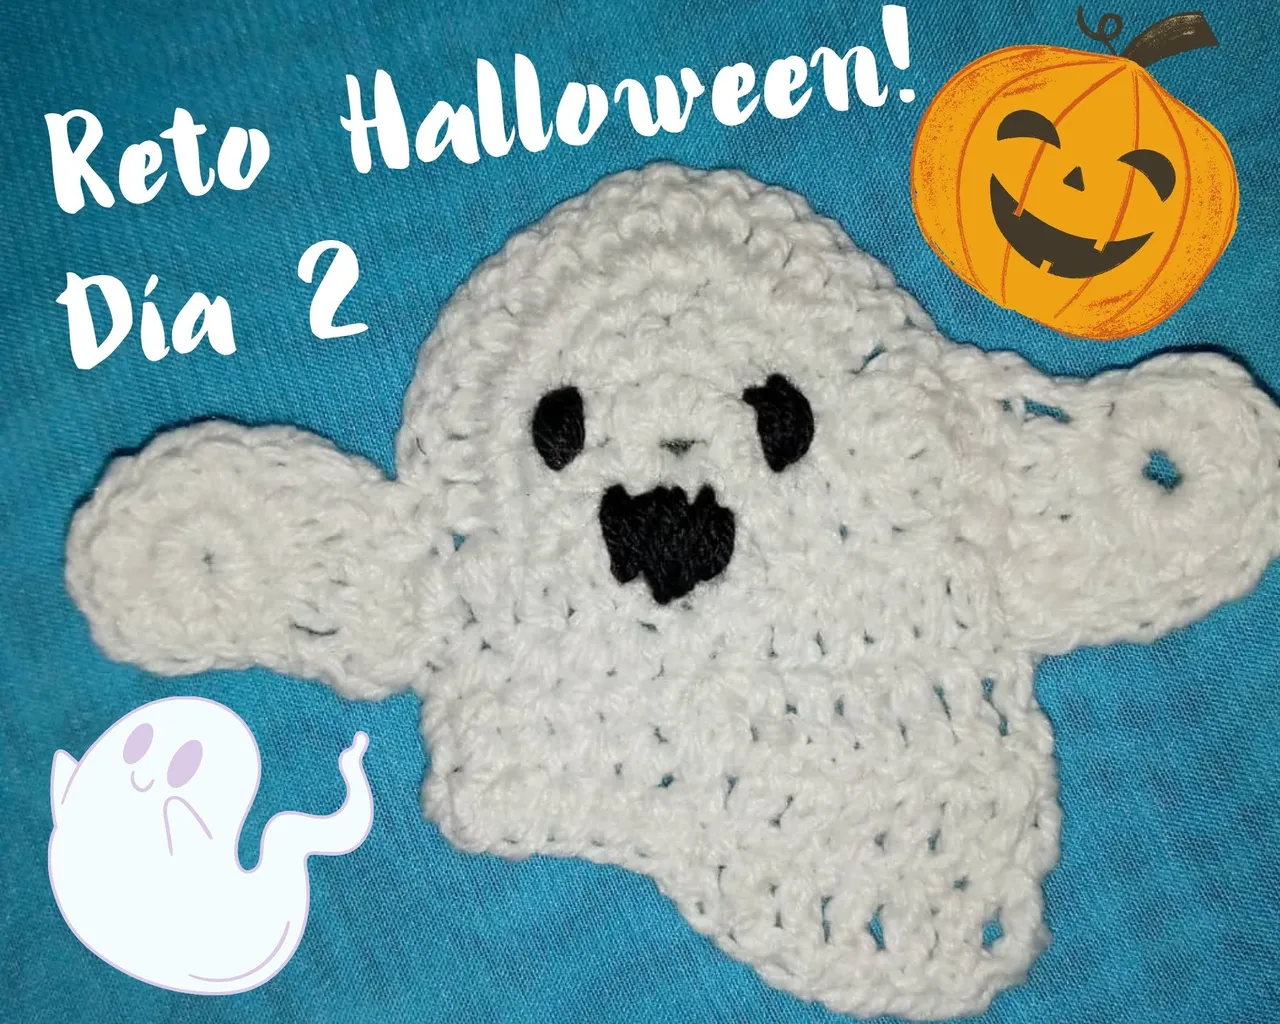
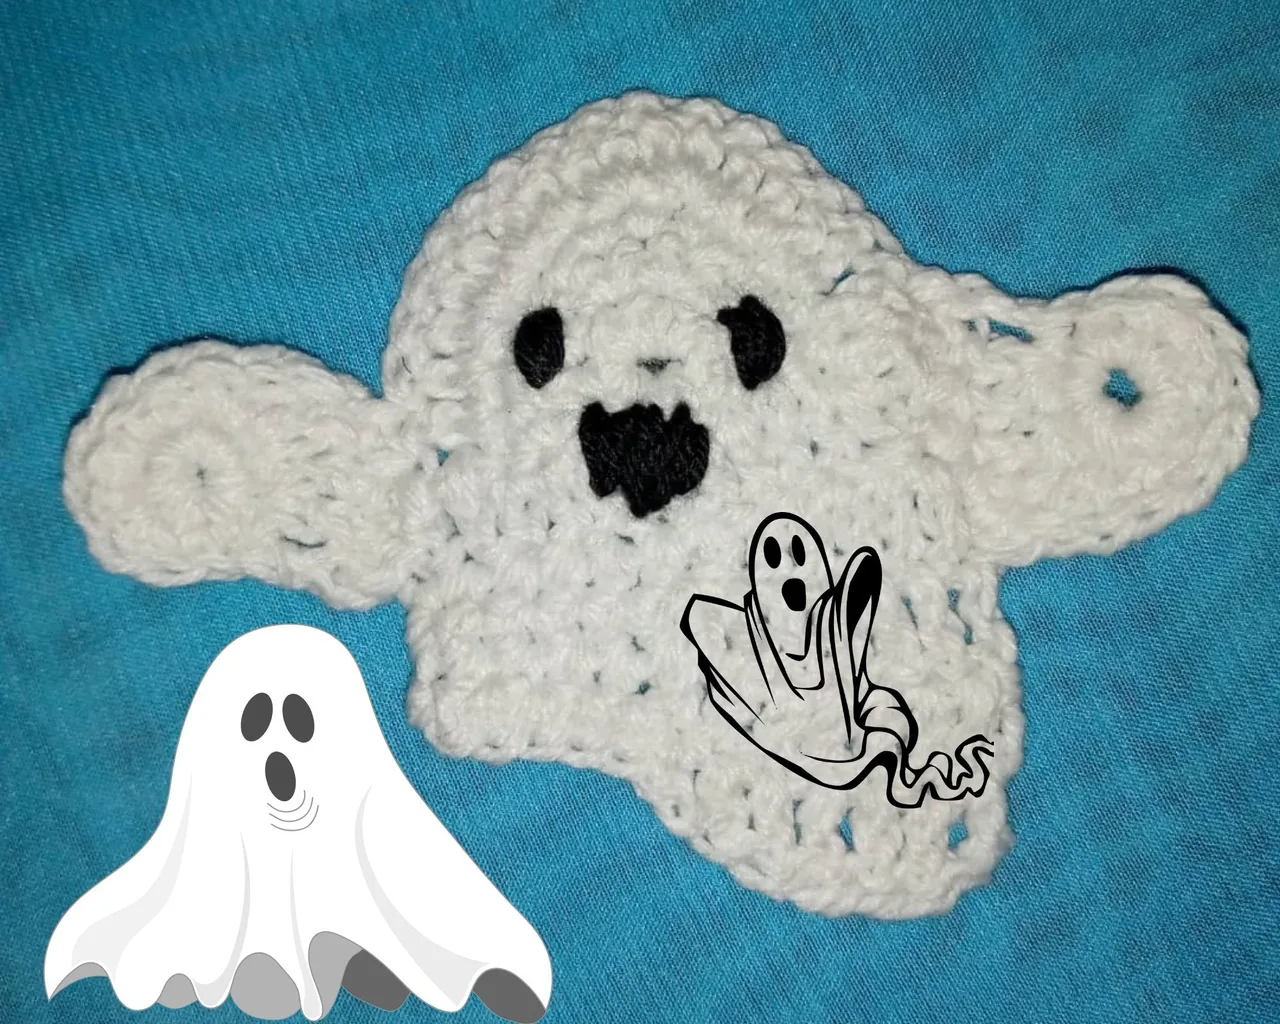
This time I chose an easy doll, the ghost. Made in white color, which my eyes appreciated and being represented by a sheet, it was very easy to make.
What does the ghost mean on Halloween?
It turns out that these ghosts characterize the deceased who roam the earth on Halloween night. Although nowadays ghosts are represented by adorable figures, tender sheets with eyes and smiles, they are not so scary. But in the past, these ghosts were represented by grotesque figures, which we had to run away from if we didn't want to be part of the other world. They really gave us nightmares, or at least they gave me fear and nightmares, to the point of not being able to sleep.
By the way, the black cat, published in the post of day 1, represents witches who, in order to go unnoticed, disguise themselves as cats and roam the earth. Hence the superstition that it is bad luck to get a black cat.
The Materials and Process of elaboration
To knit the cuddly ghost I used black and white yarn. Crochet needle N° 2, wool needle and yarn to join the pieces together.
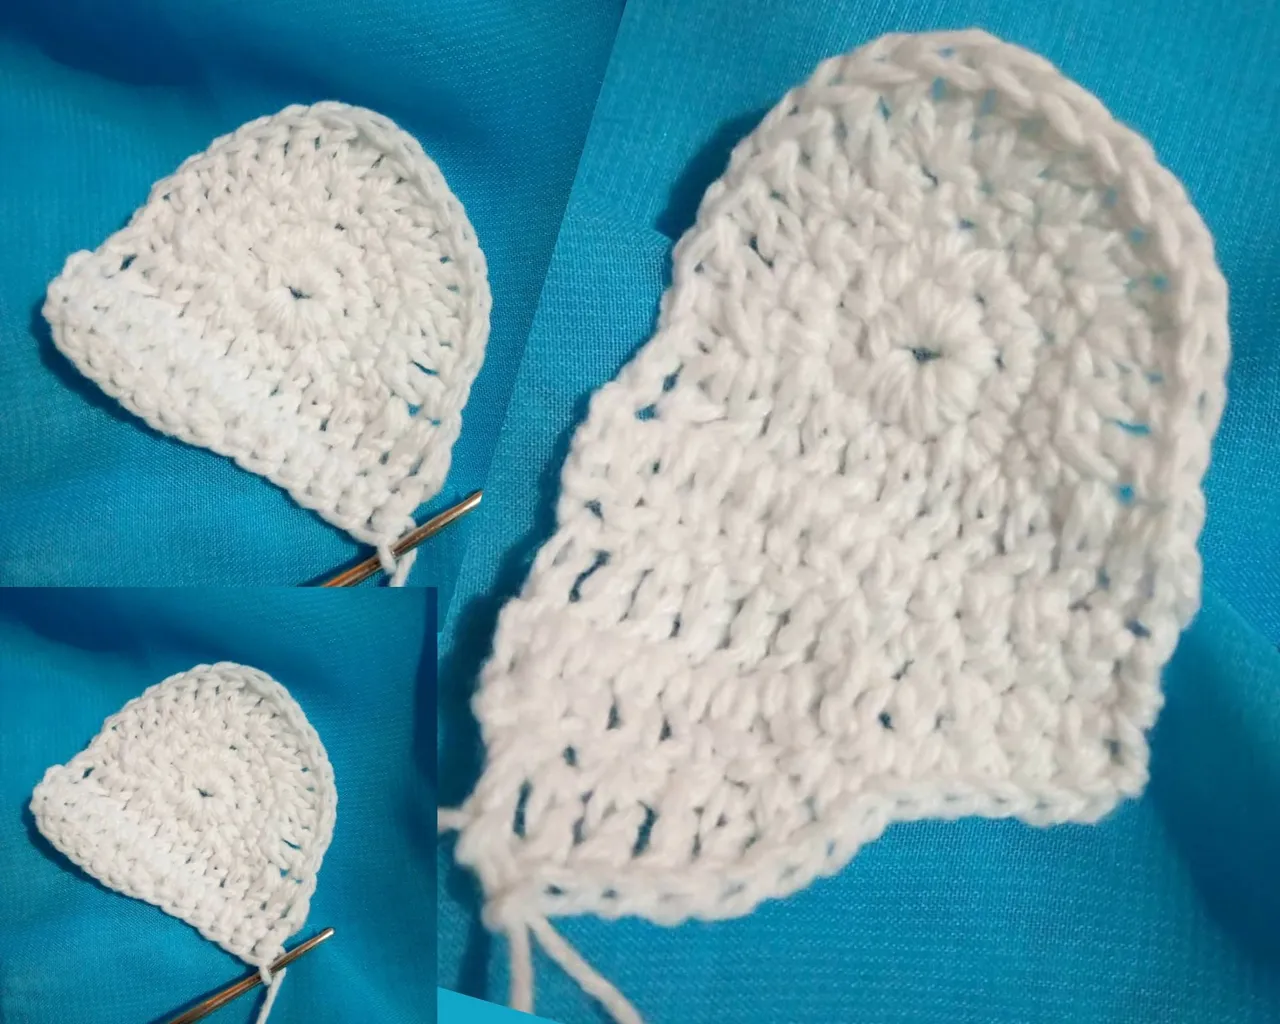
I started with a magic ring and half stitches, as if I was going to knit a rug, I knitted rows 1 and 2, making increases as required by the fabric, when I reached the middle of row 3, I changed the stitch to Varetas and knitted horizontally the other half of row 3. From then on I continued knitting in rows, going back over the fabric to give shape to the body of the ghost.
When I reached row 6 I decided to knit half of it with varetas and the other half with stockinette stitch. This method I repeated in rows 7 and 8, this to give the shape of an elongated sheet.
For the arms I knitted two small ovals, following the same procedure as for the body of the ghost.

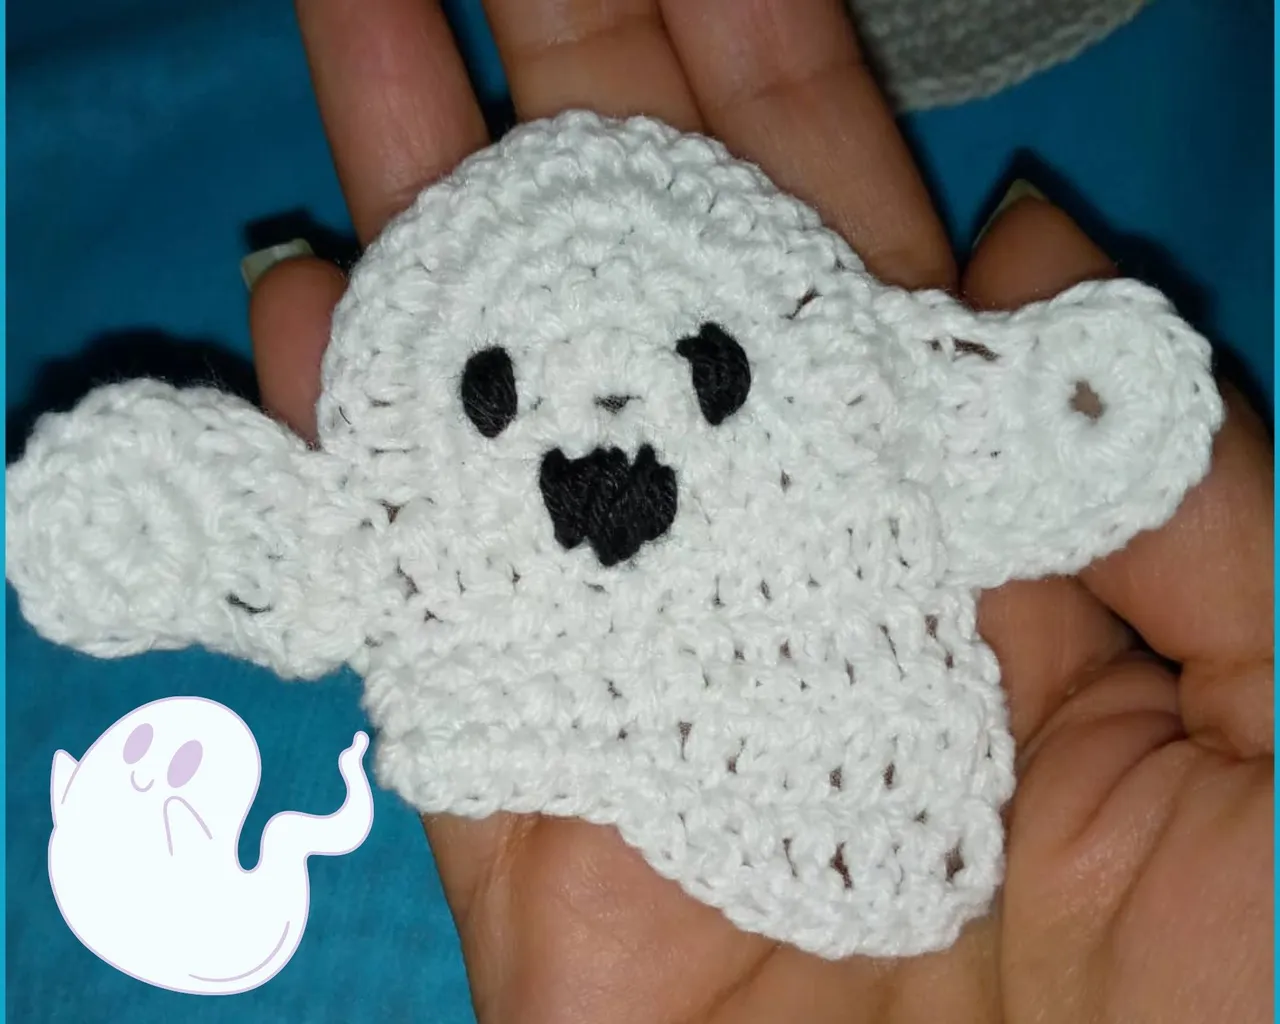
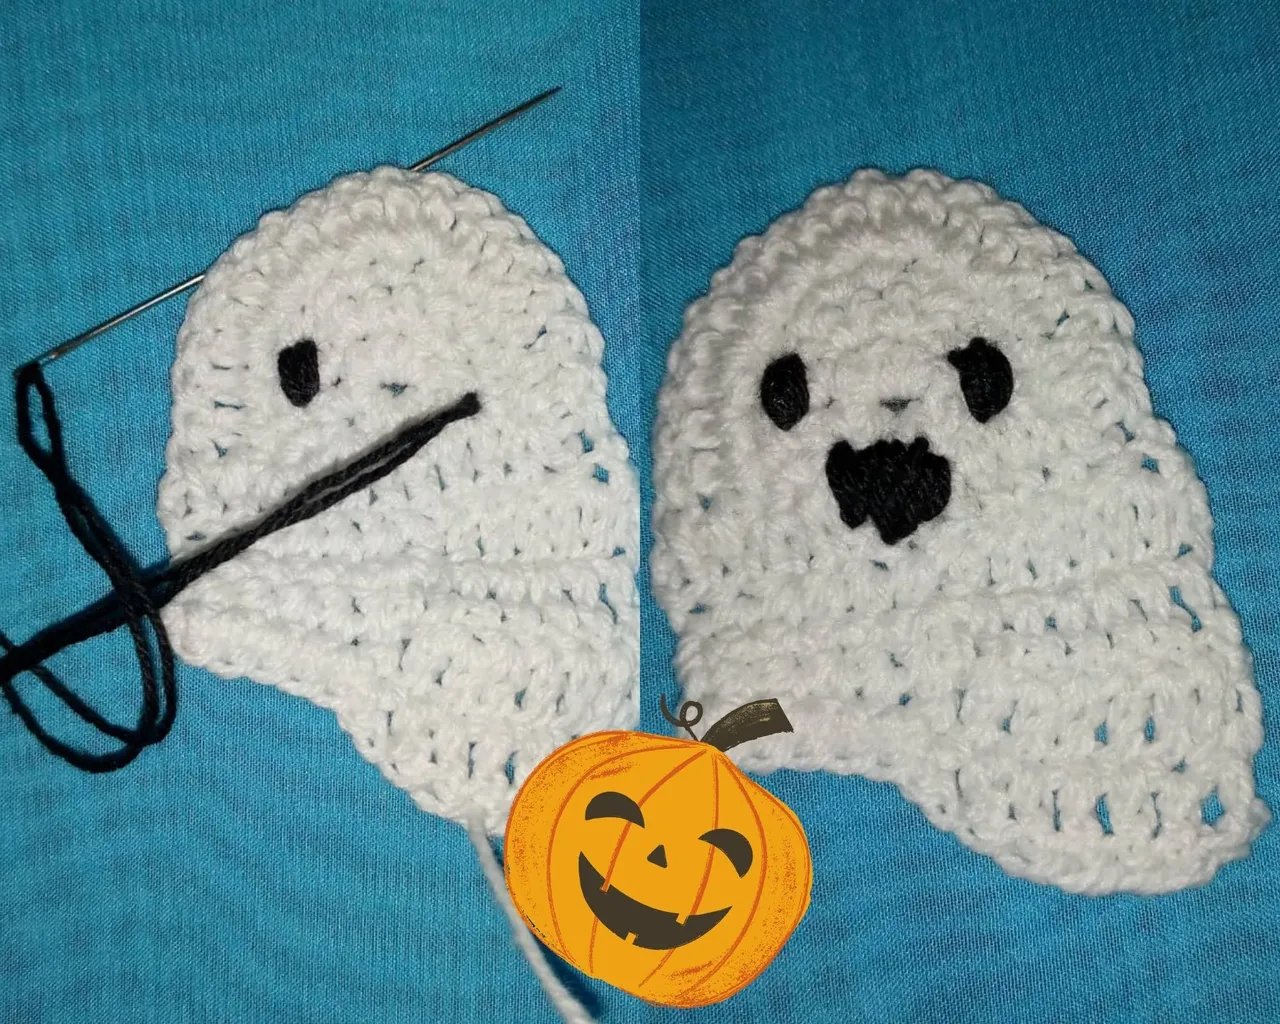
I joined all the pieces together with a wool needle and white thread. I embroidered the eyes and mouth with black thread. It was very easy to do!!!!
All photos are my own taken with my Tecno Spark cell phone and edited with Canva.Com //
I used the free version of Deepl.com as a translator.
AHORA EN ESPAÑOL
Seguimos con el reto de @irenenavarroart, ya voy por el día 2, si se puede!!
Si quieres saber de qué trata pincha en enlace: Halloween y anímate a participar.
Esta vez elegí un muñeco fácil, el fantasma. Elaborado en color blanco, lo que mis ojos agradecieron y al ser representado por una sábana, fue muy sencillo de hacer.
Qué significa el fantasma en Halloween?
Resulta que estos fantasmas caracterizan a los difuntos que vagan por la tierra la noche de Halloween. Aunque hoy en día los fantasmas son representados por figuras adorables, tiernas sábanas con ojos y sonrisas, no dan tanto miedo. Pero en un pasado, estos fantasmas eran representados por figuras grotescas, de los que debíamos huir si no queríamos ser parte del otro mundo. Realmente daban pesadillas o por lo menos a mí me daba miedo y pesadillas, al punto de no poder dormir.
Por cierto, el gato negro, publicado en el post del día 1, representa a las brujas que para pasar desapercibidas, se disfrazan de gatos y vagan por la tierra. De ahí la superstición que es de mala suerte conseguirse con un gato negro.
Los Materiales y Proceso de elaboración
Para tejer al tierno fantasma utilicé Hilos negro y blanco. Aguja de ganchillo N° 2, aguja lanera e hilo para unir las piezas.
Comencé con un anillo mágico y medios puntos, como si fuese a elaborar un tapete, tejí las vueltas 1 y 2, haciendo aumentos según lo requiriera el tejido, al llegar a la mitad de la vuelta 3, cambié el punto a Varetas y tejí en forma horizontal la otra mitad de la vuelta 3. De ahí en adelante seguí tejiendo en filas, regresando sobre el tejido para dar forma al cuerpo del fantasma.
Al llegar a la fila 6 decidí tejer la mitad con varetas y la otra mitad con medio punto. Método que repetí en las vueltas 7 y 8, esto para dar la forma de sabana alargada.
Para los brazos tejí dos óvalos pequeños, siguiendo el mismo procedimiento que para el cuerpo del fantasma.
Uní todas las piezas con una aguja lanera e hilo blanco. Lo ojos y la boca los bordé con hilo negro. Fue muy fácil de hacer!!!!
Todas las fotos son propias tomadas con mi celular Tecno Spark y editadas con Canva.Com //
Utilicé la versión gratuita de Deepl.com como traductor.