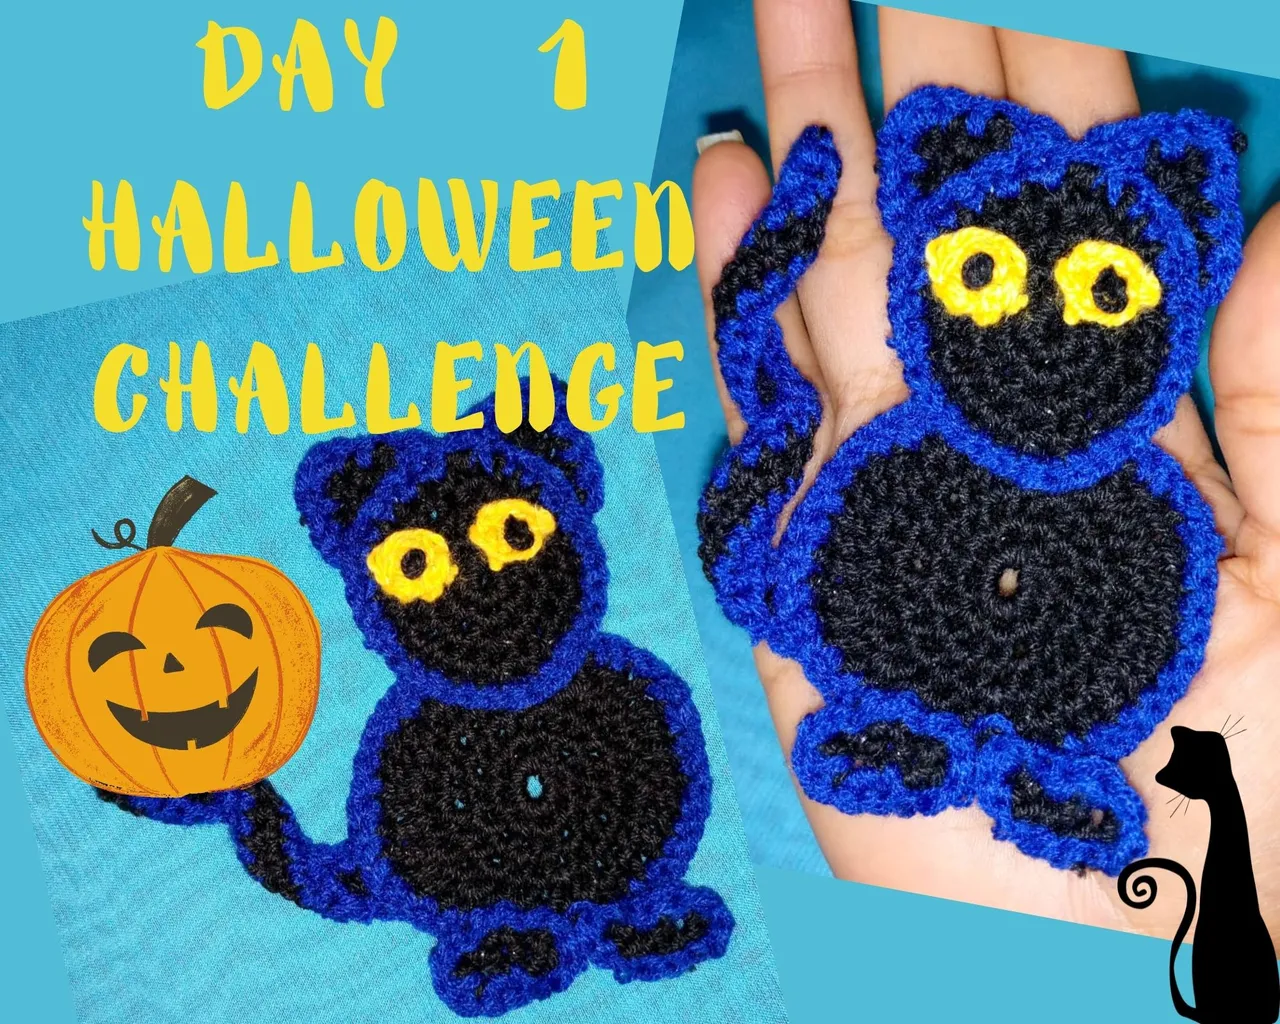
Last Monday @irenenavarroart invited us to join the Halloween Challenge, if you want to know what it is about, here is the link so you can participate, it's going to be a very fun week. 😼
By the way, that same Monday, in my post, I had commented that for me Halloween was going to go under the table, as I'm headlong into my Christmas ornaments project that I'm going to give to my clients.
But after reading @irenenavarroart's post, I said to myself: "Come on, I can do it, they are small projects", besides being a great opportunity to complete my challenge of making posts for a month uninterrupted and thus earn the band that @hivebuzz gives to those who have fulfilled the rules of publication.
First things first, what is Halloween? 🎃
The word Halloween comes from the phrase All Hallow's Eve and has its roots in a Celtic festival whose origins go back more than 3 thousand years. It is celebrated on the last day of October, that is, the celebration will occur next Sunday 31, the final day of our challenge.
It was believed that the souls of the dead return to visit their homes, something that is very similar to the Day of the Dead celebrated in Mexico. It was also believed that people who had died during the year traveled to the other world.
Today Halloween is a costume party, where people decorate their homes and offices, have parties and hand out candy. Above all, it is a party or celebration for children. I'm going to tell you a secret, until last year in the #makeuppower community I did a makeup allusive to the date. It was so funny to be able to do my makeup, it was something I had always wanted to do.
My project 🎃
I am a fan of knitting amigurumis, but being a daily challenge, it is impossible for me to have a amiguruimi ready per day, so I decided to make the images in 2D, without depth. On the last day of the challenge, that is, on Halloween, I will show the final project with all the amigurumis I have knitted. I think it's going to look nice, or at least that's what I saw in my imagination.
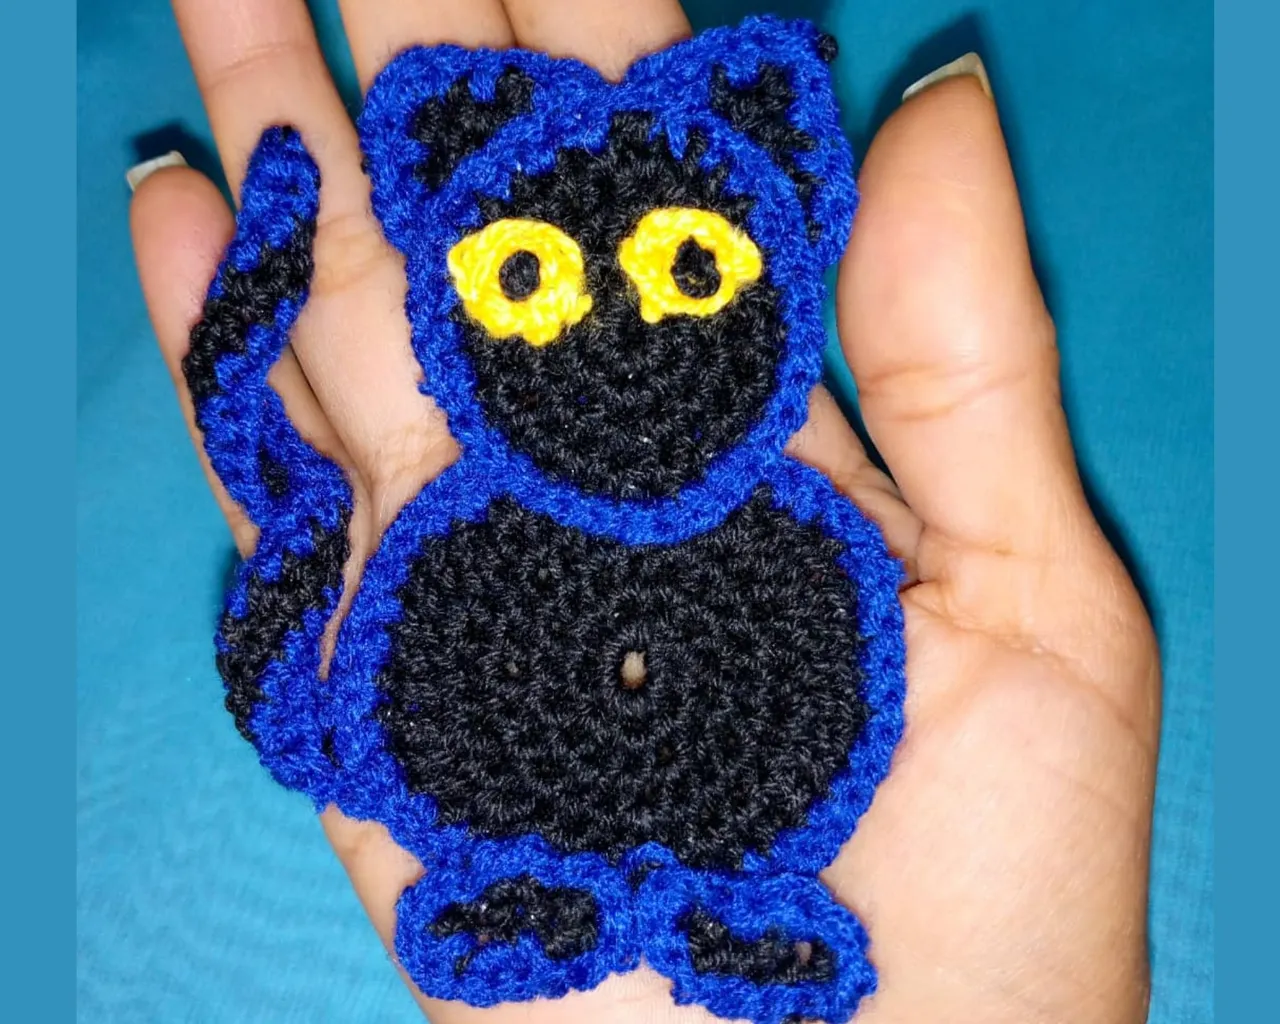
I started with the BLACK CAT. I wear glasses, so I have an additional challenge. Knitting with dark colors, like black, makes my eyes tired, I can't see where to put the needle, hahaha, it's quite an issue to be able to knit, so I decided to start with what I think is the most difficult, although to tell the truth, in the project I'm going to use a lot of black and dark blue.
I'm making a drawing of what I want to do, it's a bit ambitious considering the time and the dark colors, but I think I'll achieve something. I suck at drawing, so in a next post I will show you my drawing hahaha, I will try to improve it.
The Materials and Process of elaboration 🎃
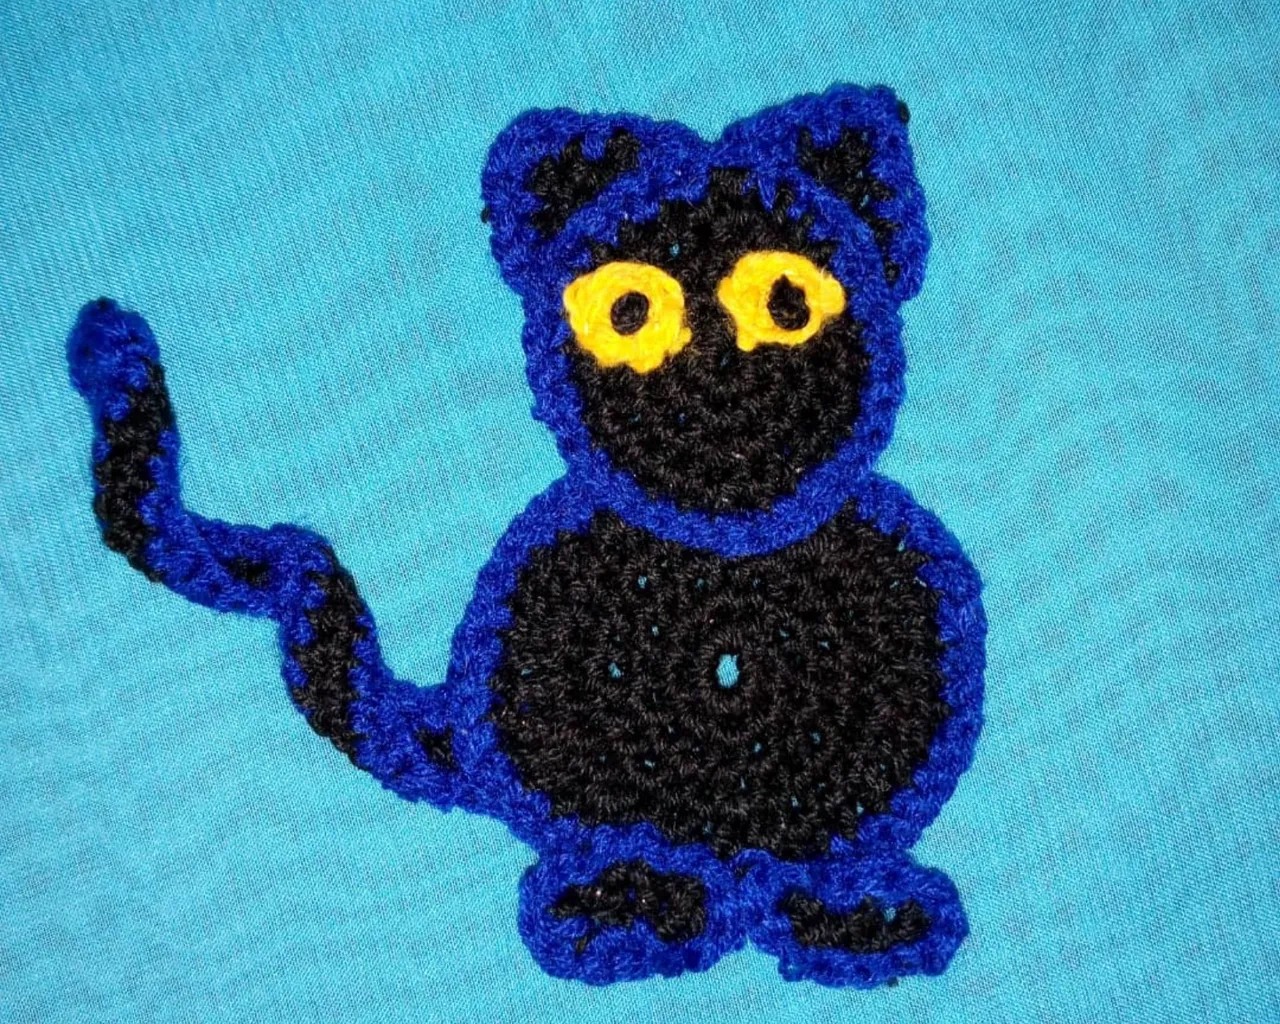
To knit the Black Cat I used: Black, dark blue and yellow yarn. Crochet needle N° 2, needle and nylon thread to join the pieces.
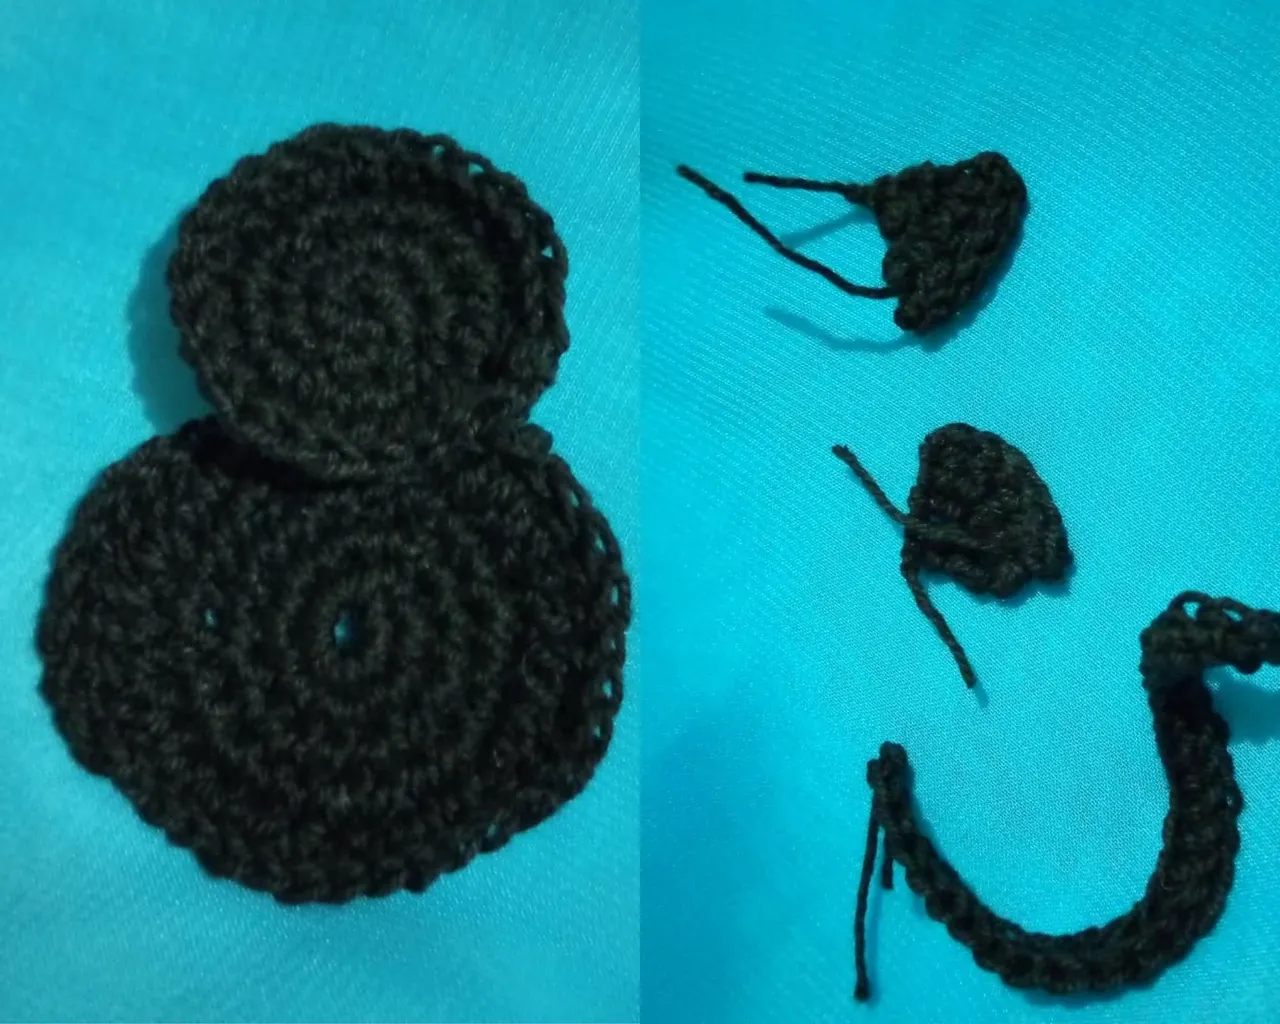
The whole body of the cat was made with black yarn. I started by knitting two oval shapes, one larger than the other, which would shape the body and the head. I knitted in a spiral pattern and made increases as I saw fit until I reached the desired size.
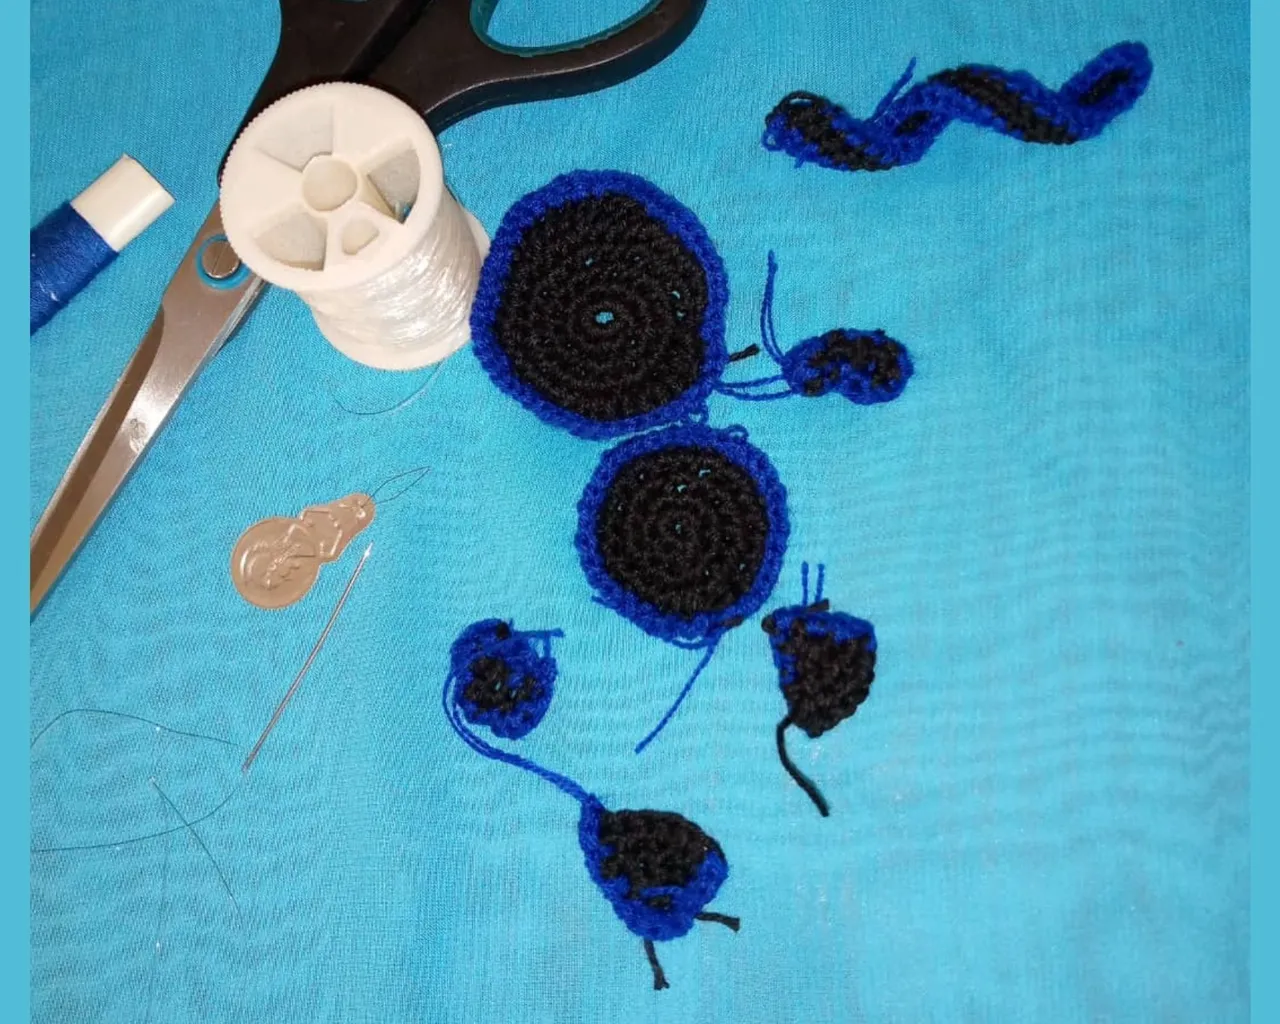
For the ears I knitted two triangles, making increases until I reached the desired size. The paws were knitted with half stitches and closed stitches, to give some air to the claws. As for the tail, I knitted chain stitches and then went back to knitting half stitches.
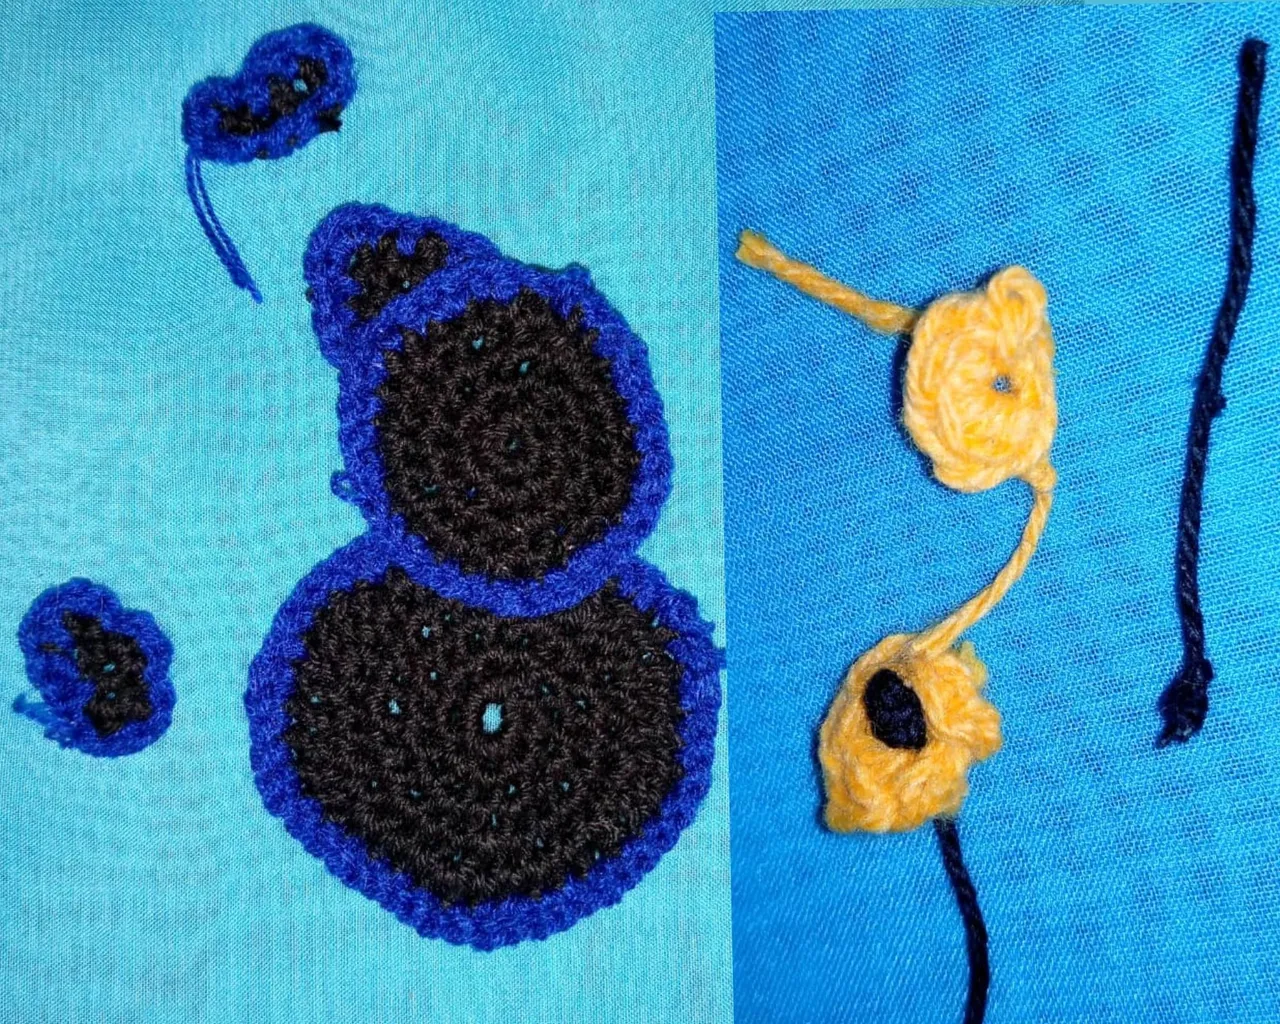
To all the shapes I knitted a last round in blue, the idea is to highlight it from the background where I will finally put it. I knitted the eyes in yellow and with black thread I made a knot and placed it in the center, giving the shape of the iris. Finally I joined all the pieces together with needle and nylon thread.
All photos are my own taken with my Tecno Spark cell phone and edited with Canva.Com //
I used the free version of Deepl.com as a translator.
Source: El Financiero
AHORA EN ESPAÑOL
El lunes pasado @irenenavarroart nos invitó a unirnos al reto Halloween, si quieres saber de qué trata, aquí te dejo el enlace para que puedas participar, va a ser una semana muy divertida. 🎃
Por cierto, ese mismo lunes, en mi post, había comentado que para mí Halloween iba a pasar por debajo de la mesa, pues estoy metida de cabeza con mi proyecto de adornos navideños que voy a regalar a mis clientes.
Pero luego de leer el post de @irenenavarroart, me dije: “Vamos que si puedo, son proyectos pequeños”, además de ser una gran oportunidad para completar mí reto de hacer publicaciones por un mes ininterrumpido y así ganarme la banda que @hivebuzz otorga a quienes han cumplido las reglas de publicación.
Primero lo primero, qué es Halloween?🎃
La palabra Halloween proviene de la frase All Hallow's Eve (Víspera de Todos los Santos) y tiene sus raíces en un festival Celta cuyos orígenes se remontan a hace más de 3 mil años. Se celebra el último día de Octubre, es decir, la celebración ocurrirá el próximo domingo 31, día final de nuestro reto.
Se creía que las almas de los muertos vuelven para visitar sus hogares, algo que tiene mucho parecido al día de muertos que se celebra en México. También se creía que las personas que habían muerto durante el año viajaban al otro mundo.
Hoy en día Halloween es una fiesta de disfraces, donde la gente decora sus casas y oficinas, hacen fiestas y reparten caramelos. Sobre todo es una fiesta o celebración para niños. Yo les voy a contar un secreto, hasta el año pasado en la comunidad de #makeuppower me hice un maquillaje alusivo a la fecha. Fue muy gracioso poderme maquillar, era algo que siempre había querido hacer.
Mi proyecto🎃
Soy una fanática de tejer amigurumis, pero al ser un reto diario, es imposible para mí tener listo un amiguruimi por día, así que decidí hacer las imágenes en 2D, sin profundidad. El último día del reto, es decir, el día de Halloween mostraré el proyecto final con todos los muñecos que he tejido. Creo que va a quedar bonito, o por lo menos eso vi en mi imaginación.
Comencé con el GATO NEGRO. Utilizo lentes, así que tengo un reto adicional. Tejer con colores oscuros, como el negro, me fatiga la vista, no veo donde meter la aguja, jajaja, es todo un tema poder tejer, así que decidí comenzar con lo que creo es lo más difícil, aunque a decir verdad, en el proyecto voy a utilizar mucho el color negro y azul oscuro.
Estoy haciendo un dibujo con lo que quiero hacer, es un poco ambicioso considerando el tiempo y los colores oscuros, pero creo que algo lograré. Soy malísima dibujando, así que en un próximo post les voy a mostrar mi dibujo jajaja , voy a tratar de mejorarlo.
Los Materiales y Proceso de elaboración🎃
Para tejer a la Gata Negra utilicé: Hilos negro, azul oscuro y amarillo. Aguja de ganchillo N° 2, aguja e hilo de nylon para unir las piezas.
Todo el cuerpo del gato fue elaborado con hilo negro. Comencé tejiendo dos formas ovaladas, una más grande que la otra, que darían forma al cuerpo y a la cabeza. Tejí en forma de espiral e hice aumentos según consideré hasta alcanzar el tamaño deseado.
Para las orejas tejí dos triángulos, dando aumentos hasta alcanzar el tamaño deseado. Las patitas fueron tejidas con medio puntos y puntos cerrados, para dar cierto aire a las garras. En cuanto a la cola, tejí cadenetas y luego me devolví tejiendo medio puntos.
A todas las formas les di una última vuelta en color azul, la idea es resaltarlo del fondo donde finalmente lo voy a poner. Los ojos los tejí en amarillo y con hilo negro hice un nudo y coloqué en el centro, dando la forma del iris. Finalmente todas las piezas las uní con aguja e hilo de nylon.
Todas las fotos son propias tomadas con mi celular Tecno Spark y editadas con Canva.Com //
Utilicé la versión gratuita de Deepl.com como traductor.
Fuente: El Financiero