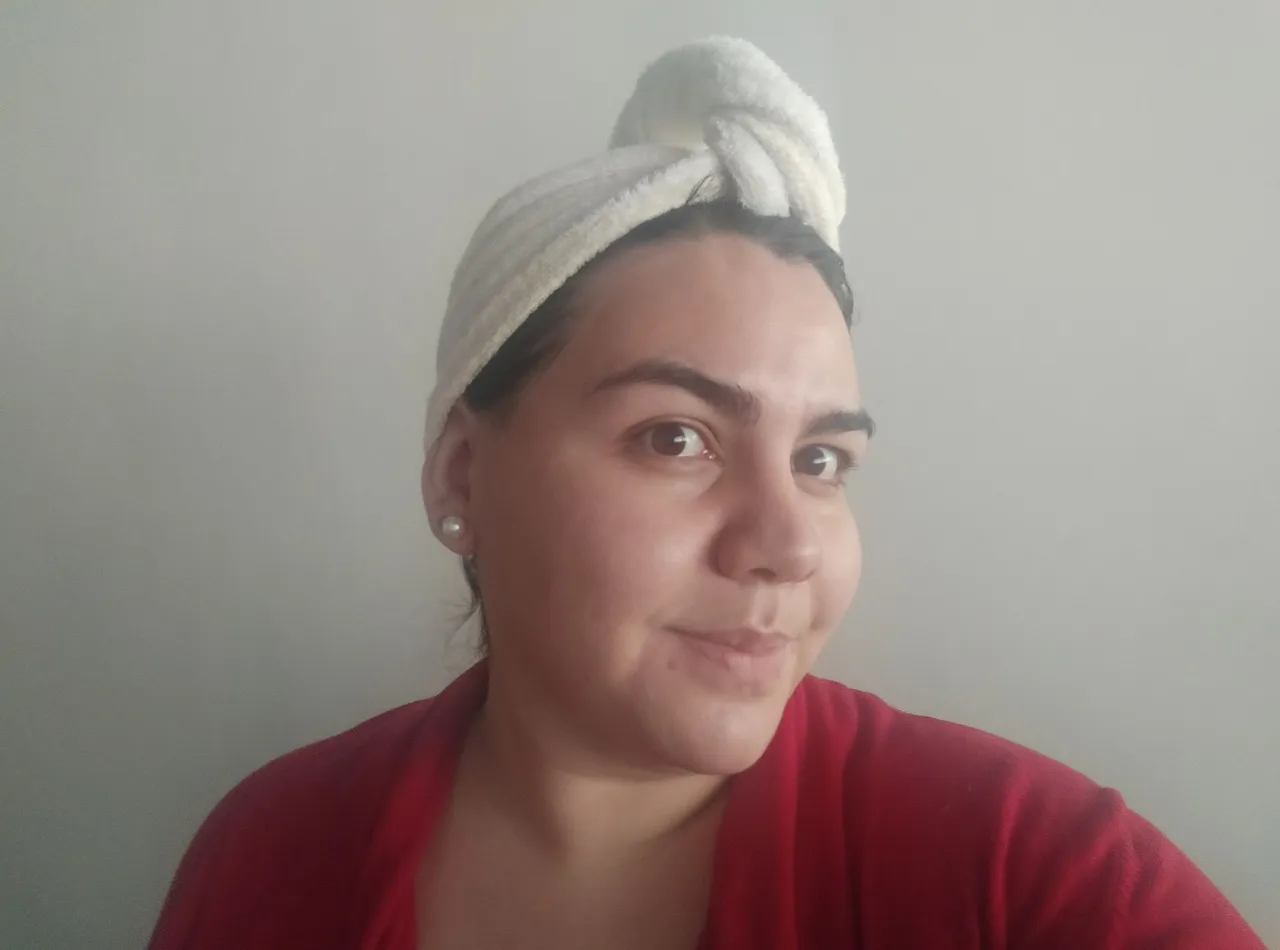
Hello #needleworkmonday friends today I want to show you how to make the most useful tool I have in my closet and it is this hair turban in towel fabric ideal for drying hair and prevent our clothes from getting wet while with our hair.
Hola amigos de #needleworkmonday hoy les quiero enseñar a confeccionar la herramienta más útil que tengo en mi closet y es este turbante para el cabello en tela de toalla ideal para secar el cabello y evitar que nuestra ropa se humedezca mientras con nuestro cabello.
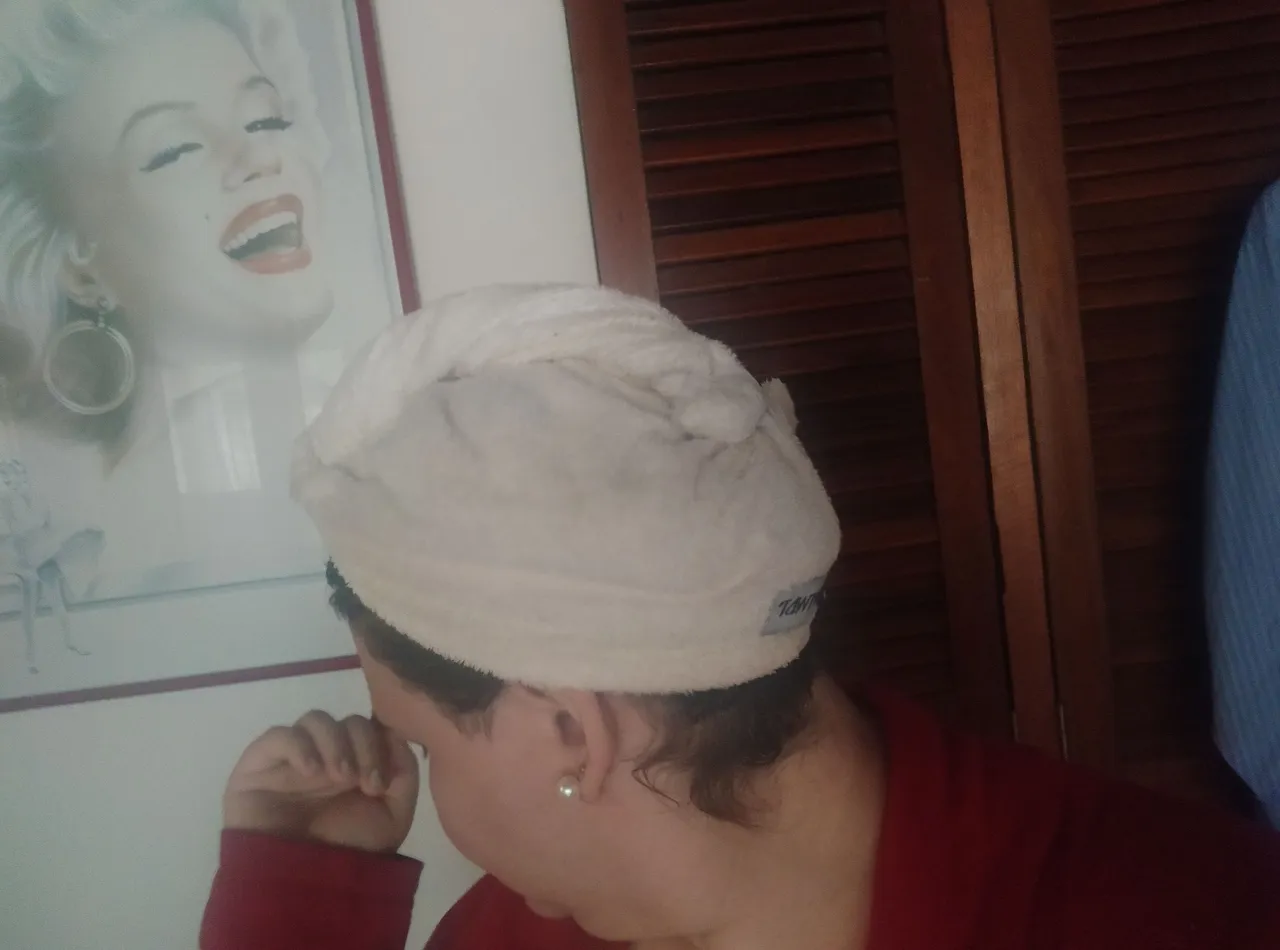
I had never used this type of hair towel until one Christmas when I was given the turban I used to make the pattern as a gift. At first I had no idea how to use it, but as soon as I discovered how it worked I started to use it every time I washed my hair, because it allowed my wet hair to dry with the towel cloth and at the same time prevented my clothes from getting wet.
Jamás había utilizado este tipo de toallas para el cabello hasta una navidad que me dieron el turbante que utilice para hacer el patrón como regalo. Al principio no tenía ni idea de como se utilizaba, pero a penas descubrí como funcionaba lo comencé a utilizar cada vez que lavaba mi cabello, porque permitía que mi cabello mojado se fuera secando con la tela de toalla y a la vez evitaba que mi ropa terminara mojada.
I have used this turban so many times that the fabric has already started to stain and wear out, especially because I have used it after painting my hair, so I decided to make another one so I could exchange them when one of them was dirty.
Este turbante lo he utilizado tantas veces que ya la tela ha comenzado a mancharse y a desgastarse, en especial, porque lo he utilizado luego de pintar mi cabello, por eso decidí hacer otro y así poder intercambiarlos cuando uno de ellos estuviese sucio.
Making this turban is very easy, even if you don't have a model as in my case. In this tutorial I will give you the measurements so you can replicate it without any inconvenience.
Hacer este turbante es sumamente fácil, incluso si no tienes uno de modelo como es mi caso. En este tutorial te dejaré las medidas para que puedas replicarlo sin mayor inconveniente.
This turban can be made with fabric from a towel that you no longer use, you don't necessarily have to buy fabric to make it. But if you don't have any fabric that you want to recycle, half a meter of towel fabric is enough. You could buy microfiber fabric that according to some specialists does not mistreat the hair so much.
Este turbante puedes realizarlo con tela de alguna toalla que ya no utilices, no necesariamente debes comprar tela para confeccionarlo. Pero si no tienes ninguna tela que quieras reciclar, con medio metro de tela para toallas es suficiente. Podrías comprar tela de microfibra que de acuerdo a algunos especialistas no maltrata tanto el cabello.
The first thing you should do is fold the fabric in half forming a rectangle, as I always say, with the right side of the fabric facing inwards, that is, with the right sides facing each other.
If it is easier for you to have a guide, you can help yourself with fabric chalk, drawing the pattern before cutting the fabric.
Lo primero que debes hacer es doblar la tela a la mitad formando un rectángulo, como siempre les digo, con el derecho de la tela hacia dentro, es decir, que los derechos se enfrenten.
Si para ti es mas fácil tener una guía, puedes ayudarte con tiza para tela, dibujando el patrón antes de cortar la tela.
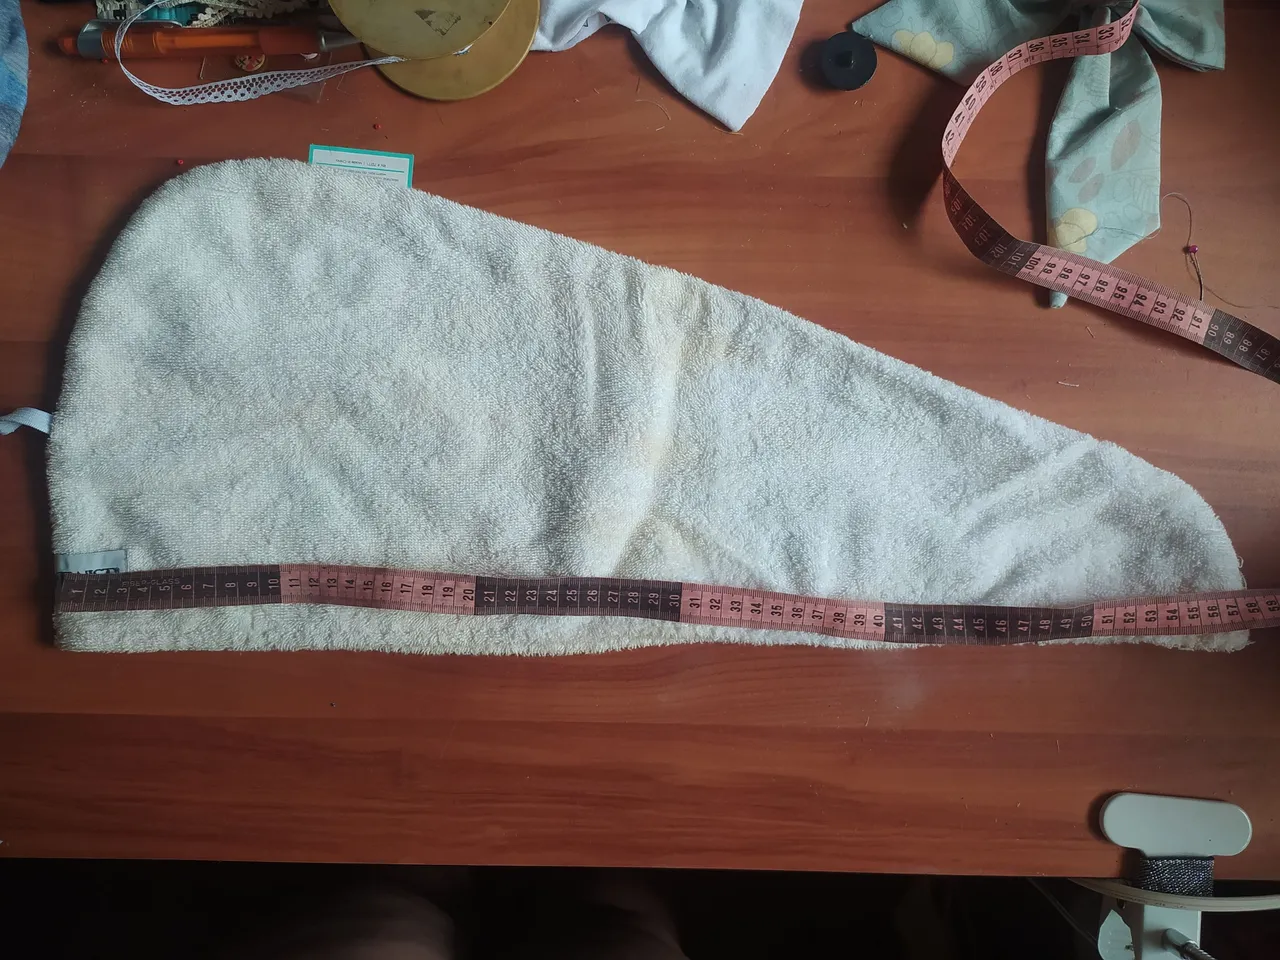
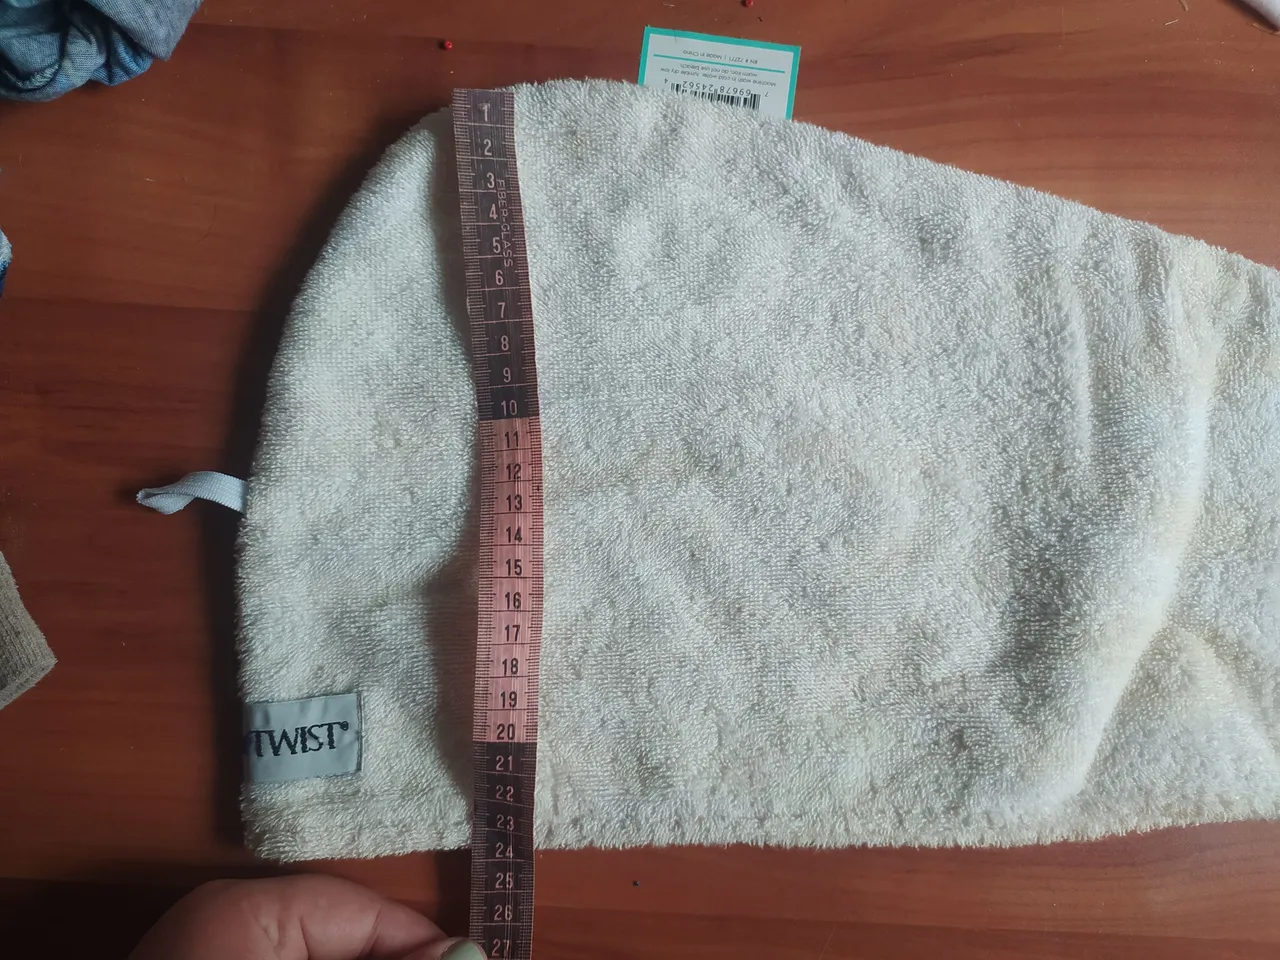
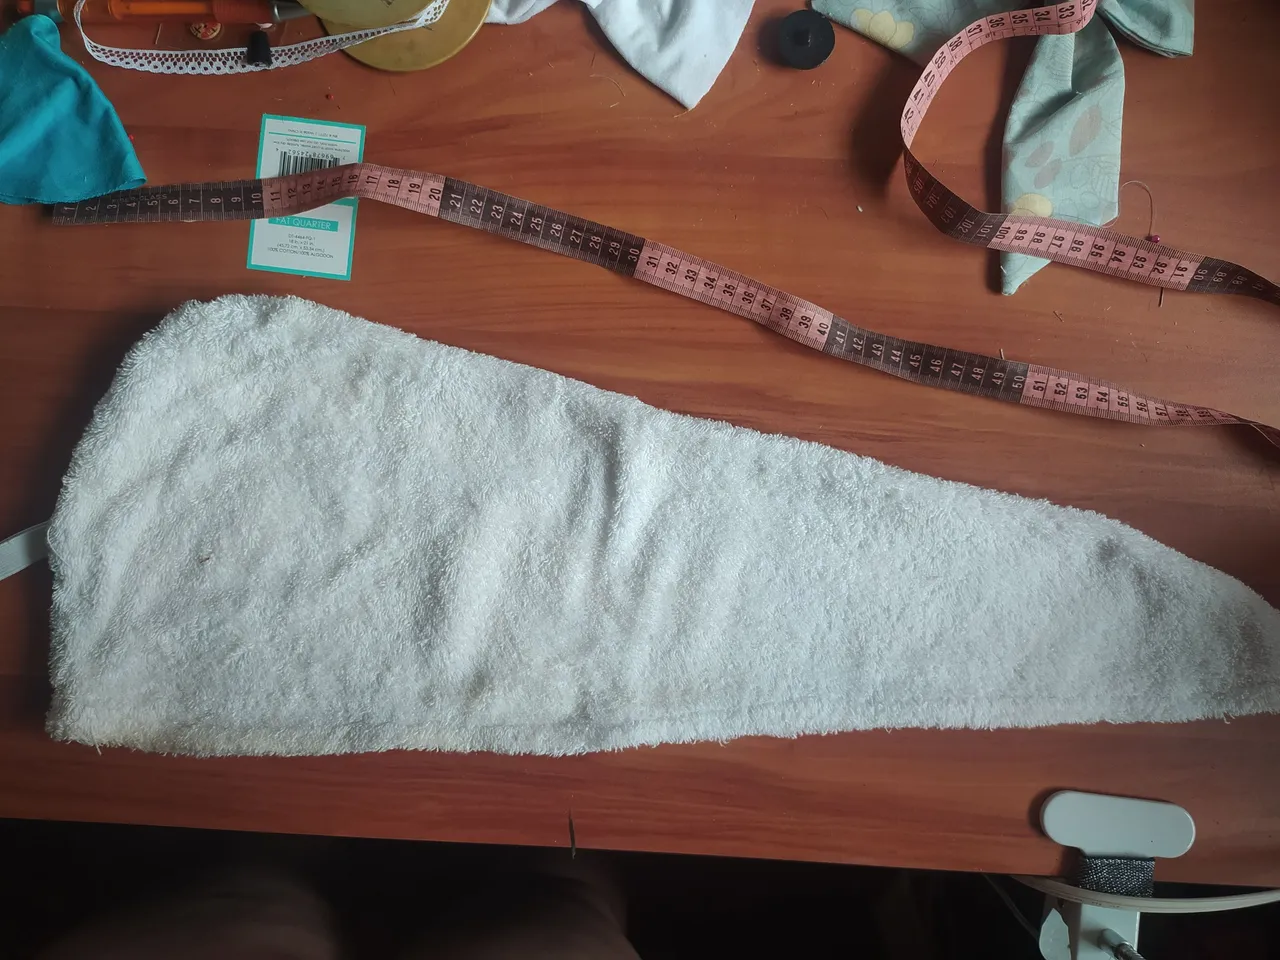
In this case it is not necessary to be guided by the drape of the fabric, unless it has a pattern that you need to take care of. To make the pattern, we will measure the longest side of the rectangle 60 centimeters, on one side we will draw a vertical line of about 28 centimeters long, and at the other end we will make a vertical line of about 8 centimeters. We will join by drawing a horizontal line from my highest line to my lowest line.
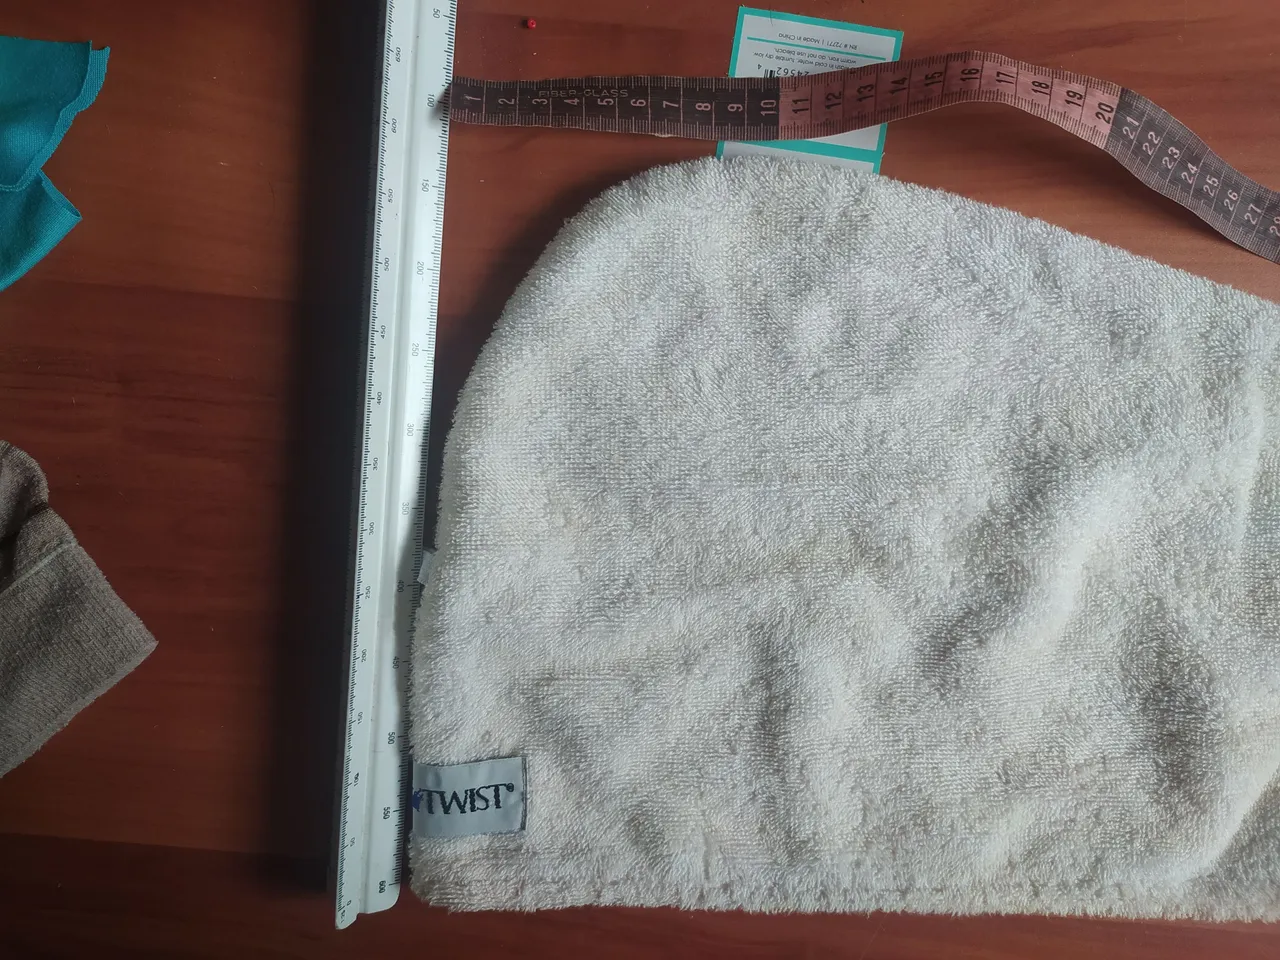
Once our figure is formed, at the top of the highest end we will form a slight curvature, for which we will measure about 6 centimeters inwards of the turban, while at the shorter end we will reduce the width of the top by 2 centimeters.
En este caso no es necesario guiarte por la caída de la tela, salvo que tenga algún estampado que debas cuidar. Para hacer el patrón, mediremos por el lado mas largo del rectángulo 60 centímetros, por uno de los lados trazaremos una linea vertical de unos 28 centímetros de largo, y en el otro extremo haremos una línea vertical de unos 8 centímetros. Uniremos trazando una línea horizontal desde mi línea más alta hasta mi línea más baja.
Una vez formada nuestra figura, en la parte superior del extremo más alto vamos a formar una ligera curvatura, para lo cual mediremos unos 6 centímetros hacía adentro del turbante, mientras que en el extremo más corto reduciremos 2 centímetros de ancho de la parte superior.
Once you have your drawing done, which can be either on the fabric or on a pattern paper, we are going to sew the sides and the top of the turban, that is, where the curvature is formed.
Una vez que tengas tu dibujo hecho, que bien puede ser sobre la tela o en un papel de patrón, vamos a coser los laterales y la parte superior del turbante, es decir, donde se forma la curvatura.
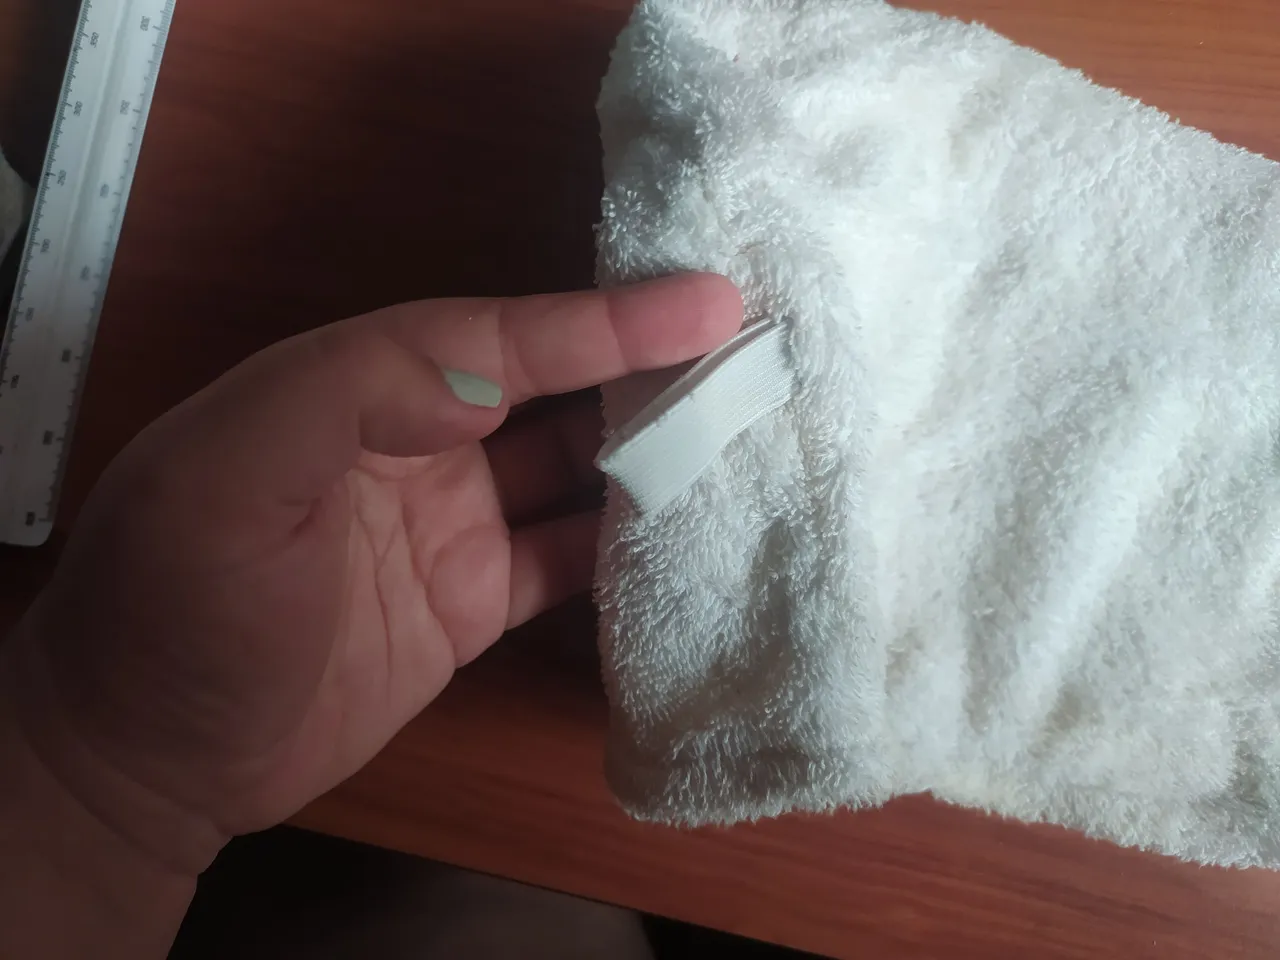
Before sewing the side of the highest part of the turban, we are going to place ourselves in the middle, we introduce a garter of the size that you consider more comfortable to hold the turban, (I used a thick garter of about 8 centimeters that folds in a U shape) As we are sewing with the right side facing in, that is to say the part of the fabric that will be visible is facing inwards, and the garter should be on the visible side, we are going to sew it inwards. If you look at my photo, the garter does not protrude when I have the turban upside down.
Antes de coser el lateral de la parte mas alta del turbante, vamos a ubicarnos en la mitad, introducimos una liga del tamaño que consideres sea más cómodo para sujetar el turbante, (yo utilice una liga gruesa de unos 8 centímetros que doble en forma de U) Como estamos cosiendo con el derecho hacia adentro, es decir la parte de la tela que quedará visible esta hacía adentro, y la liga debe quedar del lado visible, vamos a coserla hacia adentro. Si te fijas en mi foto no sobresale la liga cuando tengo el turbante al revés.
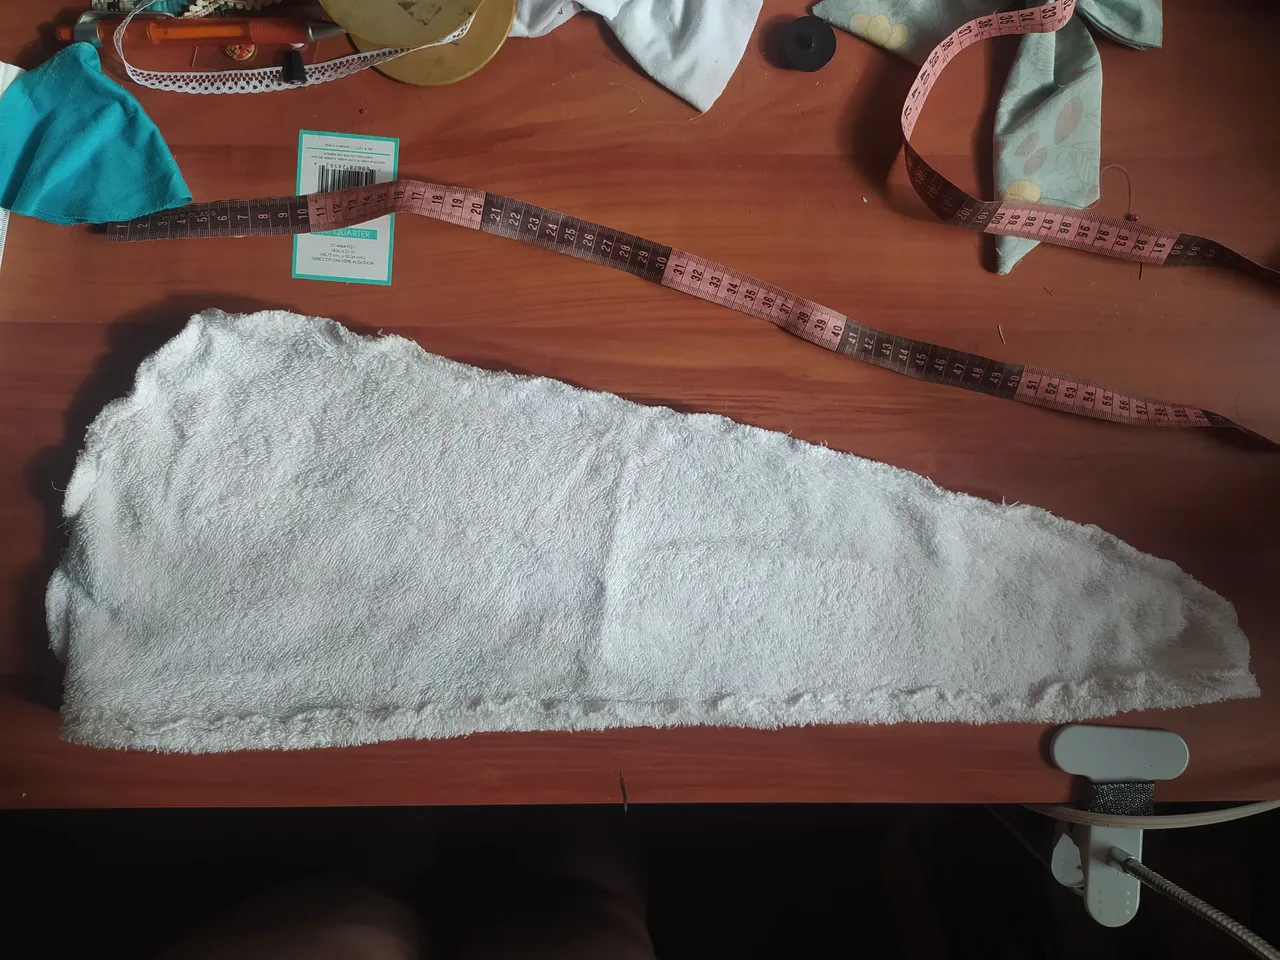
Lastly, I made a small hem because I found the cloth fabric to be too thick for the overlock machine and I didn't want to risk bending the needle or breaking the thread.
Por último, yo le hice un pequeño ruedo porque me pareció que la tela de paño es muy gruesa para la maquina overlock y no quise arriesgarme a doblar la aguja o a que se rompiera el hilo.
This type of sewing is quite easy if you are just starting out in sewing and it is also an extremely useful piece of sewing for our day to day life.
Este tipo de costuras son bastante fáciles si te estas iniciando en la costura y además resulta ser una pieza de costura sumamente útil para nuestro día a día.
I hope you are encouraged to sew this turban that will surely solve some daily problems hehehehe.
Espero te animes a coser este turbante que seguro te solucionará algunos problemitas diarios jejeje.