Hello friends, how are we all doing, hope we are doing great cause I am too.
So guys without talking much 😊 it’s a busy period for me lots of incomplete works with little pay 🥴 so am so stressed this period so anything I do, I make it as snappy as possible so I could get back to work.
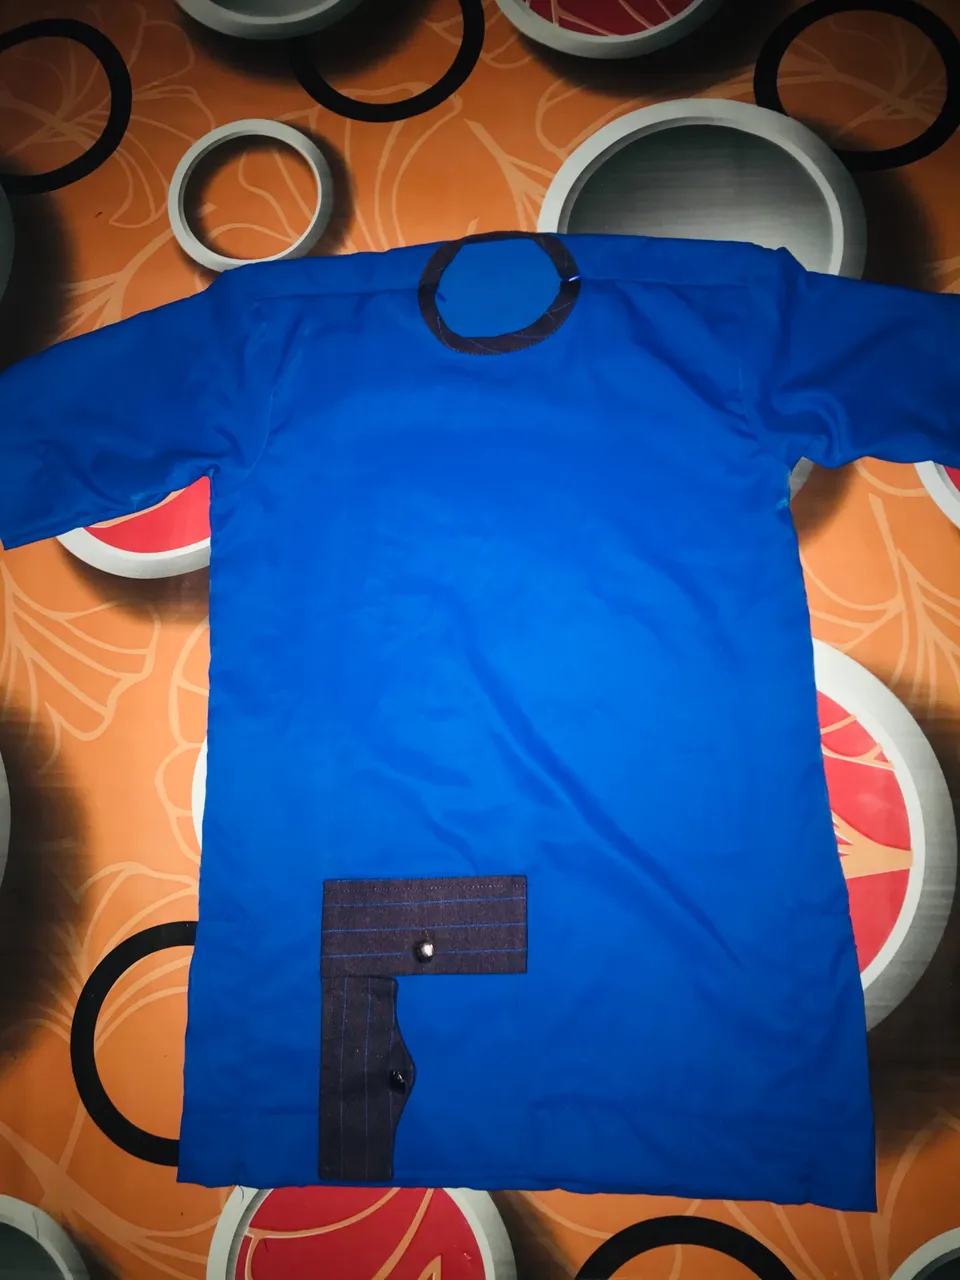
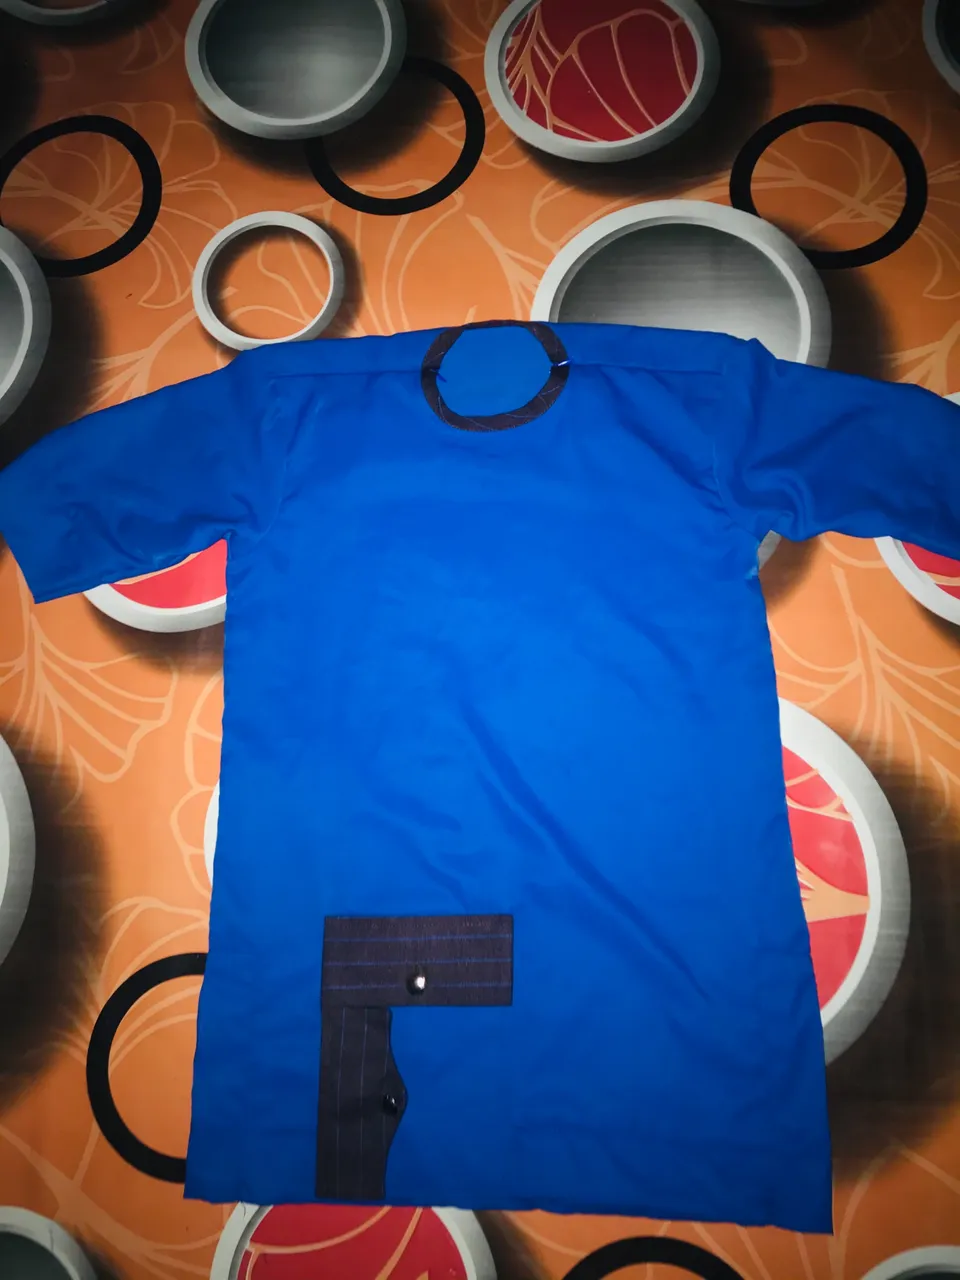
So friends I came to share with you all a very simple and lovely outfit I made for a little boy.
So friends Stay focused and enjoy the session.
Items I used:
- A blue fabric
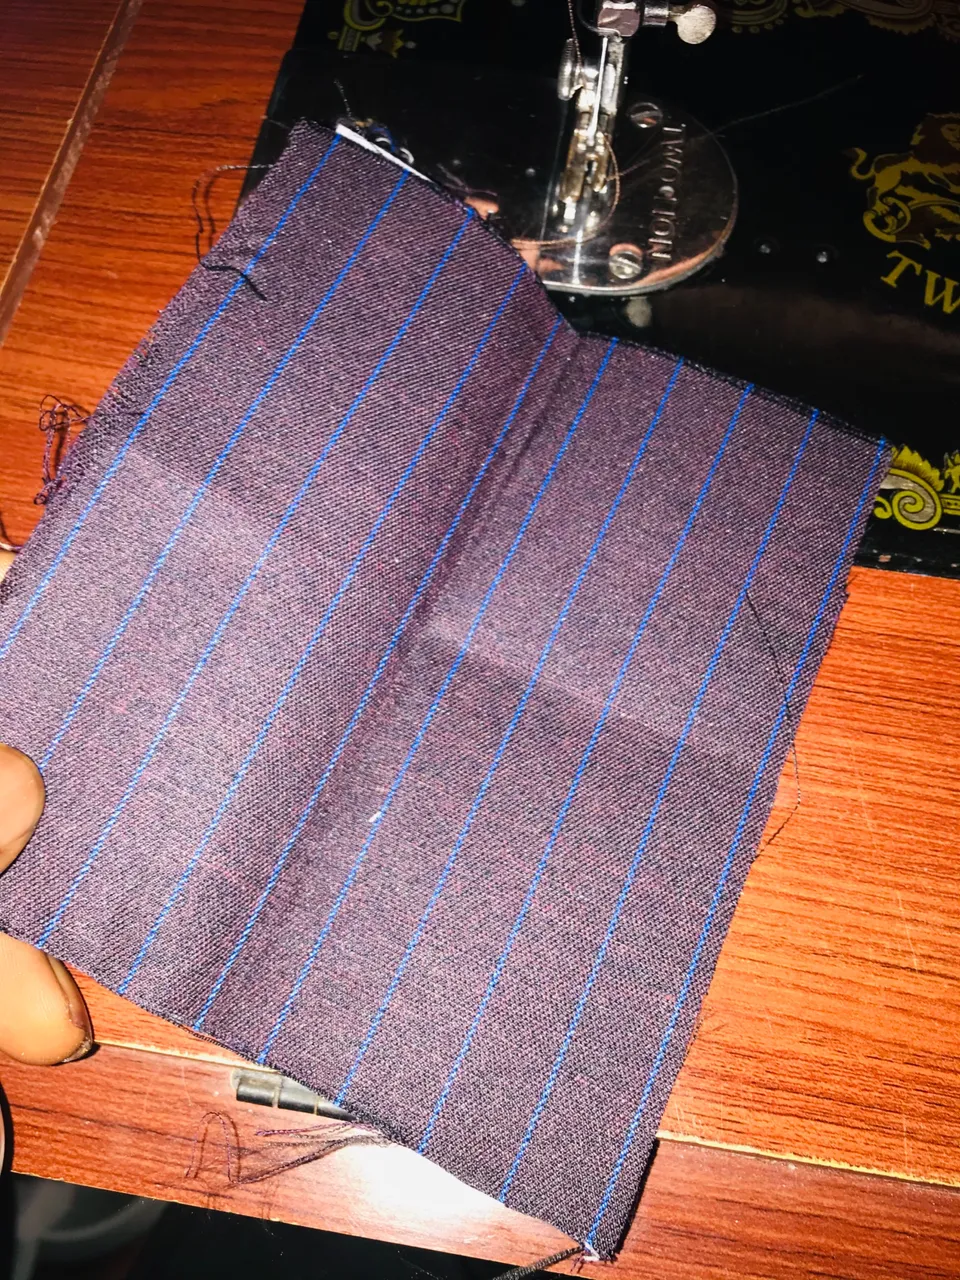
- A brown fabric striped with blue (combat)
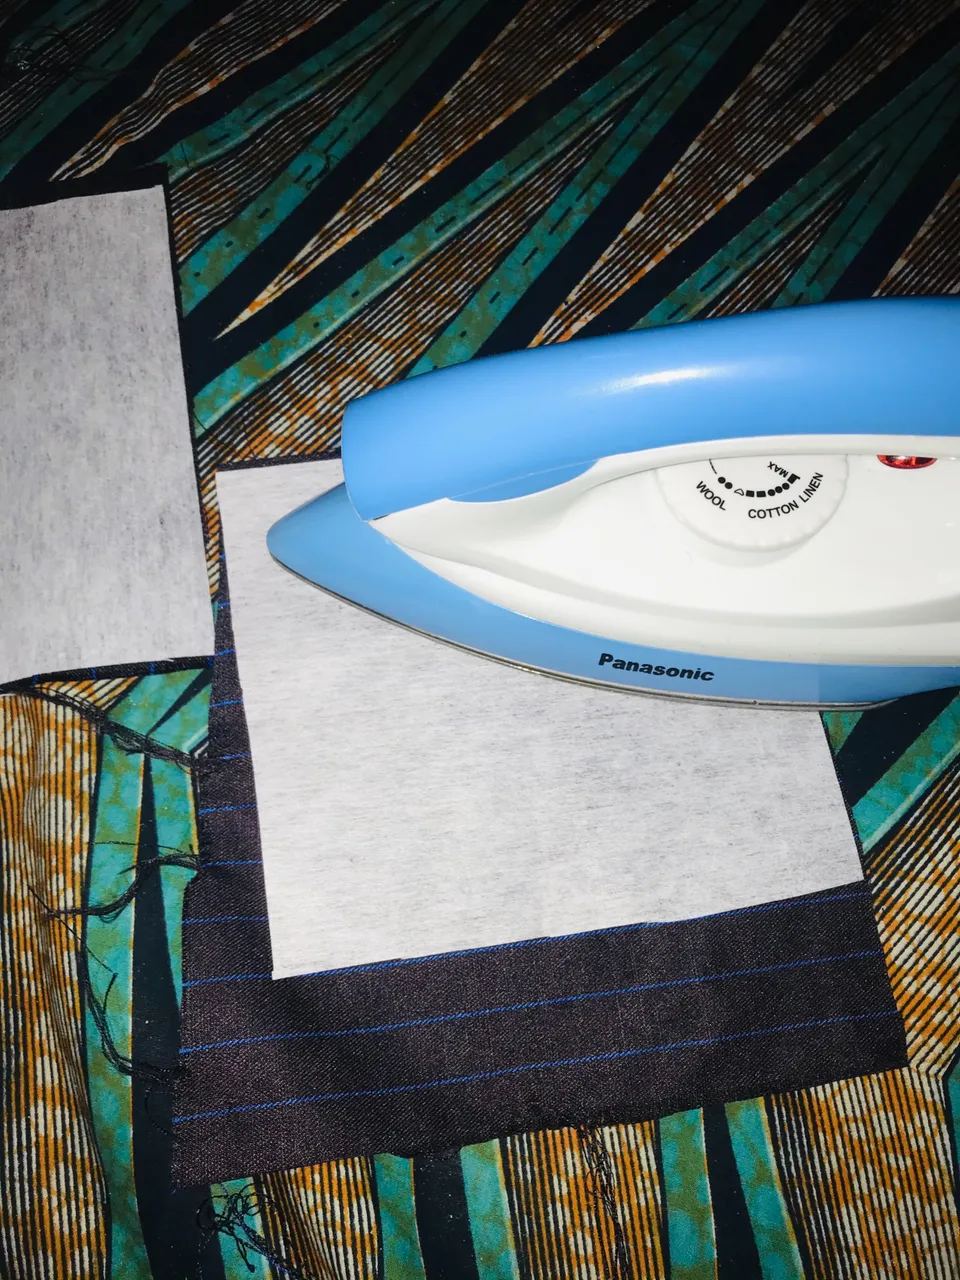
- Tissue gum
- 2 Readymade zip
- Paper gum
My sewing processes:
Step 1:
After my cutting, I ironed out a straight line as usual to indicate the middle so with that line I could be guilds when designing so I won’t end up making a design that’s not straight.
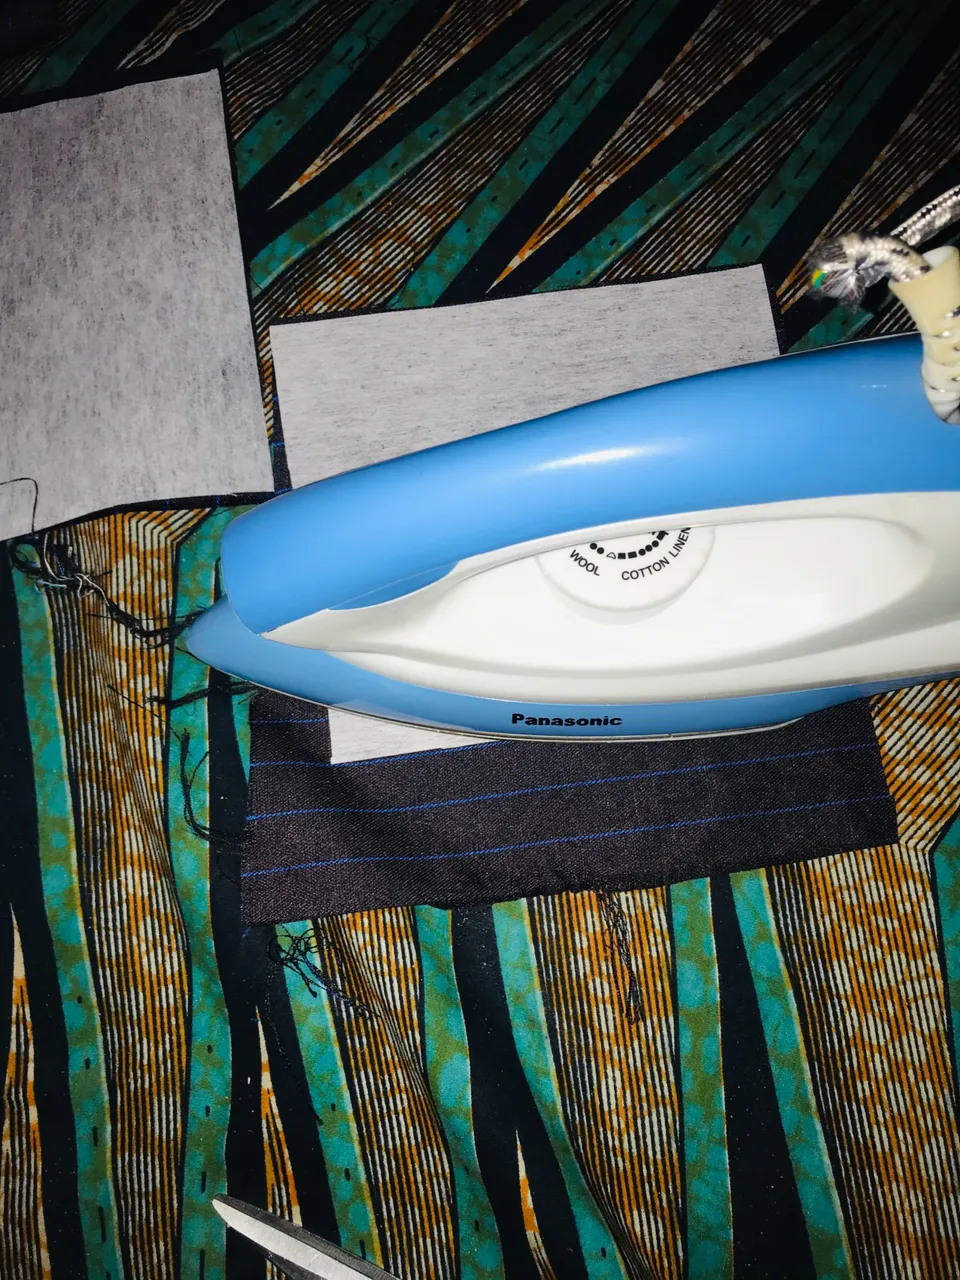
Step 2:
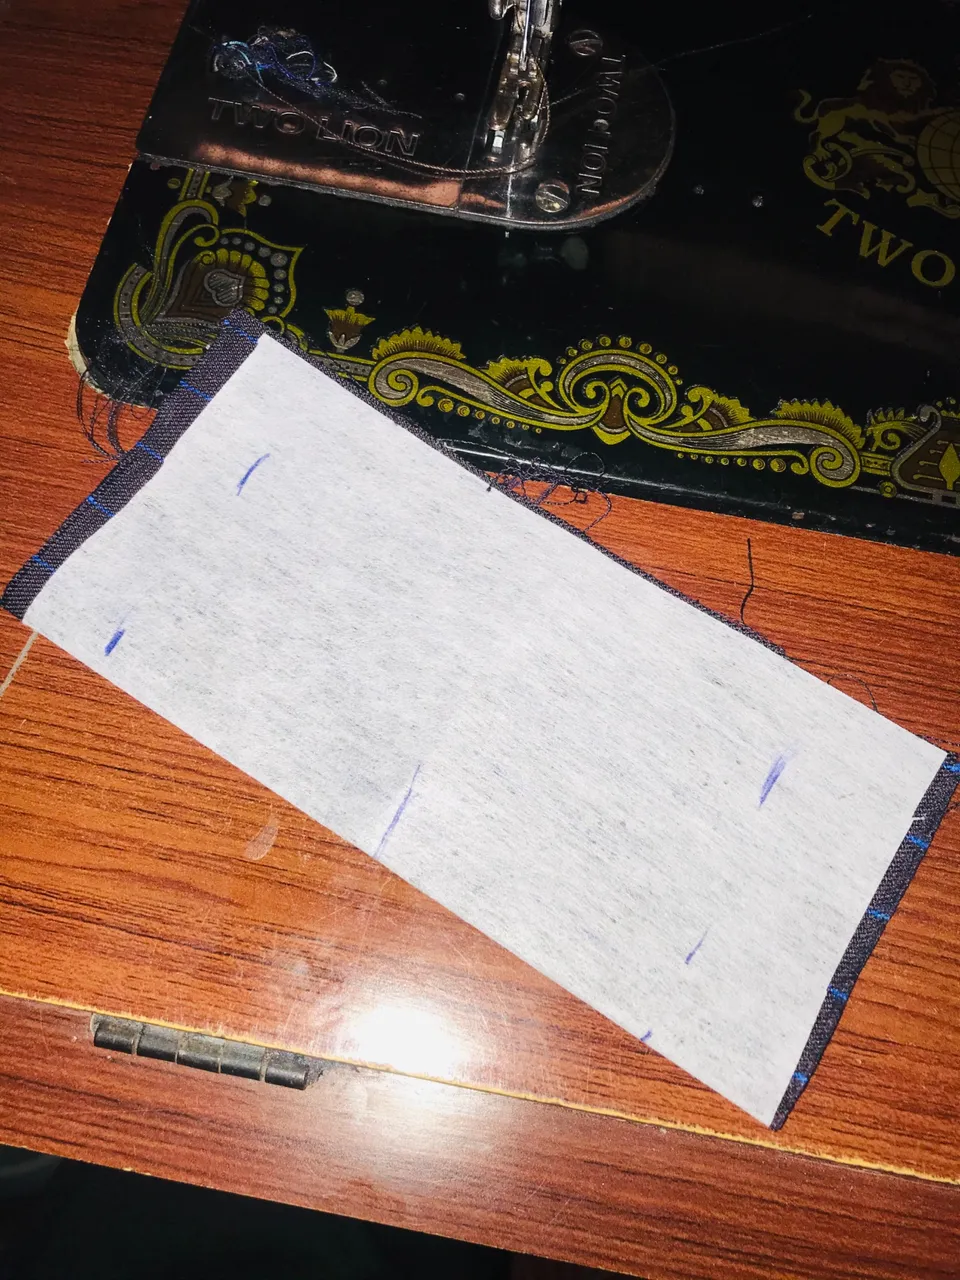
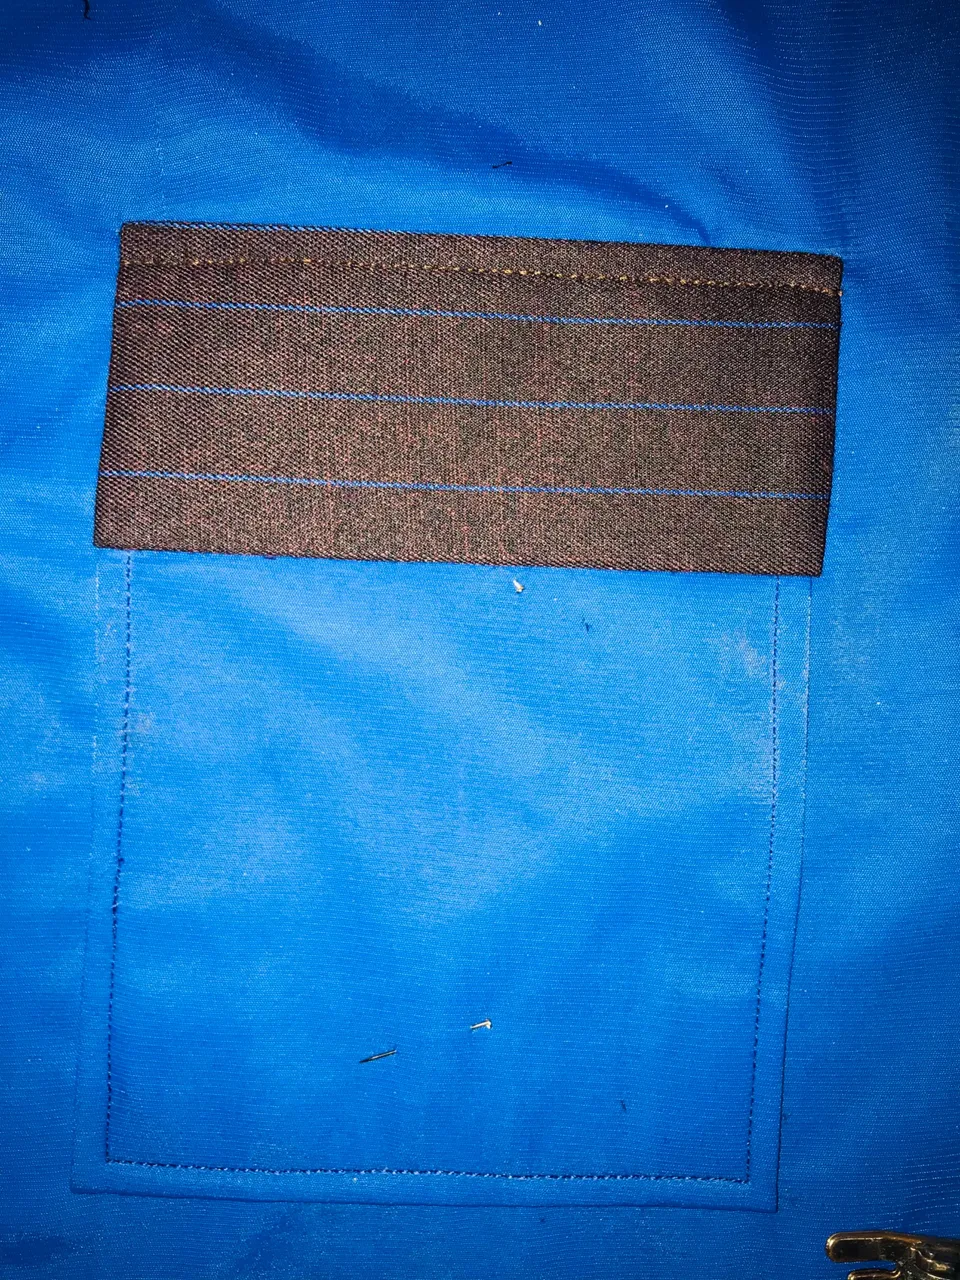
I took the blue material, cut it size of 7inches and length of 8inches and I cut my tissue gum same size and length and gummed it at the back side, like I usually say that this tissue gum is to make the material strong so anything can be done with it.
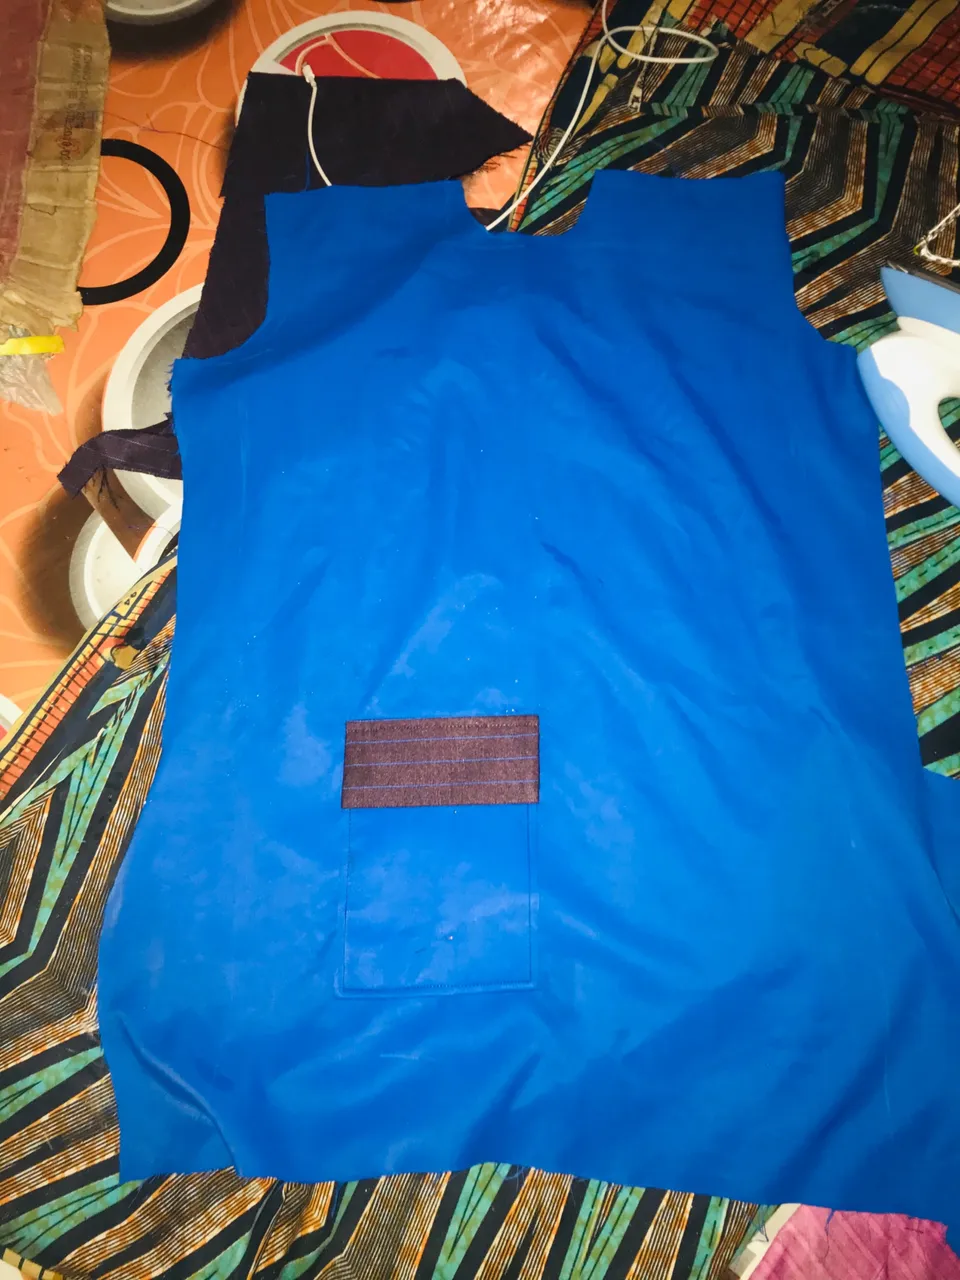
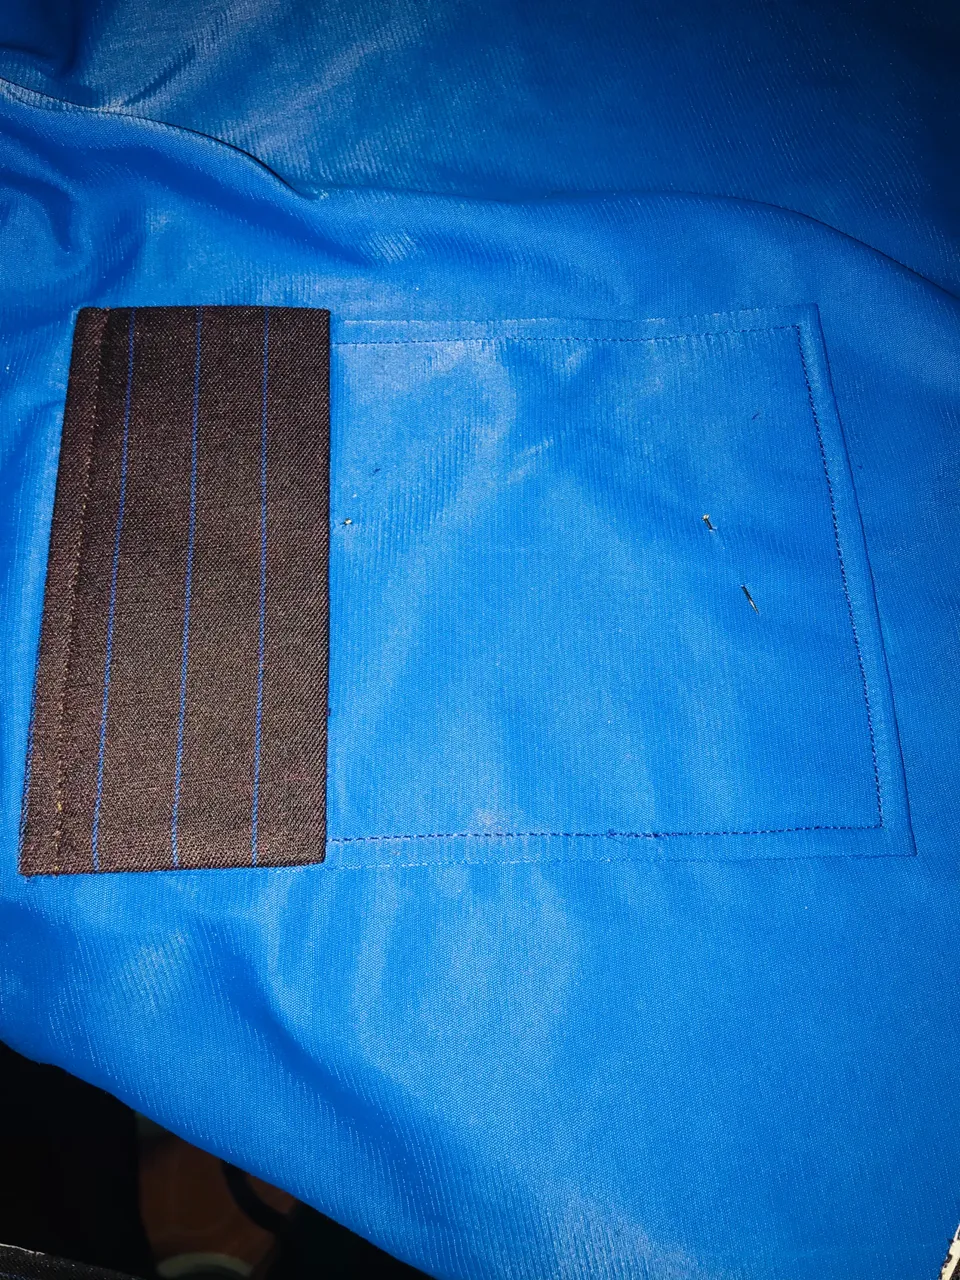
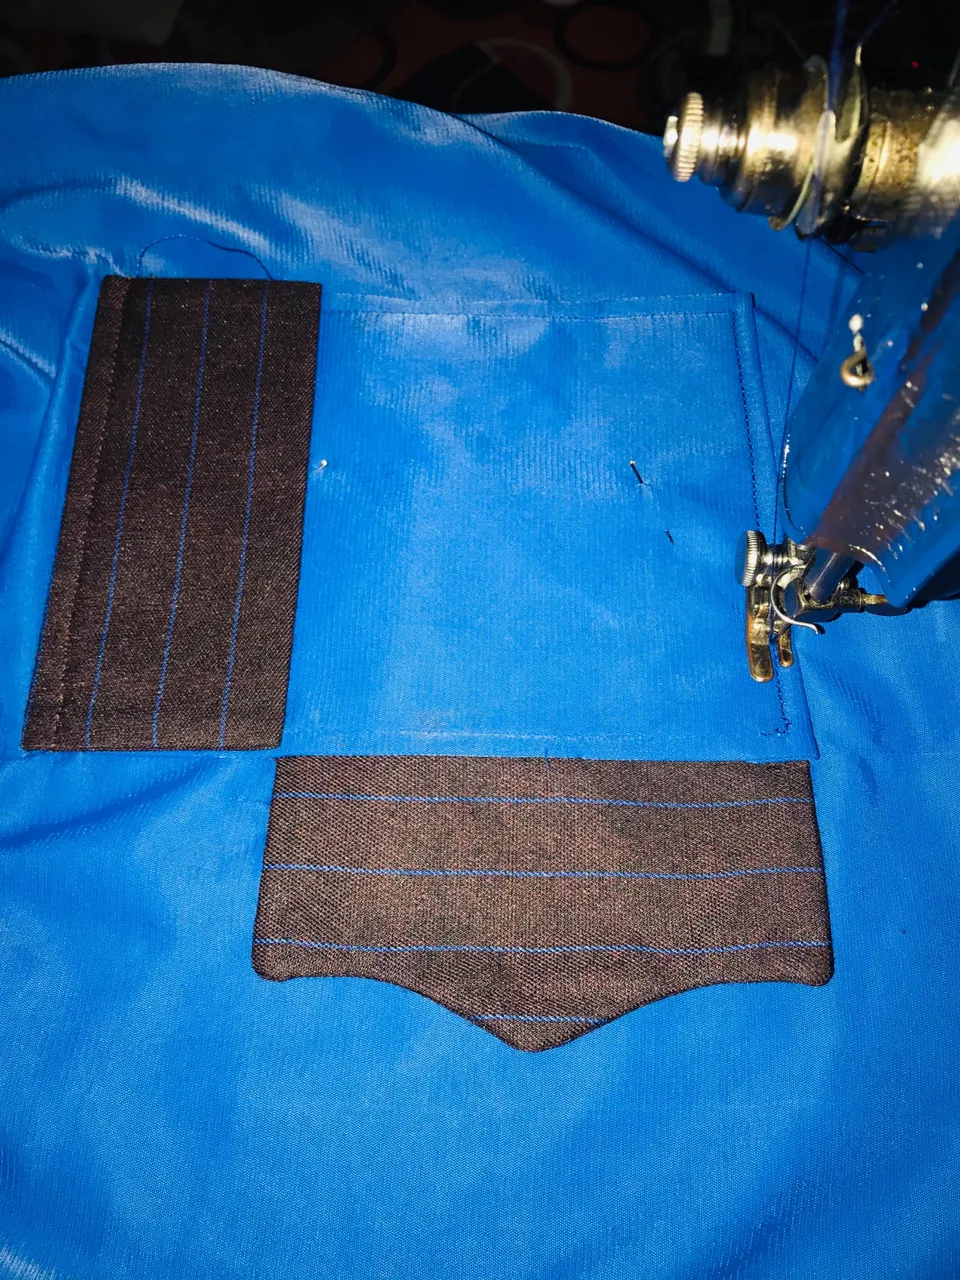
So after the gumming, I then bend it to form a pocket at the down part, after I hand formed the pocket.
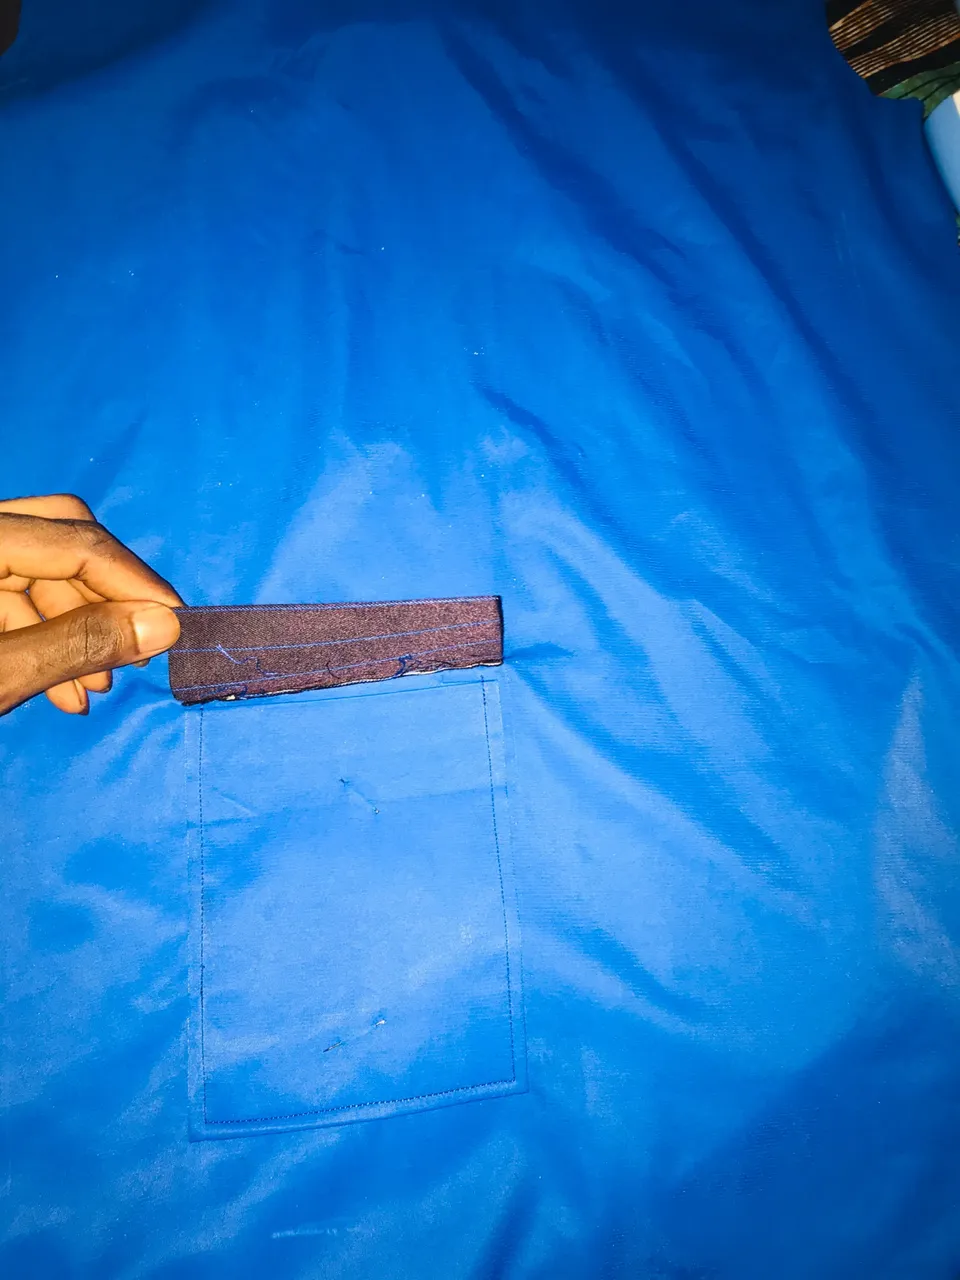
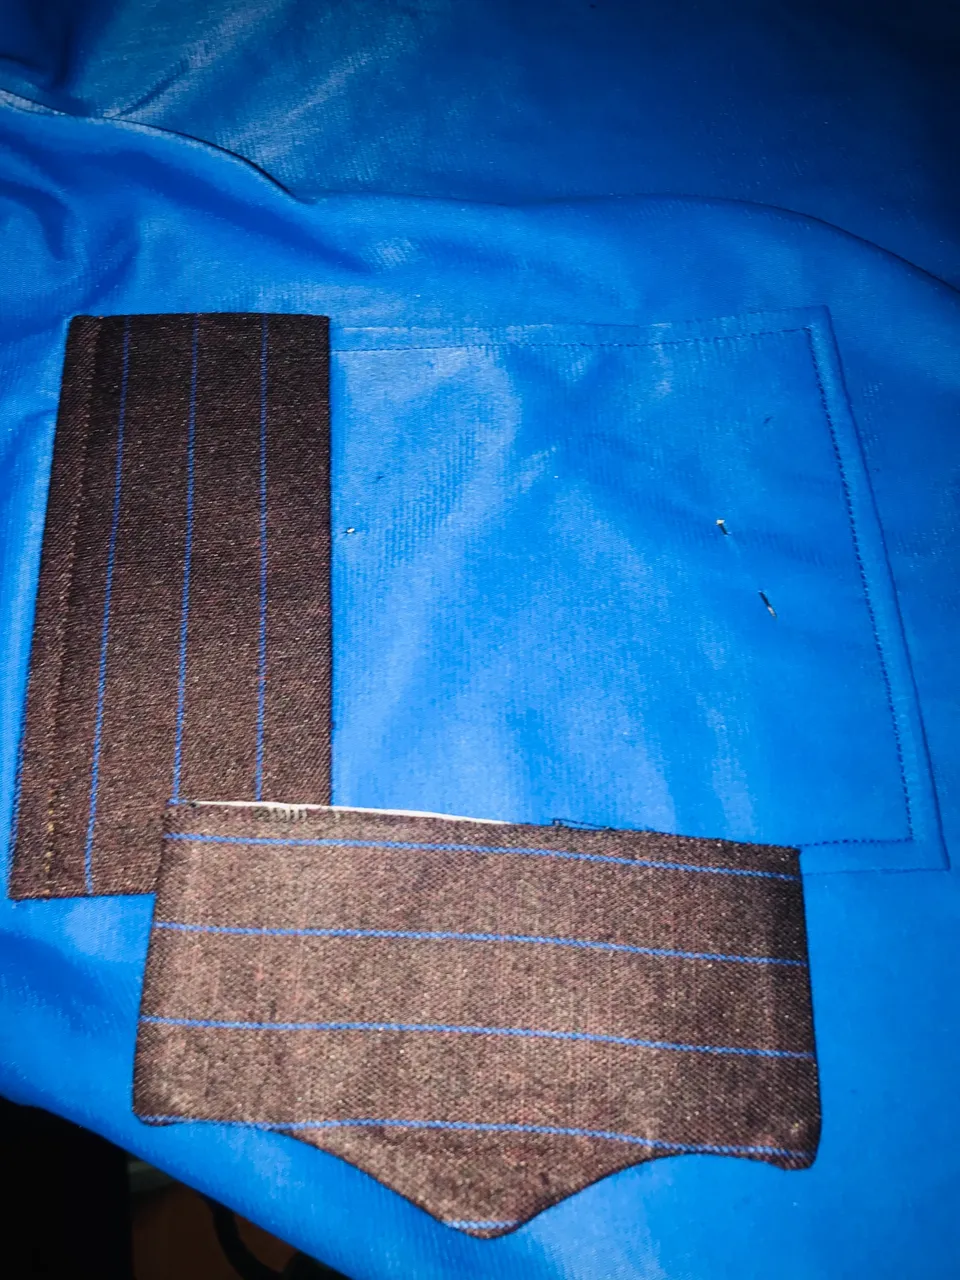
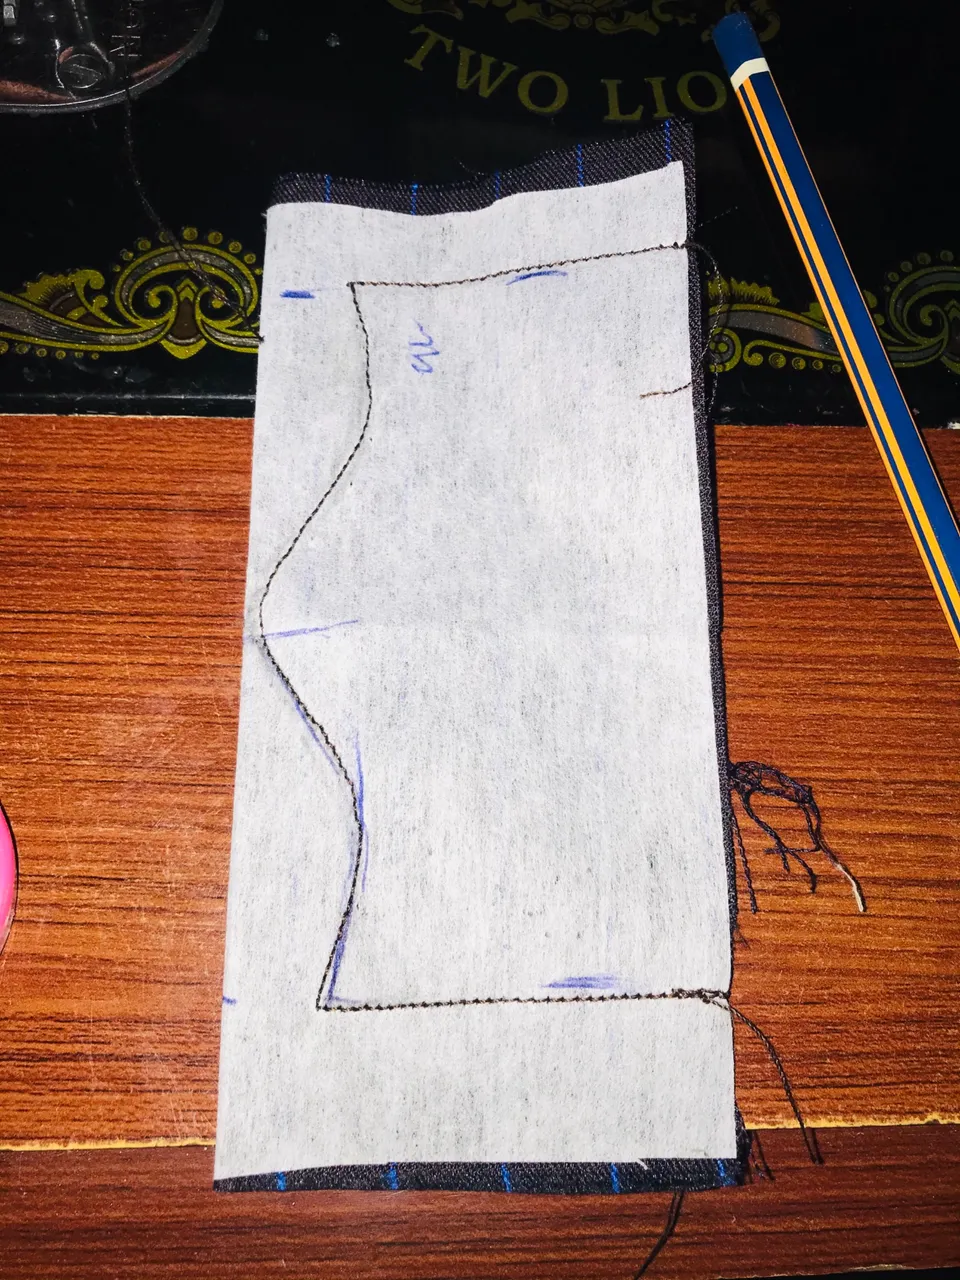
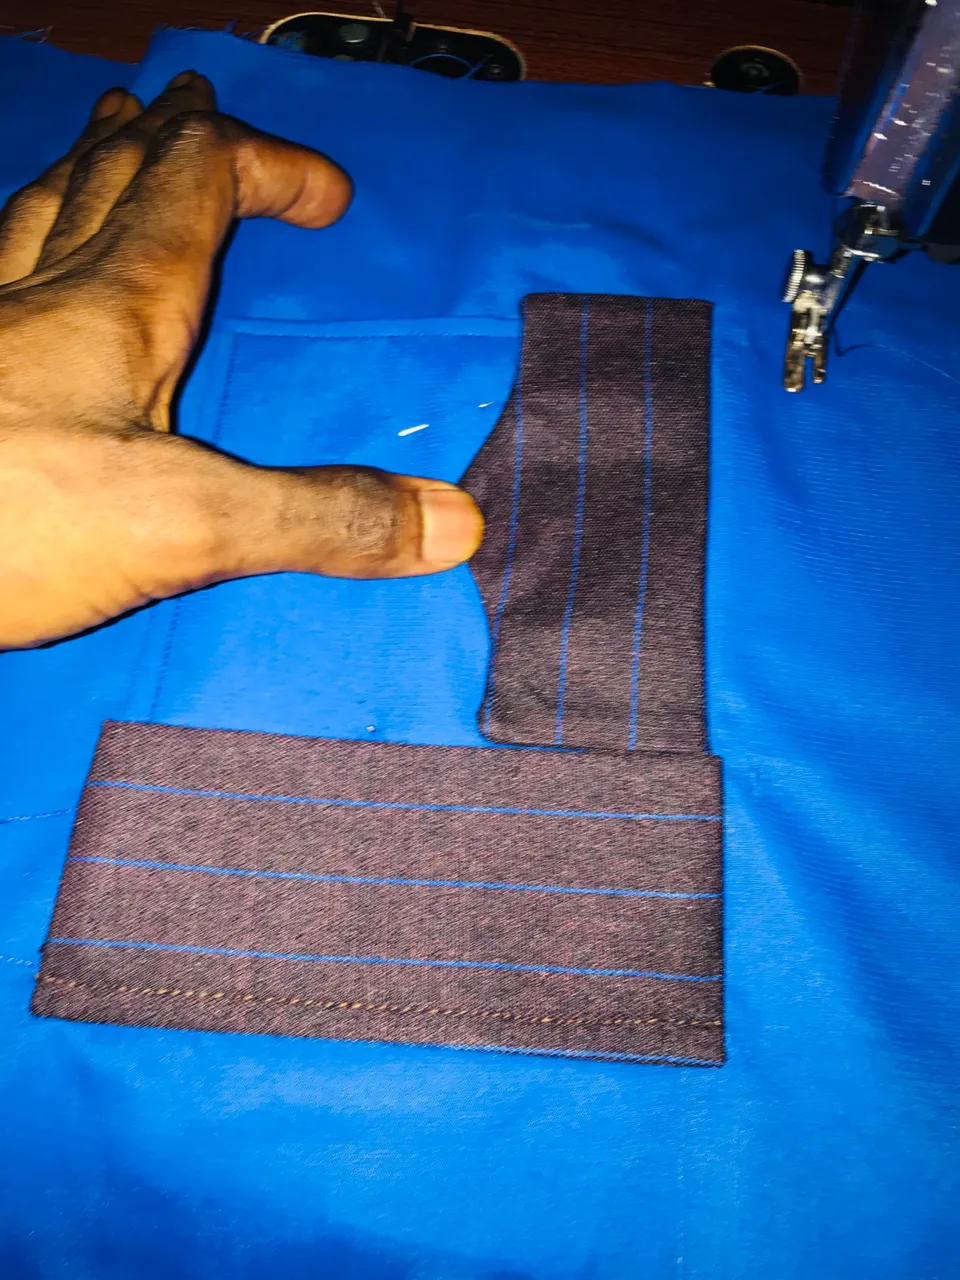
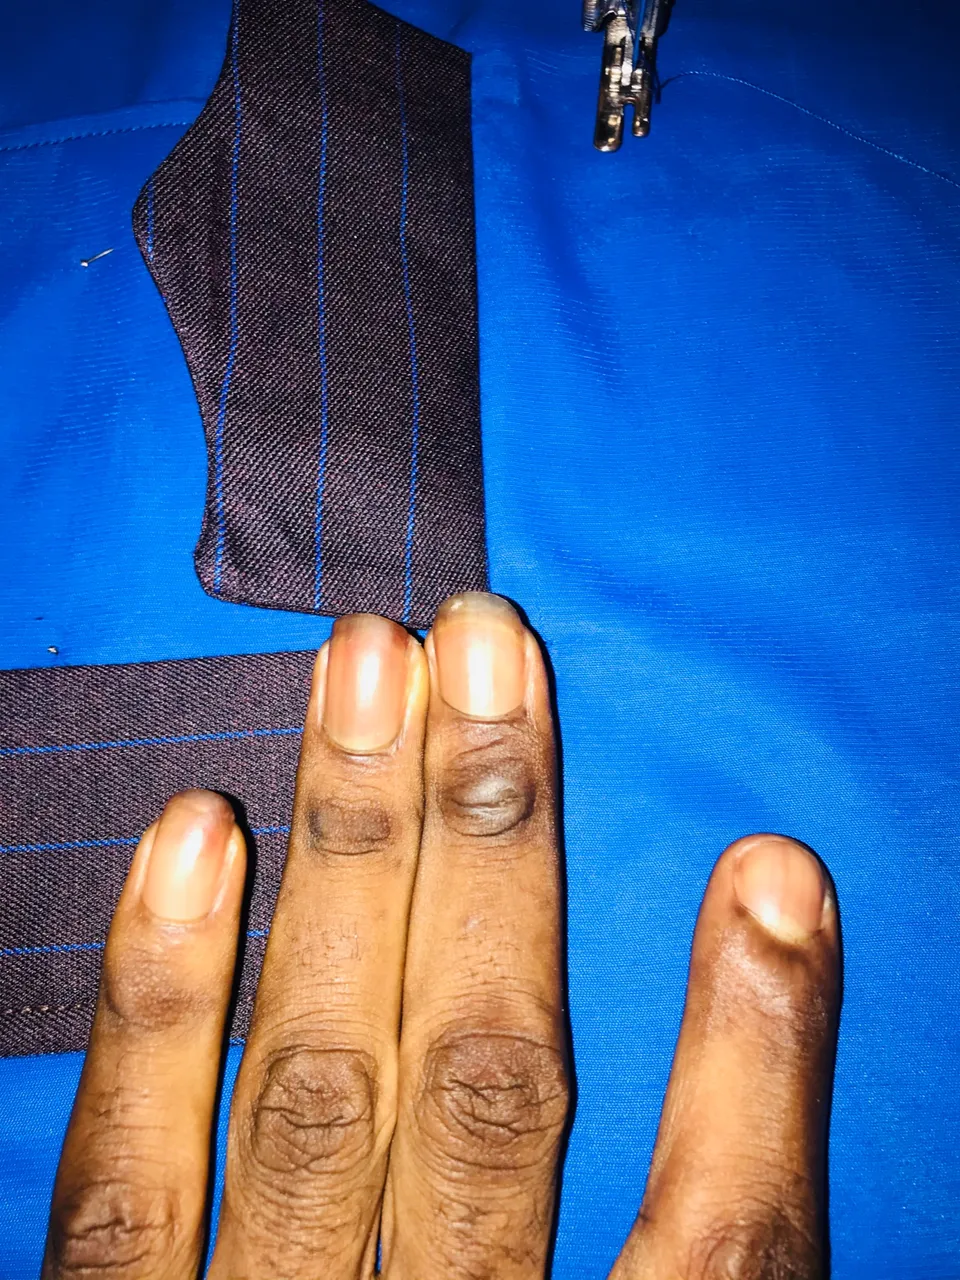
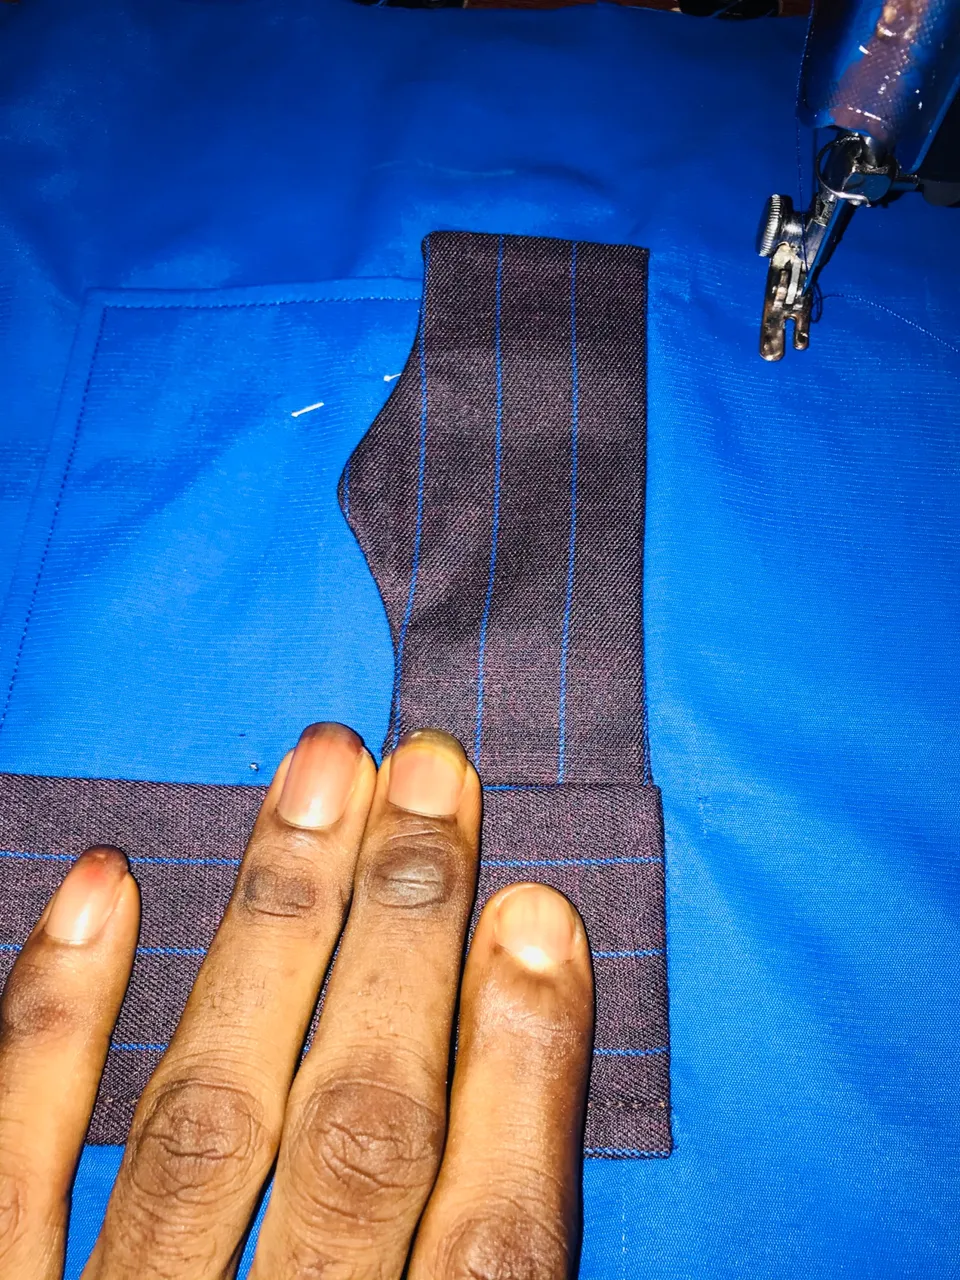
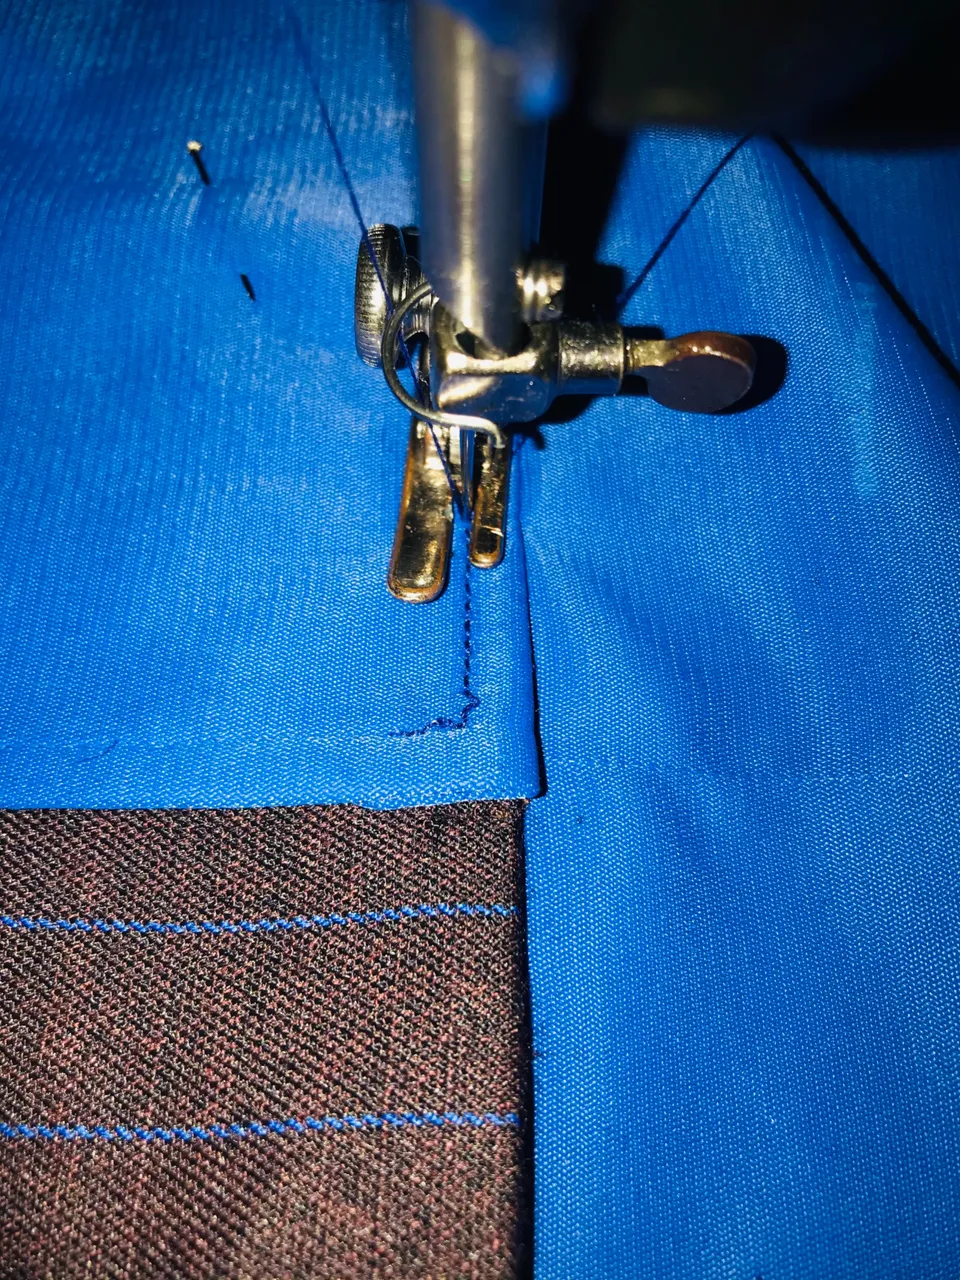
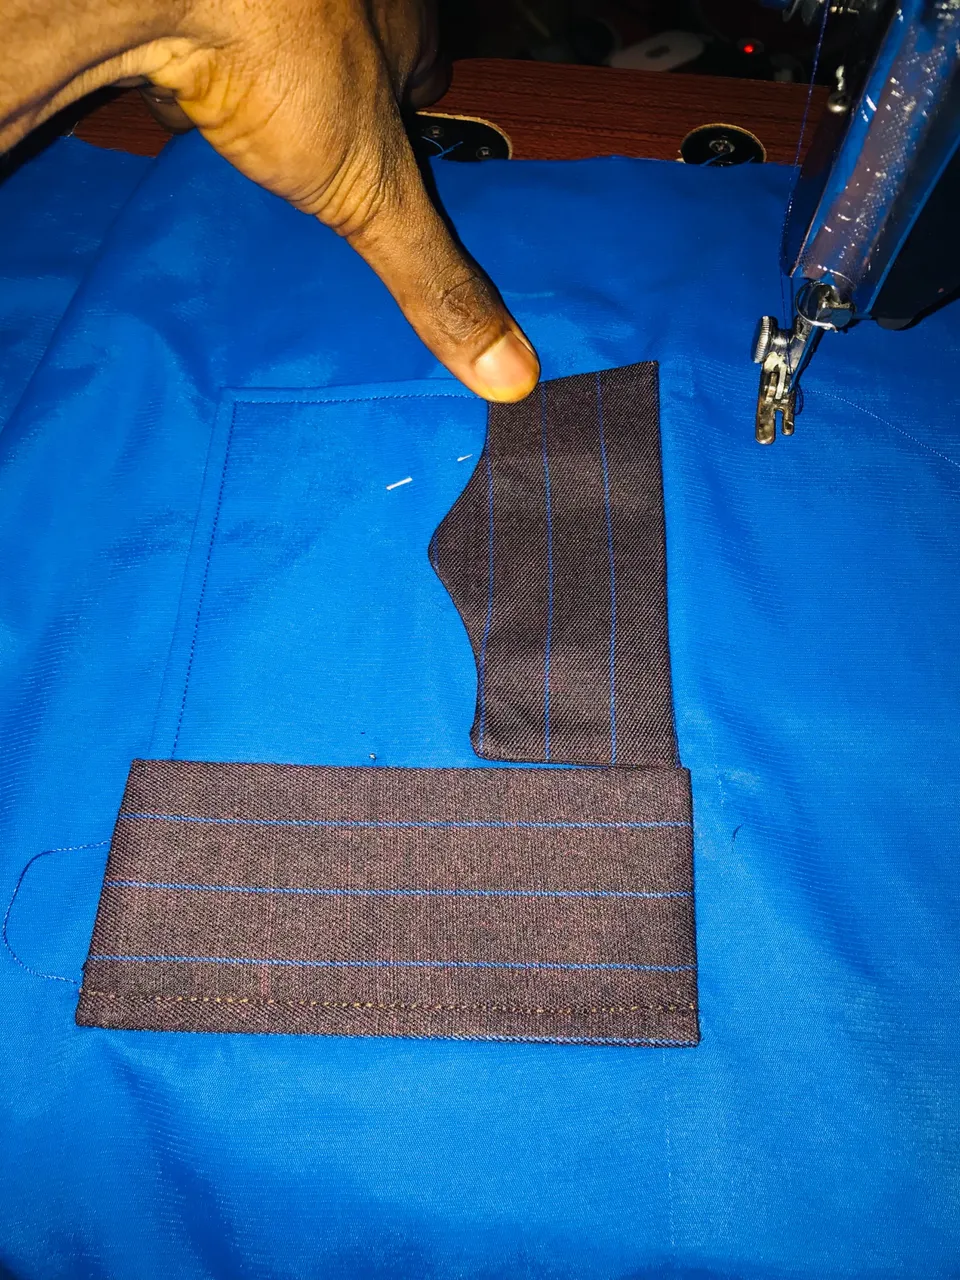
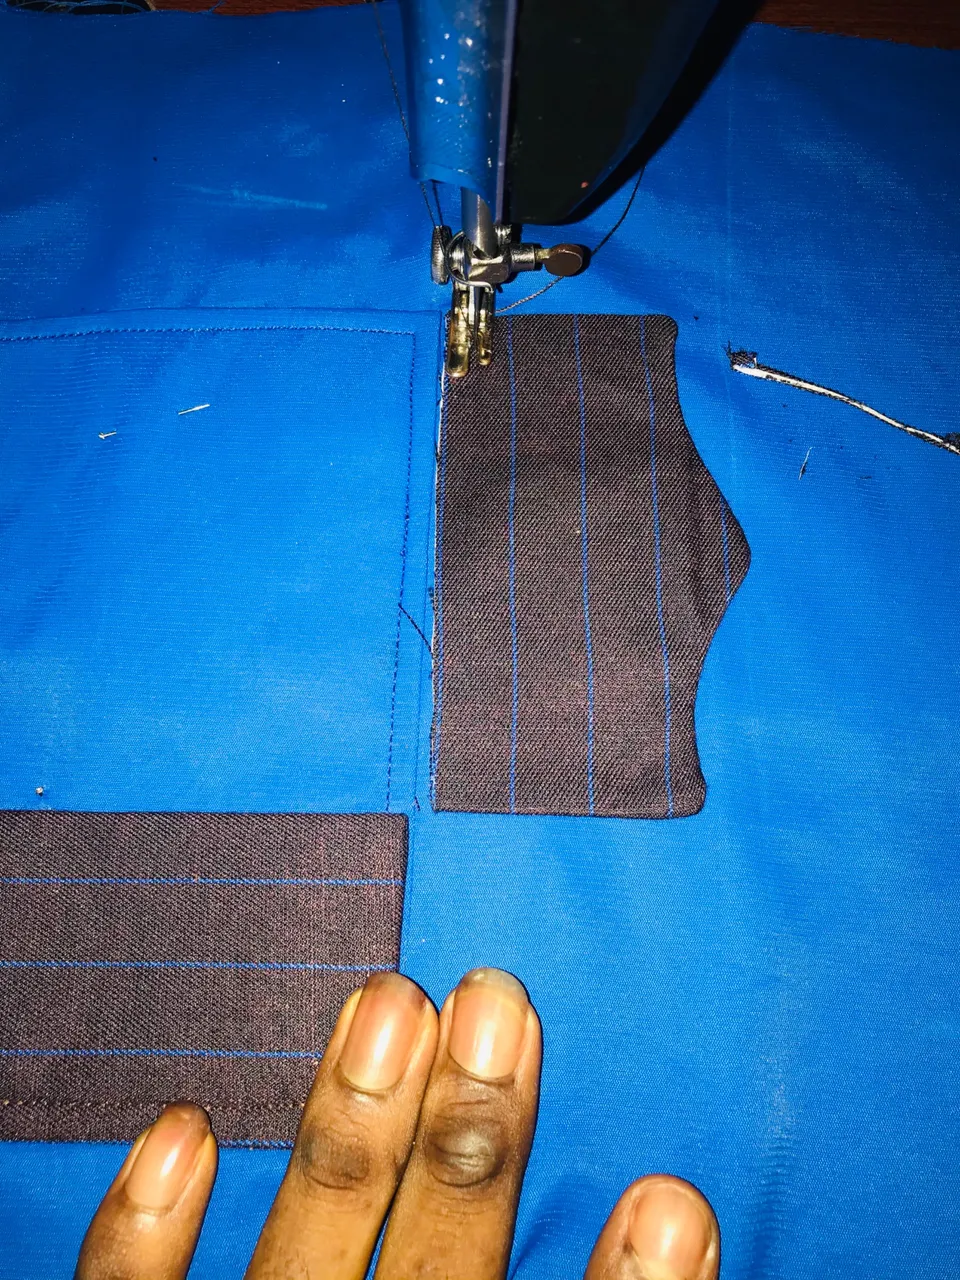
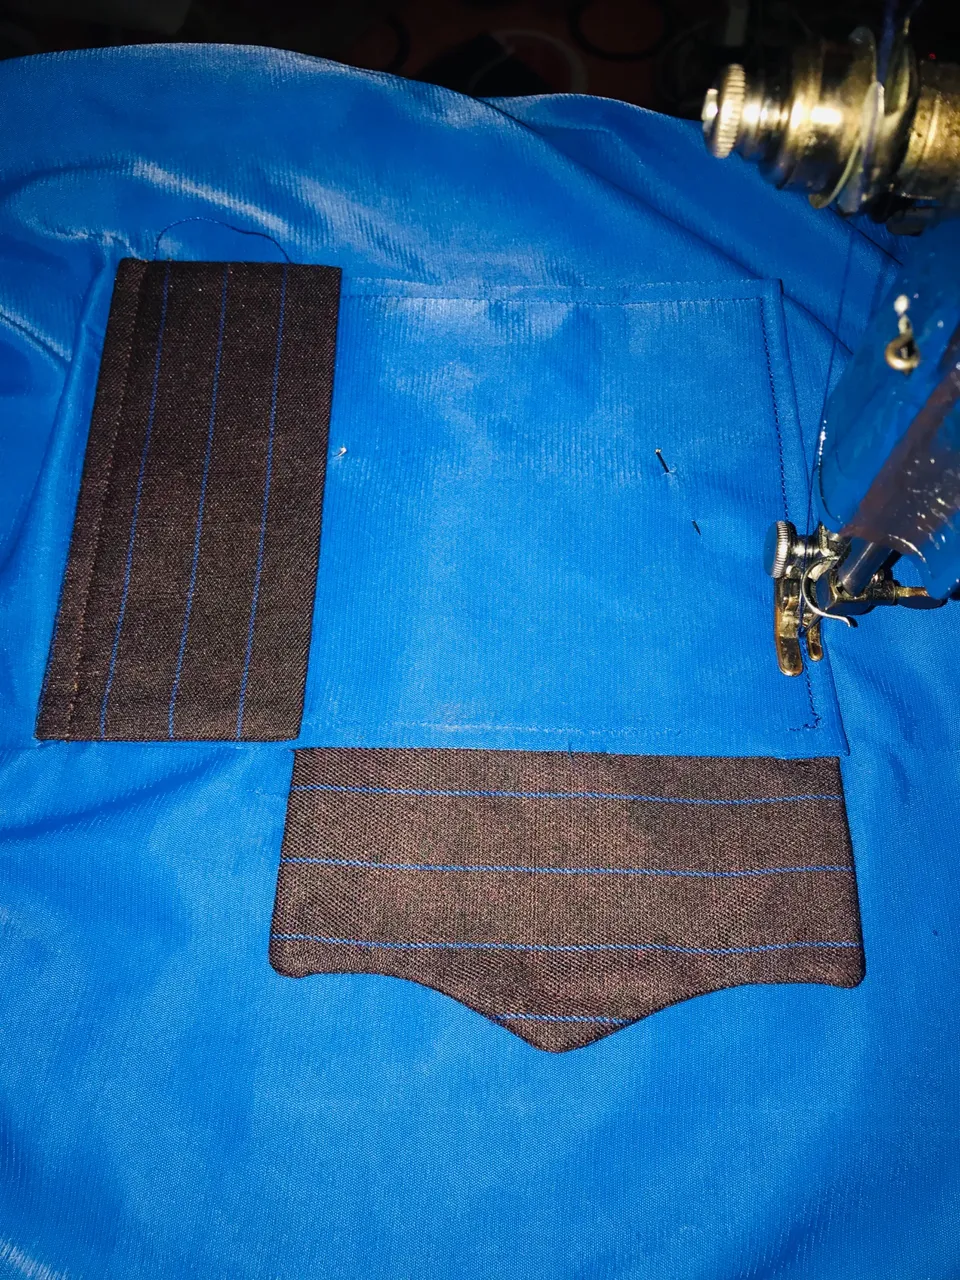
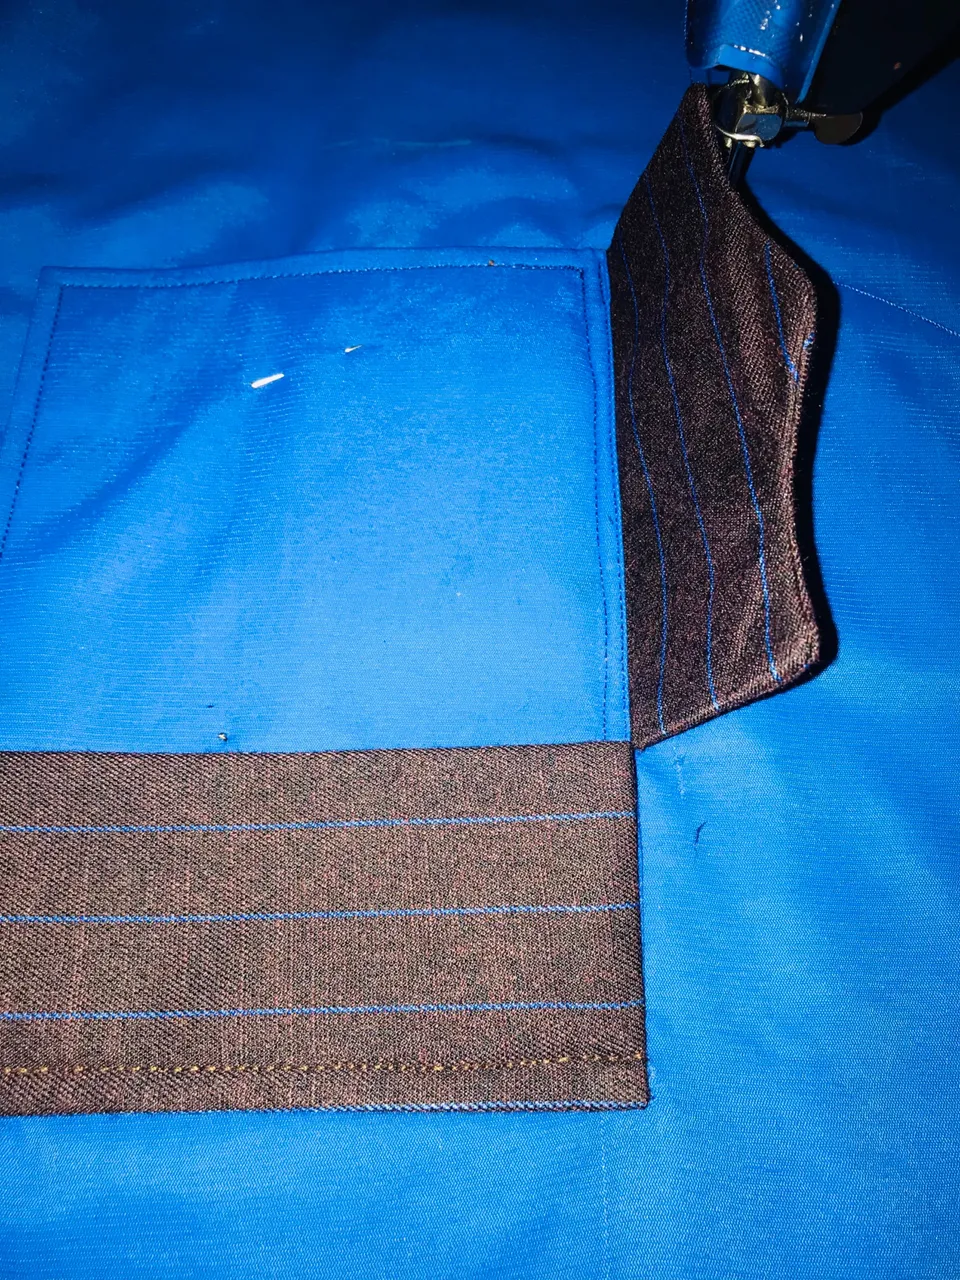
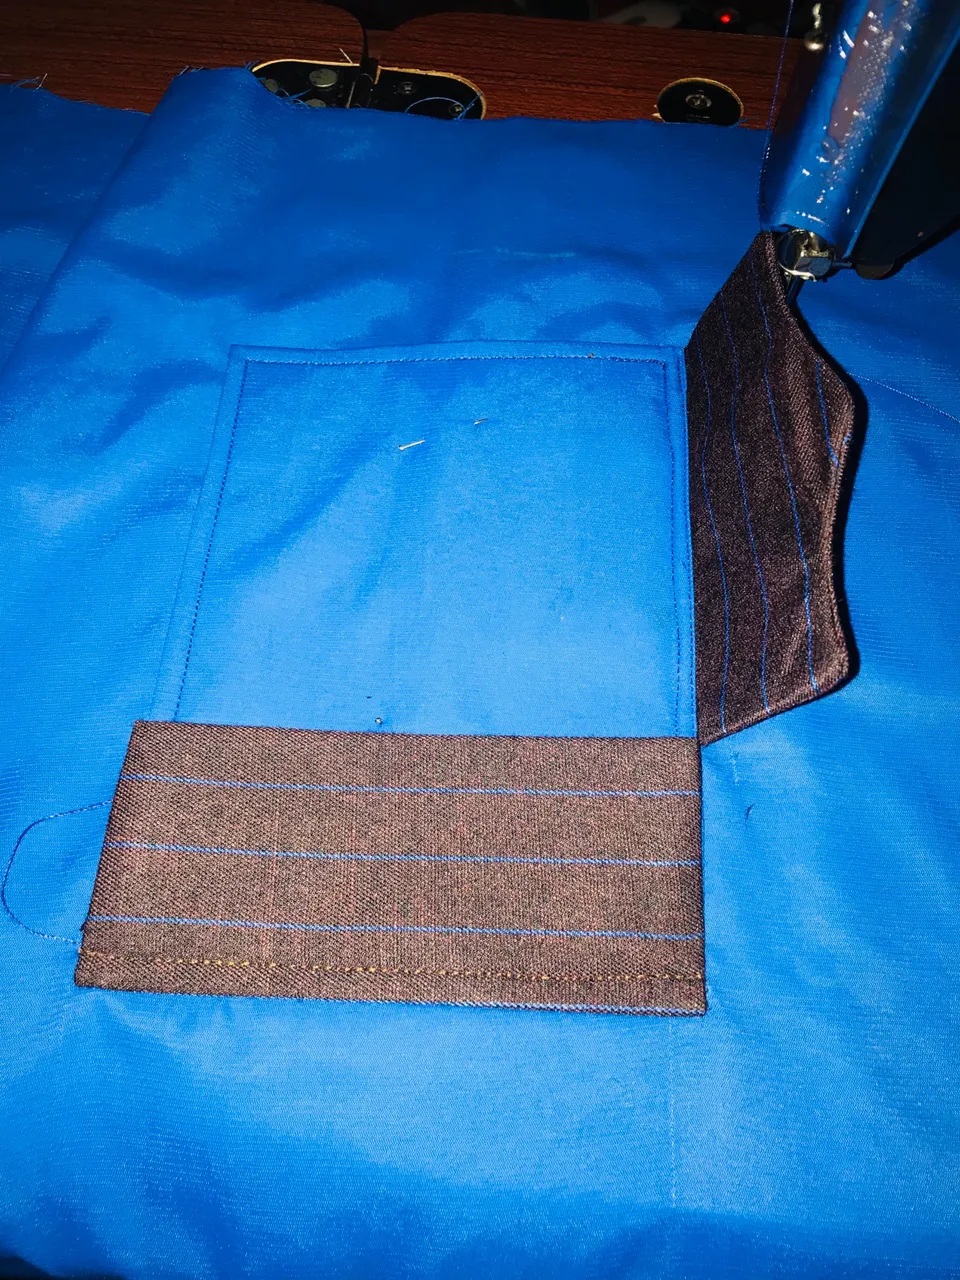
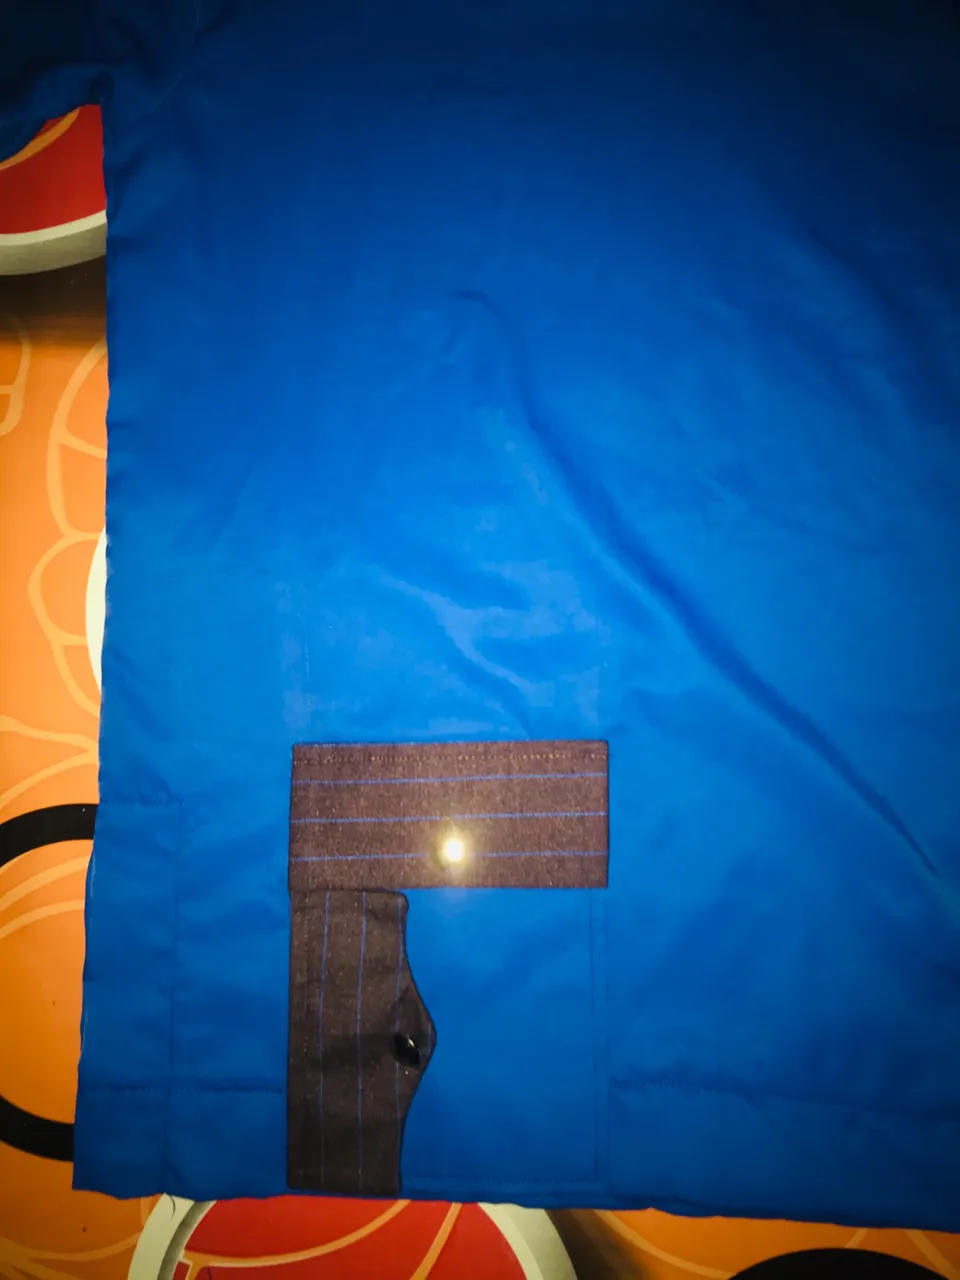
Step 3:
After forming the pocket and sewing it to the down part, I then took the paper gum and cut same size as the pocket and gummed it to the striped fabric I was to use for the combination, so I gummed it there and I cut another one and gummed it separately but still on the striped fabric and I formed a style of how I’ll be sewing and turning them so I decided that the one on top will be straight and the one by the side would have a curvy style so I did just that, then I sewed and turned. After that I sewed them to the pocket and included buttons to make it look unique.


Step 4:
I then move to the neck and shoulders area and included the 2 readymade zips, 1 for the left side and the other one for the right side of the shoulder, why am using 2 readymade is because it’s a little boy’s cloth and putting 1 readymade zip will make the neck smaller and his head might end up not even passing through so I do put 2 so when opening at the both sides the neck will be wide enough so there head can pass through but if it’s an adult’s top I do put 1 readymade zip cause the neck will be already big enough for the owners neck so that’s why, after that I joined with the back side of the cloth and then I trimmed the shoulder and included the sleeves and then joined the body size to the little boy’s measurement and lastly I used the material striped material to pipe the neck and the outfit was done and dusted.
Thanks you so very much guys for reading, stay blessed an focus for cause more beautiful outstanding design will be coming your way soon. courtesy: smilestitches😊 giving you the best and putting smiles on your face.