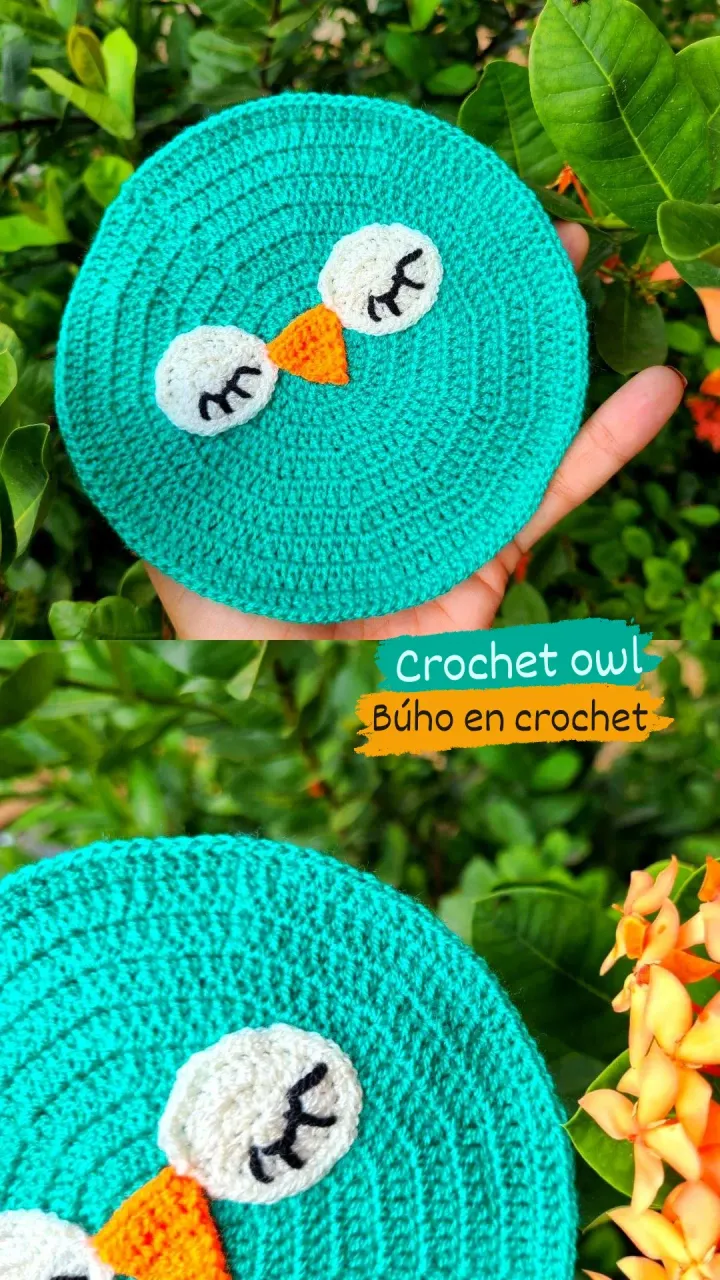
Hello, excellent crochet community I am leaving you a tutorial where you design an owl for a centerpiece, all in crochet step by step.
Hola excelente comunidad crochetera 🧶les estoy dejando un tutorial dónde se diseña un búho para un centro de mesa, todo en crochet paso a paso.
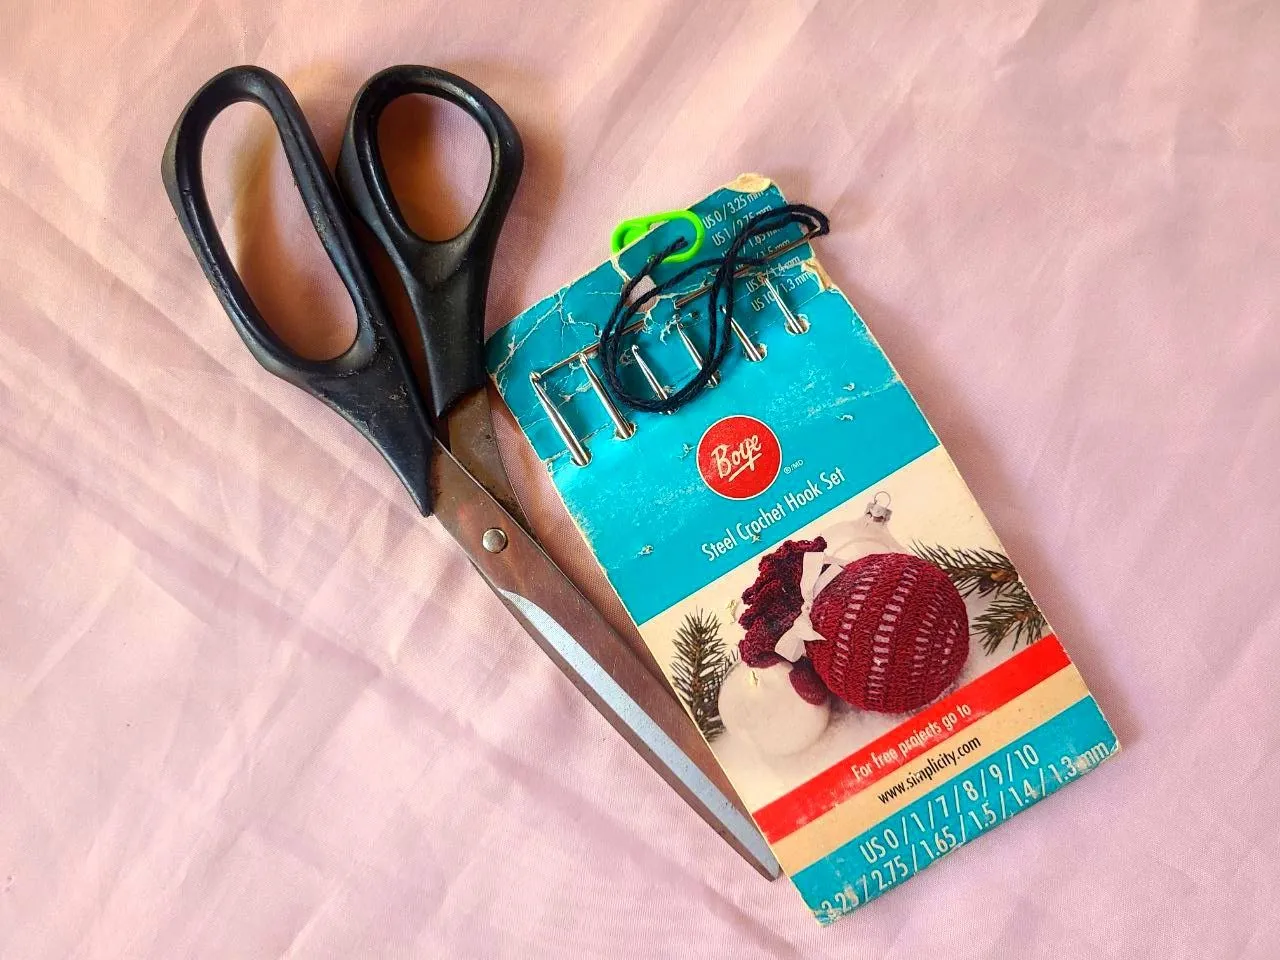
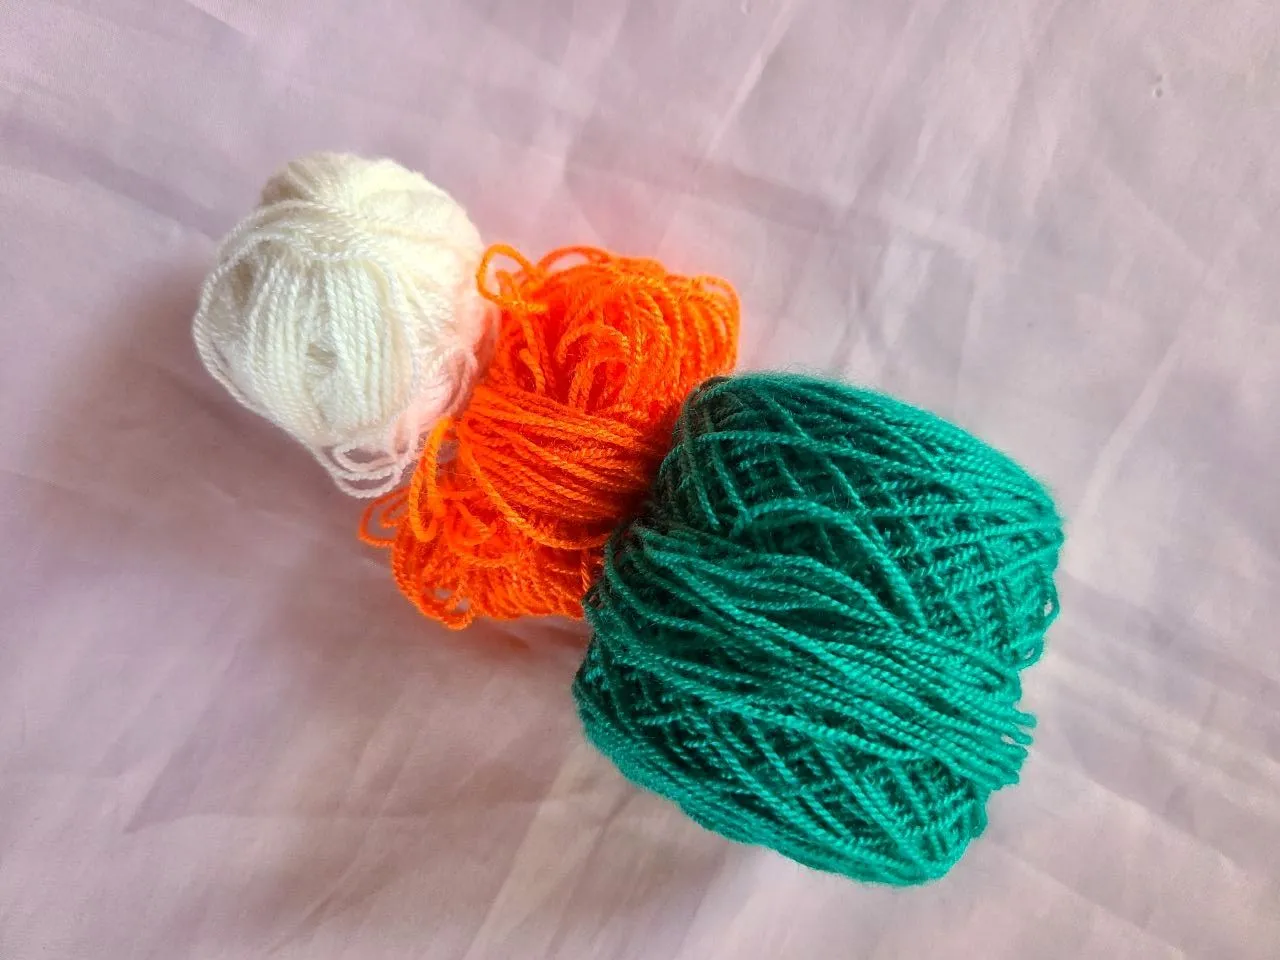
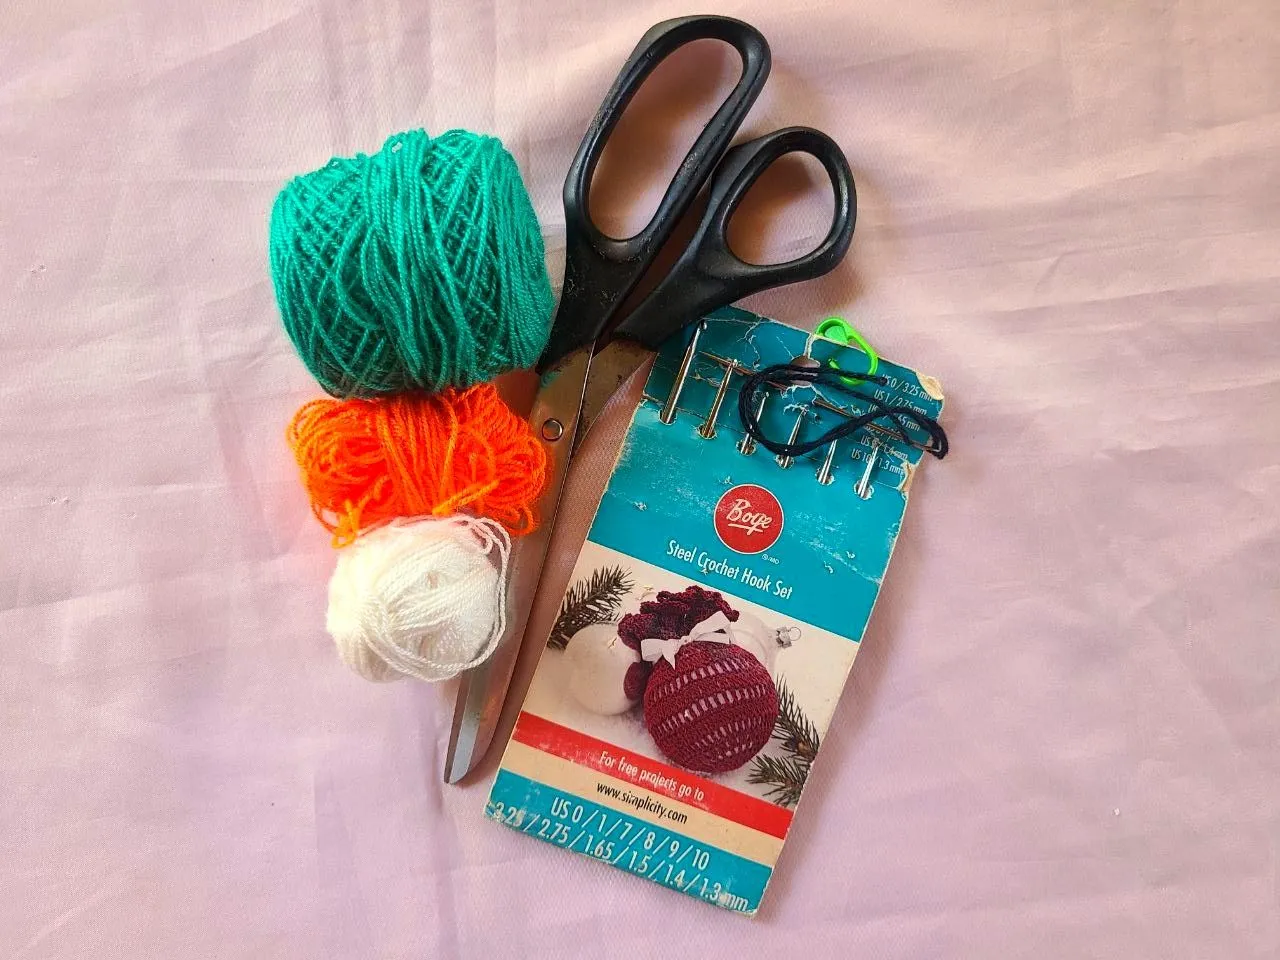
🧶 Materials to use:
✓Crochet threads: turquoise, white, orange and black.
✓Crochet needle number 5.
✓Sewing needle.
✓Scissors.
🧶 Points to use:
✓Elongated high points.
✓Normal high points.
✓Low points.
✓Slided stitch.
🧶 Materiales a utilizar:
✓Hilos de crochet: turquesa, blanco, naranja y negro.
✓Aguja de crochet número 5.
✓Aguja de coser.
✓Tijeras.
🧶 Puntos a utilizar:
✓Puntos altos alargados.
✓Puntos altos normales.
✓Puntos bajos.
✓Punto deslizado.
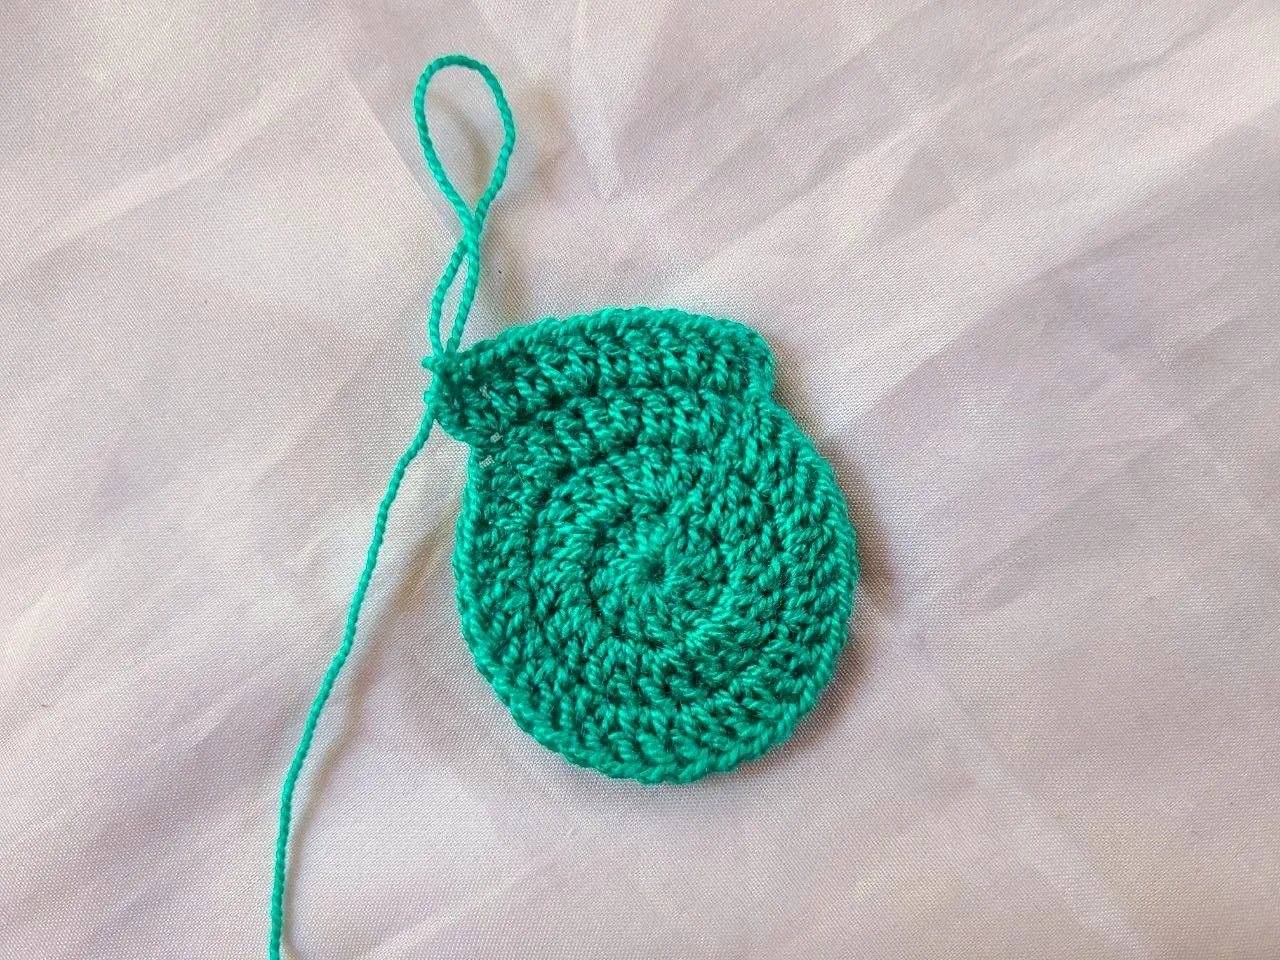
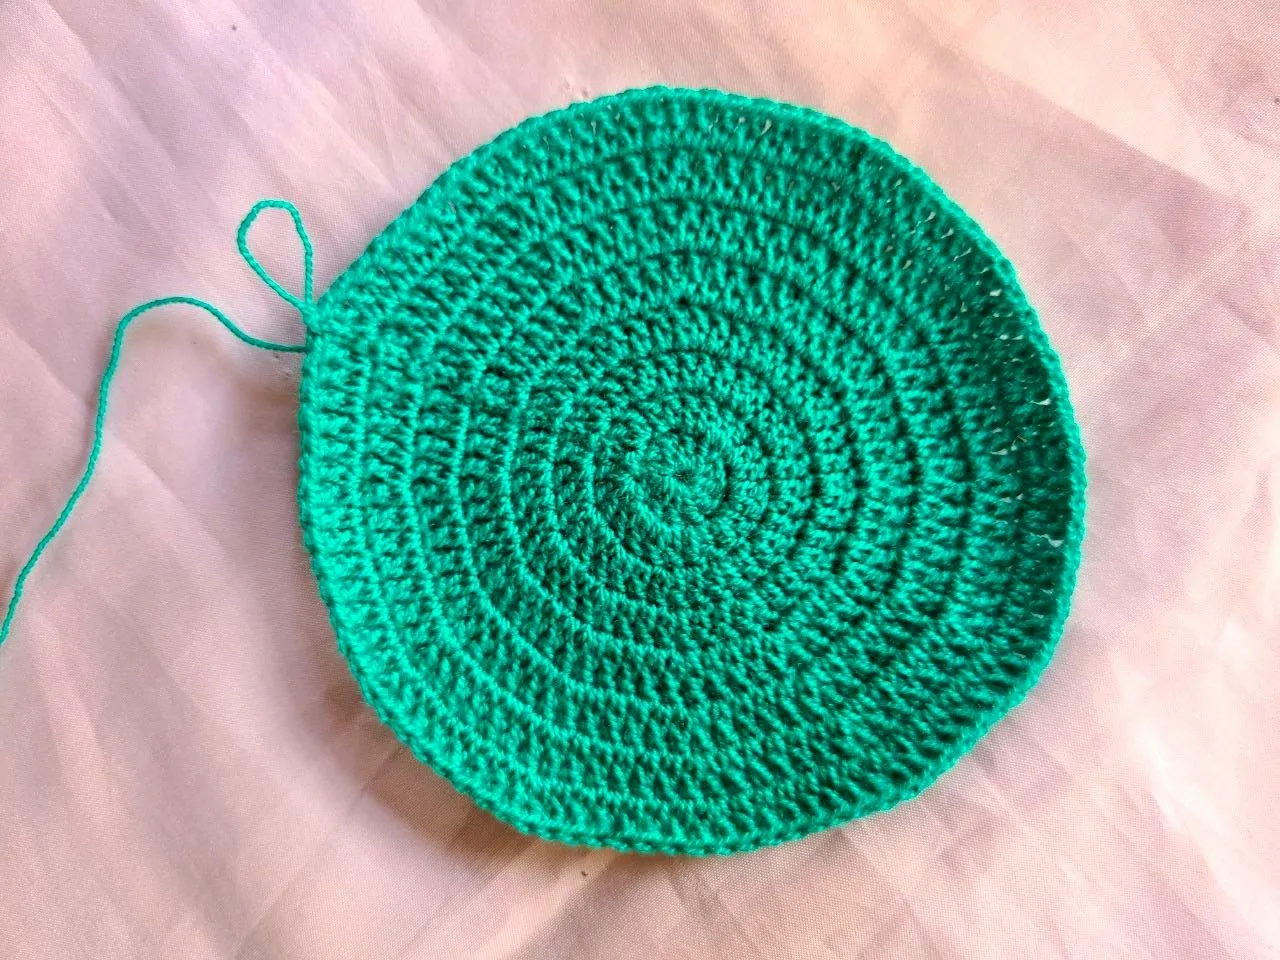
🧶 Step 1: We start using the green thread.
Row 1: We make a magic ring and inside we make 12 normal double crochets.
Row 2: The entire row is made with increases (24).
Row 3: 1 normal double crochet, followed by an increase (36).
Row 4: 2 normal double crochets, followed by an increase (48).
Row 5: 3 elongated double crochets, followed by an increase (60).
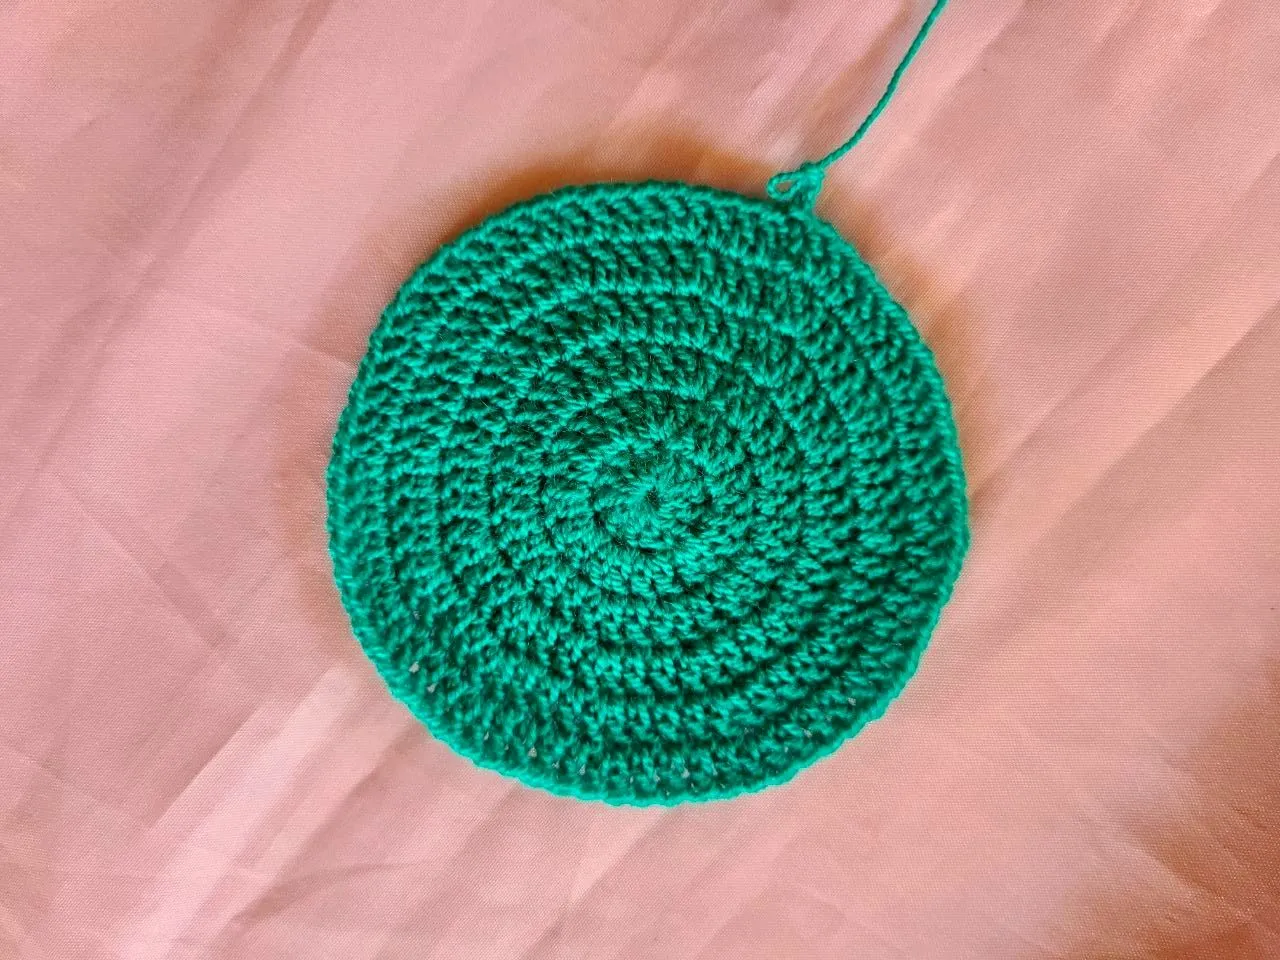
Row 6: 4 elongated double crochets, followed by an increase (72).
Row 7: 5 elongated double crochets, followed by an increase (84).
Row 8: 5 elongated double crochets, followed by an increase (96).
Row 9: 6 elongated double crochets, followed by an increase (108).
Row 10: 7 elongated double crochets, followed by an increase (120).
🧶 Paso 1: Comenzamos usando el hilo verde.
Fila 1: Hacemos un anillo mágico y dentro hacemos 12 puntos altos normales.
Fila 2: Toda la fila esta hecha con aumentos (24).
Fila 3: 1 punto alto normal, seguido de un aumento (36).
Fila 4: 2 puntos altos normales, seguidos de un aumento (48).
Fila 5: 3 puntos altos alargados, seguidos de un aumento (60).
Fila 6: 4 puntos altos alargados, seguidos de un aumento (72).
Fila 7: 5 puntos altos alargados, seguidos de un aumento (84).
Fila 8: 5 puntos altos alargados, seguidos de un aumento (96).
Fila 9: 6 puntos altos alargados, seguidos de un aumento (108).
Fila 10: 7 puntos altos alargados, seguidos de un aumento (120).
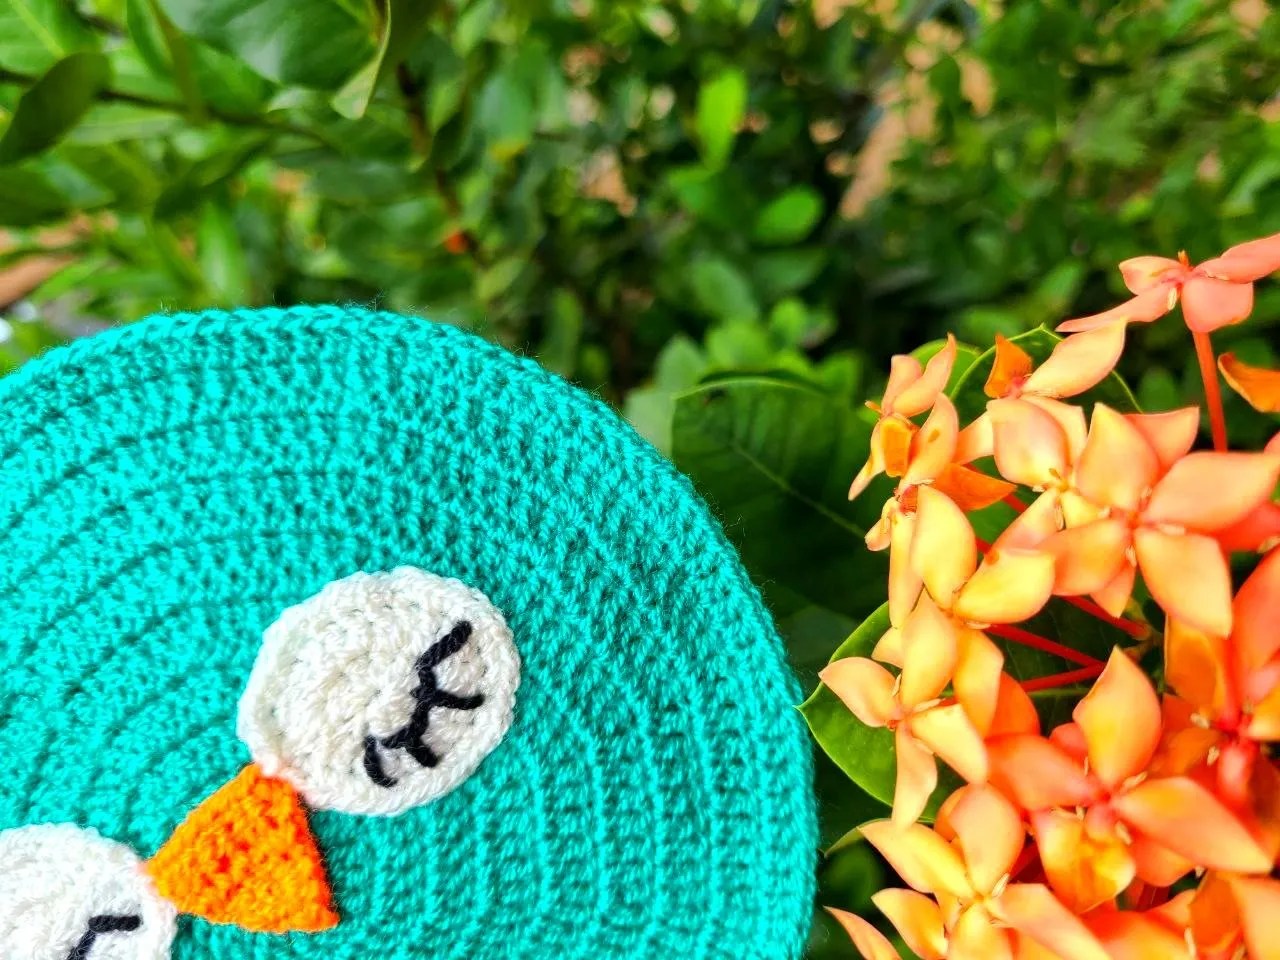
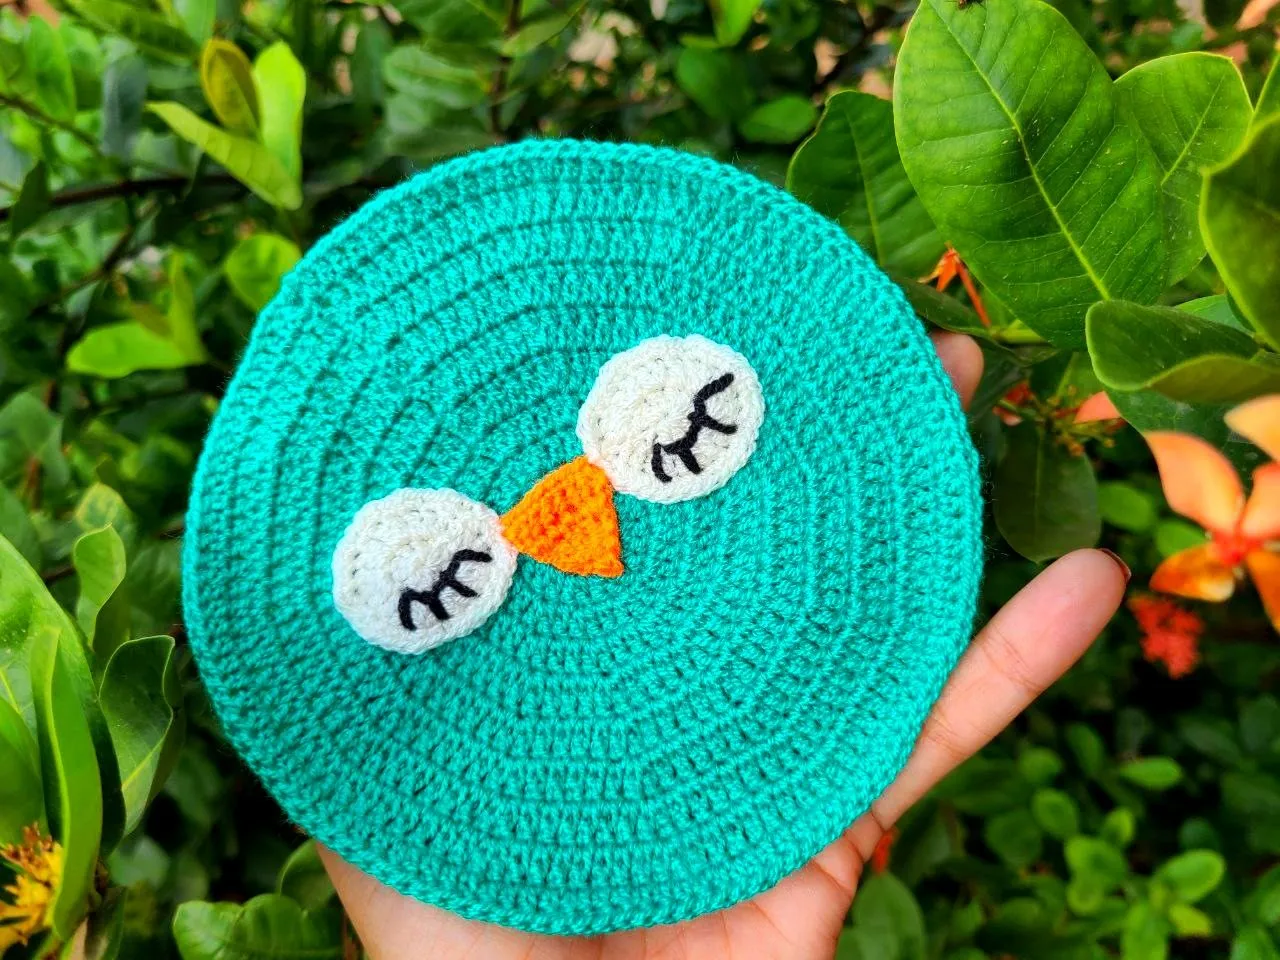
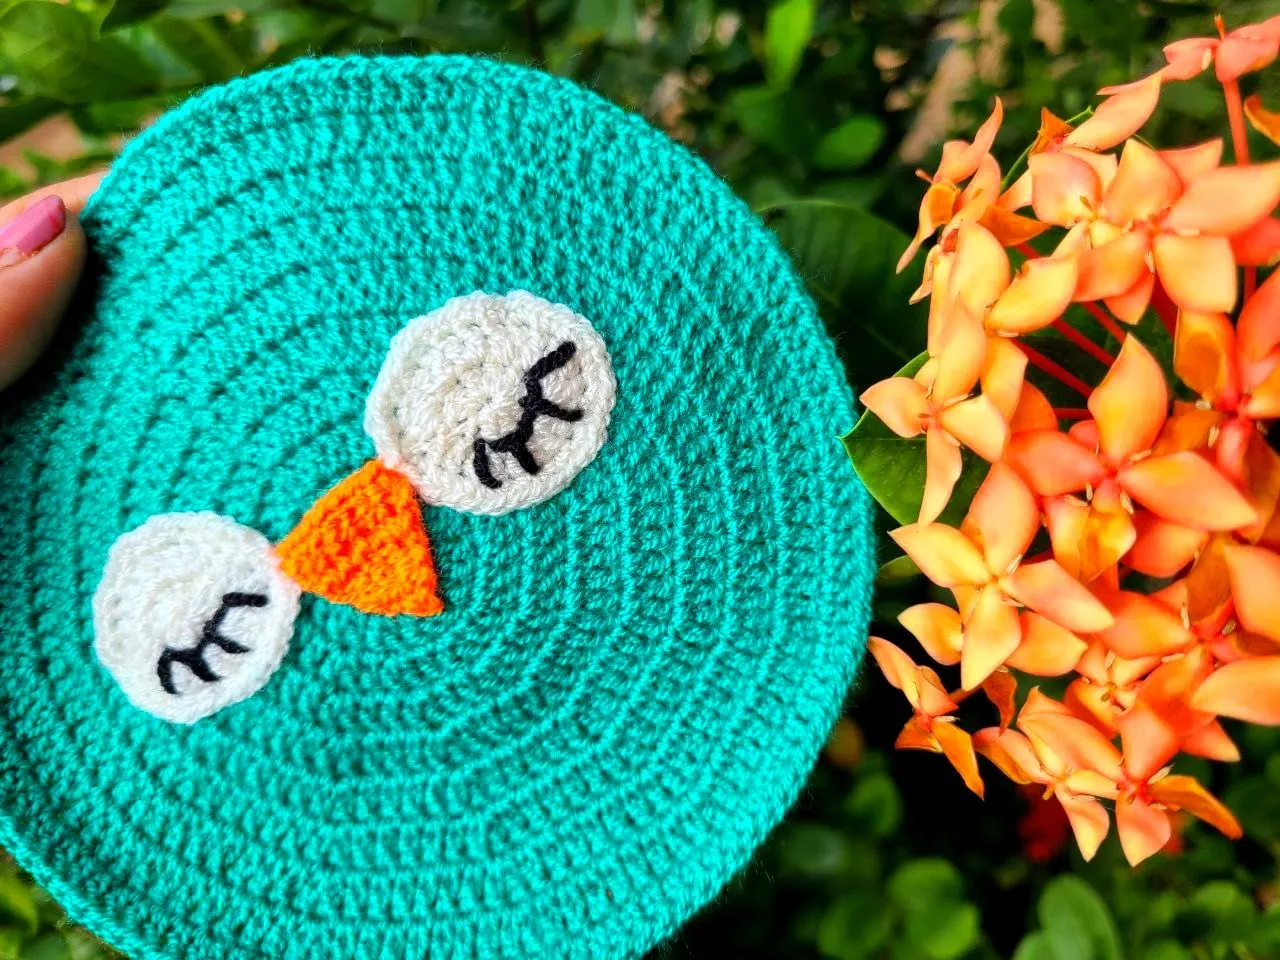
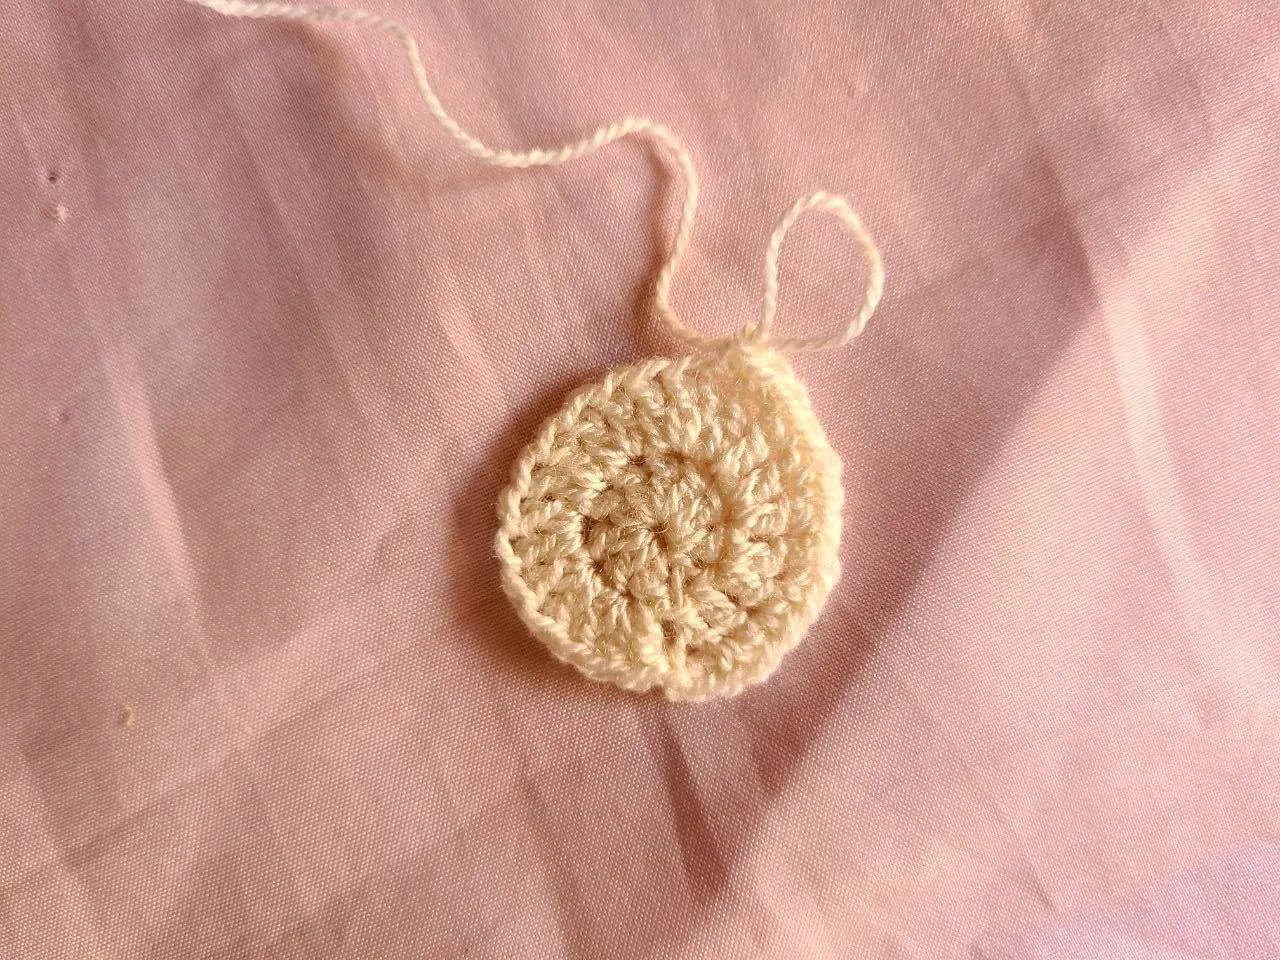
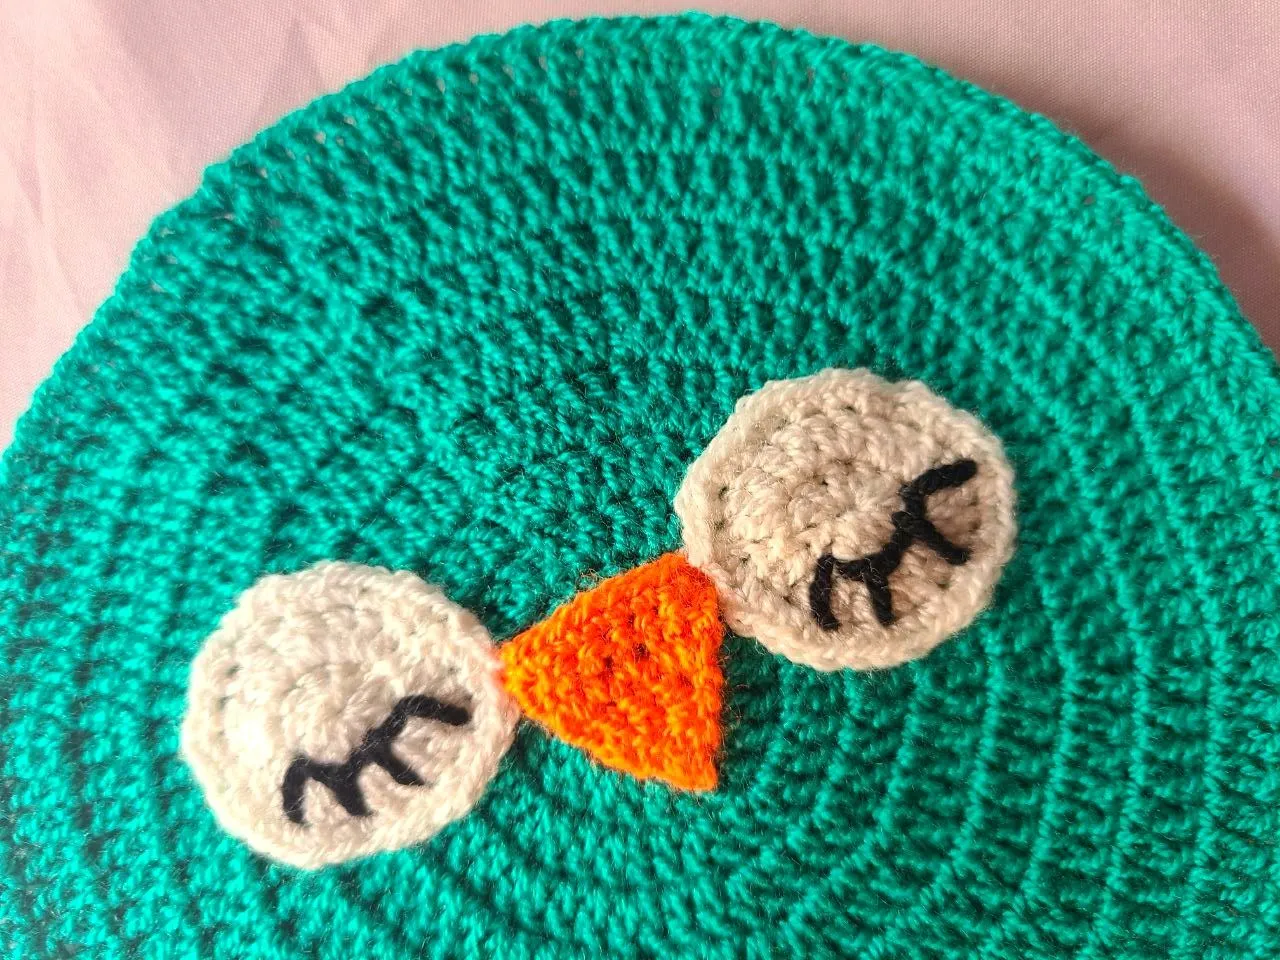
🧶 Step 2: We work with the white thread, for the eyes.
**Row 1: We make a magic ring and inside we make 10 normal double crochets.
Row 2: 4 normal double crochets with increase, in space 5 we make 3 normal double crochets together, we repeat 4 normal double crochets, followed by an increase of 3 stitches (22).
Row 3: 2 single crochets followed by an increase throughout the row, we close, cut the long thread and place it on the mat.
We make 2 identical eyes, before gluing them we embroider the eyelashes with black thread.
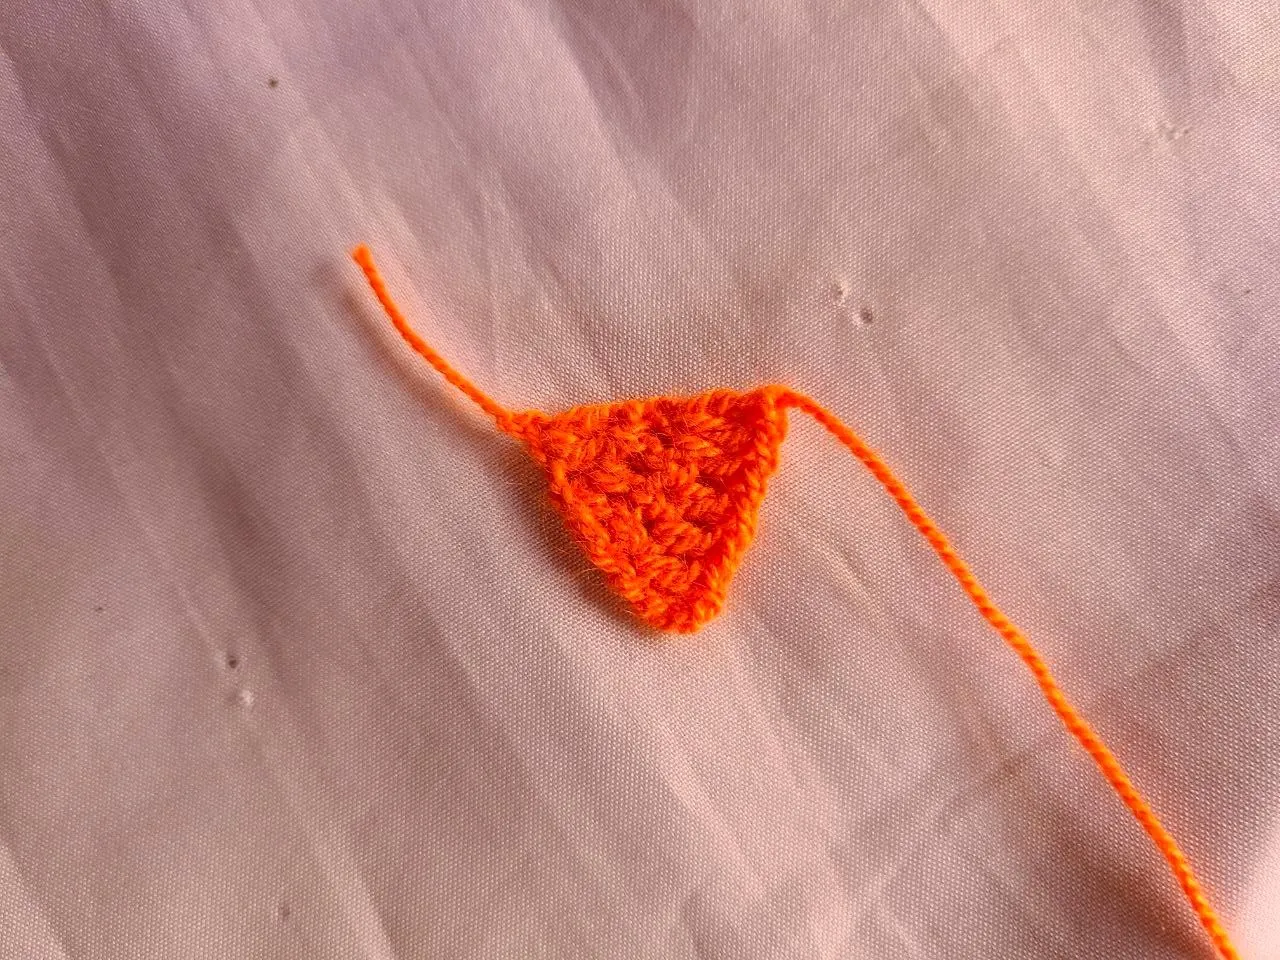
🧶 Step 3: We use orange thread.
Row 1: We make 3 chains and in the first we make 3 normal double crochets.
Row 2: We make 1 increase at the beginning and at the end of the entire row in normal double crochets (5).
Row 3: We do the same as the previous row in normal double crochets (7).
**Row 4: All row in single crochet with the same increases (9).
We proceed to place the beak by placing it between the two eyes.
🧶 Paso 2: Trabajamos con el hilo blanco, para los ojos.
**Fila 1: Hacemos un anillo mágico y dentro hacemos 10 puntos altos normales.
Fila 2: 4 puntos altos normales con aumento, en el espacio 5 hacemos 3 puntos altos normales juntos, repetimos 4 puntos altos normales,seguido de un aumento de 3 puntos (22).
Fila 3: 2 puntos bajos seguidos de un aumento en toda la fila, cerramos cortamos el hilo largo y lo colocamos sobre el tapete.
Hacemos 2 ojos iguales, antes de pegarlos bordamos las pestañas con hilo negro.
🧶 Paso 3: Usamos hilo naranja.
Fila 1: Hacemos 3 cadenas y en la primera hacemos 3 puntos altos normales.
Fila 2: Hacemos 1 aumento al comienzo y al final de la fila toda en puntos altos normales (5).
Fila 3: Hacemos igual a la fila anterior en puntos altos normales (7).
**Fila 4: Toda fila en punto bajo con los mismos aumentos (9).
Procedemos a colocar el pico poniéndolo entre los dos ojos.
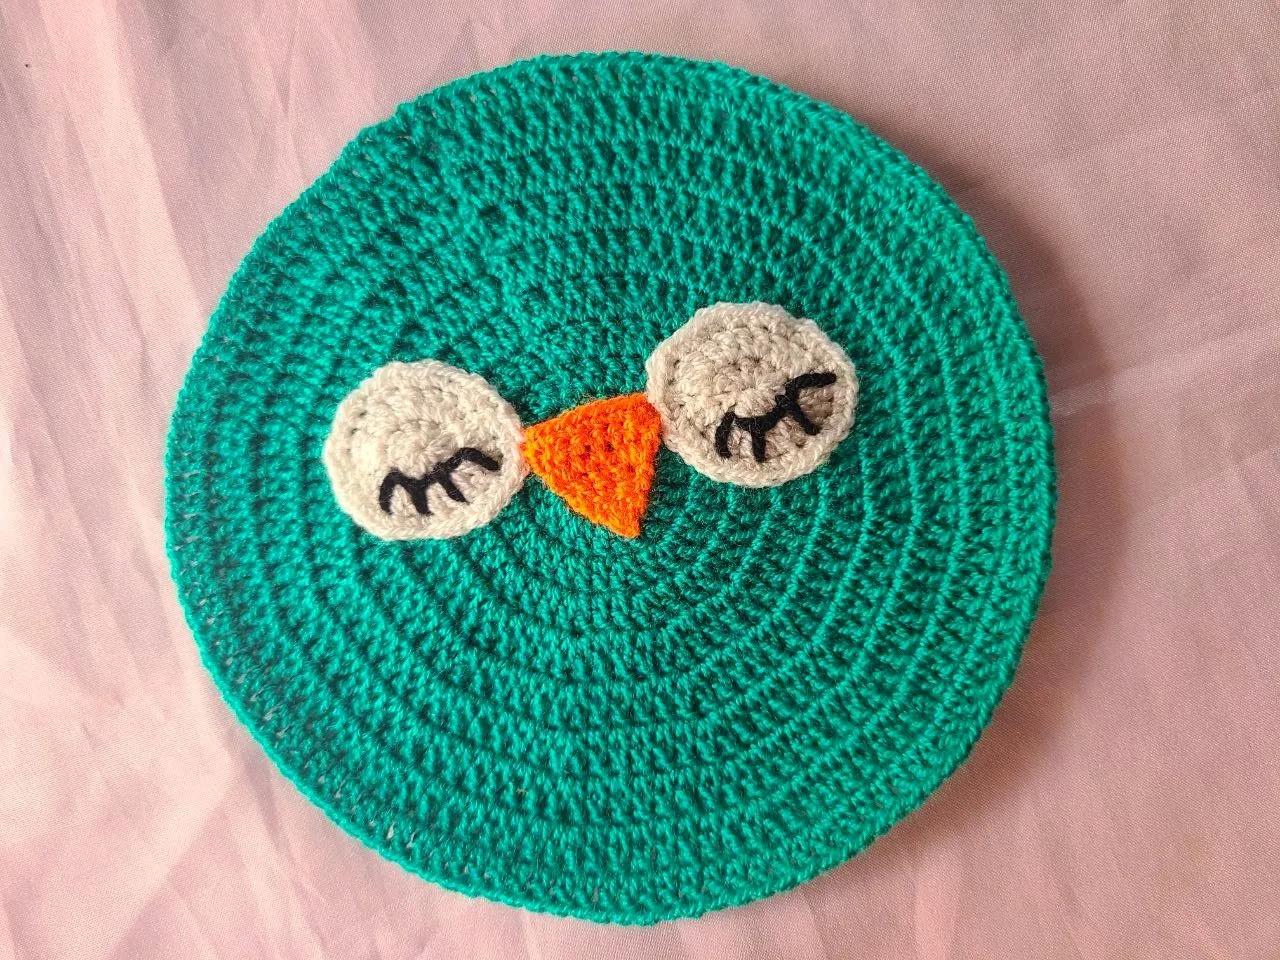
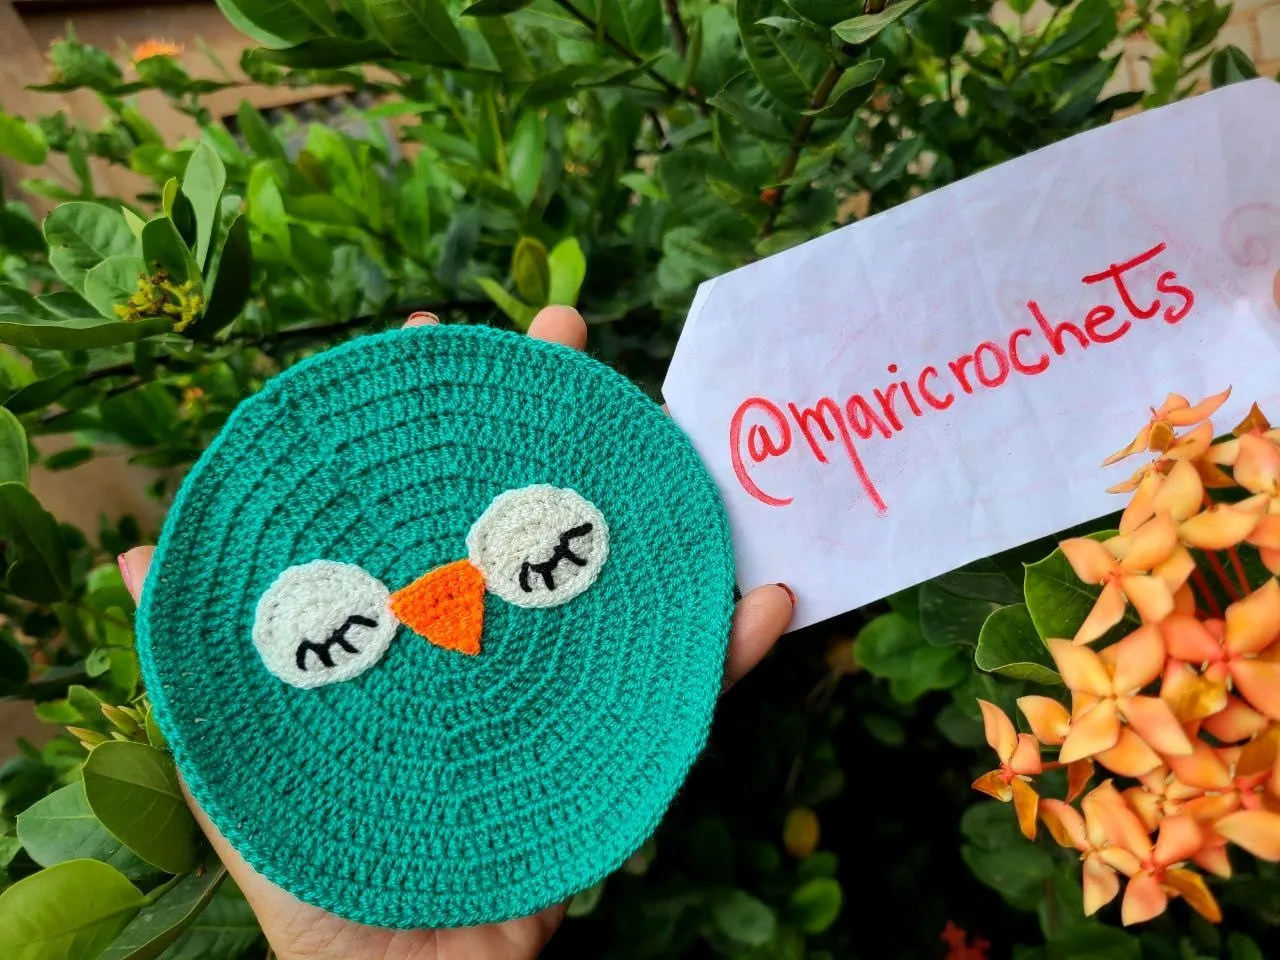
Dear friends, once again I leave my publication for you to enjoy, I also leave you the step by step, thank you for the time you dedicate to my content, greetings. 🙏🏻
Estimados amigos una vez más les dejo mi publicación para que la disfruten, igualmente les dejo el paso a paso, gracias por el tiempo que dedican a mi contenido, saludos. 🙏🏻🧶