Hello friends 🌼 how are you? On this occasion I bring you a tutorial designing a crochet Hello Kitty which we can use as decorations or as a mini rug for the children's room.
Hola amigos 🌼 ¿como están? en esta oportunidad les traigo un tutorial diseñando una hello Kitty en crochet la cual podemos usarlo como adornos o como un mini tapete para el cuarto de los niños.

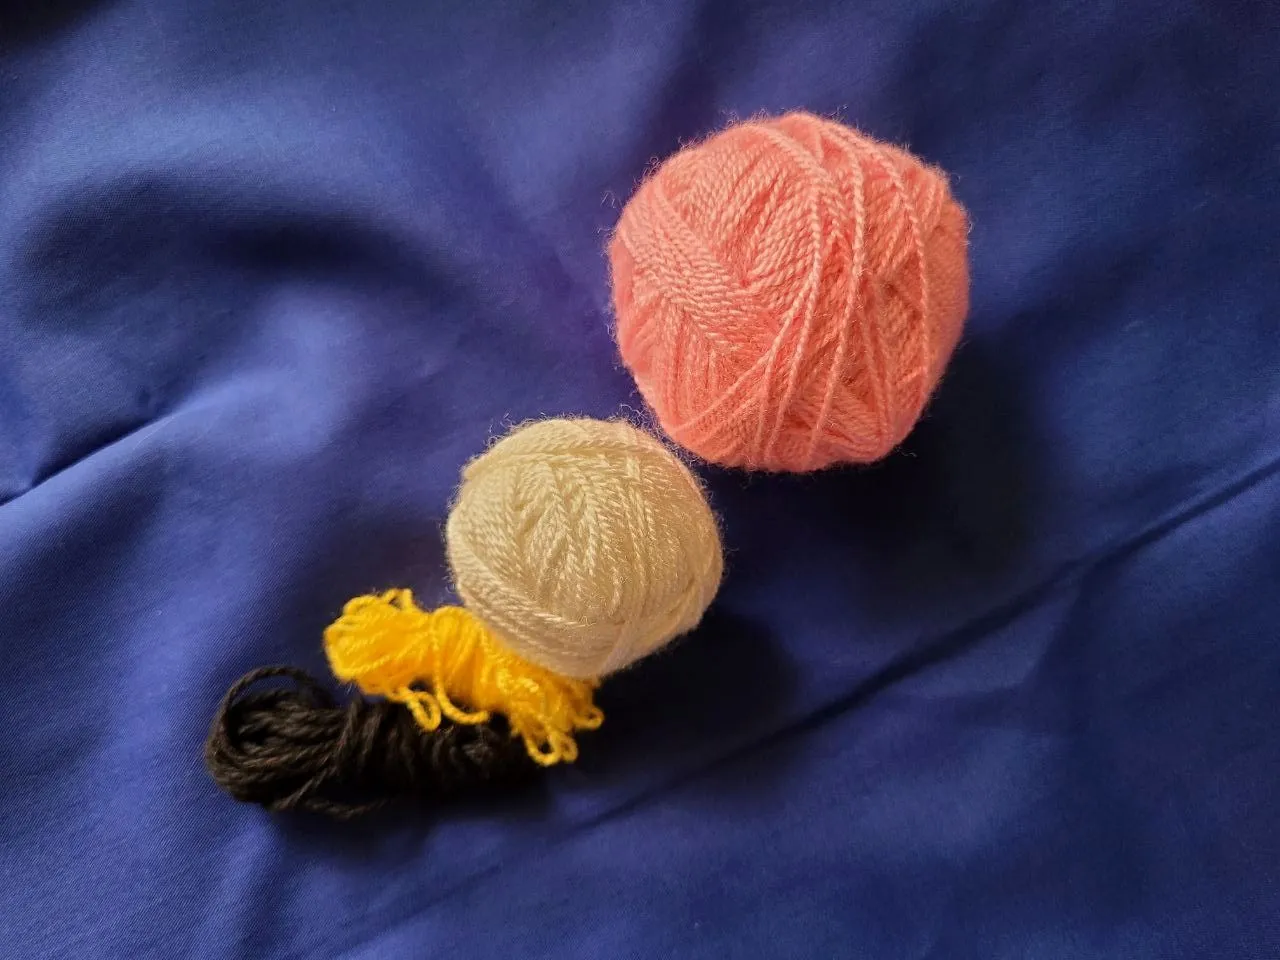
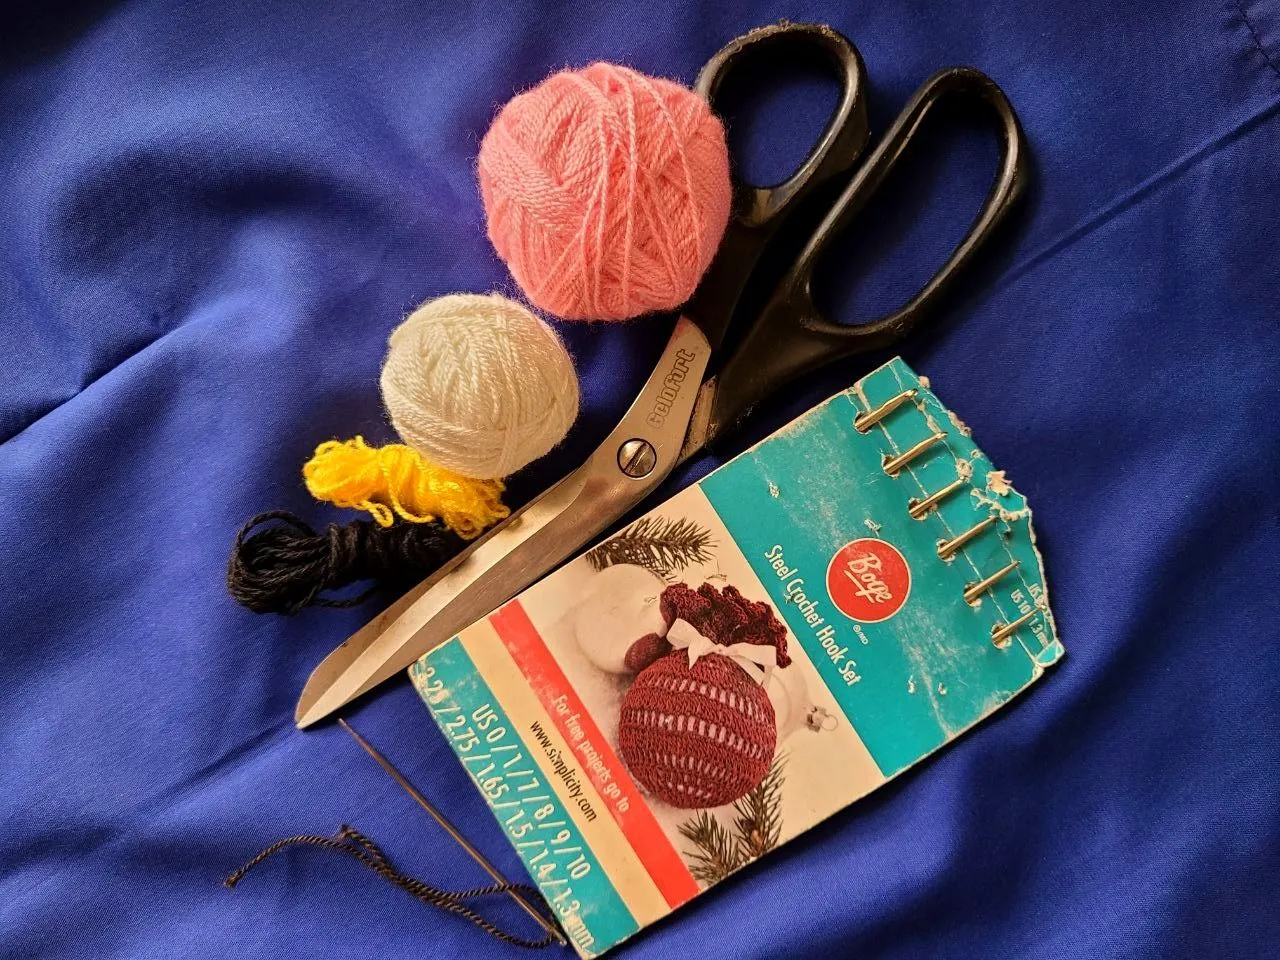
🧶 Materials to use:
✓Crochet threads: white, yellow, black and pink.
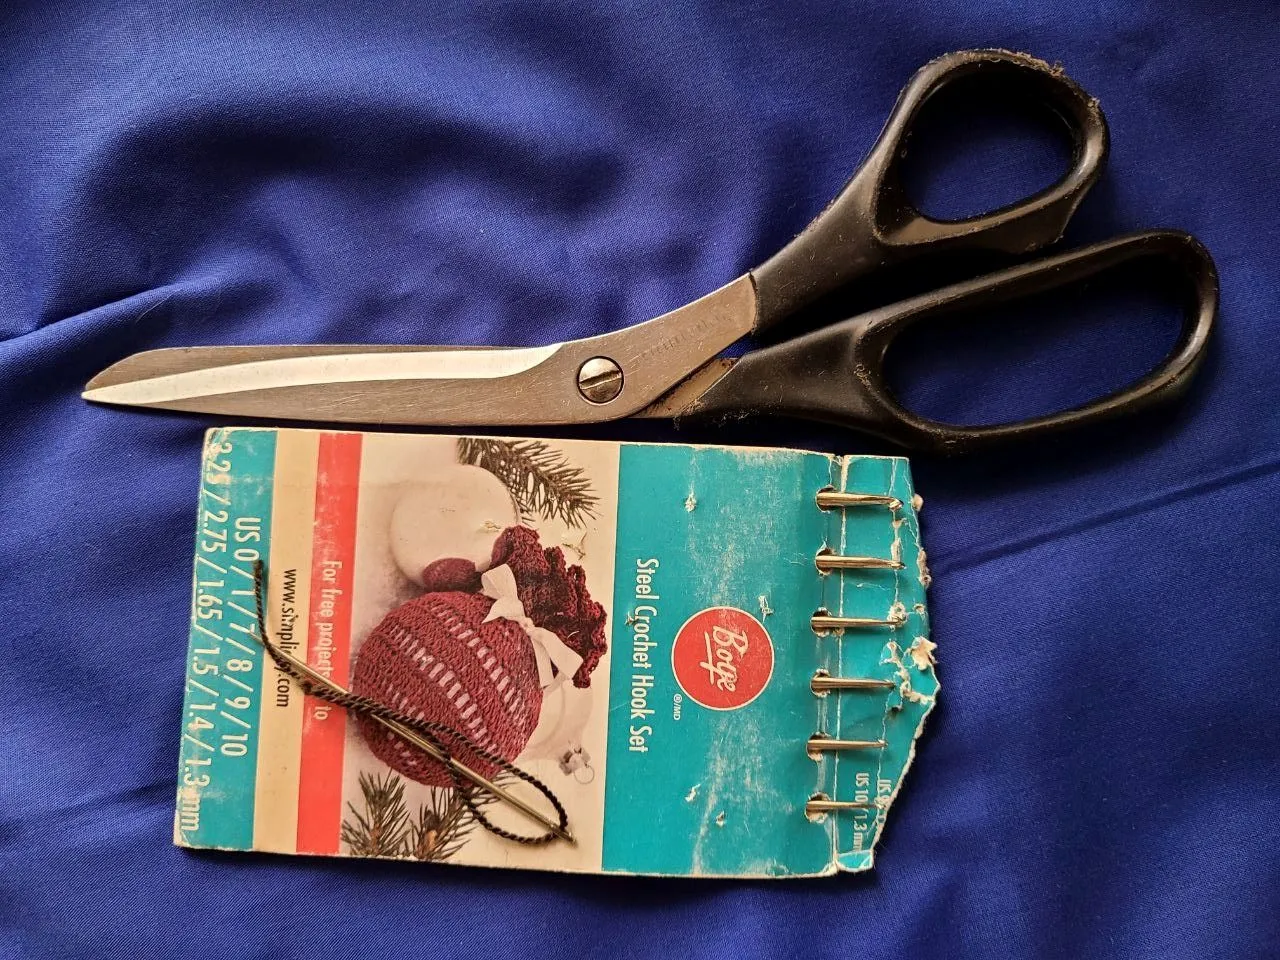
✓Crochet needle number 5.
✓Sewing needle.
✓Scissors
🧶 Points to use:
✓Elongated high points.
✓Normal high points.
✓Medium high points.
✓Slided stitch.
🧶 Materiales a utilizar:
✓Hilos de crochet: blanco, amarillo, negro y rosa.
✓Aguja de crochet número 5.
✓Aguja de coser.
✓Tijeras
🧶 Puntos a utilizar:
✓Puntos altos alargados.
✓Puntos altos normales.
✓Puntos medio altos.
✓Punto deslizado.
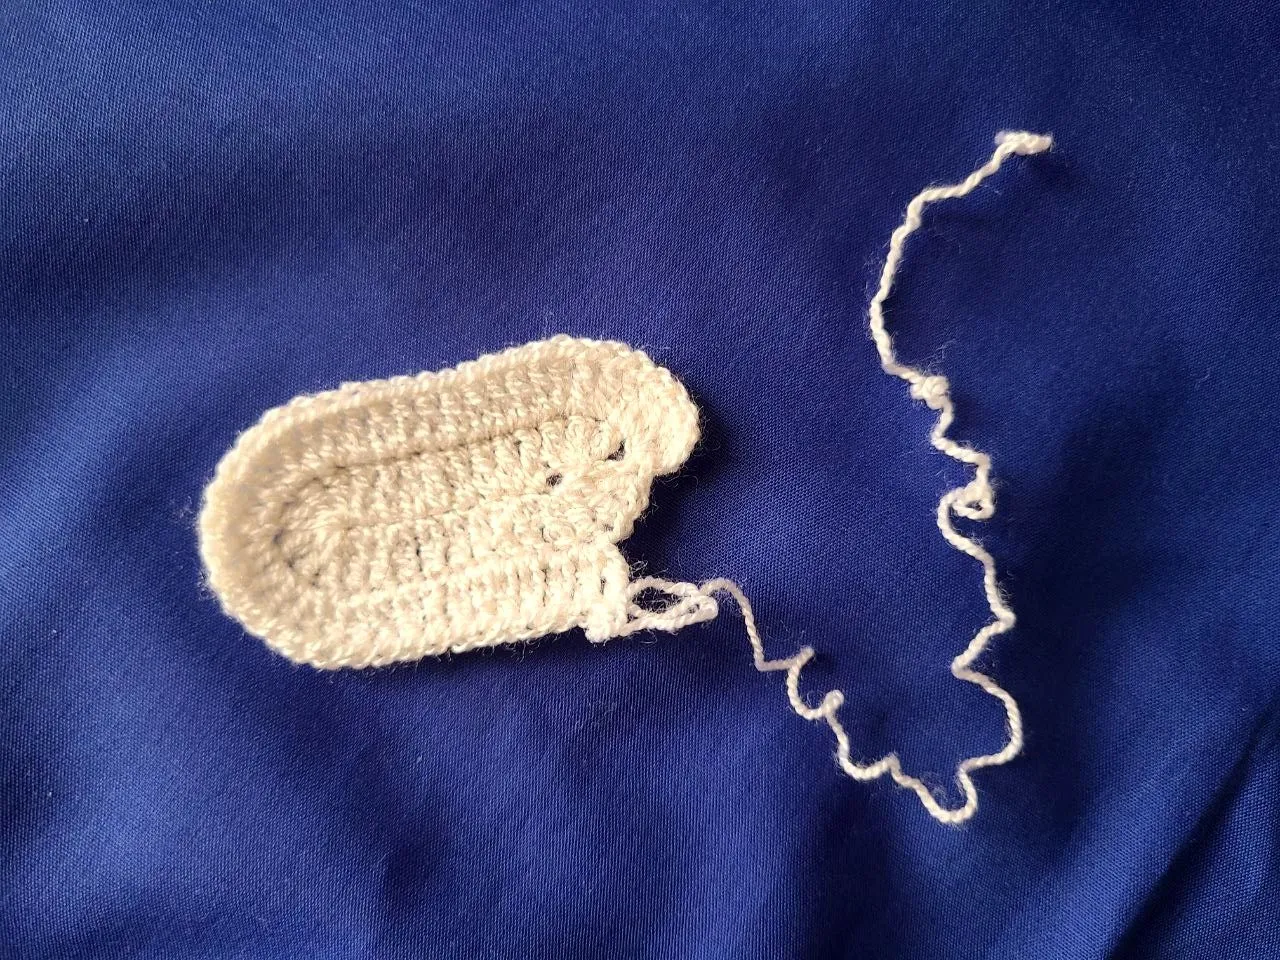
🧶 Step 1: We will work with the white thread.
Row 1: We make 14 chains and work this way: 8 elongated double crochets, 8 elongated double crochets together, 8 elongated double crochets, 8 elongated double crochets together.
Row 2: 8 elongated double crochets, 8 elongated double crochet increases, 8 elongated double crochets, 8 elongated double crochet increases.
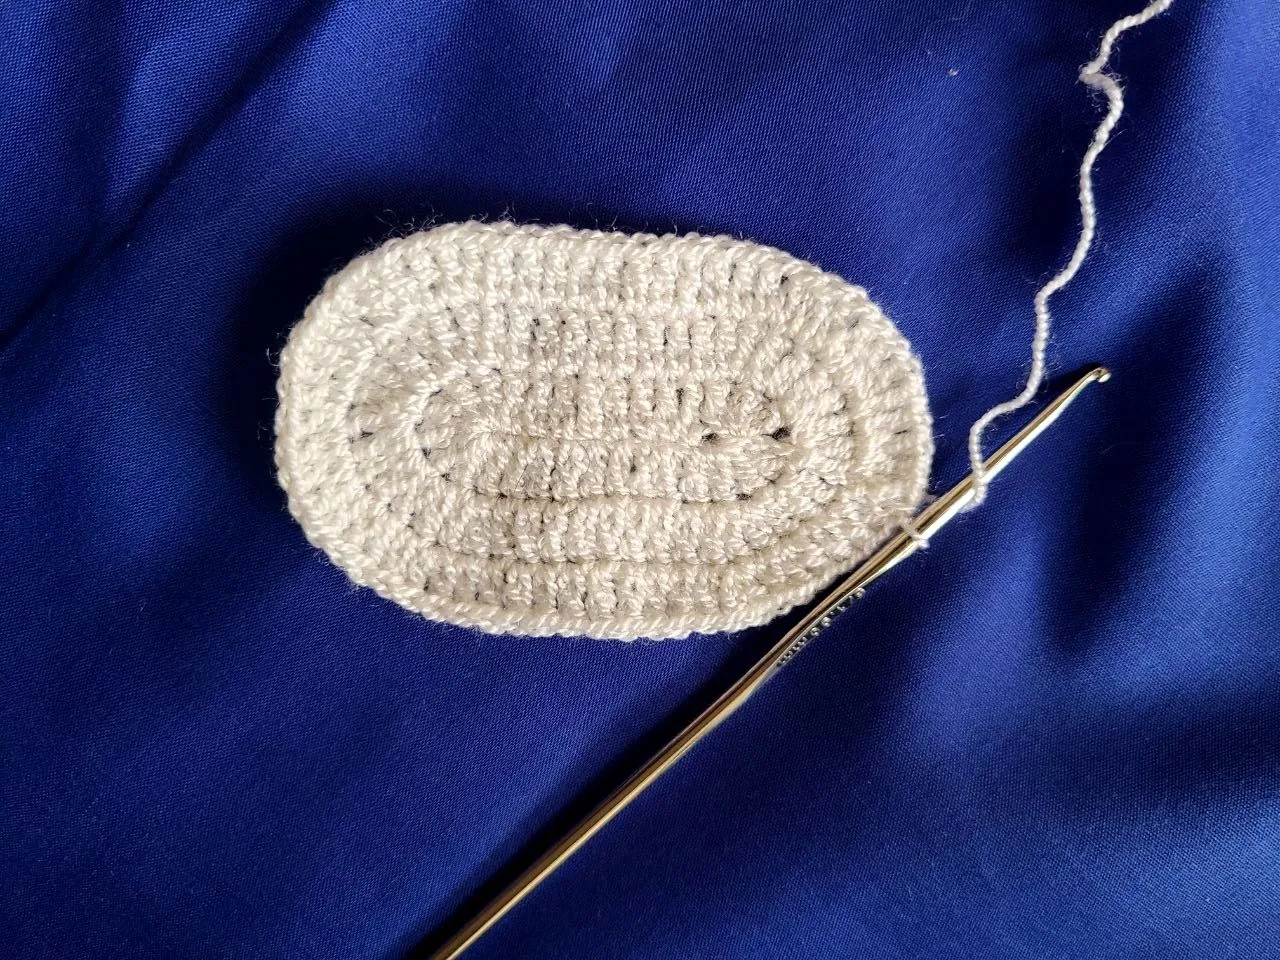
Row 3: 10 elongated double crochets, over the increases we make 1 elongated double crochet, 1 increase in all the increases of the previous row, 10 elongated double crochets and again 1 elongated double crochet, followed by 1 increase over increases from the previous row.
Row 4: 8 elongated double crochets, followed by 1 increase separated by 2 elongated double crochets, so we continue the same to the other side, 8 elongated double crochets, again we repeat the increases separated by 2 elongated double crochets.
Row 5: 10 elongated treble crochets, 1 increase, separated by 3 elongated treble crochets, until you reach the other side, 10 elongated treble crochets, 1 increase separated by 3 elongated treble crochets like this until you finish.
Row 6: 10 elongated treble crochets, 1 increase, separated by 4 elongated treble crochets, until you reach the other side, 10 elongated treble crochets, 1 increase separated by 4 elongated treble crochets like this until you finish.
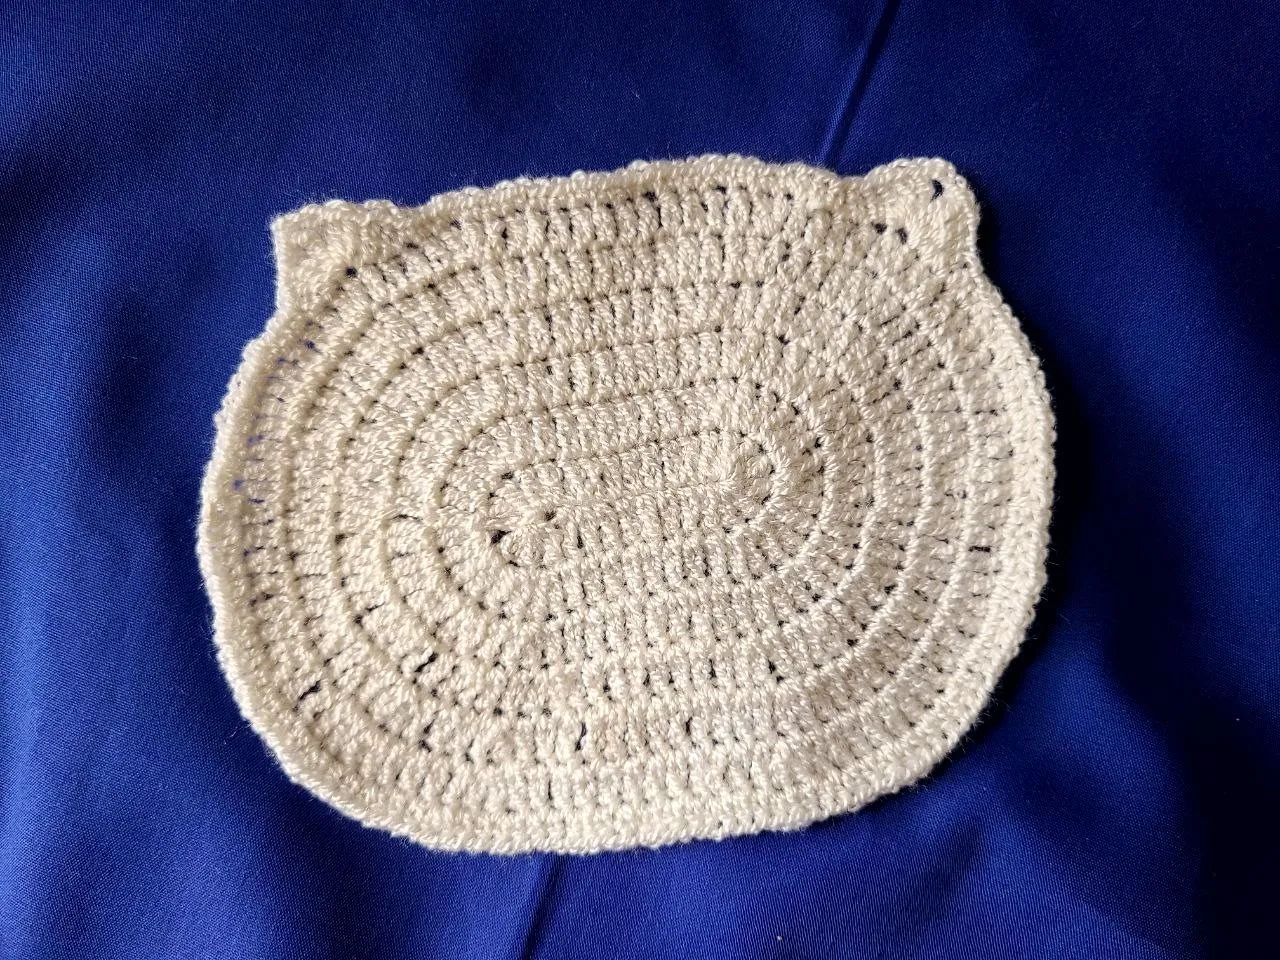
Row 7: all in half-high crochets, locate the space for the ears, and in this way 2 normal double crochets are made, in the same space 2 elongated double crochets, 2 double double crochets, 3 chains, 2 double treble crochets, 2 elongated treble crochets all in the same space, make 2 the same.
🧶 Paso 1: Trabajaremos con el hilo blanco.
Fila 1: Hacemos 14 cadenas y trabajamos de esta manera: 8 puntos altos alargados, 8 puntos altos alargados juntos, 8 puntos altos alargados, 8 puntos altos alargados juntos.
Fila 2: 8 puntos altos alargados, 8 aumentos de puntos altos alargados, 8 puntos altos alargados, 8 aumentos de puntos altos alargados.
Fila 3: 10 puntos altos alargados, sobre los aumentos hacemos 1 punto alto alargado, 1 aumento en todos los aumentos de la fila anterior, 10 puntos altos alargados y de nuevo 1 punto alto alargado, seguido de 1 aumento sobre los aumentos de la fila anterior.
Fila 4: 8 puntos altos alargados,seguidos de 1 aumento separados por 2 puntos altos alargados, así seguimos igual hasta el otro lado , 8 puntos altos alargados de nuevo repetimos los aumentos separados por 2 puntos altos alargados.
Fila 5: 10 puntos altos alargados, 1 aumento, separado por 3 puntos altos alargados, hasta llegar al otro lado, 10 puntos altos alargados, 1 aumento separados por 3 puntos altos alargados así hasta finalizar.
Fila 6: 10 puntos altos alargados, 1 aumento, separado por 4 puntos altos alargados, hasta llegar al otro lado, 10 puntos altos alargados, 1 aumento separados por 4 puntos altos alargados así hasta finalizar.
Fila 7: toda en puntos medios altos, ubicar el espacio de las orejas, y se hacen de esta forma 2 puntos altos normales, en el mismo espacio 2 puntos altos alargados, 2 puntos altos dobles, 3 cadenas, 2 puntos altos dobles, 2 puntos altos alargados todo en el mismo espacio, hacer 2 iguales.
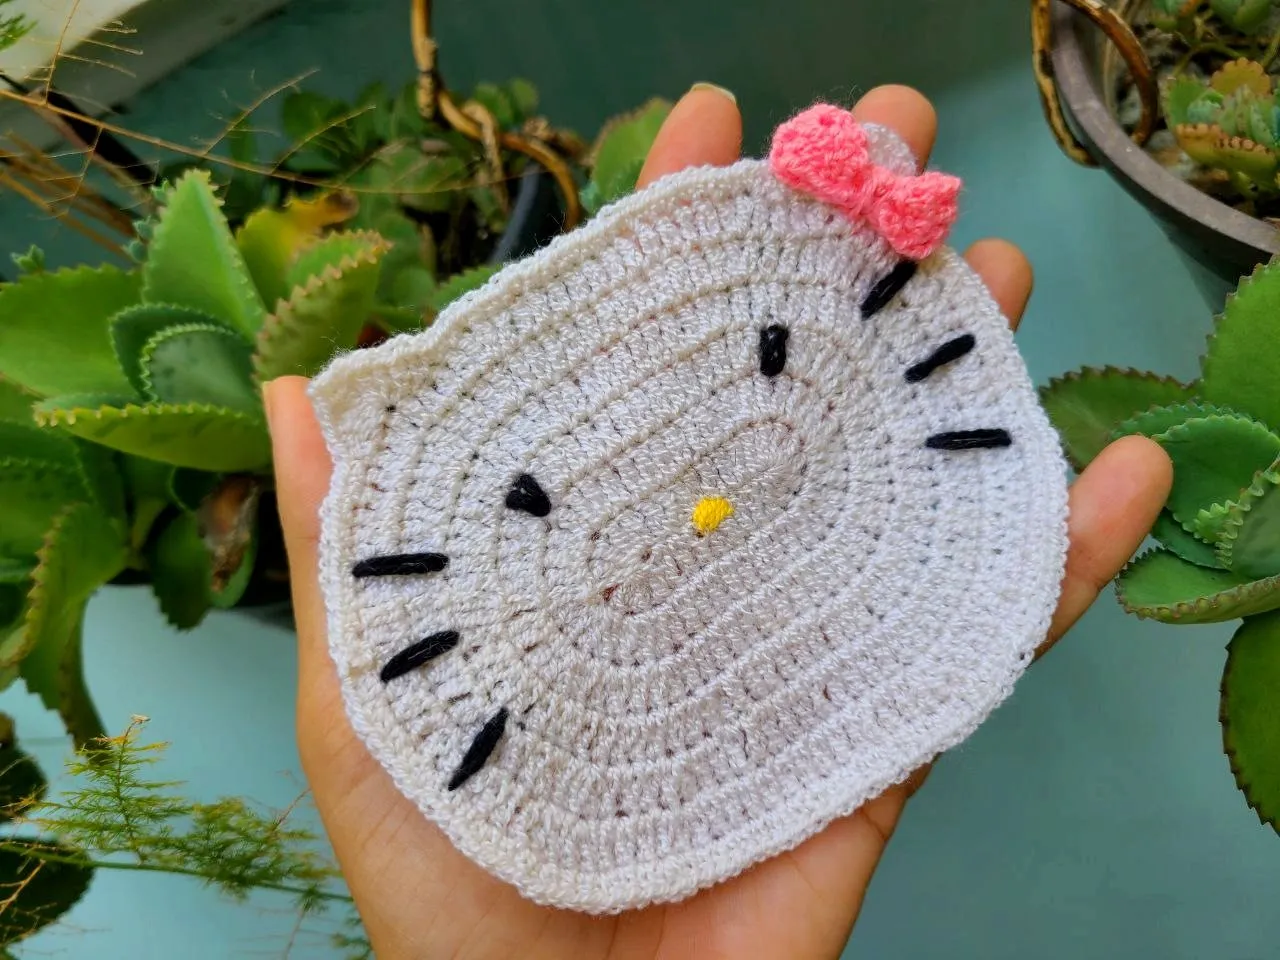
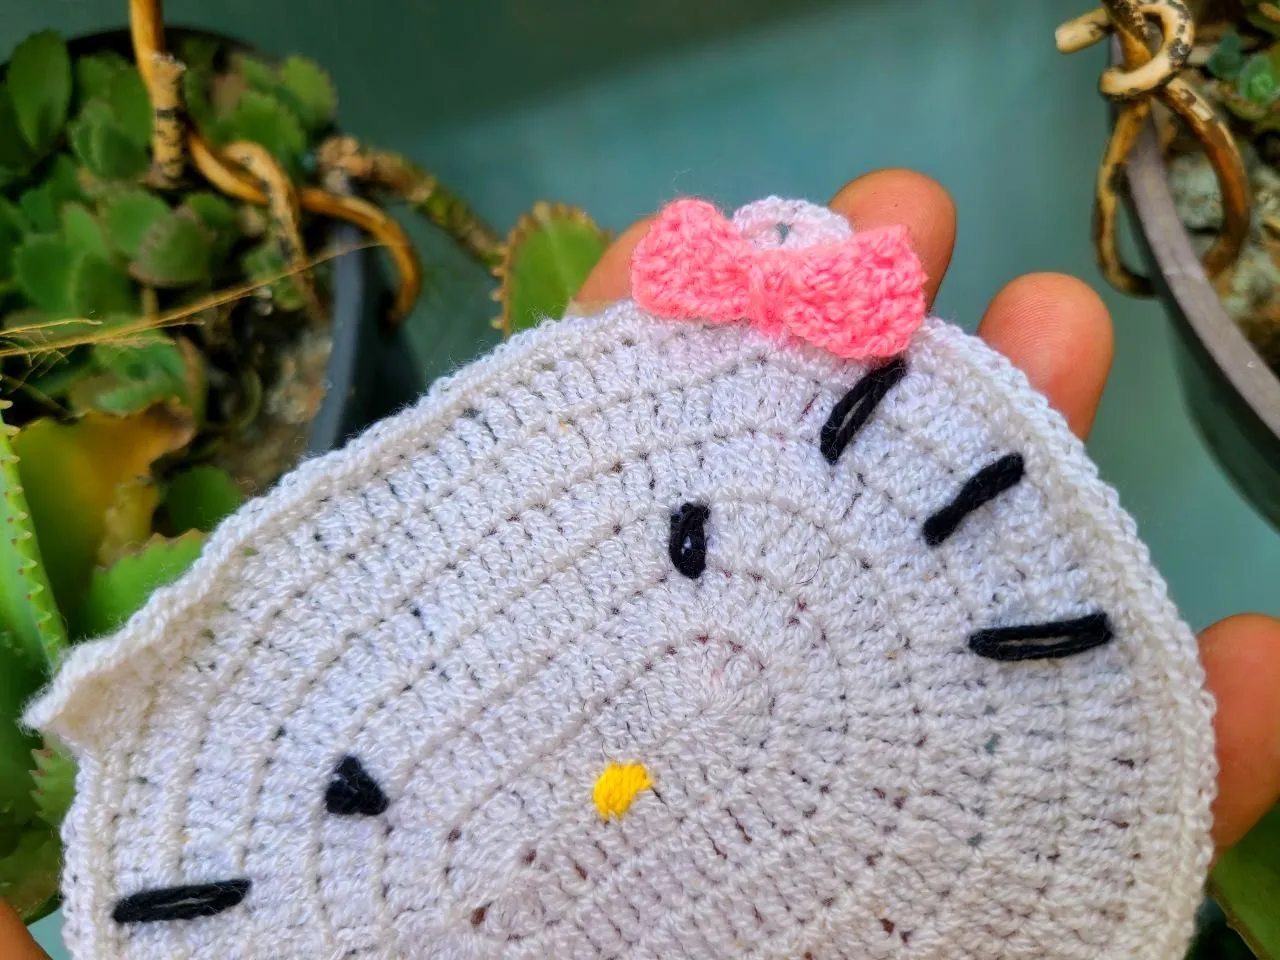
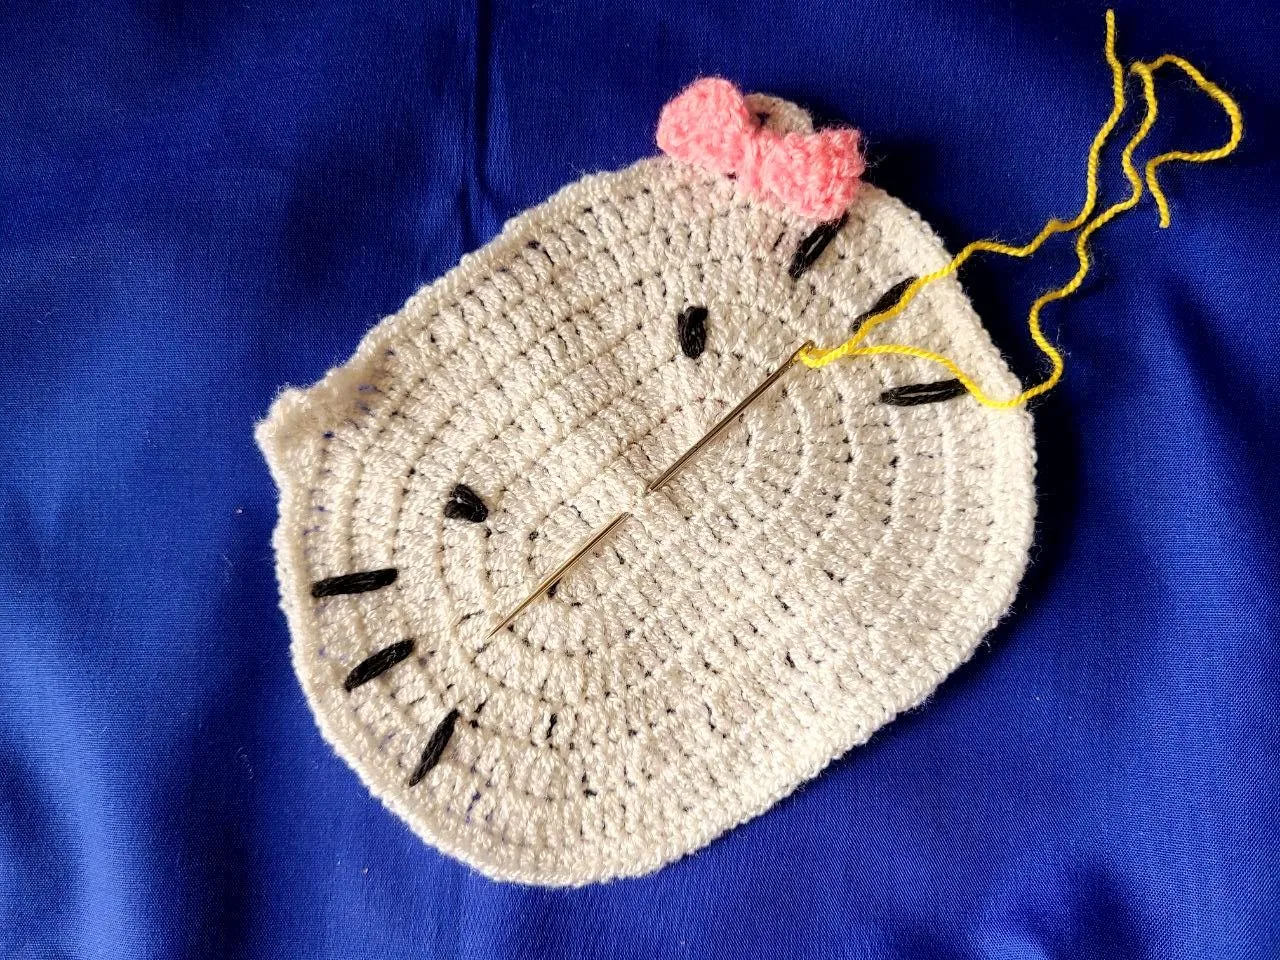
🧶 Step 2: Work with pink thread and make 7 rounds of 4 normal double crochets for the bow.
With the black thread we proceed to embroider the eyes, and the mustaches, with the yellow thread we embroider the nose.
🧶 Paso 2: Trabajar con hilo rosado y hacemos 7 vueltas de 4 puntos altos normales para el lazo.
Con el hilo negro procedemos a bordar los ojos, y los bigotes, con el hilo amarillo bordamos la nariz.
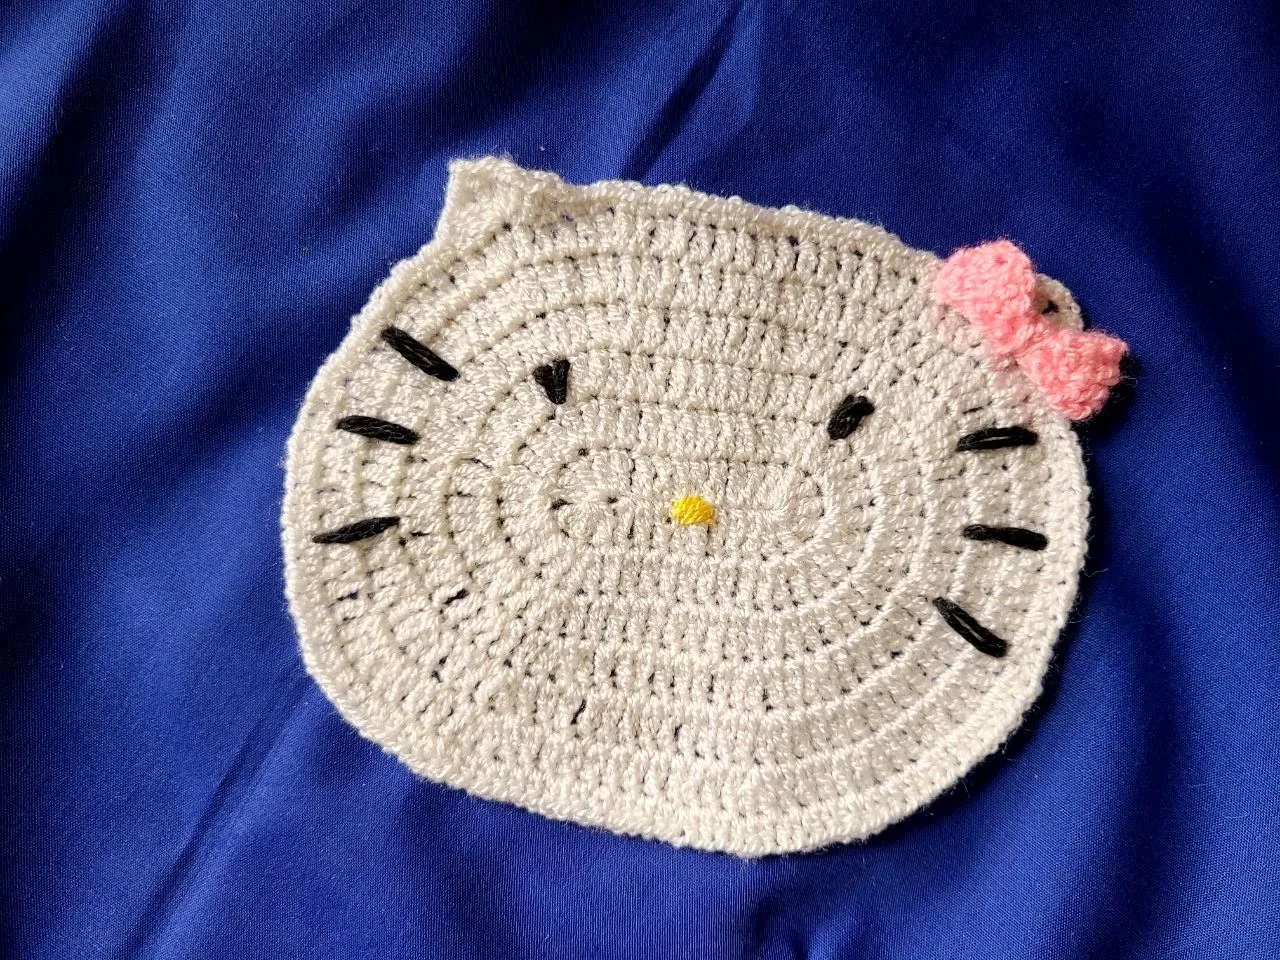
Dear friends, once again I leave you with a tutorial for a Hello Kitty rug that is very easy to make, I hope you like it. Thank you for your dedication to my tutorials, greetings.
Estimados amigos, nuevamente les dejo un tutorial de un tapete de hello Kitty muy sencillo de elaborar, espero que les guste. Gracias por su dedicación a mis tutoriales, saludos.