Welcome to my blog.
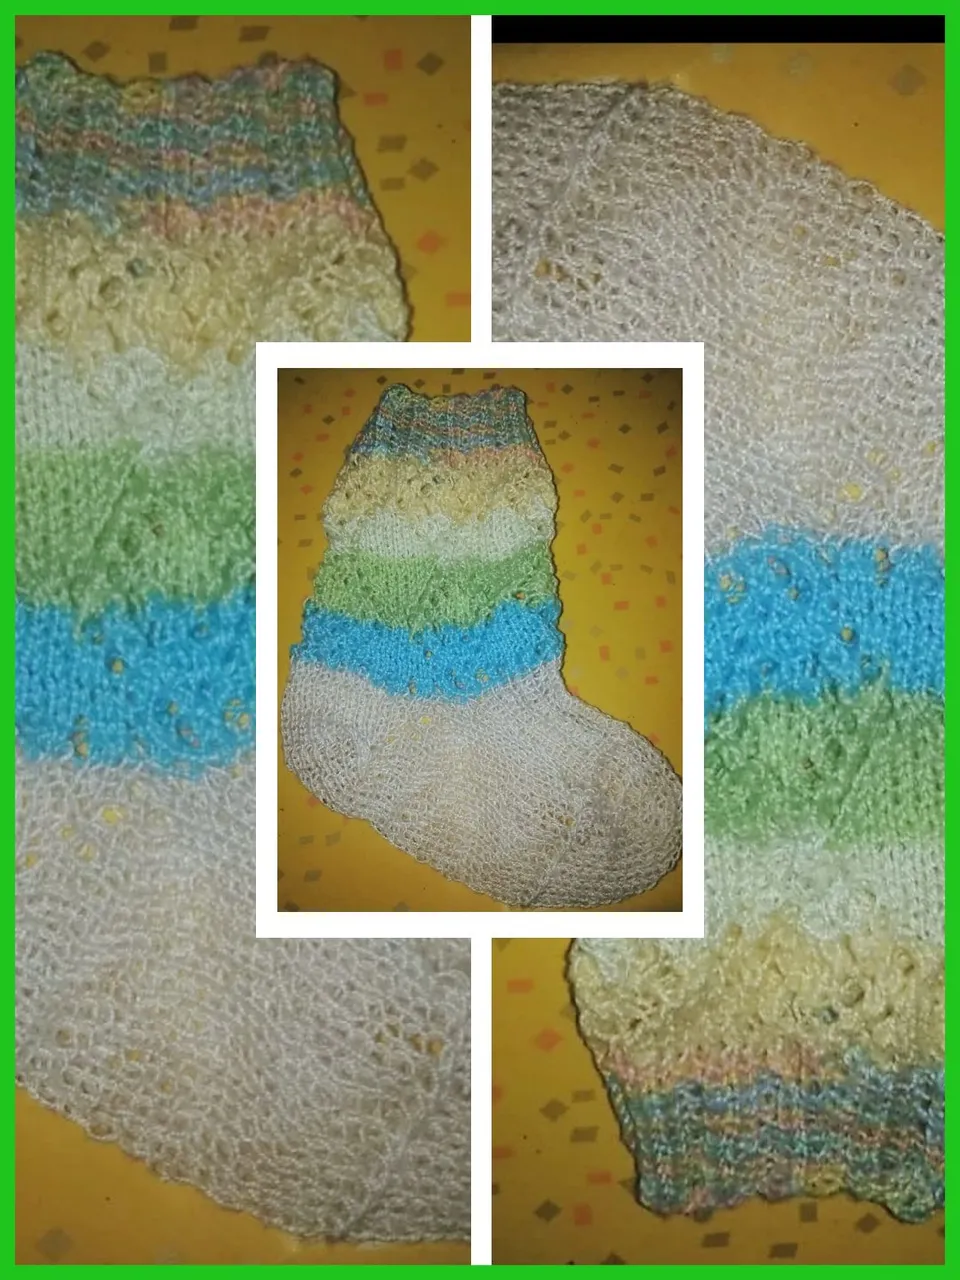
Bendecido inicio de año para todos en esta maravillosa comunidad de #NeedleWorkMonday, complacida de ser recibida y poder compartirles uno de mis pasatiempos favoritos. Desde niña me ha gustado tejer, con el pasar del tiempo fui aprendiendo nuevas técnicas, me llena de mucha satisfacción presentarles este hermoso trabajo hecho a manos en 4 agujas, es un par de medias ideal para niños . la realice con algunos sobrantes que me fueron quedando de otras medias, quedó hermoso, sígueme hasta el final para que veas como de forma sencilla lo logré.
Materials:
4 needles
Yarns of different colors (white, yellow, blue and light green and nuanced).
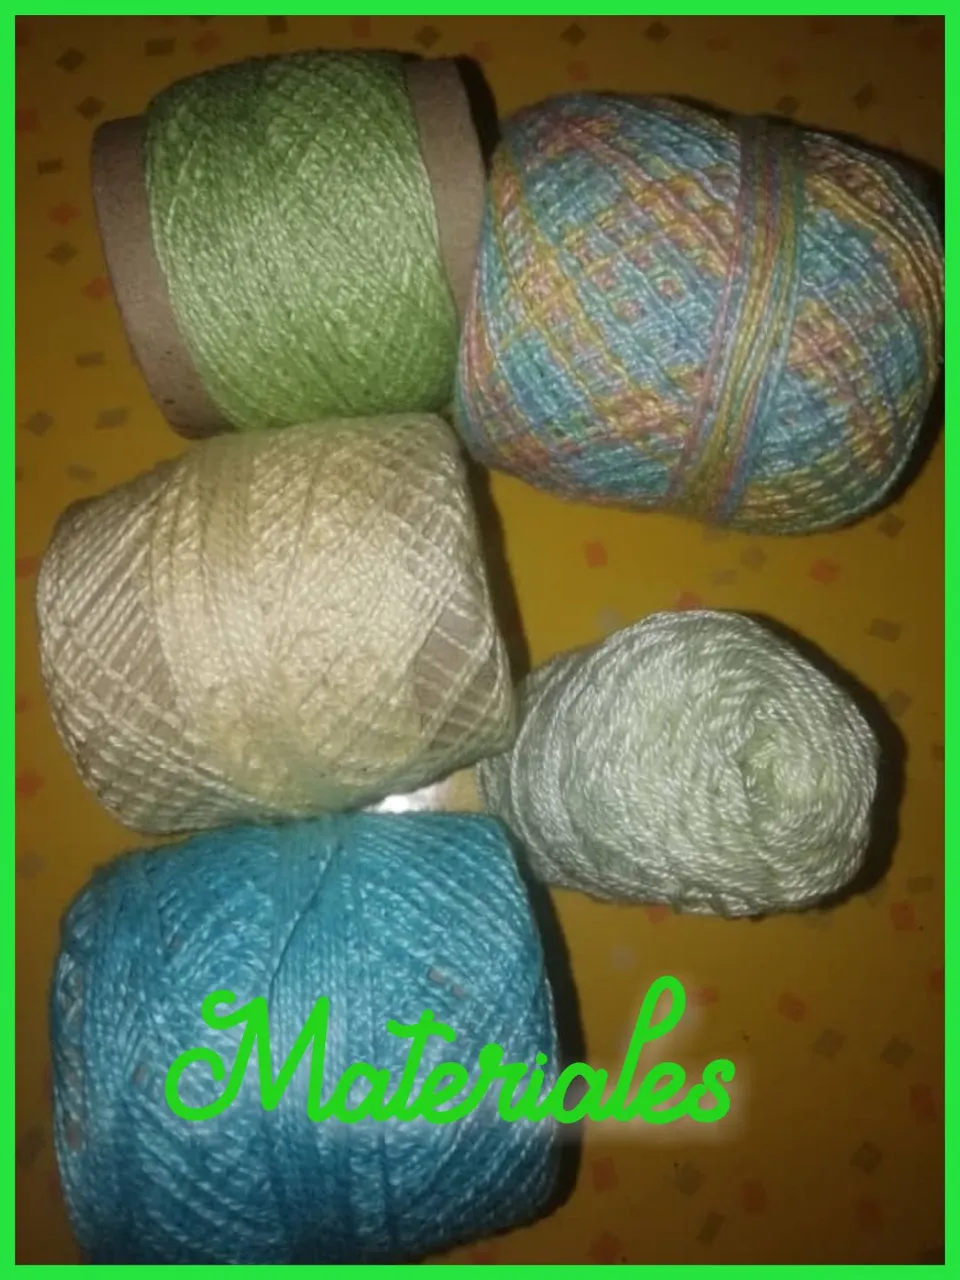
Materiales:
4 agujas
Hilos de diferentes colores (blanco, amarillo, azul y verde claro y matizado)
Processing/ Elaboración:
Step 1:
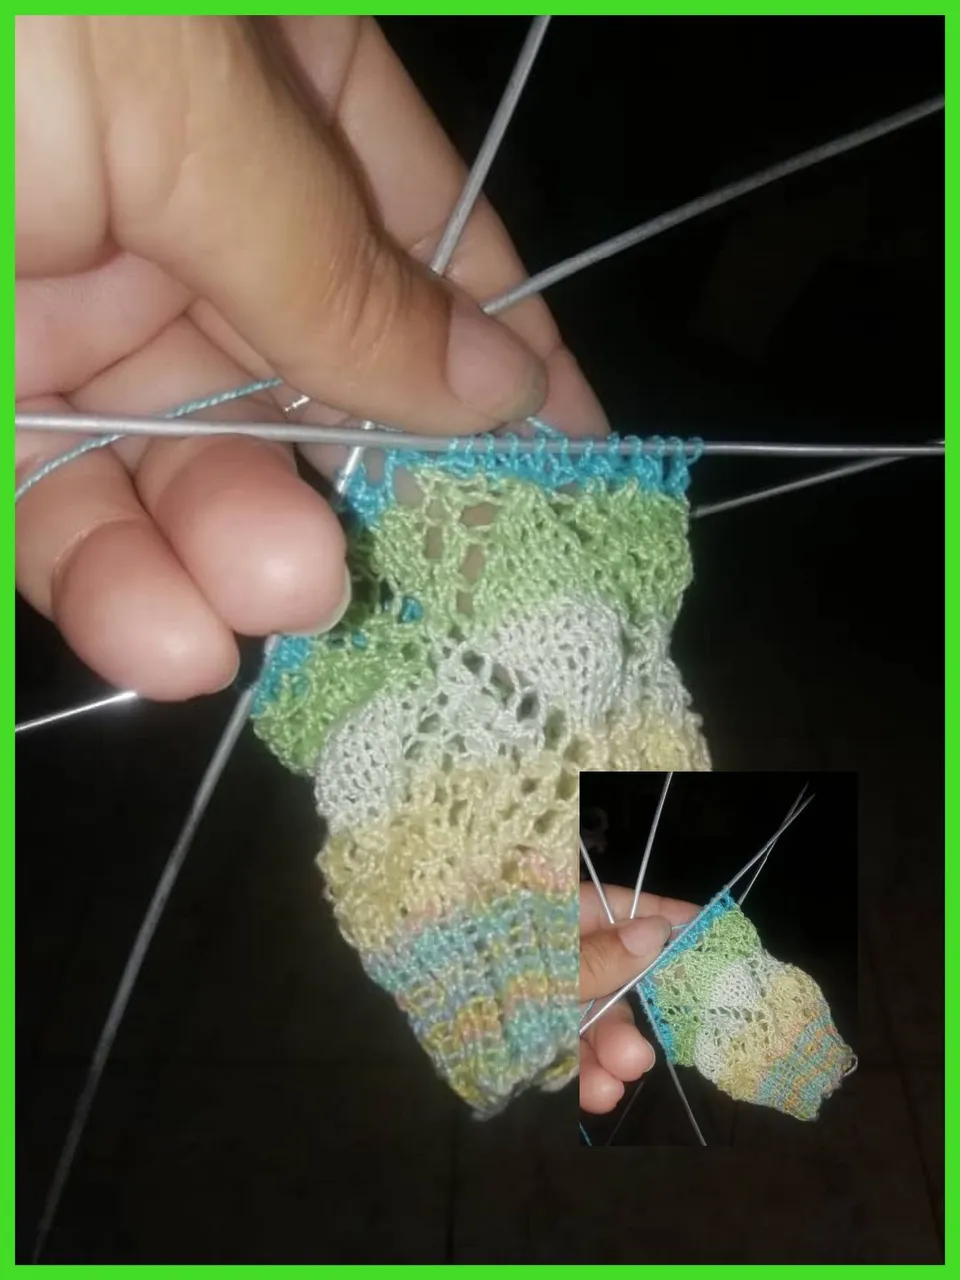
On 2 needles I mounted 48 stitches, then distributed them on the 4 needles. According to the chosen design, it is made with 12 stitches; then, I placed 12 stitches on one needle, 12, on another and 24 on the other, because the 4th needle is the one used for knitting.
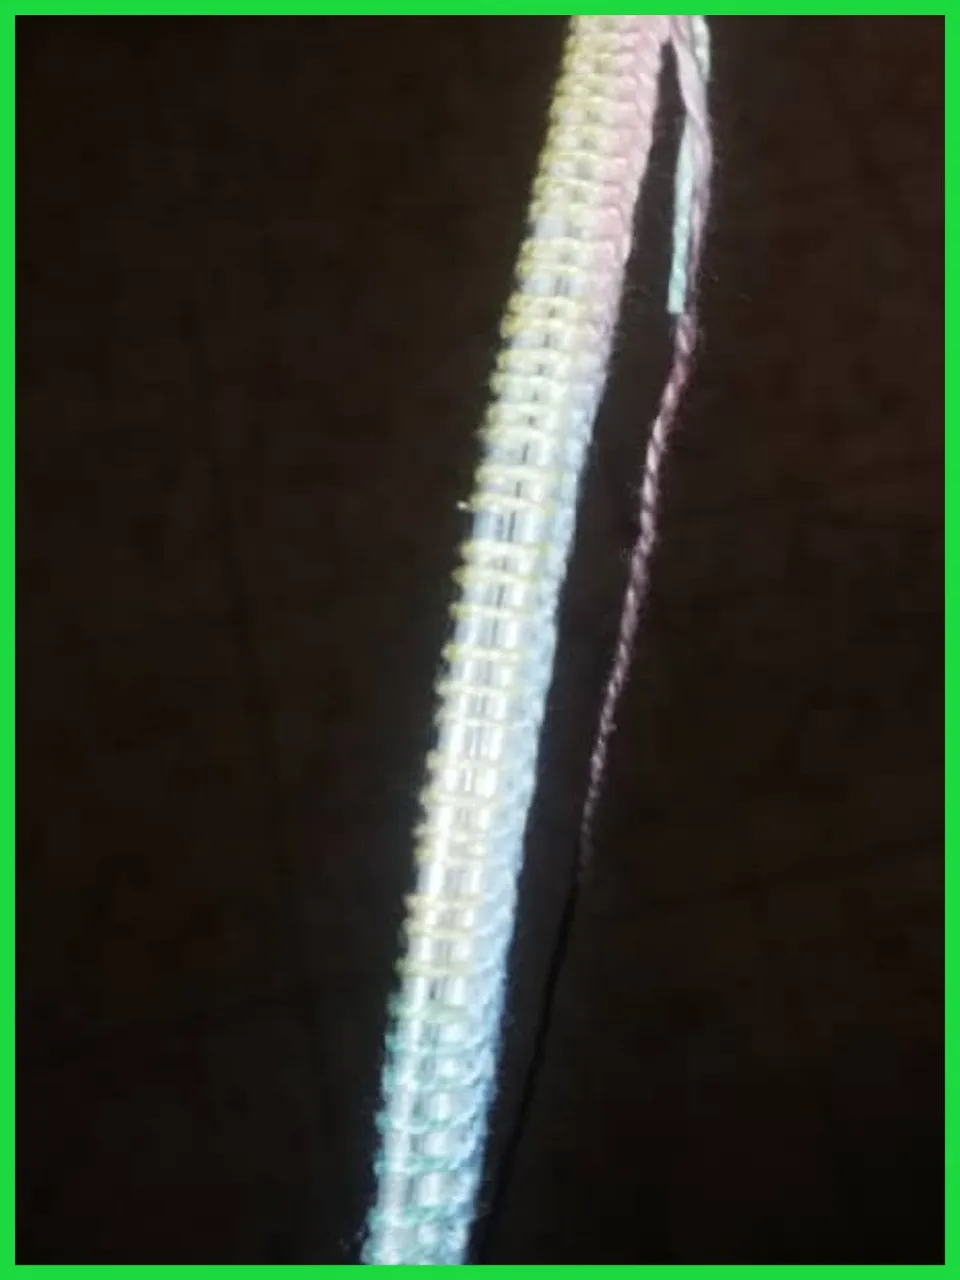
Step 2:
After distributed, I started to make the stretch stitch, which is obtained by knitting 2 right stitches and 2 purl stitches. Once I have the desired size, everything is done according to my calculations; I started to make the previously chosen design.
Paso 1:
En 2 agujas monté 48 puntos, después los distribuí en las 4 agujas. Según el diseño escogido, se realiza con 12 puntos; entonces, coloqué 12 puntos en una aguja, 12, en otra y 24 en la otra, porque la 4ta aguja es la usada para tejer.
Paso 2:
Después de distribuidos, comencé a realizar el punto elástico, que se obtiene tejiendo 2 puntos derechos y 2 puntos revés. Una vez que tengo el tamaño deseado, todo lo hago según mis cálculos; comencé a hacer el diseño previamente escogido.
Here I share the design for those who want to do it:
1.- 1 loop, 1 single, 1 loop, 1 double, 7 singles, 1 double.
2.- 1 loop, 3 singles, 1 loop, 1 double, 1 double, 5 singles, 1 double.
3.- 1 loop, 1 double, 1 loop, 1 single, 1 loop, 1 double, 1 loop, 1 double, 1 double, 1 double, 3 singles, 1 double.
4.- 1 loop, 1 double, 1 loop, 3 singles, 1 loop, 1 double, 1 loop, 1 double, 1 double, 1 single, 1 double.
5.- 1 double, 1 loop, 5 singles, 1 loop, 1 double, 1 loop, 1 double, 1 loop, 1 triple, 1 loop.
6.- 1 double, 1 loop, 1 double, 1 single, 1 double, 1 loop, 1 double, 1 loop, 1 loop, 1 double, 1 loop, 3 singles, 1 loop.
7.- 1 double, 1 loop, 1 triple, 1 loop, 1 double, 1 loop, 1 single, 5 singles, 1 loop.
8.- 1 double, 1 single, 1 double, 1 loop, 1 loop, 7 singles, 1 loop.
9.- 1 triple, 1 loop, 9 singles.
Aquí les comparto el diseño para quien desee hacerlo:
1.- 1 lazada, 1 sencillo, 1 lazada, 1 doble, 7 sencillos, 1 doble.
2.- 1 lazada, 3 sencillos, 1 lazada, 1 doble, 5 sencillos, 1 doble.
3.- 1 lazada, 1 doble,1 lazada, 1 sencillo, 1 lazada, 1 doble, 1 lazada, 1 doble, 3 sencillos, 1 doble.
4.- 1 lazada, 1 doble, 1 lazada, 3 sencillos,1 lazada, 1 doble,1 lazada, 1 doble, 1 sencillo, 1 doble.
5.- 1 doble, 1 lazada, 5 sencillos, 1 lazada, 1 doble, 1 lazada, 1 triple, 1 lazada.
6.- 1 doble, 1 lazada, 1 doble, 1 sencillo, 1 doble, 1 lazada, 1 doble, 1 lazada, 3 sencillos, 1 lazada.
7.- 1 doble, 1 lazada, 1 triple, 1 lazada, 1 doble, 1 lazada, 5 sencillos, 1 lazada.
8.- 1 doble, 1 sencillo, 1 doble, 1 lazada, 7 sencillos, 1 lazada.
9.- 1 triple, 1 lazada, 9 sencillos.
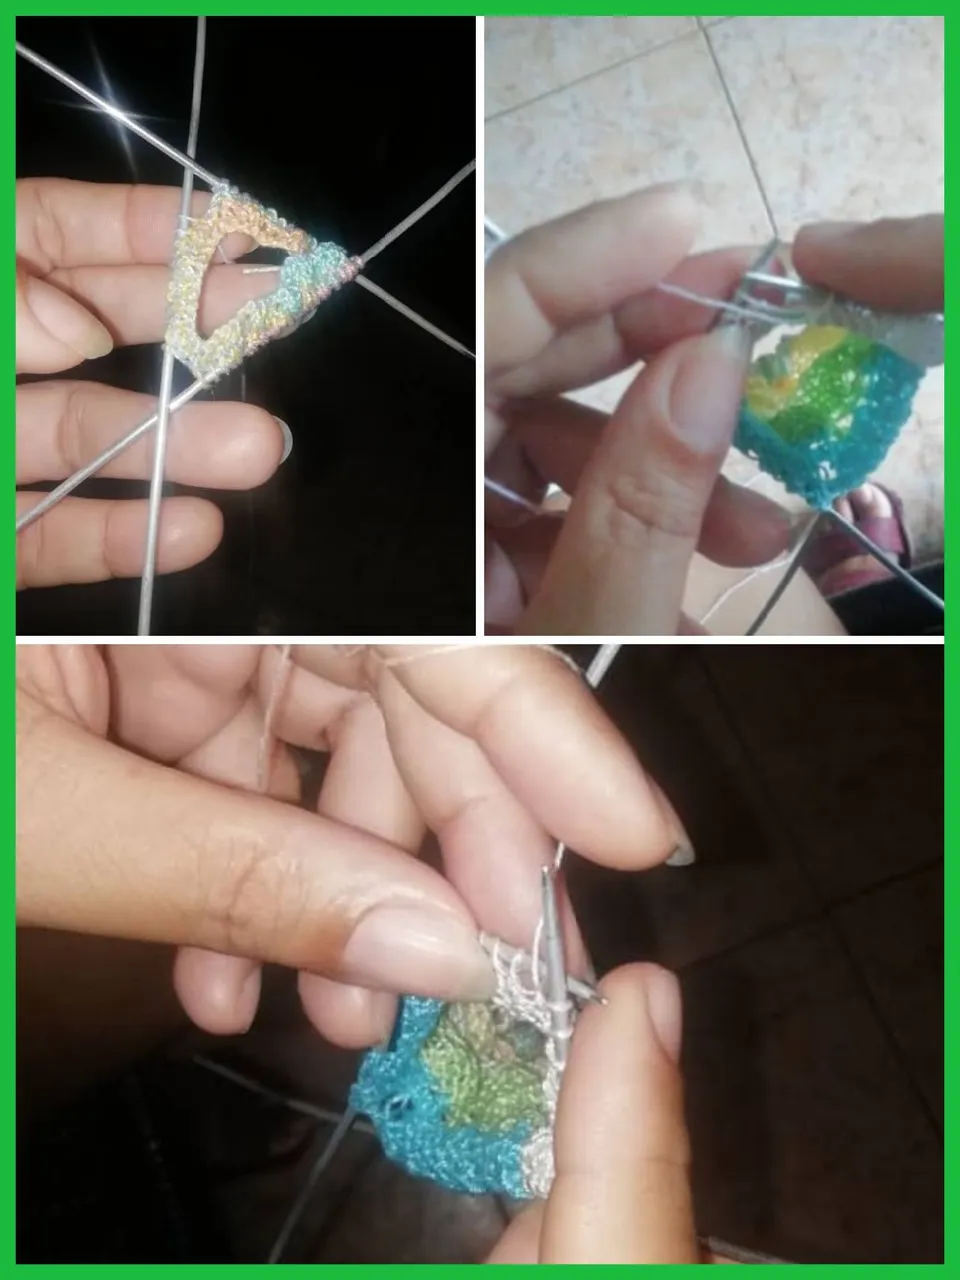
Step 3:
I start knitting the 1st round, and at the end of 48 stitches it is pulled out purl, then I continue with the 2nd round and so each one until I reach the 9th round, there I have obtained the first pattern. And I go alternating the colors according to my taste.
Step 4:
Perform the drawing twice, considering that I obtained the desired size, there I perform the ribbon pass which is obtained like this:
1 double, 1 double, 1 double, 1 double, 1 loop, until the number of stitches you have, in this case 48, then purl out.
Paso 3:
Comienzo a tejer la 1era vuelta, y al finalizar los 48 puntos se saca al revés, luego continúo con la 2da vuelta y así cada una hasta llegar a la 9na vuelta, ahí he obtenido el primer dibujo. Y voy alternando los colores según mis gustos.
Paso 4:
Realice el dibujo dos veces, considerando que obtuve el tamaño deseado, allí realizo el pasa cintas que se obtiene así:
1 doble, 1 lazada, 1 doble 1 lazada, hasta tejer la cantidad de puntos que se tenga, en este caso 48, después se saca por revés.
Step 5:
In this step I start making the heel as follows:
As I have 48 stitches, I divide it in half is 24, I take the ones I have in one needle and leave the other 24 in the two needles and I start knitting only with those 24, leaving in reserve the other 24 and I do it like this: I divide by 4 the stitches I have, it would be 6 stitches, then in each round of coming and going I leave 1 stitch, once I get 6 stitches on each side and I have 12 stitches in the center, I will start to pick up 1 stitch in each coming and going; until I pick up the 6 that I had left; again I have 24 stitches. Here you notice that there is a bulge in the fabric, that is the heel.
Paso 5:
En este paso comienzo a realizar el talón de la siguiente manera:
Como tengo 48 puntos, lo divido a la mitad es 24, tomo los que tengo en una aguja y dejo los otros 24 en las dos agujas y comienzo a tejer solo con esos 24, dejando en reserva los otros 24 y lo hago así: divido entre 4 los puntos que tengo, serian 6 puntos, entonces en cada vuelta de ir y venir voy dejando 1 punto, una vez que obtenga 6 puntos de cada lado y tengo 12 puntos en el centro, voy a empezar a recoger 1 punto en cada ir y venir; hasta lograr recoger los 6 que había dejado; de nuevo tengo 24 puntos. Aquí se nota que hay un abultamiento en el tejido, eso es el talón.
Step 6:
From there I start knitting the foot with all 48 stitches, in the round, the part of the heel I knit in single stitches and the part of the instep or top of the foot, I knit with a single stretch stitch, that is: with 1 single stitch and 1 purl stitch, until I get a size according to the size of the leg,

Step 7:
Once the size is obtained, I begin to make the toe, which is done the same as the heel but on the opposite side; that is, I choose this time the other 24 stitches, which I left at rest to make the heel, I do it this way so that no seam is seen anywhere on the sock, it is a matter of aesthetics, because here the seam would be under the toes and it does not bother. Once the process is finished as I did with the heel, I begin to close.
Paso 6:
A partir de ahí comienzo a tejer el pie con todos los 48 puntos, en redondo, la parte del talón lo realizo en puntos sencillos y la parte del empeine o parte superior del pie, lo realizo con un punto elástico sencillo, es decir: con 1 punto sencillo y 1 punto revés, hasta obtener un tamaño acorde con el tamaño de la pierna,
Paso 7:
Una vez obtenido el tamaño, comienzo a hacer la punta, que se realiza igual que el talón pero del lado contrario; es decir, escojo esta vez los otros 24 puntos, que dejé en descanso para hacer el talón, lo hago así para que no se le vea costura por ninguna parte a la media, es cuestión de estética, porque aquí la costura quedaría debajo de los dedos y no molesta. Una vez terminado el proceso igual que hice con el talón, comienzo a cerrar.
Step 8:
I start knitting the last stitch and I return it to the needle and I take 1 of the 24, plus the one I just knitted and one of the other needle and I take 1 triple and so I go until I finish closing, once I knit the last 3, I cut the yarn and secure.
And that's it, that's how I got this beautiful pair of socks, in an easy and economical way, I hope I have been explicit enough and that you can be enthusiastic to make it. If you took the time to read this far, leave me your comments, questions or doubts and I'll be glad to answer them.
Paso 8:
Comienzo tejiendo el último punto y lo regreso a la aguja y voy tomando 1 de los 24, mas el que acabo de tejer y uno de los de la otra aguja y saco 1 triple y así voy hasta terminar de cerrar, una vez tejidos los últimos 3, corto el hilo y aseguro.
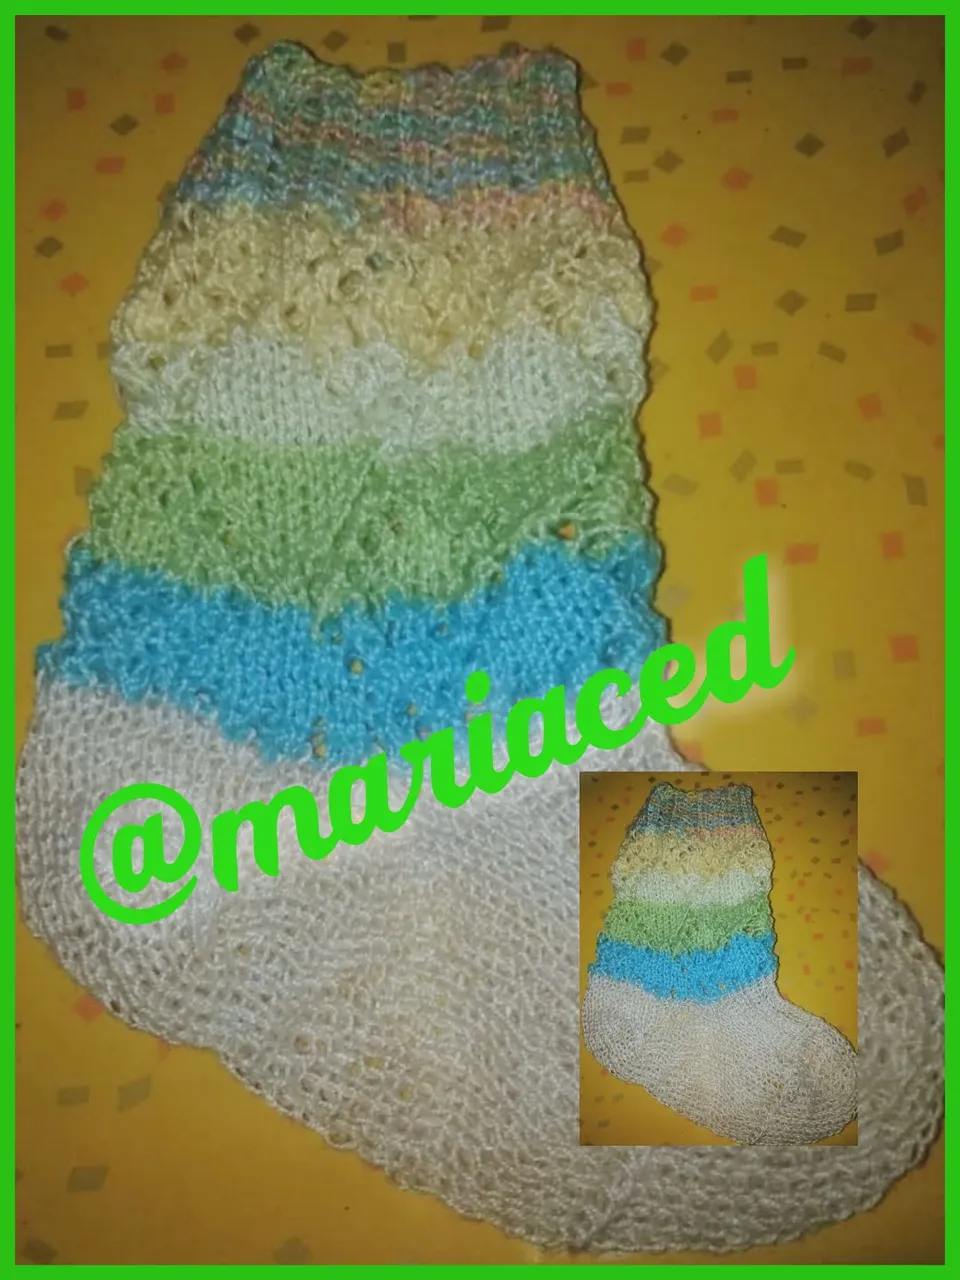
Y listo, así obtuve este bello par de medias, de forma fácil, y económica, espero haber sido lo suficientemente explícita y que se puedan entusiasmar a realizarlo. Si te tomaste el tiempo para leer hasta aquí, déjame tus comentarios, preguntas o dudas y con gusto te responderé.
Thank you for visiting me
Gracias por visitarme
Separators / separador
Todas las fotos son de mi propiedad, tomadas con mi telefono Huawei y editadas en una aplicación gratuita en el teléfono