¡Hola queridos usuarios de Hive ✨💕!
Hi dear Hive users ✨💕!
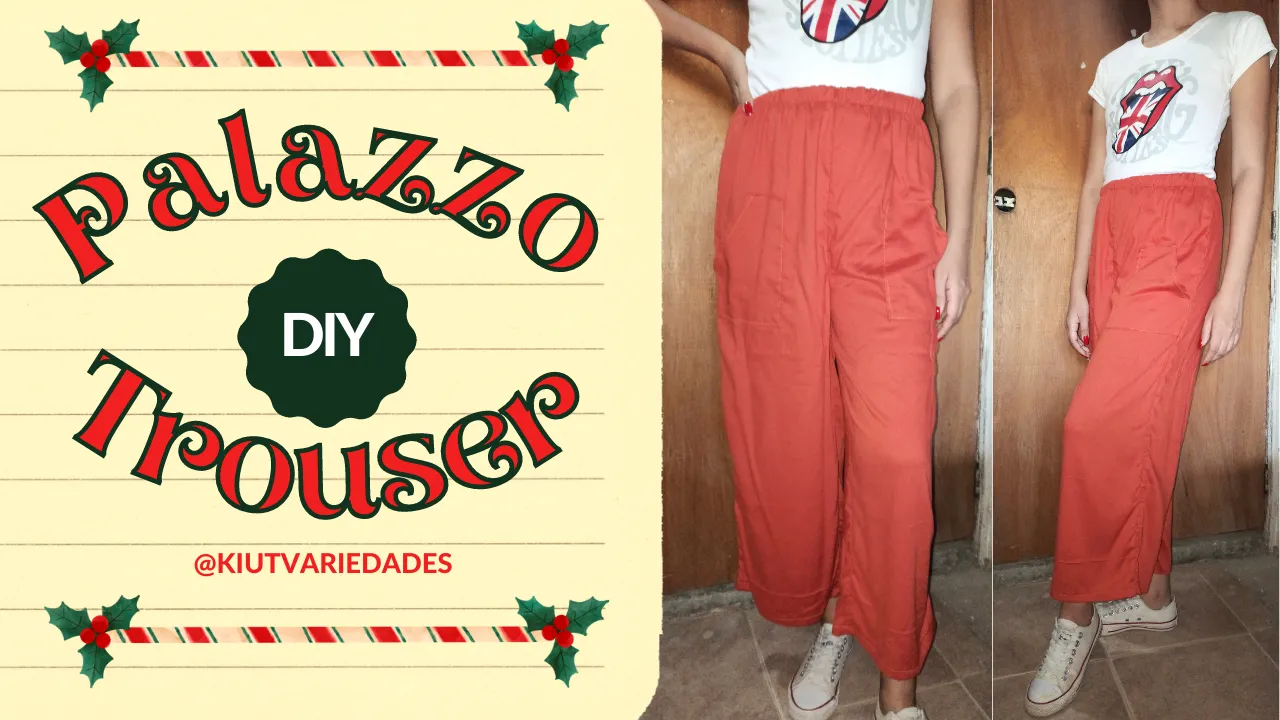
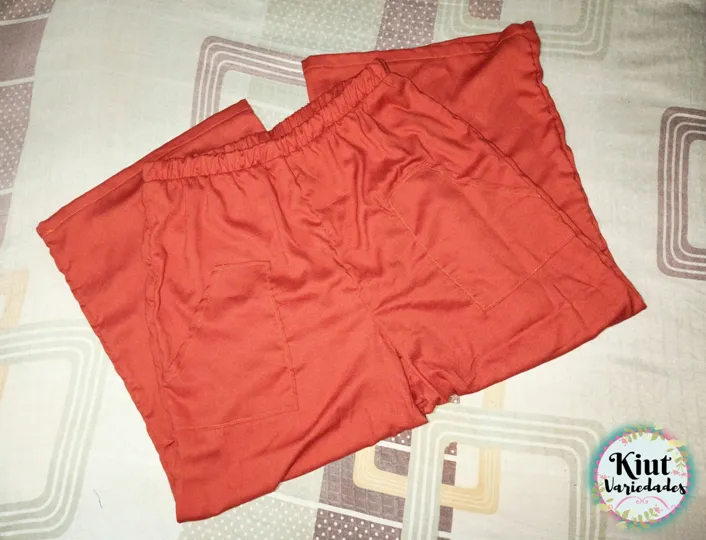
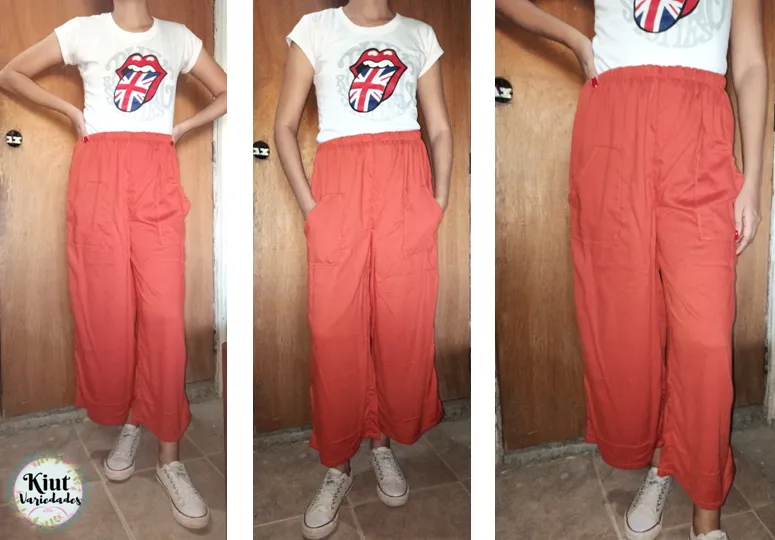
Nuevamente vengo con un proyecto de costura, ésta vez y como es típico en ésta época del año, vengo con la confección de una prenda de ropa, hace muchísimo tiempo mi mamá me pidió que le hiciera un pantalón tipo palazzo y no es hasta ahora que por fin pude hacerlo, así que hoy les traigo éste pequeño tutorial que les aseguro es bien fácil de hacer 🧵💕.
Again I come with a sewing project, this time and as it is typical at this time of the year, I come with the making of a garment, a long time ago my mum asked me to make her a pair of palazzo trousers and it is not until now that I could finally do it, so today I bring you this little tutorial that I assure you is very easy to do 🧵💕.

🧵 MATERIALES || MATERIALS 🧵
- 1 ½ m de tela (debe ser una tela con movimiento y fresca).
- Hilo del color correspondiente.
- Goma elástica (preferiblemente de 3cm de grosor en adelante).
- Tijeras de tela y de papel
- Lápiz y jabón de sastre (o un pedacito de jabón normal 🤣).
- Reglas de patronaje.
- 1 ½ m of fabric (it must be a fabric with movement and freshness).
- Thread in the corresponding colour.
- Rubber band (preferably 3 cm thick or more).
- Fabric and paper scissors
- Pencil and tailor's soap (or a small piece of normal soap 🤣).
- Pattern rulers.

🧵 COMENCEMOS LA CONFECCIÓN || LET'S START THE MAKING 🧵
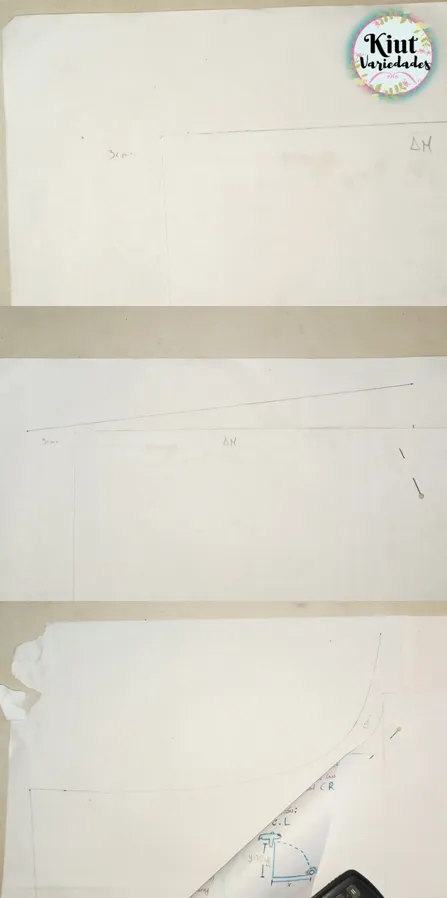
Comenzamos realizando los patrones los cuales son realmente fáciles, se empieza con un cuadrado que tenga ¼ del contorno de cadera de largo y ancho, la línea inferior de dicho cuadrado se va a prolongar hacia la derecha con la medida que se obtenga de sumar ¼ de contorno de cadera + 3 y se divide entre 6, está prolongación servirá para hacer la curva del tiro.
We start making the patterns which are really easy, we start with a square that has ¼ of the hip contour in length and width, the bottom line of this square will be extended to the right with the measure obtained by adding ¼ of the hip contour + 3 and dividing it by 6, this extension will be used to make the curve of the shot.
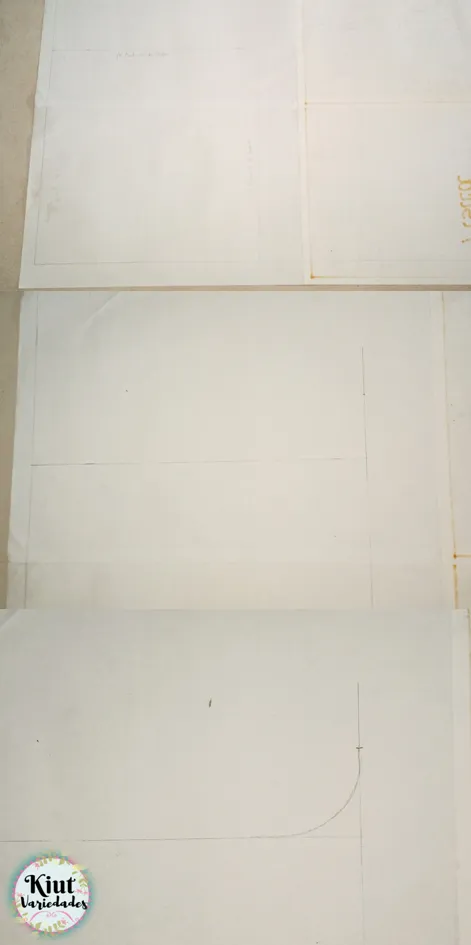
Del punto del tiro hacia abajo trazamos una línea recta con el largo deseado del pantalón a la cual se le van a quitar los centímetros de pretina, que en mi caso fueron 3cm. Éste mismo patrón nos servirá para hacer el trasero, lo sujetamos con alfileres al papel y haremos un par de ajustes, en el tiro vamos a prolongar de nuevo con la misma medida usada en el delantero, en la curva vamos a subir 1,5cm, en la parte superior por éste mismo lado vamos a adentrarnos 3cm y en ese punto subir otros 3cm.
From the point of the drawcord downwards, we draw a straight line with the desired length of the trousers, from which we will remove the centimetres of waistband, which in my case was 3cm. This same pattern will be used to make the backside, we pin it to the paper and make a couple of adjustments, at the waistband we are going to extend it again with the same measure used in the front, at the curve we are going to raise 1,5cm, at the top on this same side we are going to go 3cm and at this point raise another 3cm.
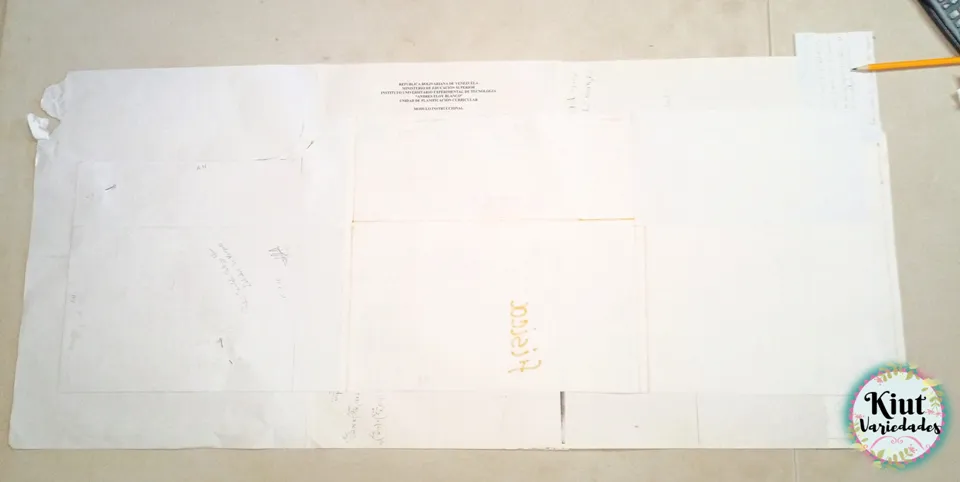
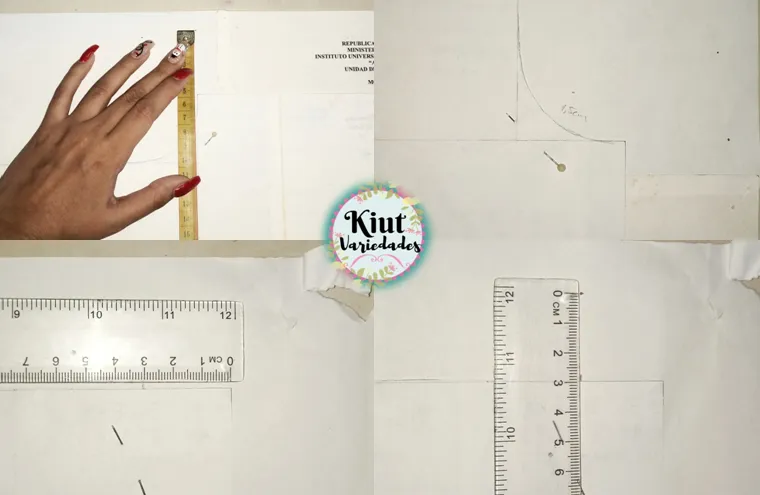
Por la línea central también se miden 3cm hacia afuera, todos estos puntos se unen formando la cintura y el tiro de éste patrón. La línea central (que será el lateral del pantalón) la hacemos coincidir con el bajo del patrón delantero (quedará un línea diagonal) mientras que la línea de la entrepierna se hará recta. Para la pretina se hará una tira de 6,5cm de grosor con la mitad del contorno de cadera + 1cm, el patrón del bolsillo lo saqué al ojo porciento dibujandolo en el patrón delantero y cortando la pieza aparte con márgenes.
Along the centre line we also measure 3cm outwards, all these points are joined together to form the waistband and the waistband of this pattern. The centre line (which will be the side of the trousers) is made to coincide with the bottom of the front pattern (a diagonal line will remain) while the crotch line will be made straight. For the waistband we will make a 6,5cm thick strip with half the hip circumference + 1cm, the pocket pattern I drew it by eye by drawing it on the front pattern and cutting the piece apart with margins.
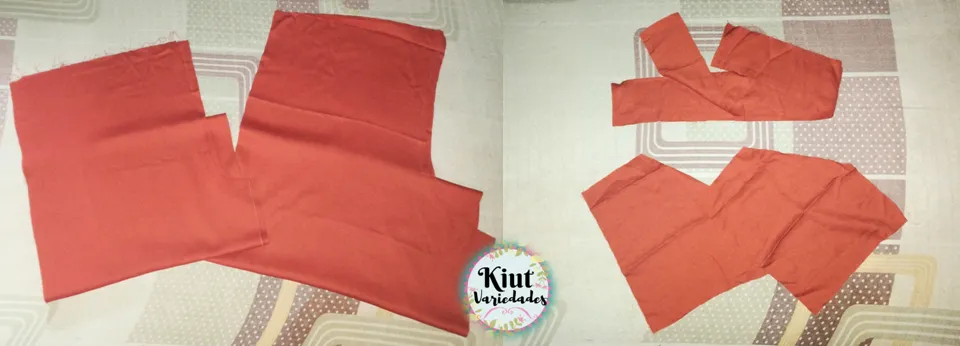
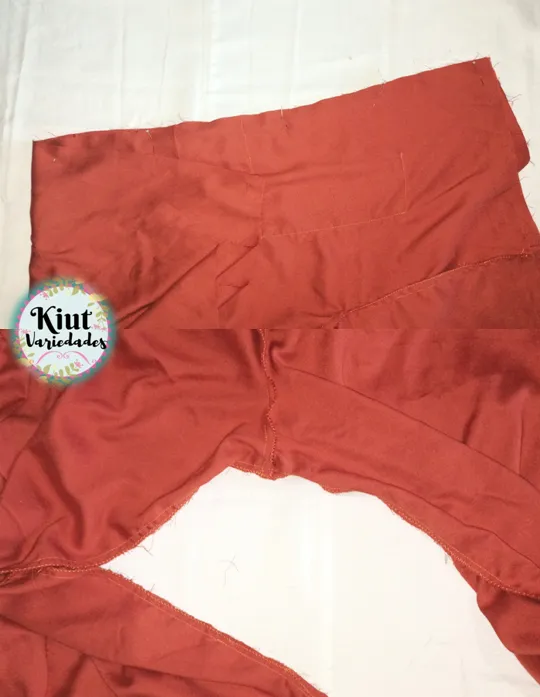
Corte todas las piezas necesarias, dos para el delantero con sus respectivos márgenes de costura, dos para la parte trasera igual con márgenes, dos bolsillos y la pretina cortada al doblez de tela. Comienzo con los bolsillo haciendo un ruedo por la línea diagonal, con plancha doble el resto de los doblez.
Cut all the necessary pieces, two for the front with seam allowances, two for the back with seam allowances, two pockets and the waistband cut to the fabric fold. I start with the pockets by making a roll along the diagonal line, with an iron I fold the rest of the folds.
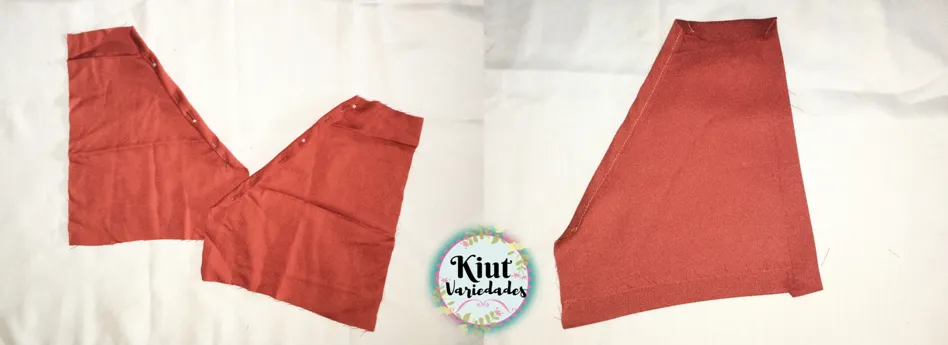
Ubiqué el bolsillo más o menos alineado al tiro y cosí los bordes correspondientes, luego de esto cosí las piezas delanteras y traseras por el tiro respectivamente. Uni el delantero y el trasero por los laterales y posteriormente por la zona de la entrepierna.
I positioned the pocket more or less in line with the drawcord and sewed the corresponding edges, after which I sewed the front and back pieces together along the drawcord respectively. I joined the front and back pieces at the sides and then at the crotch area.
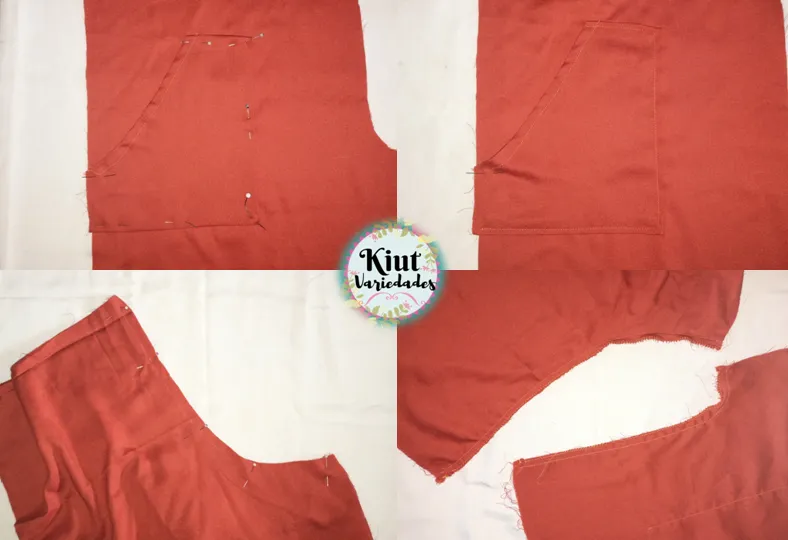
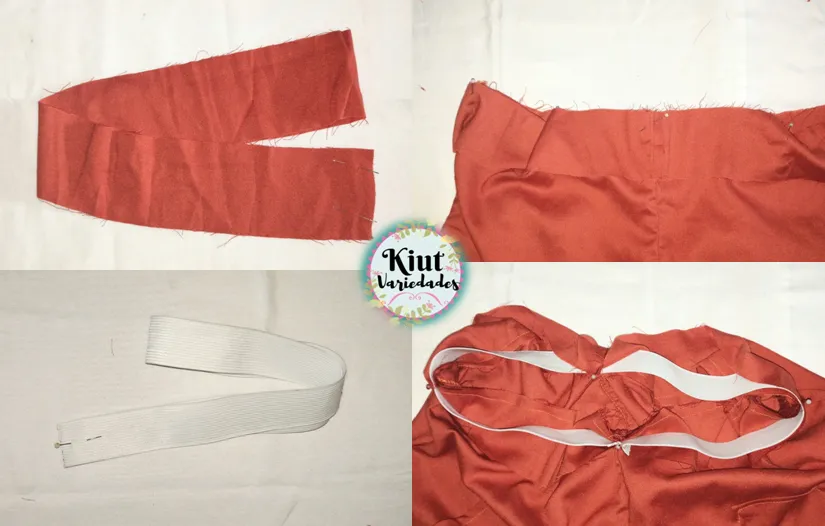
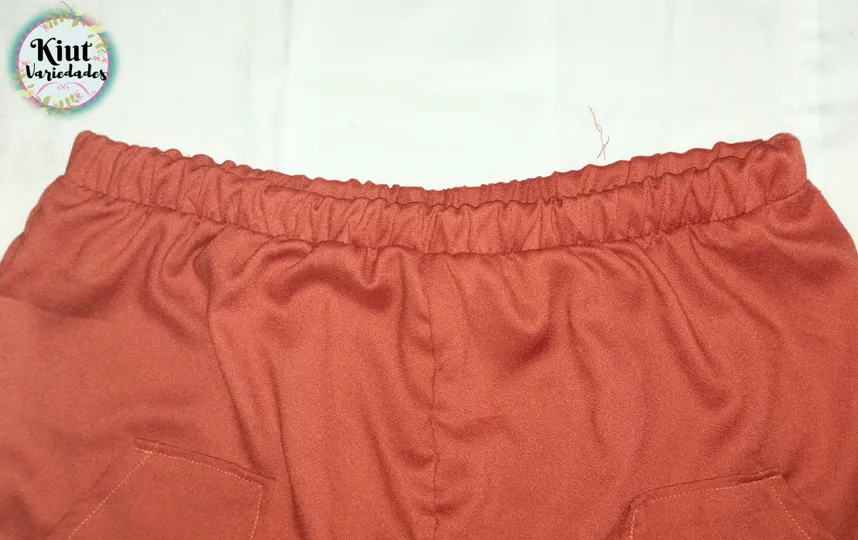
Cosí la pretina para formar un círculo y éste luego lo cosí a la cintura del pantalón, corte la goma con la medida total del contorno de cintura menos 10cm, cerré en forma de círculo y la sujeté con alfileres al pantalón, doble la pretina para cubrir toda la goma y cosi con costura en zig zag. Lo último que hice fue el ruedo de ambas piernas.
I sewed the waistband to form a circle and then sewed it to the waistband of the trousers, cut the elastic to the total waist measurement minus 10cm, closed it in a circle and pinned it to the trousers, folded the waistband to cover all the elastic and sewed it with zig zag stitching. The last thing I did was the hem of both legs.


Síguenos en todas nuestras redes sociales… || Follow us on all our social networks ...
Facebook:KiutVariedades
Instagram:@Kiut_variedades
Twitter:@Kiut_variedades