I'm almost embarrassed to say I started this project in mid-April and I'm finally finished, but it wasn't easy going from the start...
I'm making a sweater
& Sweater Update
& Sweater Update
... as you can see from my two previous posts, just winding it into a ball was challenging.
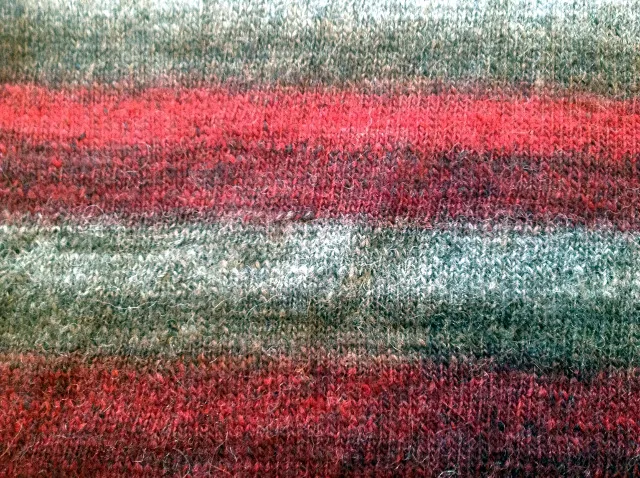
This gorgeous wool is made of alpaca and merino with a varying texture and it was easy to make slip-ups. I found when I worked on it in the evening that I had to have it directly lit and my eyes on it. Still, I did make the odd mistake and although I started knitting a long time ago, you need to make mistakes to get competent at fixing them. And when you succeed, it builds your confidence. (Holy heck, am I confident now!)
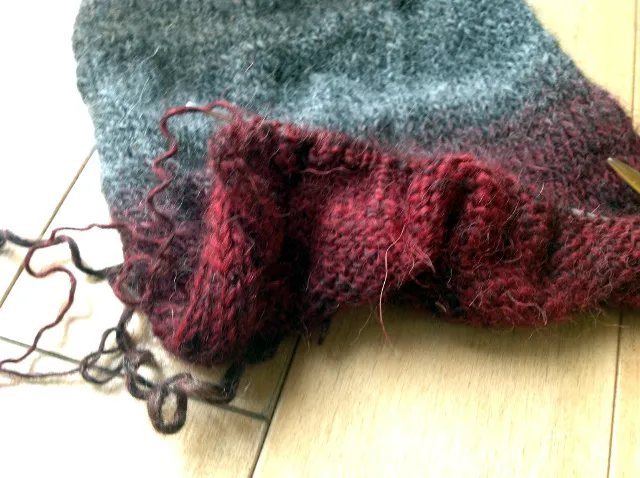
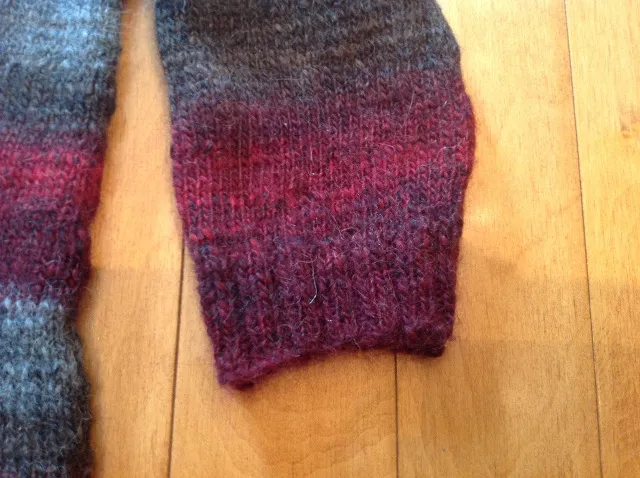
When you find yourself calculating whether you have enough wool to knit a 3rd sleeve... I finally told myself that if I was really willing to throw one away, I should at least try fixing it. So I ripped out about three rows, picked up the stitches, figured out where I was in my pattern and it worked. I untwisted the stitches I picked up the wrong way as I went along. I never did figure out where I made the exact error but it was in those rows. And if you're experienced, you would just expect to fix it this way. Maybe you would also know that you had to be careful ripping this wool out and even when sewing up a seam, the wool could break.
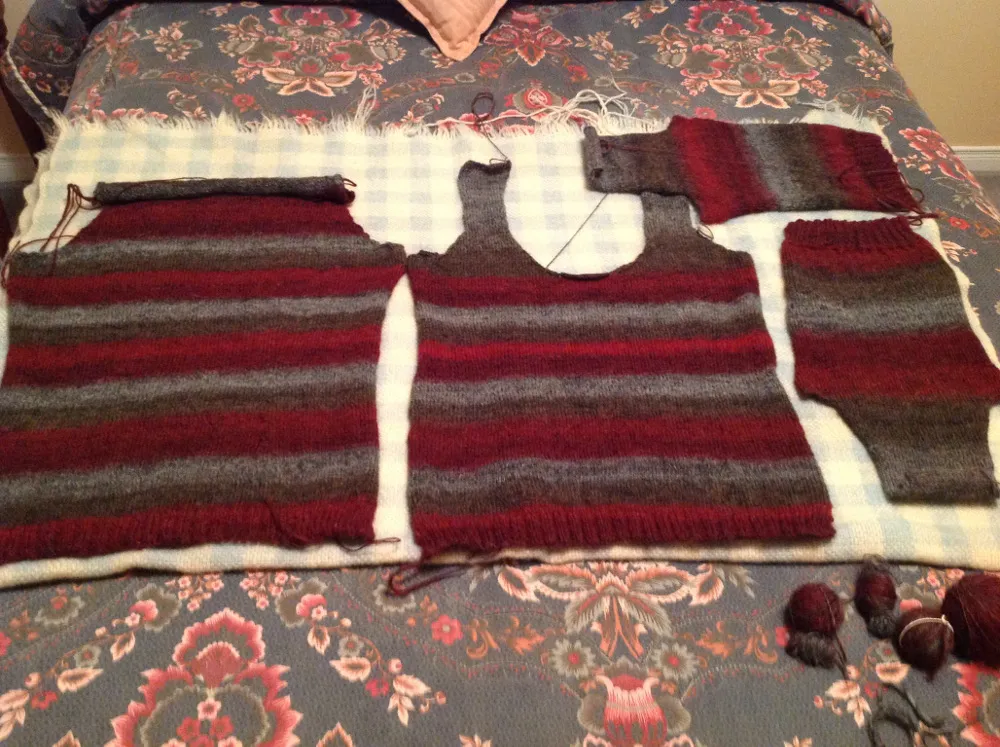
I had the back, front and sleeves lying on a bed and I was really wondering if that neckline was going to be too low or if the sweater was going to be too long. The whole point of this pattern was that it was giving me a custom fit according to my body measurements and the gauge of the wool, but I was second guessing both my gauge and my ability to take my own measurements.
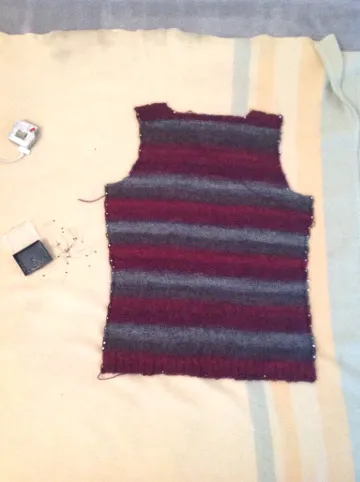
A flash of brilliance, looking for a place to block the pieces, I figured out the underpad for my carpeting was thick enough to take pins, so I laid down a blanket on it, then pinned the pieces out to the desired measurements and sprayed them with water.
Blocking is an important step and the methods for blocking vary with the composition of the yarn/wool. Blocking flattens the pieces, making them easier to sew, and with a wool that pulls a piece out of shape as you knit, it's your only chance to make it the correct shape again. I was careful not to block the bands -- do that, and they can lose their springiness.
Finally, I sewed up my sweater last week. There is a tradition in my family of getting our mother's help for the finishing long past the point when one should get their mother's help, but I sewed this one myself and picked up the neckline stitches too.
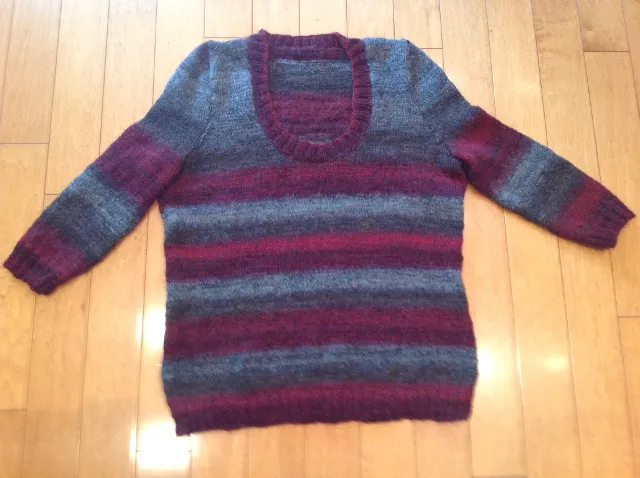
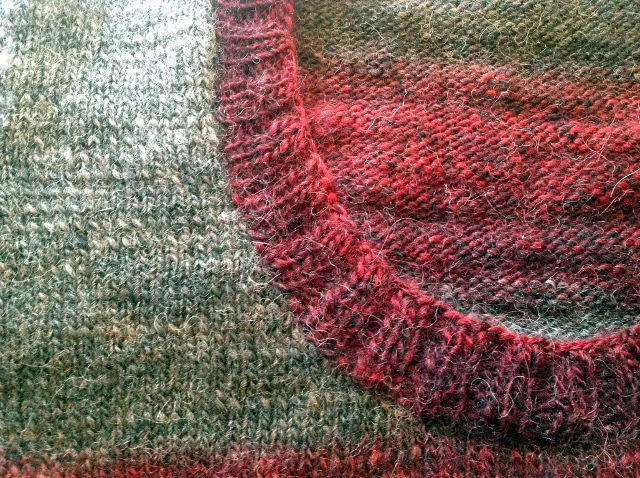
Because this wool is variegated and textured, I decided to leave out the front panel design called for in the pattern -- it wouldn't have shown well -- but tried to match colours, so I started every piece with the darkest part of the red/burgundy and did the neck band in the same shade. It all worked out!
Colour matching was also desirable on either side of the neck since you knit each side separately from the start of the neck opening, so I unwound a ball until I got to the same taupe coloured area, and started from there. You can't tell. And checkout that neckline! It's just right.
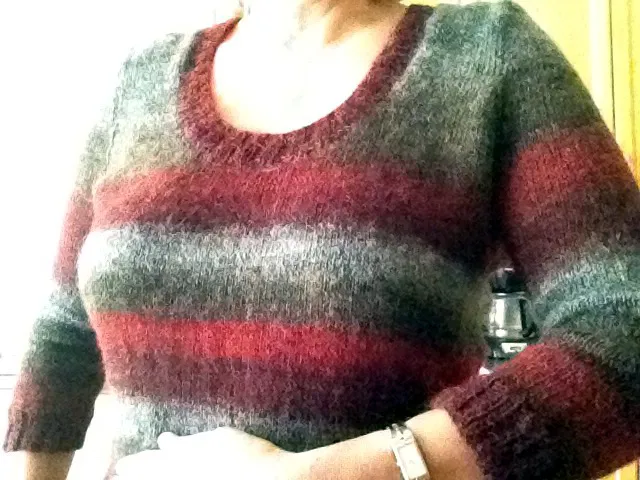
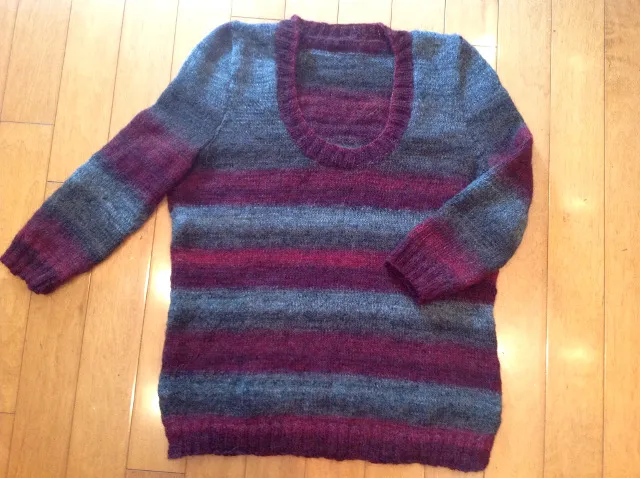
Gorgeous! The pattern is called Pilot House Pullover by Amy Herzog who believes every sweater should be one you absolutely love. That's why you do a custom sweater.
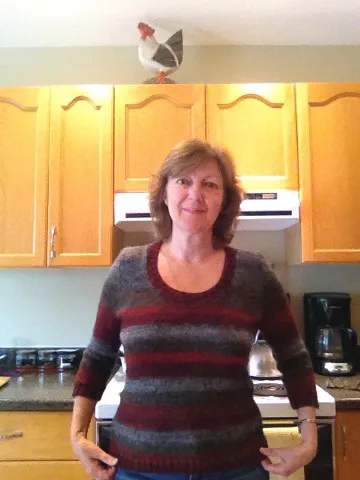
And the length is good too. It's a nice style to dress up or go with jeans, perfect for our fall weather and finally finished.
References
Sweater Update
I'm making a sweater
Amy Herzog Designs
Images
Photos from the iPad of @kansuze in Kanata (Ottawa), Canada.

Enjoy!
@kansuze