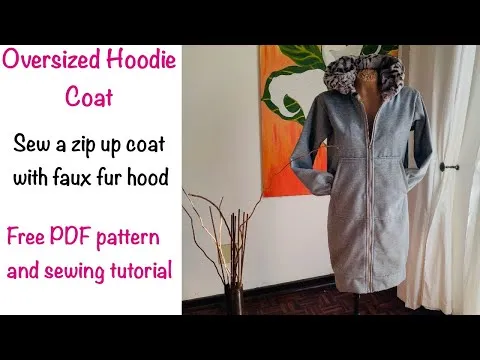
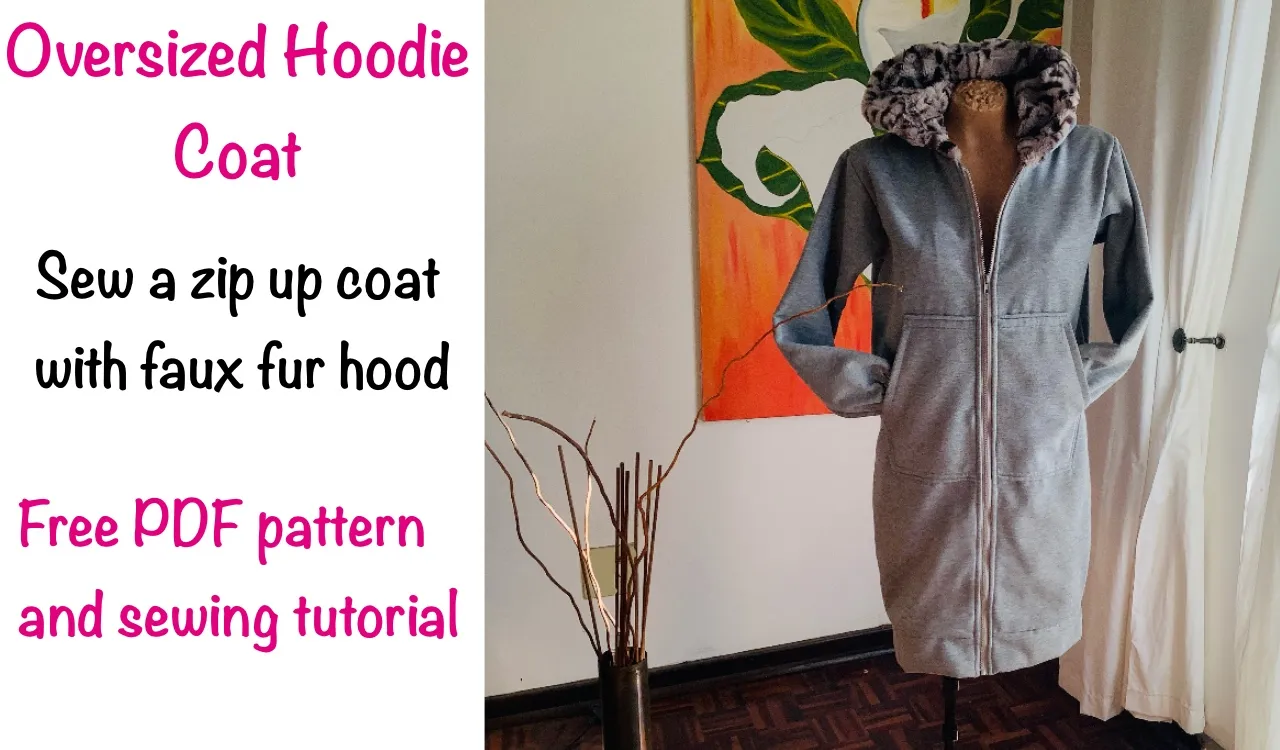
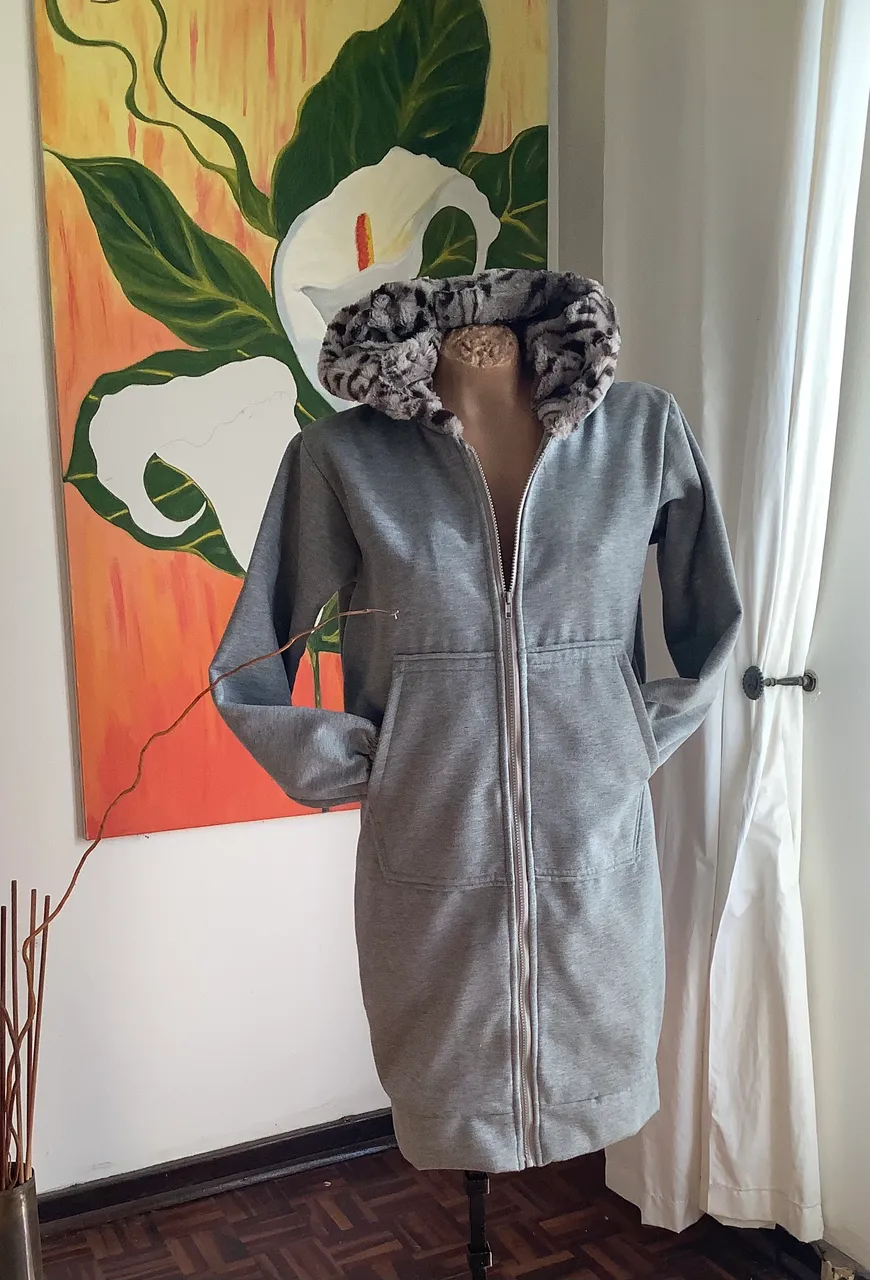
It’s winter here in South Africa and I made a warm coat for my mom to wear out and about. Then I thought that other peeps might like to make something similar so I’m sharing the pattern in 6 sizes and a tutorial. Hope you like it it has a fake fur lined hood and is zip through
Patterns to download
Hoodie Coat Front PDF Pattern
Hoodie Coat Sleeve PDF Pattern
Hoodie Coat Hood PDF Pattern
Hoodie Coat Pocket PDF Pattern
Requisites
2.5m of stretch Jersey fabric for winter(fleece, tracksuiting, polar fleece)
Sewing machines (overlocker and straight machine)
Scissors
Sewing thread
20 cm rib trim for cuffs
100cm open ended zip
40cm faux fur
Tailors chalk
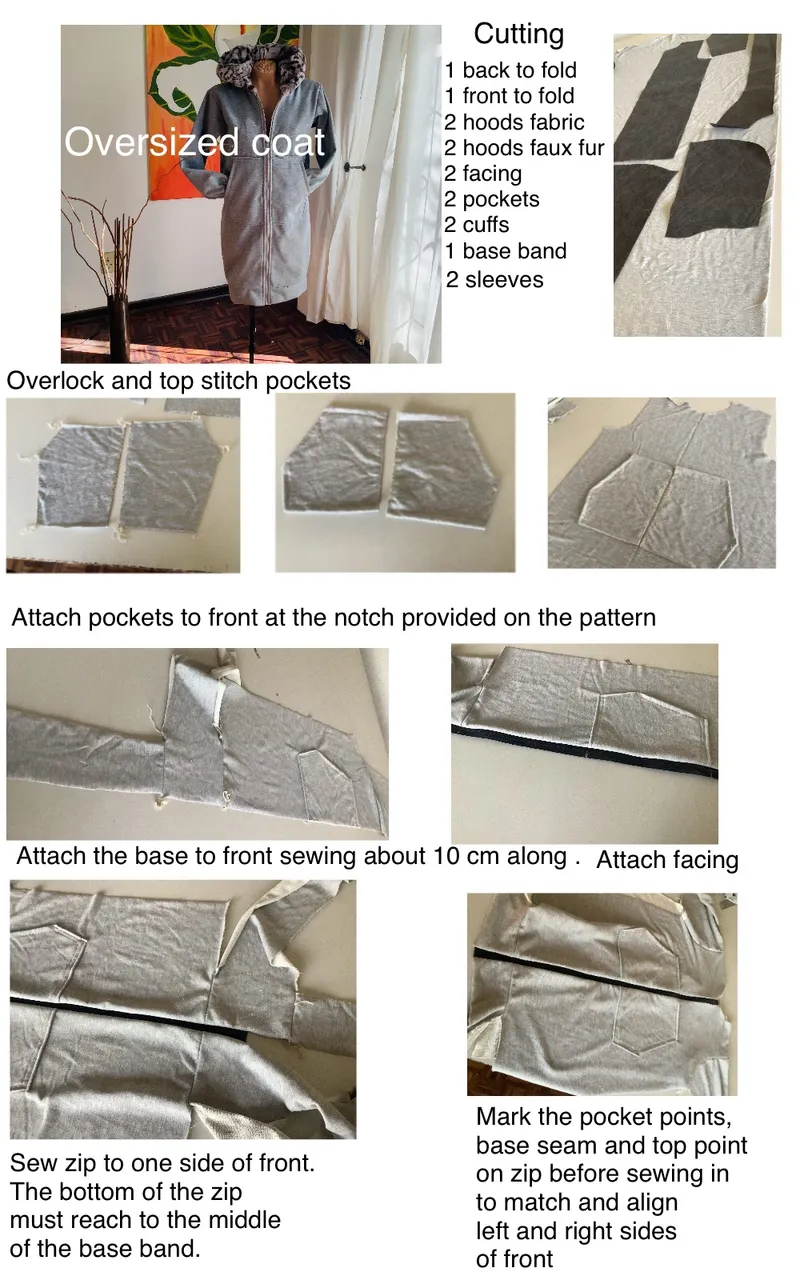
Cutting your pattern
1 back to fold
1 front to fold
2 hoods
2 sleeves
2 facing
2 fabric hoods
2 faux fur hoods
2 cuffs
1 baseband
For base band, measure the base of the garment and minus 4cm
For cuffs, cut 18cm wide by 16cm long (30 and 32, add ½ cm for each 2 sizes up)
Sewing the coat
Overlock pockets and top stitch
Attach pockets at notchmarks to the front
Make sure pocket are correctly aligned
Attach the band to fronts at the bottom, sewing only about 10cm along (see video and pictures below.
Attach facing to the band
Sew zip to one side of front. Mark the pocket points, base and top points with chalk
Sew zip to midpoint of baseband
Attach zip to second front, aligning pocket, base and top points accurately
Attach facing to zip by sandwiching zip between facing and front.
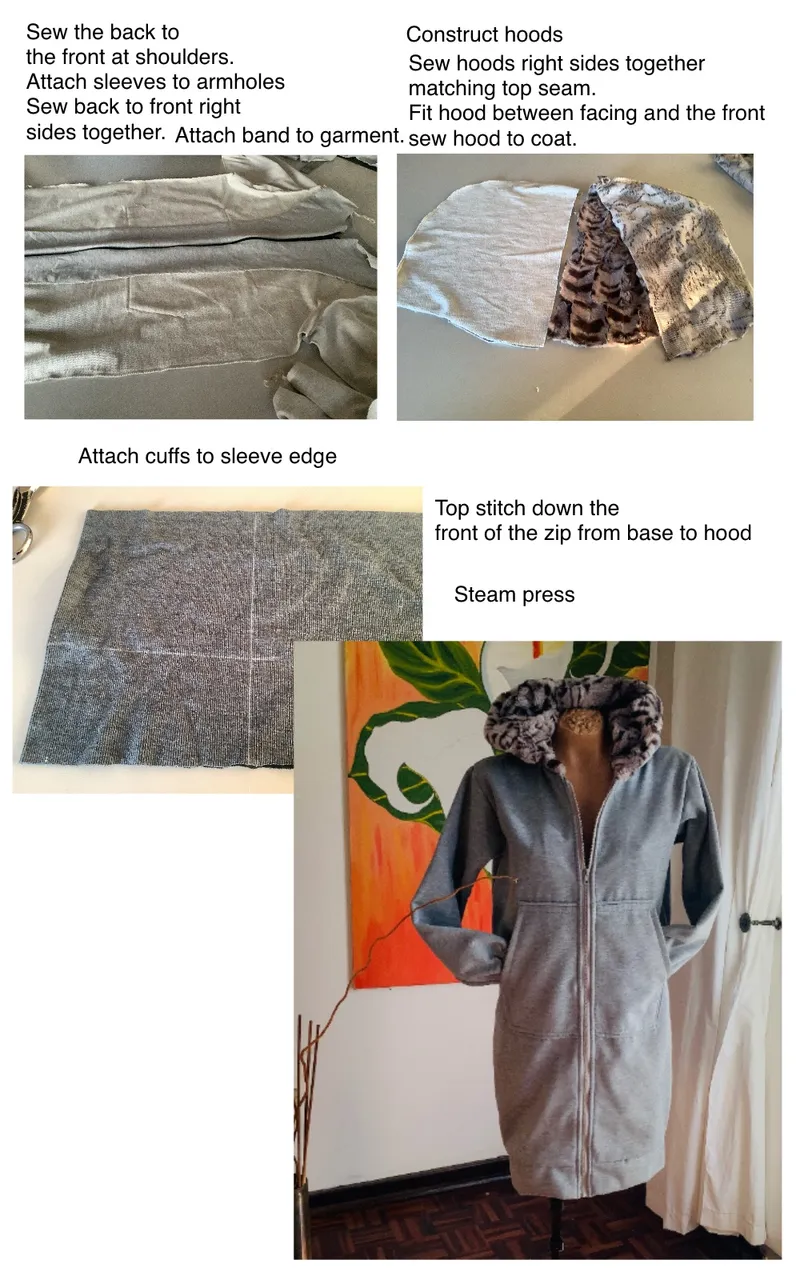
Attach back to front at shoulder seams
Sew sleeves to armholes by matching midpoint of sleeve to shoulder seams
Sew back to front
Attach band to base along the bottom of garment
Construct the hoods. Sew together and turn faux fur hood to inside
Attach hood to neckline by sandwiching between front and facing
Cut cuffs and attach to sleeve edges
Top stitch zip along the length of the front
Neaten, dethread and press
Printing the pattern
Download the PDFs there are usually two or more, each PDF is titled.
You can print out the full pattern sheets if you have access to a printer, such a
a Canon large format printer. Set this printer to print out the actual size. Print only the pages in your required size.
You can print out the pattern on a home printer in A4(letter size) sections, and
stick them together.
Use Adobe Reader or Acrobat to format your print. This is free software from Adobe and can be used on any computer. Use ““Print Set Up” to format. Set to “Poster”, tick “Tile”, tick “Add Cut Marks” overlap to 0 or to 0.5cm. Set paper size to A4.
Print only the required size, if sizes are printed onto one sheet all lines are
colour coded for easy reference and cutting. Your printer will print all necessary
sections with cut marks on each numbered sheet so that you can easily stick sections together.
Print out the pattern make-up instructions and read them first, before starting
your project.