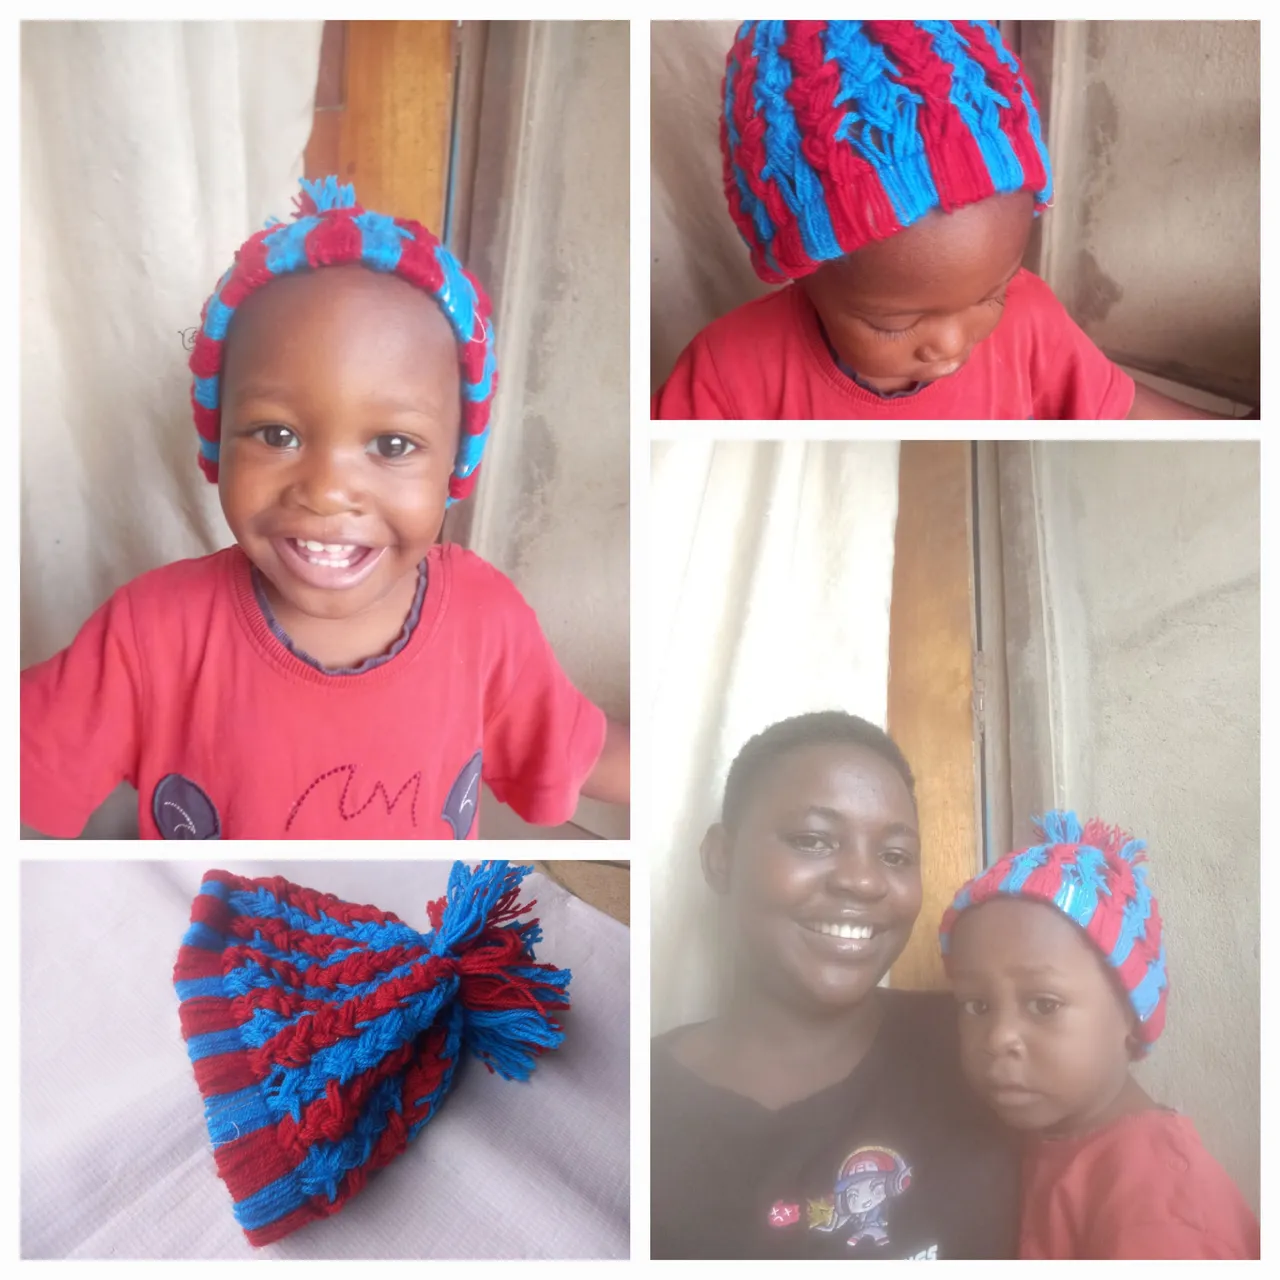
Happy Wednesday morning needle work lovers. Its been an amazing week from Monday. Its been peace upon peace all through this week. Though last week I was a bit under the weather but I am up again. So I want to share with you all this project that I did for my little nice. I started the first one but it was very small I had to start another one from the begining again and I came out with his perfect shape.
So these are the stuffs i used for this project.
Red wool.
Blue wool
Clips
Caton
Scissors
Window protector

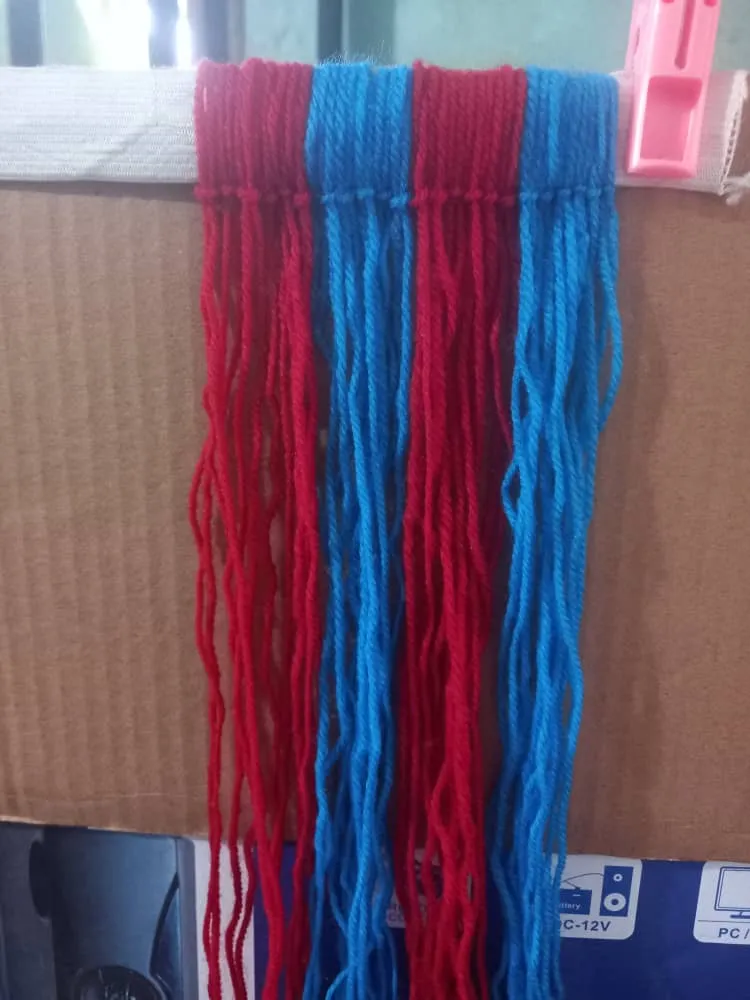
I started by using the wool to go round on my window protector because I needed something that will give me the same shape and since its iron it will not move.

After that I used the scissors and cut it from the middle both the read colour and the blue colour.

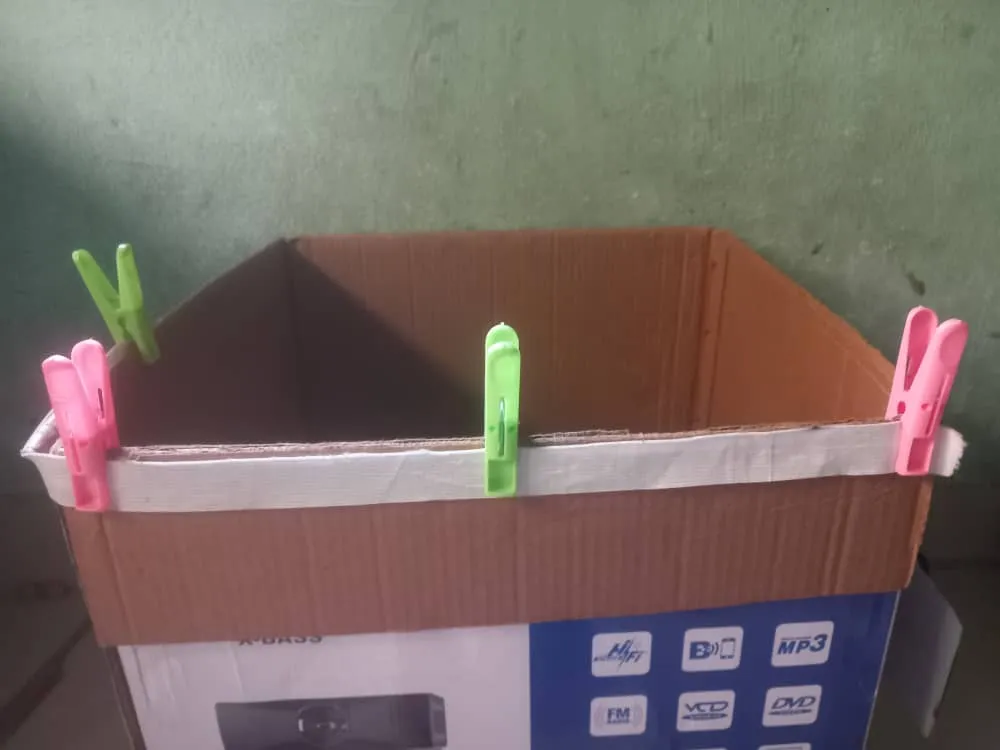
So I placed my elastic on the Catton and used the clips to clip it so that it will steady, I do not want to be stressing too much when I start putting the wool.
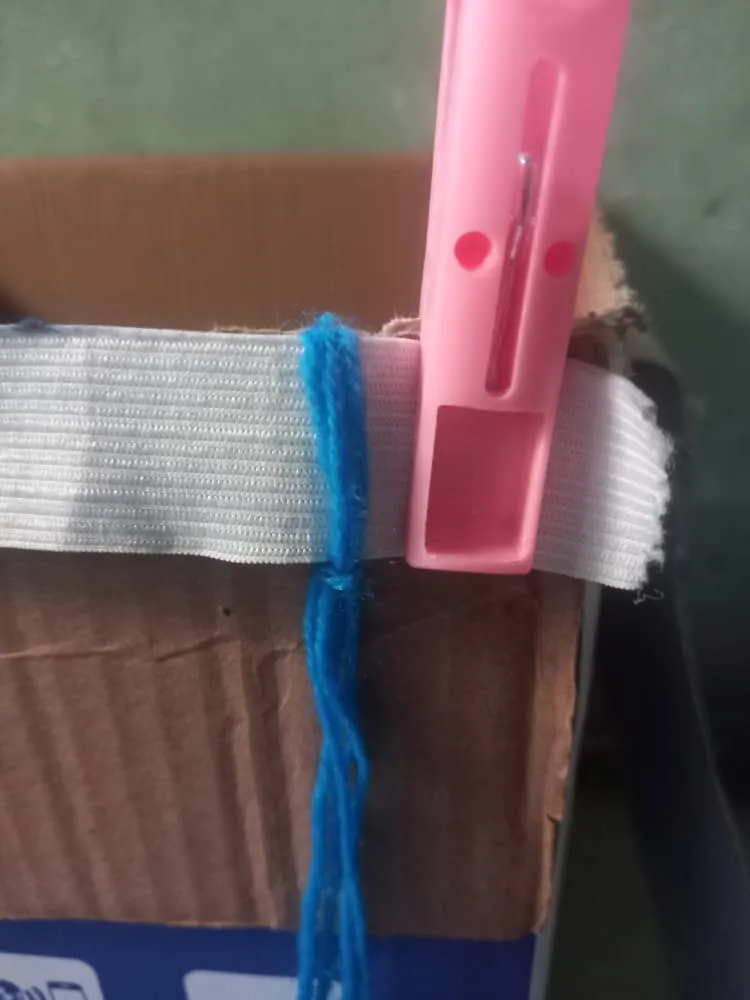
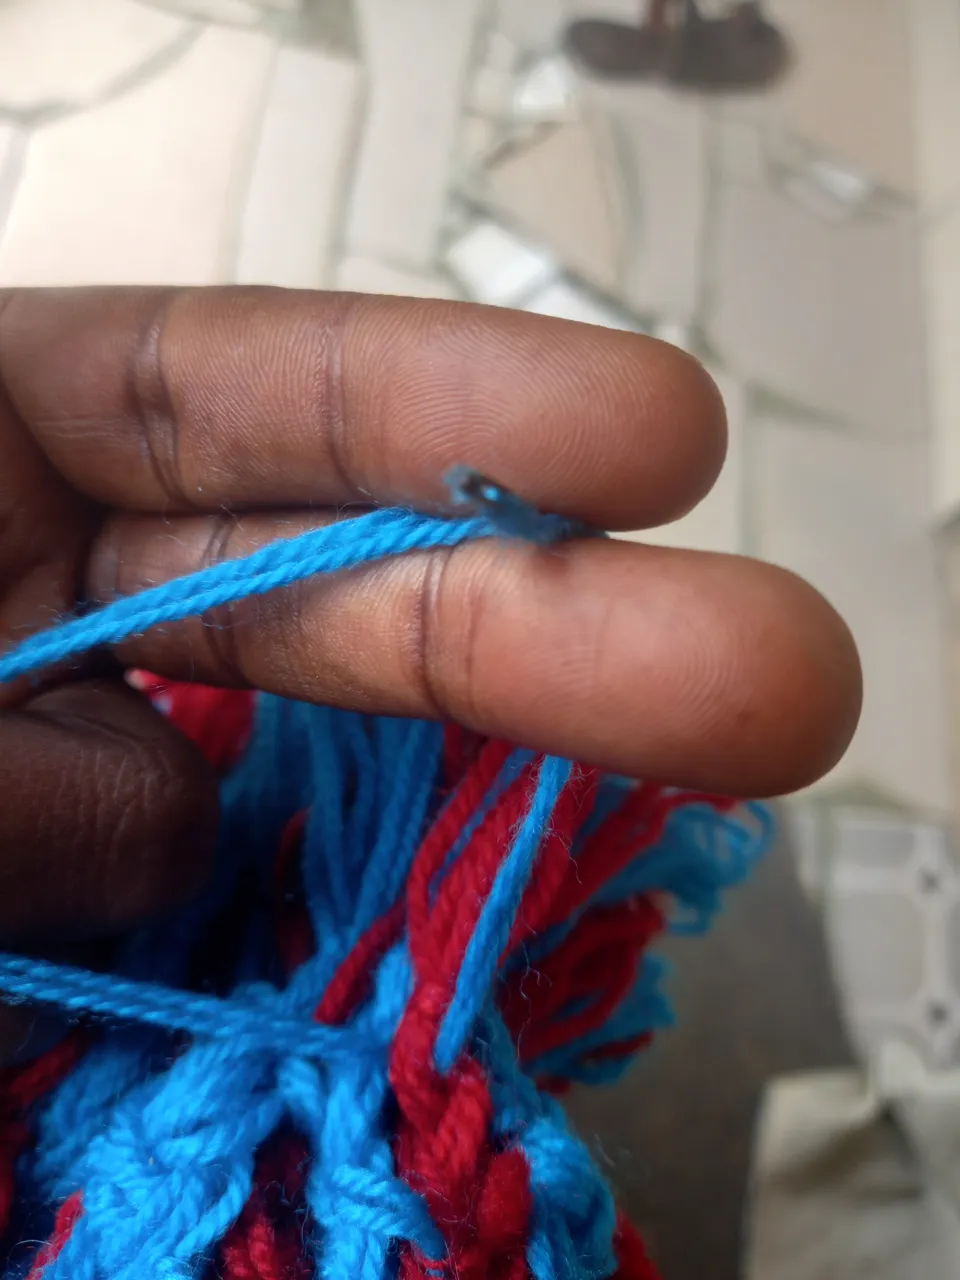
So I went ahead to put the wool on the elastic and then make a knot and still make the wool to be equal. As you all can see there is a knot after the elastic.
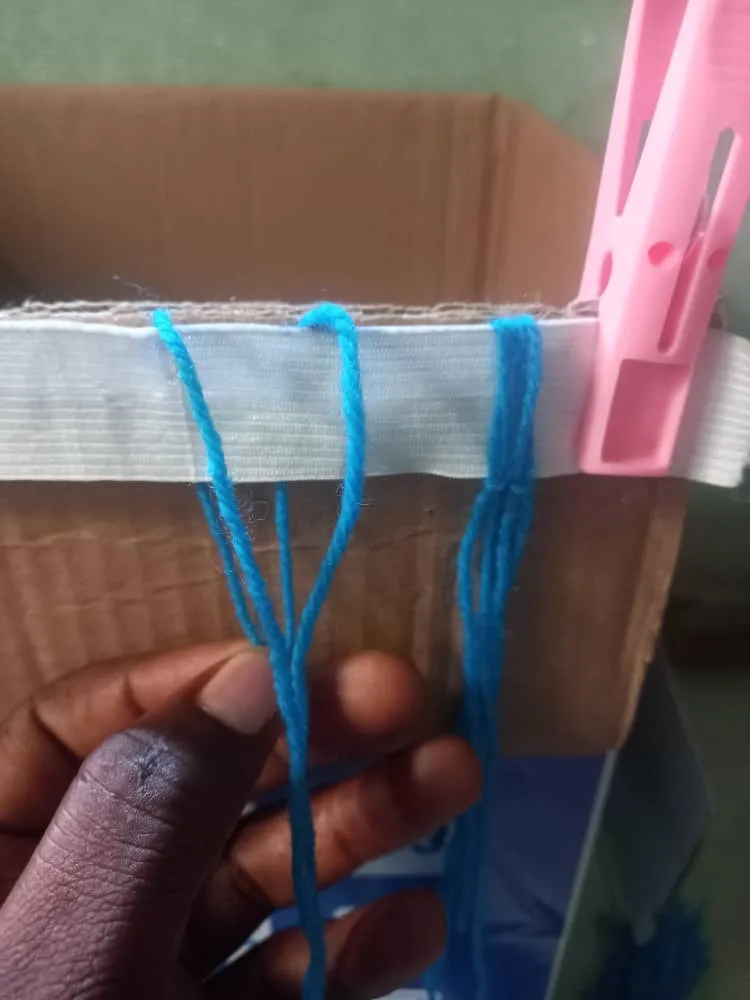

I moved on to putting six lines of the blue and also six line of the red. I did this repeatedly ontill I make plenty of it. I made sure it went all round.
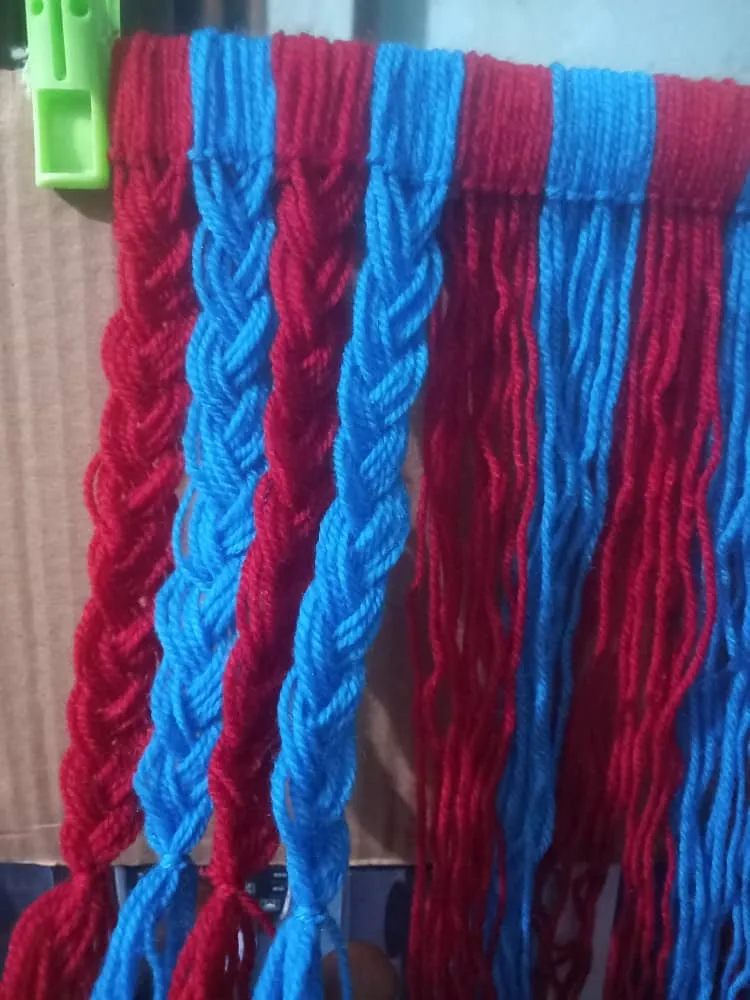
After making it all round I started plaiting the difdernt colours like a normal plaiting of hair bur on a very loosen manner. I did this so that I can have a very swift and good work out.
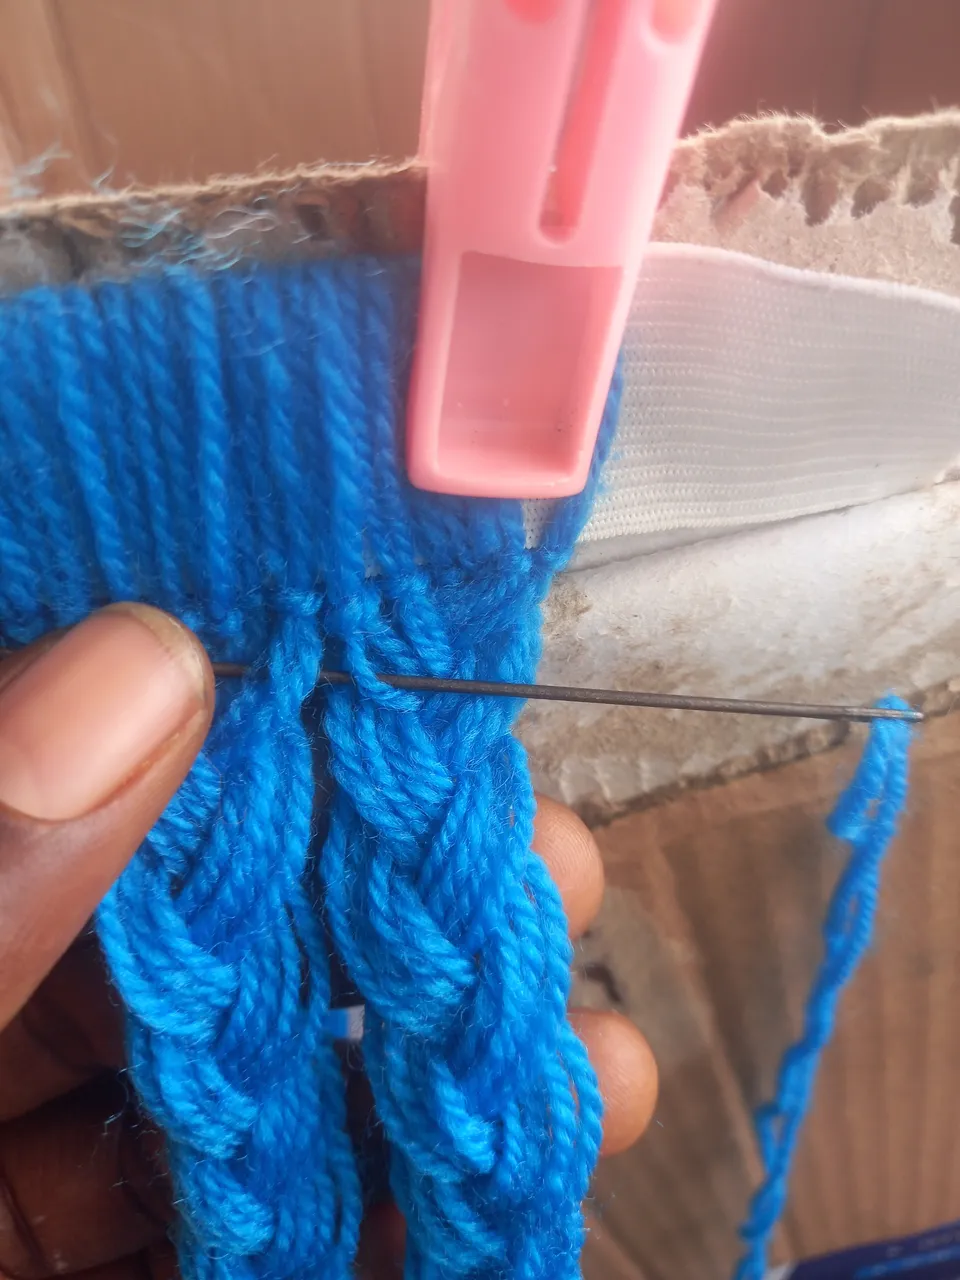
After plaiting all of then I used the niddle to join them together after that I removed the clips and bring the whole stuff down.

I had to join the elastic together using the nidlle and thread.


I went to the upper side of the cap. I used the thread to put all round and then drag the thread so that it can tight the upper side together and I will not have a swift hair warmer.
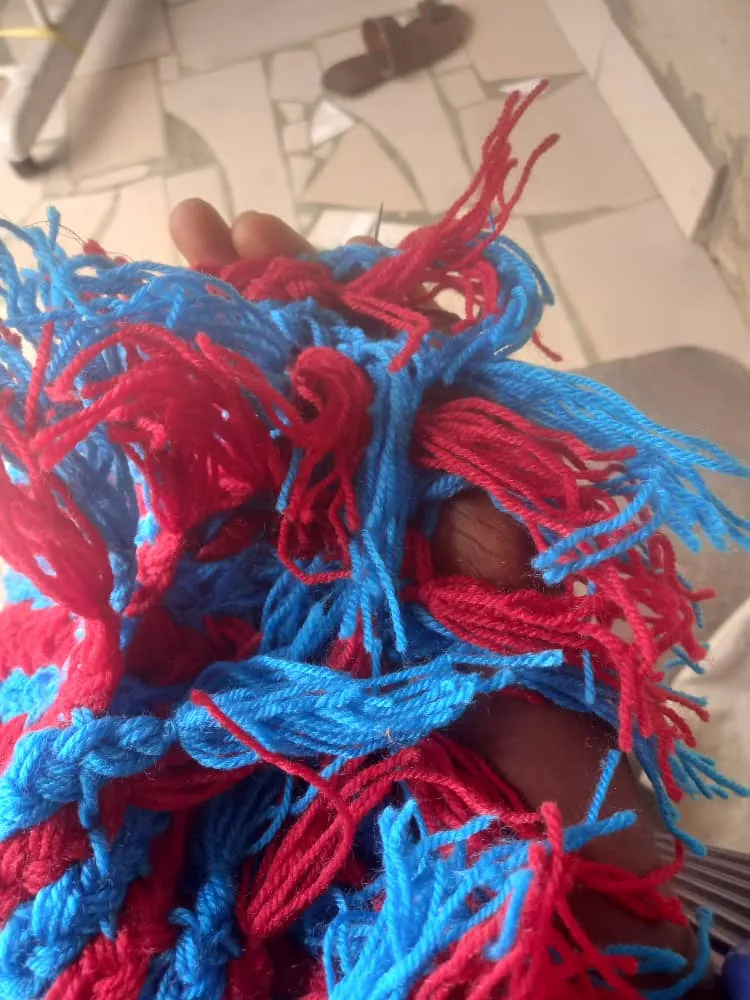
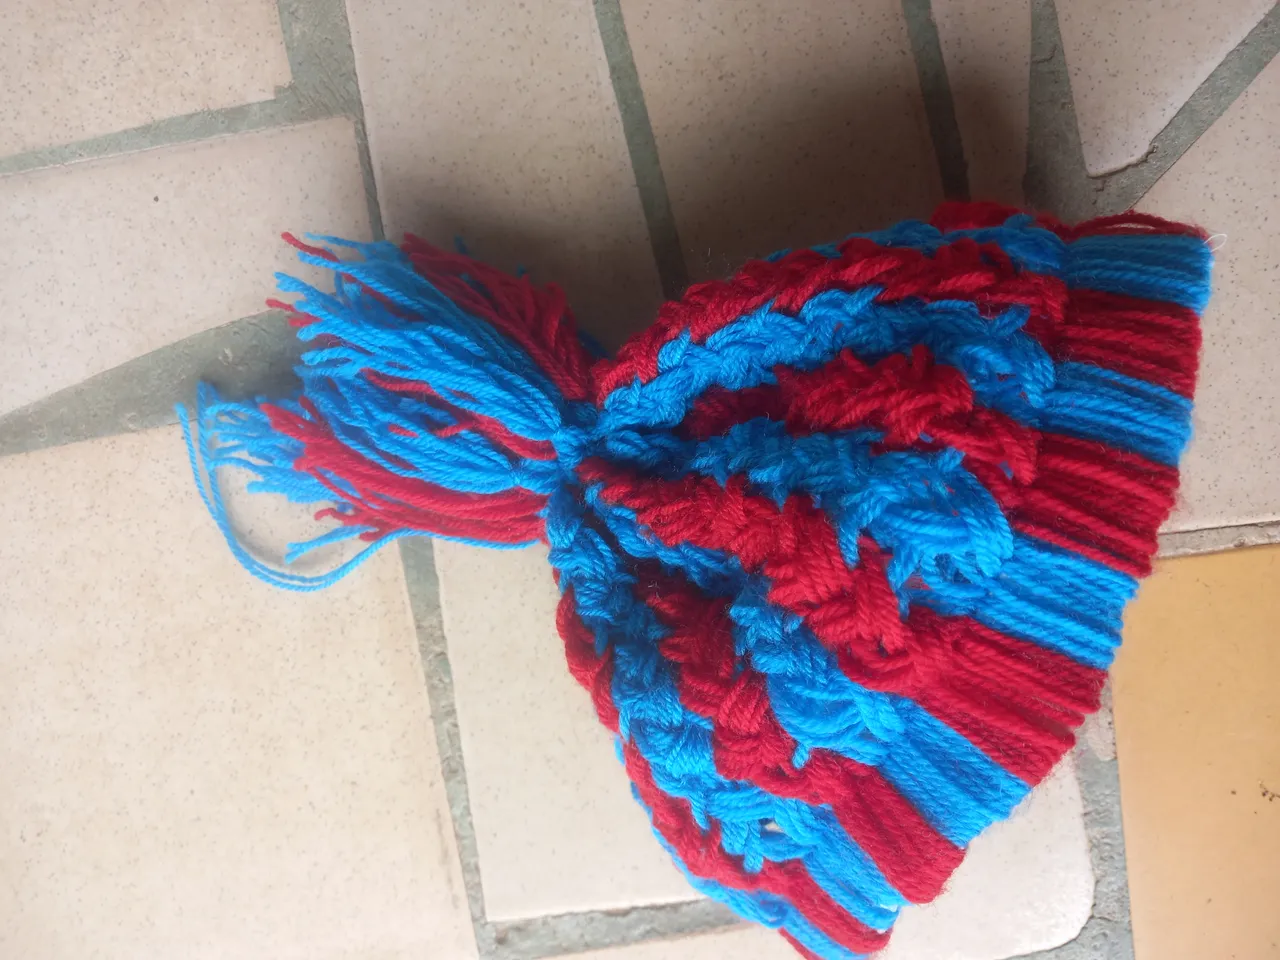
At this point I am making a knot after putting everything in order.
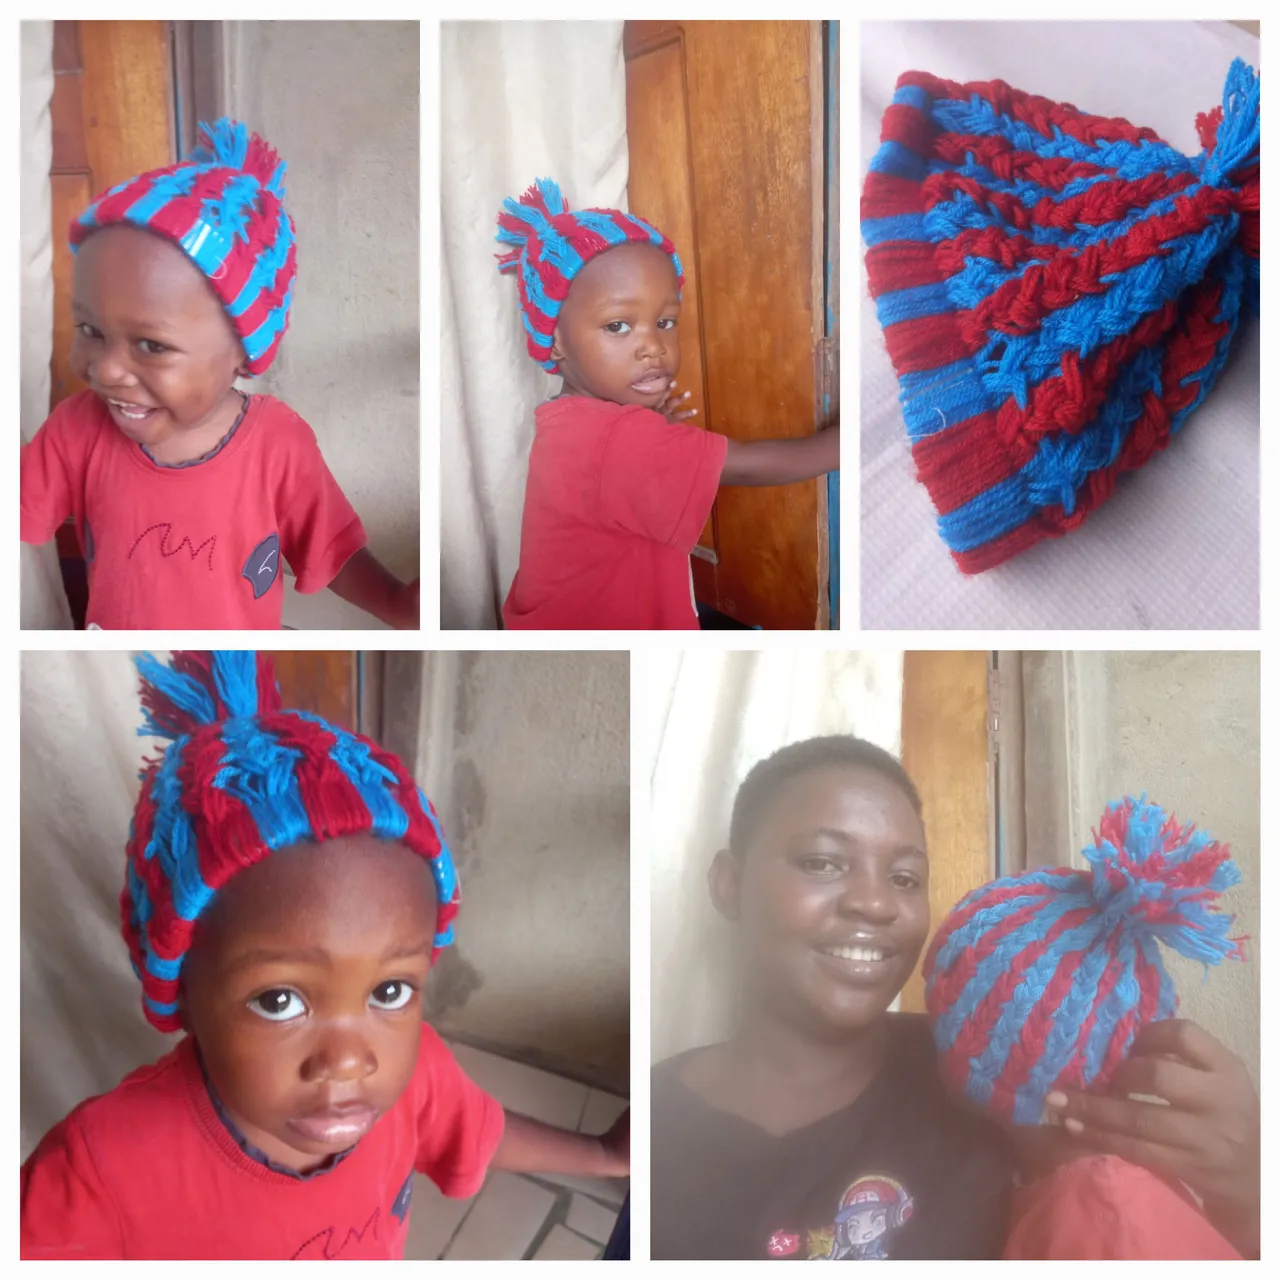
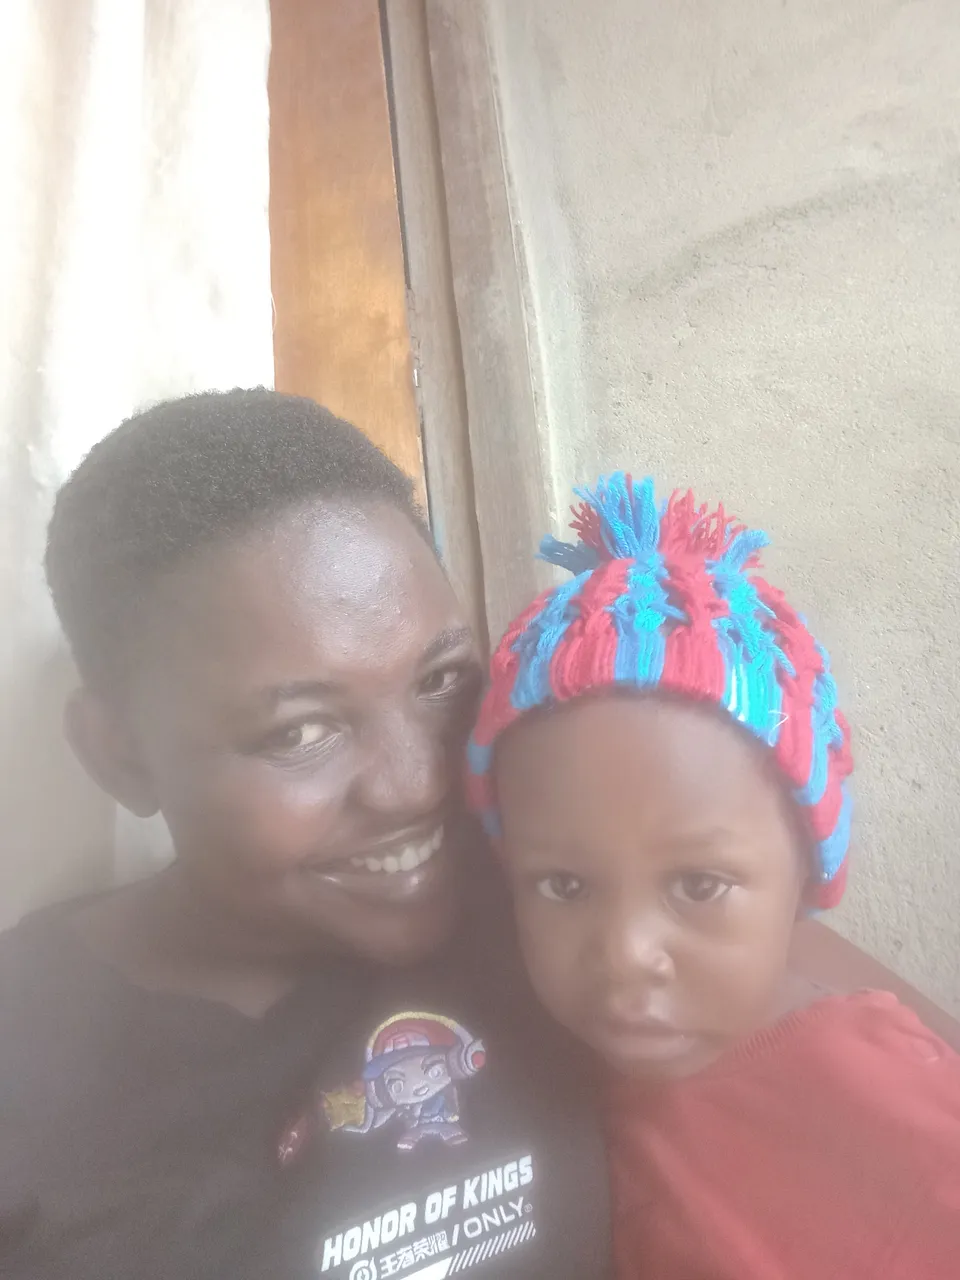
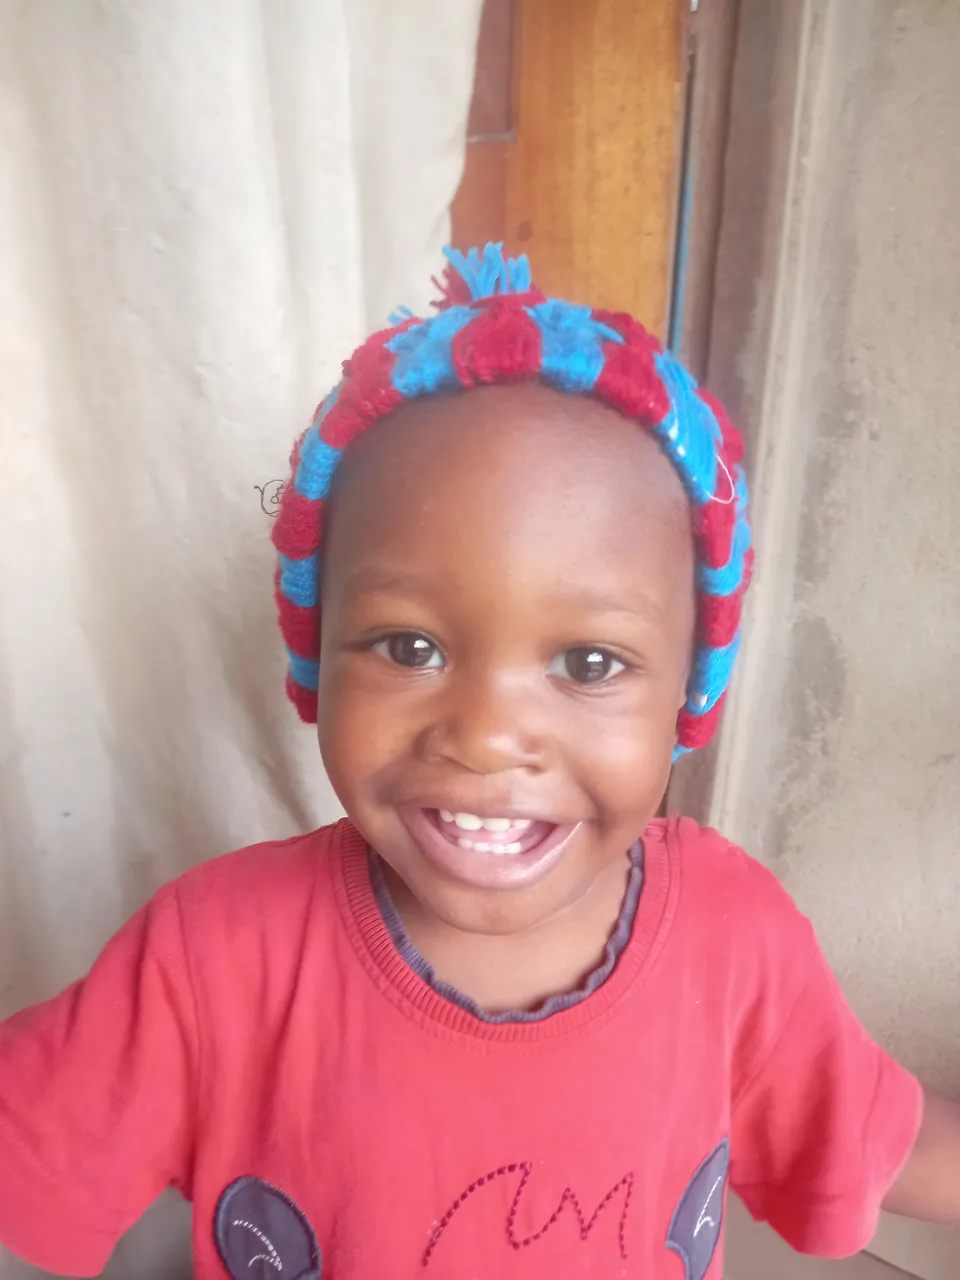
We are done with everything and my baby did testing see na a very happy child.