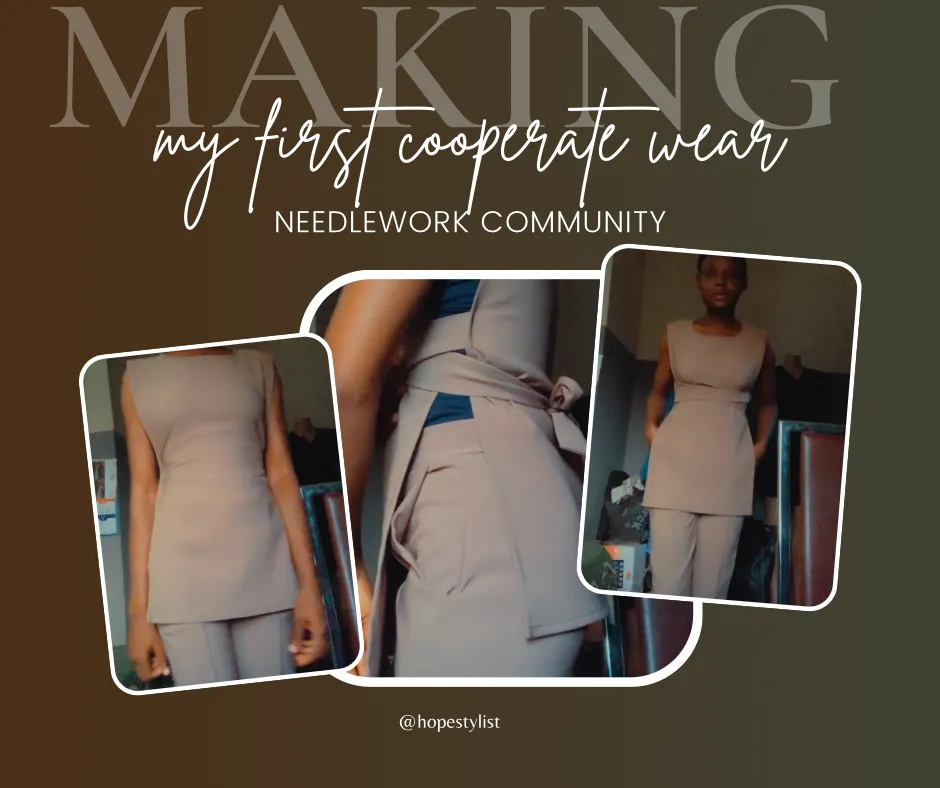
Hello amazing needleworkers and lovers, it’s another great day and it’s with pleasure I welcome you to my blog today. So today, I’d be sharing with you all another project that I have worked on that I was really excited of the outcome. And please, sorry this might be my last project for this year because I have gone back to school and I won’t be making any clothes here until I go back home.
I’m not a full time fashion designer, I just know a thing or two about it that helps me make something wearable for myself and sometimes for others. So unlike so many, it’s not something I get to do every now and then but when I do it’s always fun and I really enjoy sharing the outcomes. So without further ado, let’s dive into what I have for us today.
Prior to now, I have only made gowns and amended a shirt and a top but I haven’t shared any cooperate wears with us but today I’d be doing that, hehe. I do love trousers, although I have few of them and that was part of the reasons I made up my mind to make one for myself.
Things you need to make this
- Fabric
- Measuring Tape
- Sewing machine
- Iron
- short zip
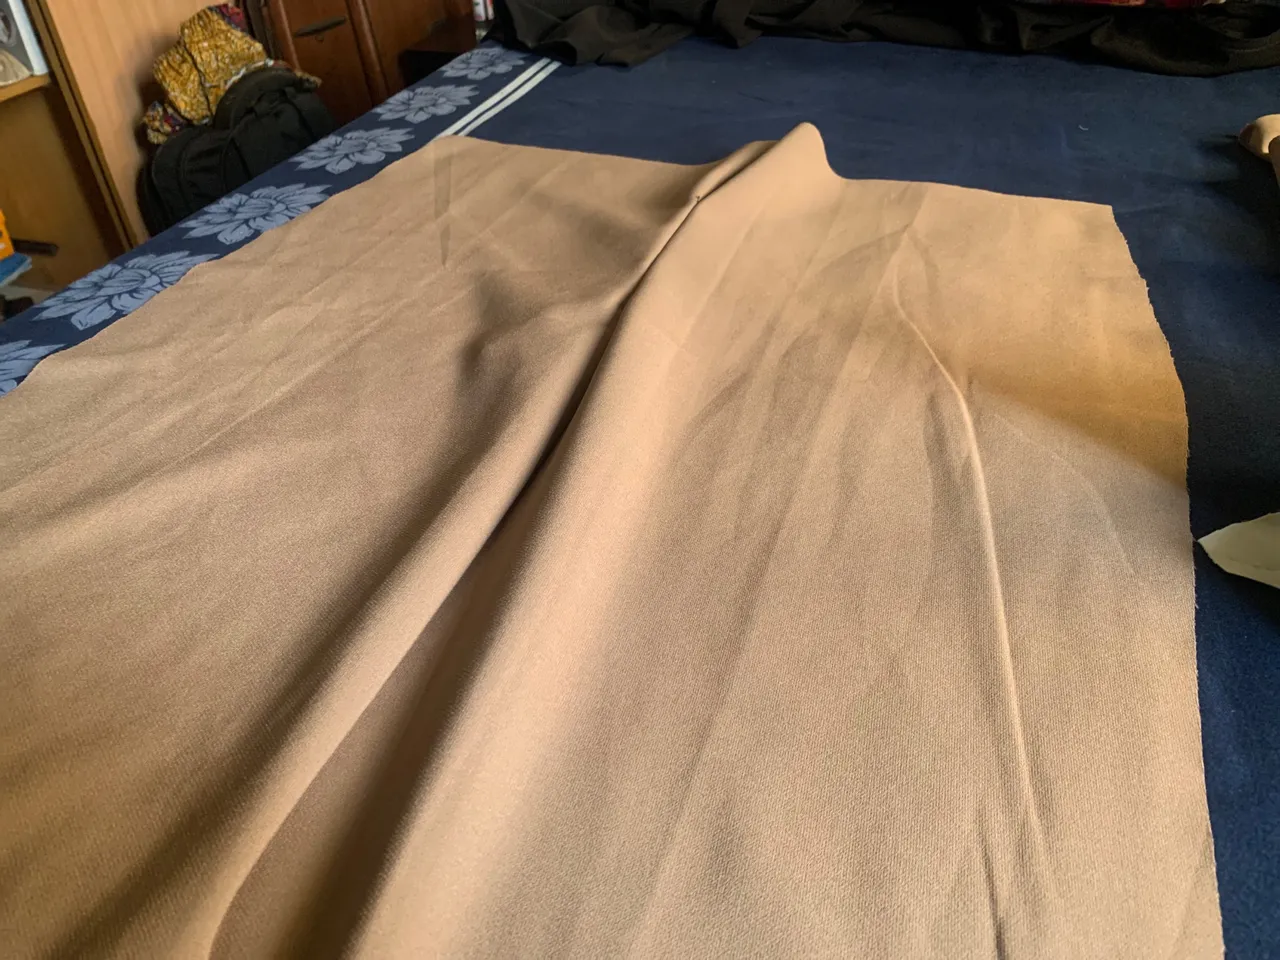
So above are the major things you need to get a trouser like that! So let’s get to know how I got that result. The first thing you want to do is get your measurements and then do the sectioning to make your work easier and professional.
For someone like me, my sister is the one helping out with the cutting because she is the real fashion designer. So, she helped me cut out the sections using my measurements since it was mine, hehe.
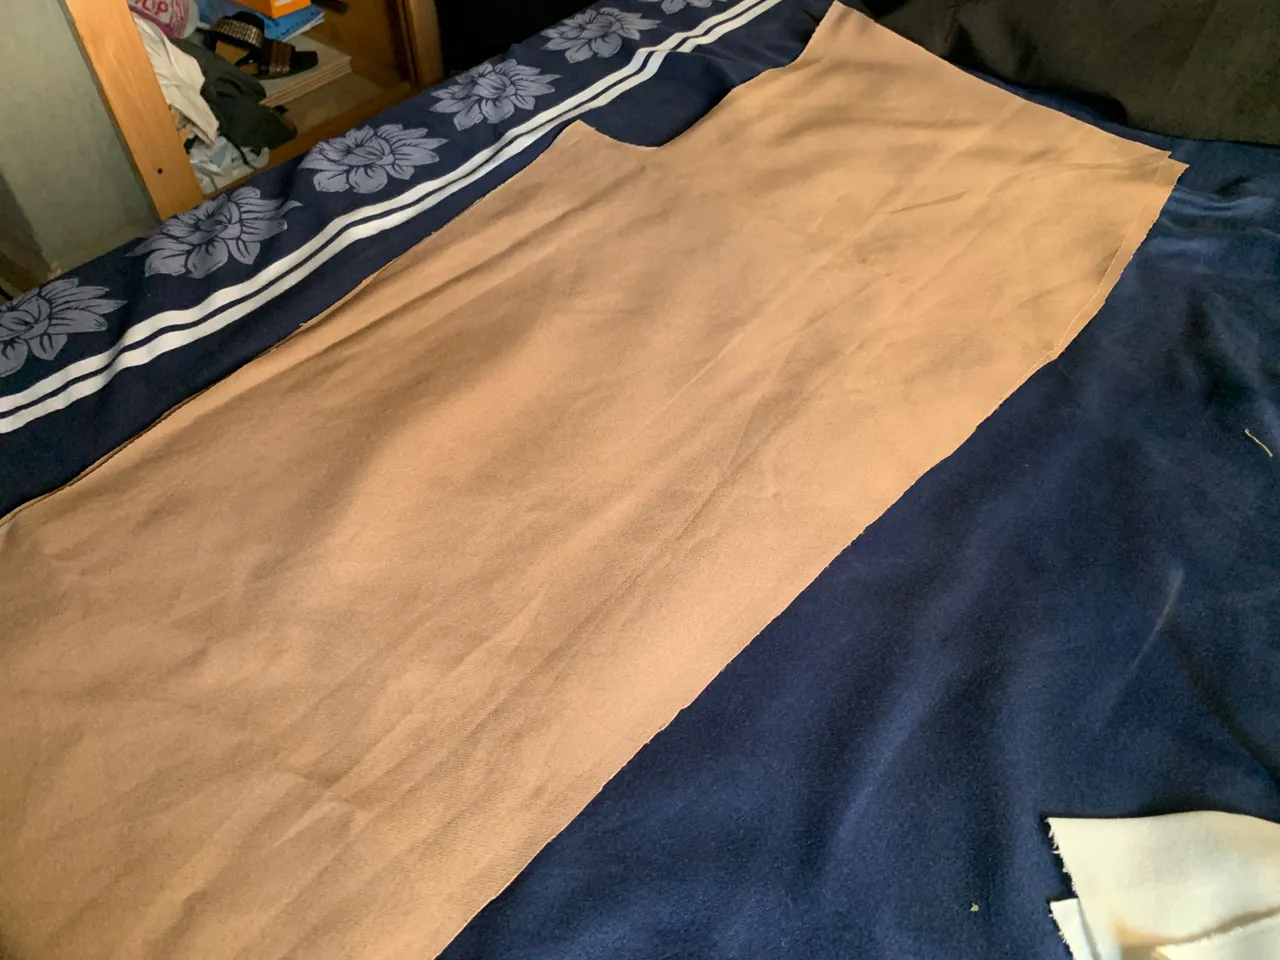 |  |
This time, unlike the pattern she uses for cutting her gowns, she cut the front side of the trousers first and added about 2 inches more to that same measurement to get the back side.
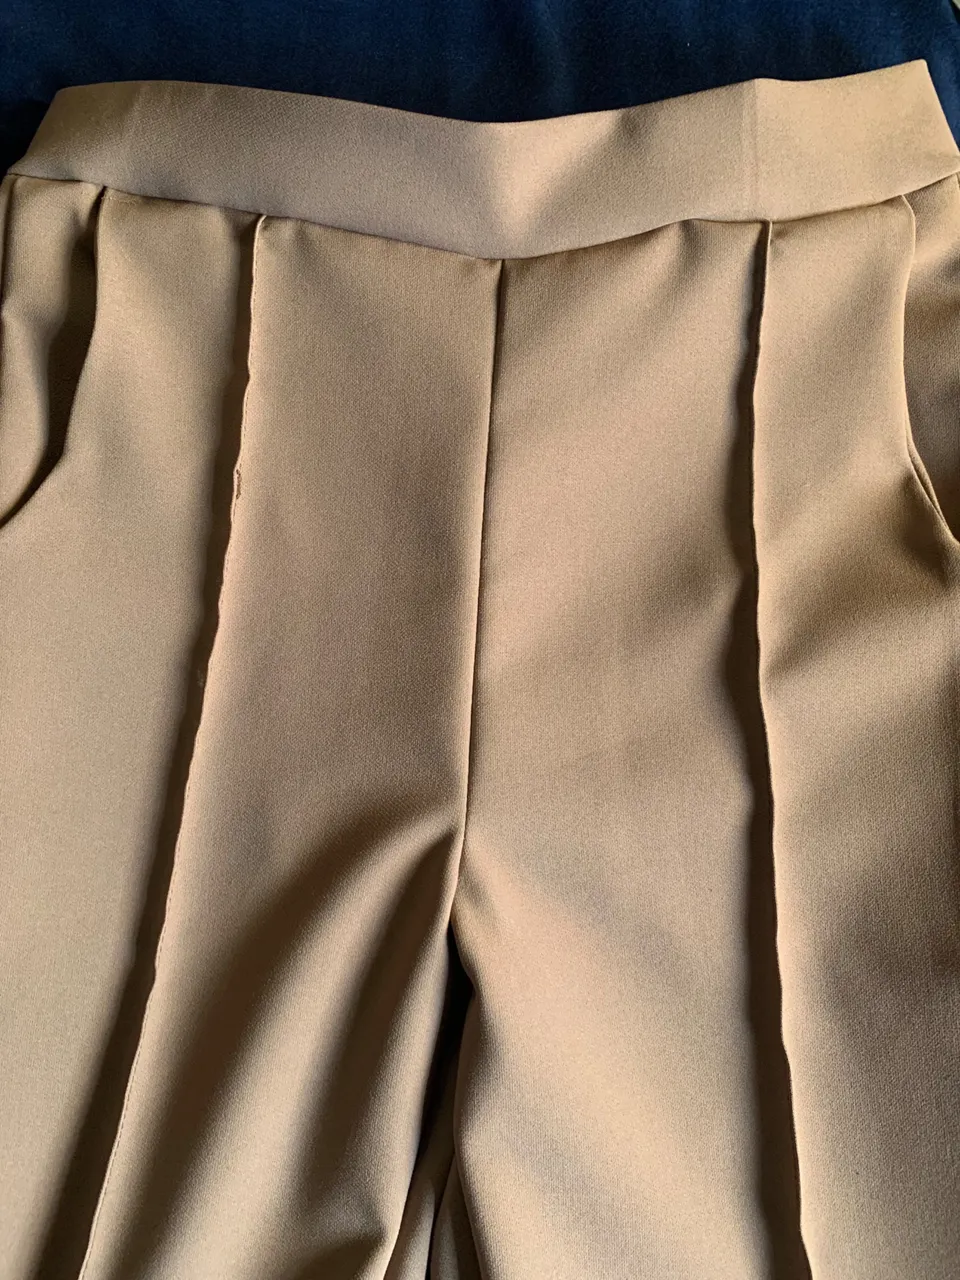
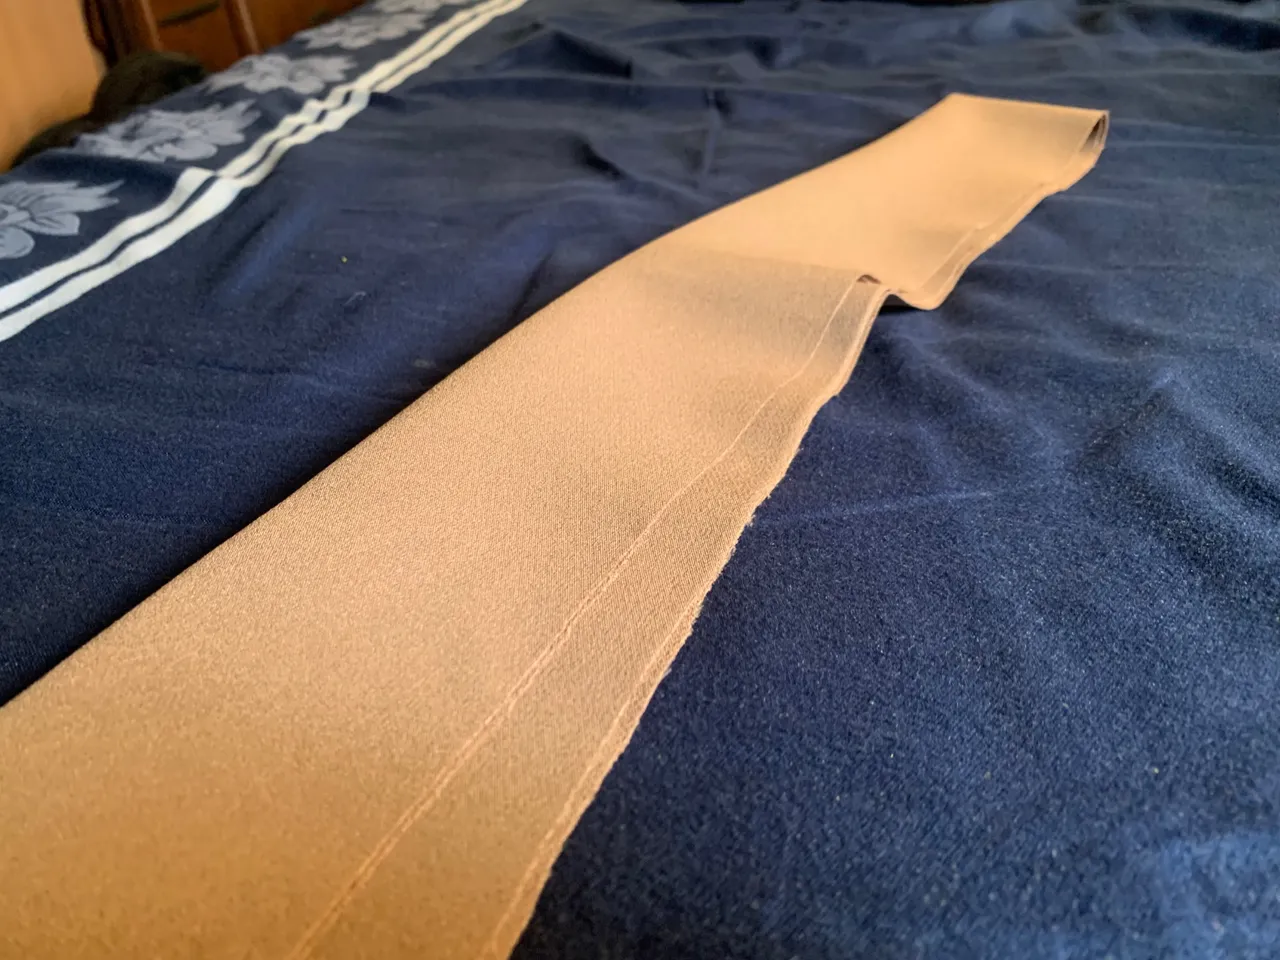
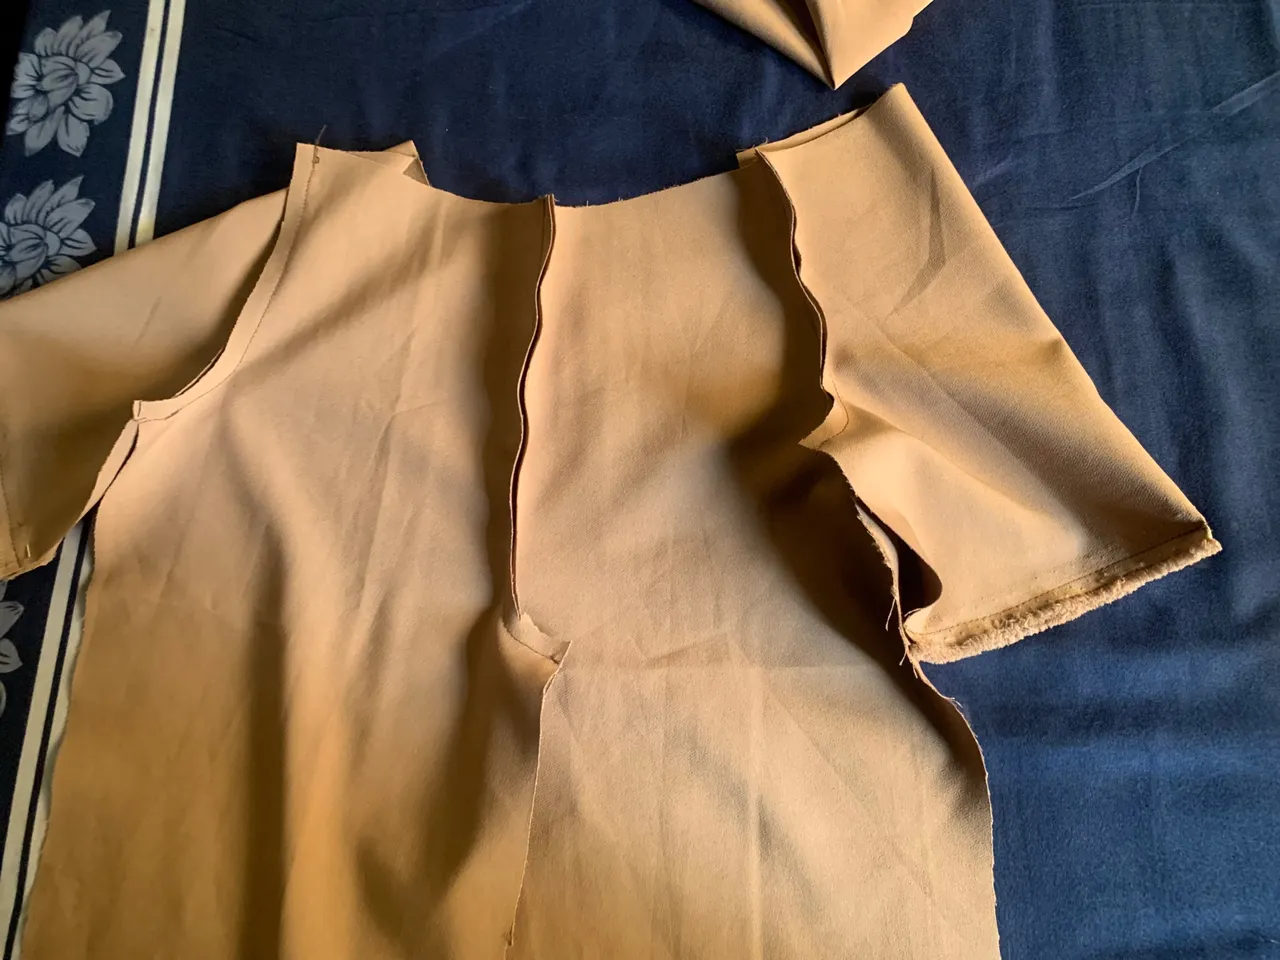
She cut out the band for the waist, the pockets and was all.
The first thing I did was joining the two legs at the front together at the pelvic section of the trousers. I did the same for the back too.
After that, I went straight to adding the pockets to the front side of the trousers. This was the most difficult part for me but I still managed to get it right after several trials.
 | 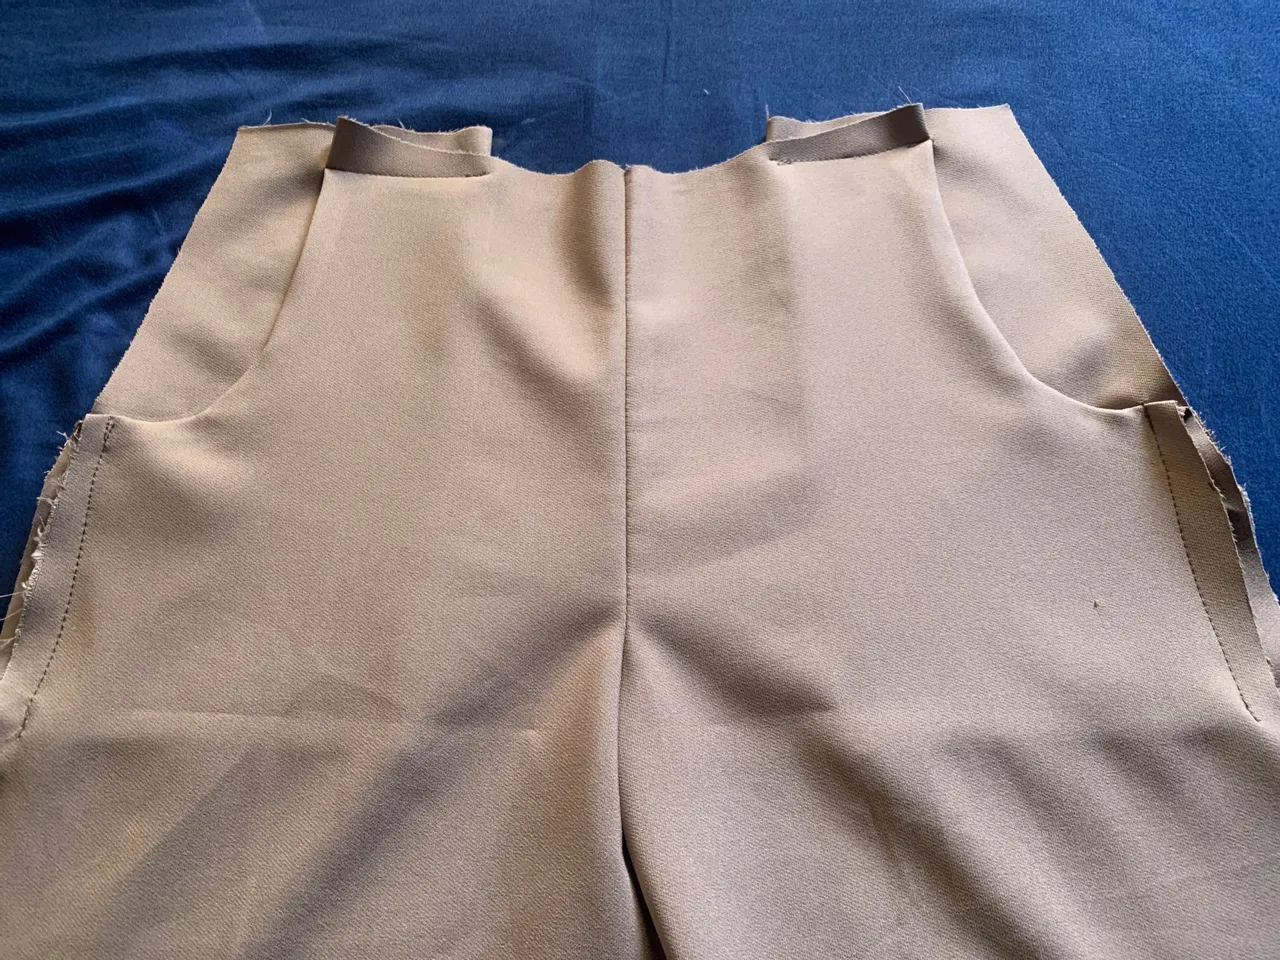 |
Once I was done, I made this pattern at the front side of the front trousers. It was really satisfying to see how it turned out (I have always wondered how my sister does it). It wasn’t hard at all. All I did was made a very good impression at a point I measured using my hot iron and then sew it down.
After that, I closed the sides and the middle of the fabric to form the trousers.
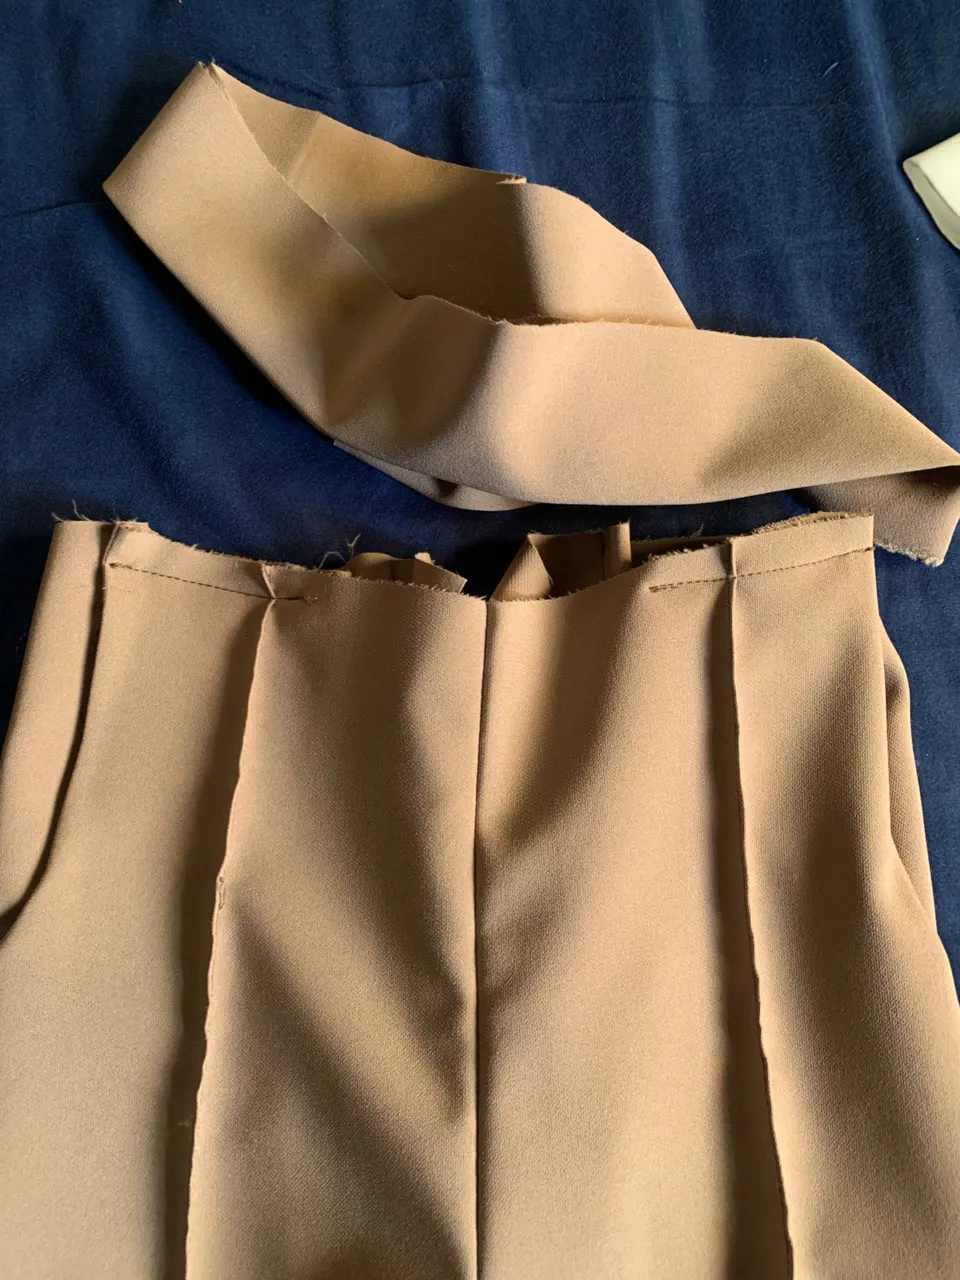
When I was done with that, I went straight to adding the band at the waist. This was easier compared to most of the other things I had to do.
After that, I did some fitting to see how it looks on me and also to know the length I’d be taking out to fit perfectly.
When I got that, I folded the down part of the trouser to make it look neat.
And that’s all! But wait, wait, wait, hehe. Just like you, when I thought it was over, an idea came to mind, I remember even asking @abenad for what she thinks and she also agreed with me.
So, since my fabric was still left, I decided to make a kimono handless top.
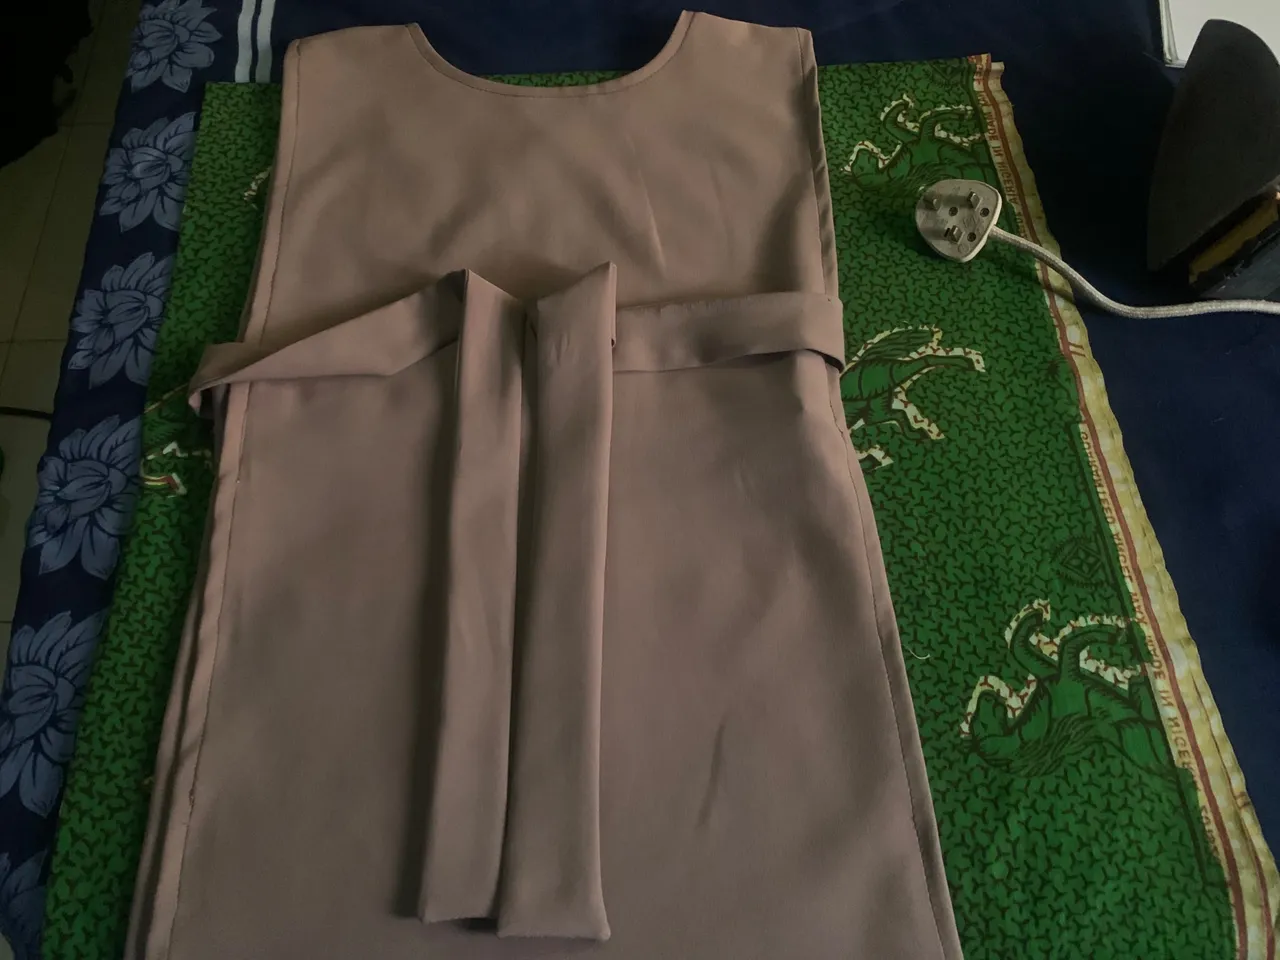 |  |
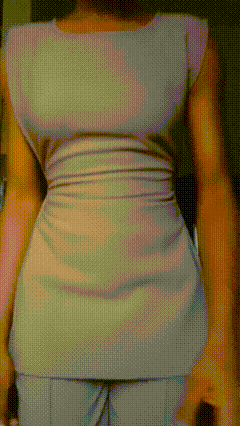
It was a simple cutting and then I added ropes for more fitting. Here is how it looks on me 🤭.
Thank you so much for stopping by, for the encouragement and support so far. I’m definitely going to be back but I’m not sure when 🥰.
Do leave your comments below, it will be nice to know what you think of my two piece.
Have a beautiful week ahead ❤️.