Hello fellow creators. I hope you are having a beautiful day. I think as seamstresses, dressmakers or tailors, we have this habit of reusing everything we have on hand such as shirts, pants, scraps of fabric among other things. Recently I was fixing my partner's clothes and I realized that he has almost no shirts to wear under his work shirt, as it is a very hot area here he has to wear a shirt underneath because if he doesn't sweat.
Hola amigos creadores. Espero estén teniendo un hermoso día. Creo que como costureras, modistas o sastres, tenemos como esa costumbre de reutilizar todo lo que tengamos a la mano como por ejemplo camisas, pantalones, retazos de tela entre otras cosas. Hace poco estuve arreglando la ropa de mi pareja y pues me di cuenta de que no tiene casi camisas para colocarse debajo de la camisa de trabajar, como acá es una zona bastante calurosa obligatoriamente tiene que colocarse una camisa debajo porque si no se le pasa el sudor.

So together with him we checked which shirts he doesn't wear to be able to turn them into flannel shirts, I don't know how they call it where you live but that's how I know it. From all of them I chose two to show you how to transform them, using two different techniques.
Por lo cual junto a él revisamos cuáles camisas él no usa para poder convertirlas en franelillas o guarda camisa, no sé cómo le digan en donde ustedes viven pero así la conozco yo. De entre todas elegí dos para mostrarles cómo hago para transformarlas, usando dos técnicas diferentes.
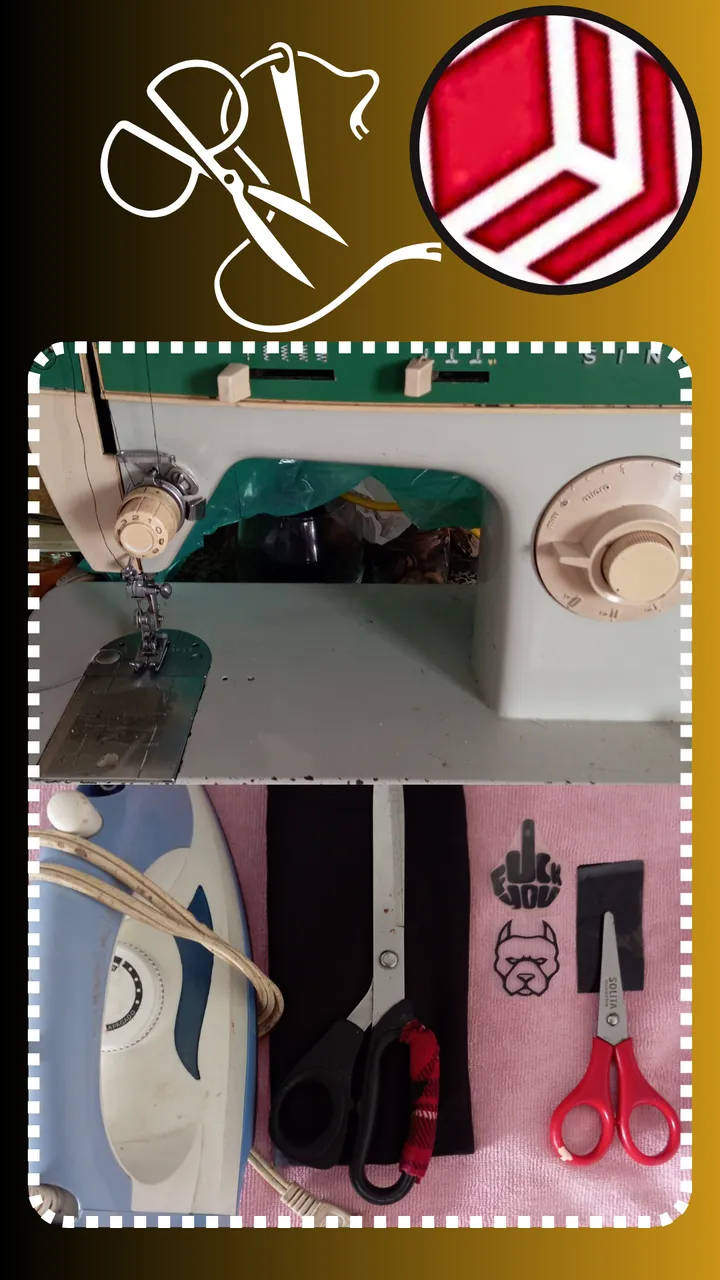
Materials:
Piece of fabric.
Fabric scissors and craft scissors.
Iron.
Sewing machine.
Textile vinyl stickers (optional).
Thread.
Materiales:
Retazo de tela.
Tijeras de telas y de hacer manualidades.
Plancha.
Máquina de coser.
Stickers de vinil textil (opcional).
Hilo.
Step 1:
Fold the shirts inside out and cut the armhole shape, the black one with red wine I made the armhole lower because it was too tight on my partner.
Paso 1:
Doblar las camisas al revés y cortar la forma de la sisa, a la negra con vino tinto le hice la sisa más abajo porque esta le quedaba muy ajustada a mi pareja.
Step 2:
Cut the collar, as they are supposed to be flannelettes the front of the shirt I made it five fingers down, the measurements I made by eye👀 because I did not get my tape measure.

Paso 2:
Cortar el cuello, cómo se supone que serán franelillas el frente de la camisa lo hice cinco dedos hacia abajo, las medidas las hice al ojo👀 porque no conseguí mi cinta métrica.🥲
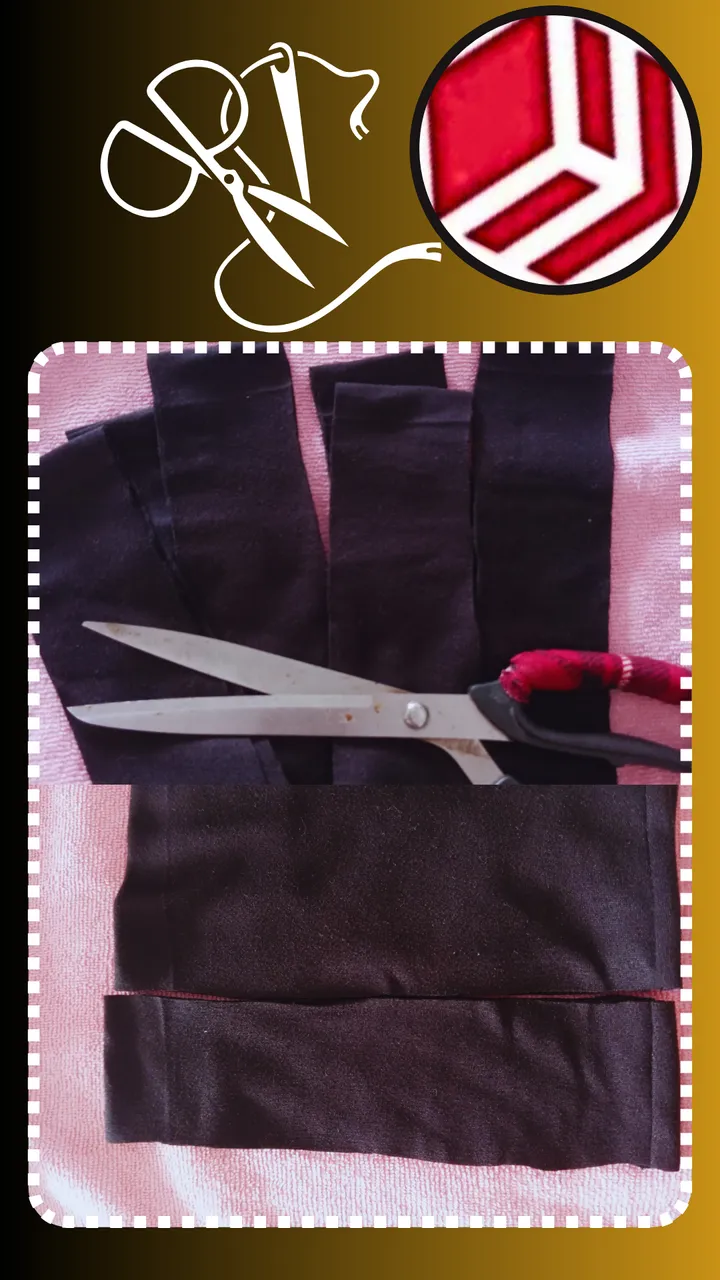
Step 3:
Cut several strips for the edges of the shirts or bias. For the grey I cut wide ones and for the black with red wine they should be thin.
Paso 3:
Cortar varias tiras para las orillas de las camisas o sesgo. Para la gris corté unas anchas y para la negra con vino tinto deben ser delgadas.
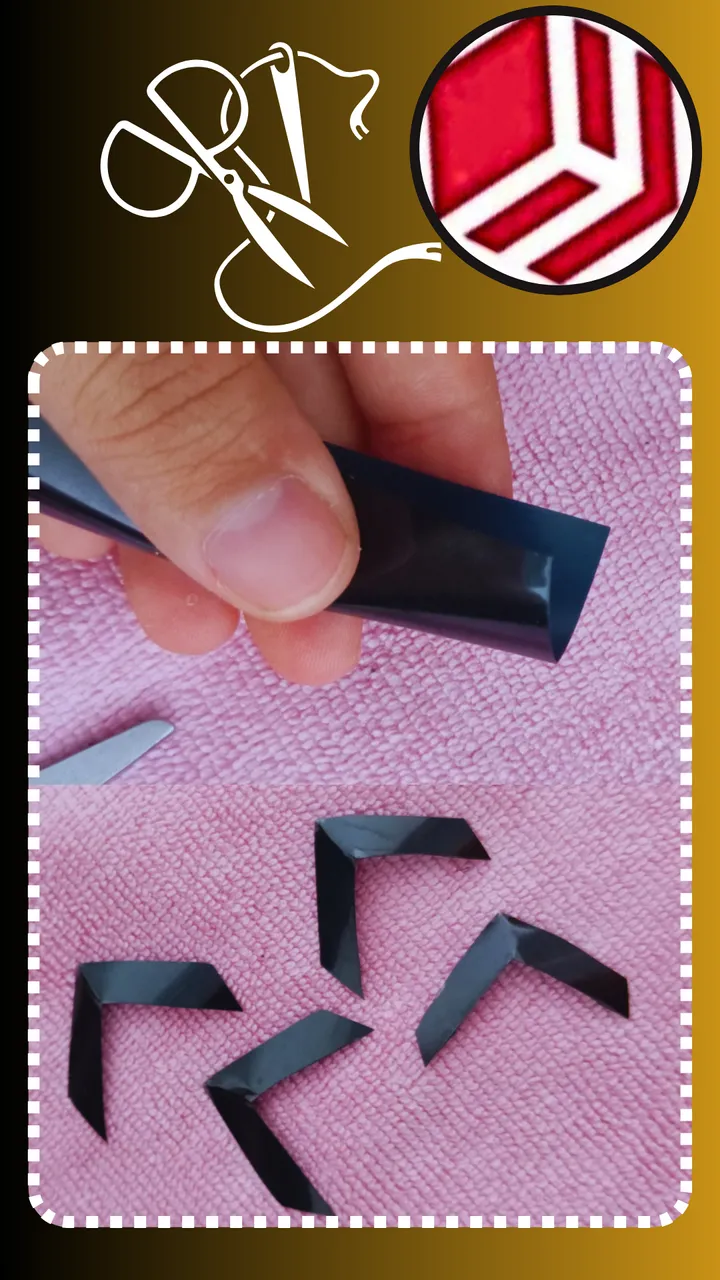
Step 4:
We will make some arrows with the textile vinyl and on the gray shirt we will glue the stikers with the heat of the iron.
Paso 4:

Haremos unas flechas con el vinil textil y en la camisa gris pegaremos los stikers con el calor de la plancha.
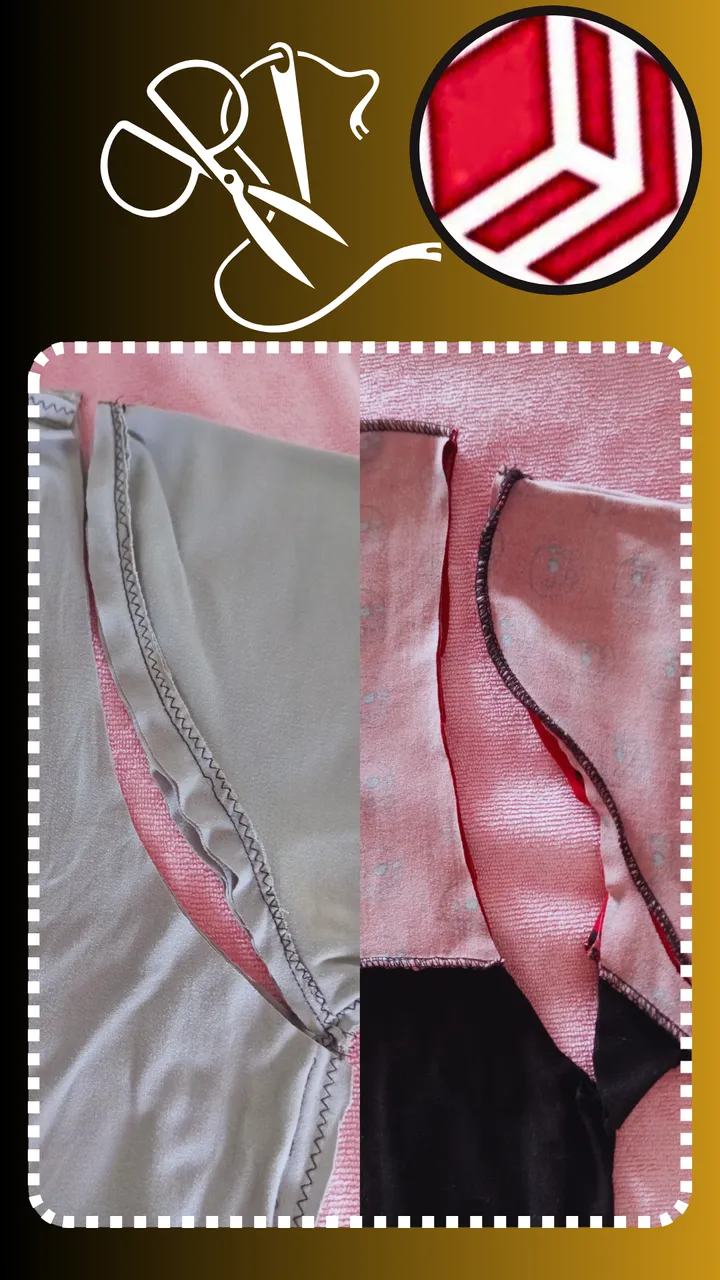
Step 5:
We will start by making the border on the gray shirt. For this we will use the wide bias, we will fold the sides towards the center and we will make a kind of clip.

Paso 5:
Comenzaremos haciéndole la orilla a la camisa gris. Para esta usaremos el sesgo ancho, doblaremos los costados hacia el centro y haremos una especie de pinza.
Step 6:
I leave the beginning unsewn and stretch the bias binding a little bit, not too much, so that it is not too loose. When I finish, I sew the two ends together and finish sealing the entire edge.

Paso 6:
Dejo el principio sin coser y estiró un poco el sesgo no mucho, para que este no quede holgado, al finalizar junto las dos puntas las coso y terminó de sellar toda la orilla.
Step 7:
For the black shirt with red wine I think this step is simpler and I really like how it looks. Fold the thin bias binding and place on top of the shirt edge of the shirt, leave the tip unstitched and do as with the previous shirt.
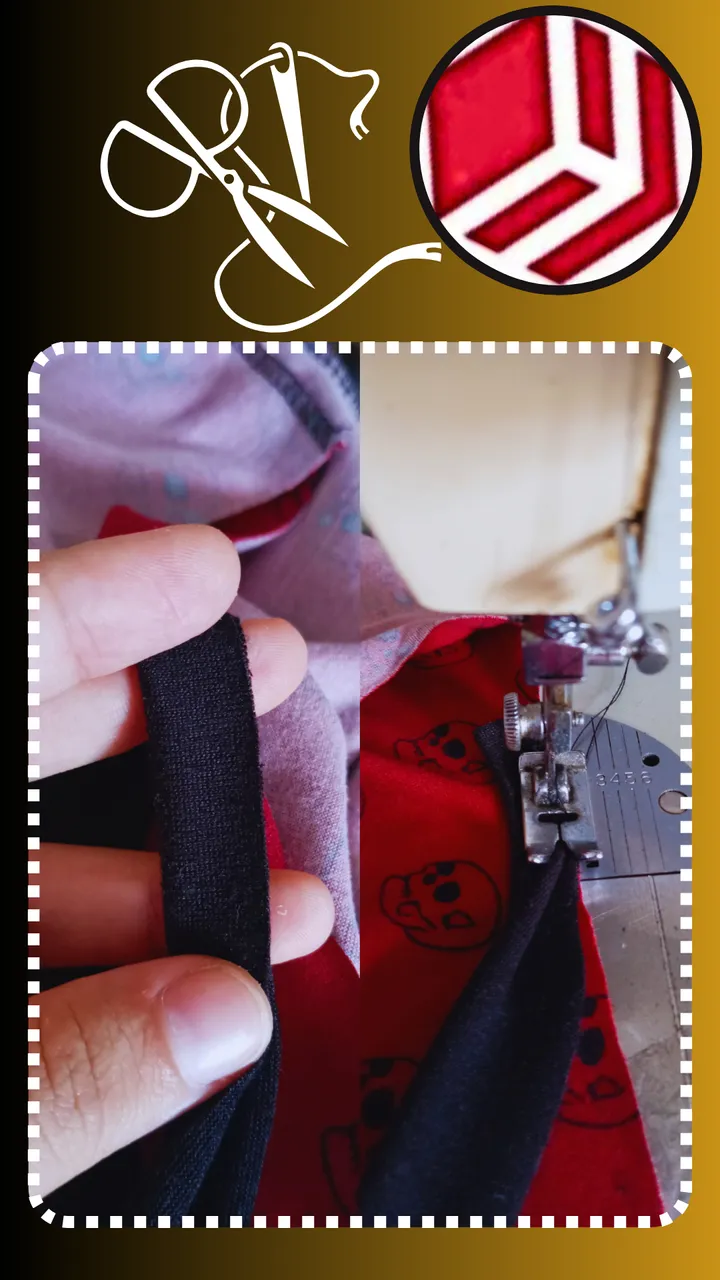
Paso 7:
Para la camisa negra con vino tinto creo que este paso es más sencillo y me gusta mucho cómo queda. Doblar el sesgo delgado y colocar encima de la camisa de la orilla de la camisa, dejar la punta sin coser y hacer como con la camisa anterior.
Step 8:
After having sewn all the edges we will proceed to make a stitch to make it neater and prettier.

Paso 8:
Luego de haber cosido todas las orillas procederemos a hacer un pespunte para que esta quede más prolija y bonita.
With this we will have finished our flannelillas, guard shirts or as they say here in Buenaventura (shirts). I hope you find this content useful and that you can take advantage of it. Greetings and take care of yourselves guys.
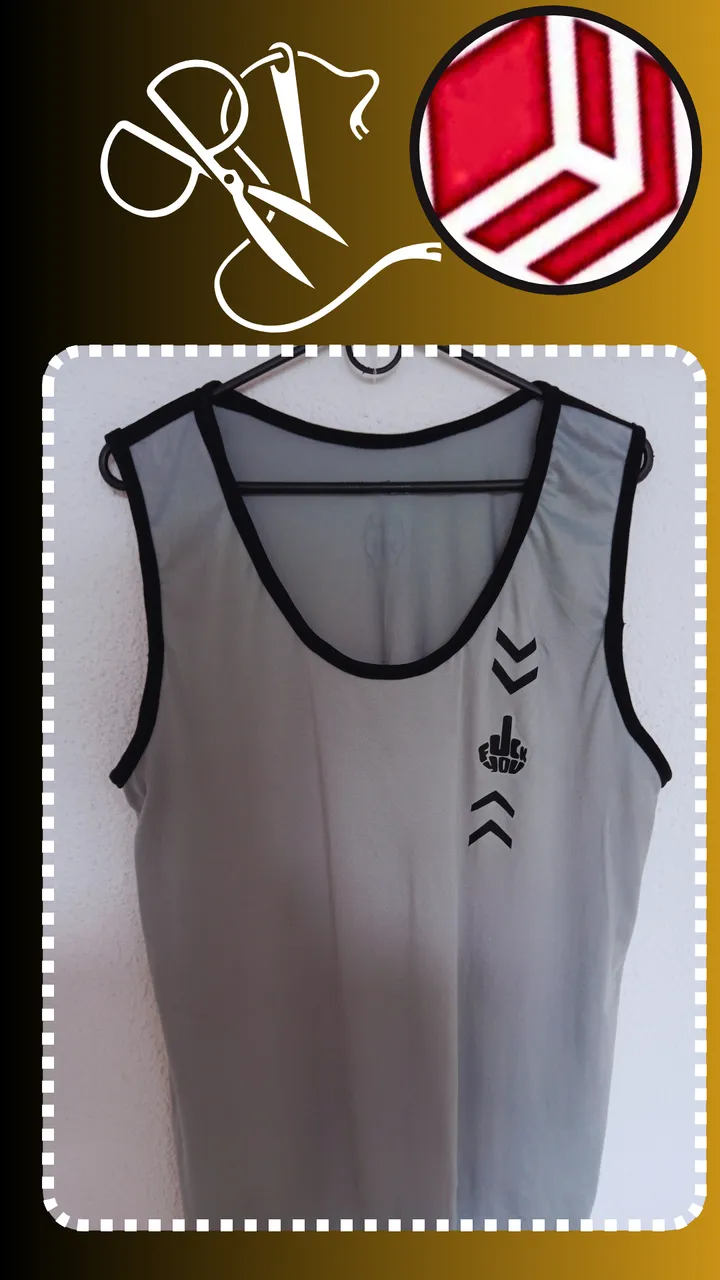

Con esto ya habremos terminado nuestras franelillas, guarda camisas o como le dicen acá en buenaventura (camisillas). Espero les sea de utilidad este contenido y que puedan sacarle provecho Saludos y cuídense mucho chicos.

Translation with DeepL
Photos taken with Redmi 12
Editing done in Canva
Traducción con DeepL
Fotos tomadas con Redmi 12
Edición realizada en Canva