Hello, today I bring you the mold of a rectangular tunic. The measurements are universal, so there will be no colors this time.
Well, there are several things that I would like to explain before moving on to cutting fabric and sewing.
The first thing I would like to tell you is that this type of garment does not need a paper mold (if you feel safer doing it, do it).
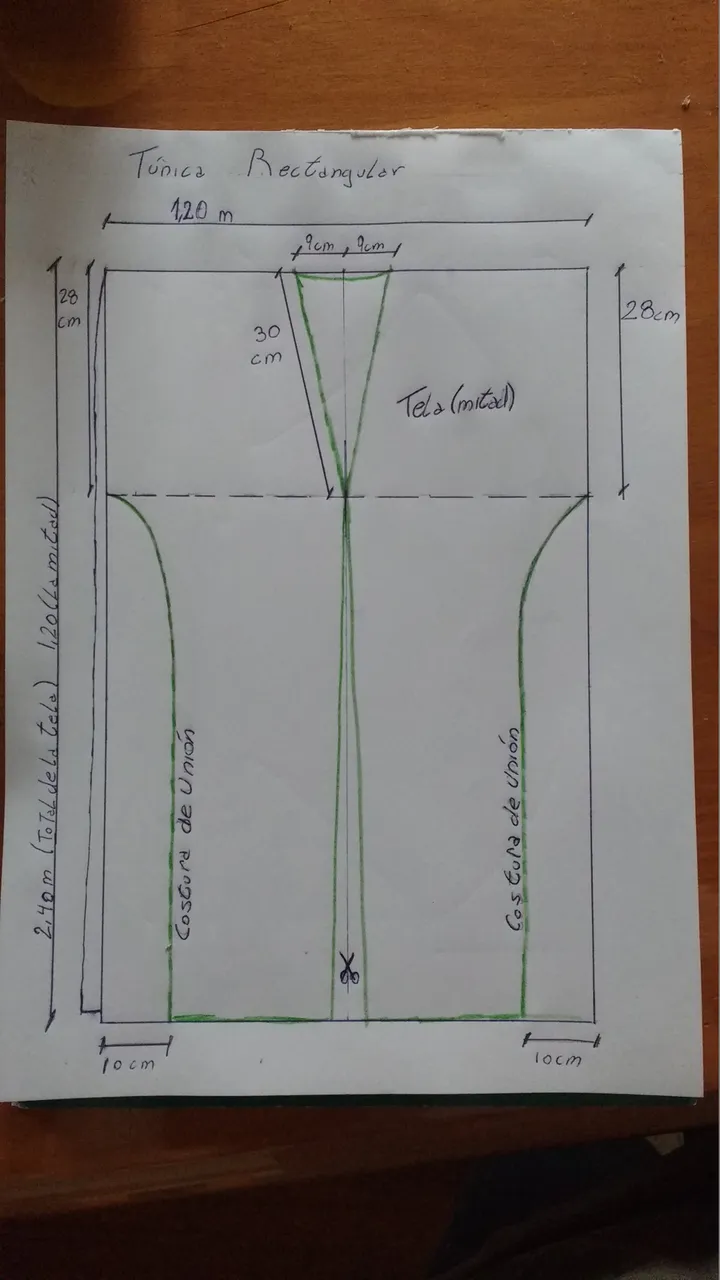
As they do not need a mold, what they need is a 2.40 m long by 1.20 m wide fabric (fabrics usually come that width).
As the mold says, what you need is to fold the fabric in half, and mark the arm and side measurements directly on it.
Finally, I would like to clarify that the cut is only in the front, if you have two different fabrics, you can join them and also make a tunic.
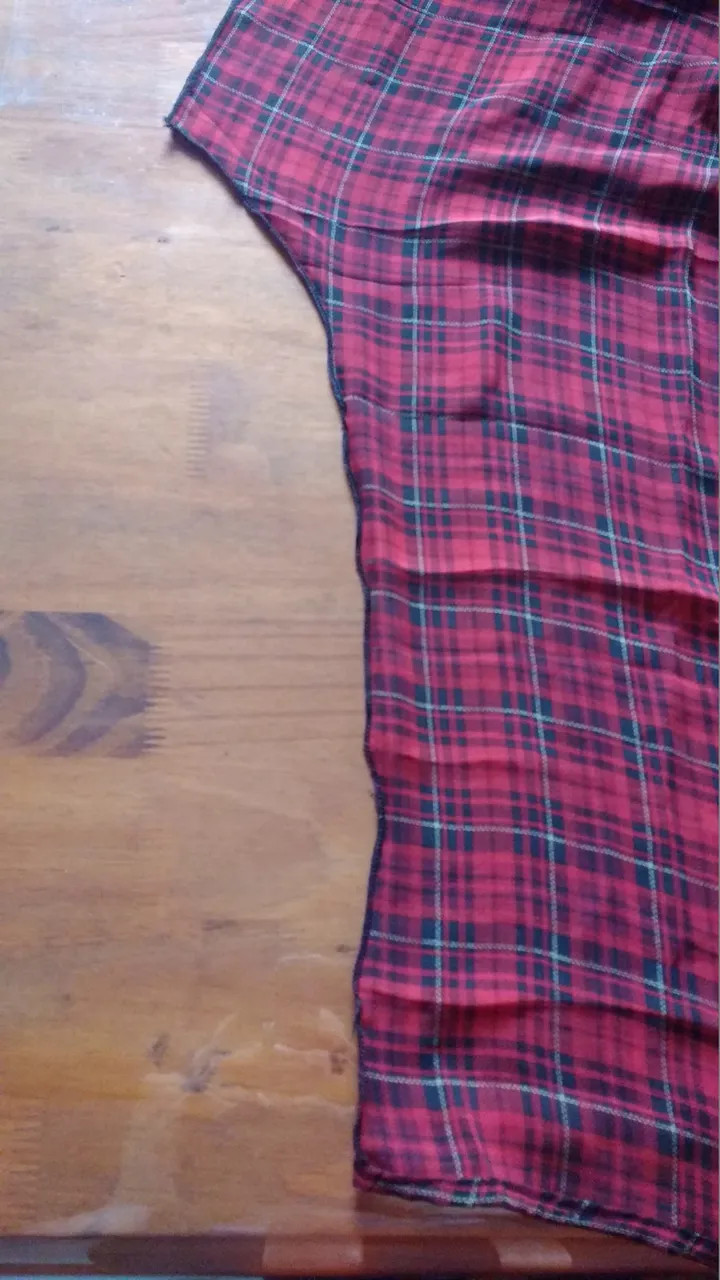
Once this is explained, we proceed to cut and make. Since I made my tunic without a mold, I cannot show you what it would look like, but I can show you the steps of the making. In this image you can see how I joined the sides.
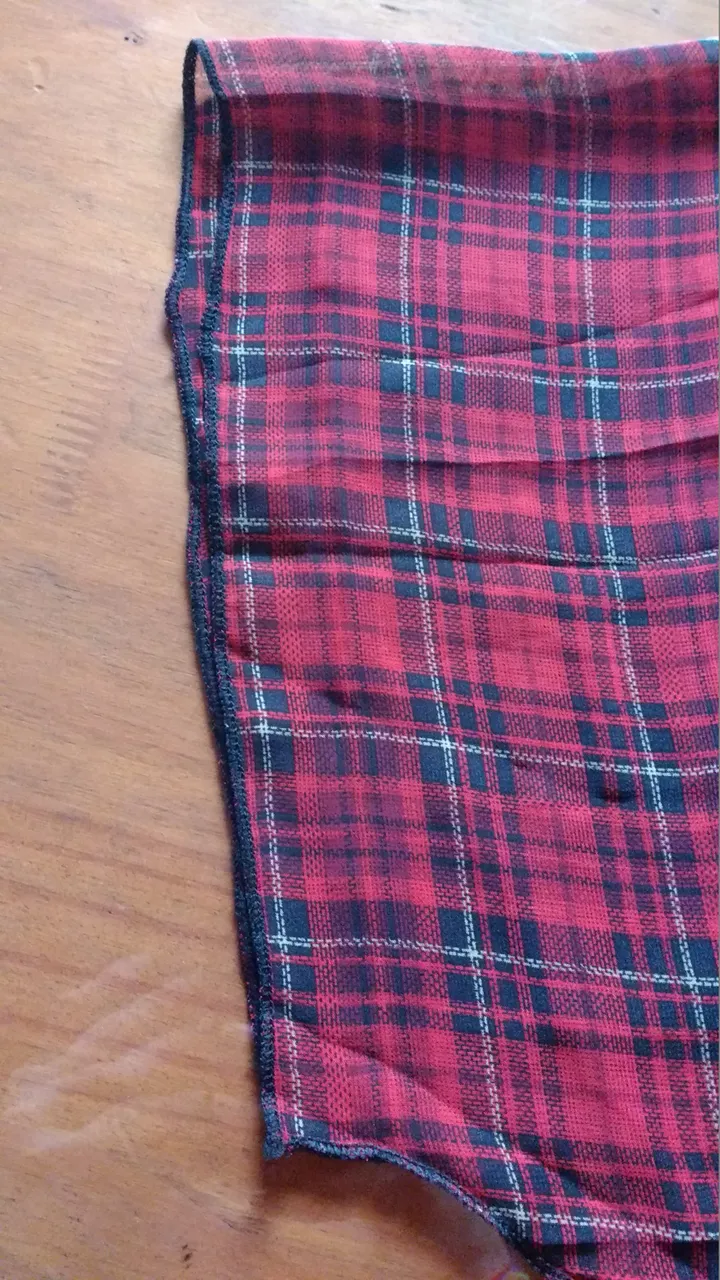
For the "sleeves", what I did was just put the overlock, you can make a fold and sew it, that is up to you.
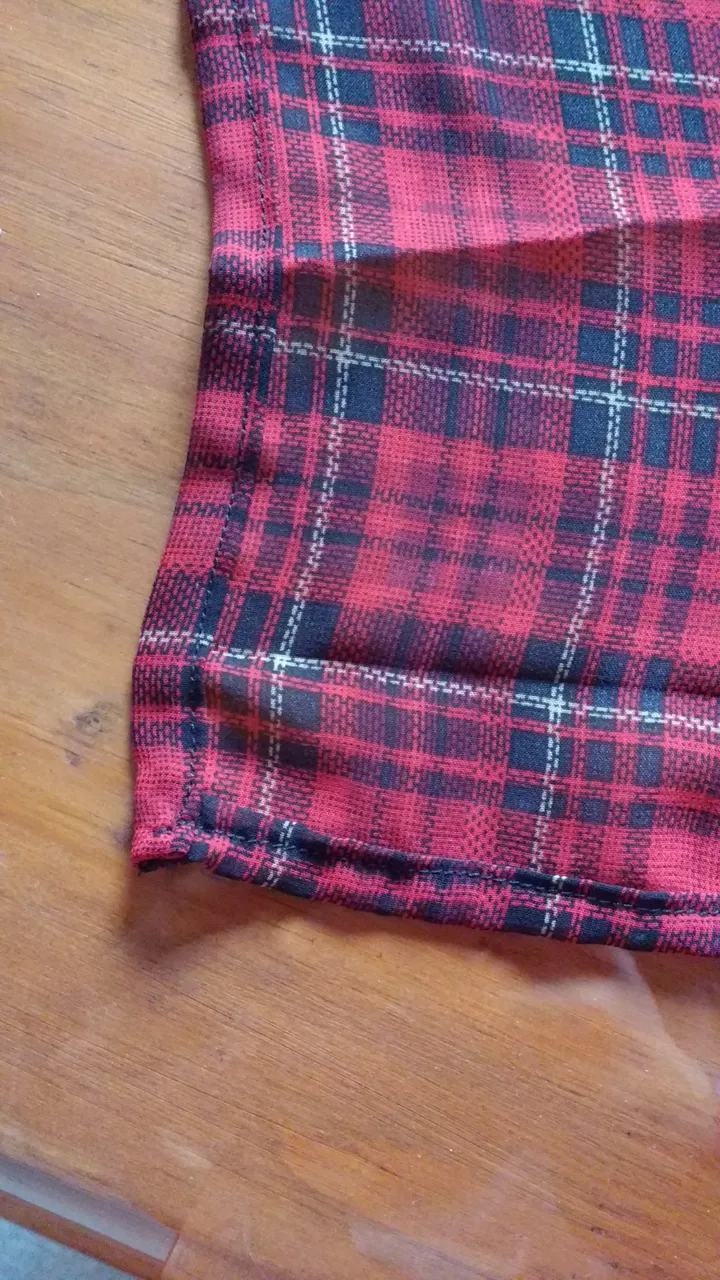
As this tunic does not require the shoulders to be joined, what we are going to do is, once the two sides are joined, fold the entire contour and sew it, this includes the front and the hem. You can decorate it as you want, you can sew a lace around the contour, or just the bottom.

This is how it would look once finished, it seems very large but, in my case it is because I used a much longer fabric.

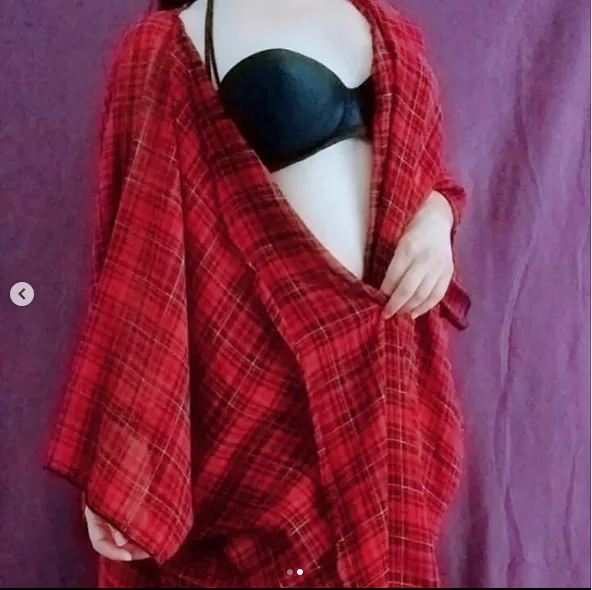
Images taken from my Instagram @fire_rabbit.