Hello, good Monday, today I bring you the mold of a children's diver, the sizes range from 1 year to 14 years, with their respective colors.
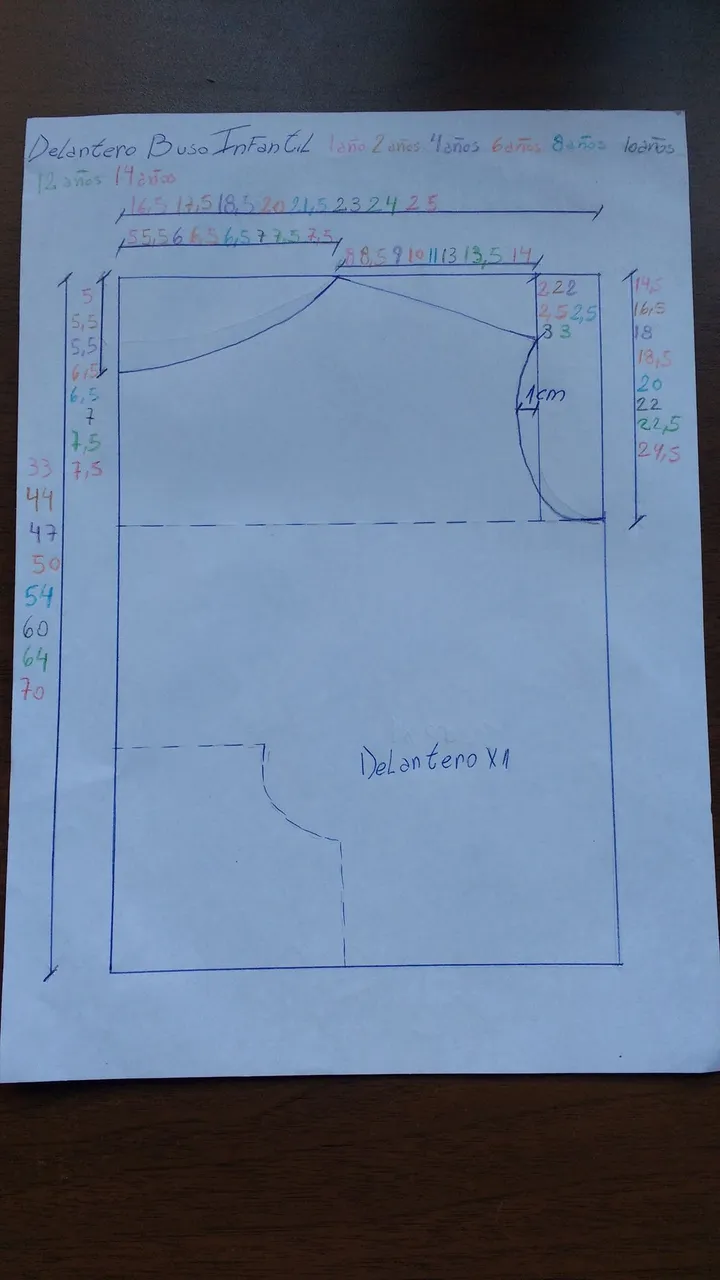
In the front mold the curve of the armhole is in a pen, this means that it will not change according to the size.
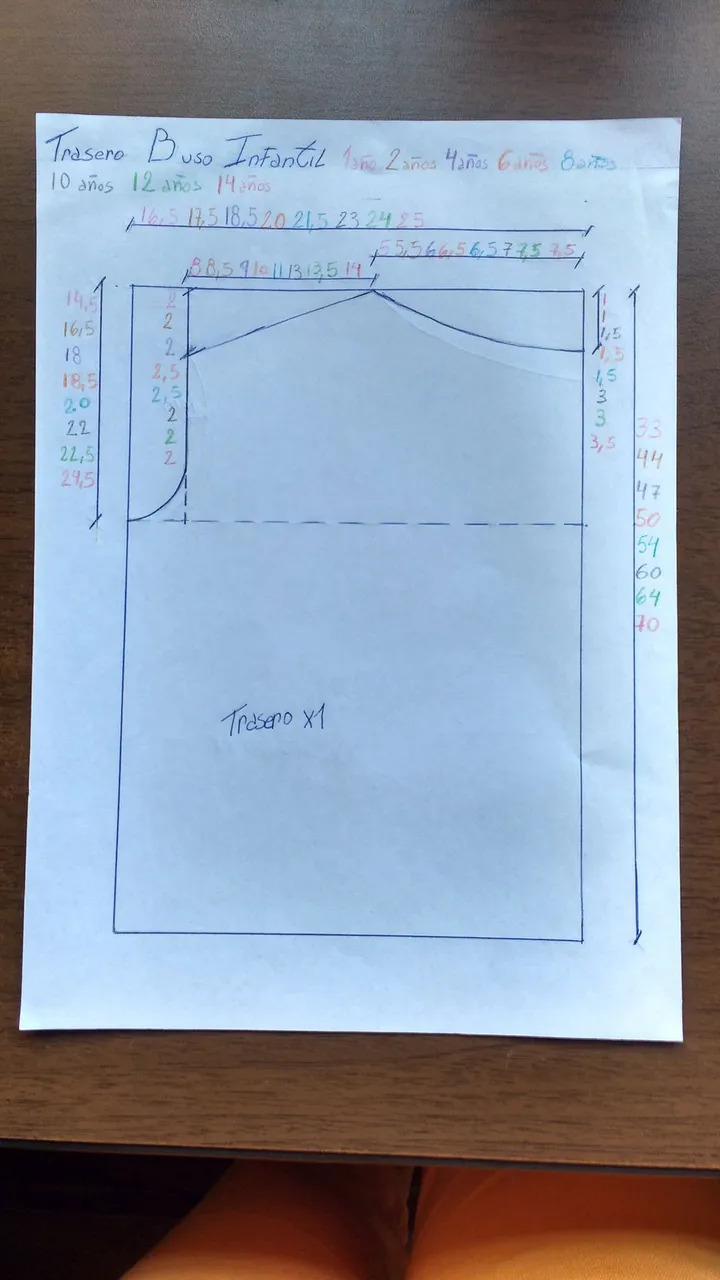
On the other hand, in the rear mold, there is no such curve.
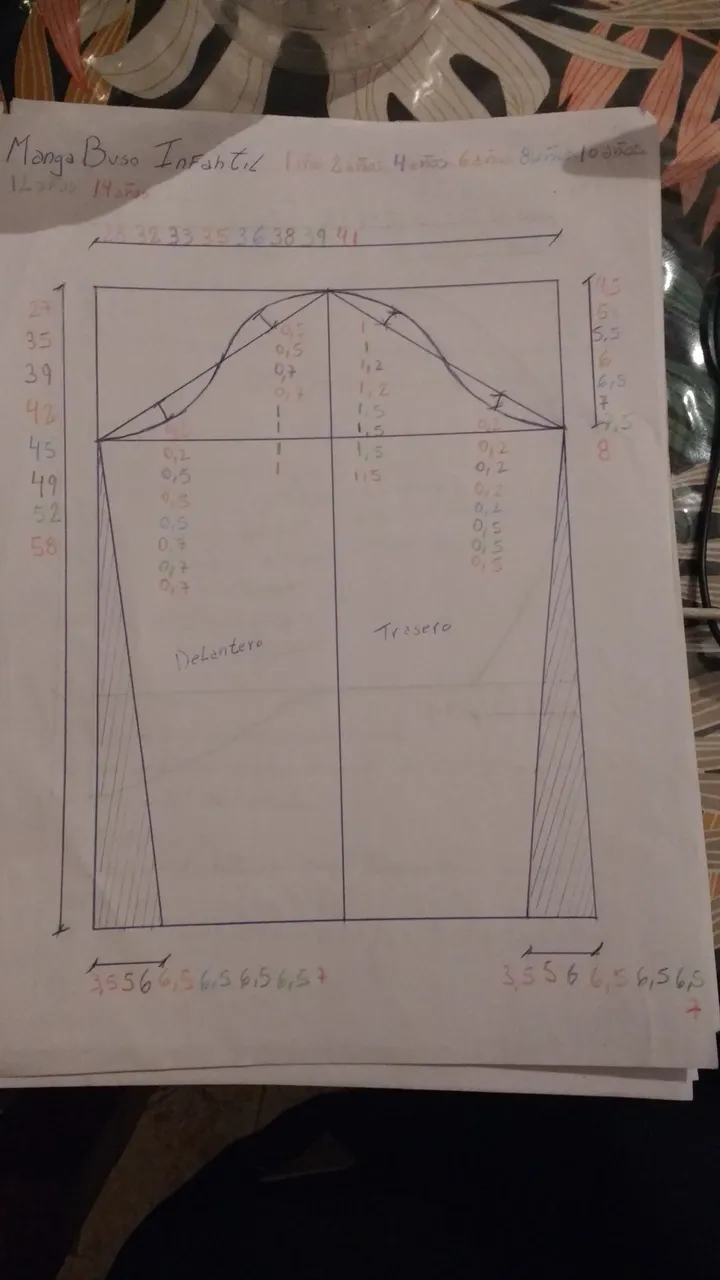
The measurements of the sleeves will vary according to the size.
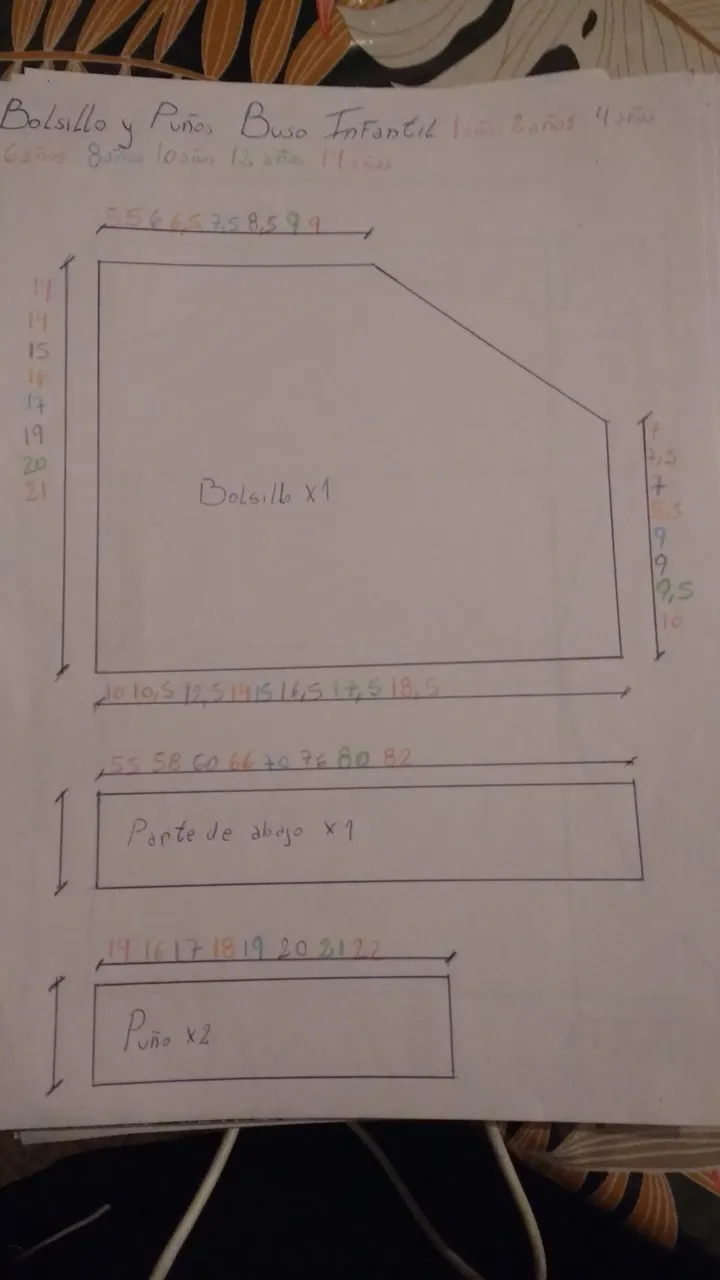
As I forgot to put the measurements of the width of the strips for the cuff and for the bottom I write them here, both are 5.0 cm.
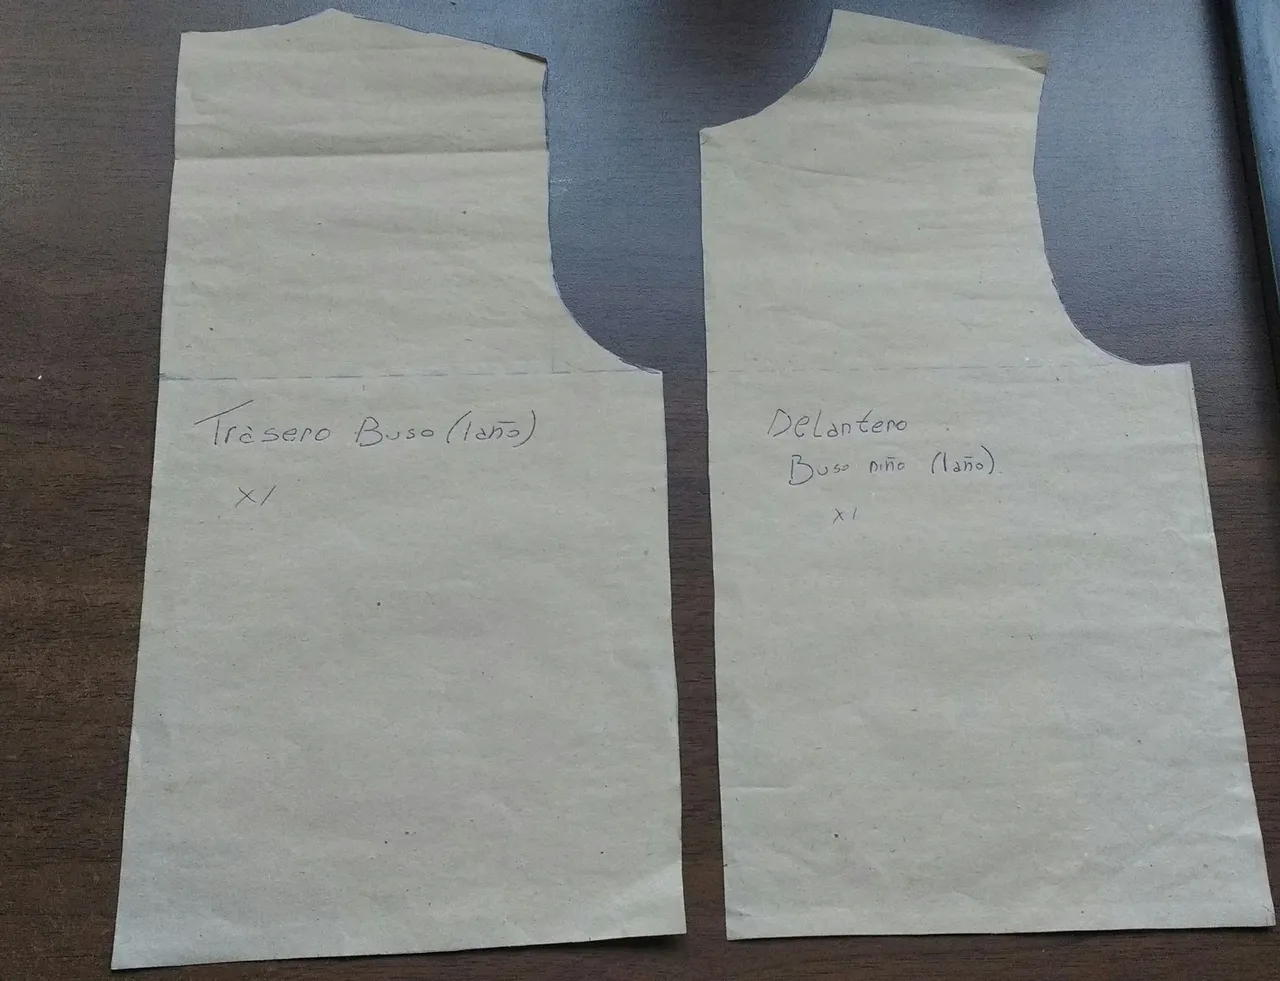
This is how the cut mold would look, front and rear, as you can see the rear is without the curve of the armhole.
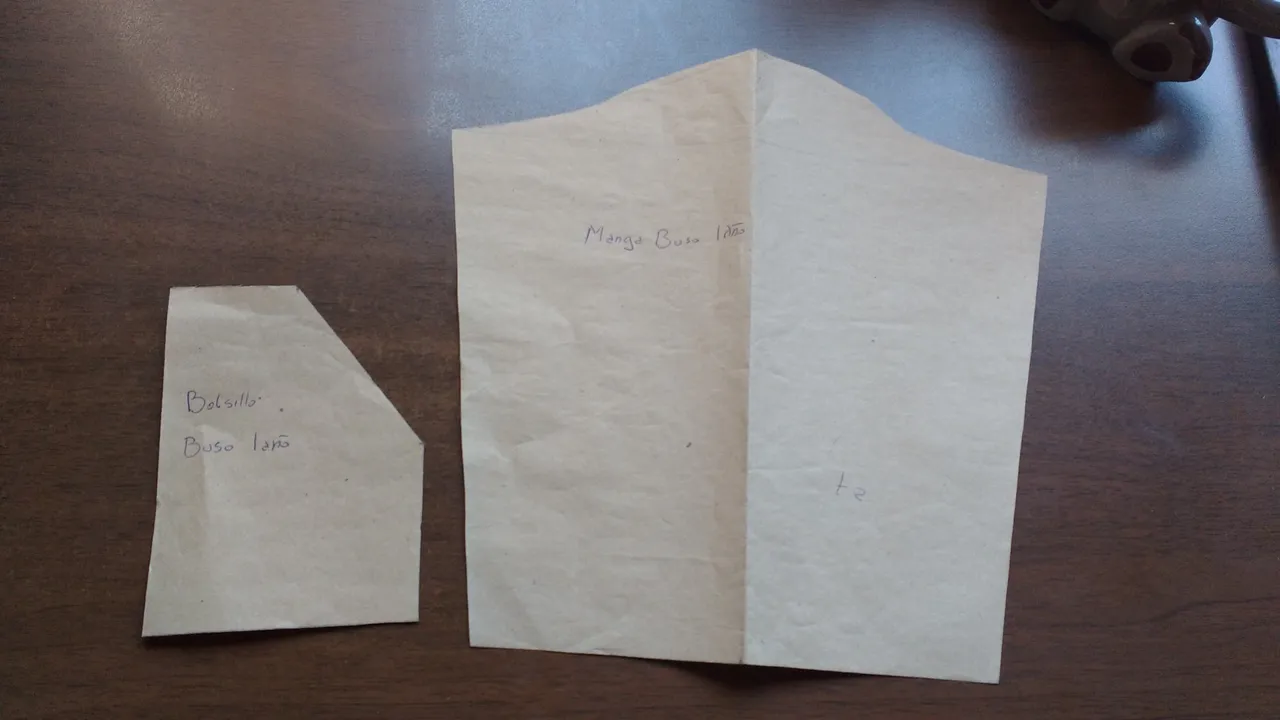
And so, the pattern of the sleeve and the pocket would be seen. Remember to leave 1.0 cm for the seam allowance. This mold corresponds to the 1 year old. In this case, as the fabric could not reach me, I did not cut the pocket.
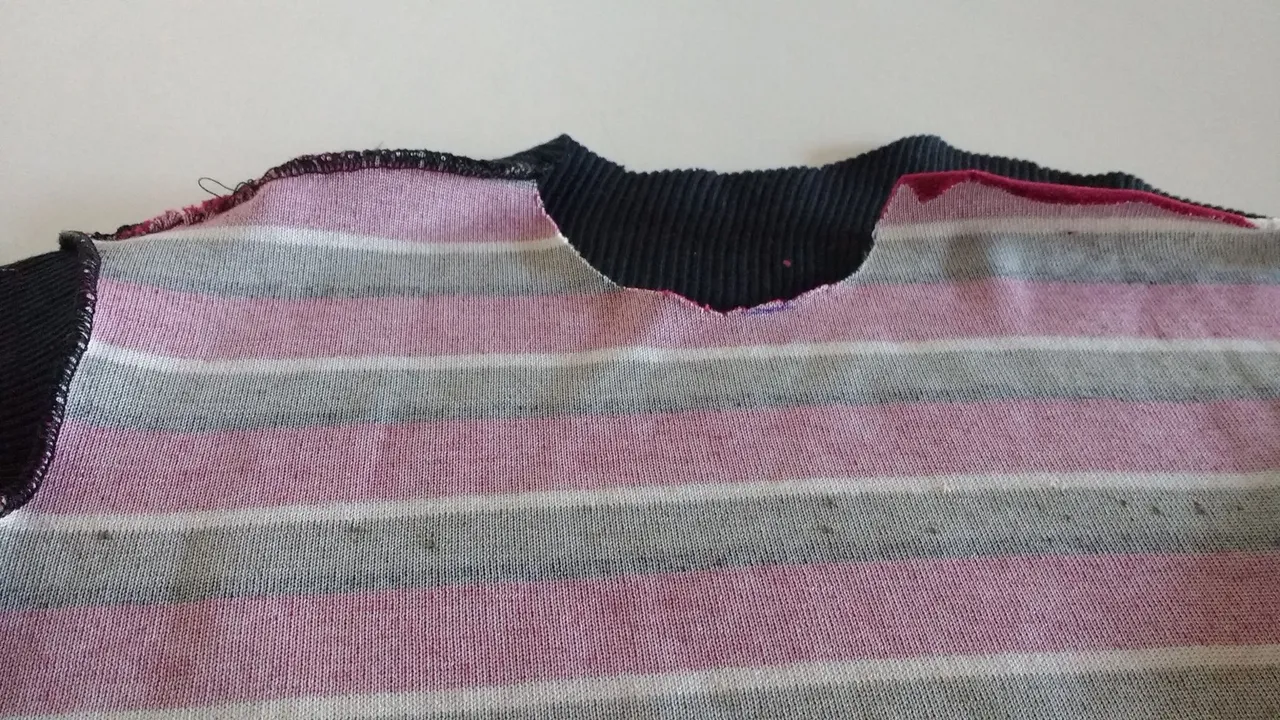
Once the fabric is cut, we begin to sew, the first thing we are going to do is sew a front shoulder with a back one, as seen in the image.
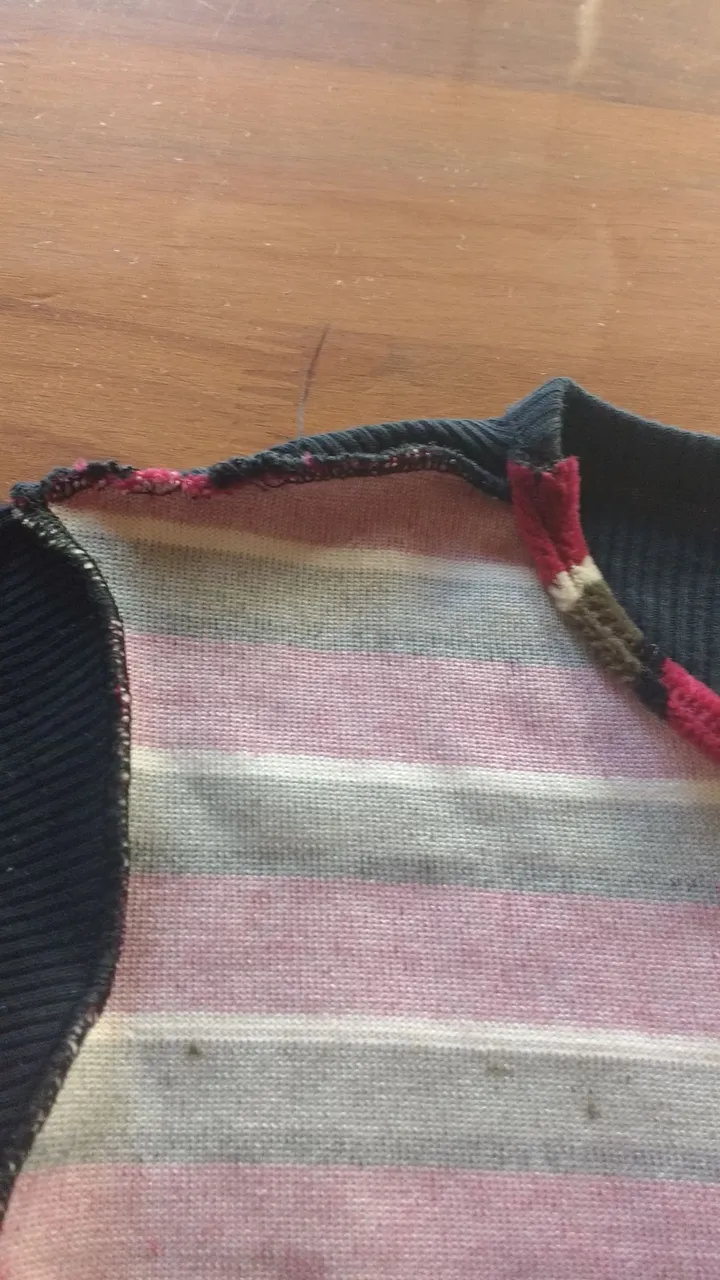
Then, we are going to fold the entire neck and sew it, you can also put a neck on it, as in the sleeves and in the hem.
When they finish sewing the neck, they close the other shoulder, as seen in the image.

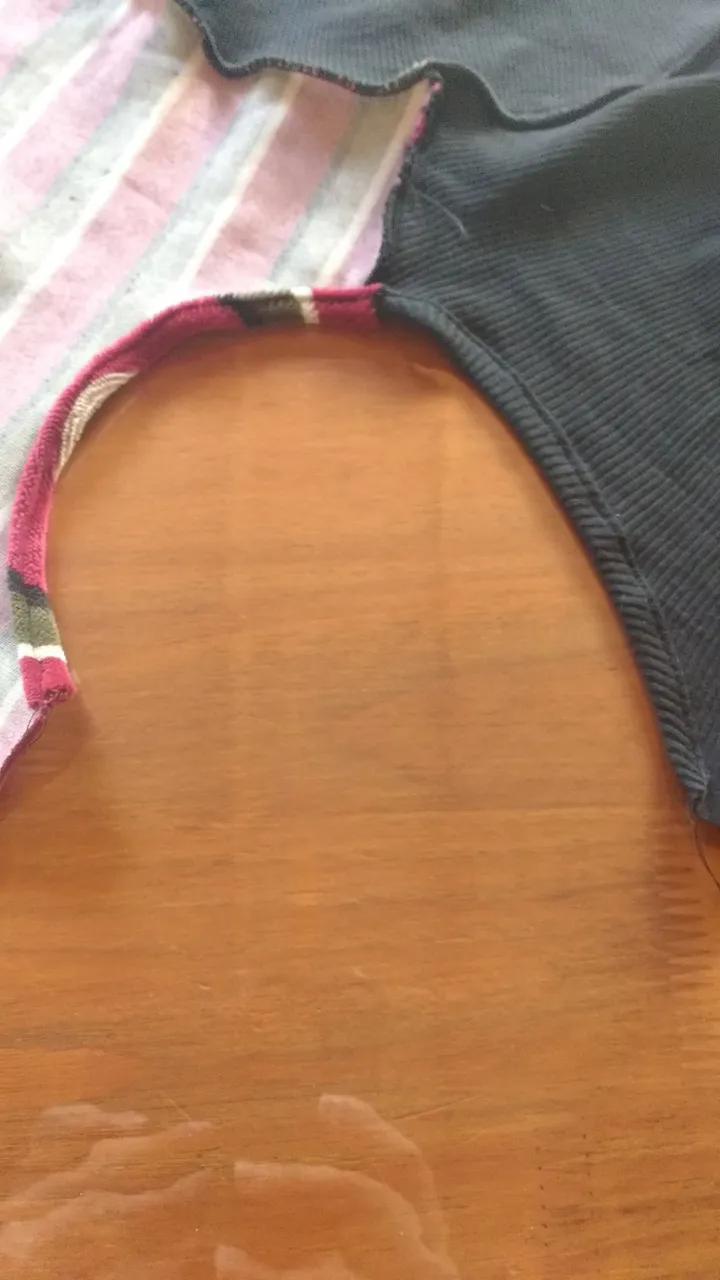
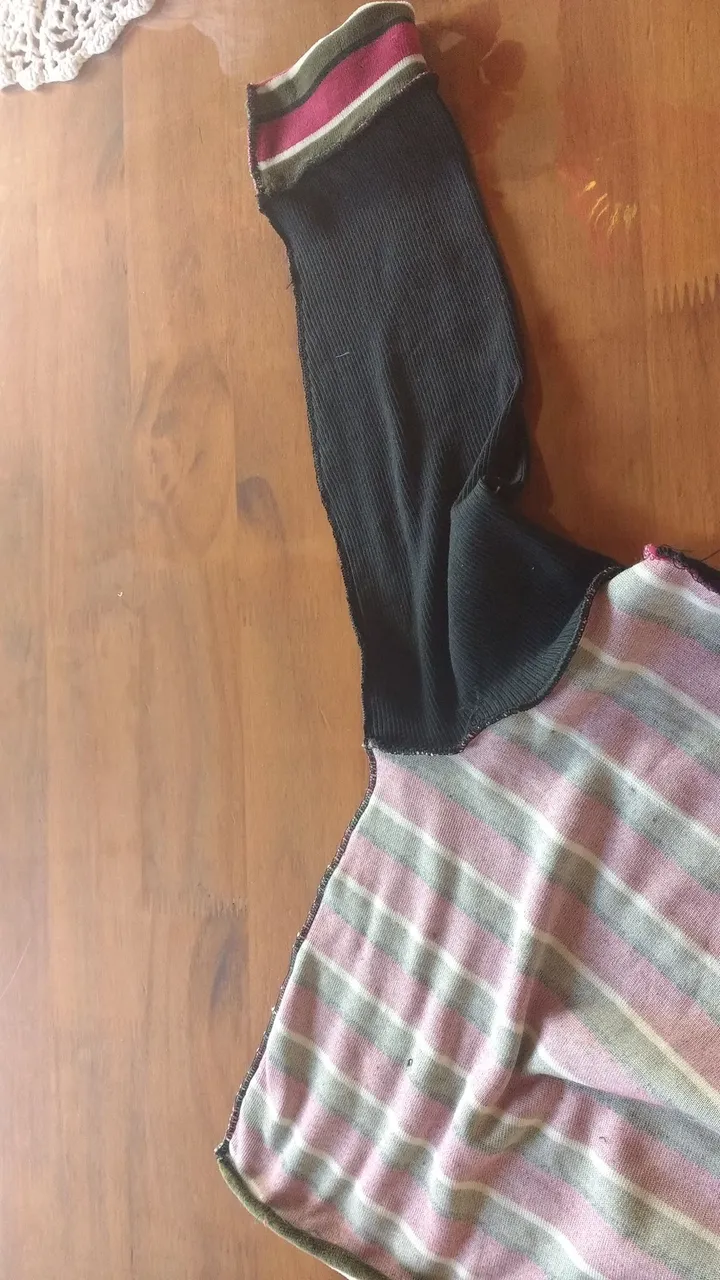
Now we are going to place the sleeves, in this case as the front and back fabric are different, you can clearly see the middle, what you have to do is place the center of the sleeve at the shoulder seam and sew from end to end As seen in the image.
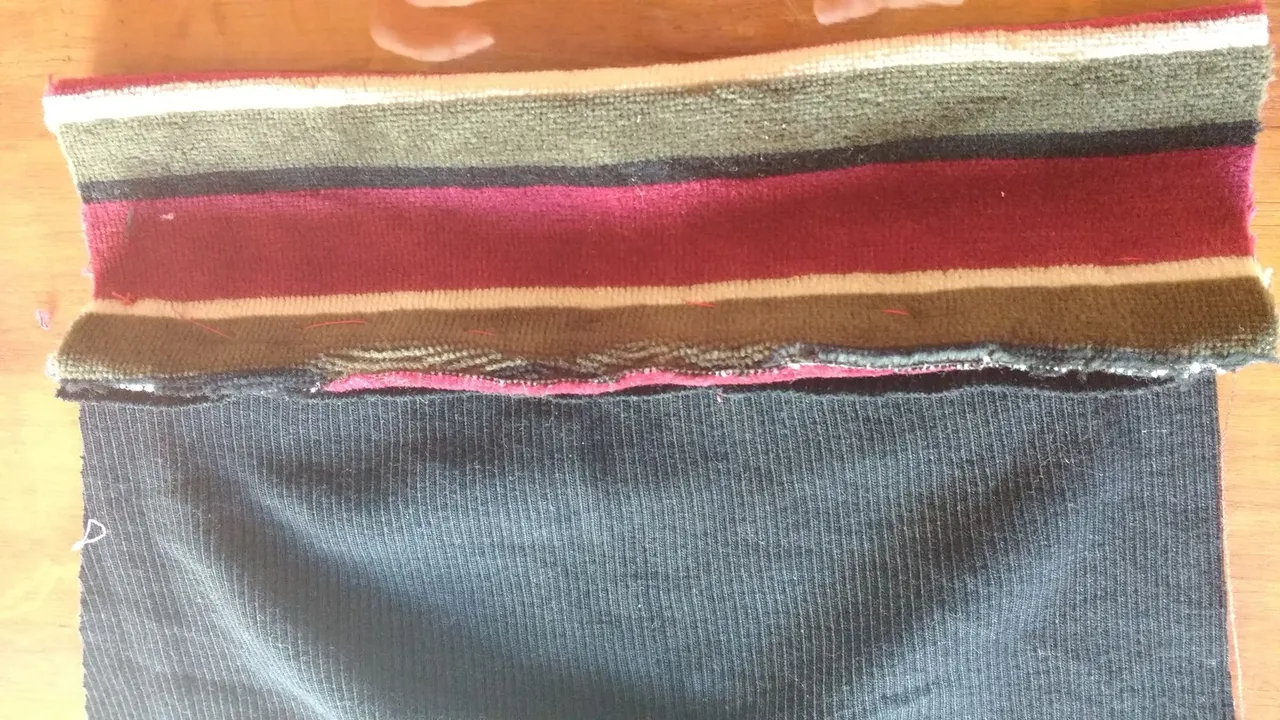
Once the two sleeves are on, we are going to sew the cuff, it is placed from end to end, it can be a little smaller and this is fine, since it will give you the perfect fit once placed.
After placing the cuffs, we close one of the sides. As seen in the image.
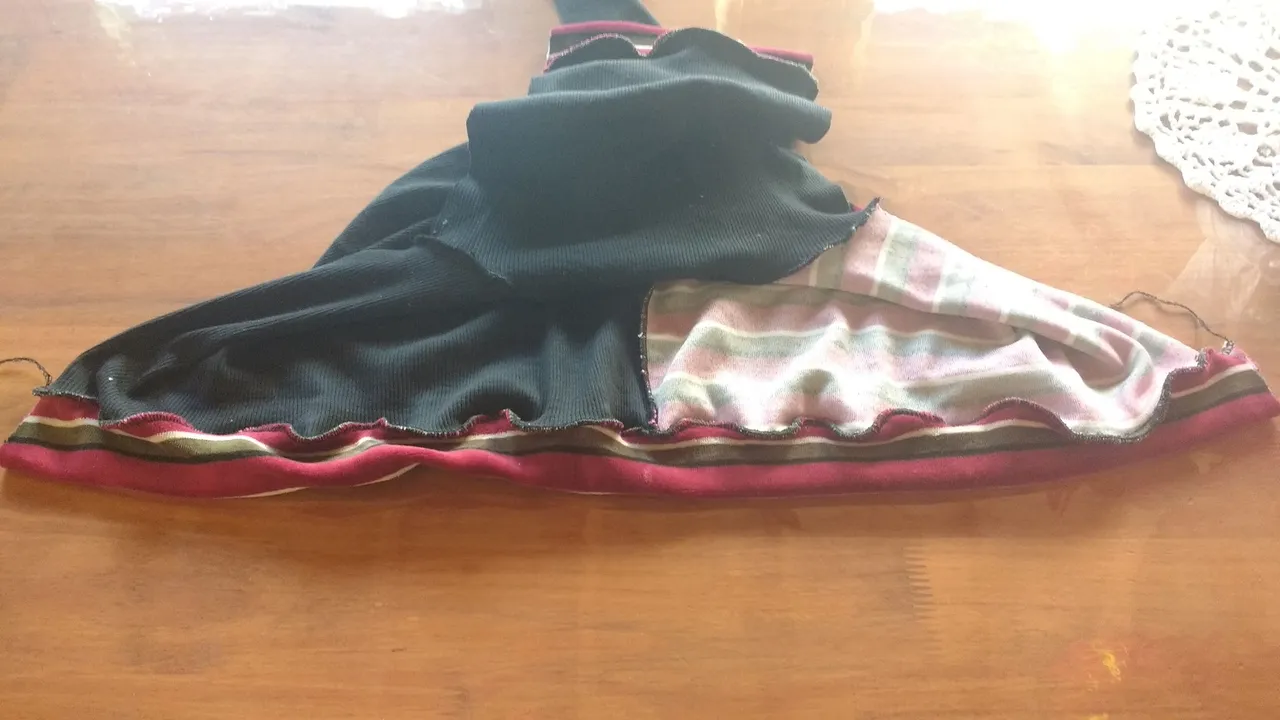
To place the bottom part of the diver, we are going to do the following, we mark the middle of the tape, then we place the marked half in the seam that we made previously, then we place one of the tips in one of the ends, we secure it and then the another tip at the other end. You will notice that it is also a little smaller as in the fist.
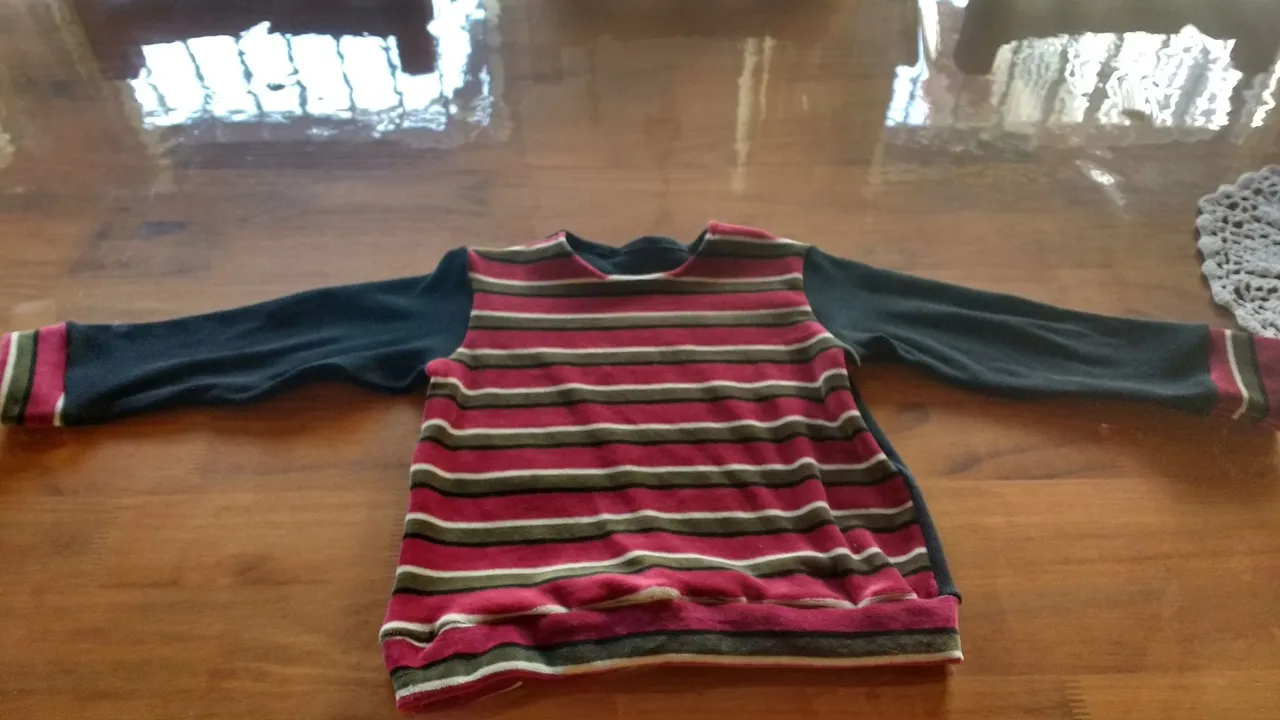
Finally, we close the other side and voila, we have the finished children's diver.