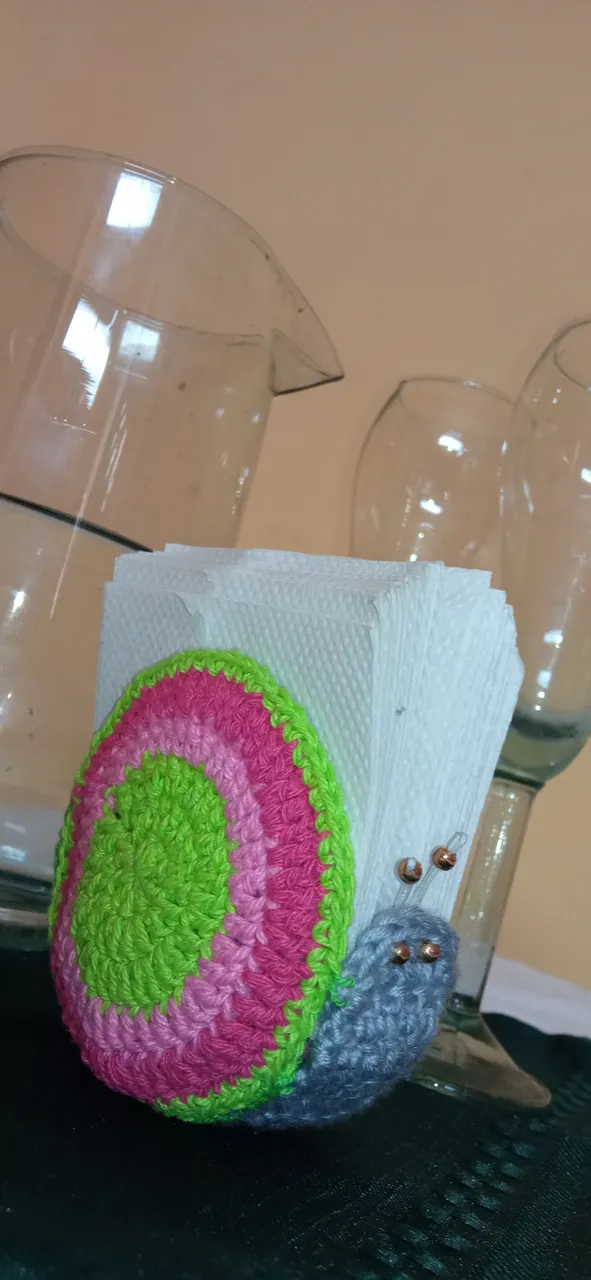
NEEDLEWORK YOUR KITCHEN!
Greetings to all the weaving girls of this community, I am happy to be able to participate for the first time in a contest with you, the community that received me to make life with all of you; I hope you like my work.
Un saludo a todas las chicas tejedoras de esta comunidad, me siento feliz de poder participar por primera vez en un concurso con ustedes, la comunidad que me recibio para hacer vida junto a todas ustedes; Espero mi trabajo les guste.
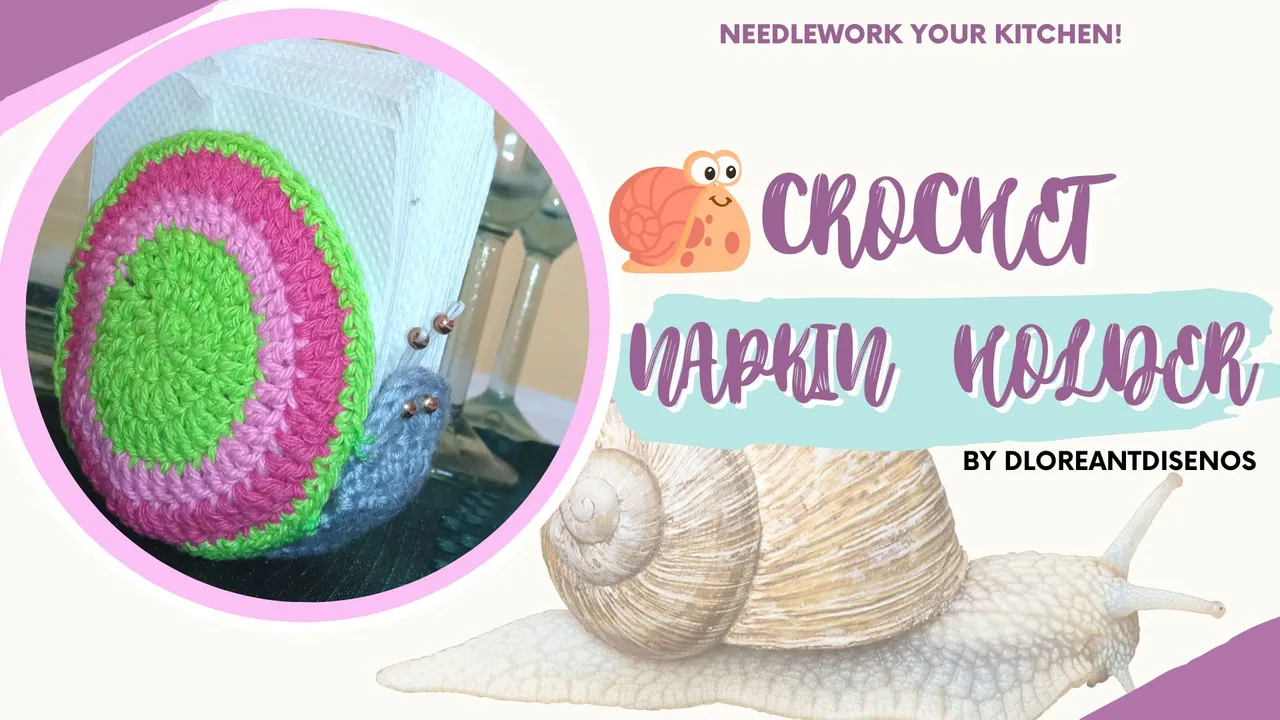

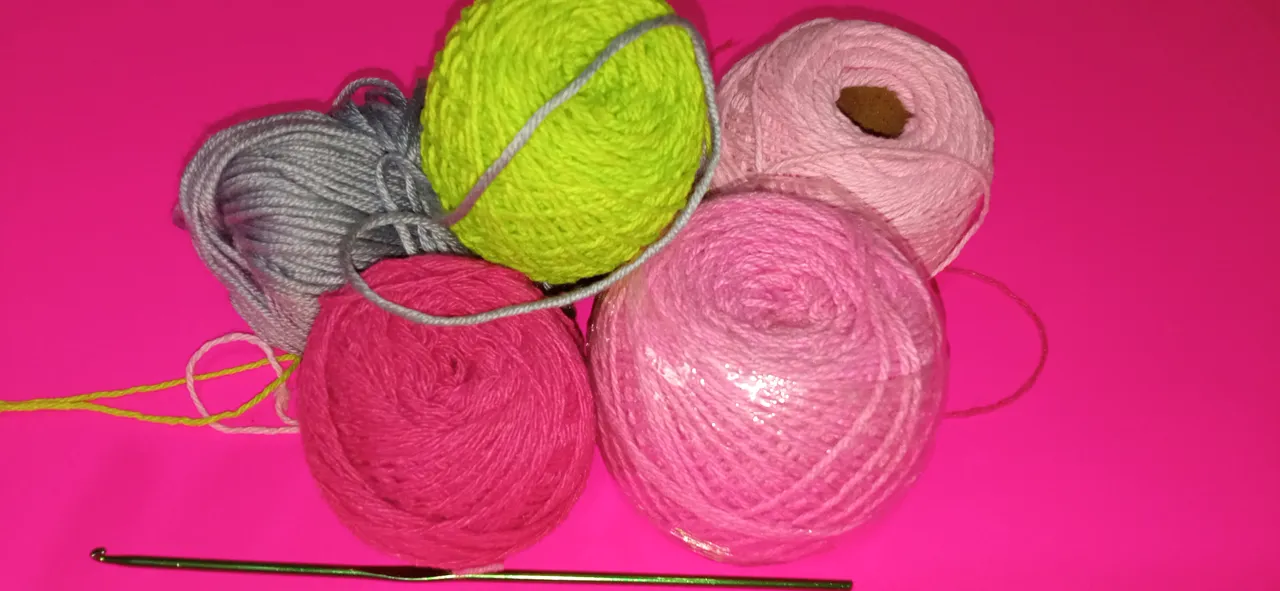
| MATERIALS | MATERIALES |
| Pink, green, fuchsia Chrochet thread | Hilo Chrochet rosado, verde , fucsia |
| Gray baby yarn | Estambre de bebe gris |
| Needle | Aguja |
| White sewing thread | Hilo de coser blanco |
| White decorative cord | Cordón decorativo blanco |
| Decorative gold stones | Piedras doradas decorativas |
| Liquid Silicone | Silicon Liquido |
| Pink foam | Foami rosado |
| Pencil | Lapicero |
| Napkins | Servilletas |

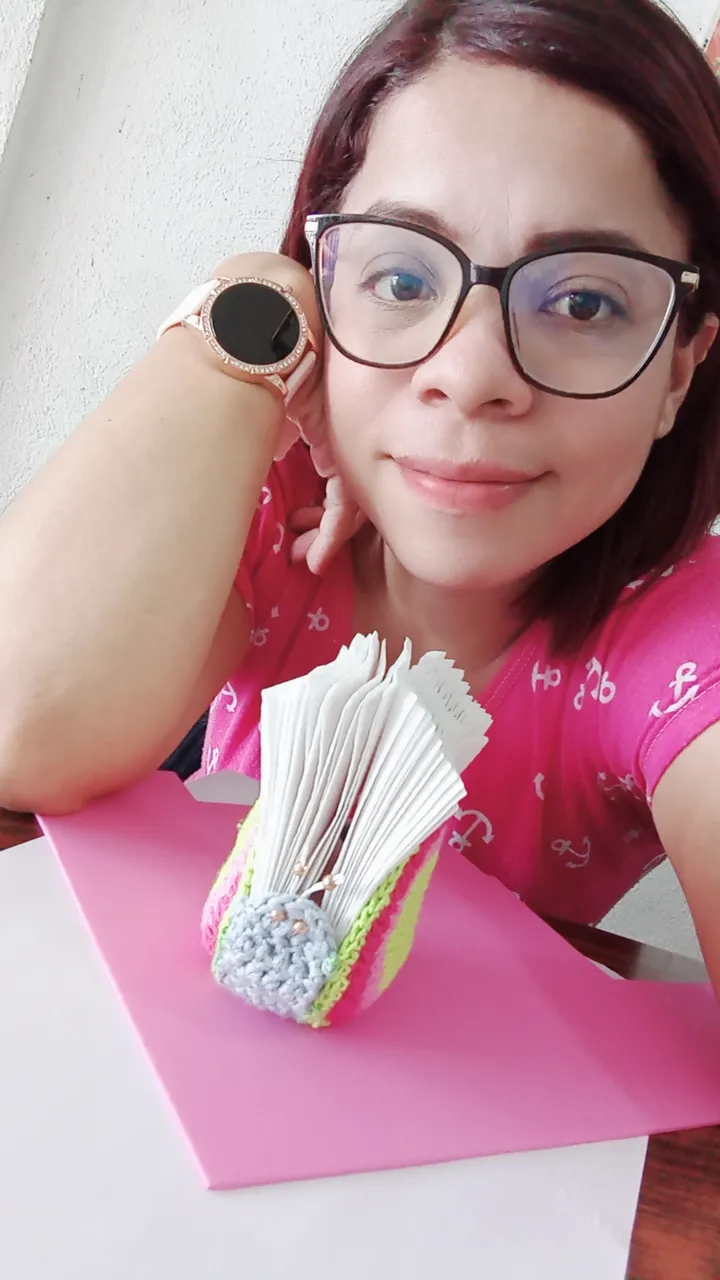
At home NO the napkin holder can be missing, my mother is anti-fat, anti-stain, anti-mess... so the napkin should always be on the table to clean your hands, your lips and also if any liquid is spilled or we are simply going to throw something away, we wrap it in a napkin; for that reason I created a special napkin holder for my home.
En casa NO puede faltar el servilletero, mi madre es anti grasas, anti manchas, antidesorden... así que la servilleta debe estar siempre en la mesa para limpiar tus manos, tus labios y también si sederrama algun líquido o simplemente vamos a desechar algo lo envolvemos enservilleta; por ese motivo cree un servilletero especial para mi hogar.

PROCEDIMIENTO
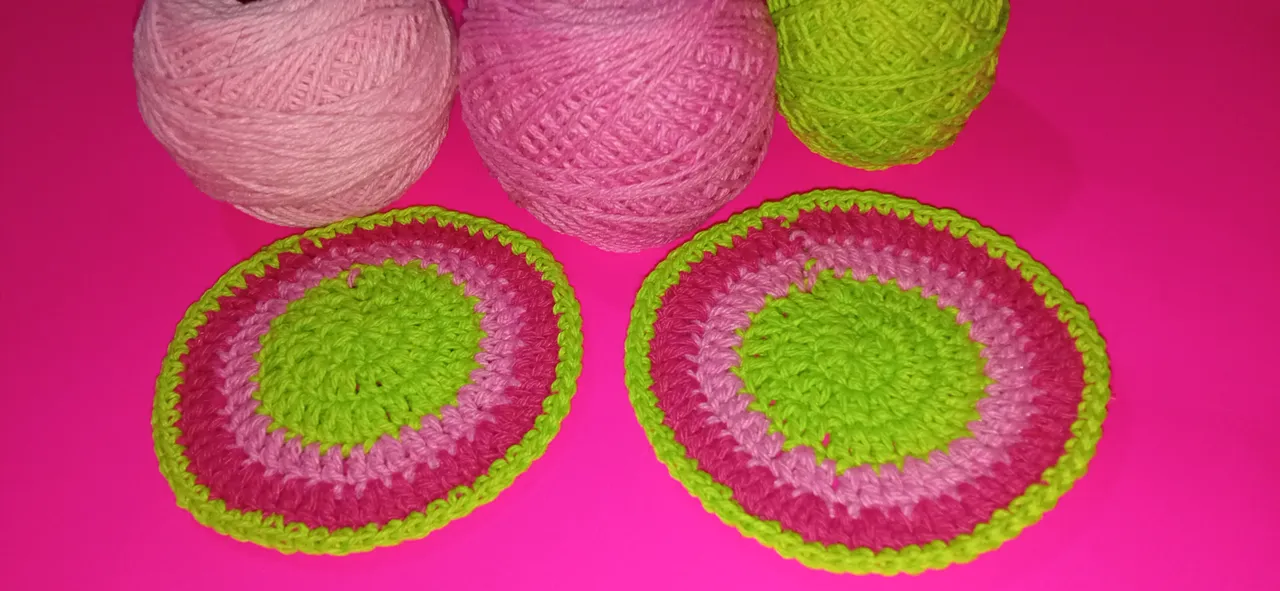
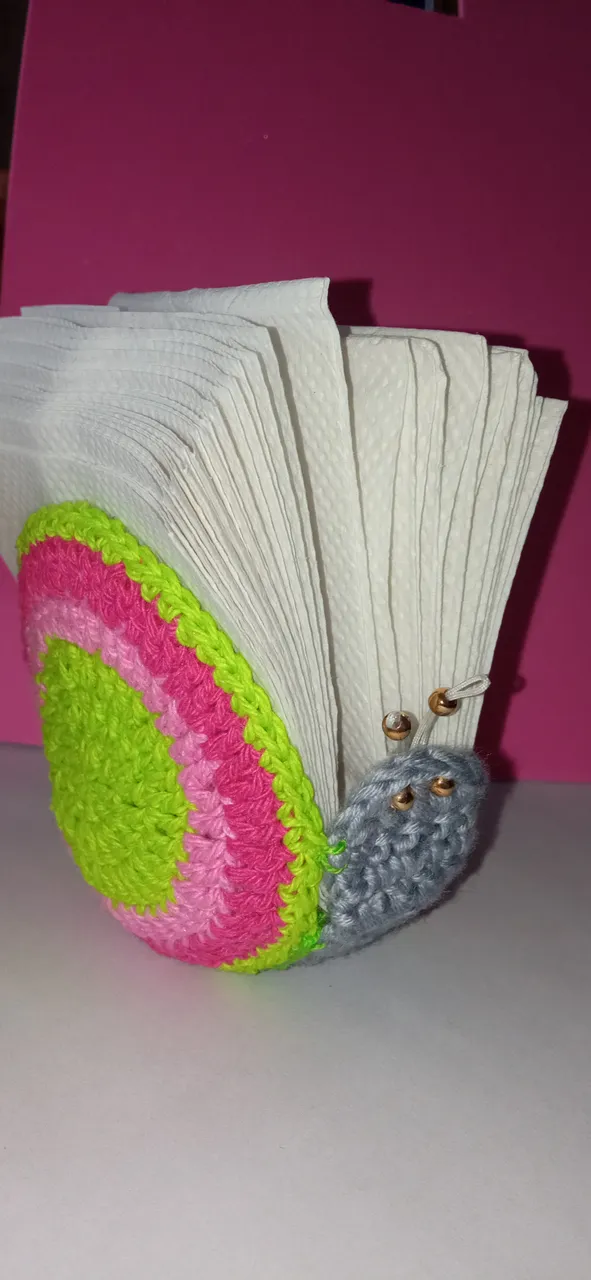
Take my materials, apple green yarn and knitting needle and chain 4; I closed in the first point and in the first round I made 10 single points.
Tome mis materiales, el hilo verde manzana y la aguja de tejer y elabore 4 cadenetas; cerre en el primer punto y en la primera vuelta teji 10 medios puntos.
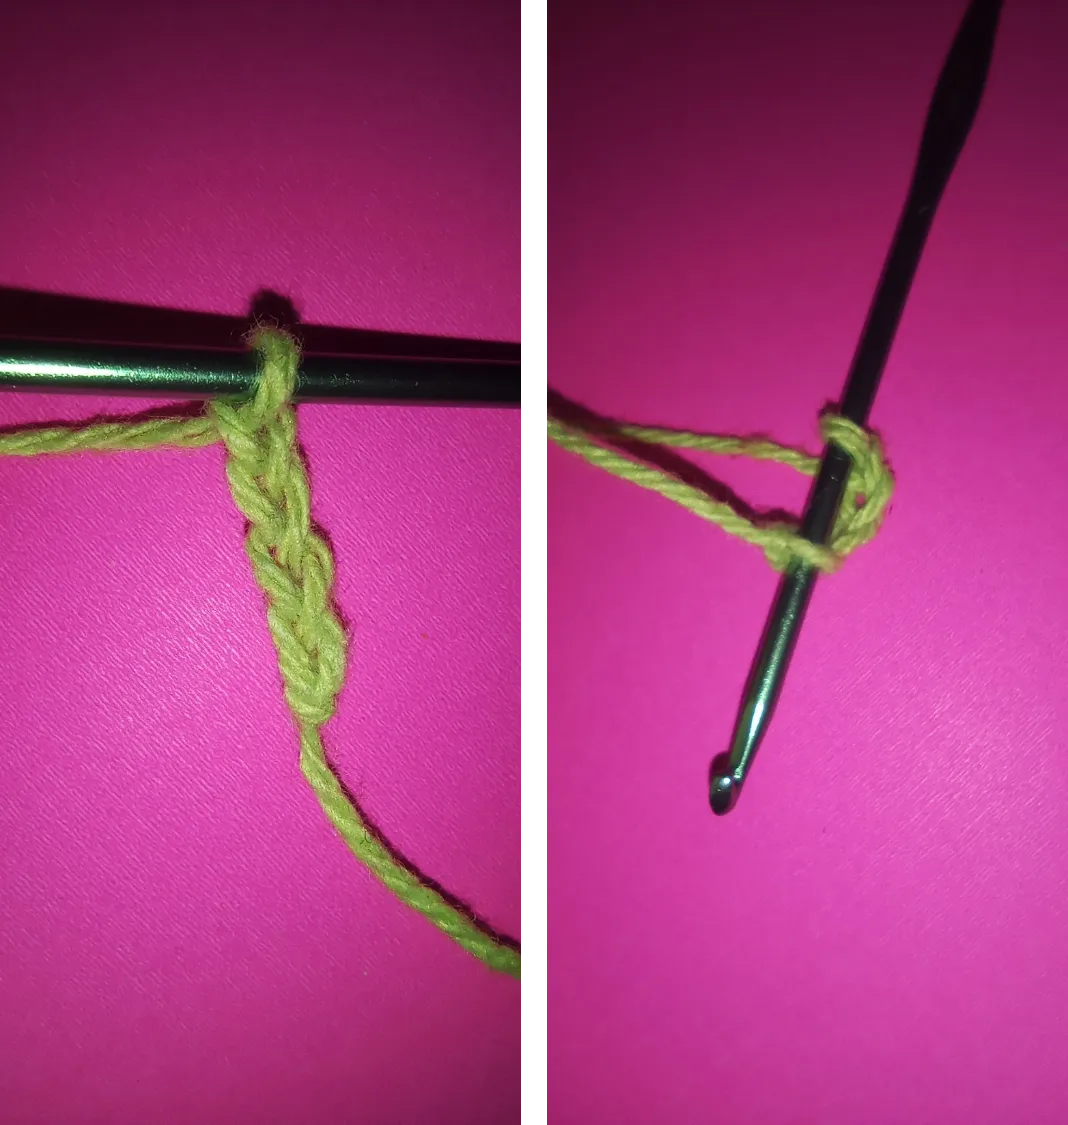
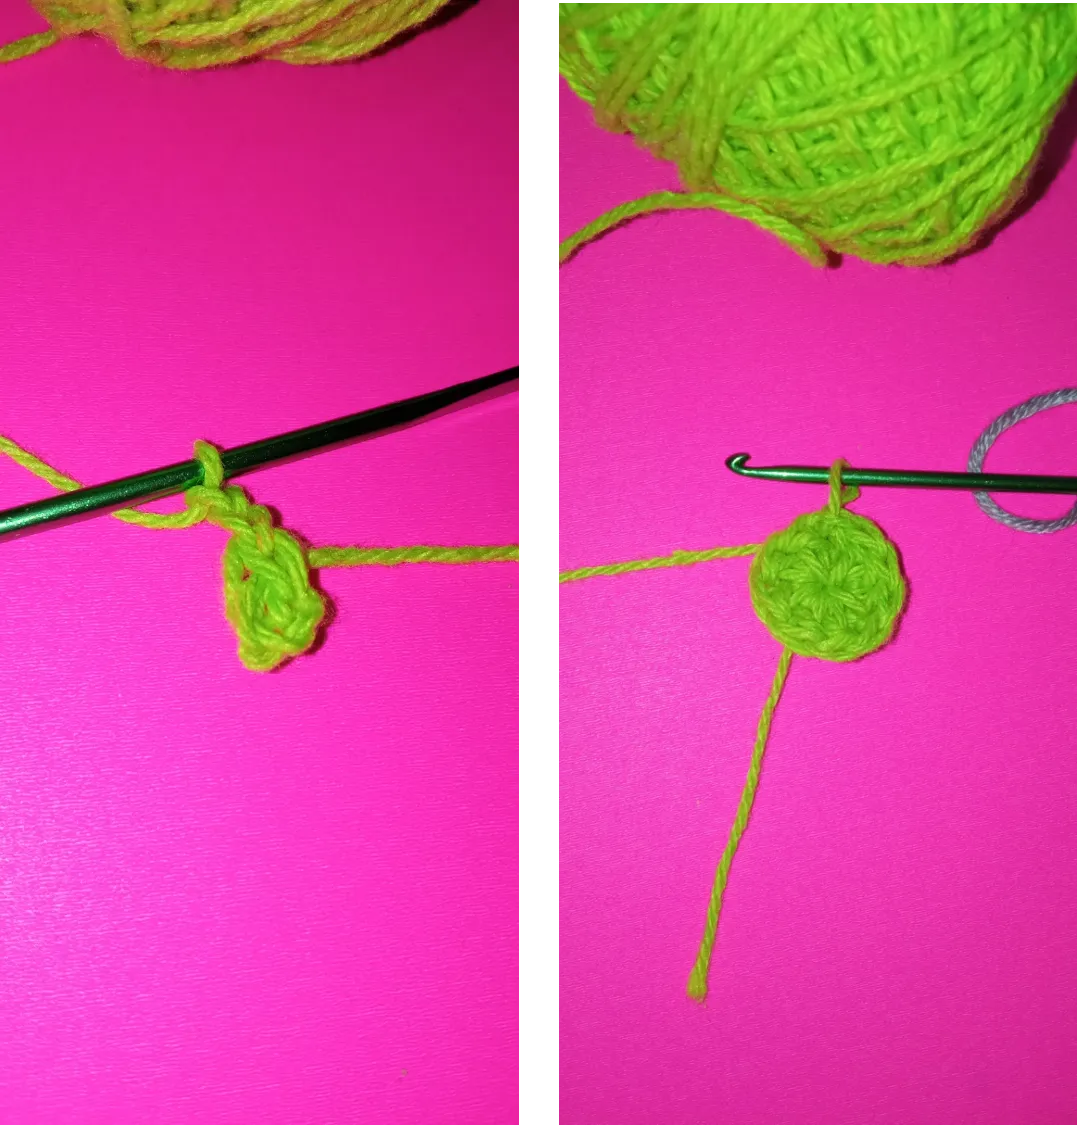
For the next round, still using the green thread, I made 20 single crochet; We will continue with the round of pink thread making 2 increases and a half double crochet until we finish the round.
Para la siguiente vuelta aun utilizando el hilo verde realicé 20 medios puntos altos; seguiremos con la vuelta de hilo rosado haciendo 2 aumentos y un medio punto alto hasta terminar la vuelta.
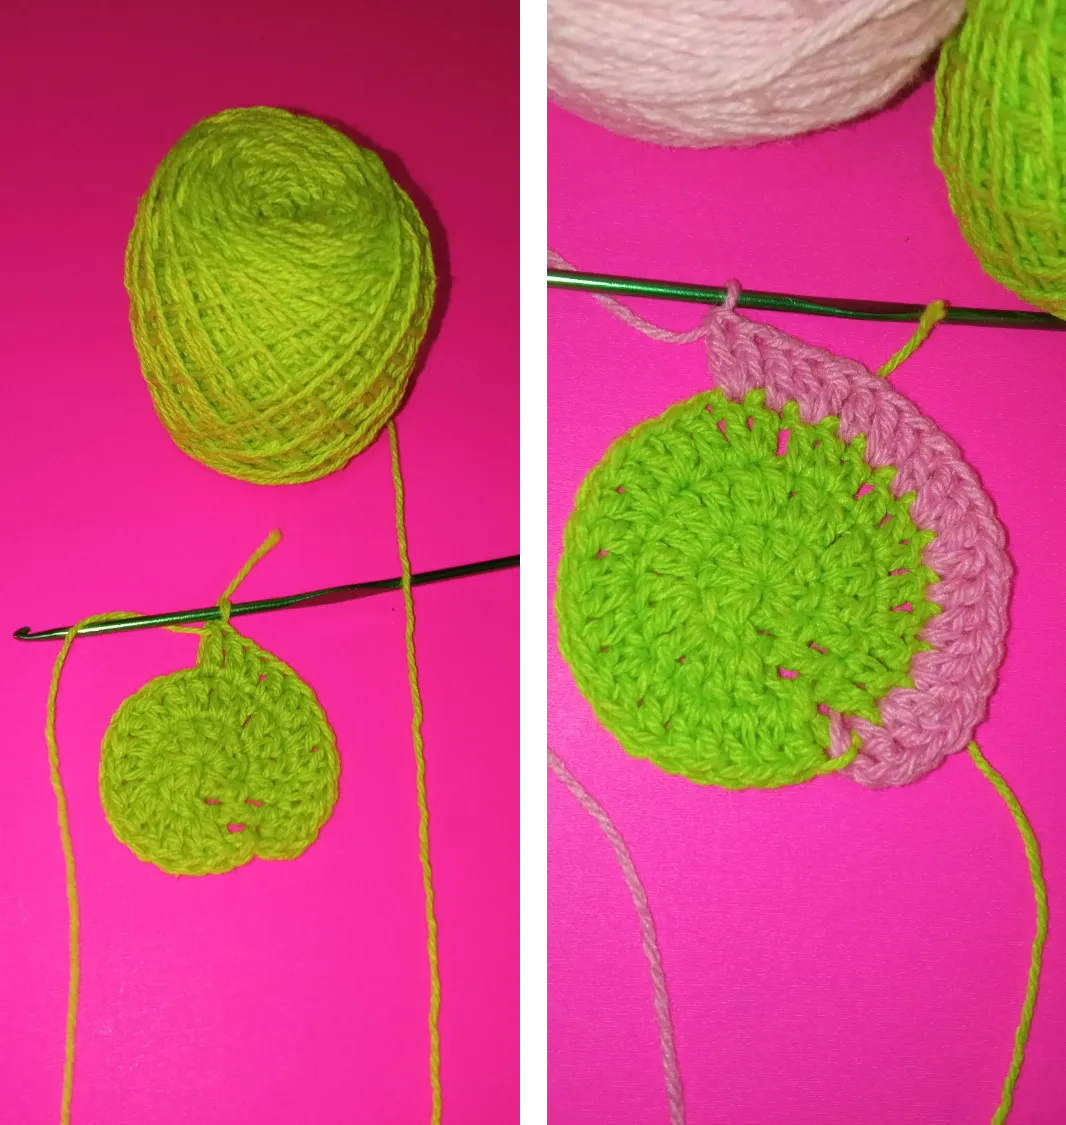
Make another round with fuchsia single crochet thread and to finish the last round is single crochet with apple green crochet thread.
Elabore otra vuelta con hilo fucssia de medios puntos altos y para finalizar la ultima vuelta es de medios puntos con hilo chrochet verde manzana.
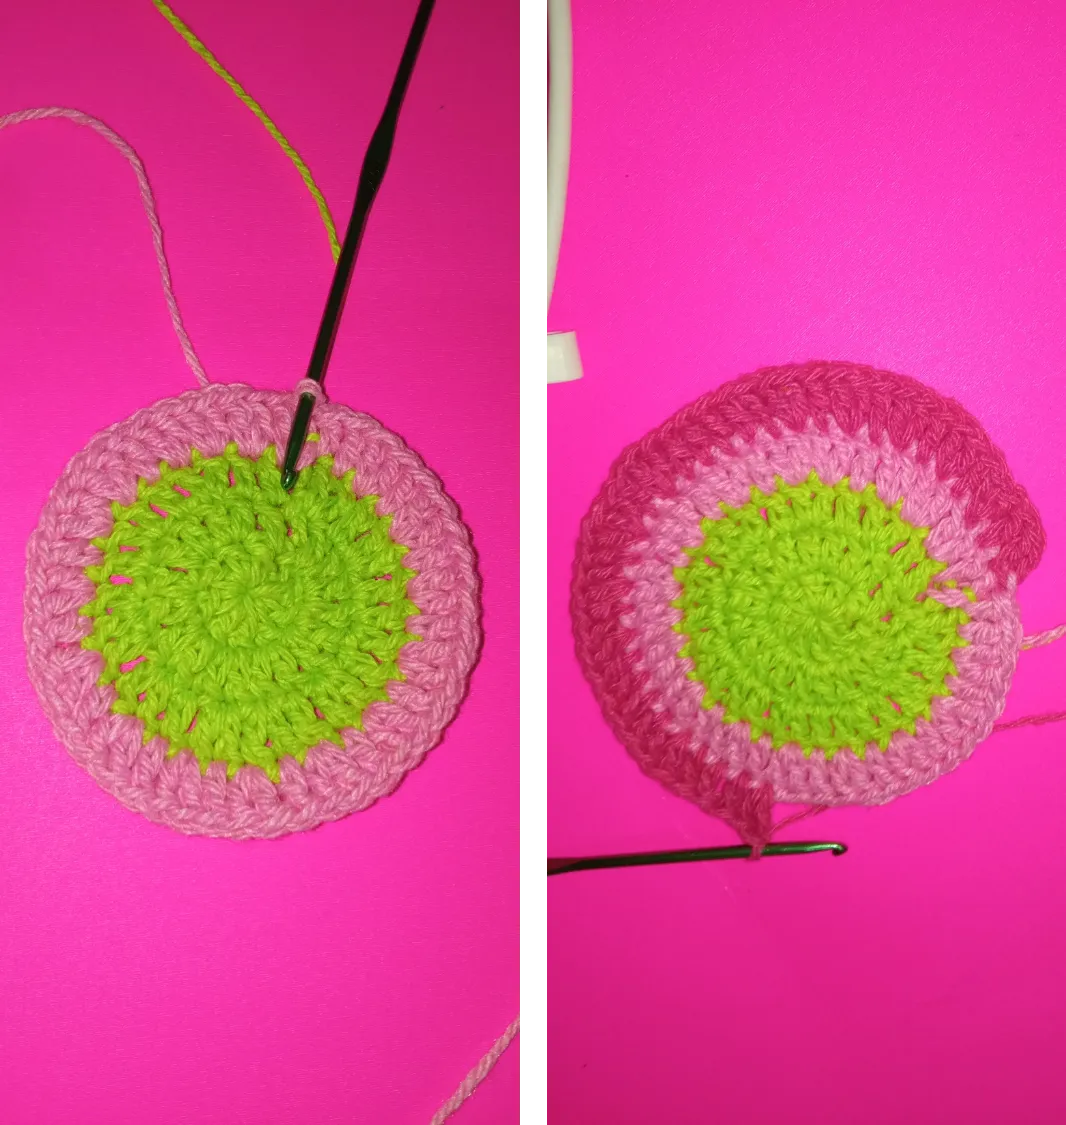
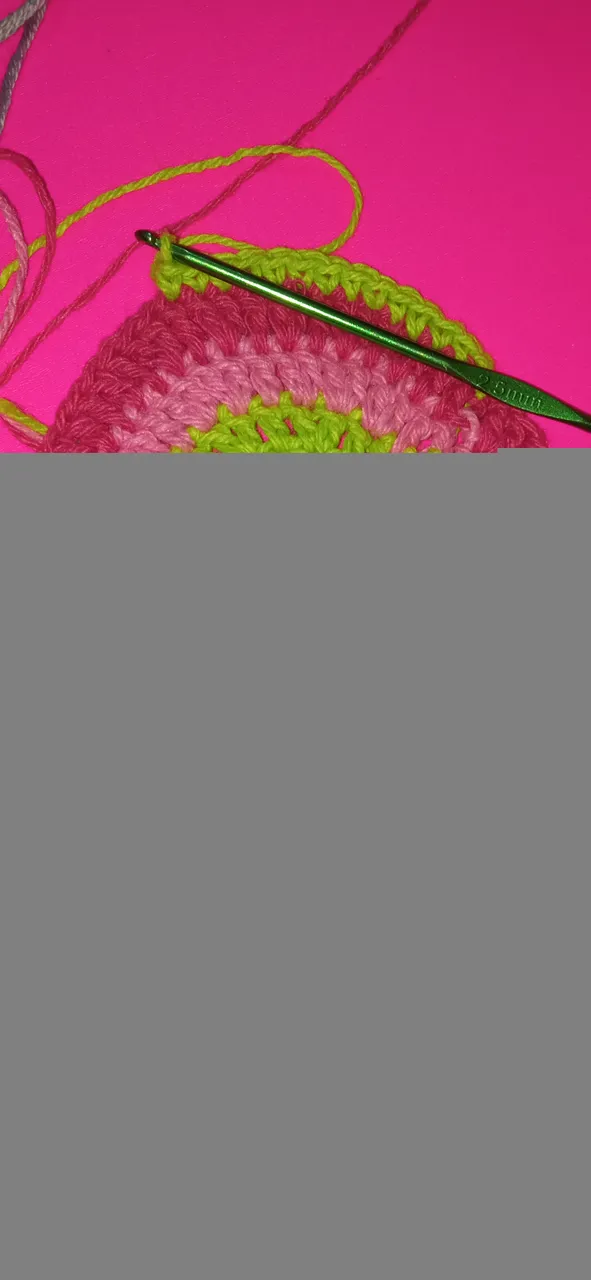
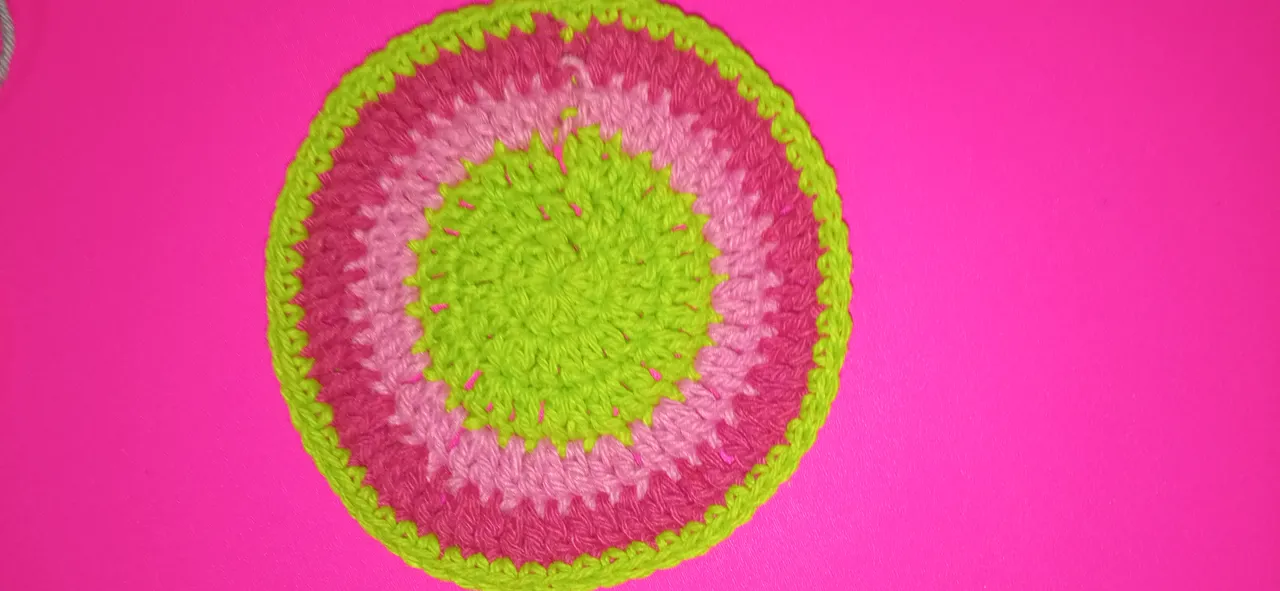
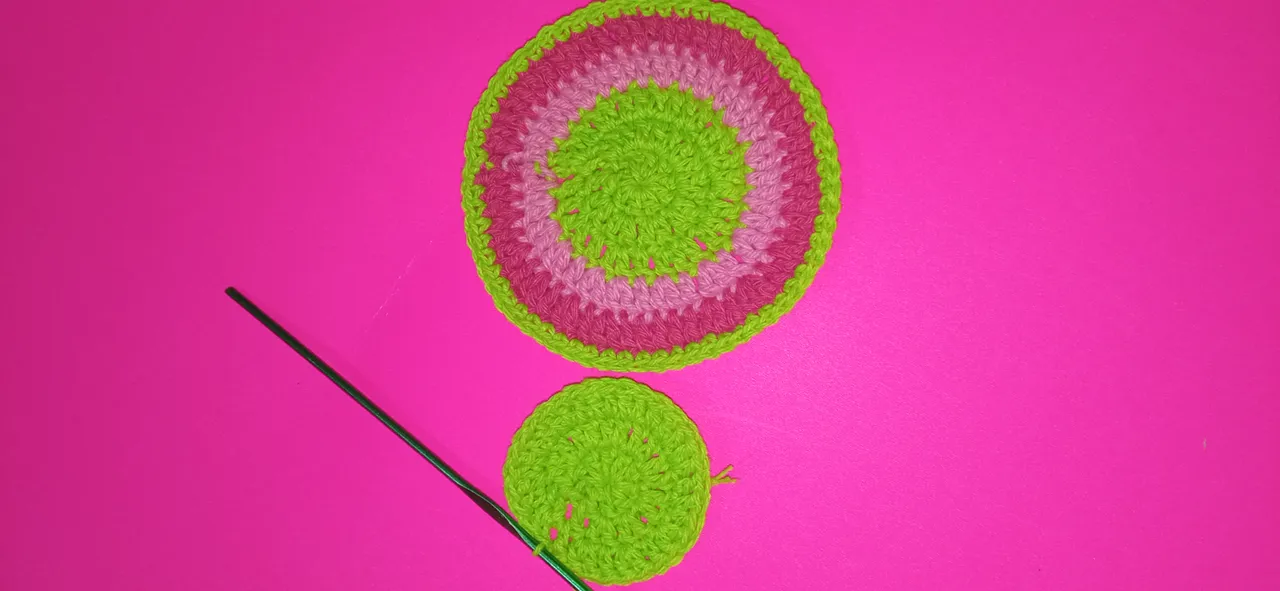
I need two faces for the snail so I did the same procedure twice.
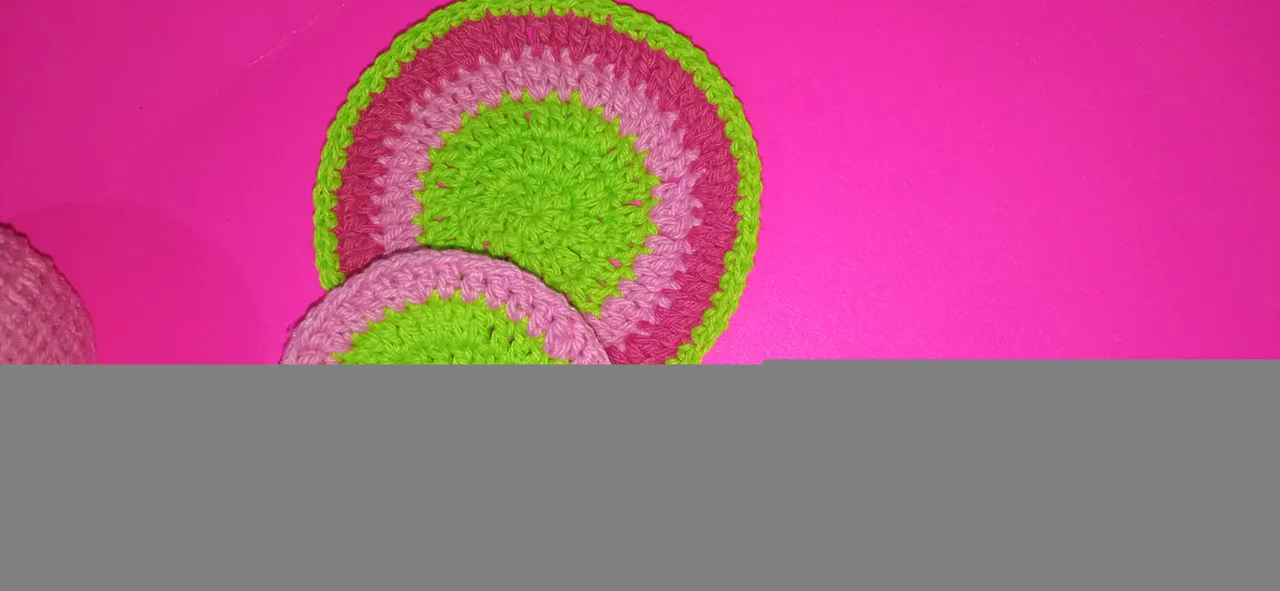
Nesecito dos caras para el caracol asi que realicé el mismo procedimiento 2 veces.
 |  |
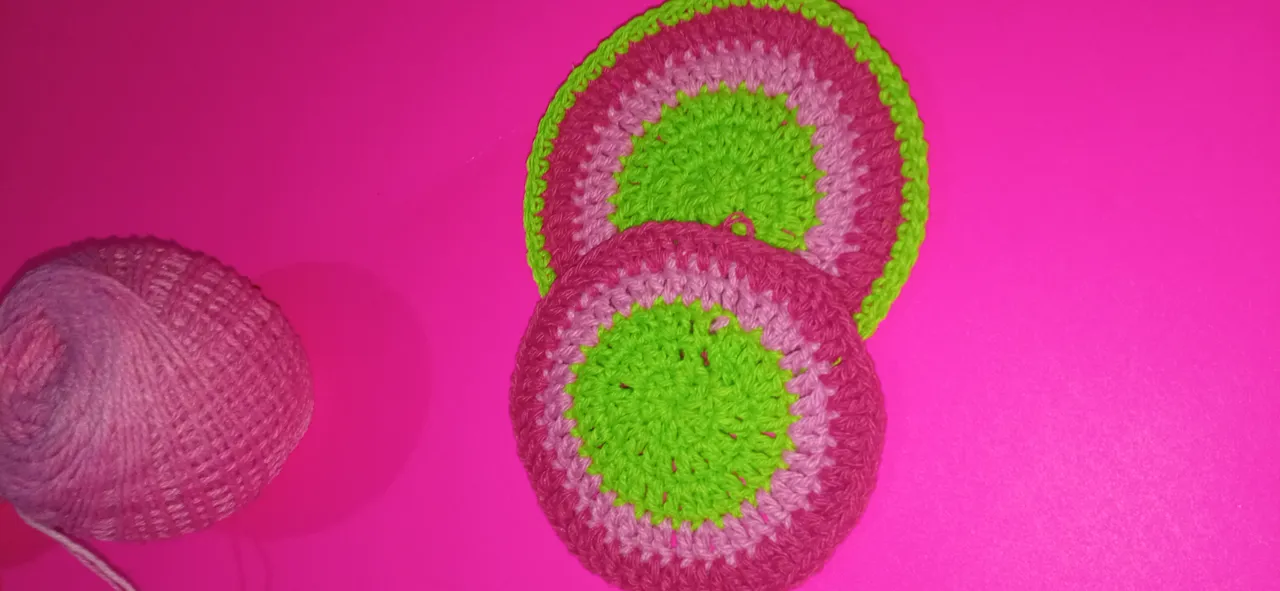
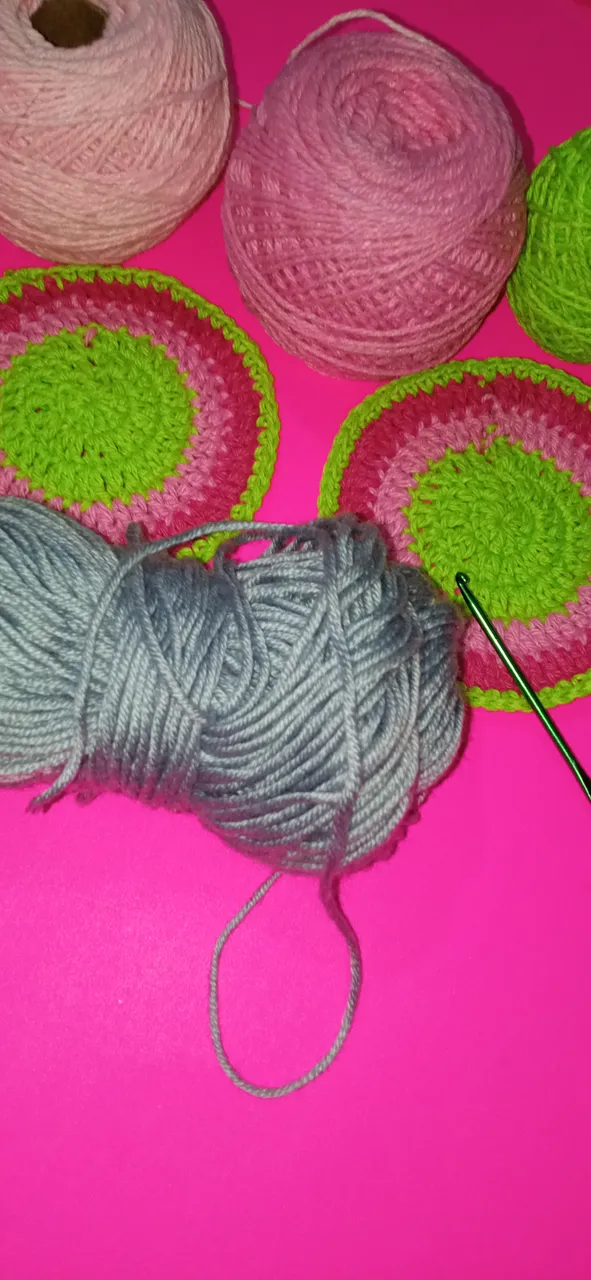
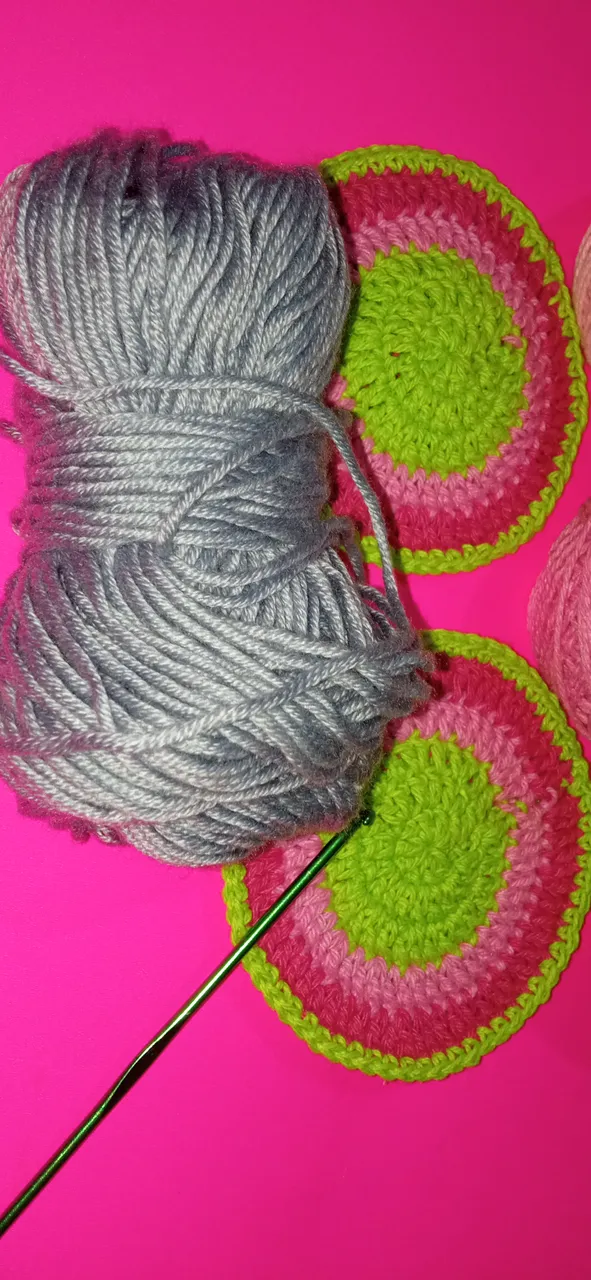
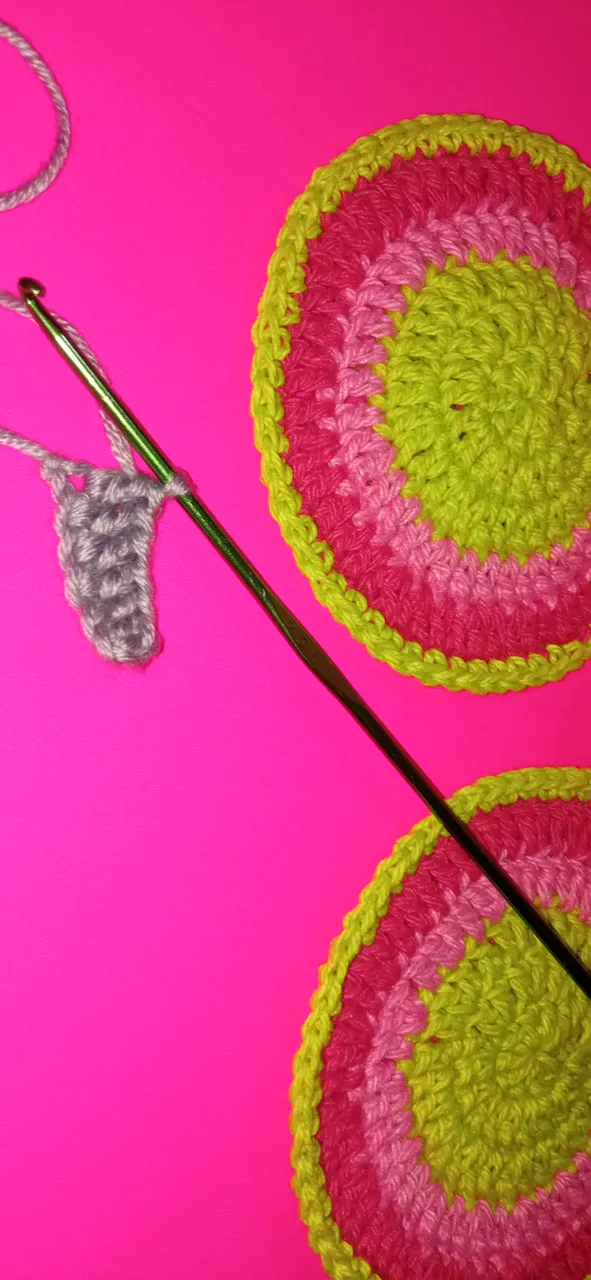
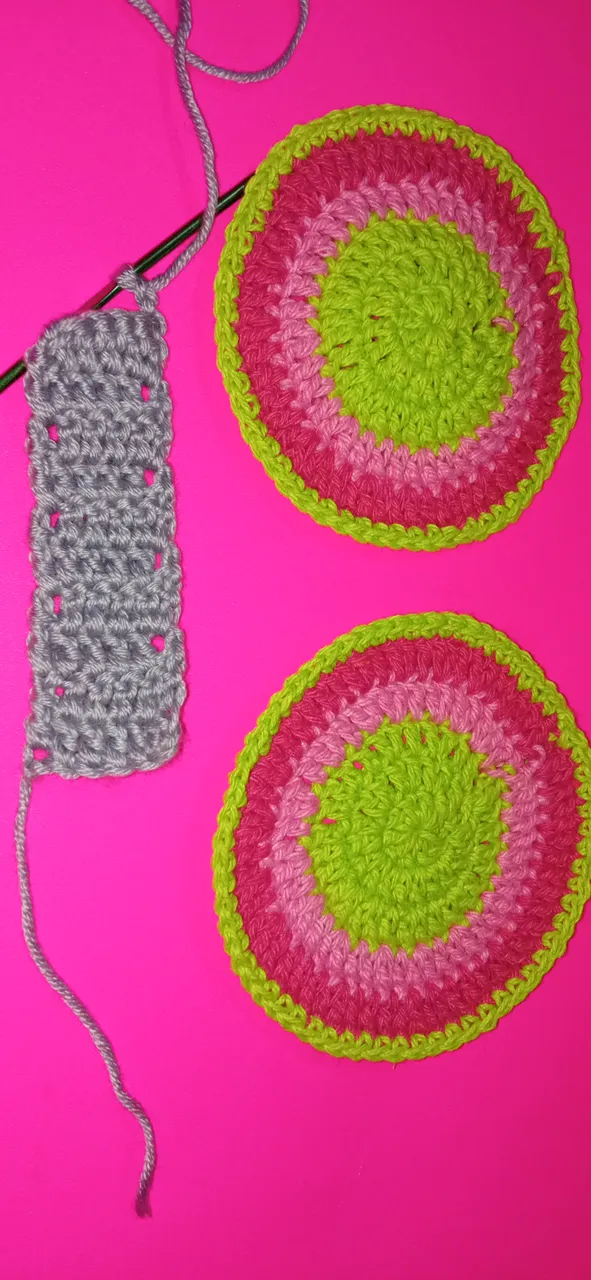
Once the 2 layers of the shell have been made... it's time to take the gray yarn to make the body of the snail; 5 chain stitches and we will knit straight until about 10 loops of single crochet grow upwards.
Una vez elaboradas las 2 capas del caparazón... llego la hora de tomar el estambre gris para elaborar el cuerpo del caracol; 5 cadenetas y tejeremos recto hasta crecer hacia arriba unas 10 bueltas de medios puntos.
 |  |
 |  |
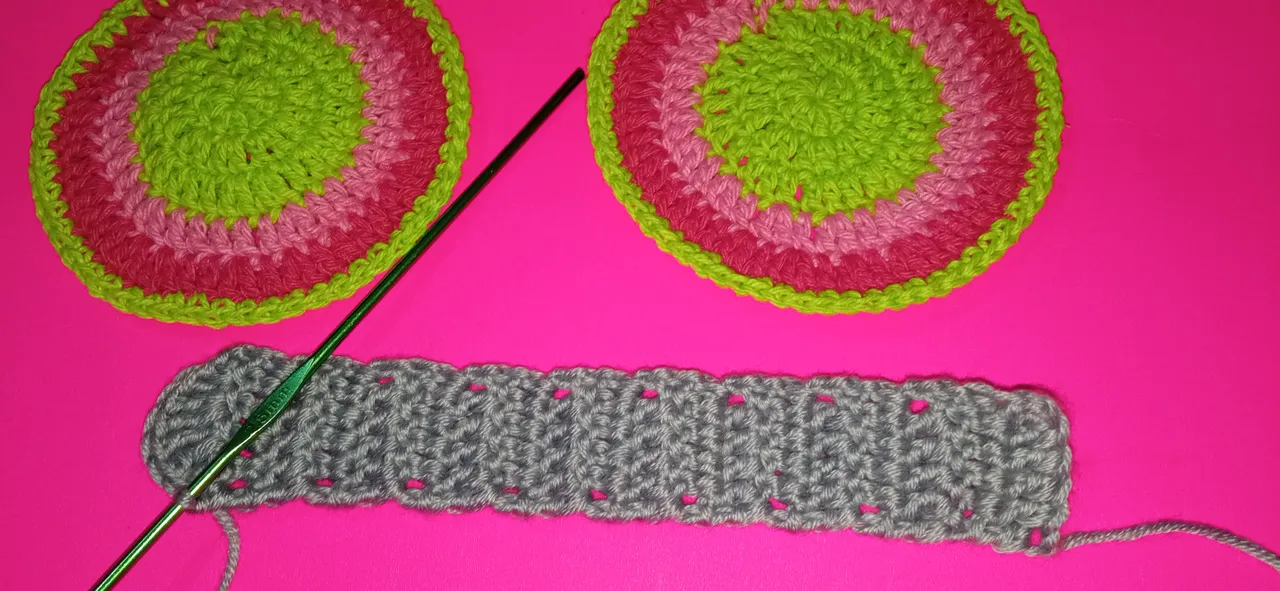
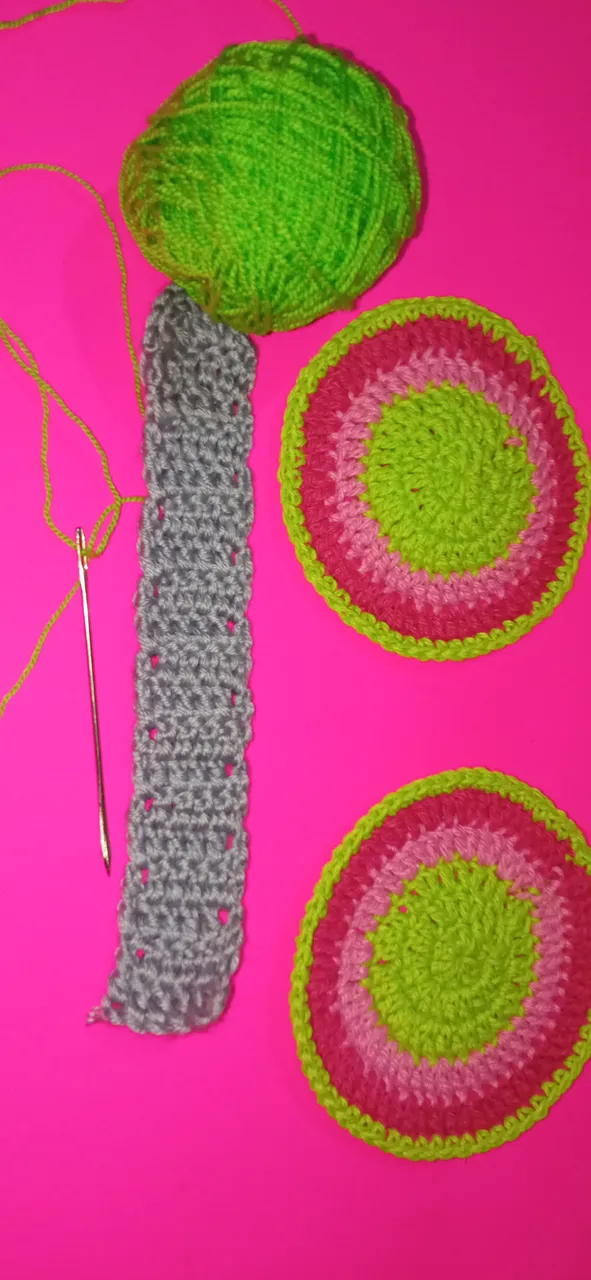
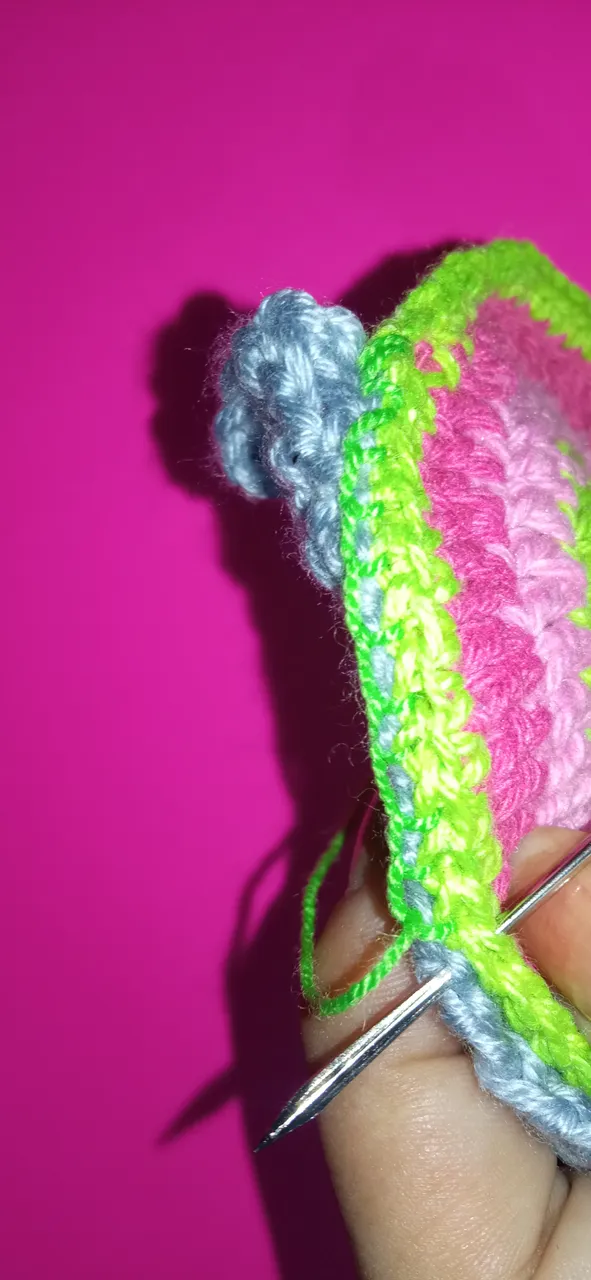
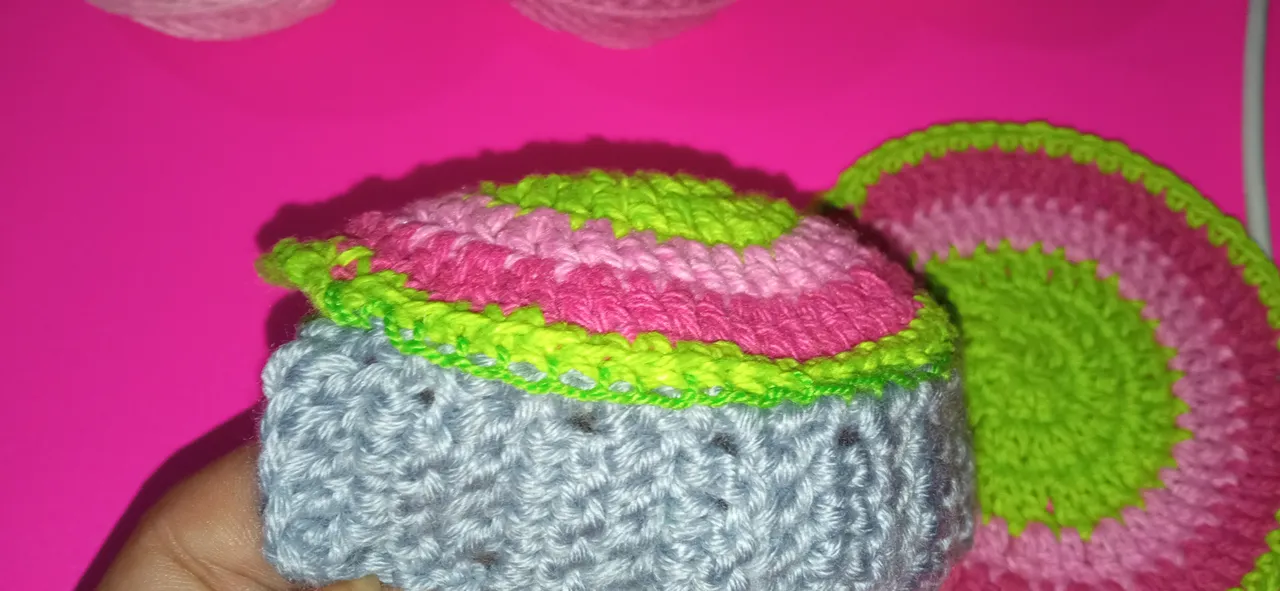
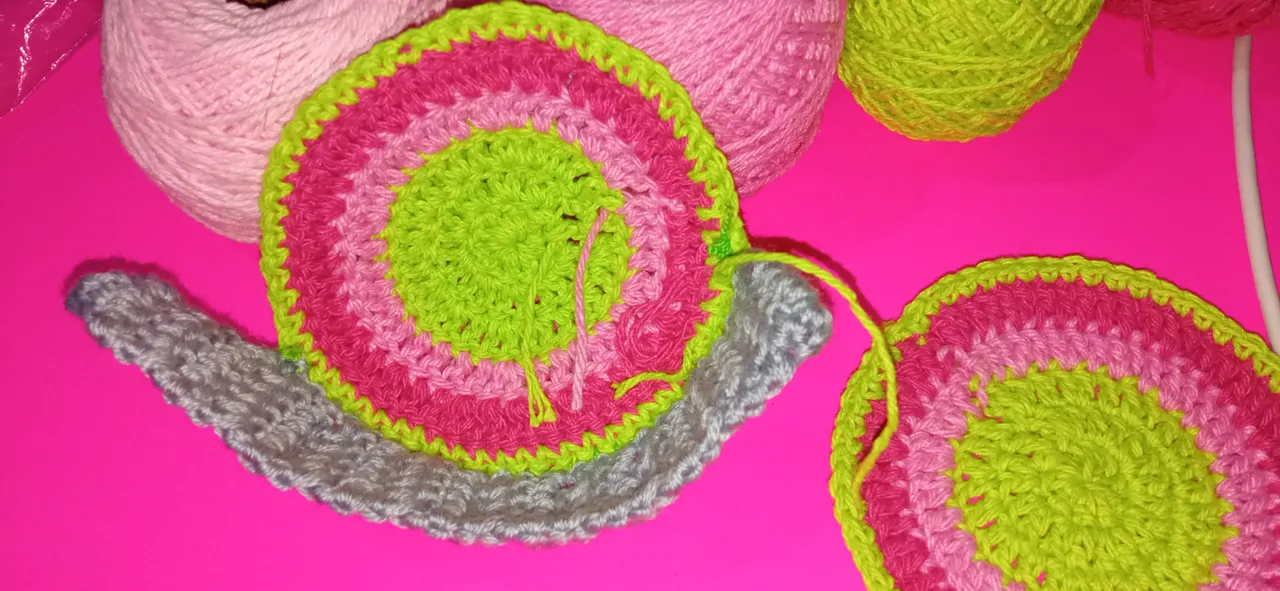
Once the desired length is achieved, we will take a wool needle and sew it along the edge of the body and each face of the shell.
Una vez logrado el largo deseado tomaremos una aguja lanera y coseremos el por el borde de el cuerpo y de cada cara del caparazón.
 |  |
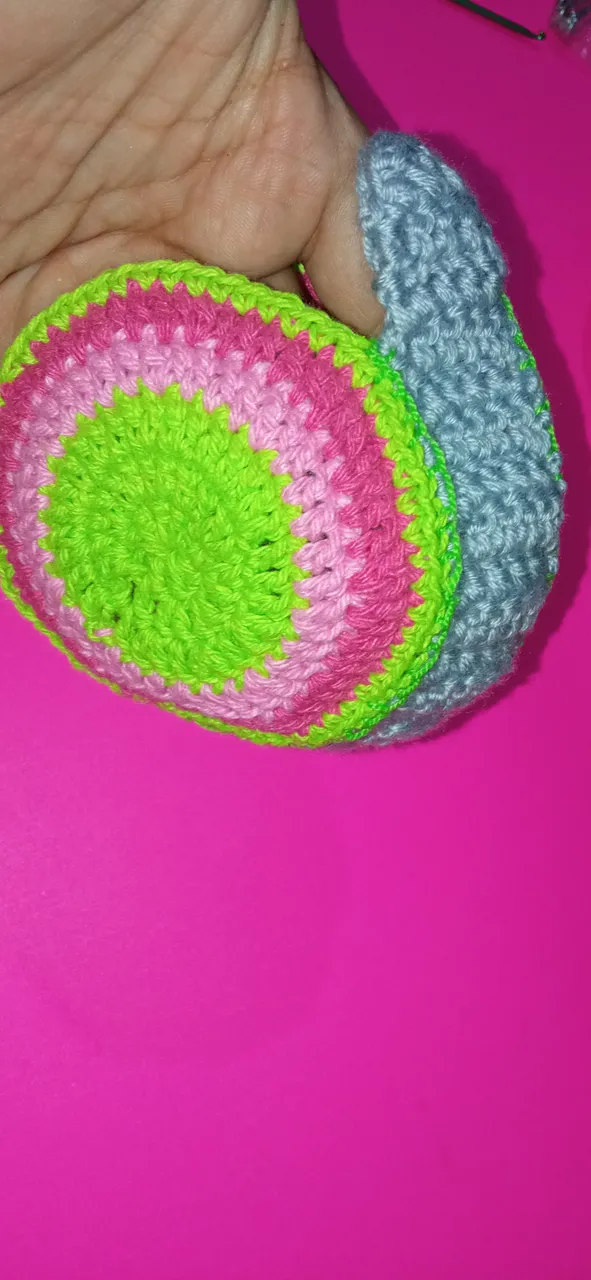 | 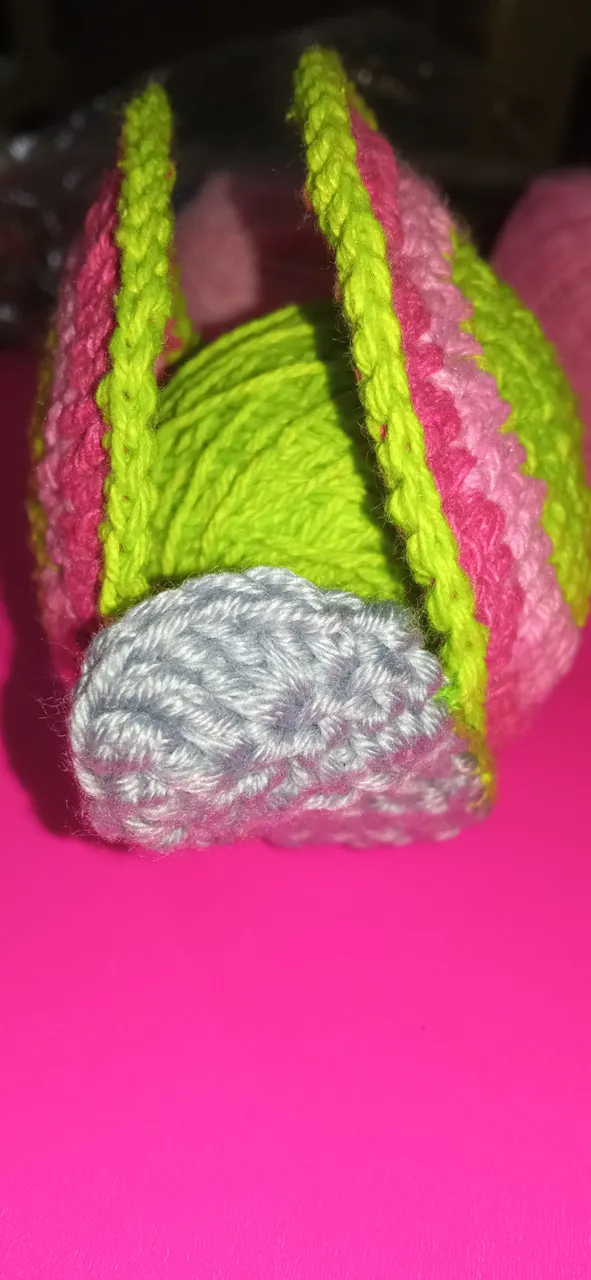 |
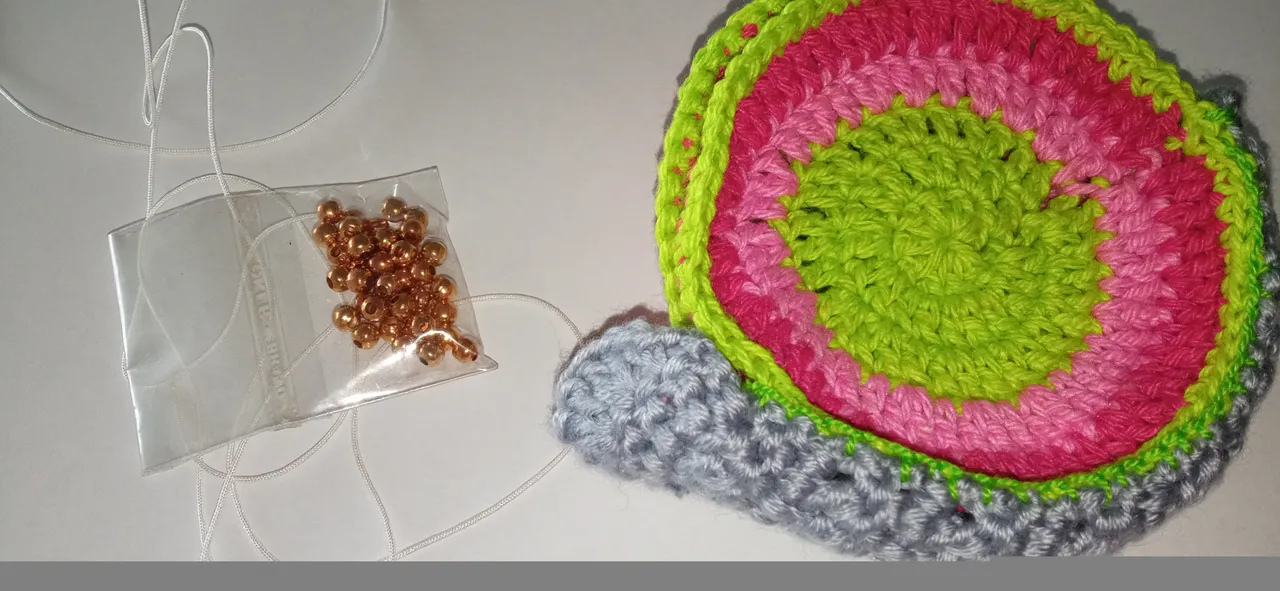
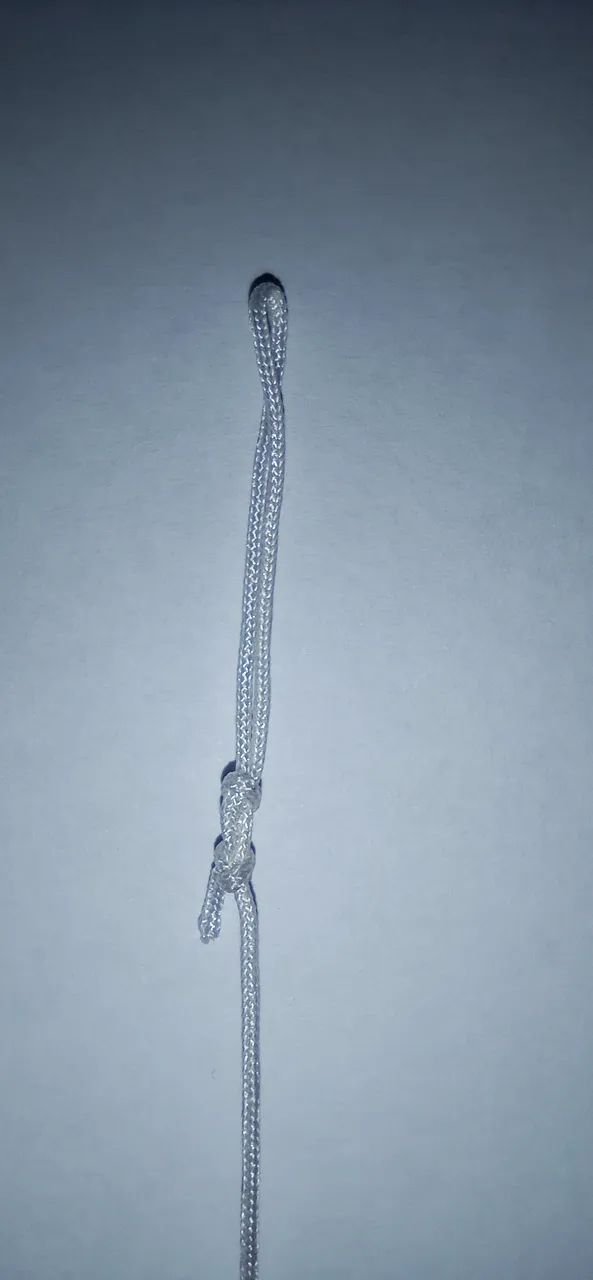
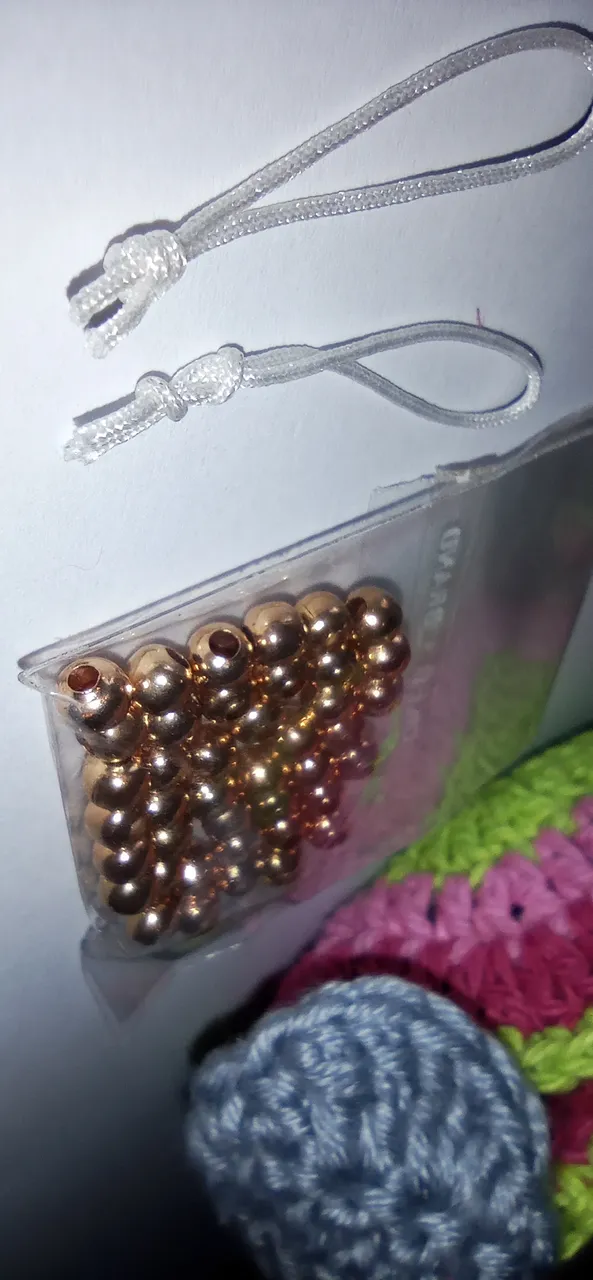
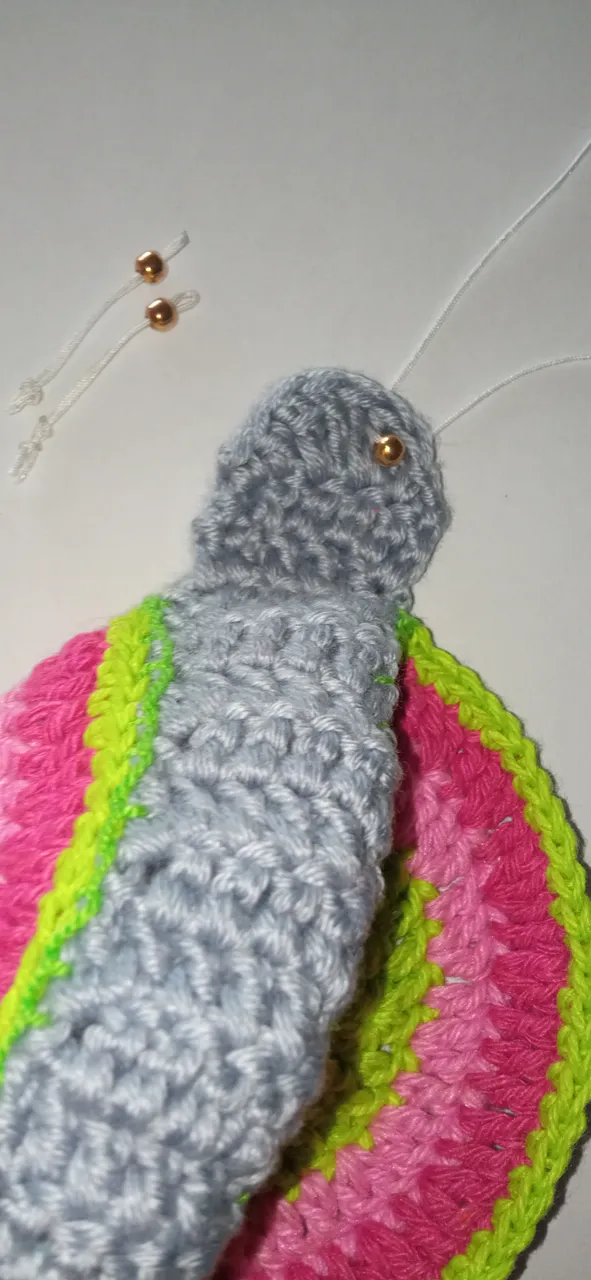
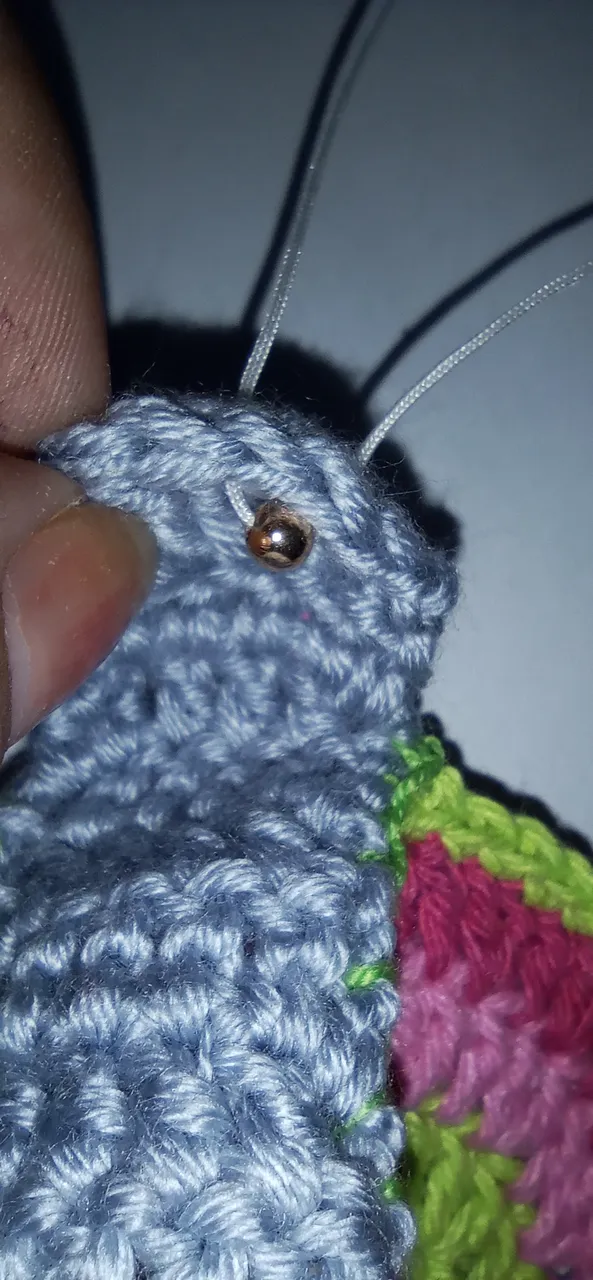
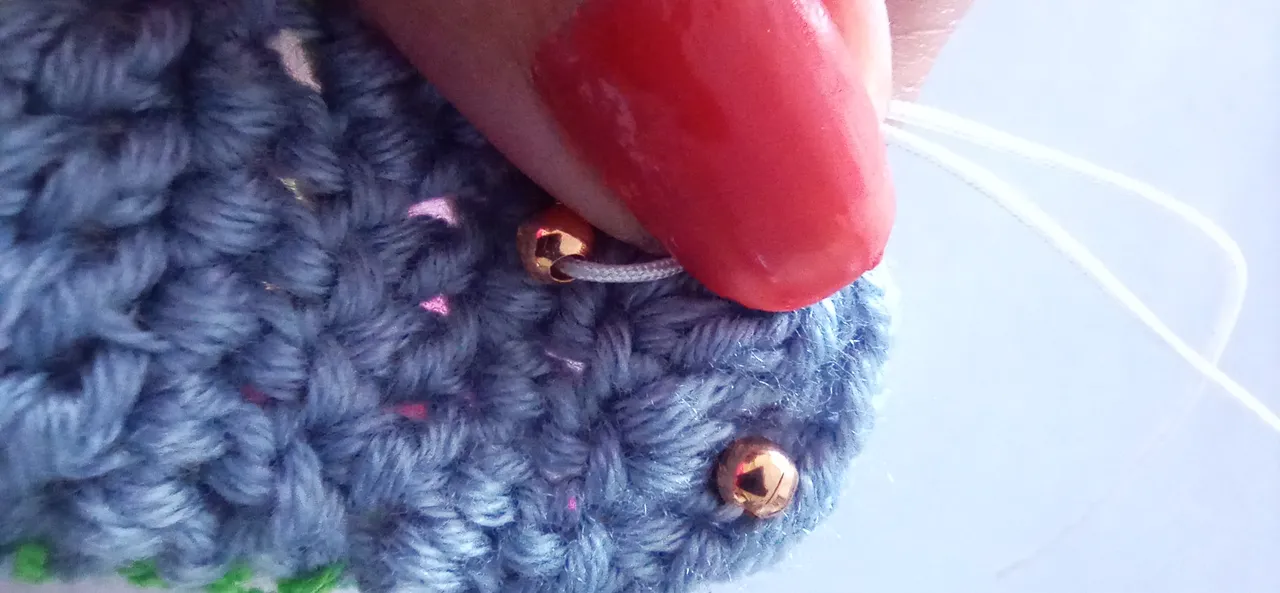
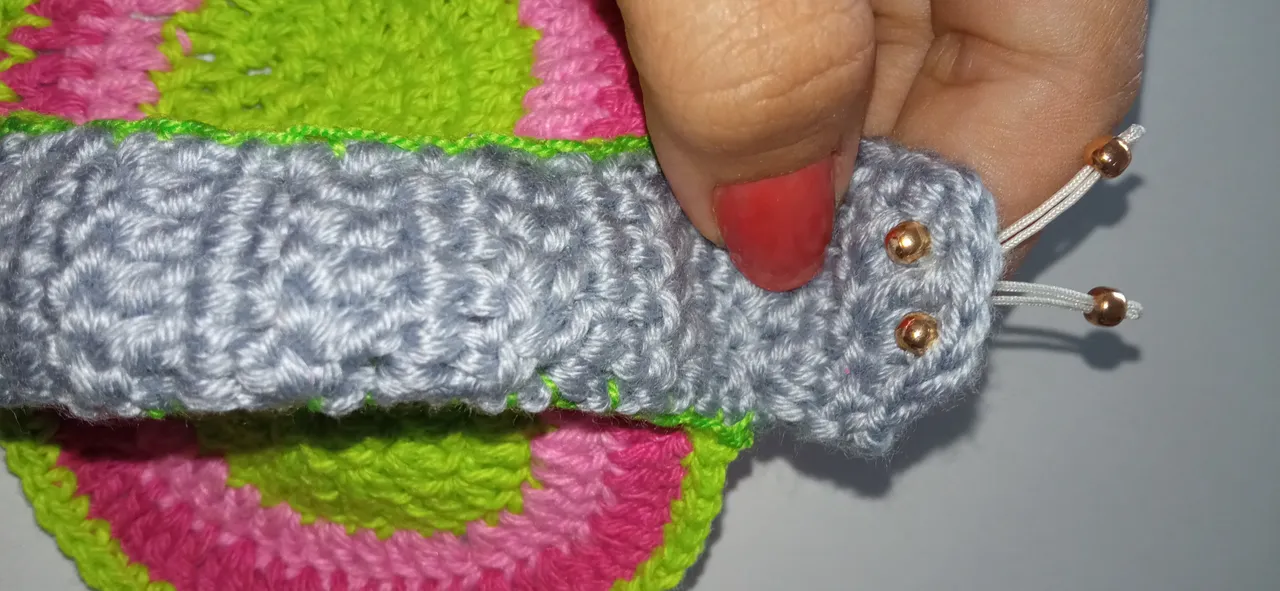
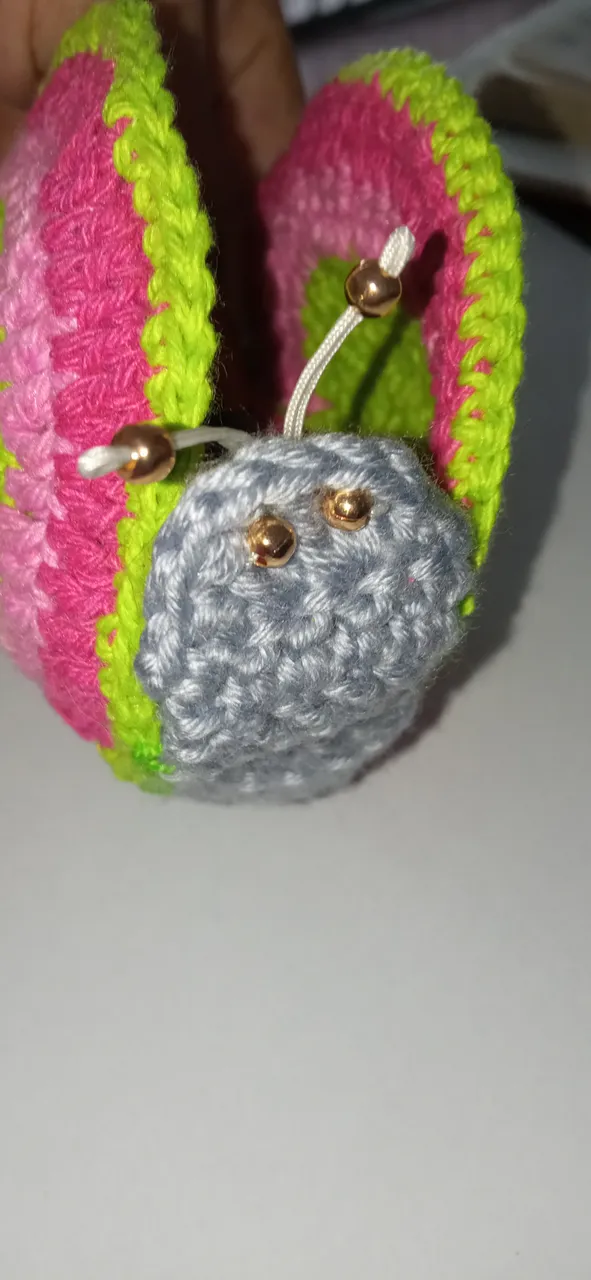
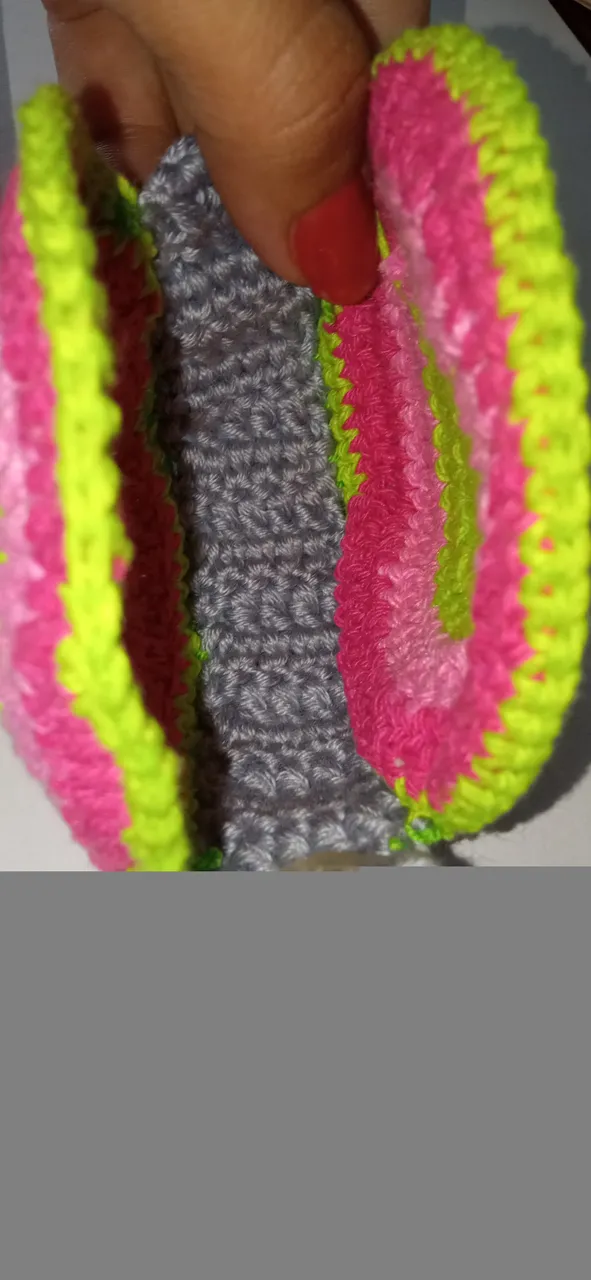
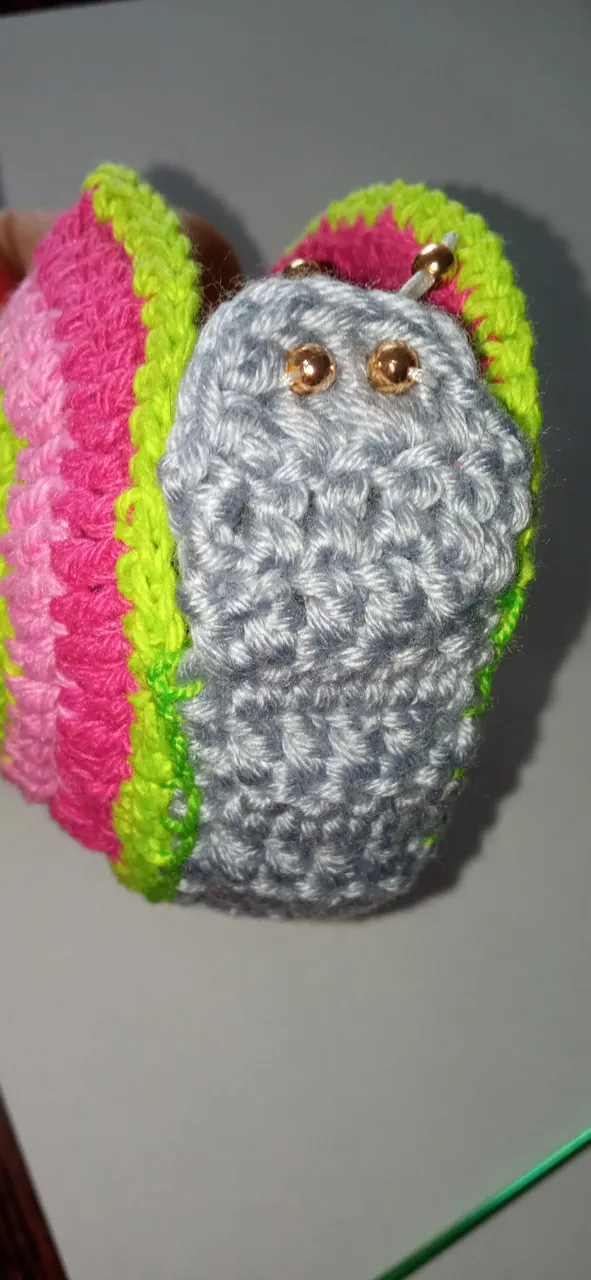
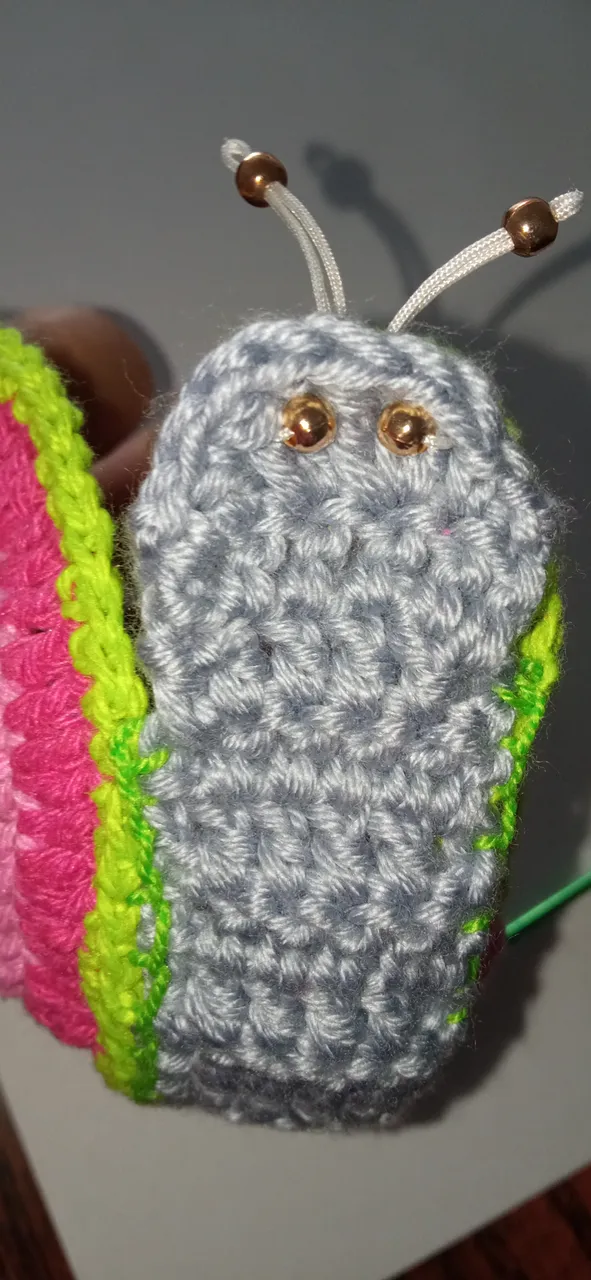
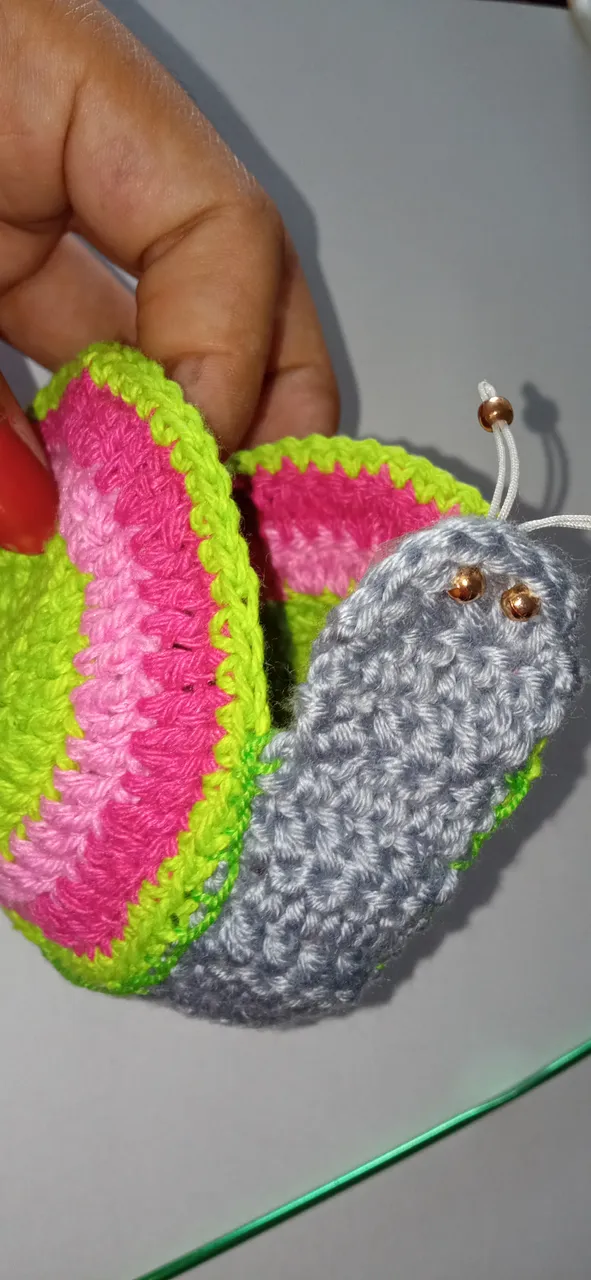
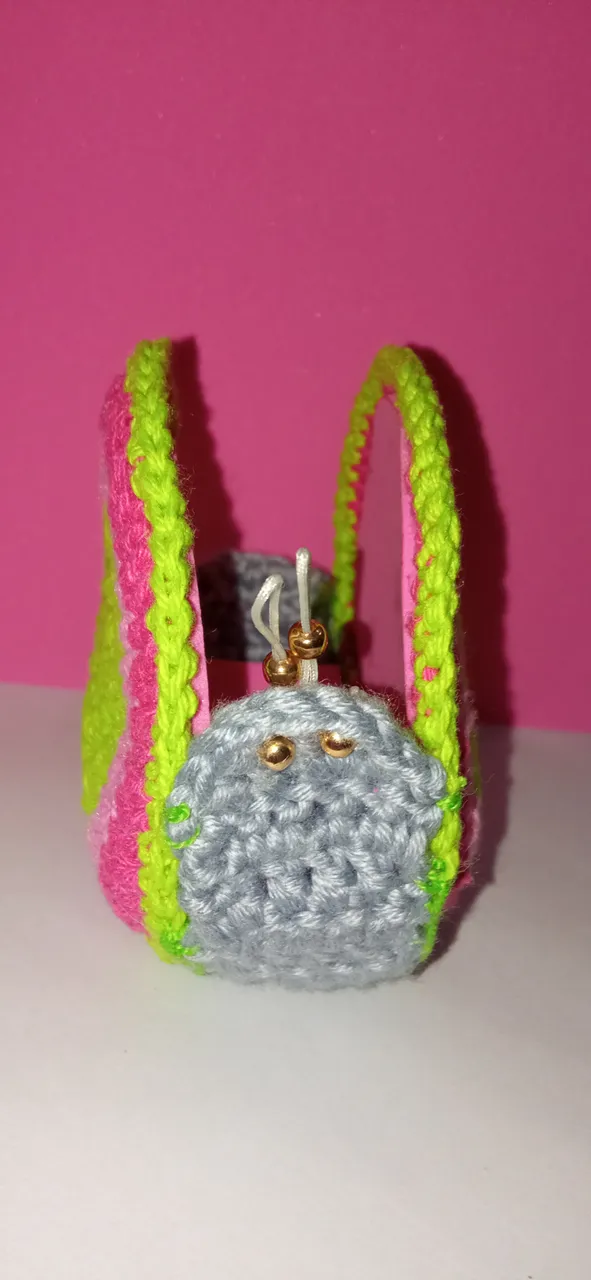
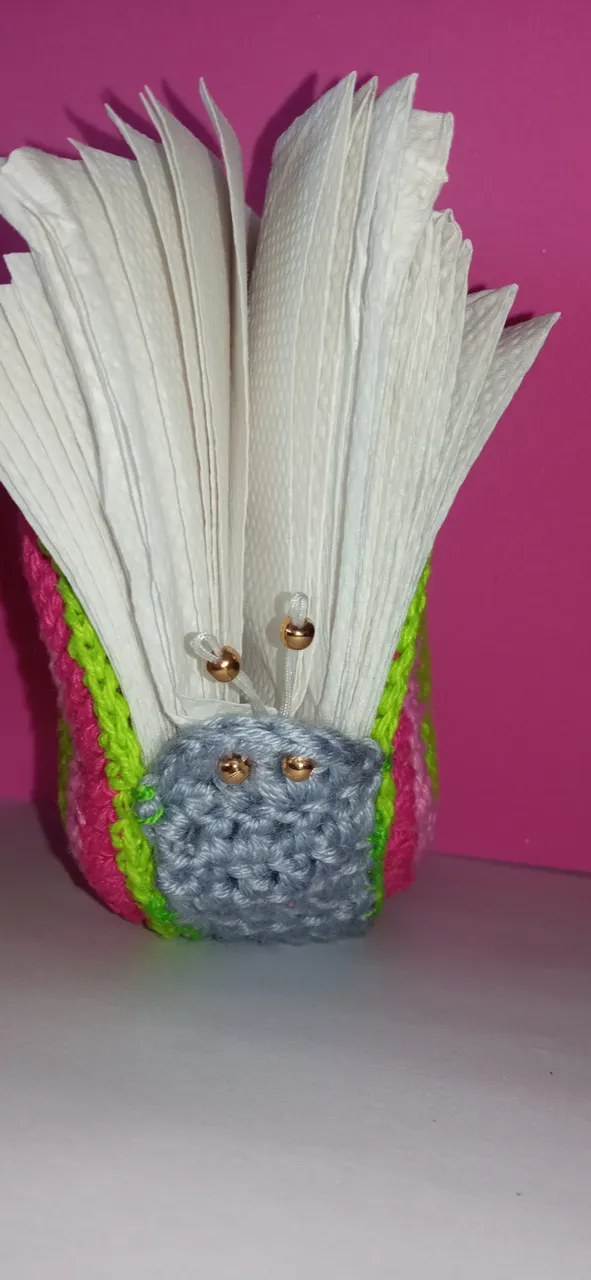
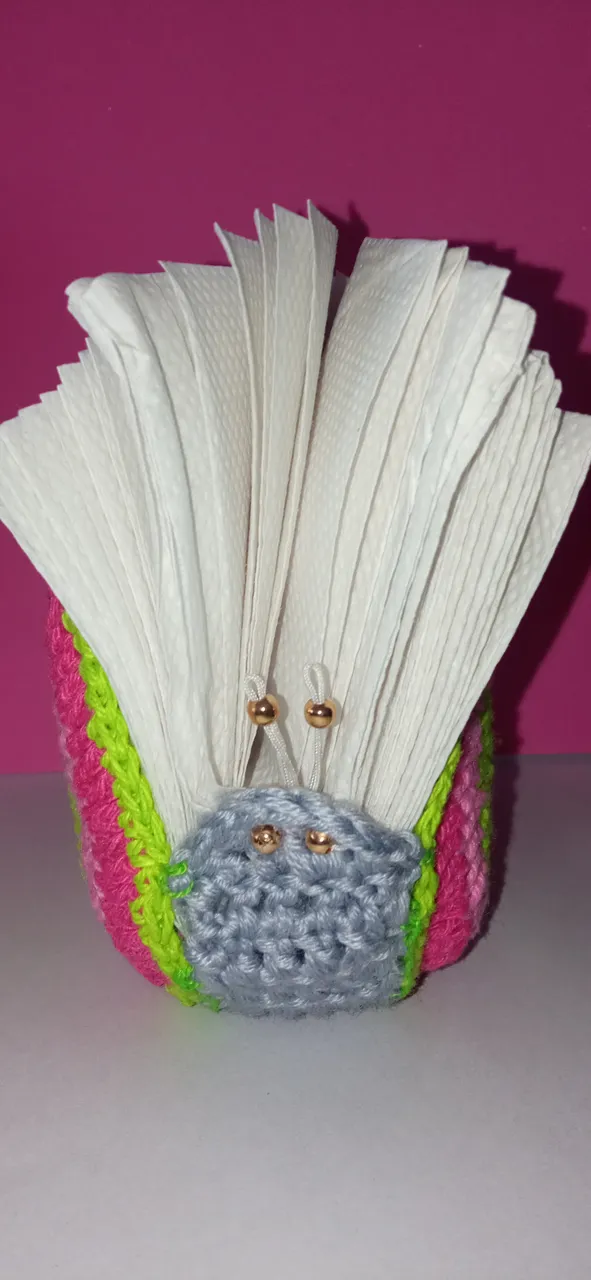
Once the faces of the shell were sewn to the body, I took the decorative white thread and made the antennae (which are actually the eyes) but I decided that they would be antennae with 2 golden balls and then sew 2 more balls to be the eyes.
Una vez cosidas al cuerpo las caras del caparazón, tome el hilo blanco decorativo e hice las antenas (que en realidad son los ojos) pero decidi q fueran antenas con 2 bolitas doradas y luego coser 2 bolitas más para que fueranlos ojos .
 |  |
 |  |

 |  |
 |  |
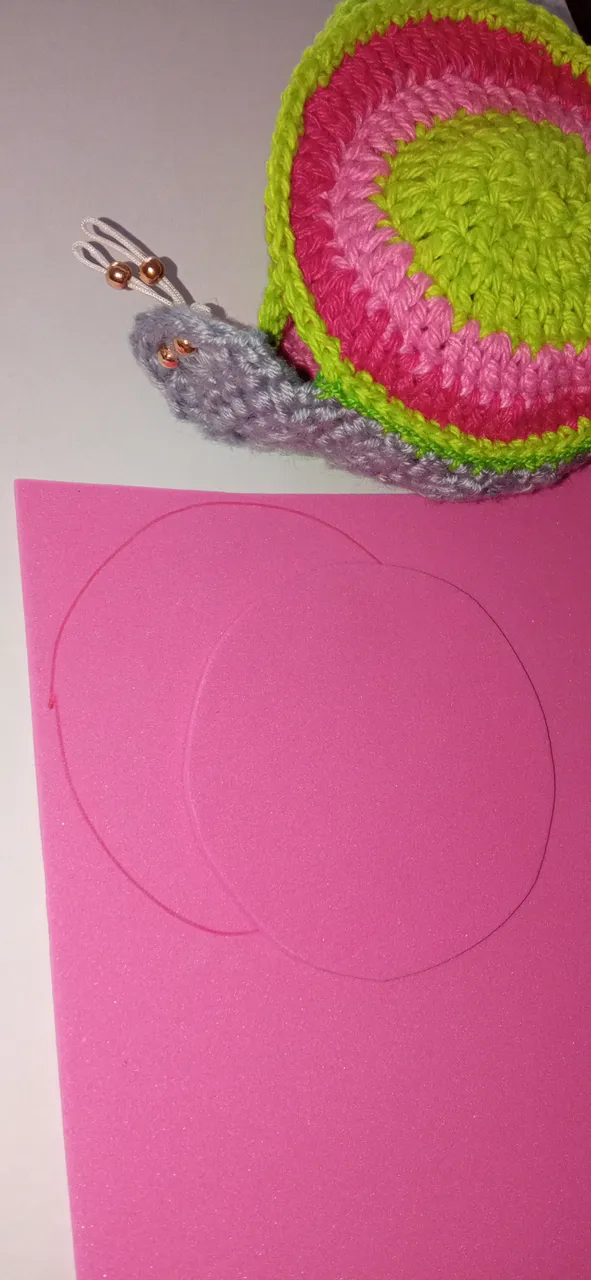
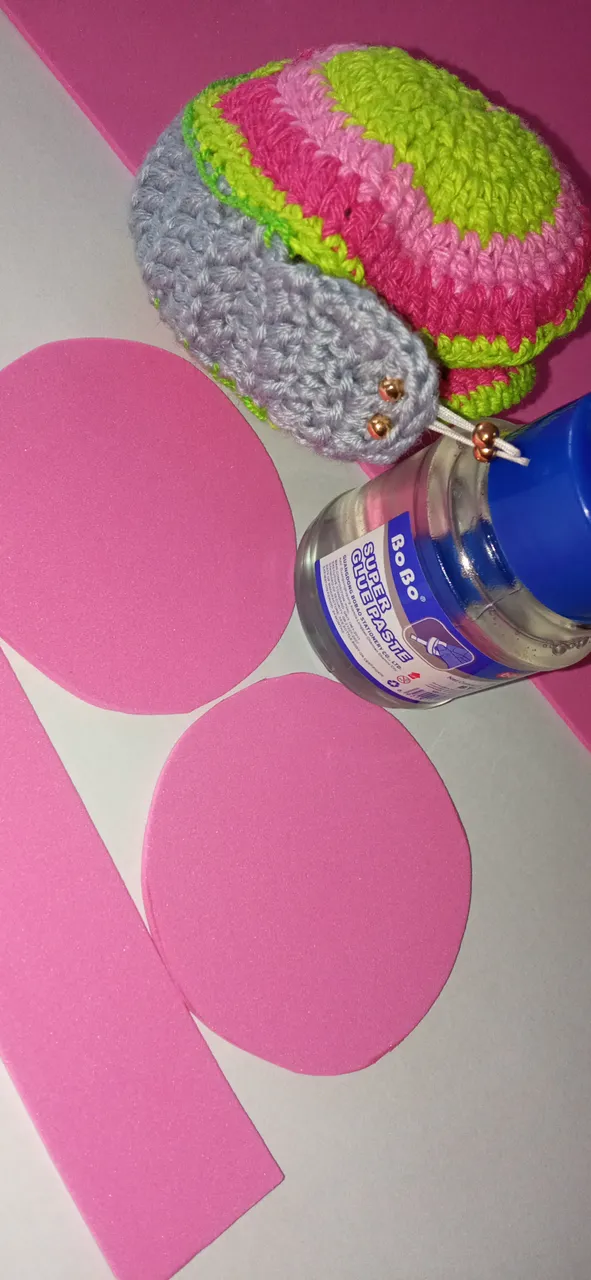
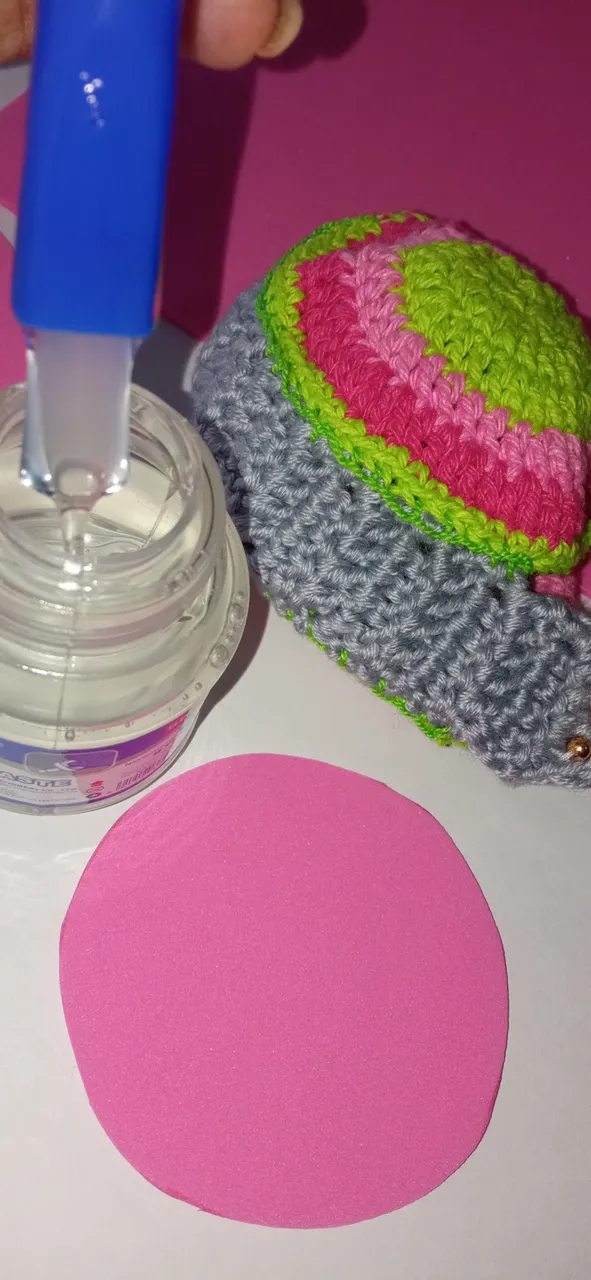
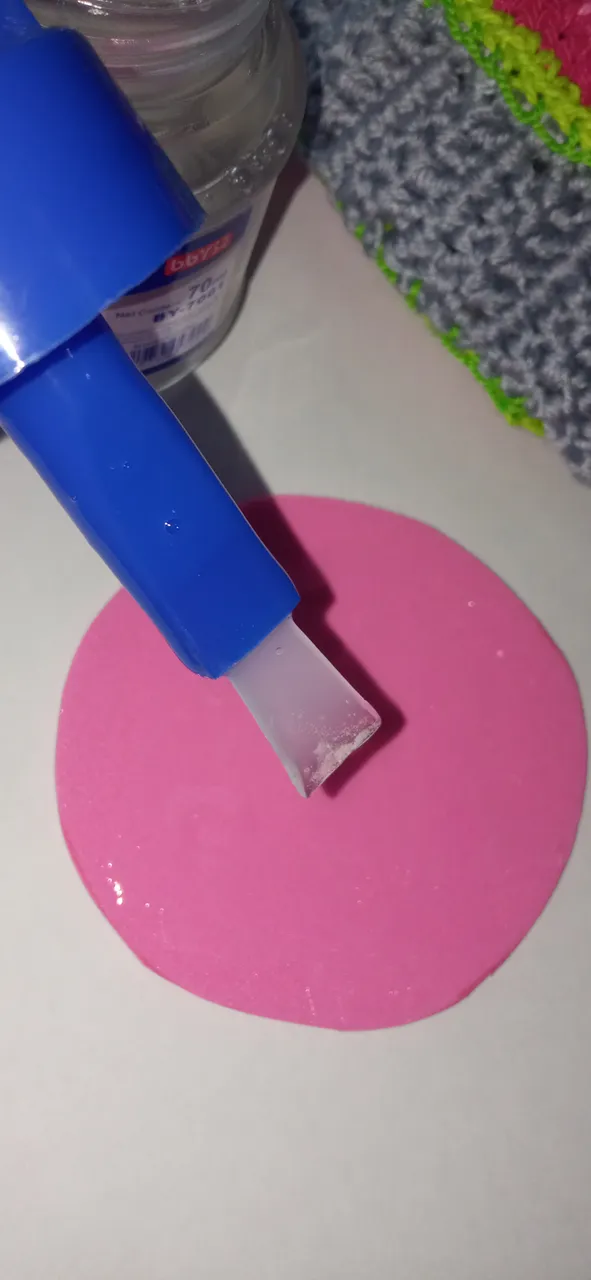
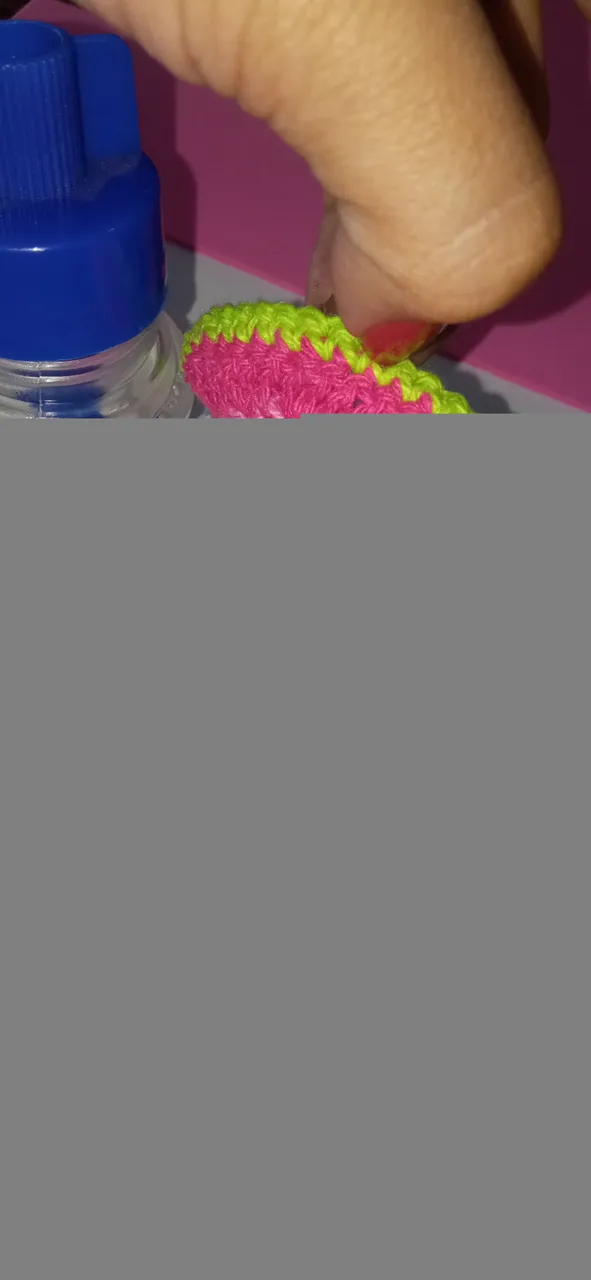
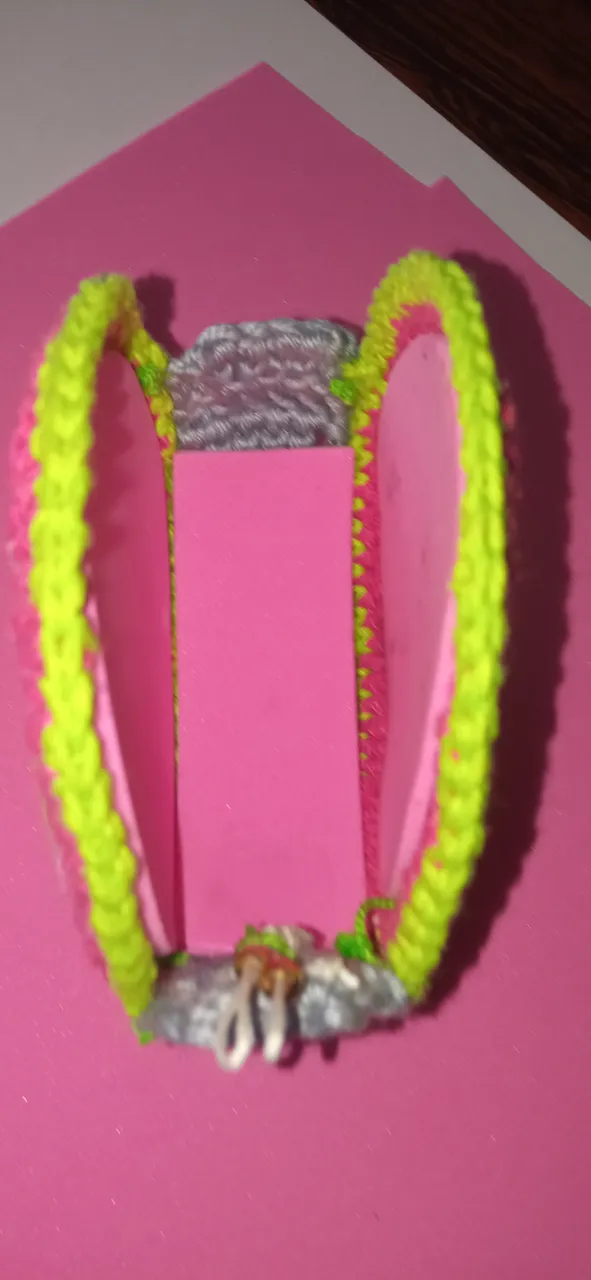
We will need pink foami so that the fabric does not bend and remains rigid when containing the napkins; mark and cut 2 circles and a rectangle to glue to both sides of the shell and the body of the snail.
Necesitaremos foami rosado para que no se doble el tejido y permanezca rigido al momento de contener las servilletas; marque y corte 2 circulos y un rectangulo para pegarlos a ambas caras del caparazón y el cuerpo del caracol.
 |  |
 |  |
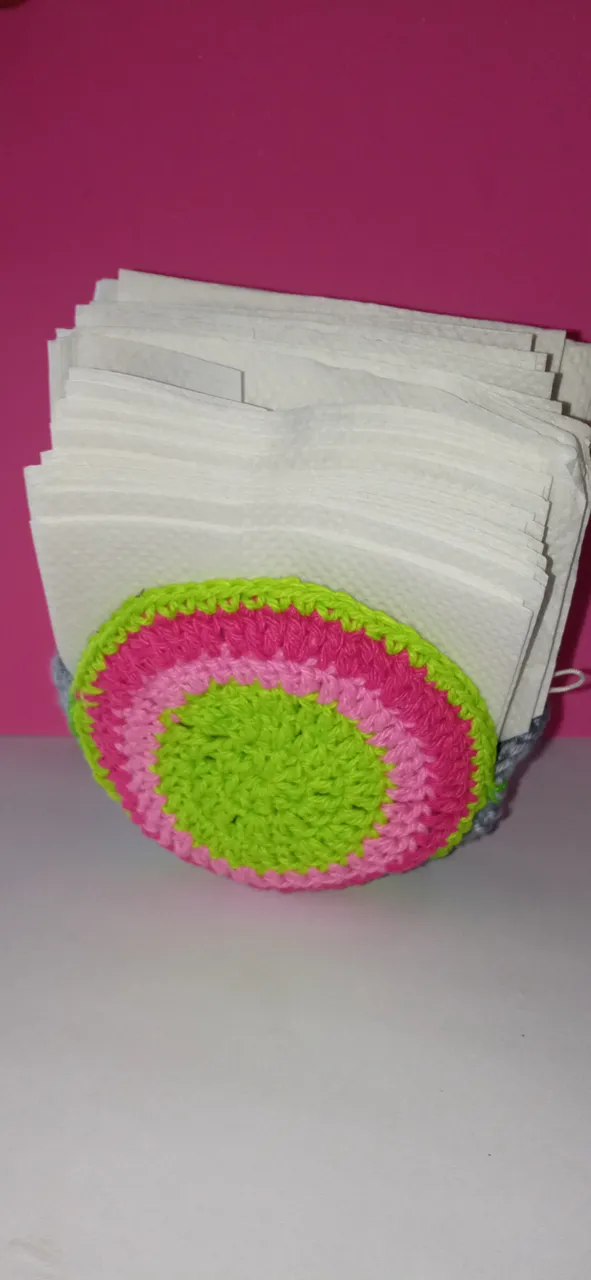
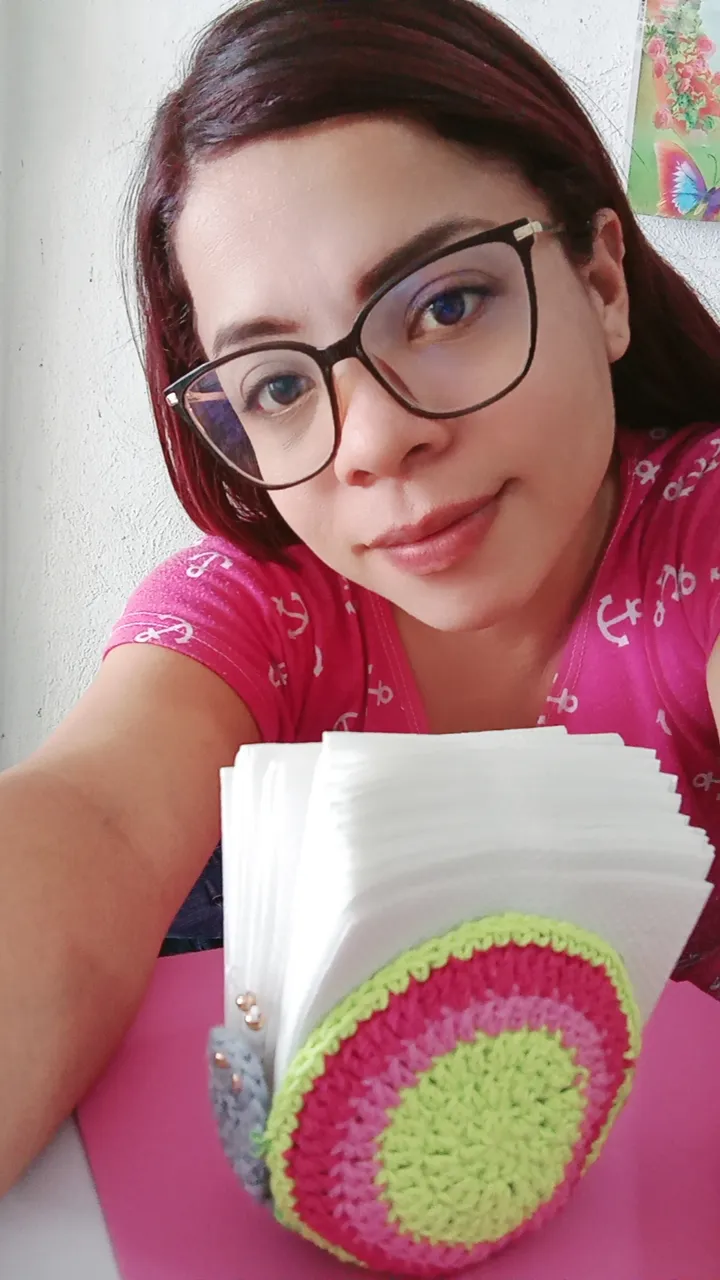
After gluing all the foami, all that remains is to use the napkins and place it on the table as a napkin holder.
Luego de pegar todo el foami solo queda utilizar las servilletas y colocarlo en la mesa como servilletero.
 |  |
 |  |

 |  |
 |  |
 |  |
