One of the things I enjoy about sewing is that there are many creative sides to it. I can express my creative ability with any fabric, whether used, already sewn even pieces can be converted to masterpiece.
I was able to create tote bags from my mom's old skirt recently.
My mom gifted one of her old Denim skirts to my sister and asked her to adjust it where necessary.
I was concerned about the fitting of the skirt because the fabric was thick.
It took me a while before an idea popped up in my head. I looked at my sister straight in the eyes and asked can I create tote bags from the skirt? She loved the idea because she wanted one more tote bag to herself.
I was happy at her response and got to work immediately.
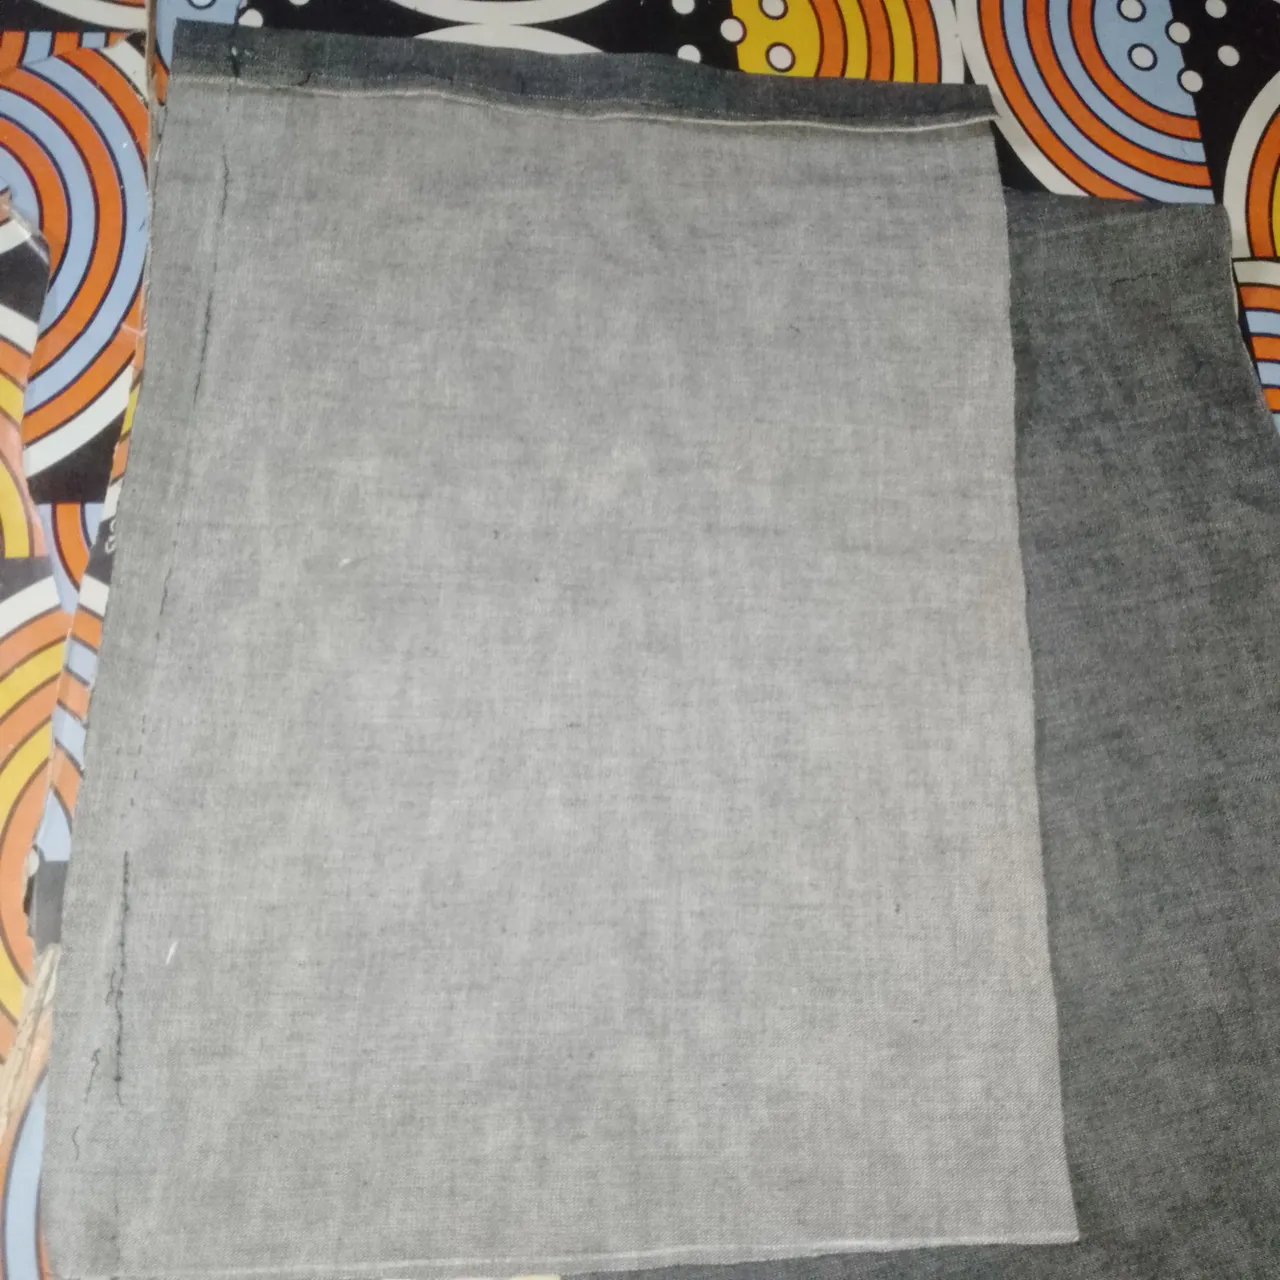
I ripped out the seam of the skirt to get a full fabric
I measured the fabric to ensure that I can get all the necessary parts for the tote bag.
Measurements used
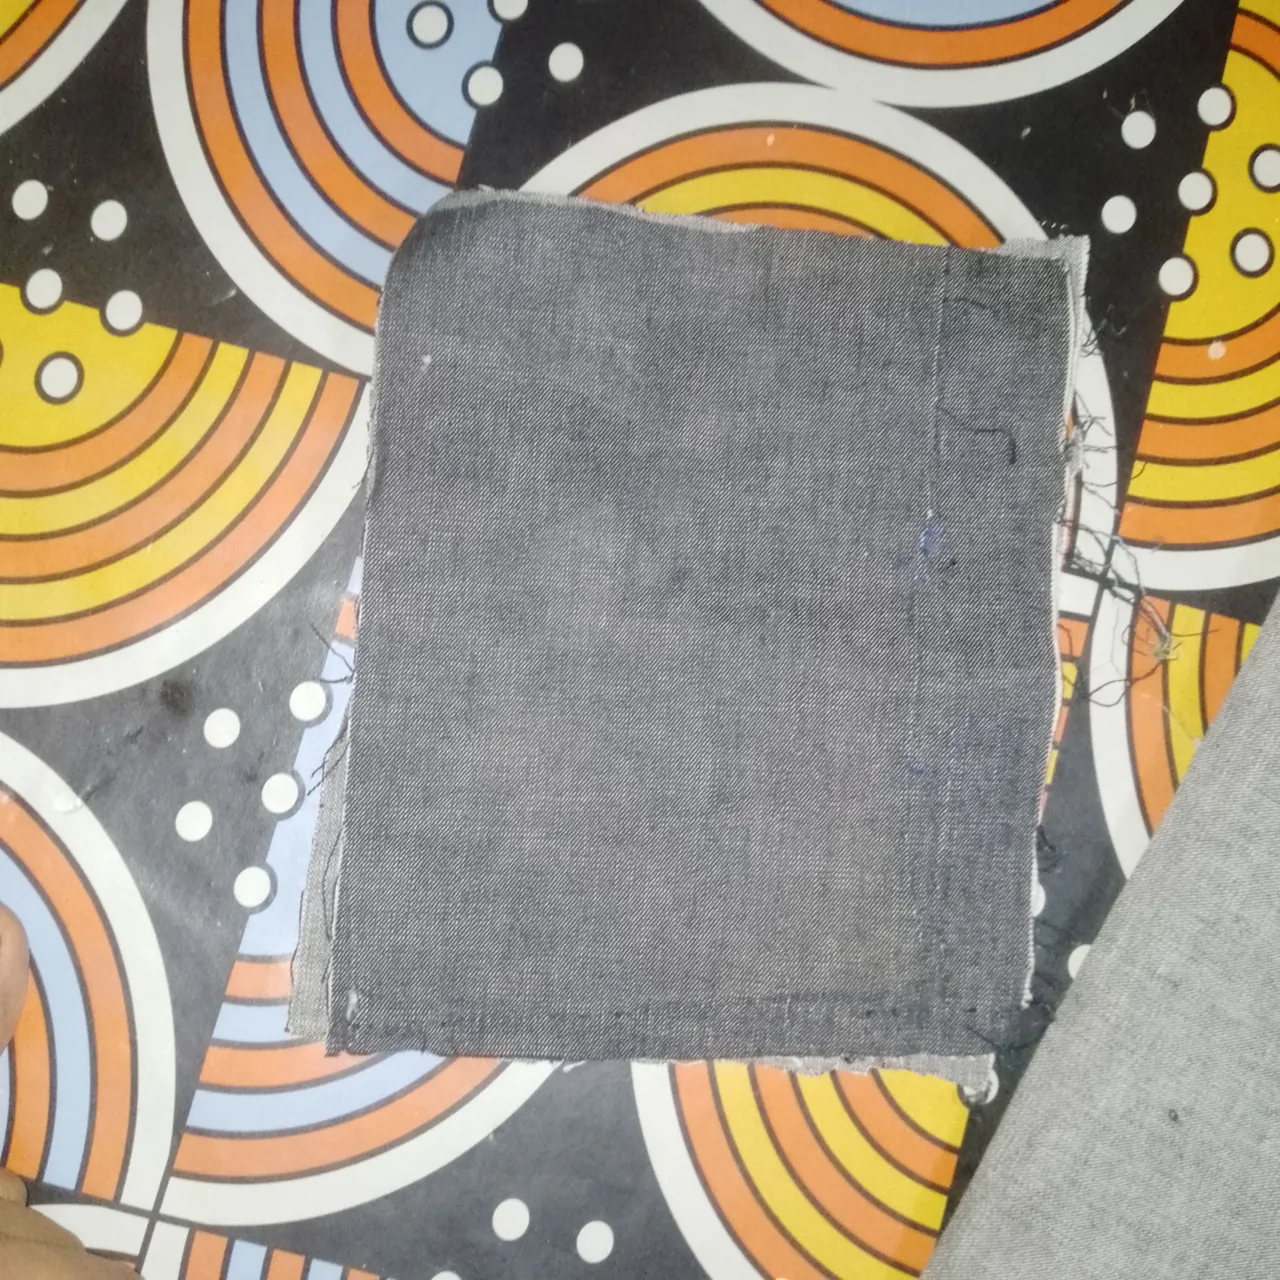
For the main body of the bag, I cut out two pieces of denim measuring 13 inches for the width and 19 inches for the length. The length included the folding that'll be at the open part of the bag.
I wanted a pocket so I used 9 inches for the width and 7 inches for the length of the pocket before folding the edges.
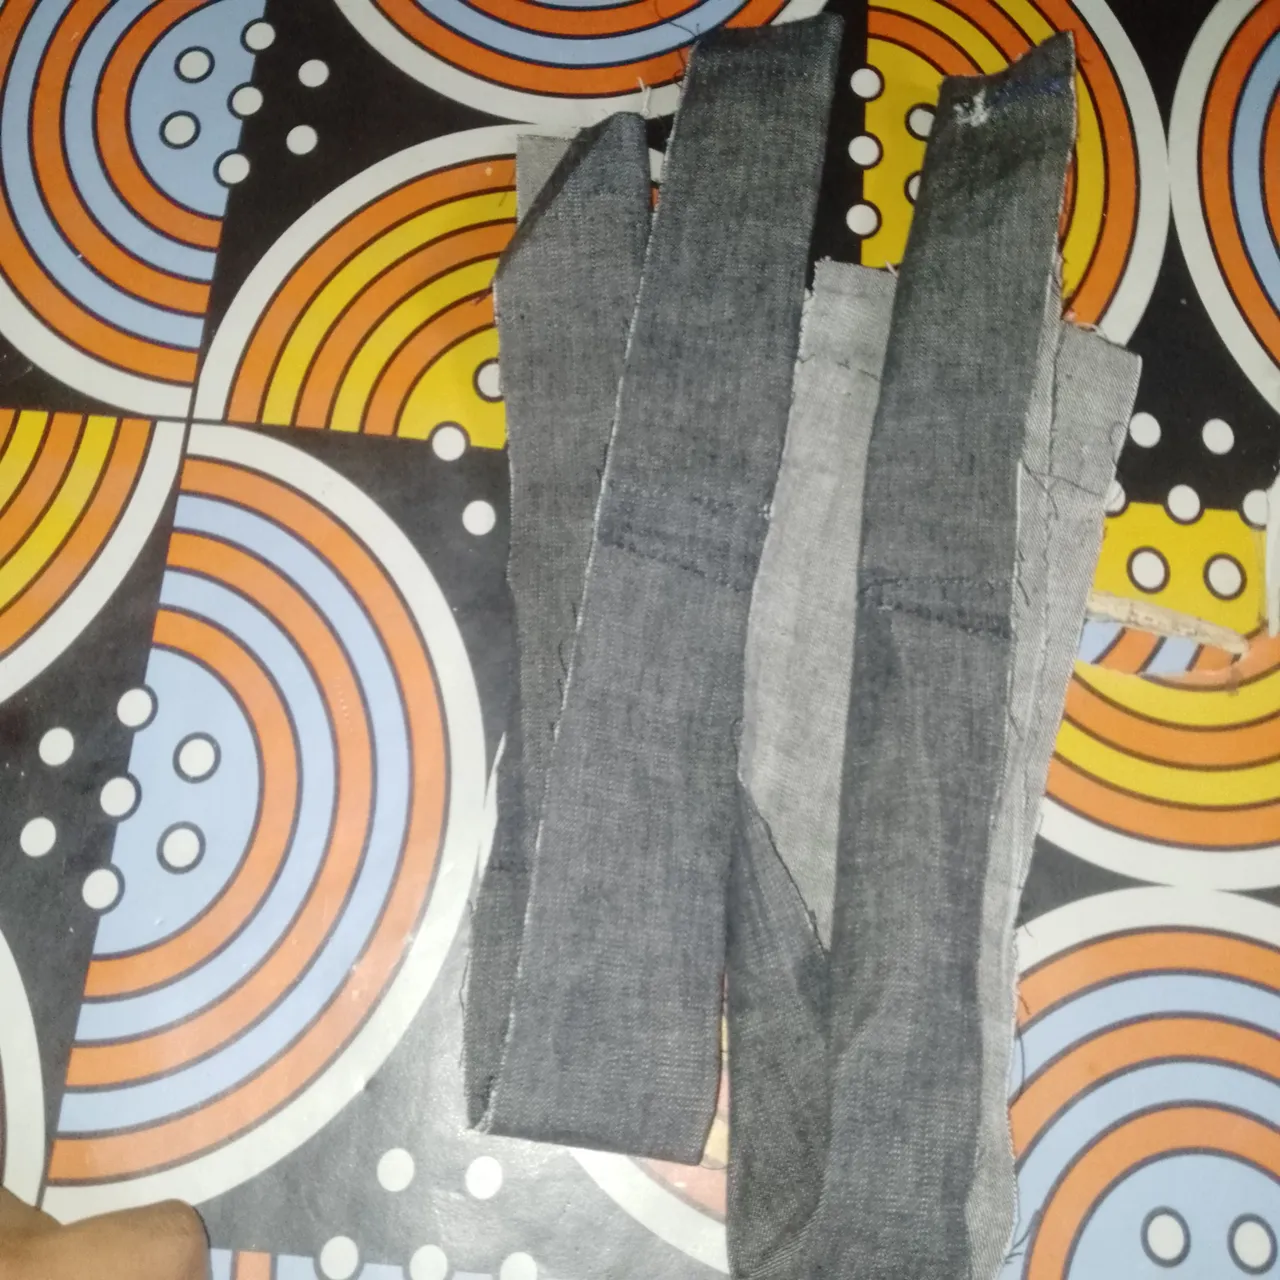
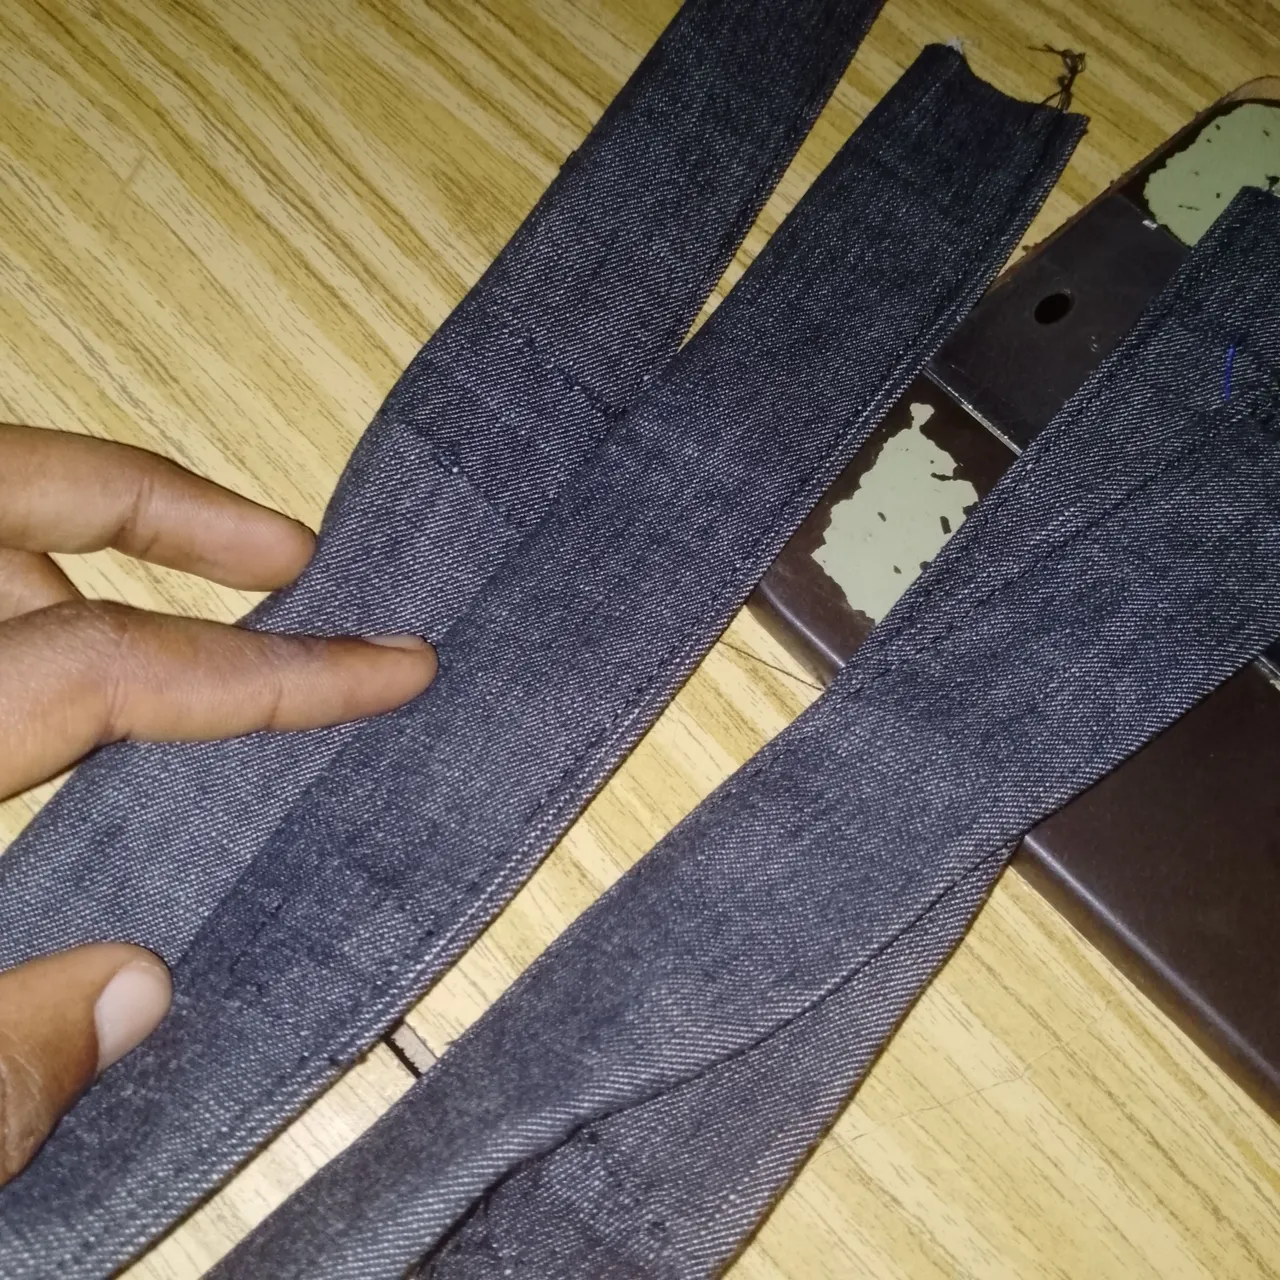
I used 25 inches length and 4 inches width the handles
Sewing Process
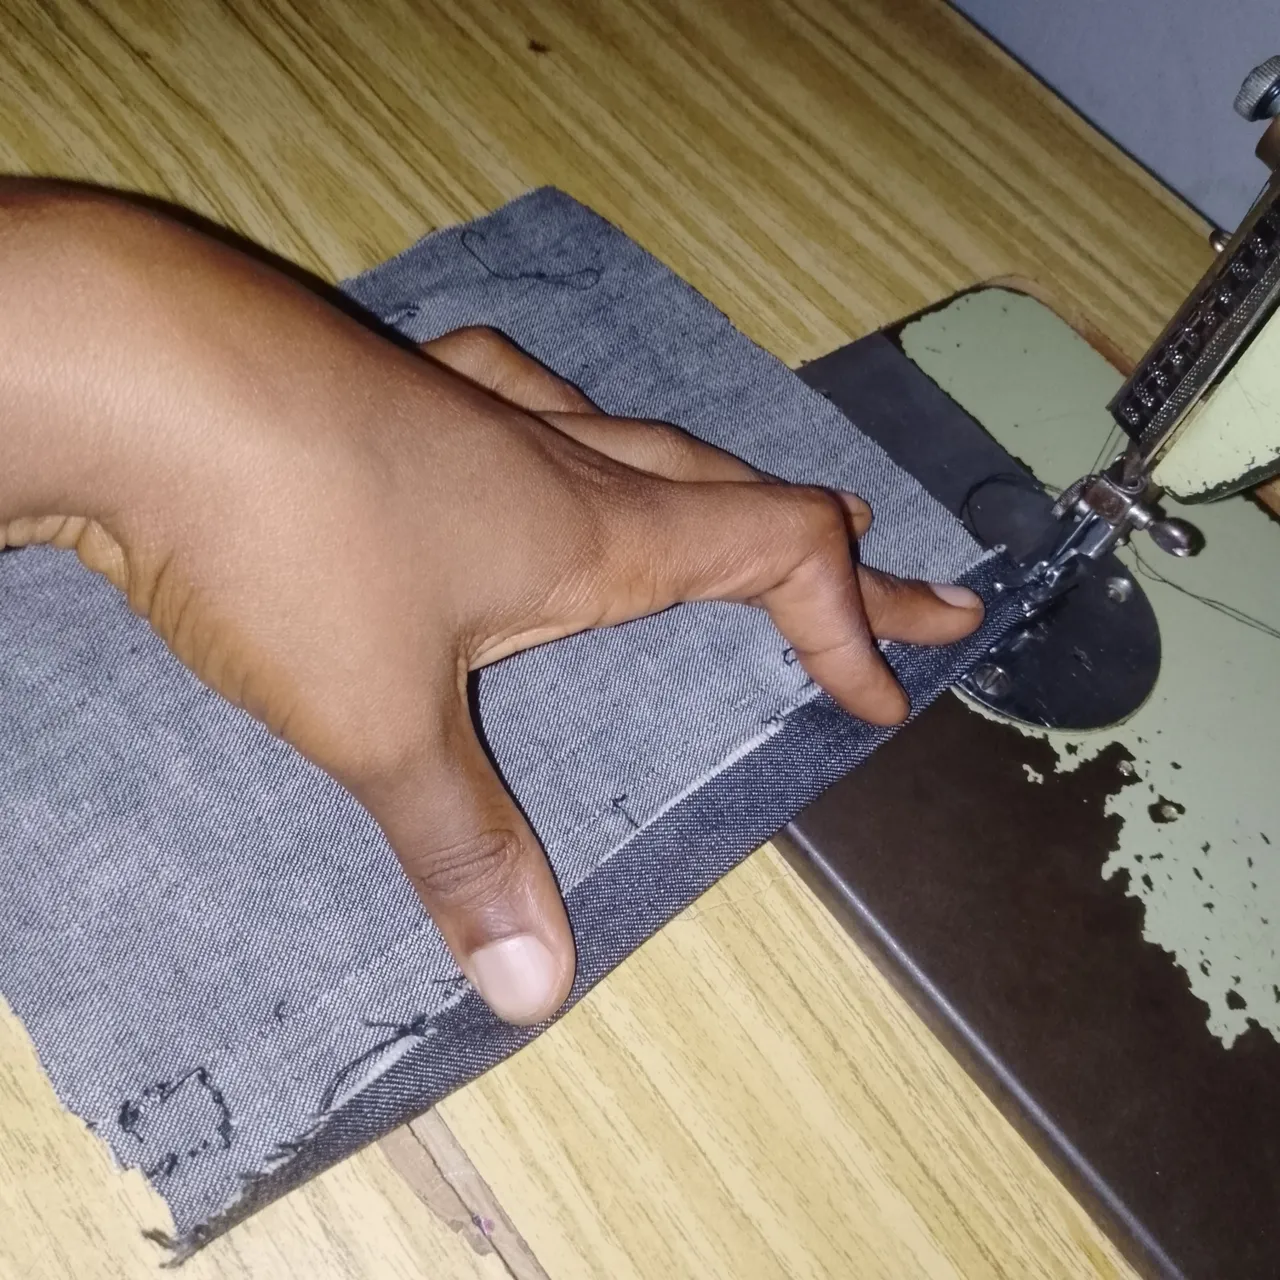
First, I folded 1 inch on the open part of the main body and stitched. (I didn't use a zipper)
I folded in the rough edges on the handle and stitched it down along it's length
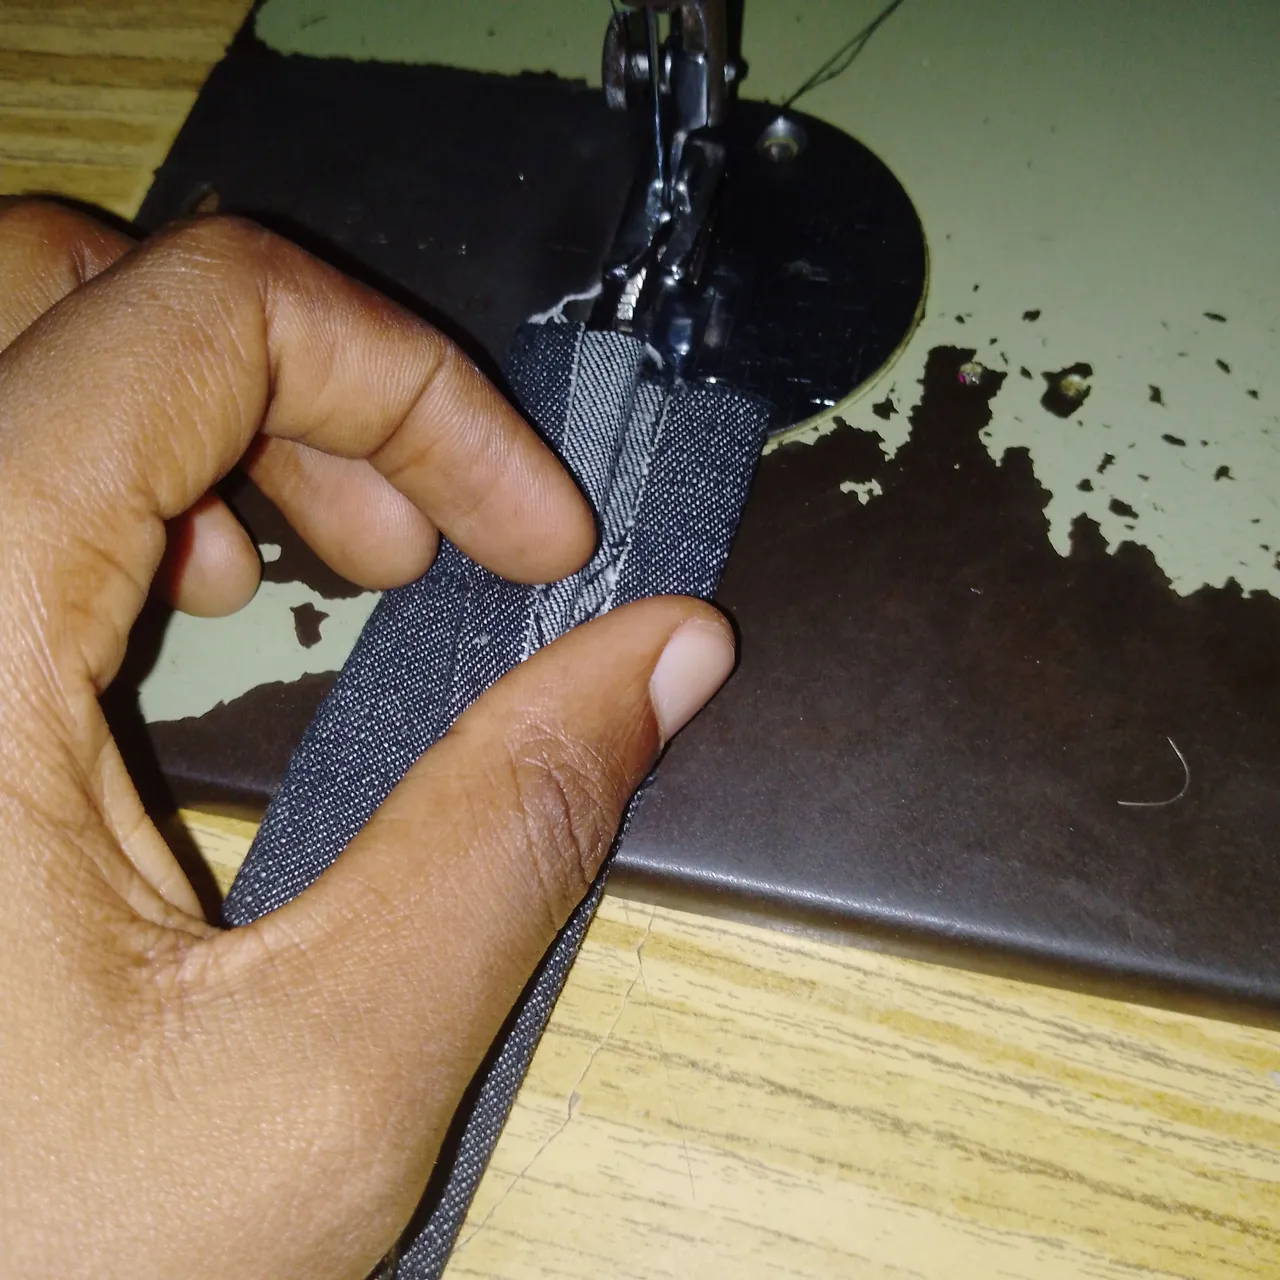
This is the result below
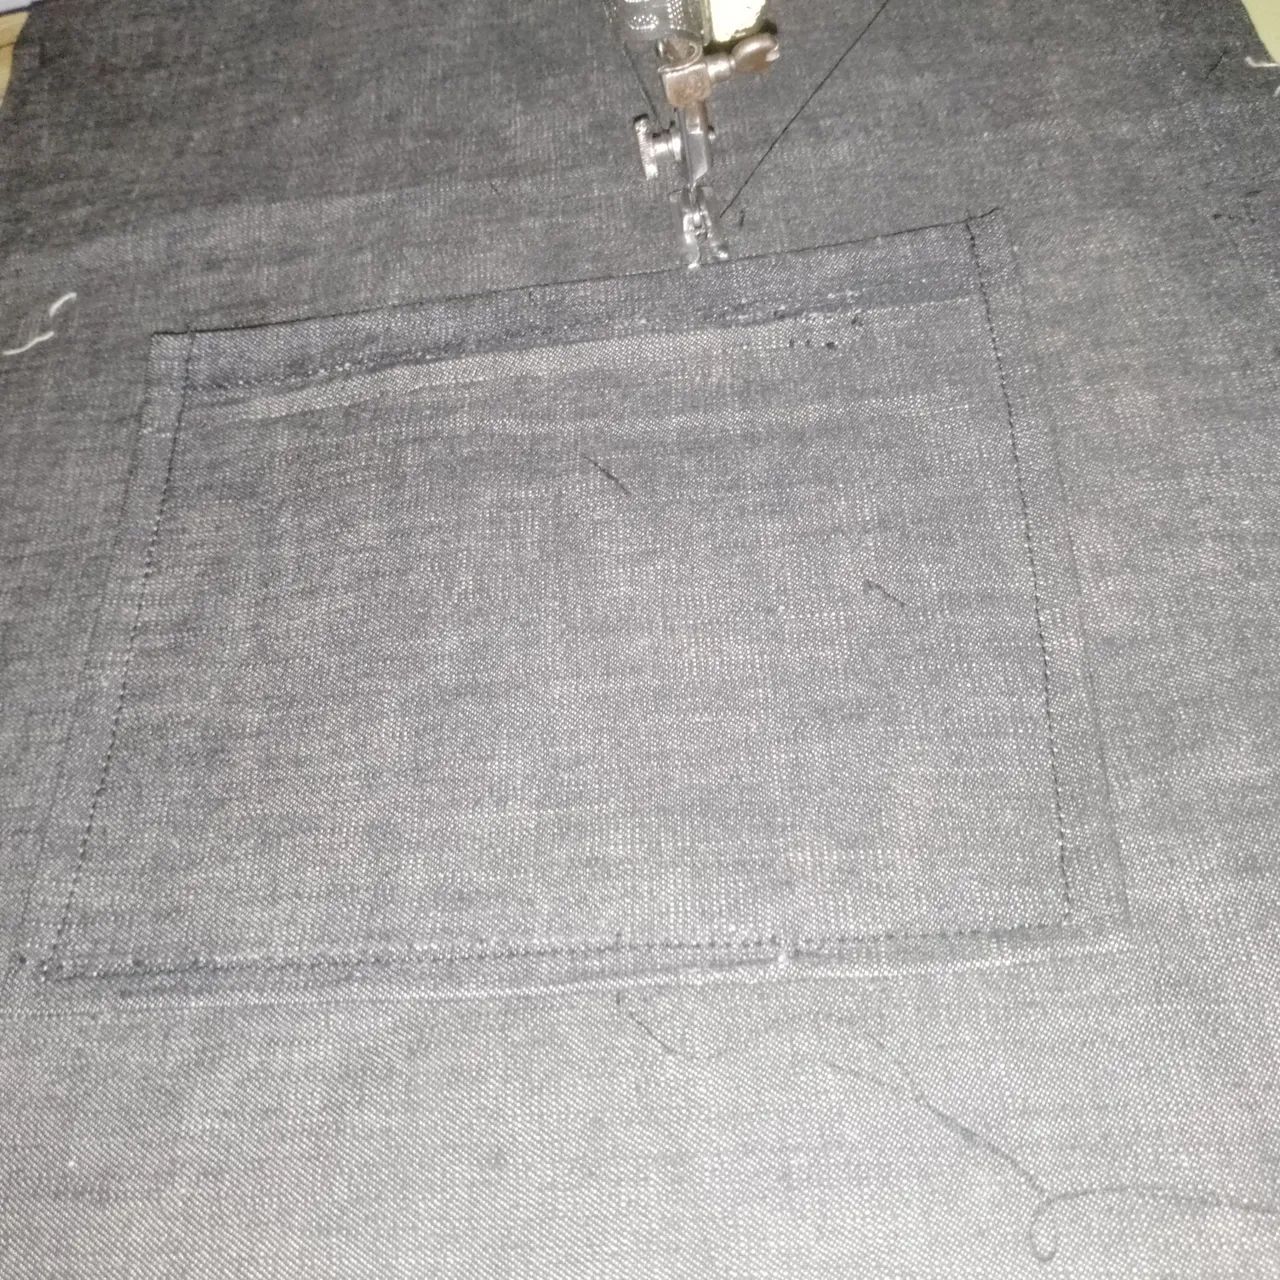
For the pocket, I folded round its edges
All the parts of the tote bag are ready now. It's time to join each piece together to form a whole.
First I did was attach the handles.
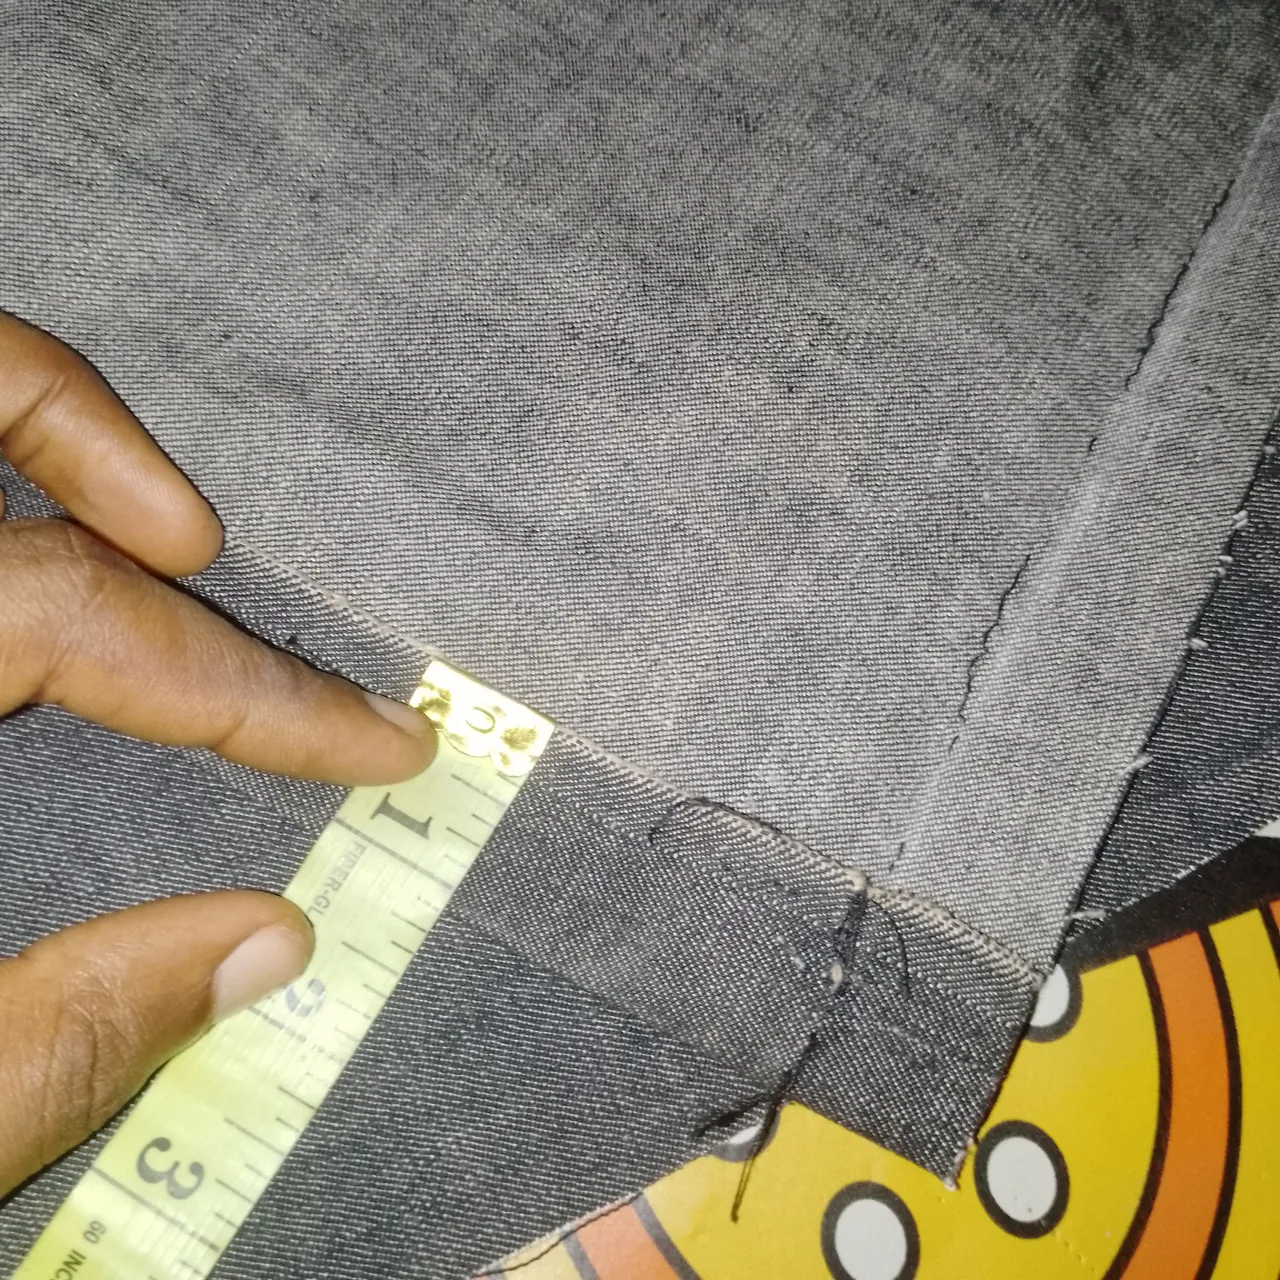
I picked one of the sides of the body, marked 2 inches away from the edge.
I also marked 1 inch in the handle to where I'll be inserting the handle
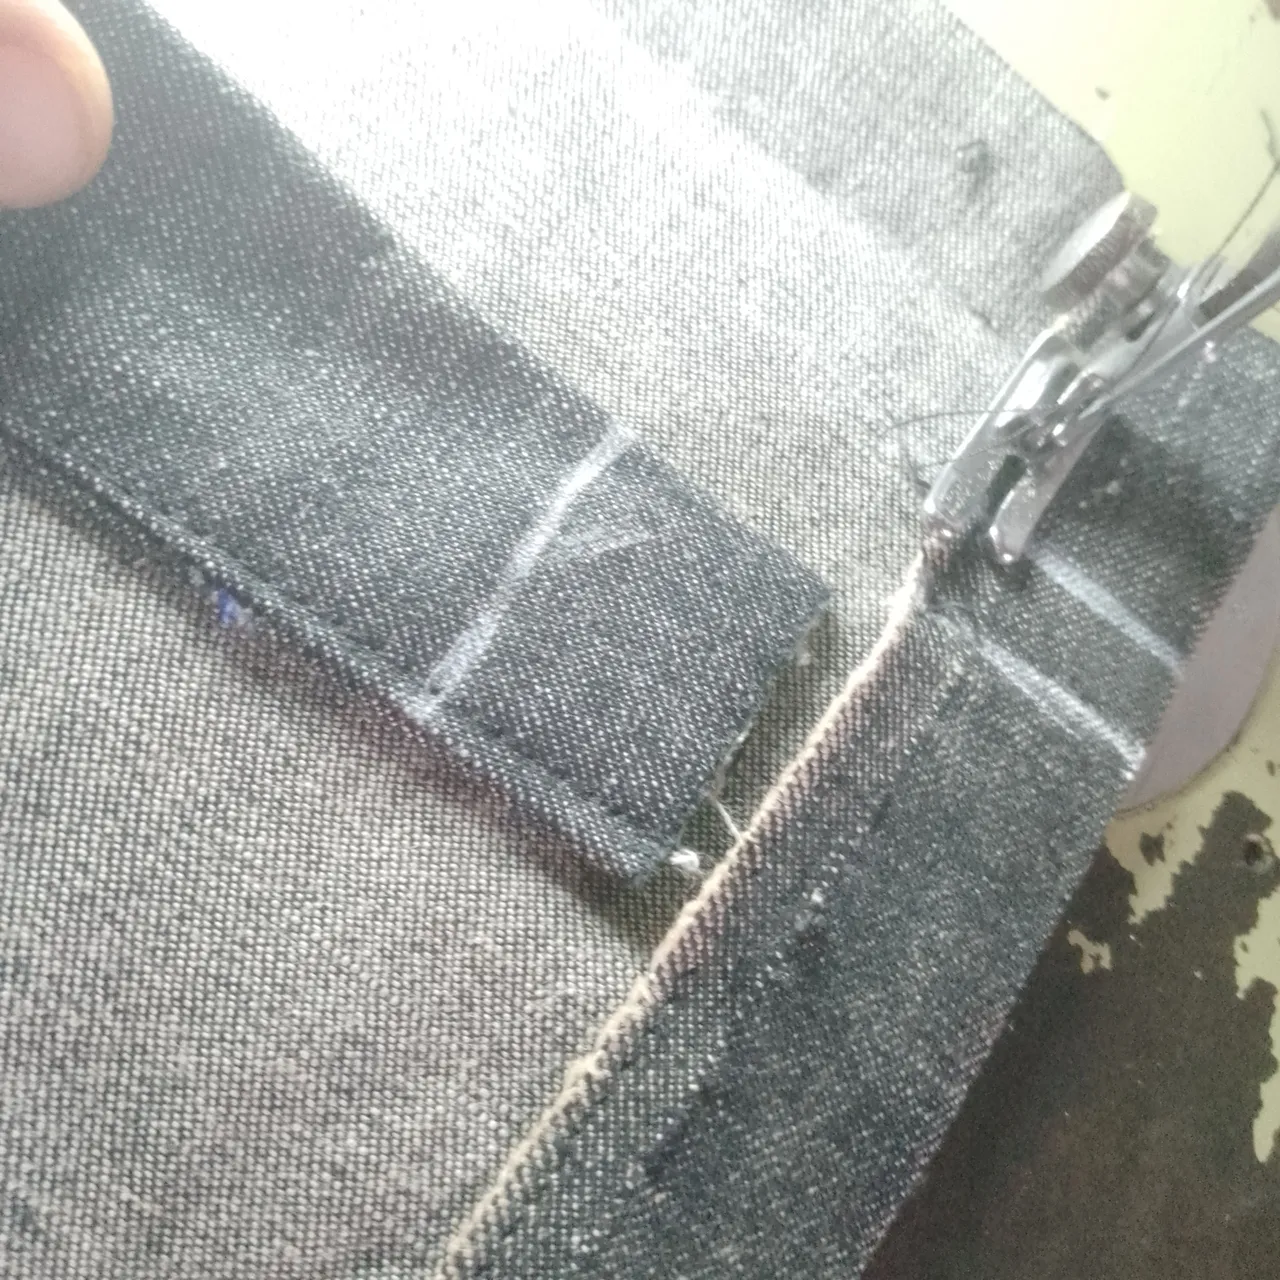
I will be inserting the handle from the 2 inch point.
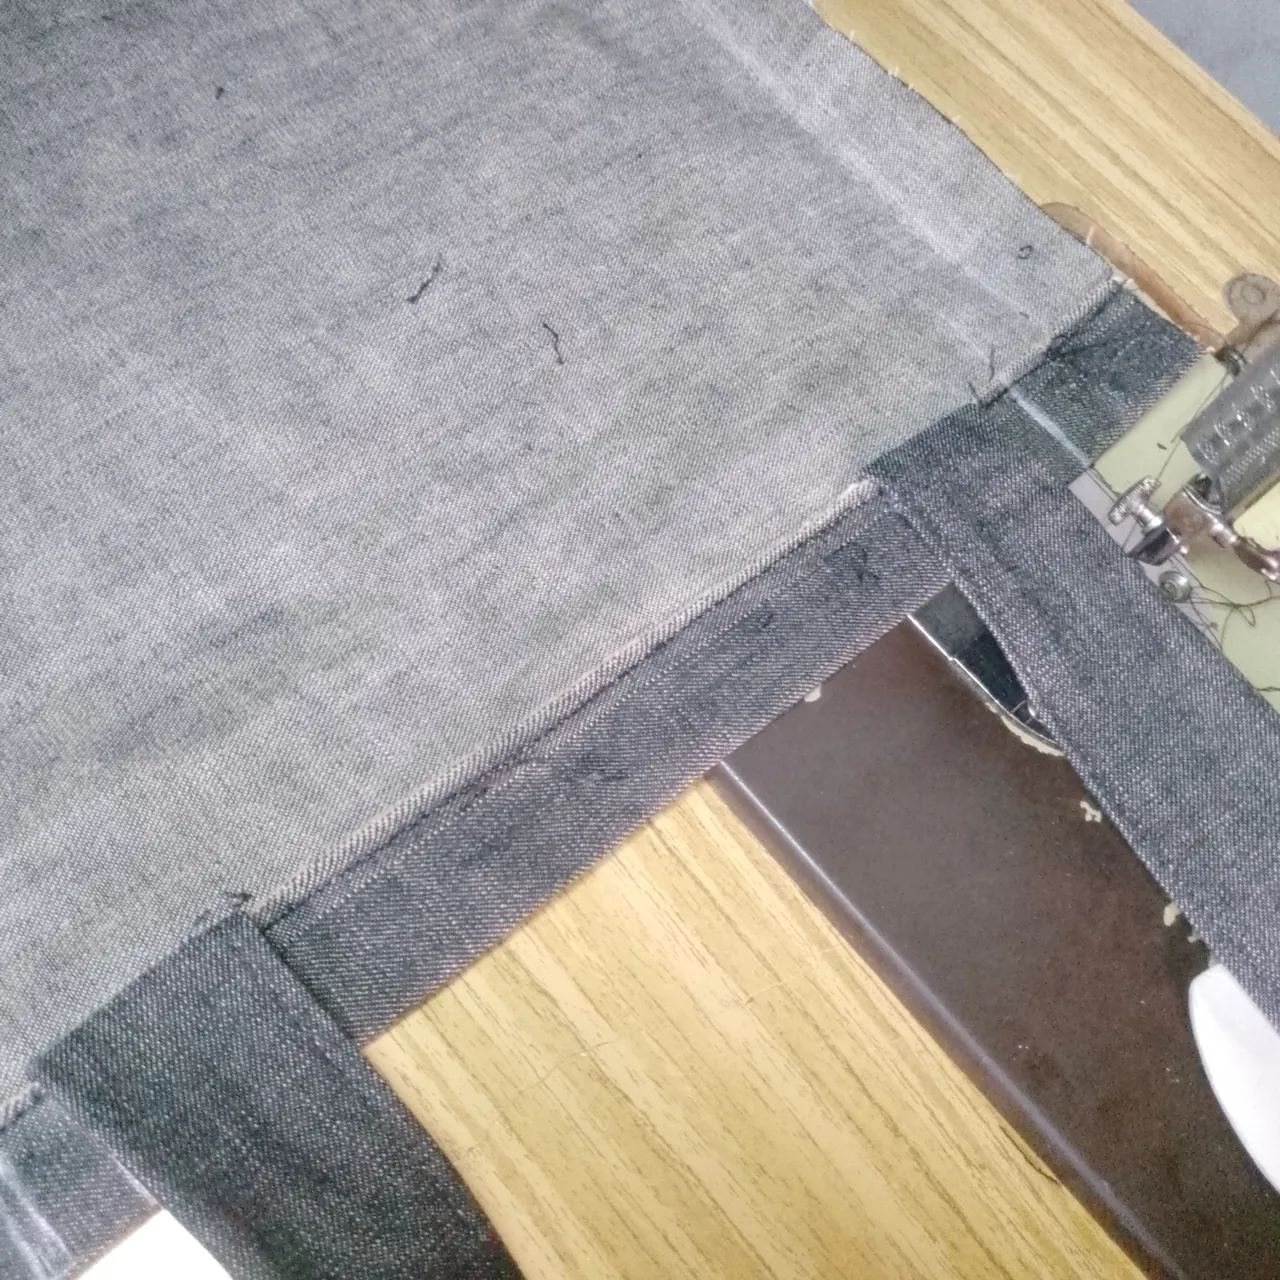
Recall that I had stitched the upper part so I ripped out the seam few inches away starting from the 2 inch mark.
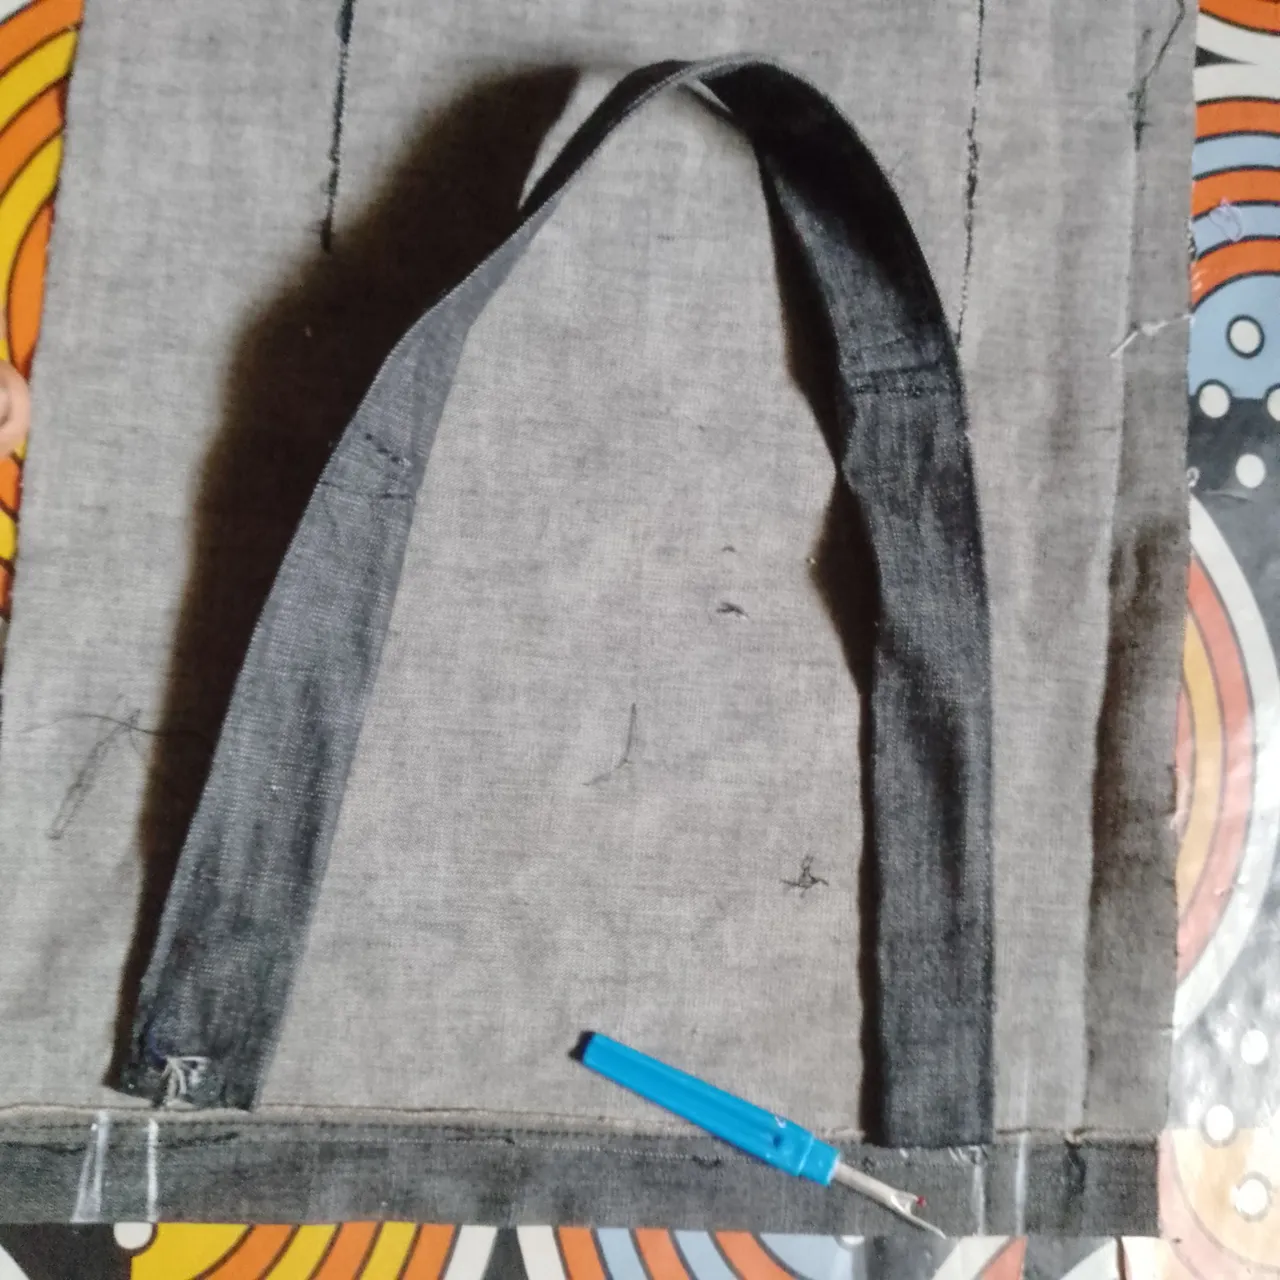
After stitching, I folded the handle up as shown
I repeated the process for the handle on the other piece.
Below is the result
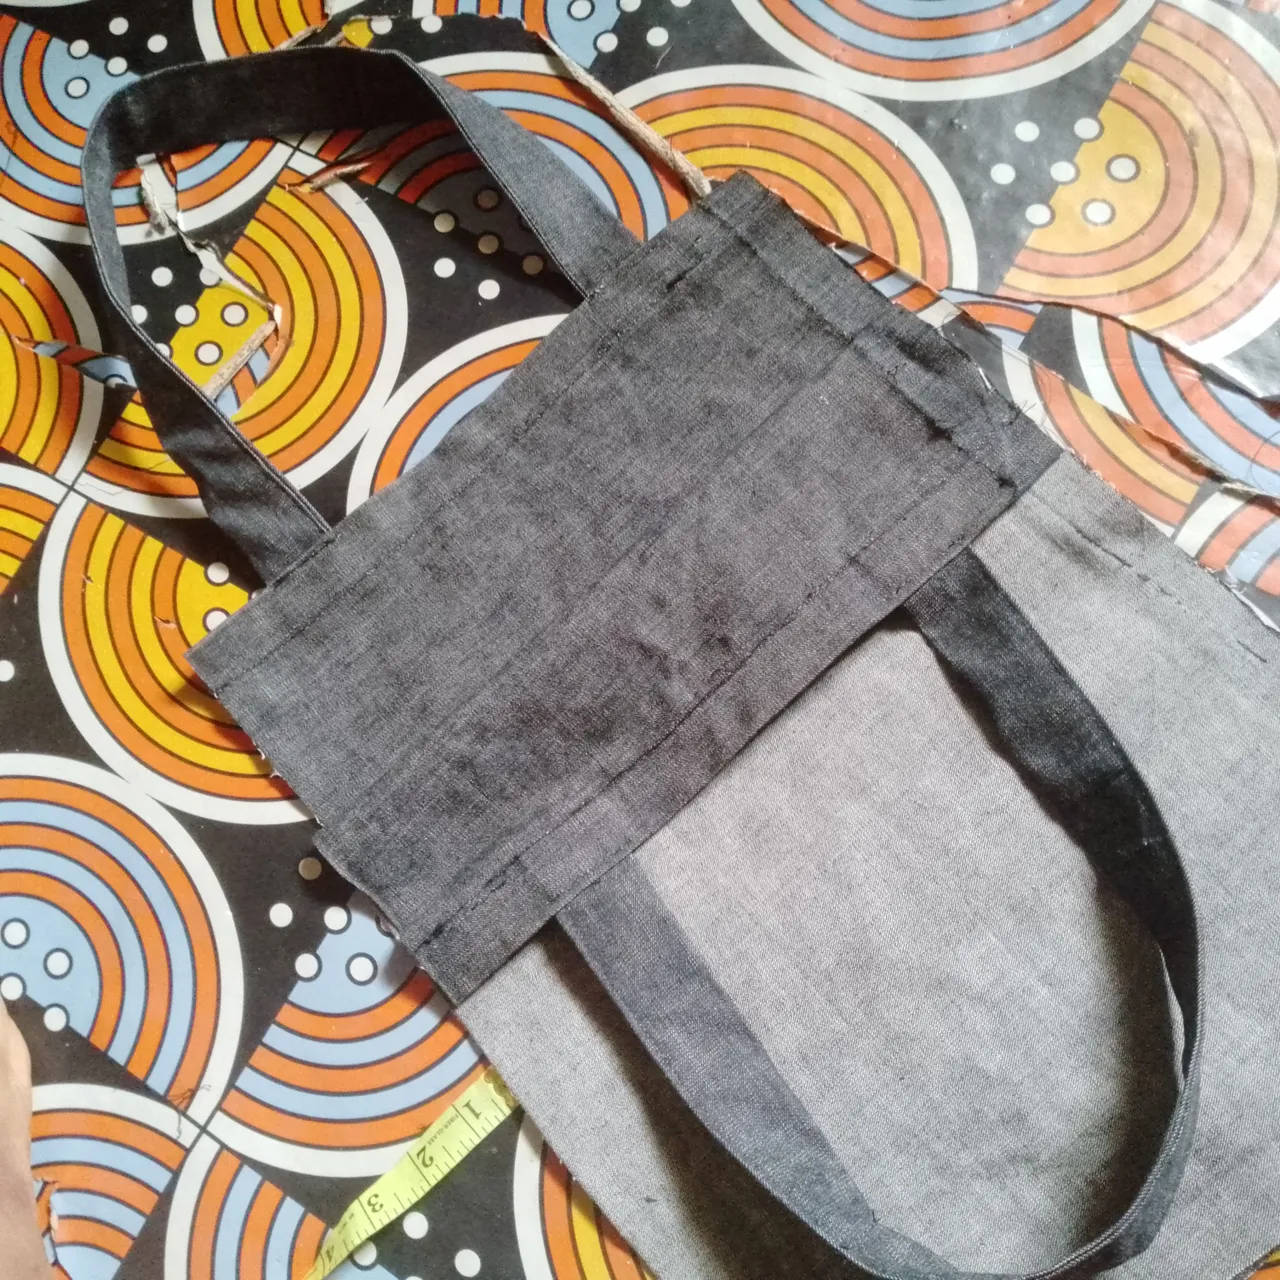
Next, I fixed the pocket
I placed both side equally on each other and stitched through the edges leaving the handle part open.
However, I wanted a particular effect at the based of the tote bag.(I hope this part is not confusing)
I opened the stitch at the edge of the base, held them together to give a triangular shape as shown
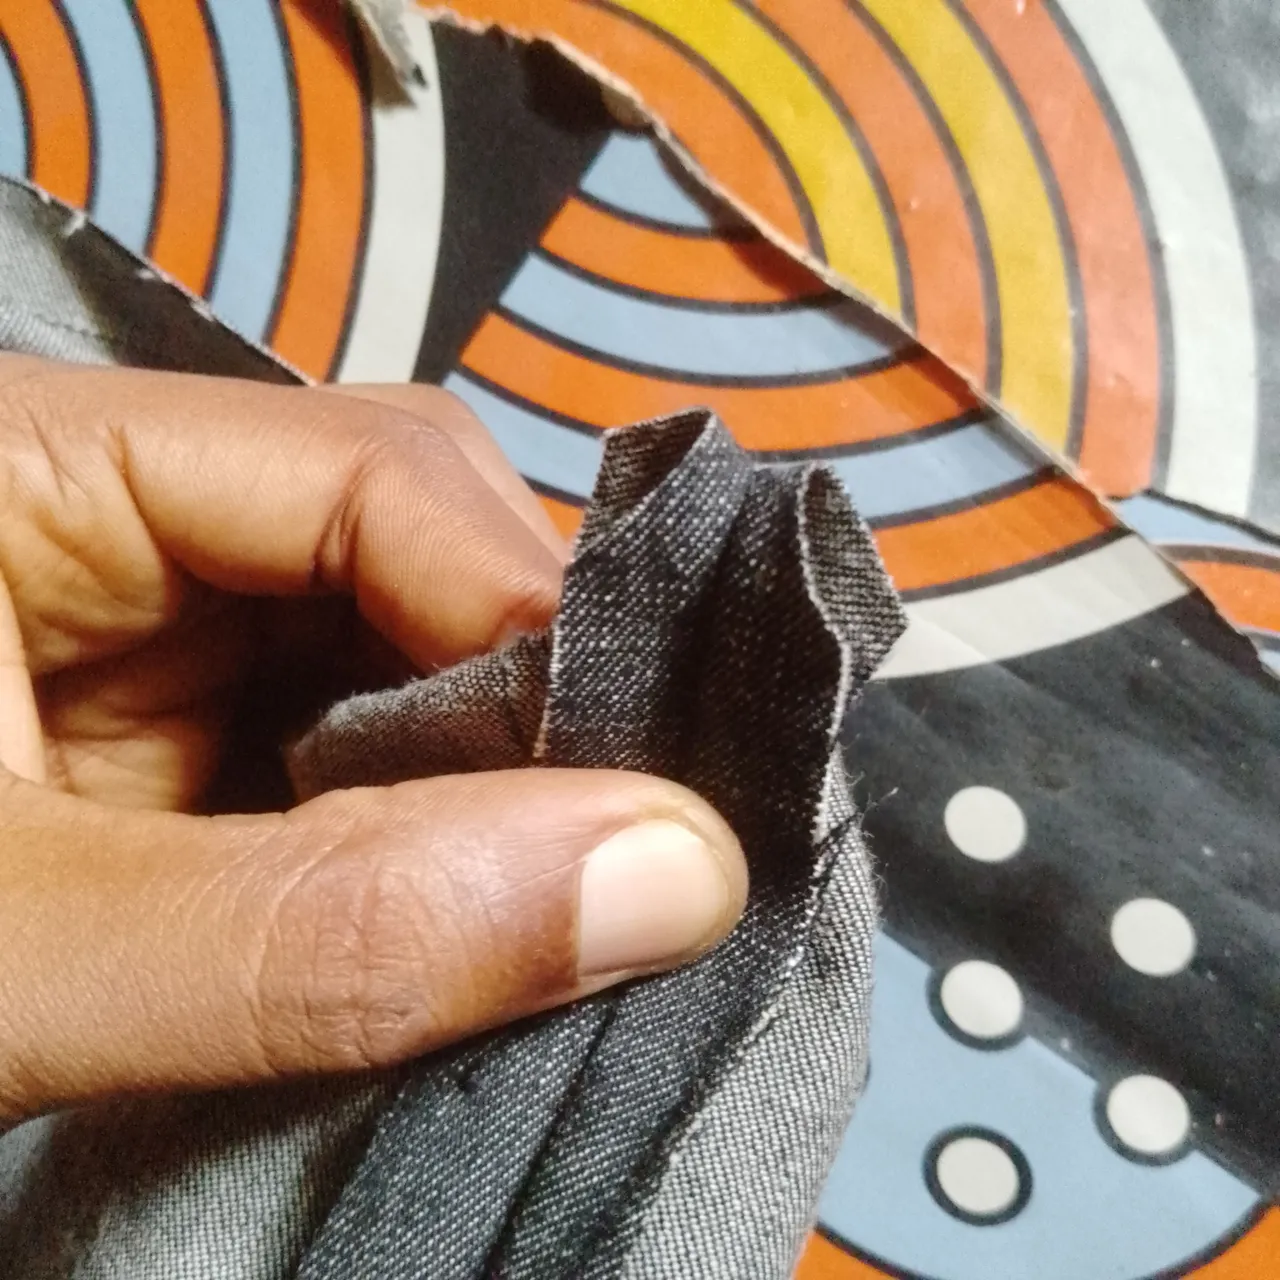
I stitched across and cut off the excess
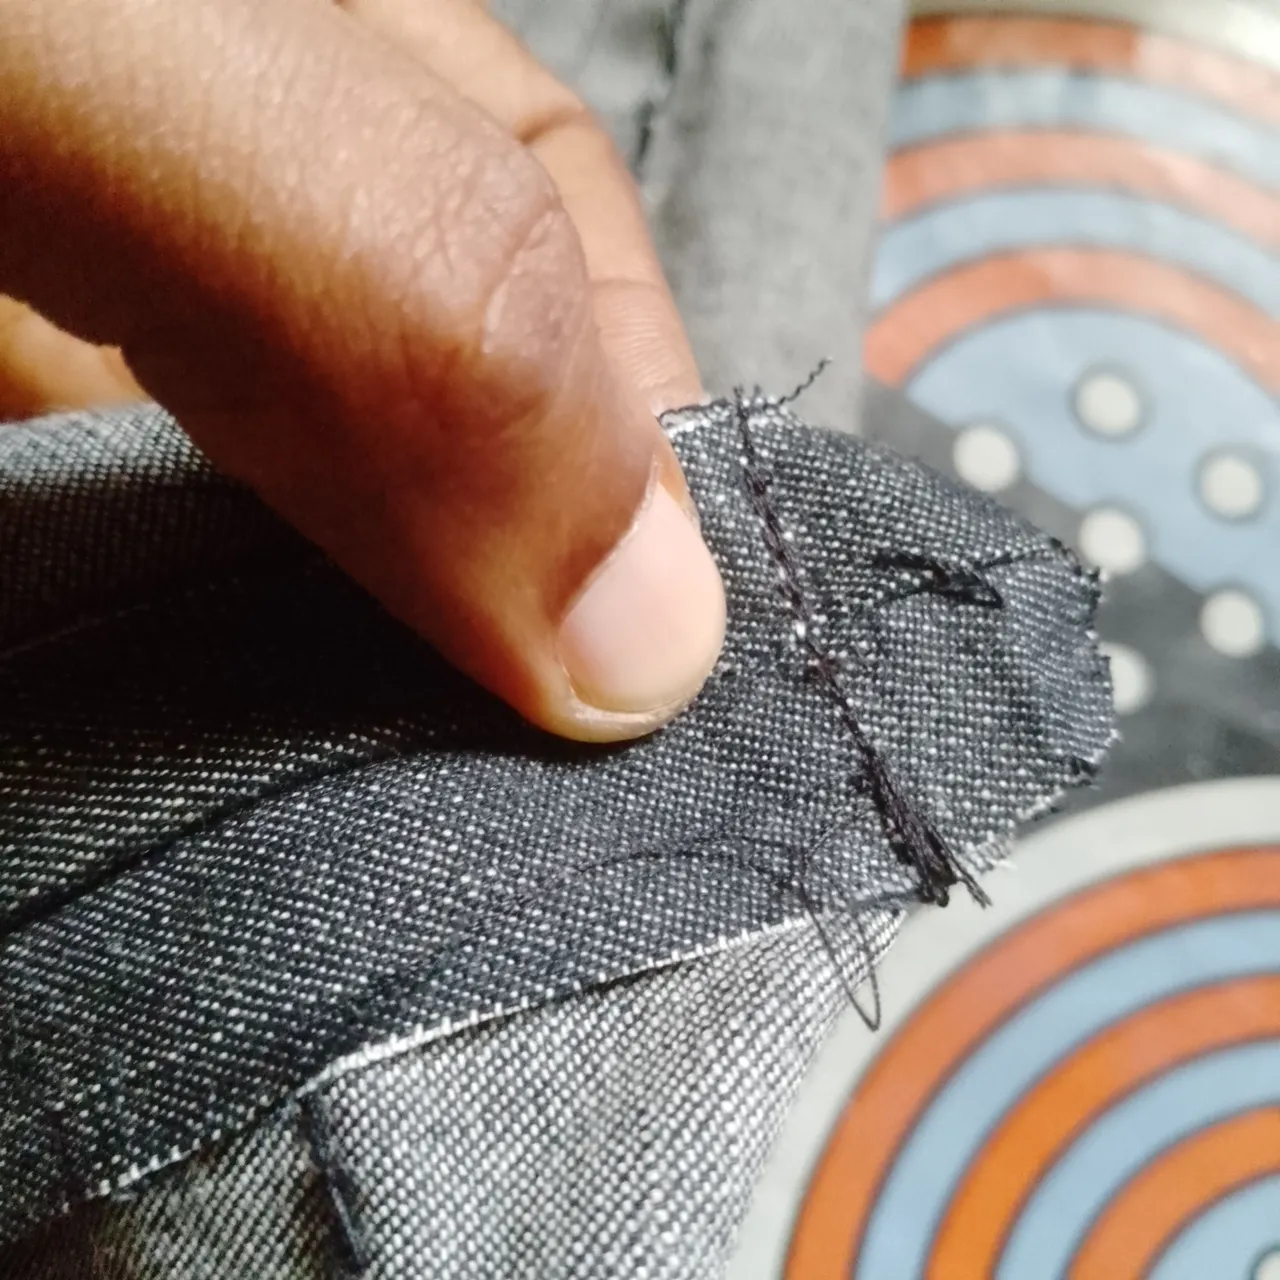
This is the effect at the base after turning inside out.

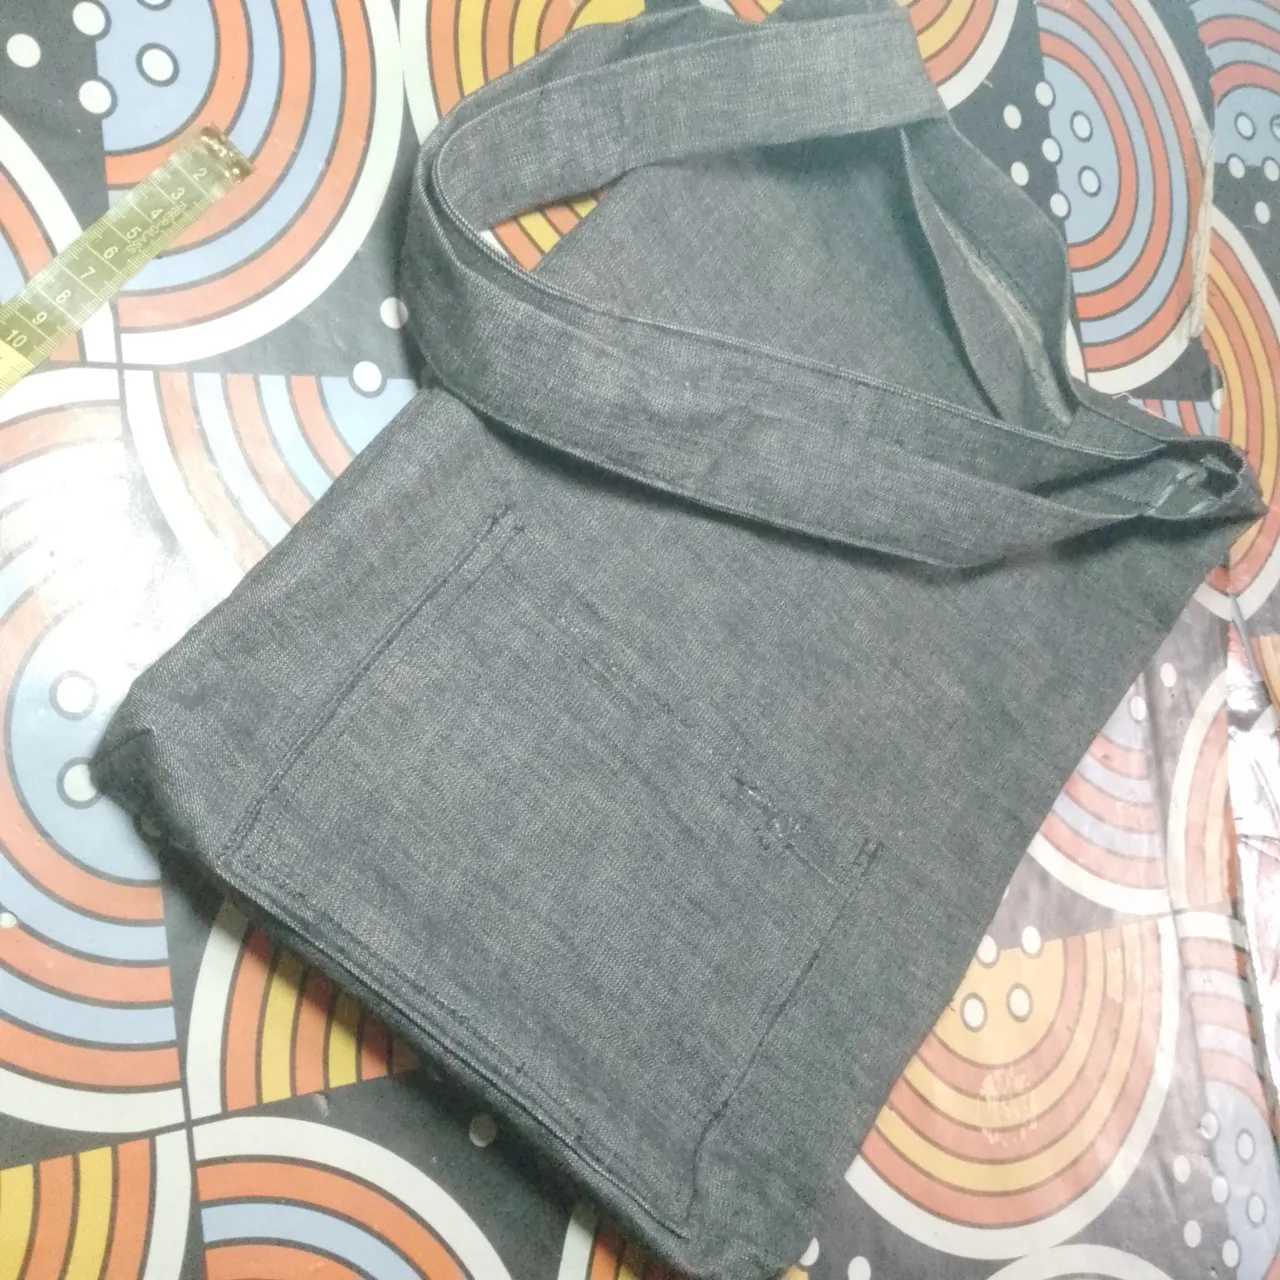
The final outcome
My sister is yet to see the tote bag because I took the fabric with me back to my place. I sure can't wait to see her reaction at the sight of the bag.
Thanks for reading through.
All pictures are mine