Hello my hive blog family members i hope you all are fine. For the last month I have been busy with my life sorting out some of my personal life issues. But now once again I am back here to share another crochet crafting of mine with you all. This time I made a cover for tissue box by means of crocheting.
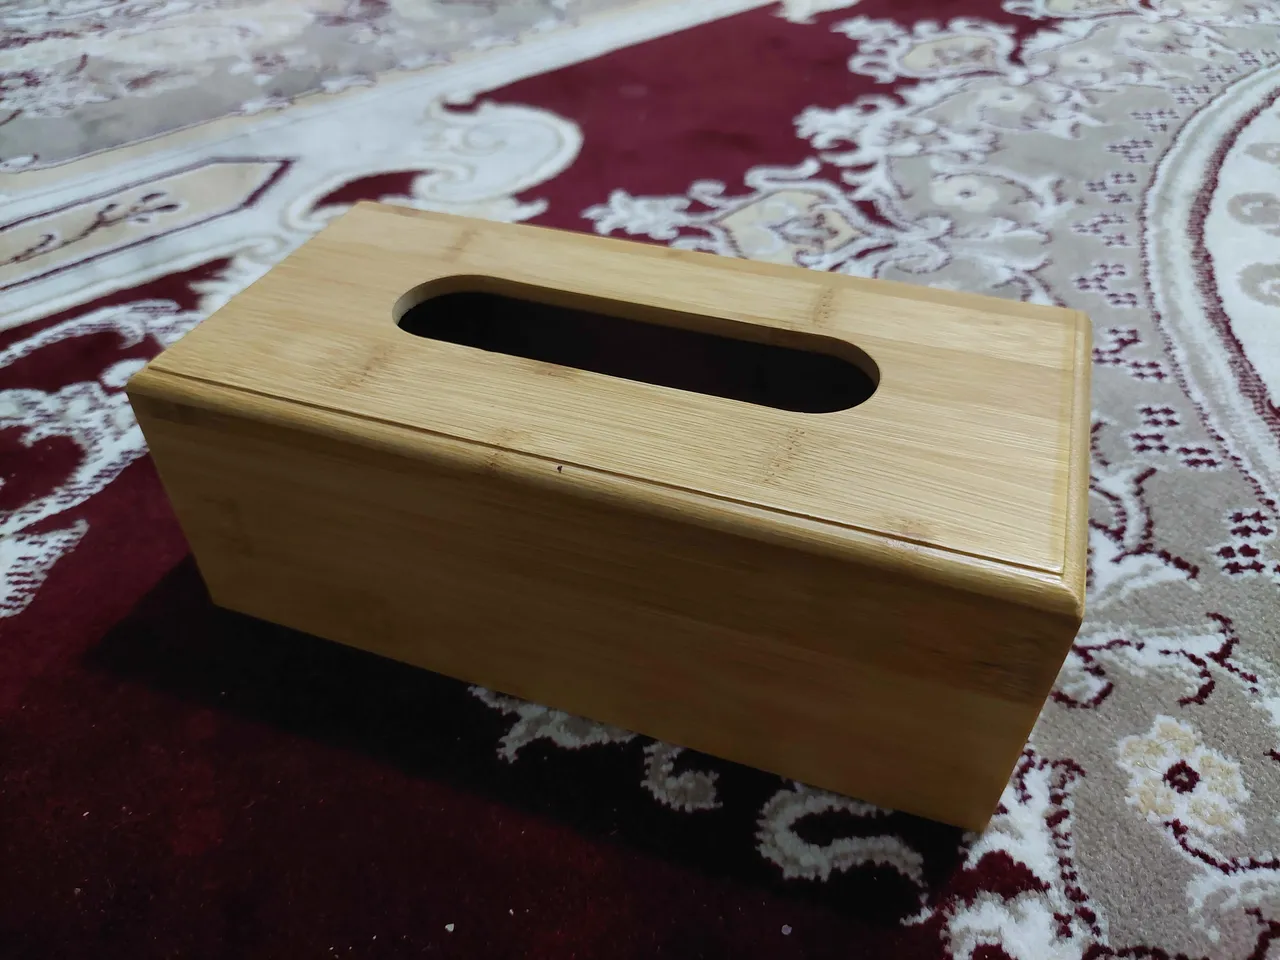
But this time it was a bit difficult as compared to my other projects. I bought this tissue box few months ago but it looked boring so I decided to make a beautiful flowerish themed cover for it. I used 2 coloured yarns one is orange and the other one is cyan. Now I am gonna share with you all the step by step process of making the cover. Here is the pic of how it looked without cover.
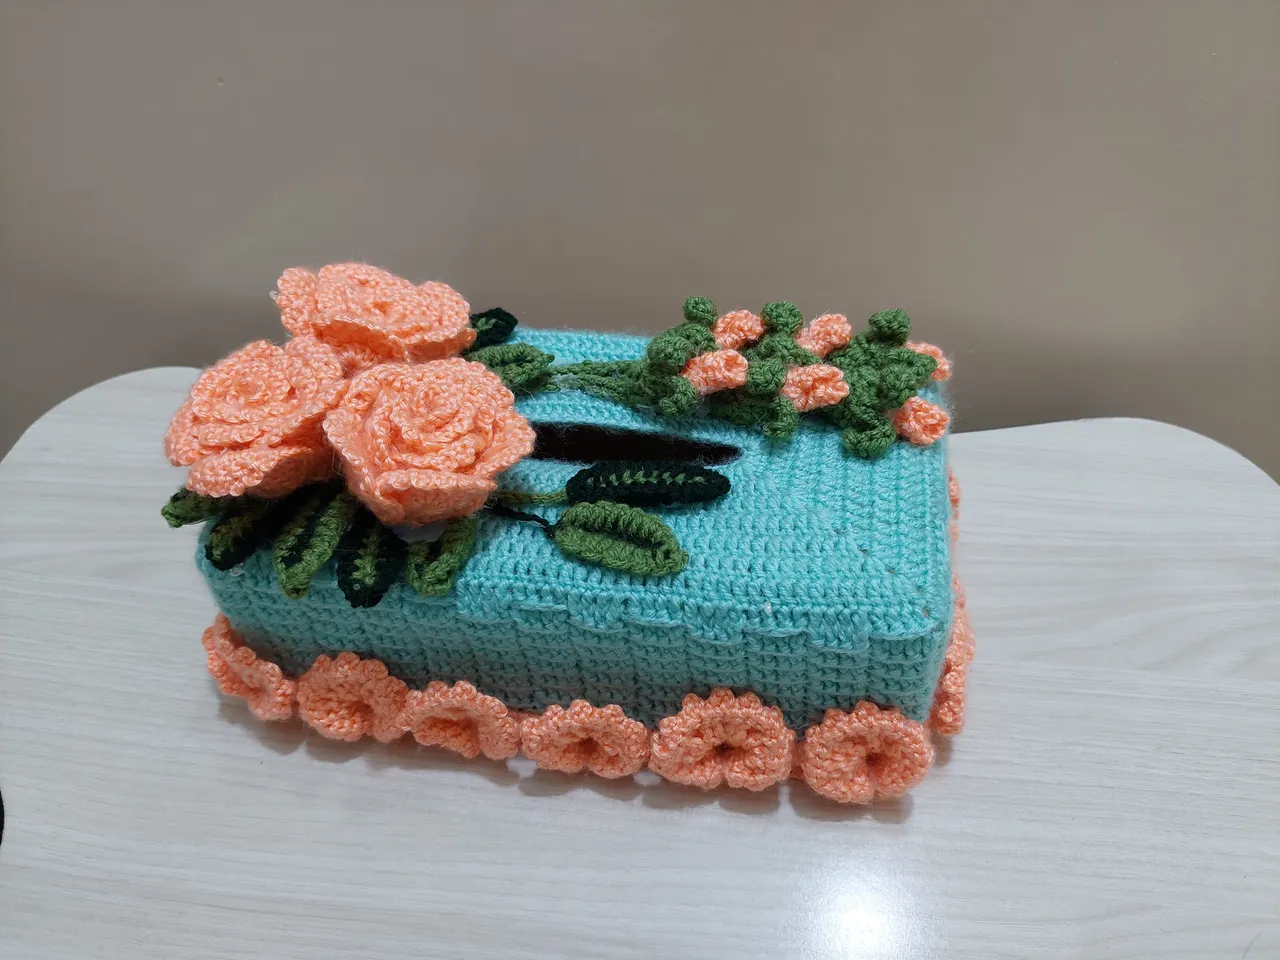
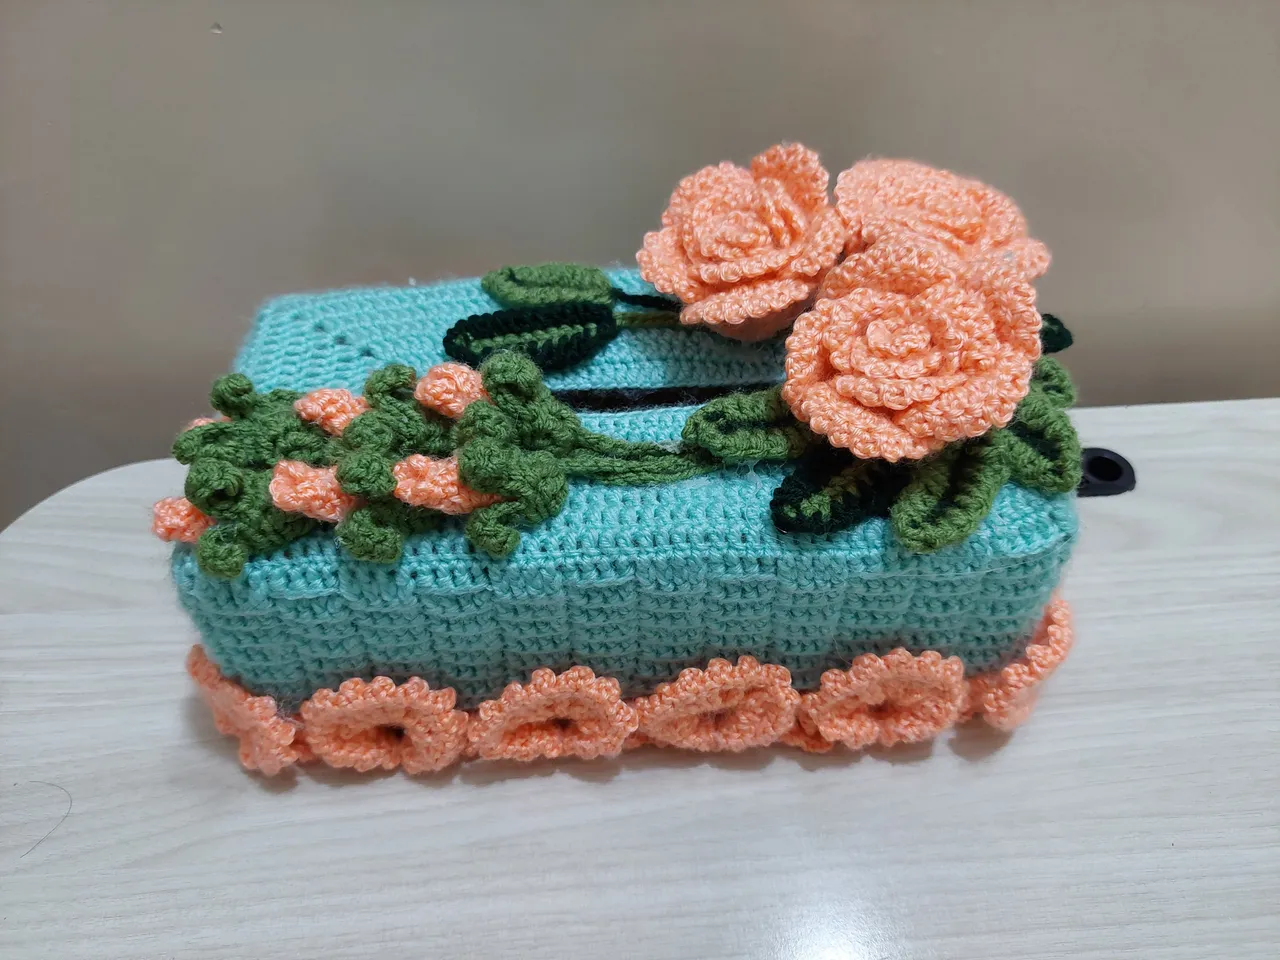
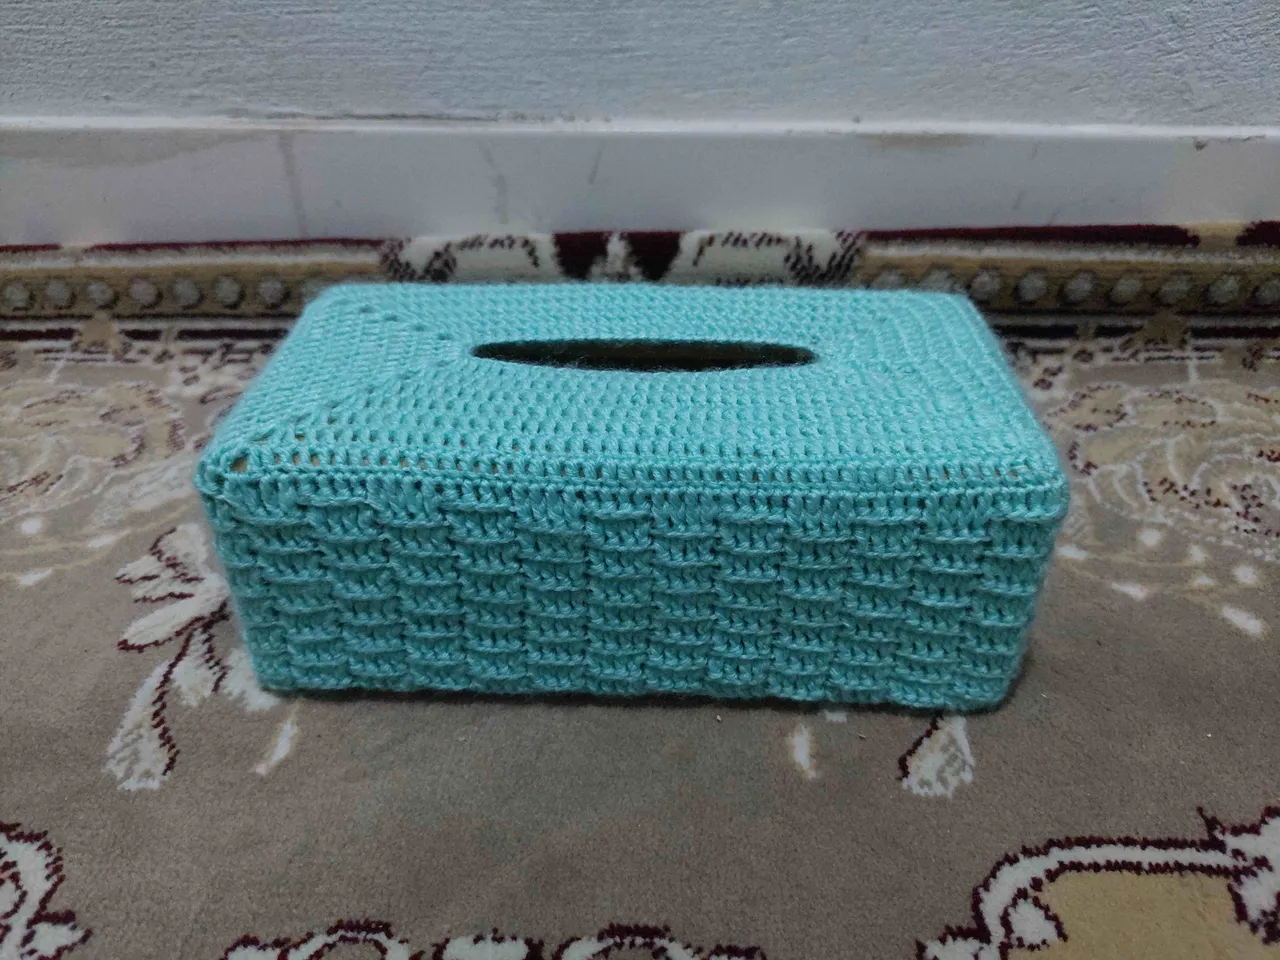
And here is the final result picture of it.

Step by Step process with pictures.
The first step was to make the top side cover. And this was the easiest step.
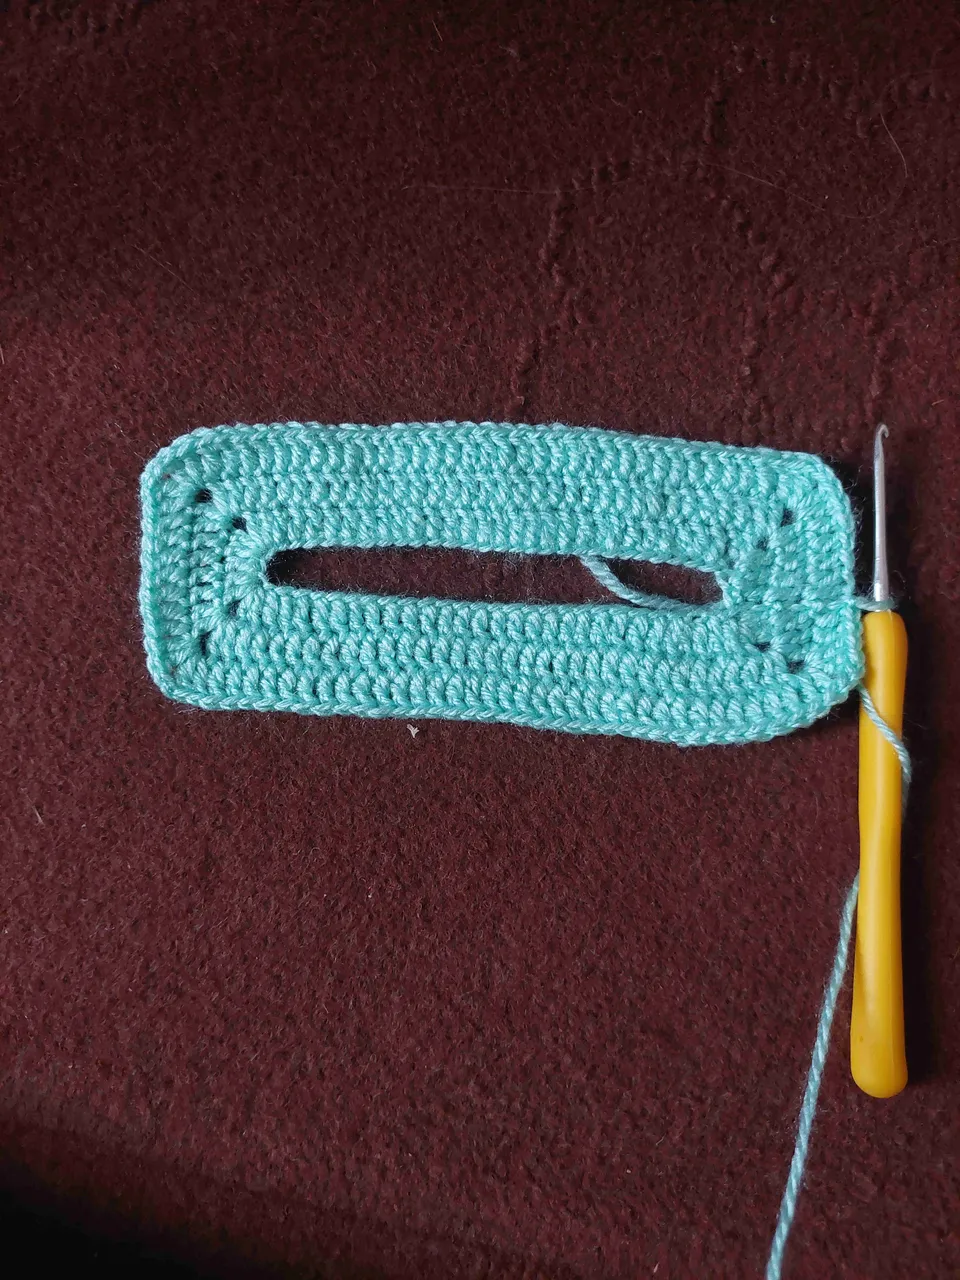
After this I had to broaden the boundaries of it.
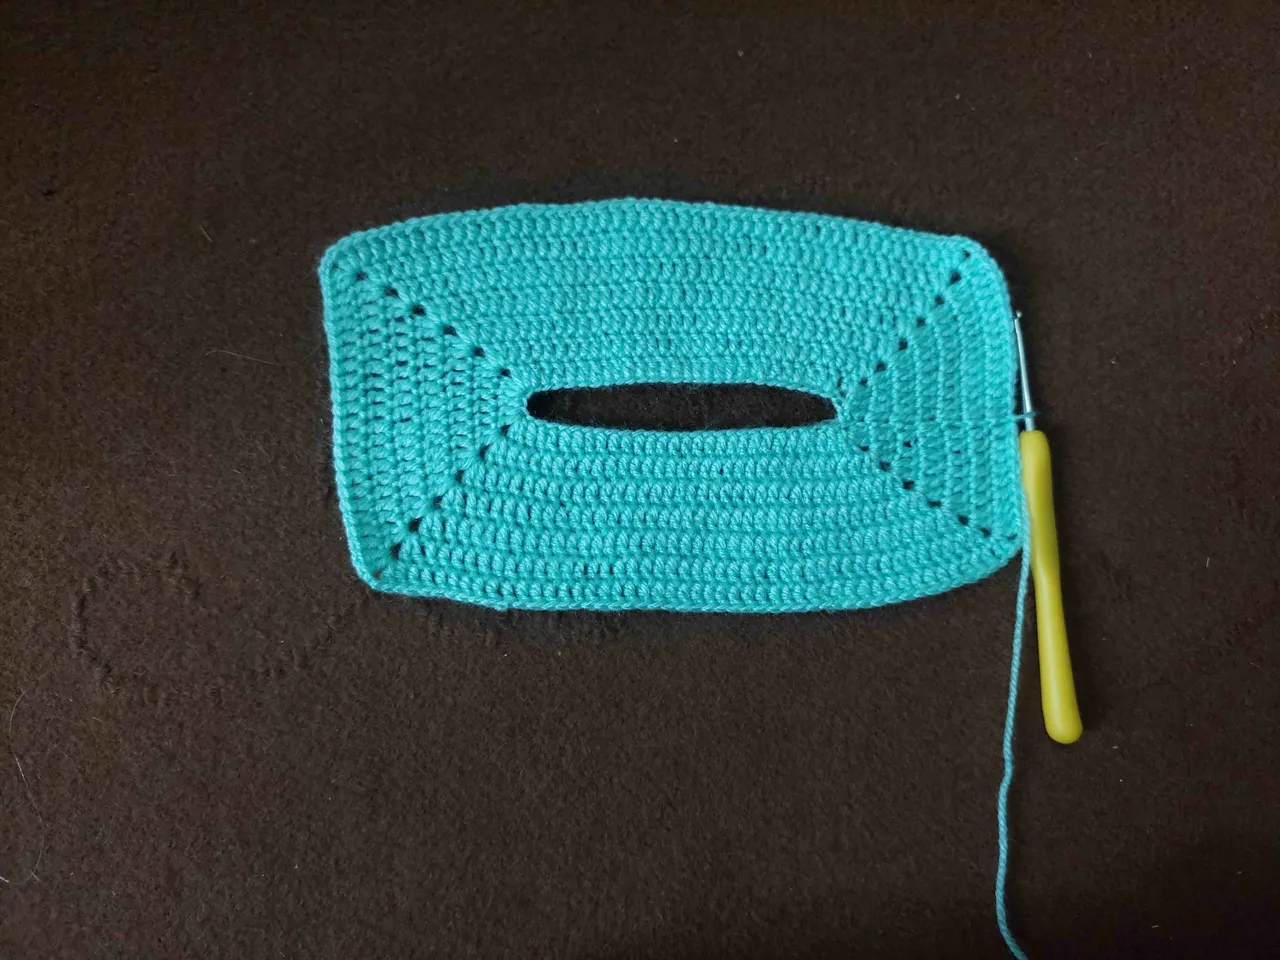
After making the boundaries, the next part was the tranformation from the rectangle to a large rectangular prism shape as you can see in the picture below. This step was a bit difficult because it has to be aligned in shape and I managed to do it properly and neatly.

The next step was to make a ropol ropol design around the bottom of the retangular prism of the cover to make it look beautiful. And for this ropol ropol part I used orange color and it turns out stunning in the combination with cyan.
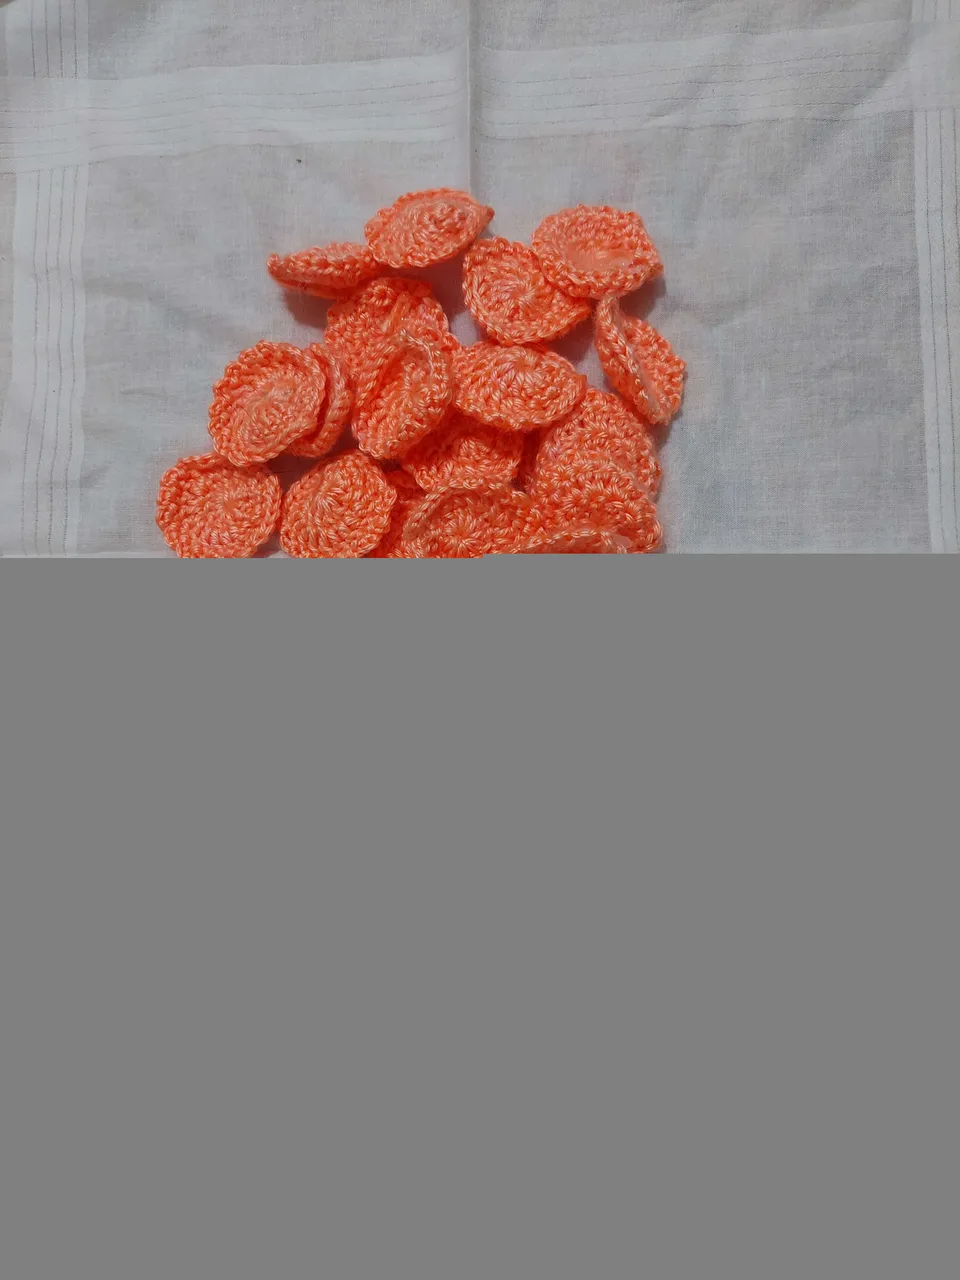
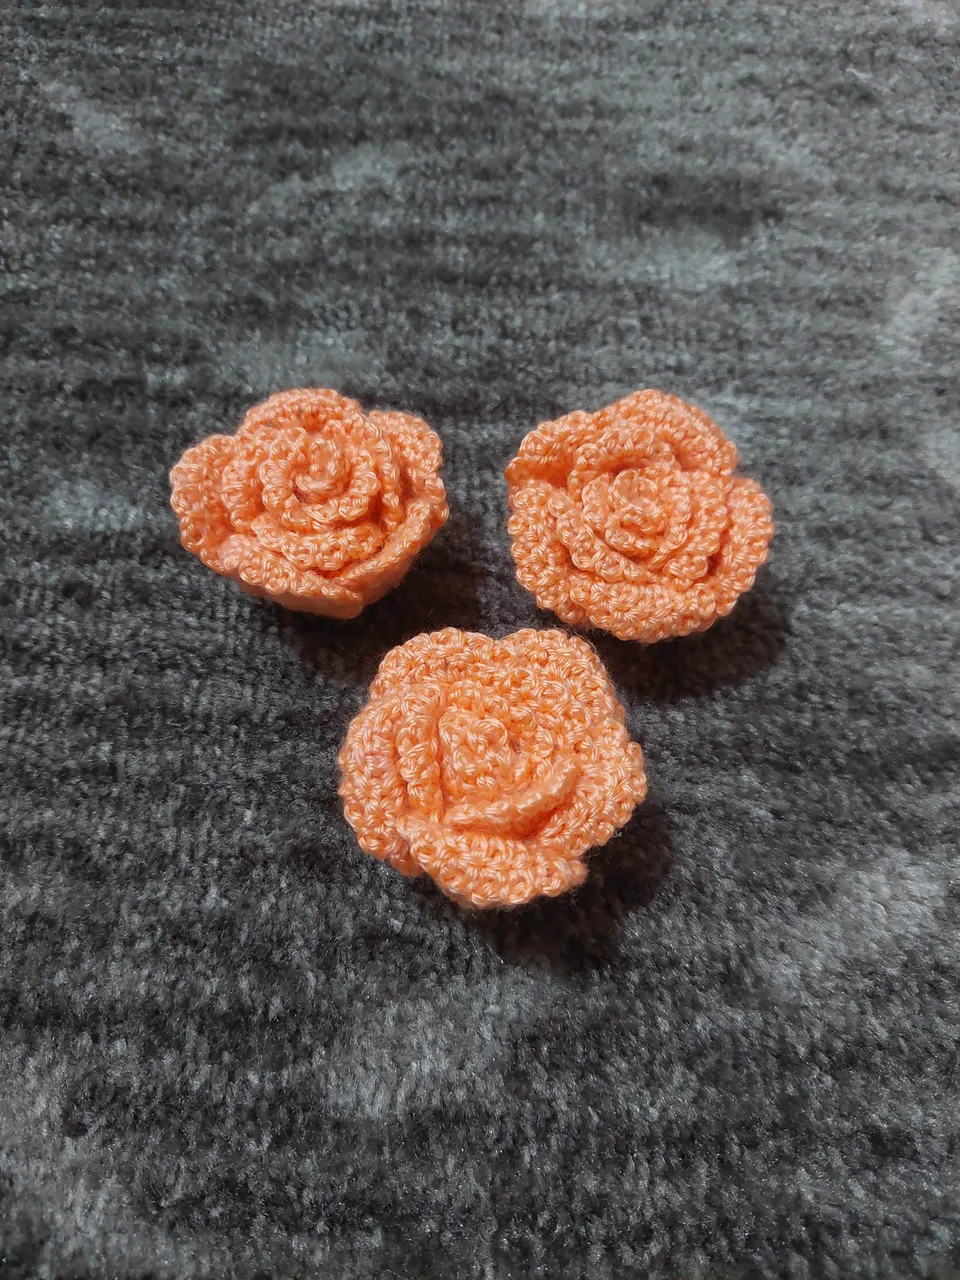
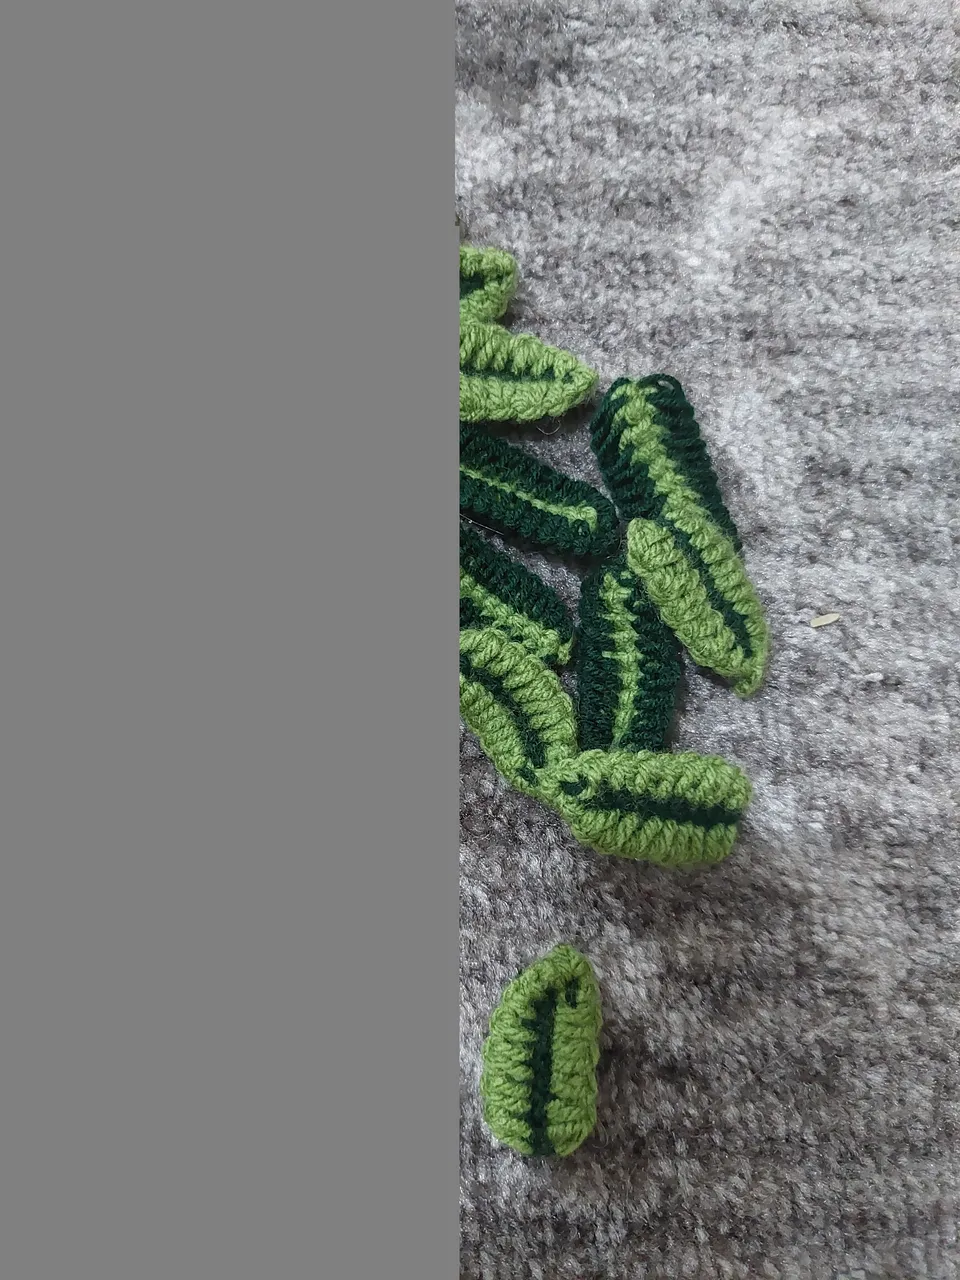
In order to make it look even more beautiful I made some flowers as well and attached it to the top side of the cover. I selected orange color for flowers and light and dark green for leaves , as you can see below in the picture.
Its petals for making the flowers
Its leaves

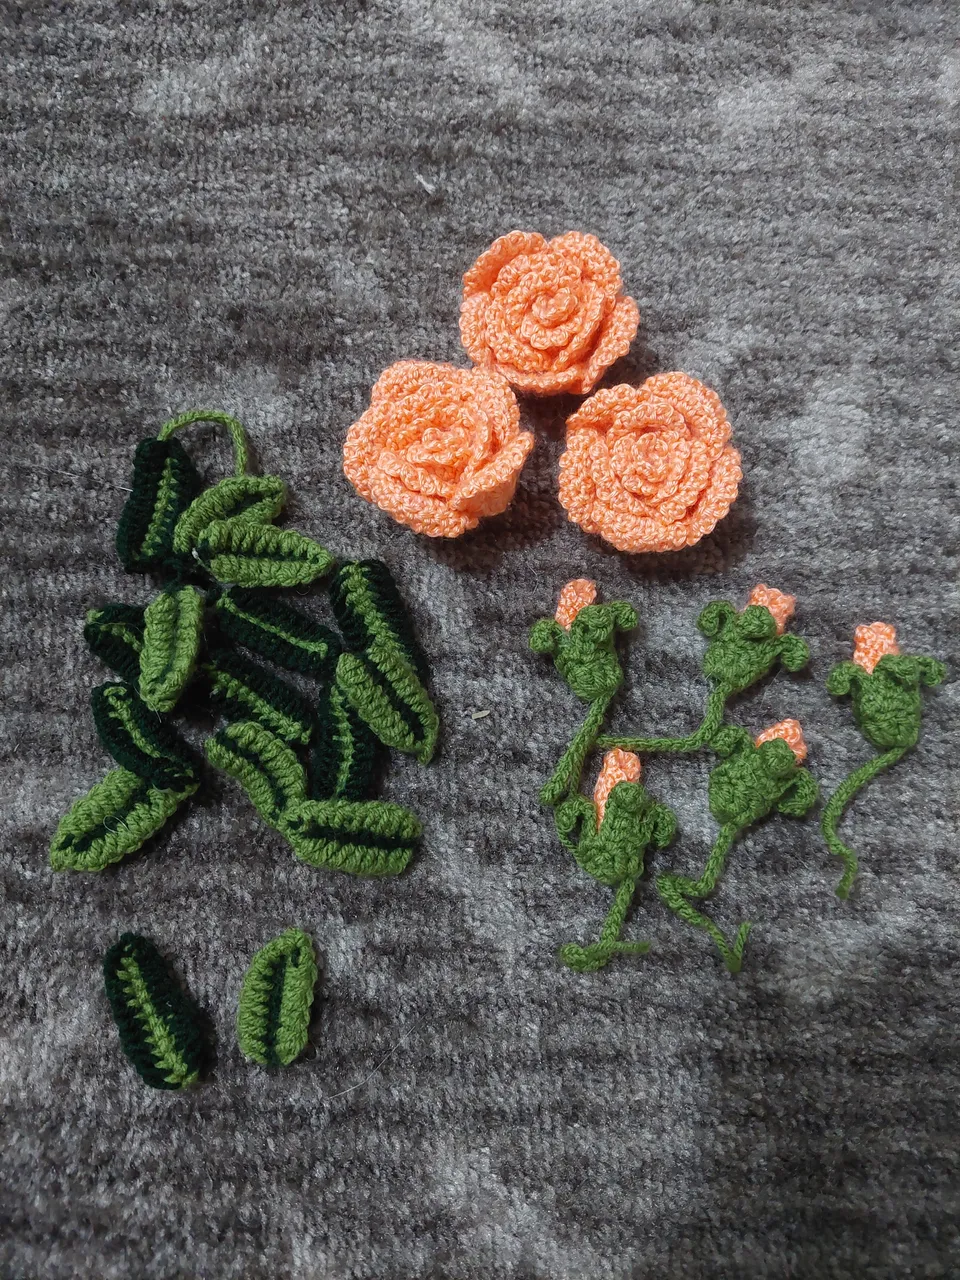
As the flowers and leaves part are completed so the next part was to attach them to the top part of the cover with the help of glue gun. This is the most easy and pleasing part to do.
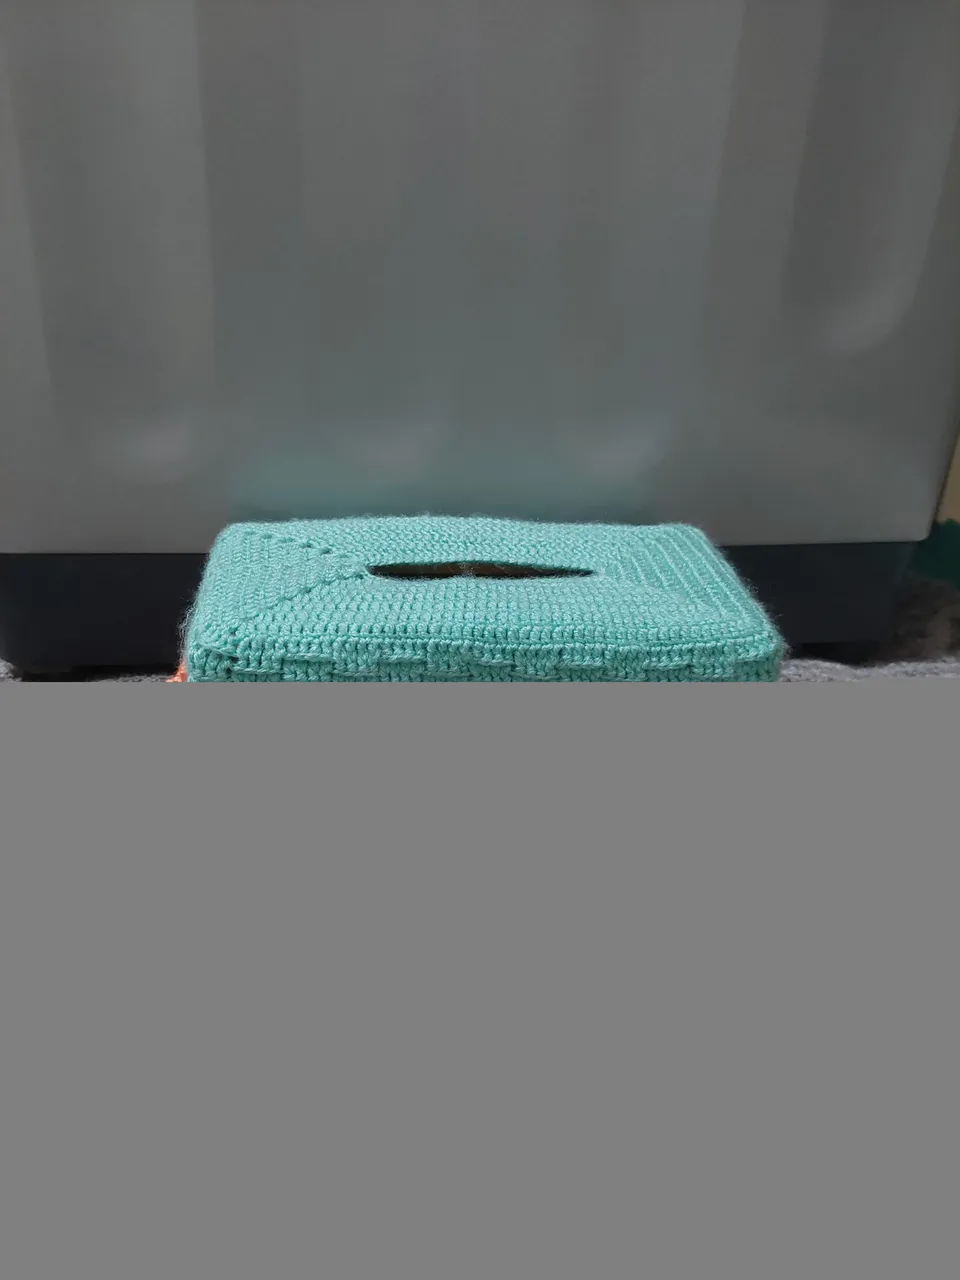
The final picture of the cover.