Hello needlewokers
Greetings to you all needlewokers and beautiful people out there, I hope you are all doing great, for me, it has been a lovely day here and I wish a fruitful day at all times.
My creativity has gone beyond making things for myself alone, as I initially started making different types of pouch and bags for myself, I now make use of every given opportunity to present gift to people around me with what I do and I'm really happy that they all cherish and appreciate my little way of showing my love and appreciation towards them, it doesn't really matter how small what you give is or sometimes we think what we what to offer is nothing but the most important thing is that no matter what, try to show love to people around you and you will be surprised at the positive reaction.
I will be sharing with you this little cosmetics pouch I made for my neighbourhood sister (Mercy) for her journey. Mercy will be traveling for 3days and she needed to take some of her cosmetics along with her but there was no place to put them at once before putting it in her traveling bag, she asked if I have any to give but unfortunately, the once I have were just for simple makeup items and was just too small, then I volunteered to make a bigger pouch for her to accommodate the things she needed to put inside, that was how I came up with this.
Let's get started with the cutting and sewing process
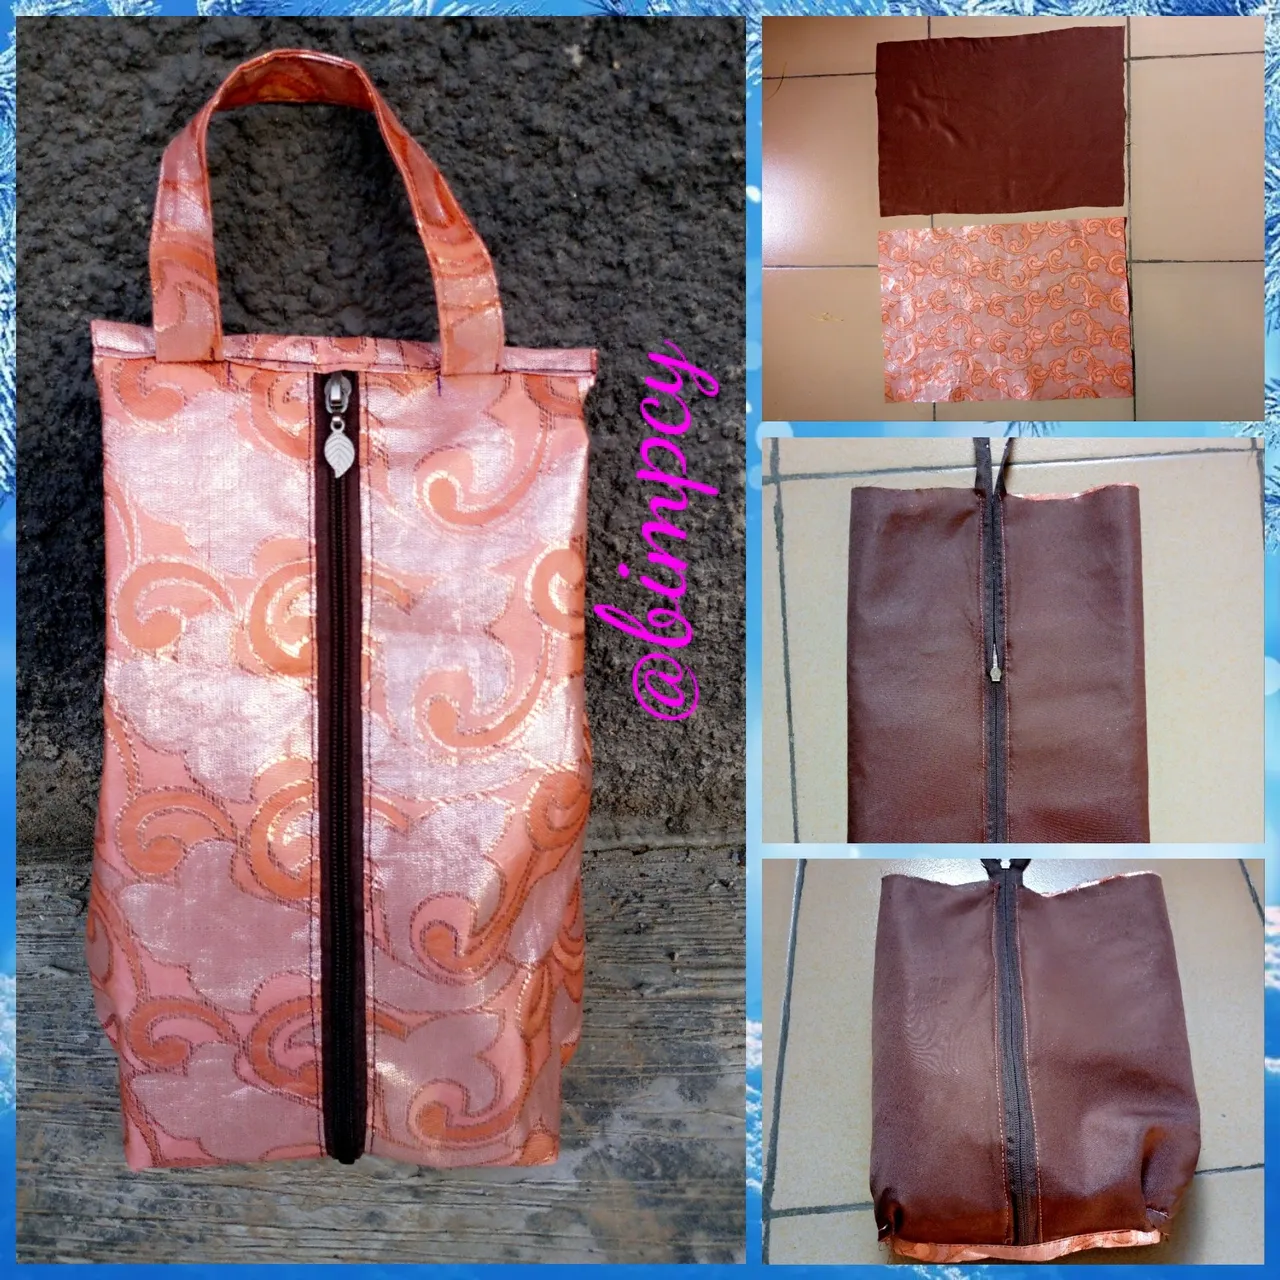
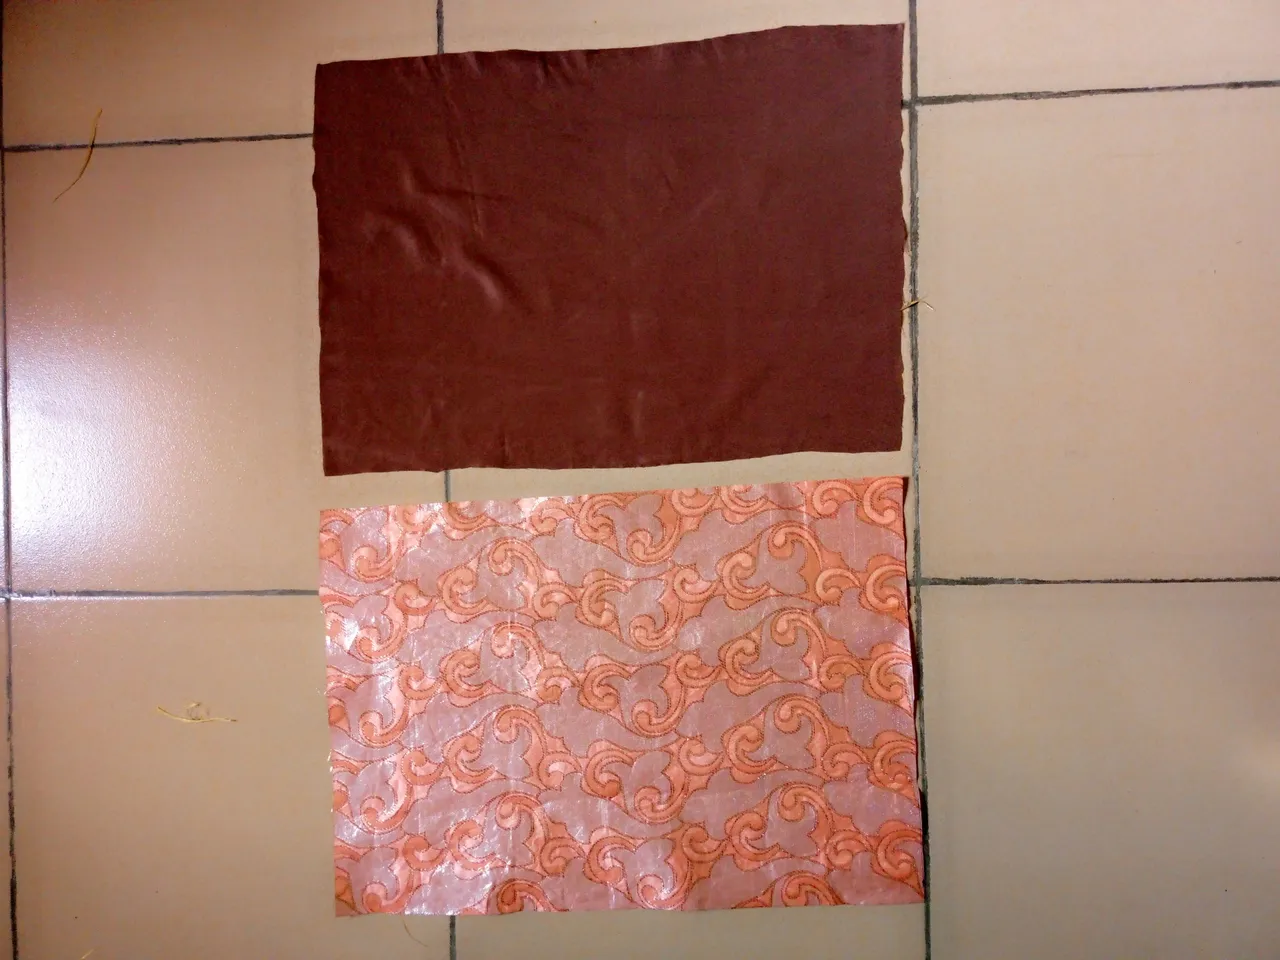
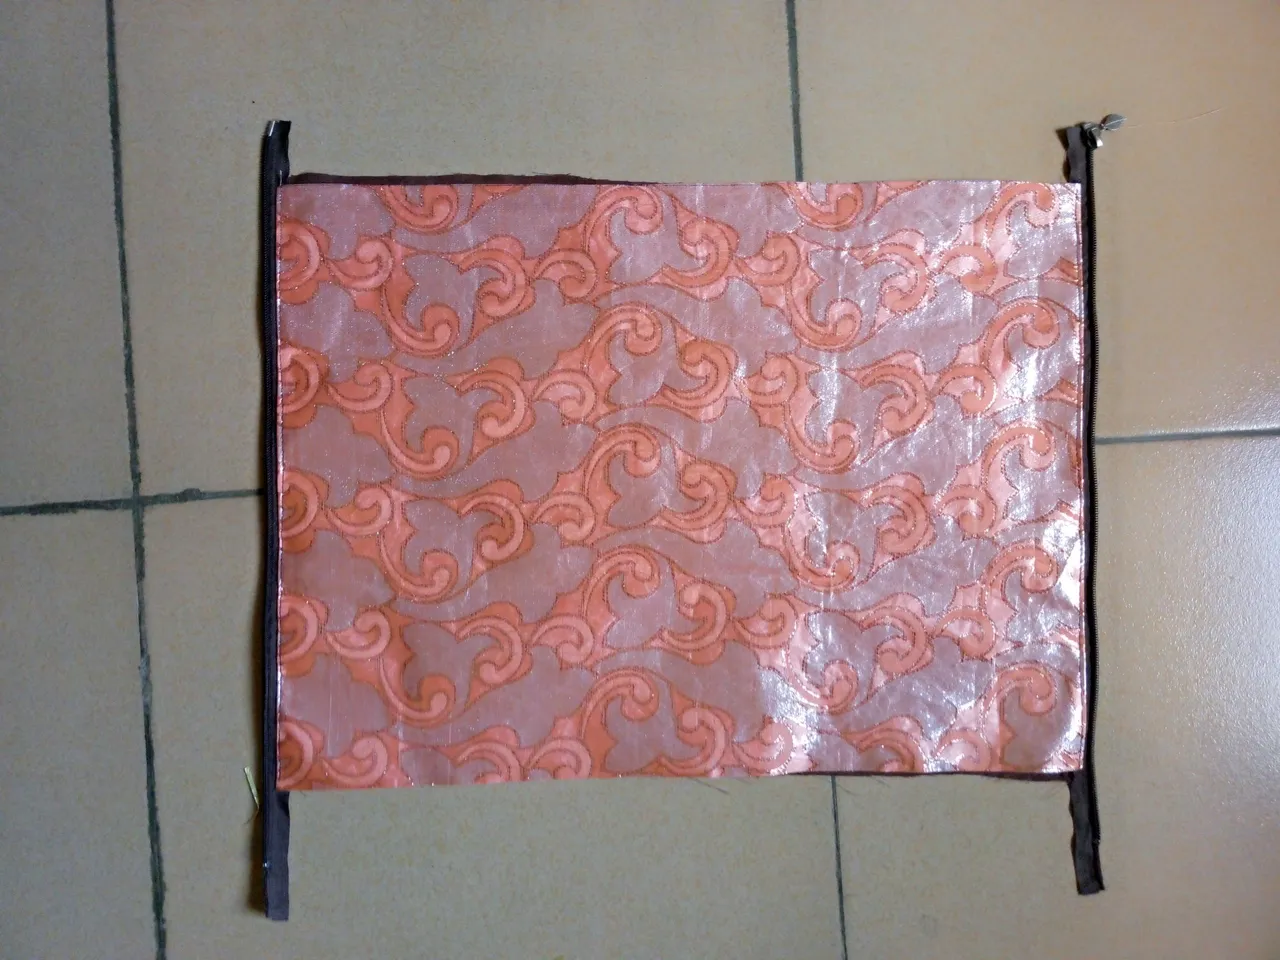
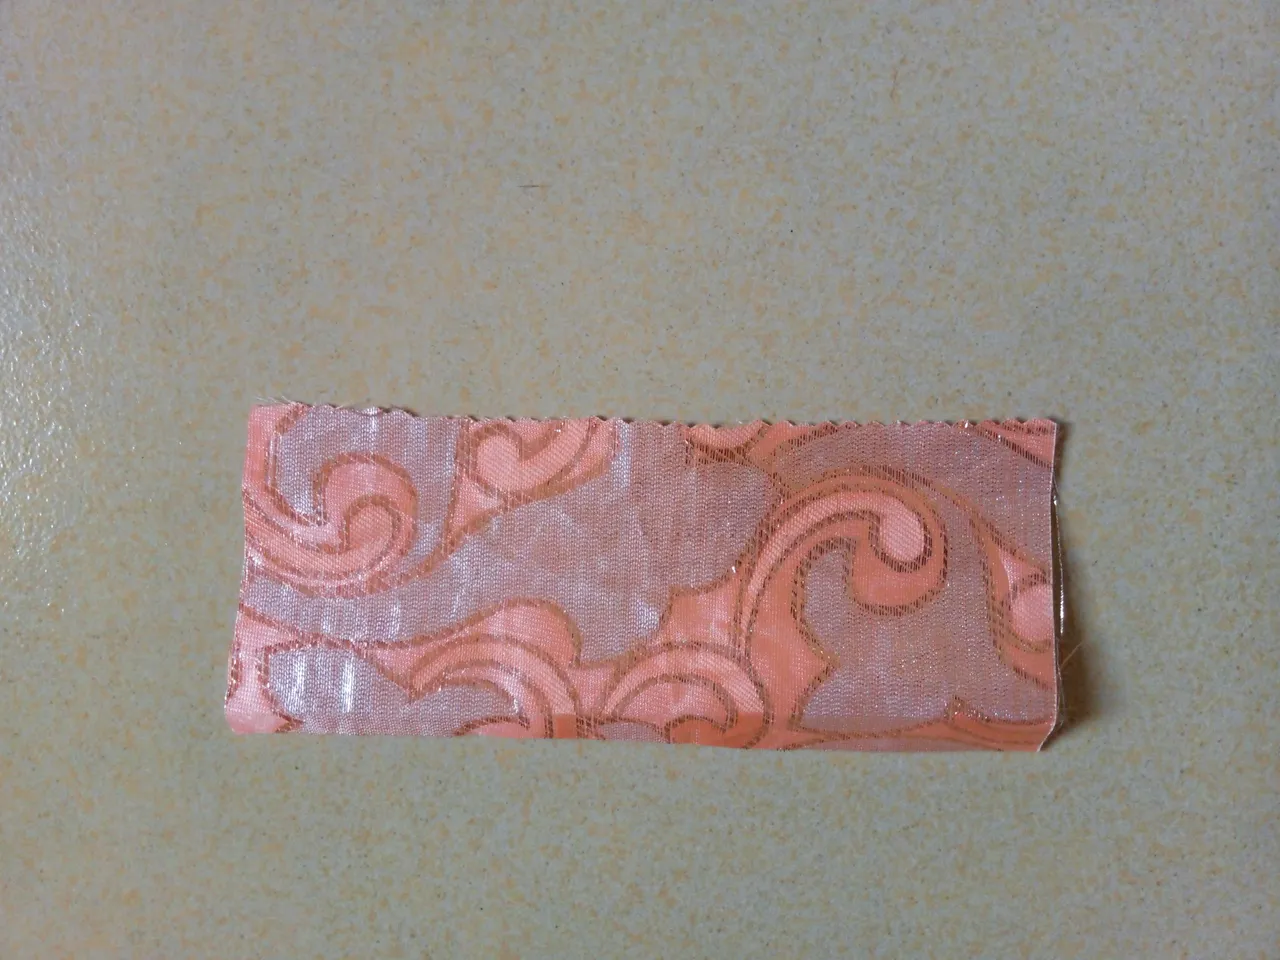
From my leftover pieces of fabric, I cut out 20 x 14" the same was used to cut out the lining I used.
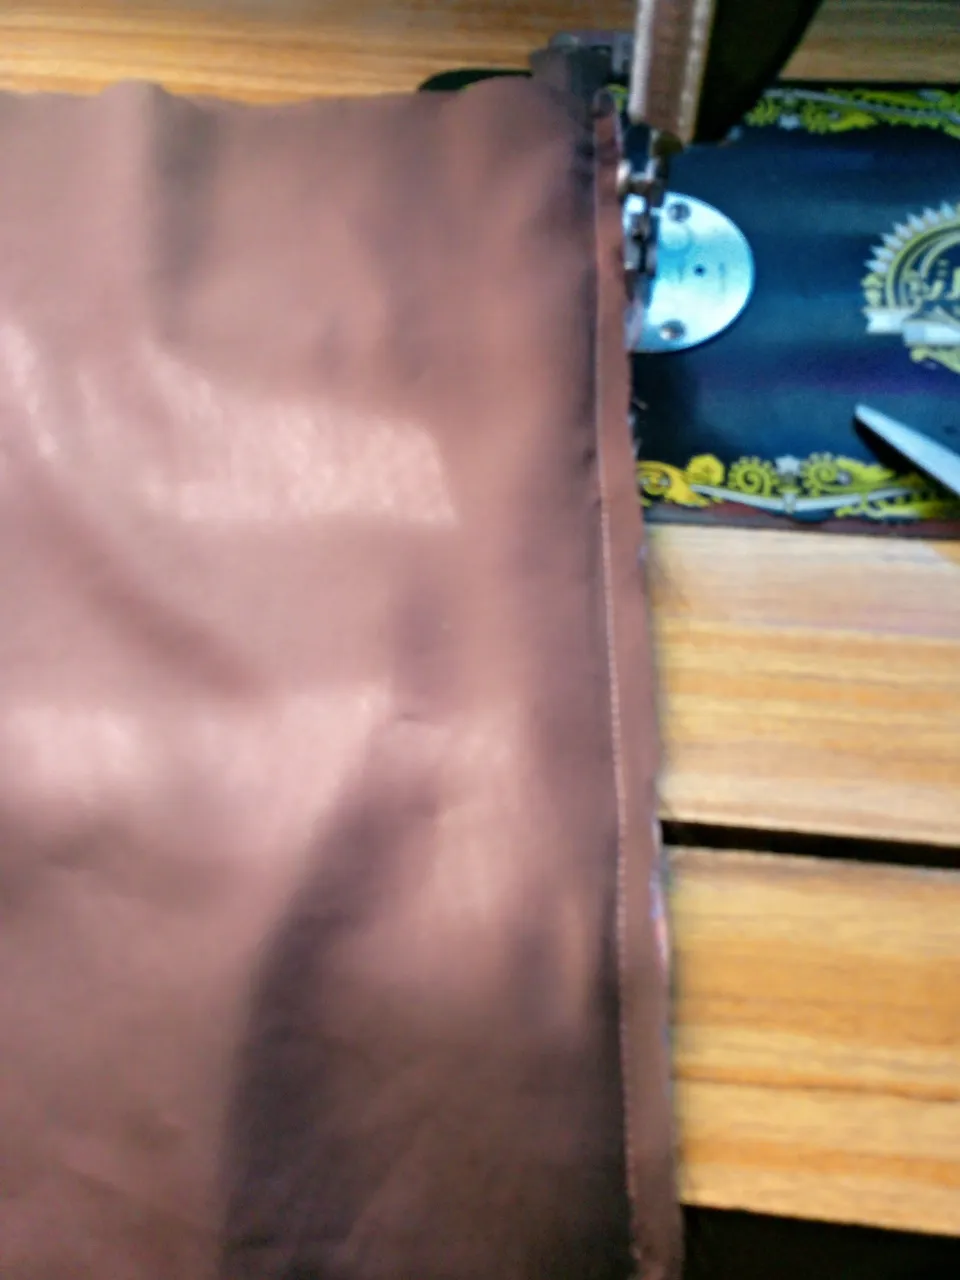
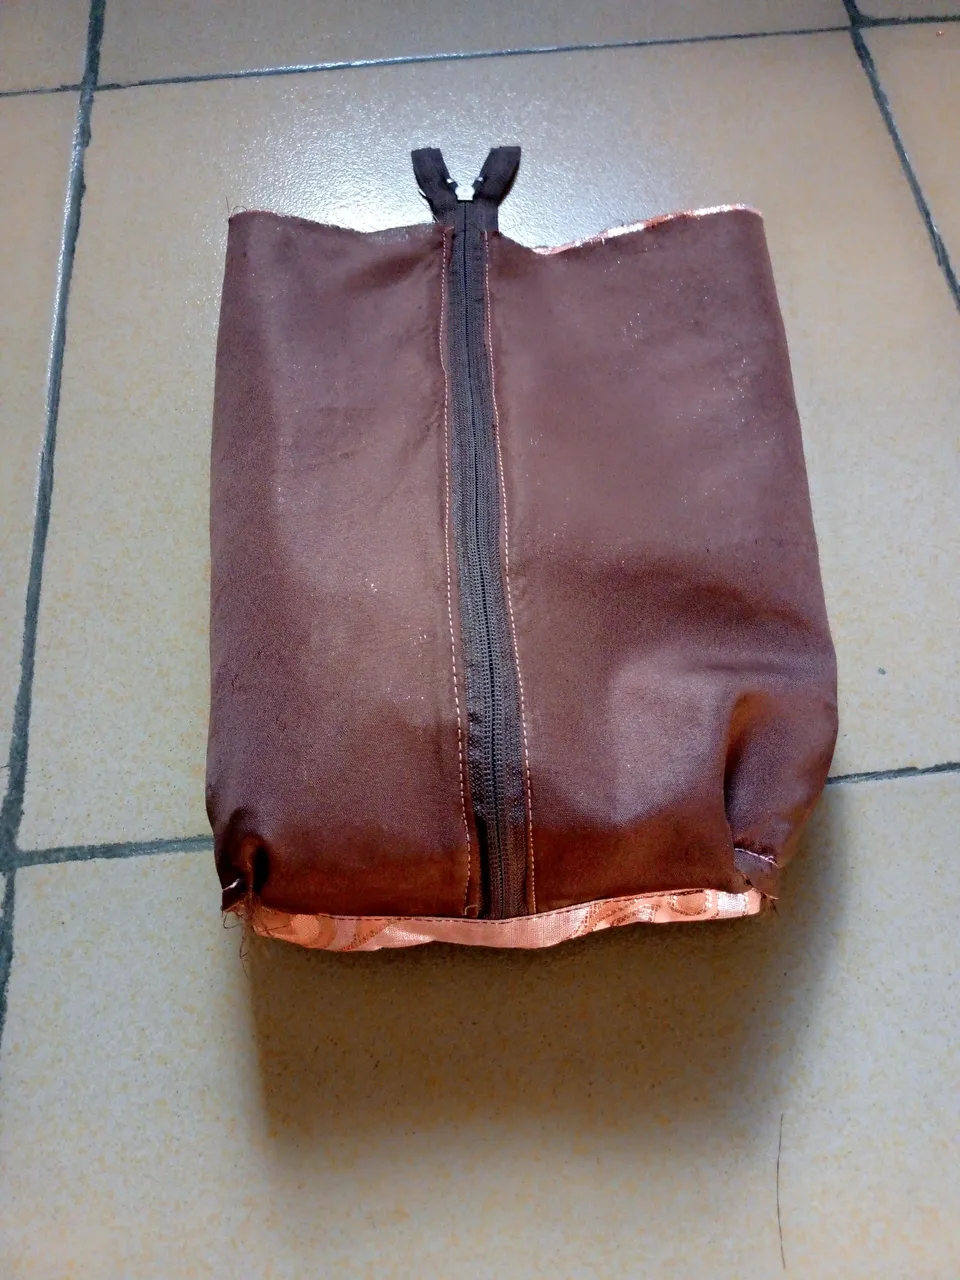
Then I placed my zipper on the main fabric before the lining was placed on the zipper, it was sewn on both sides and top stitched.
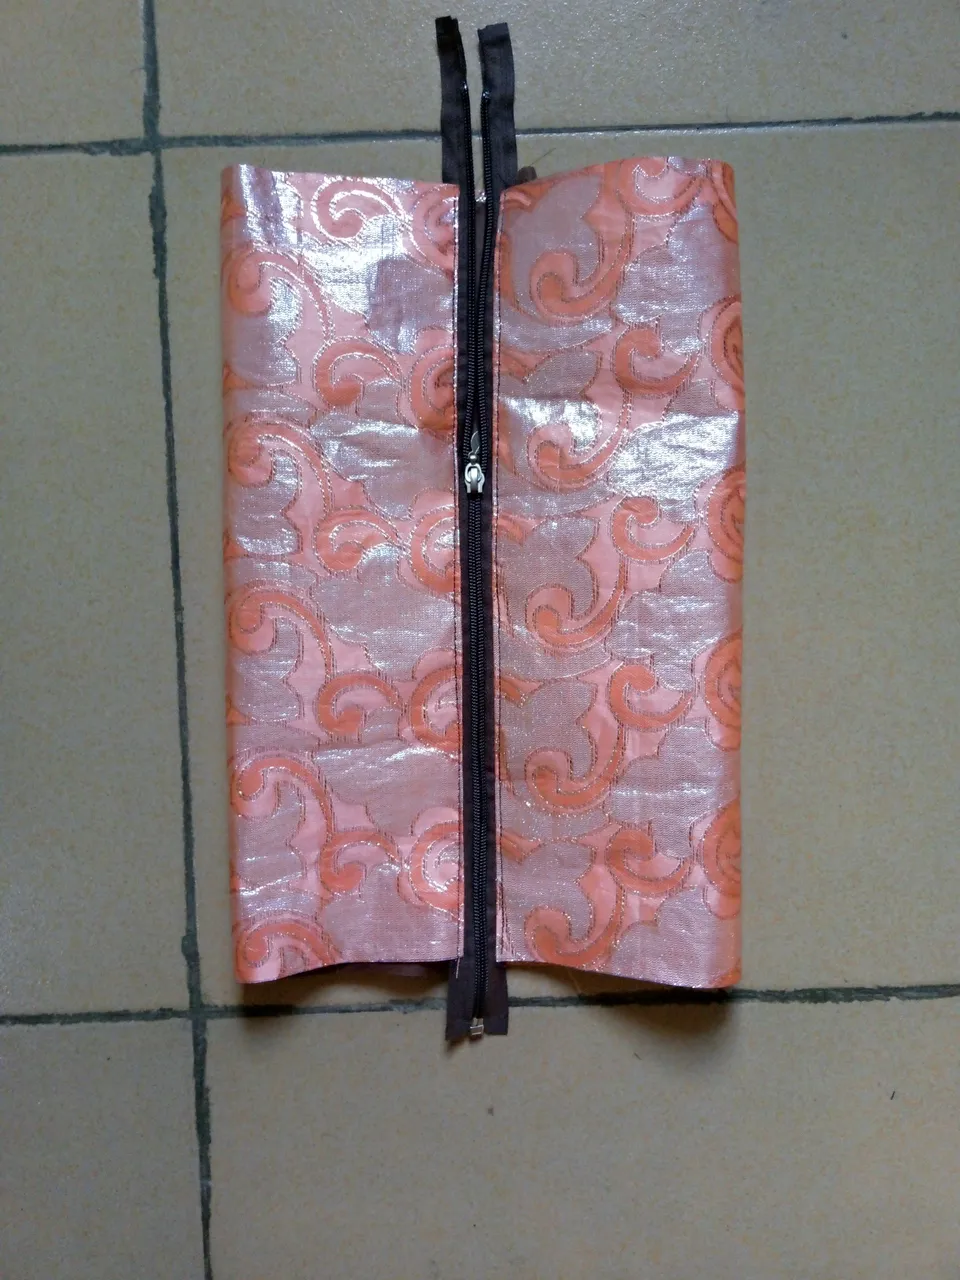
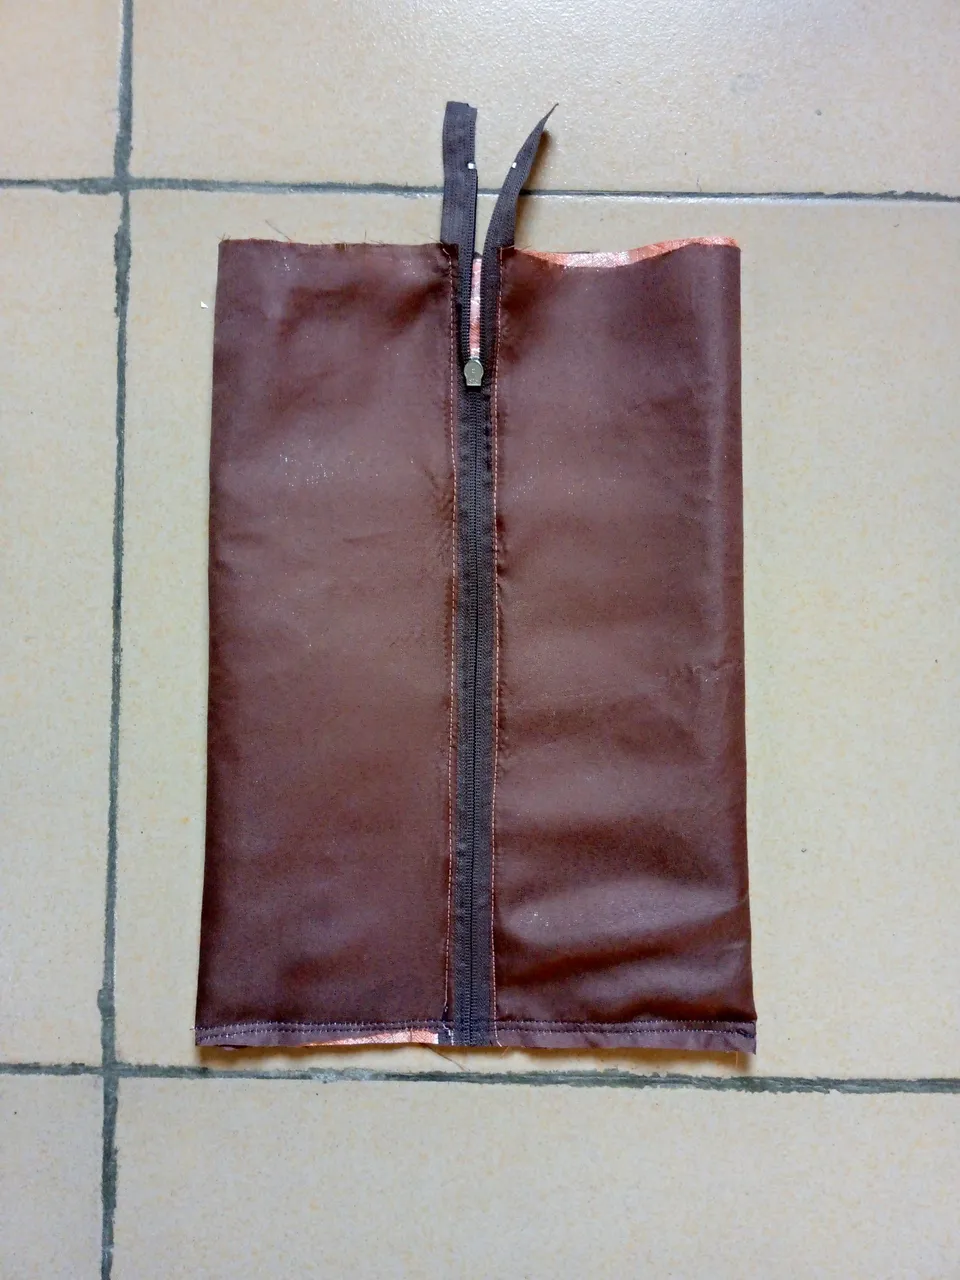
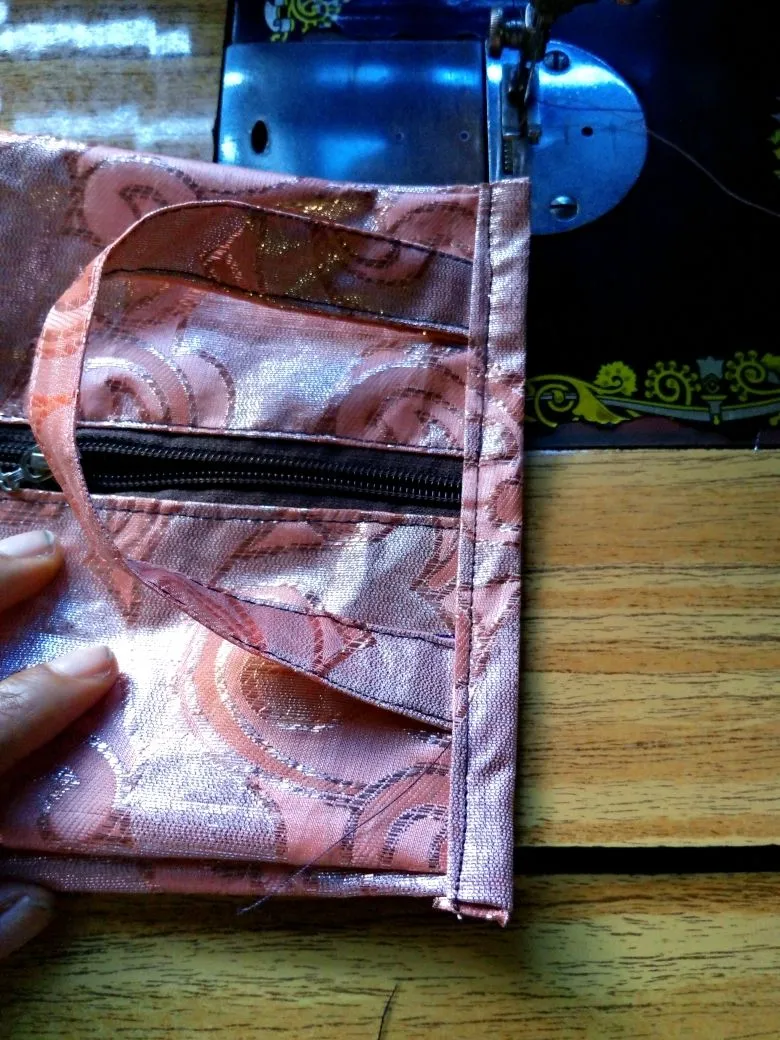
It was zipped together on the right side before being turned to the wrong side with the zipper at the middle, then I sew one of the sides together where the zipper head will be when opened.
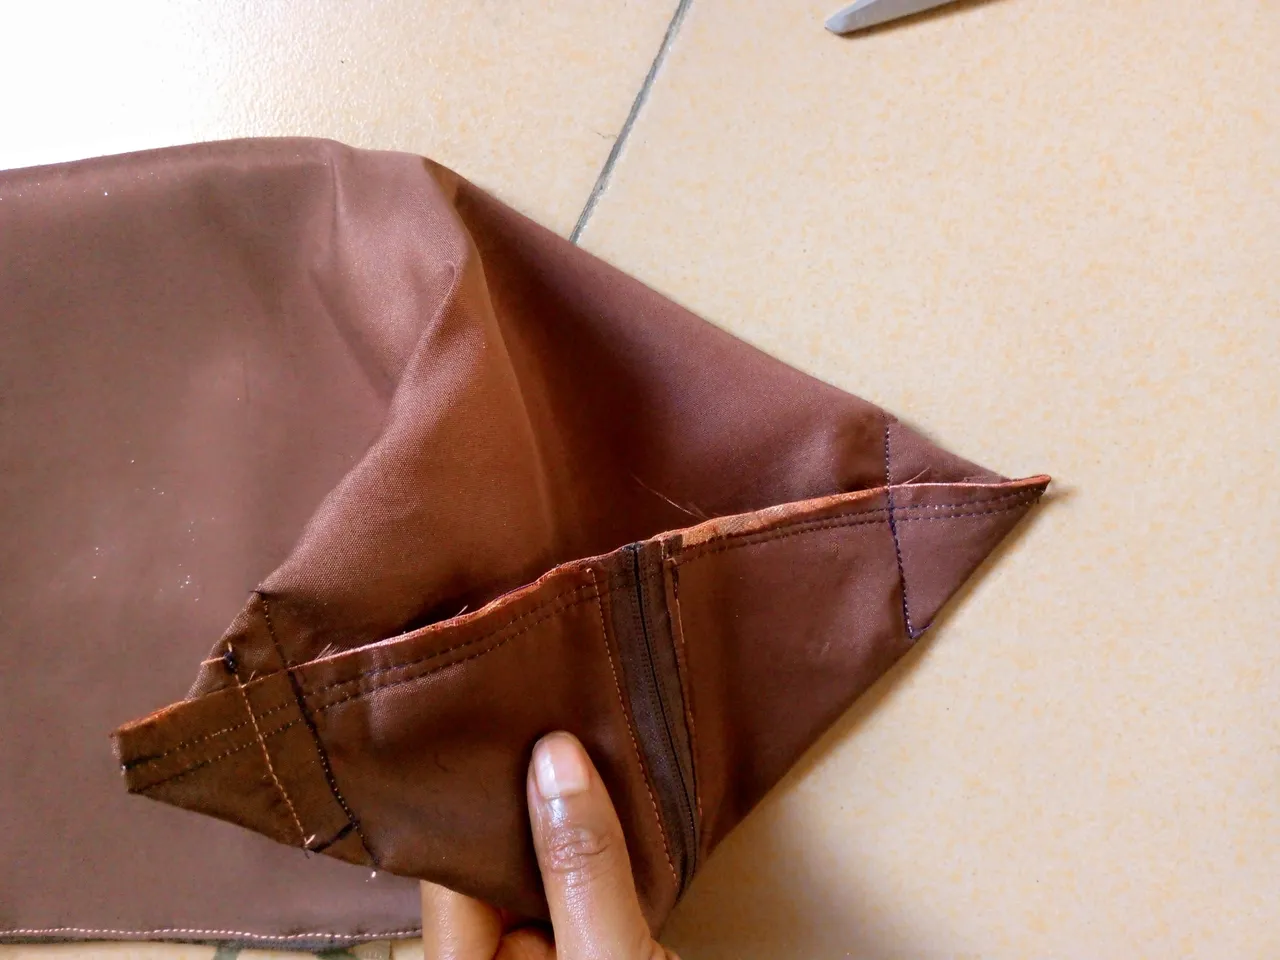
On the edges, I marked 1.5" sew it in an angle shape and cut off the excess.
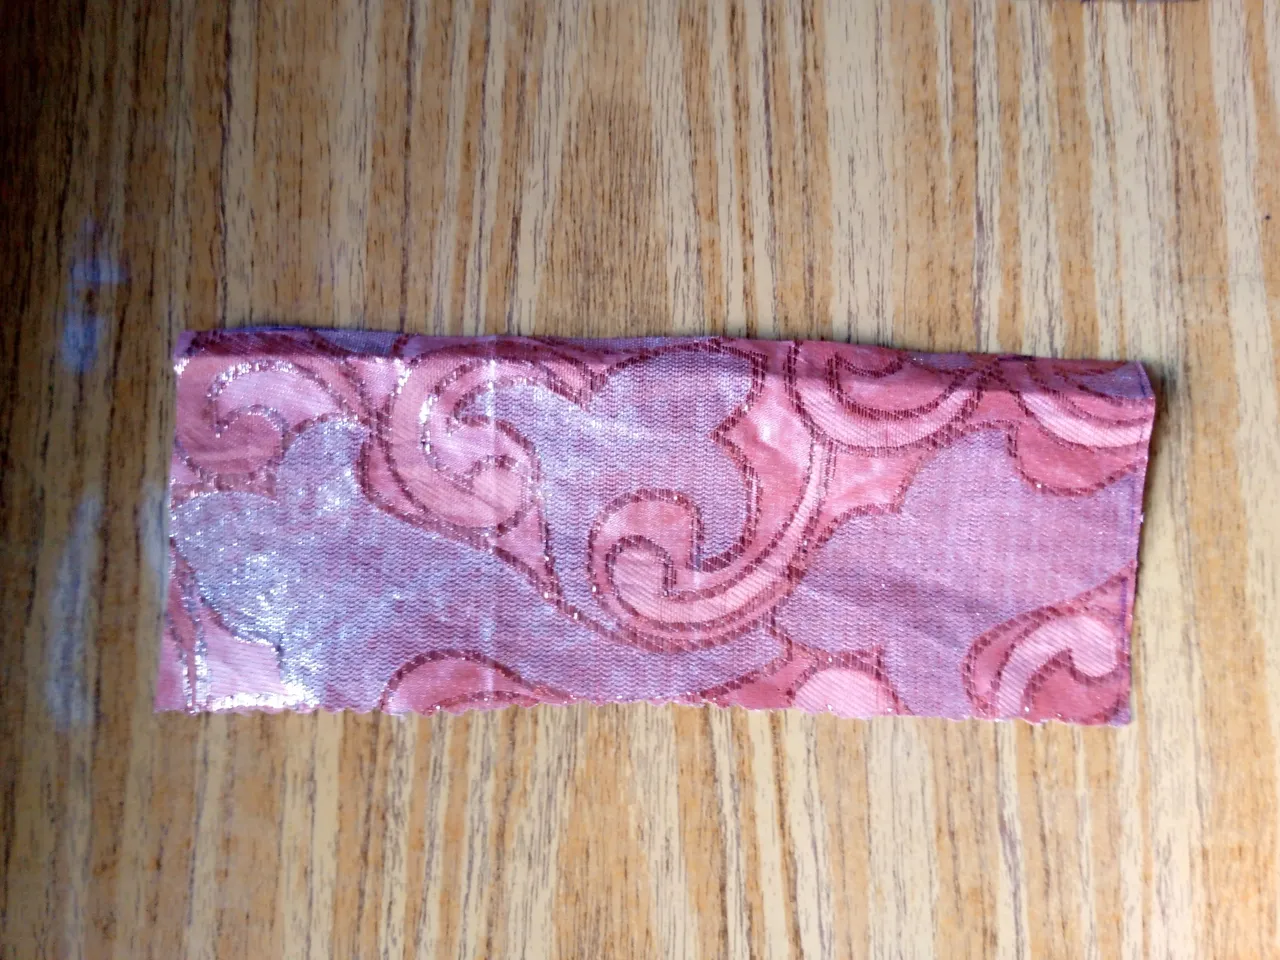
I cut out 3 x 7" folded it and sew it to cover the rough edges
I folded the top in just as seen below and sew on it to give my my desired shape

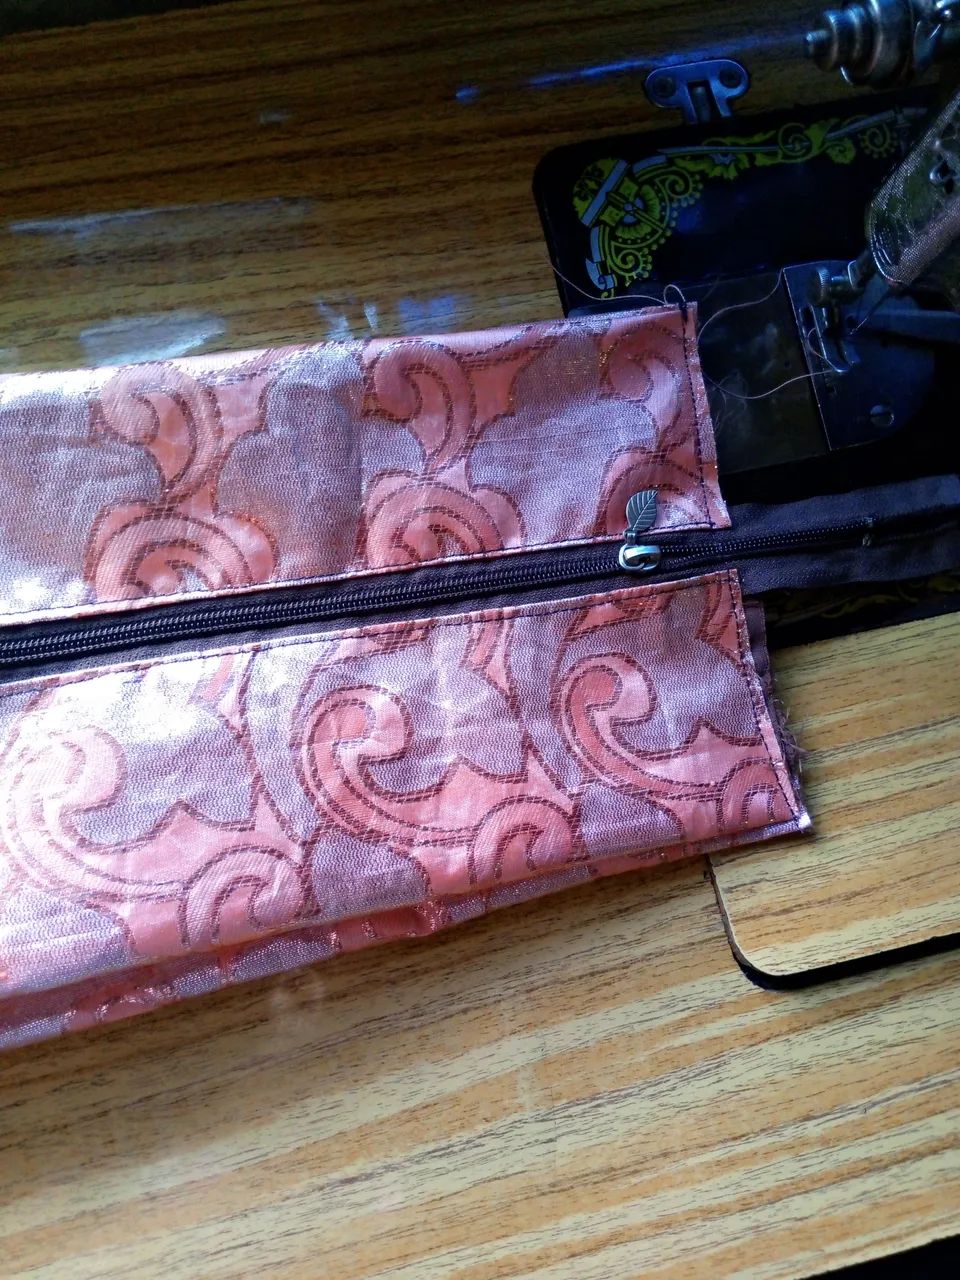
For the handle, I cut out 7 x 4" which was folded and sewn on both sides, then I measured 1"away from the zipper and sew the handle on both sides.
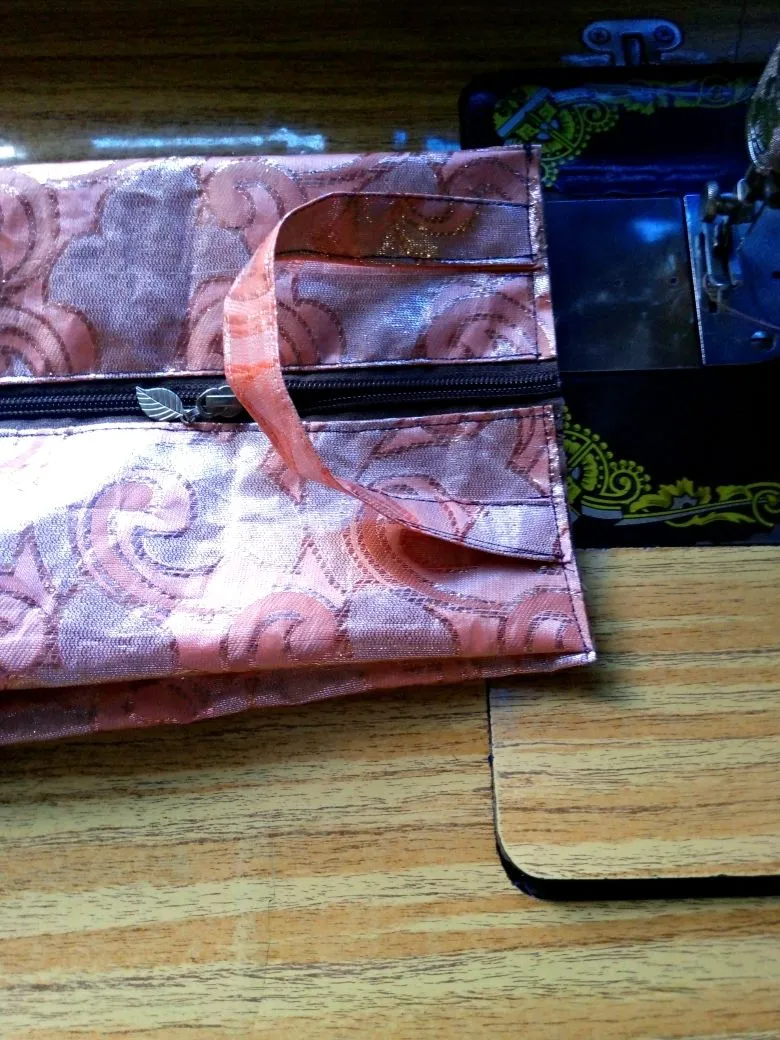
Another piece of 2 x 6" was cut and folded to pipe the top.
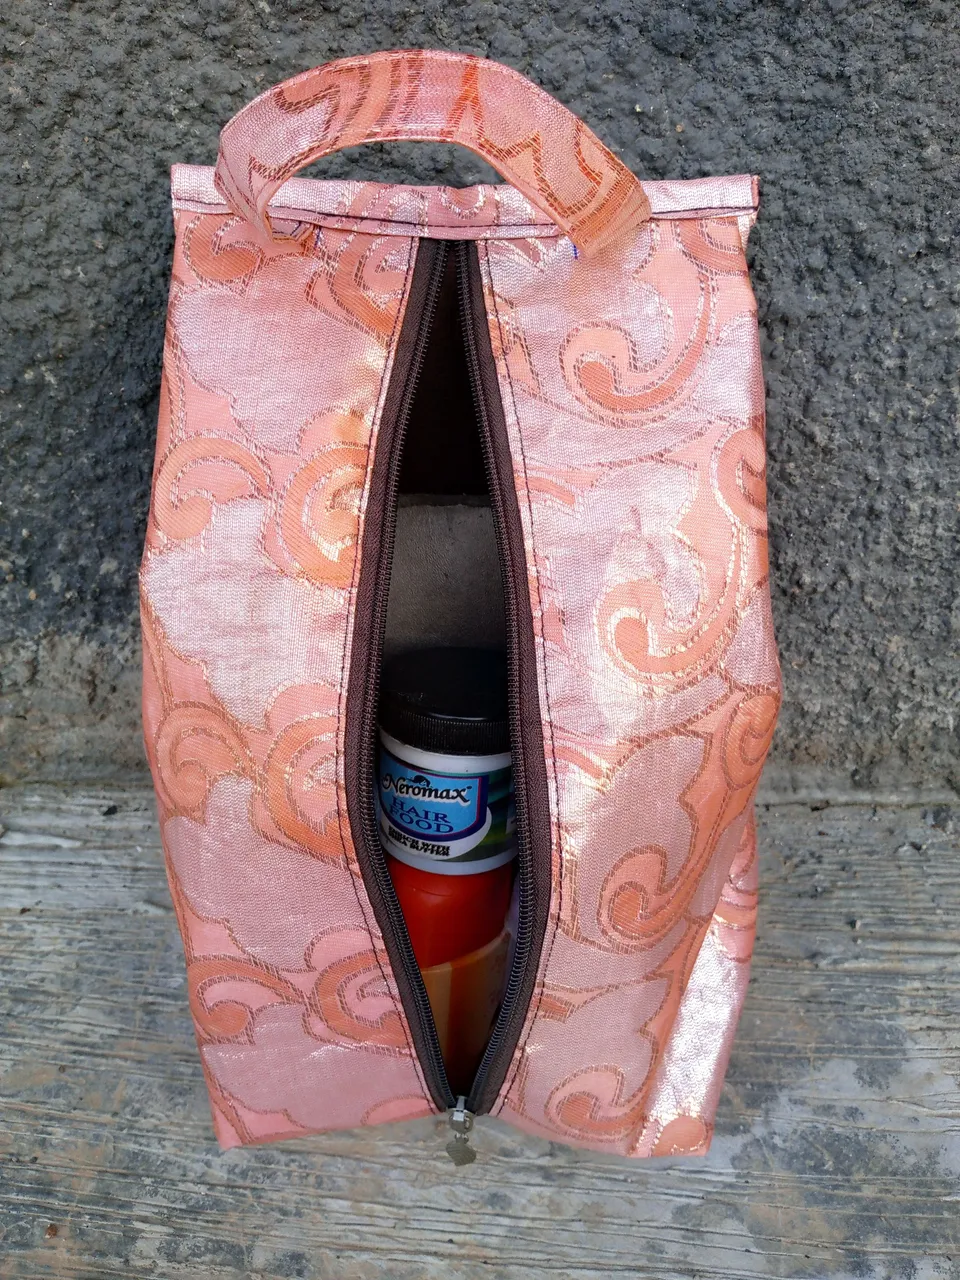
As simple as that, now mercy can pack her cream, soap powder and other items in the pouch I made for her before putting it in her traveling bag for her trip. She was so glad to have the pouch with smiles all over her face.


This is a beautiful idea and I'm sure you'll like it as well.
