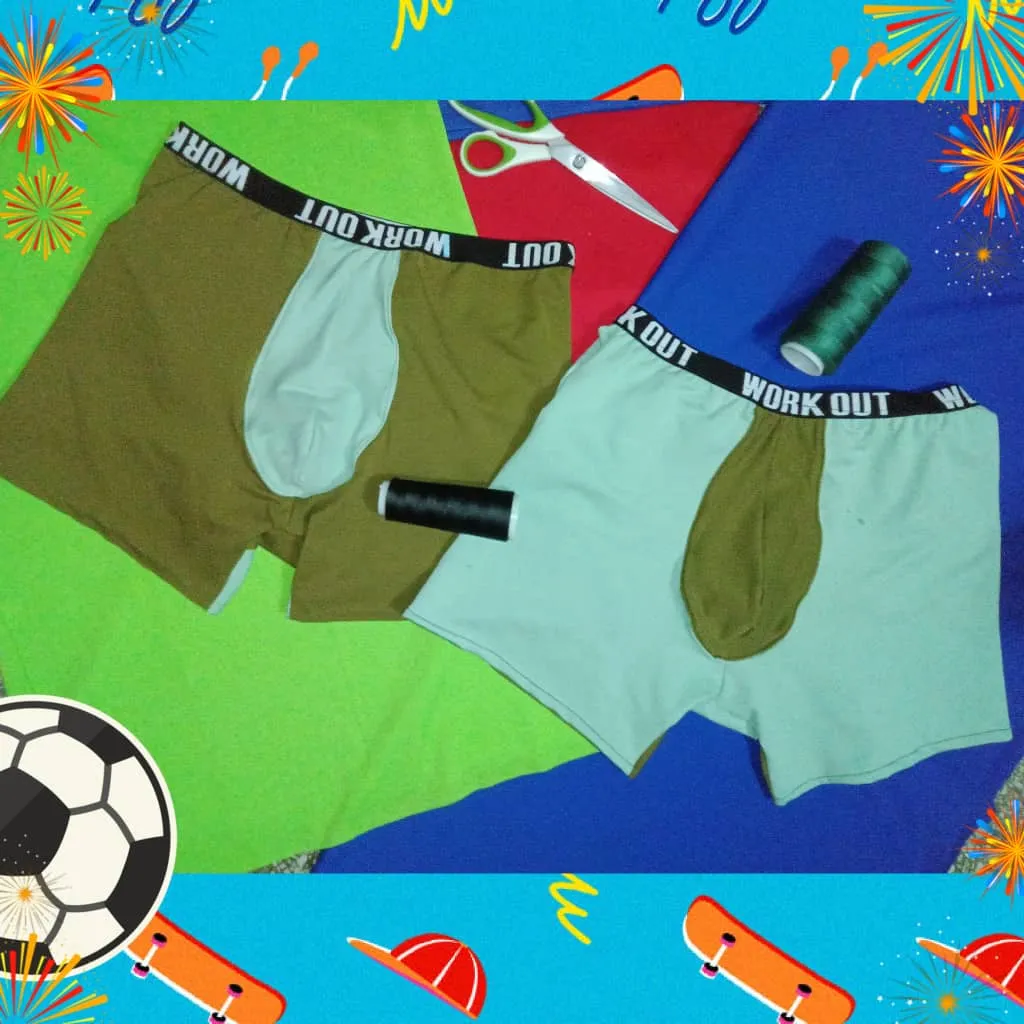

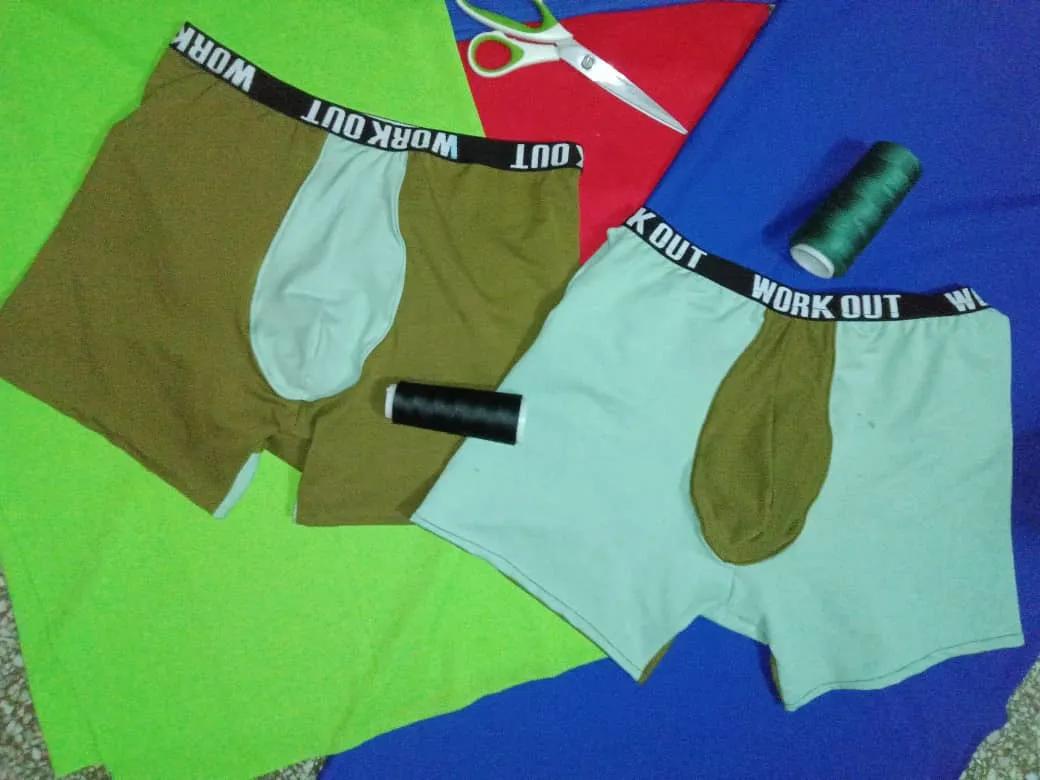
Hello, yarn and needle loving community, I wish you are enjoying good health and God's blessing abound in your homes, I am happy to share with you the elaboration of 2 men's boxers in micro terry fabric, previously I told you that I made my first boxer with micro peach fabric and I did not like it because it is very soft, I think it is appropriate for other garments such as pajamas and flannels; I have used micro terry fabric in other projects and it is easy to handle, it has the right texture and elongation for intimate garments, even for leggings it adapts very well; during my visit to the fabric store looking for a suitable fabric for boxer shorts I got this marvel; although the color palette is small I managed to combine two shades of green and I liked the result, in this project I used for the first time the elastic for boxer shorts and one was left with the letters upside down, I showed it to my husband and he told me to leave it that way, not always you can get a boxer shorts with the print reversed haha.

Hola comunidad amante de los hilos y la agujas, deseo que se encuentren disfrutando de buena salud y la bendición de Dios abunde en sus hogares, me siento feliz de compartir con ustedes la elaboración de 2 boxers de caballero en tela micro terry, anteriormente les comenté que hice mi prime boxer con tela micro durazno y no me gustó porque es muy blanda, considero que es apropiada para otras prendas como pijamas y franelas; la tela micro terry la he usado en otros proyectos y es sencilla de manejar, tiene la textura y elongación adecuada para las prendas íntimas, incluso para los leggins se adapta muy bien; durante mi visita a la tienda de telas buscando una adecuada para los boxer conseguí esta maravilla; aunque la paleta de colores es pequeña logré combinar dos tonos del color verde y me gustó el resultado, en este proyecto usé por primera vez el elástico para boxer y uno quedó con las letras al revés, se lo mostré a mi esposo y me dijo que lo dejara así, porque no es fácil conseguir un boxer con el estampado al revés jaja.
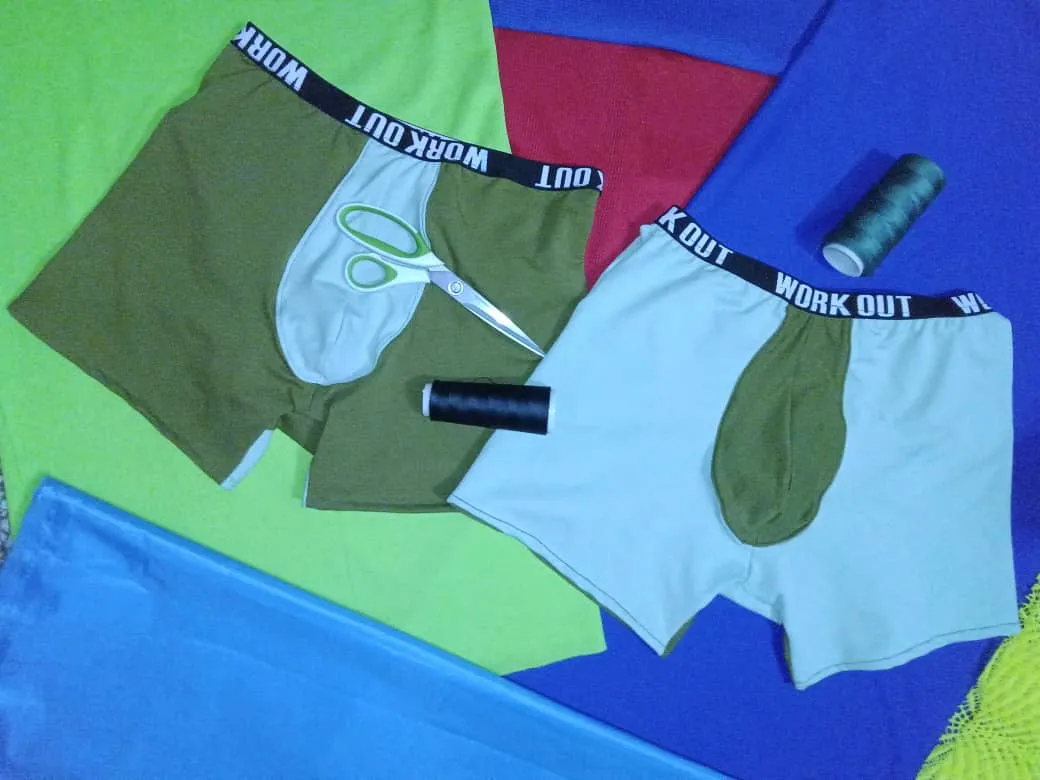


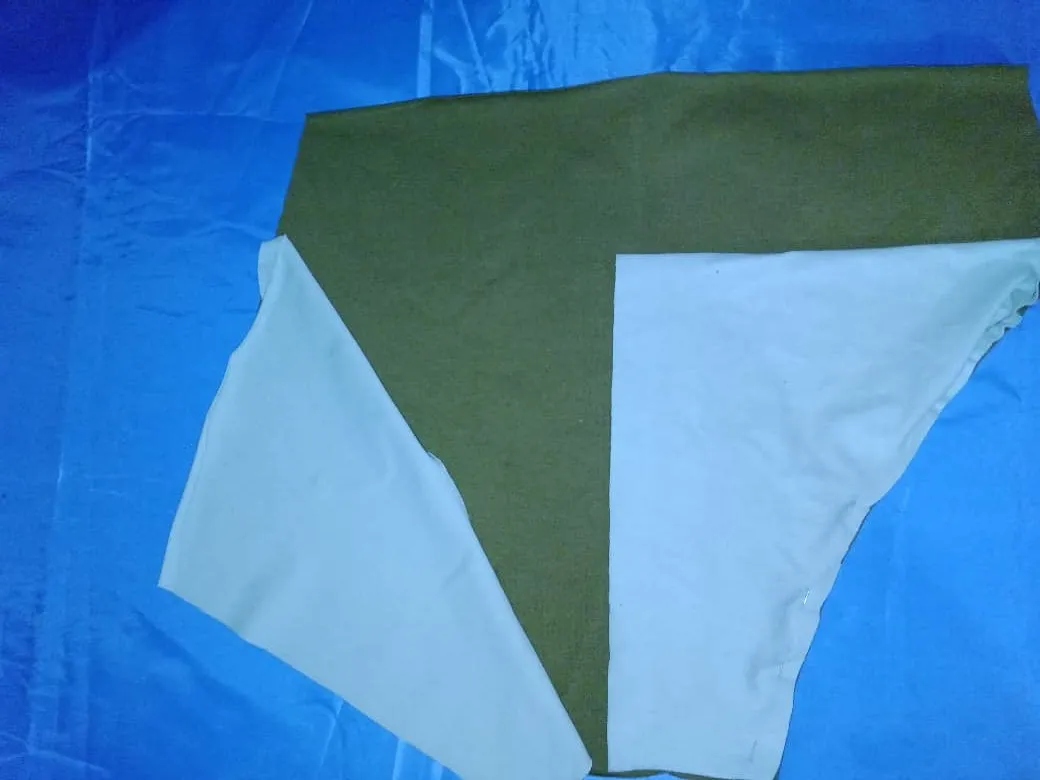
For this project micro terry cloth in two shades of olive green (40 cm) and light green (45 cm).
measuring tape
Pins
Molds
Chalk or soap
Scissors
Sewing machine
Stamped elastic
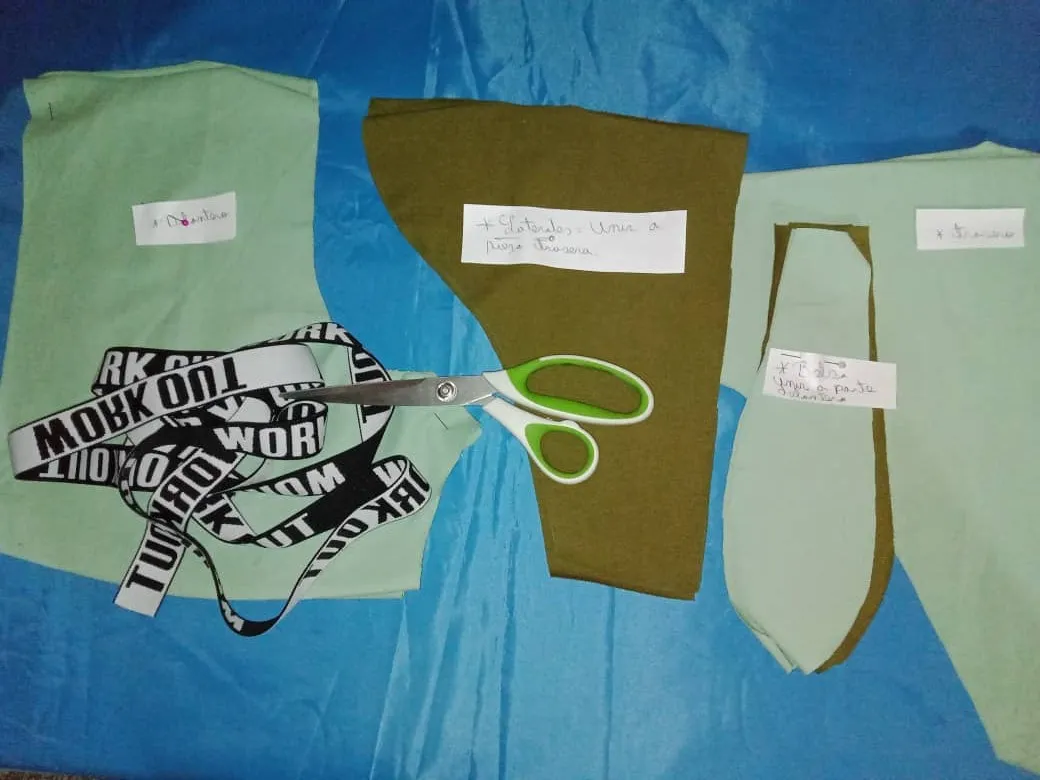
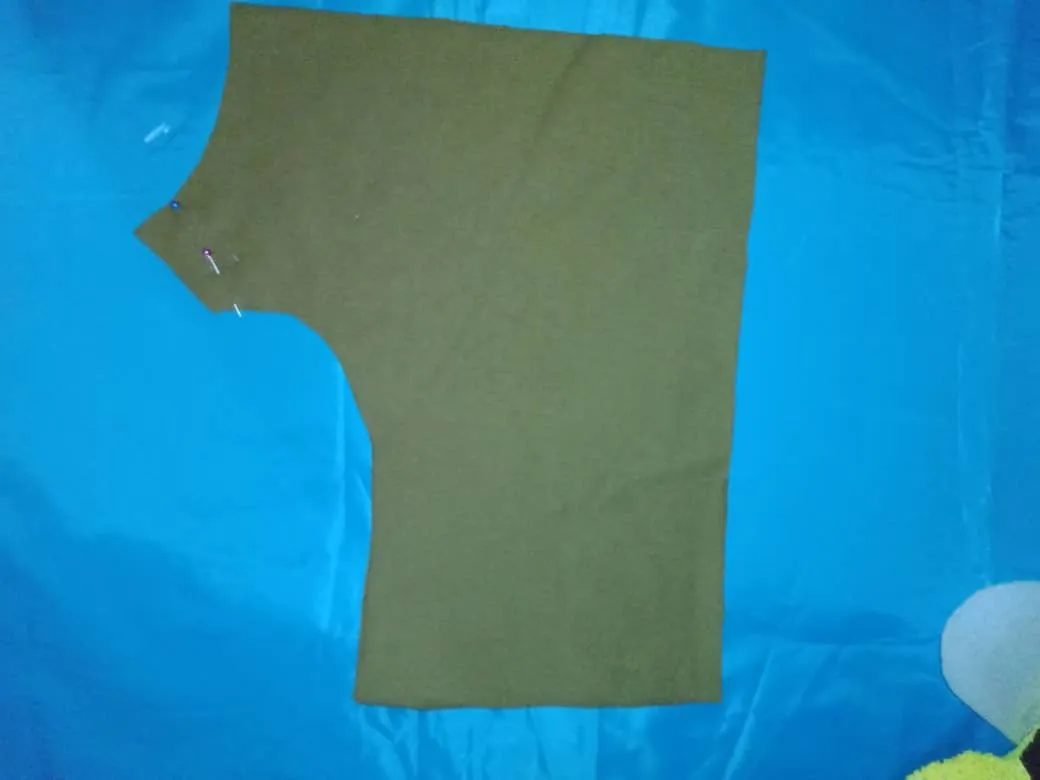
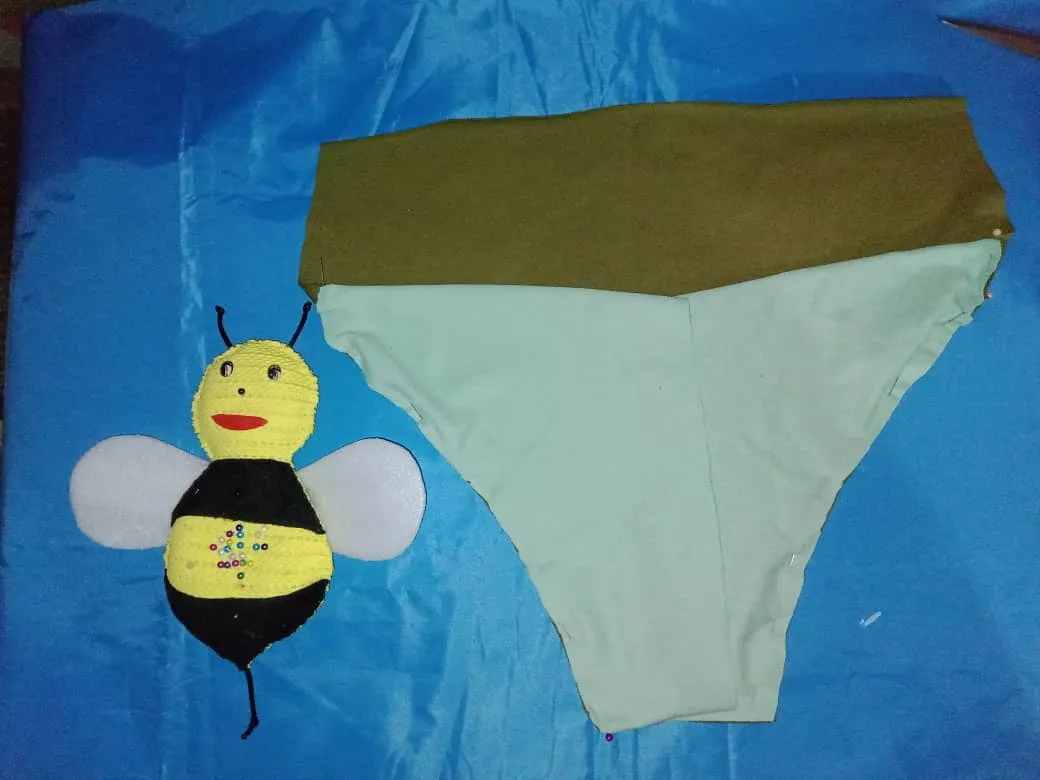
I started by marking and cutting the pieces, which I identify to avoid mishaps and move faster in the sewing, for several months I do this practice and it has worked for me, when I made my first boxer I glued the wrong sides and I had to unpick, identifying the pieces makes my work easier, I take one or two days to cut, depending on the number of pieces, I identify them and the next step is to concentrate to the maximum, total relaxation and sewing is said hehe.

Para este proyecto tela micro terry en dos tonos de verde verde aceituna (40 cm) y verde claro (45 cm)
Cinta métrica
Alfileres
Moldes
Tiza o jaboncillo
Tijera
Maquina de coser
Elástico estampado
Inicié marcando y cortando la piezas, las cuales identifico para evitar contratiempos y avanzar más rápido en la costura, desde hace varios meses realizo esta práctica y me ha funcionado, cuando elaboré mi primer boxer pegué los laterales incorrectos y me tocó descoser, identificando las piezas me facilita el trabajo, me tomo uno o dos días par cortar, dependiendo la cantidad de piezas, las identifico y el siguiente paso es concentración al máximo, relax total y a coser se ha dicho jeje.

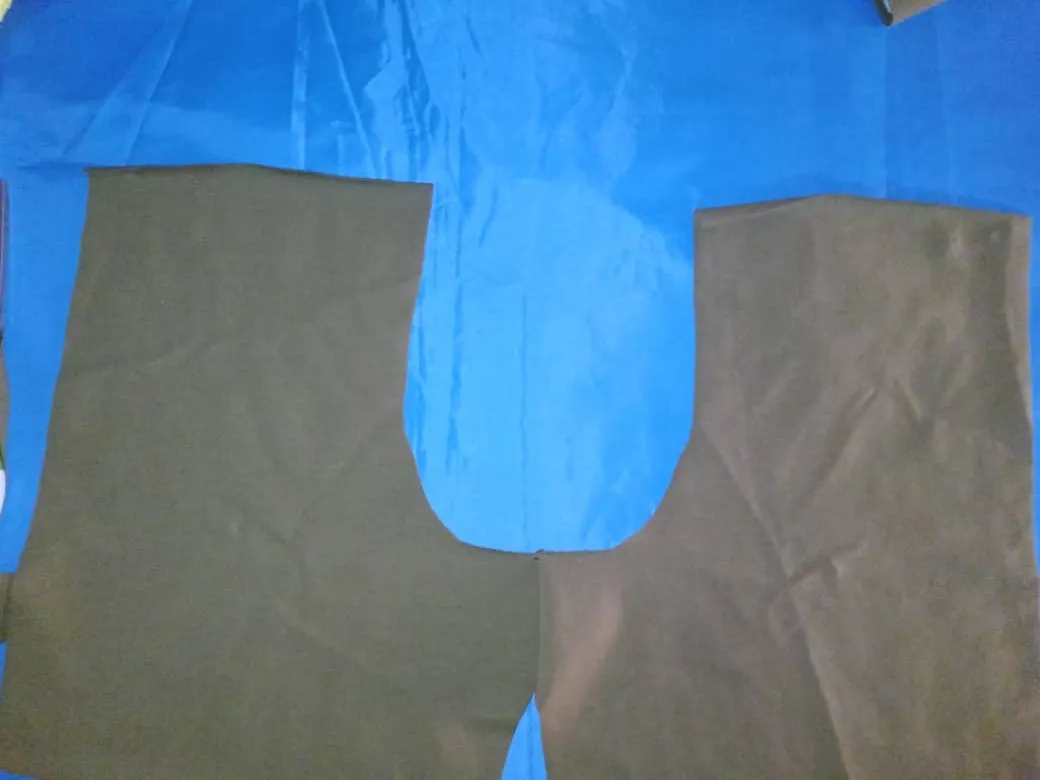
Once the pieces were cut, I pinned them together, assembled the front part and joined with a straight stitch; then I faced the reinforcement right to right and sewed along the curved part, to reinforce the seam I used a zig zag stitch.

Cortadas las piezas sujeté con alfileres, armé la parte delantera y uní con puntada recta; luego enfrente derecho con derecho el refuerzo y cosí por la parte más curva, para reforzar la costura pasé puntada de zig zag.
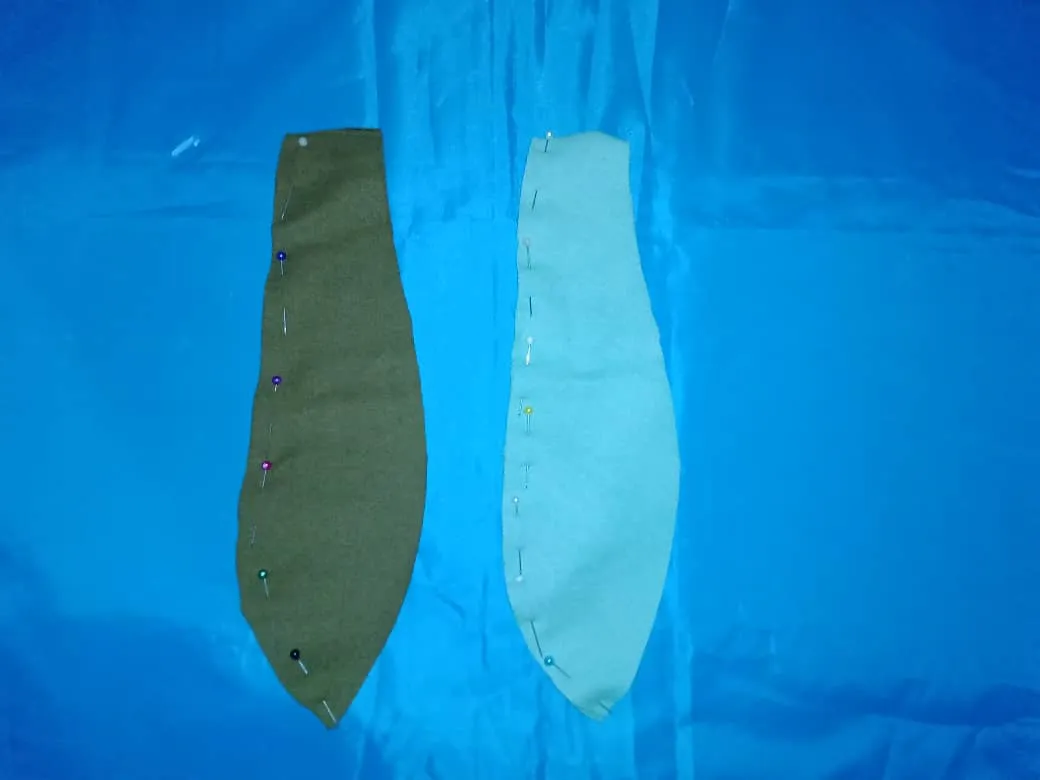
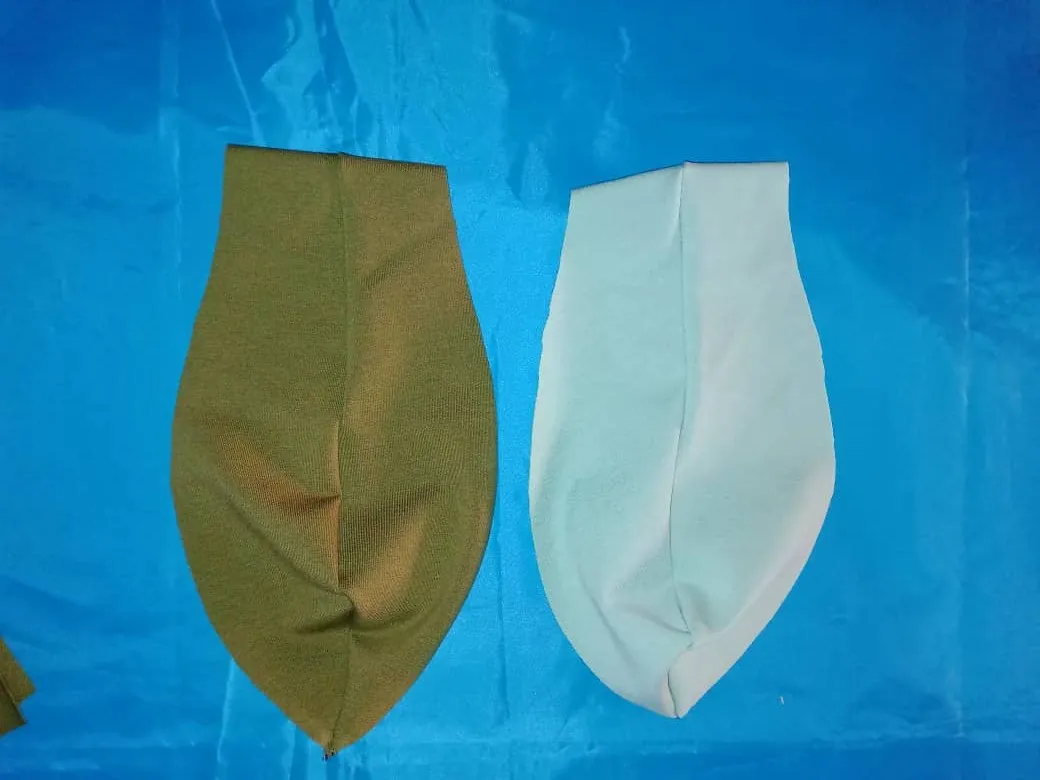
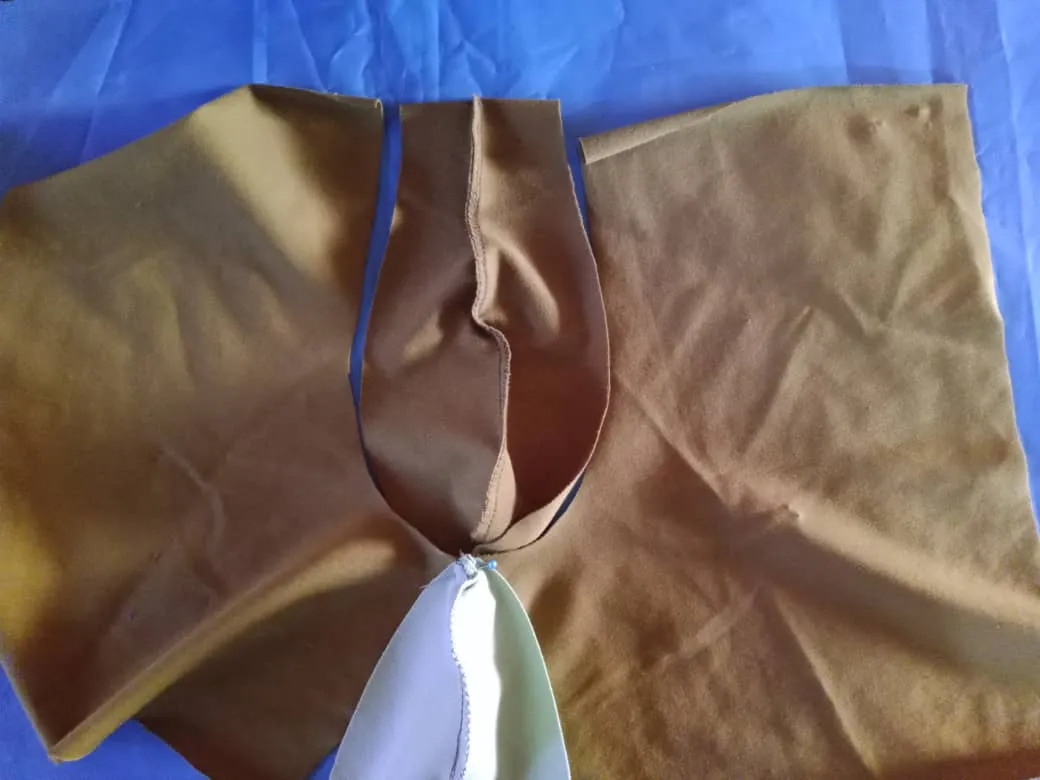
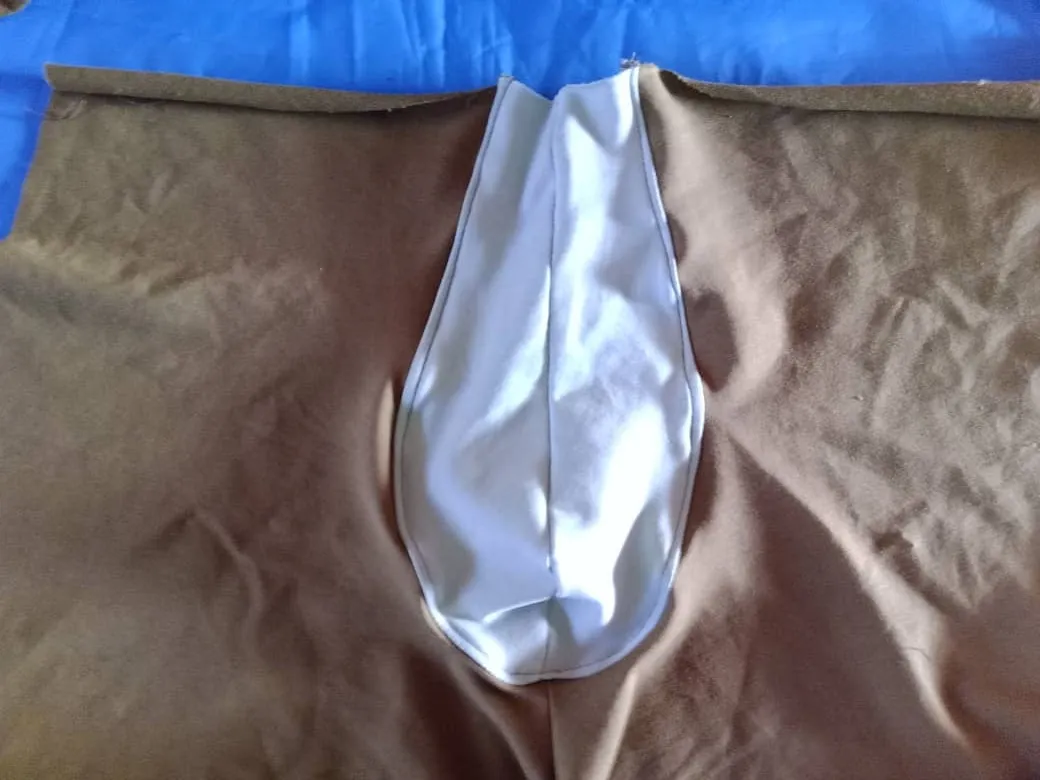
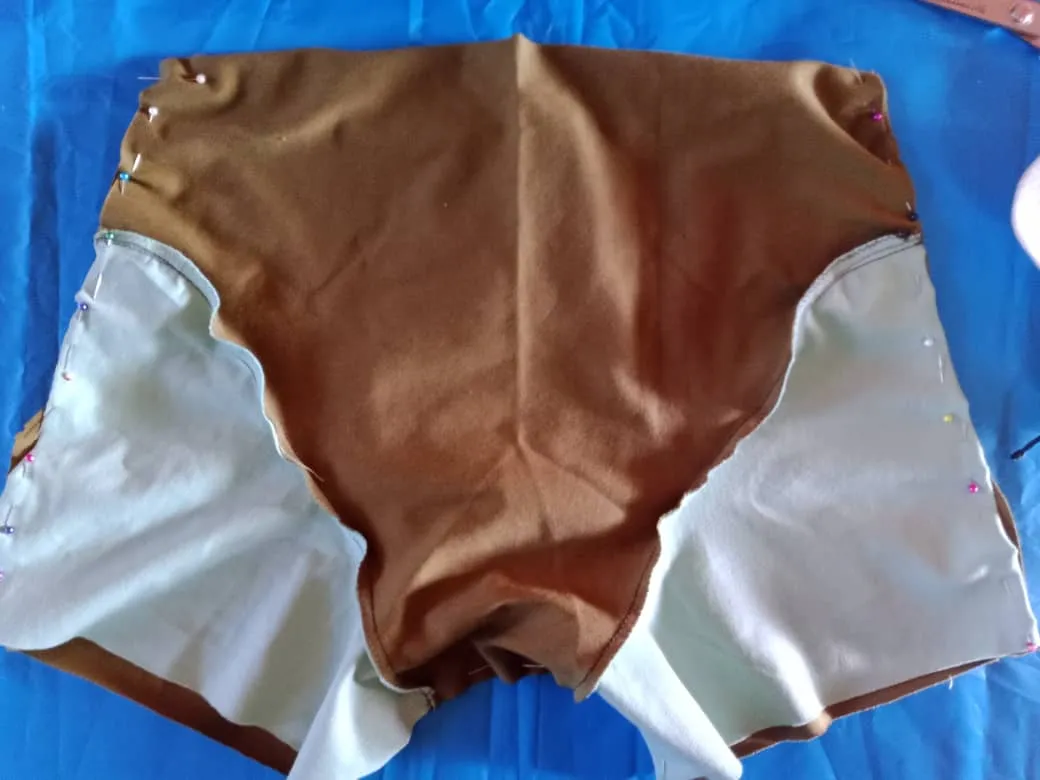
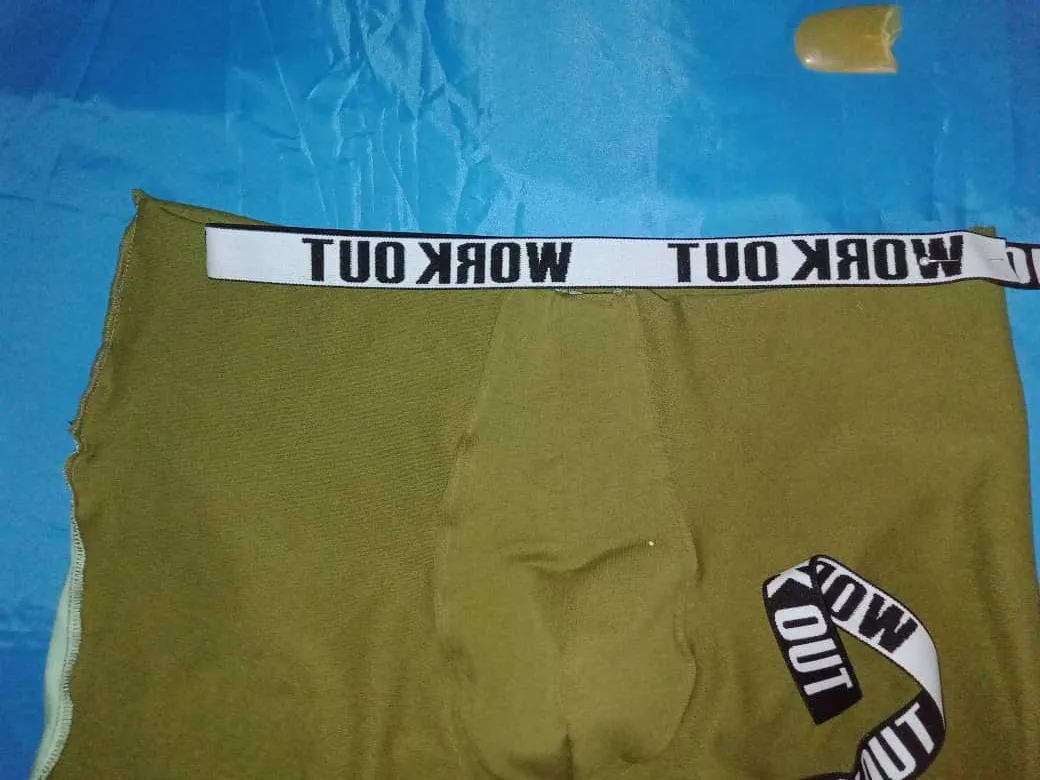
Sewn the center of the boxer, I faced right to right to embonar, the center is fixed to the upper crotch and we are joining the piece with pins on the edge so that the remaining fabric is inside making a "bag" is passed seam around the contour, leaving the top without sewing to flip and so all the seams are hidden, flipped the piece repiso for a better finish
Cosido el centro del boxer, enfrenté derecho con derecho para embonar, se fija el centro a la entrepierna superior y vamos uniendo la pieza con alfileres por el borde de tal forma que el resto de tela quede adentro haciendo una "de bolsa" se pasa costura por el contorno, dejado la parte de arriba sin coser para voltear y así todas las costuras quedan ocultas, volteada la pieza repiso para un mejor acabado.
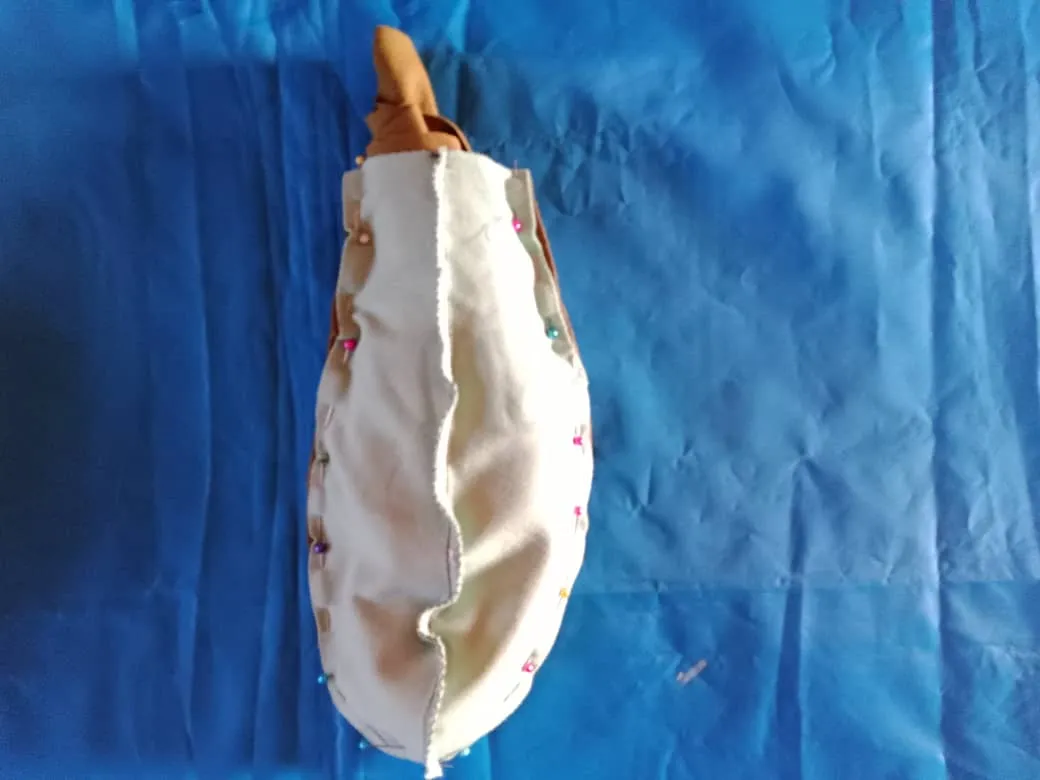
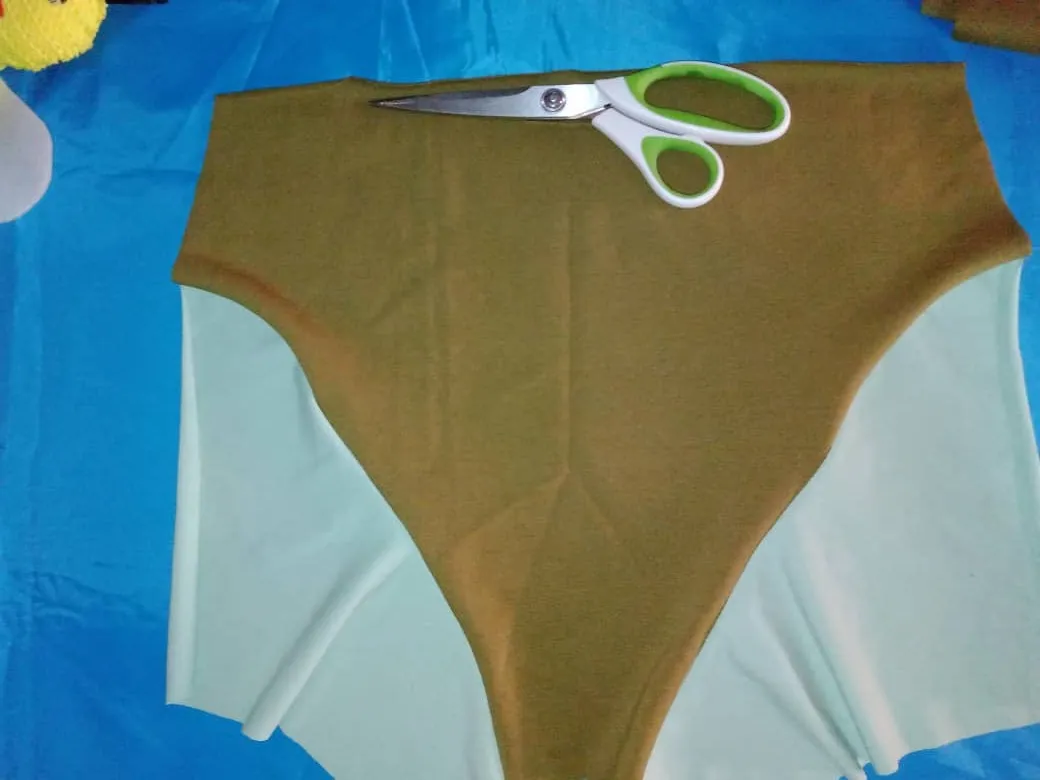
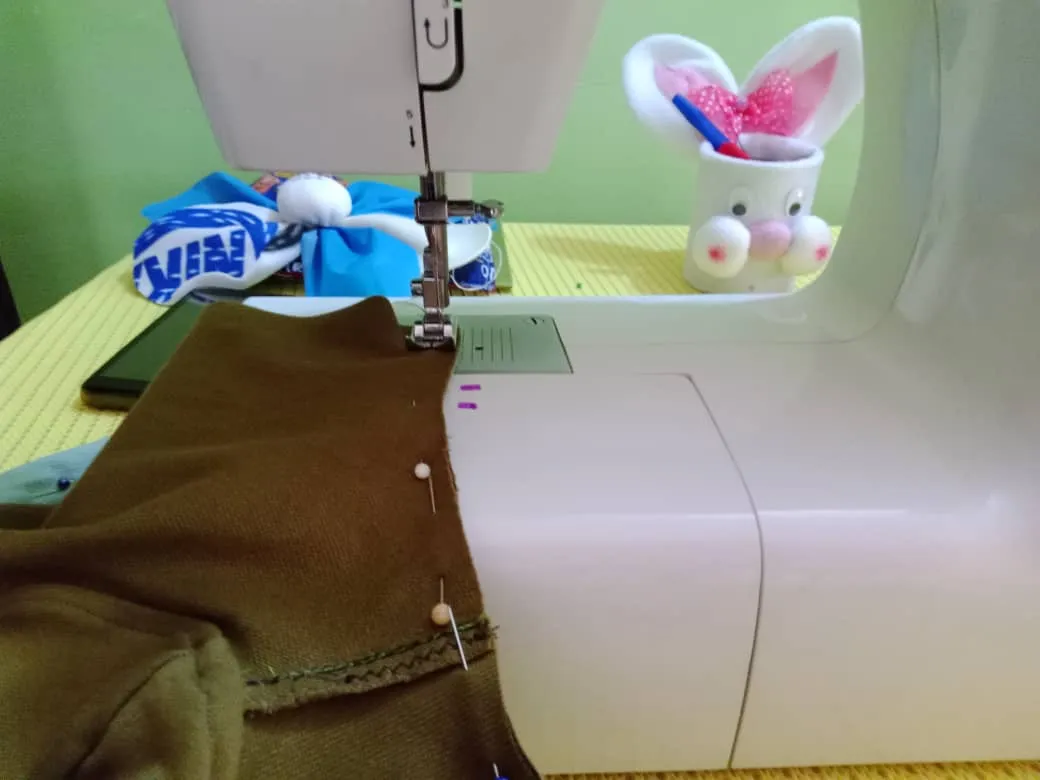
To assemble the backside, the sides are joined with a straight stitch, at this point I like to use a zigzag stitch to reinforce the seam and cut off the excess fabric, thus avoiding discomfort to the skin.
Para armar el trasero se unen los laterales con puntada recta, en este punto me gusta pasar puntada de zigzag para reforzar la costura y cortar el exceso de tela, así evitar molestias en la piel.

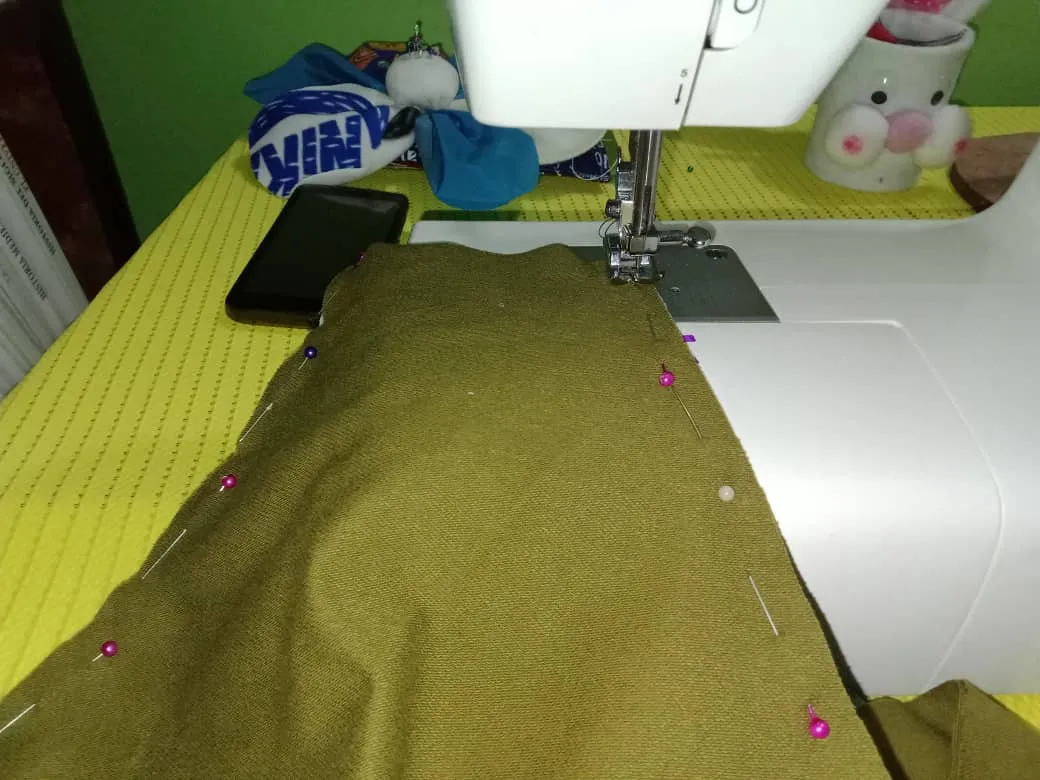
The front and back parts are already assembled, I face right side to right side, pinning and sew through the sides and crotch.
Ya armadas la partes delantera y trasera enfrento derecho con derecho sujetando con alfileres y paso costura por los laterales y entrepierna.
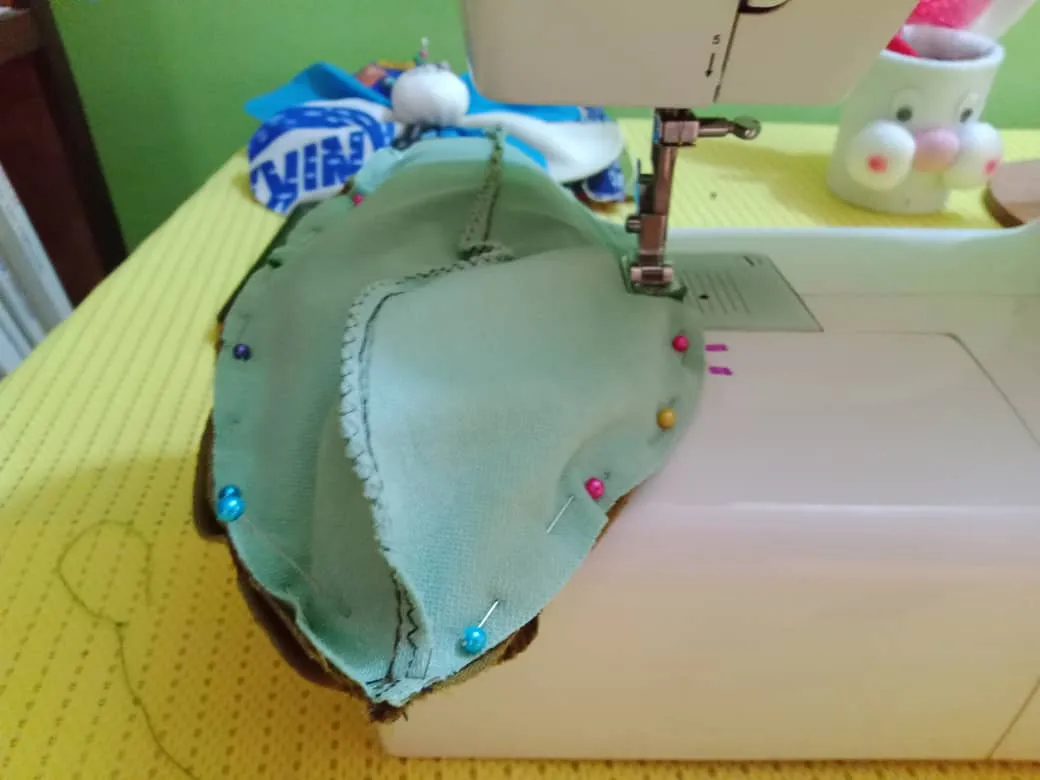
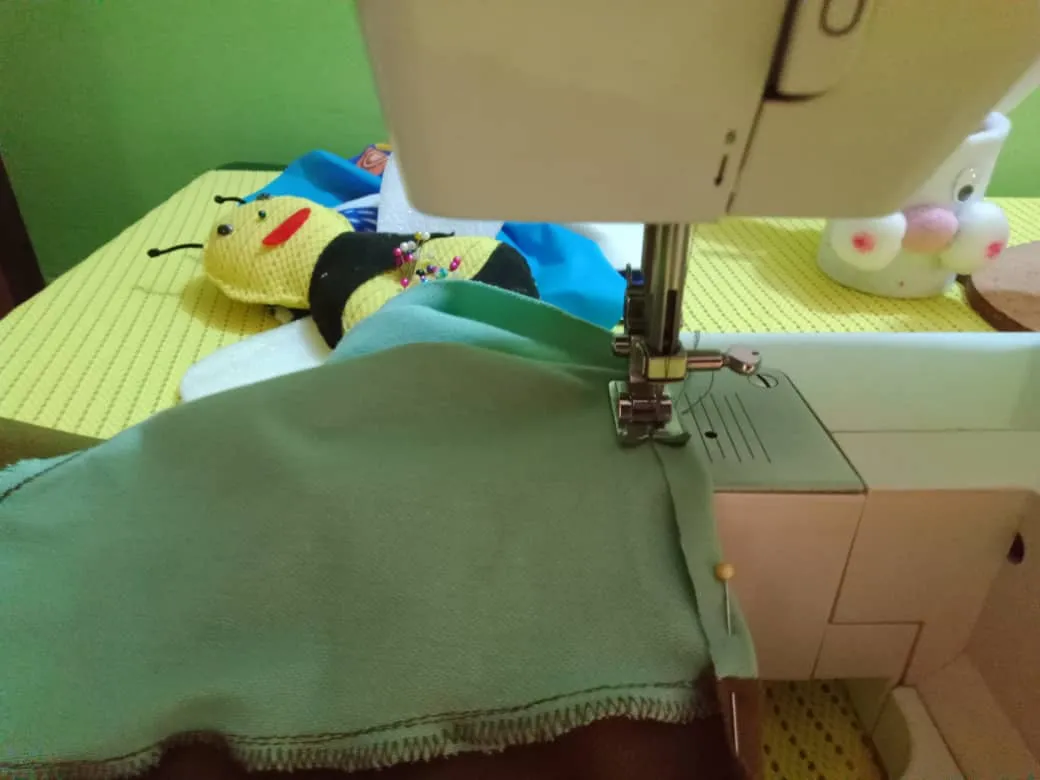
Then I sew a 1 cm hem on the legs.
Luego coso un dobladillo de 1 cm en las piernas.
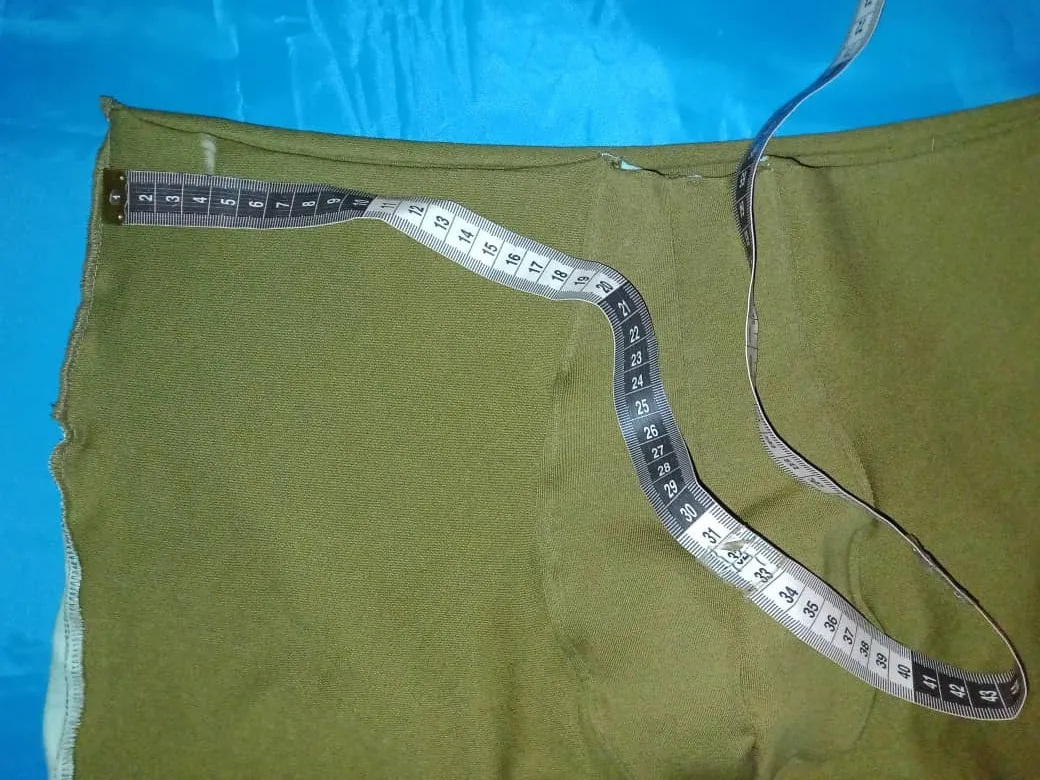
To know the amount of elastic to use, I measure from one end of the waist 4 cm and mark a point, from that point to the other end I measure again and multiply the result by 2 in this case it was 76 cm (33 *2 = 76), I sew the elastic on the reverse side, smooth the ends and turn it over and it is ready to be attached to the boxer.
Para saber la cantidad de elástico a usar, mido desde un extremo de la cintura 4 cm y marco un punto, desde ese punto hasta el otro extremo vuelvo a medir y multiplico el resultado por 2 en este caso fueron 76 cm (33 *2 = 76), coso el elástico por el revés, repiso los extremos, le doy la vuelta y ya está listo para pegarlo al boxer.
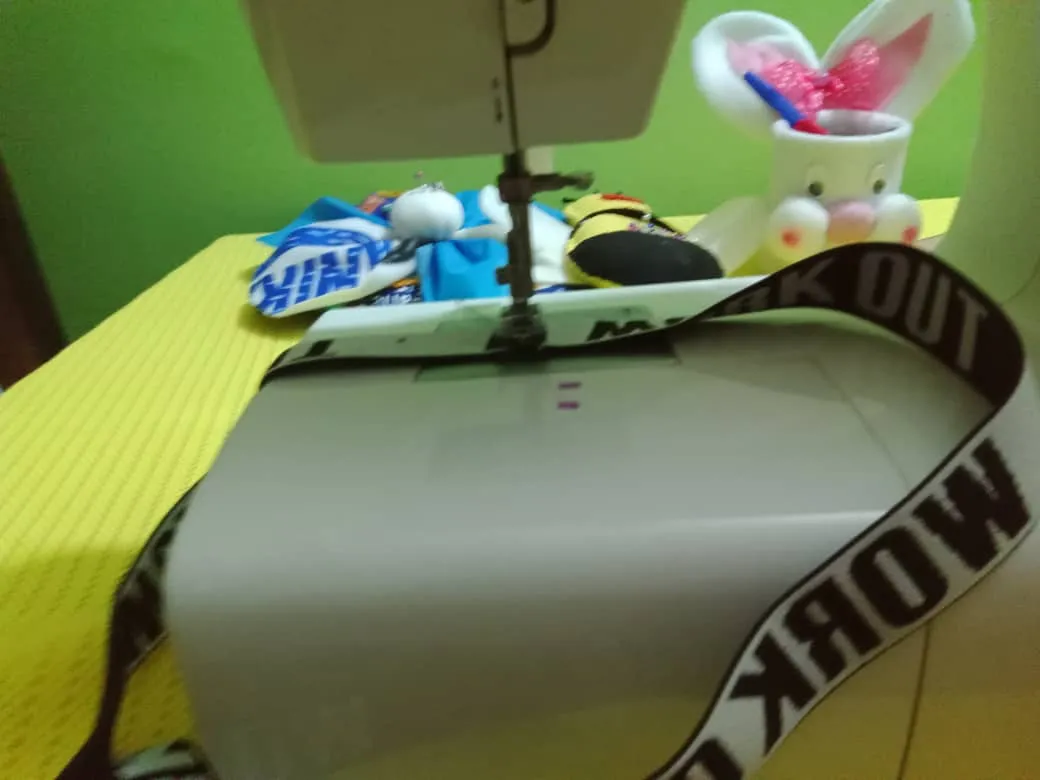
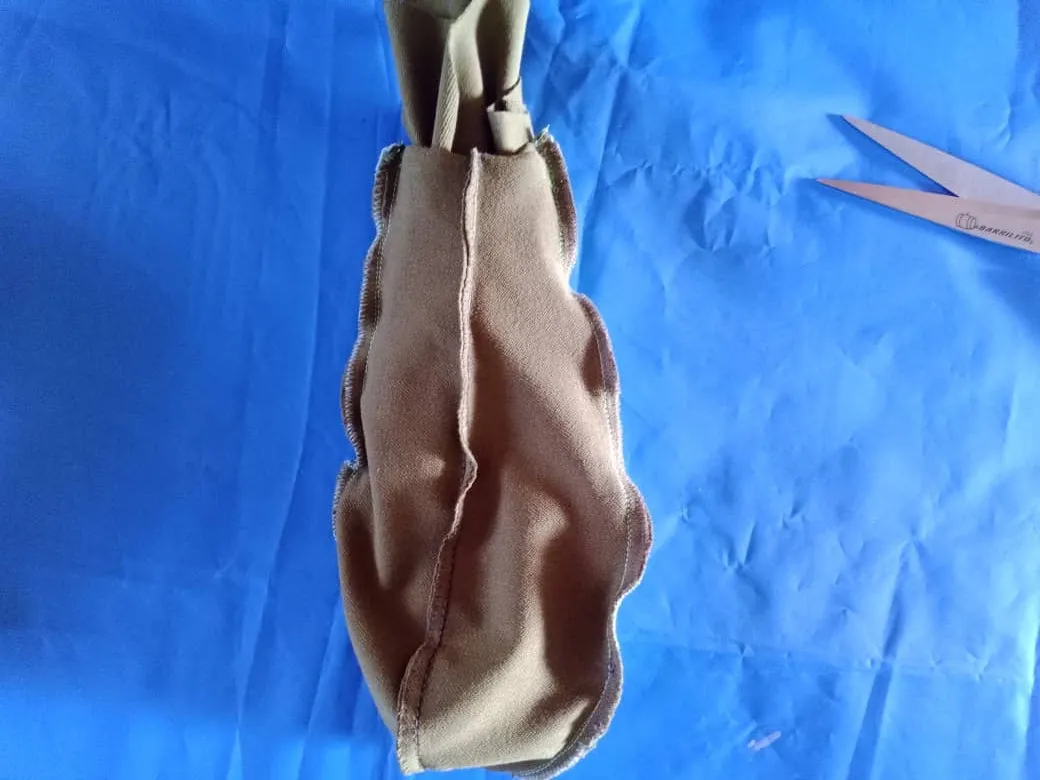
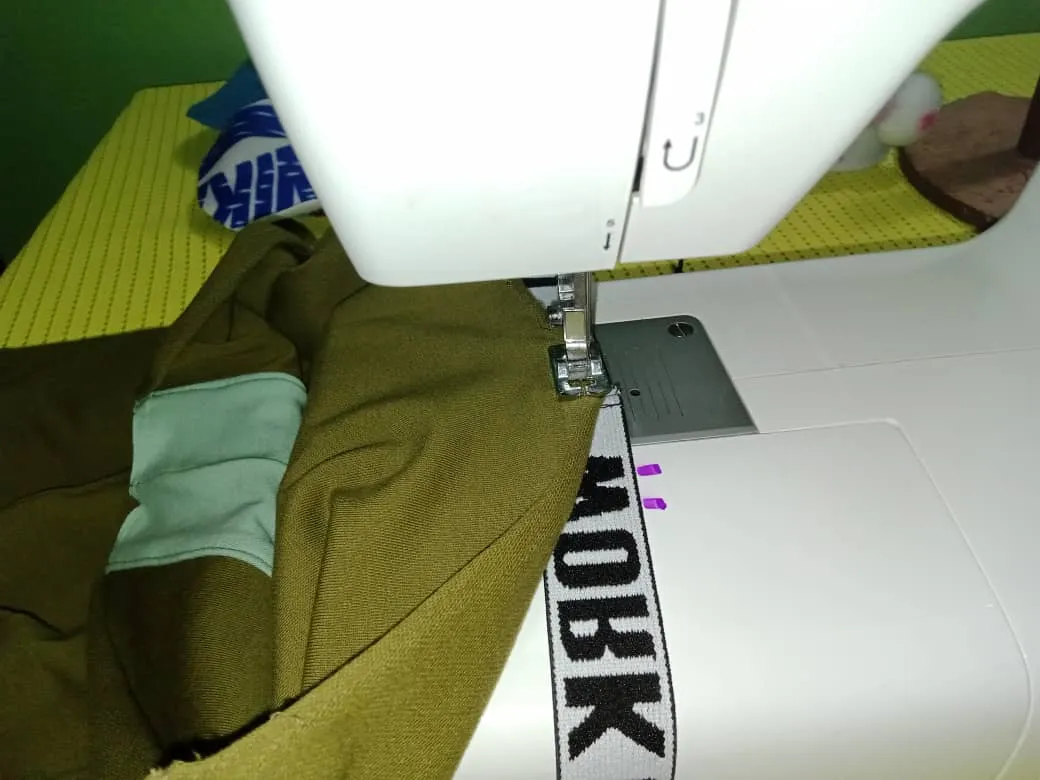
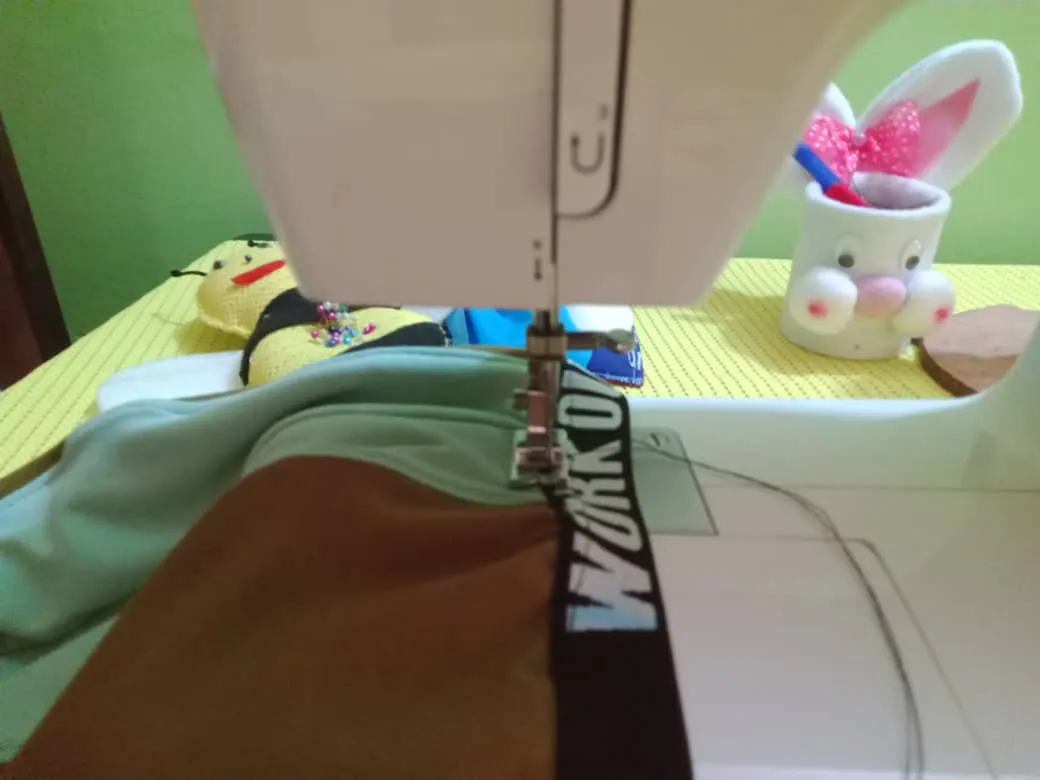
To glue the elastic I face the back of the fabric and the back of the elastic, divide the elastic in 4 parts and fasten with pins, little by little I sew with a straight stitch stretching the elastic (if I stretch the fabric the elastic loses elongation and tends to bend), until it covers all the fabric, then I turn the piece right side out and reposition the elastic.
Para pegar el elástico enfrenté revés de la tela y revés del elástico divido el elástico en 4 partes y sujeto con alfileres, poco a poco voy cosiendo con puntada recta estirando el elástico (si estiro la tela el elástico pierde elongación y tiende a doblarse), hasta cubrir toda la tela, luego volteo la pieza por el derecho y repiso el elástico.

Compared to my first boxer, this project was easier, only that I glued an elastic with the letters upside down, with practice I will improve, at this point I consider that my boxer lesson with the embonado technique was approved, as the instructor of the course says: "You have to walk slowly and then run" little by little with practice I will master the techniques and tricks to get better results.

En comparación con mi primer boxer, este proyecto resultó más sencillo, solo que pegué un elástico con las letras al revés, con la práctica iré mejorando, en este punto considero que mi lección de boxer con la técnica del embonado fue aprobada, como dice la instructora del curso: "Hay que caminar despacio y luego correr" poco a poco con la práctica iré dominando las técnicas y trucos para obtener mejores resultados.
Blessings!
Bendiciones!
Hasta luego!

Translated with https://www.deepl.com/translator
              All images are my own, captured by a Síragon LC-3000 camera. Dividers courtesy of @kattycrochet.


   Todas las imágenes son de mi autoría, capturadas por una cámara Síragon LC-3000. Divisores cortesía de @kattycrochet.