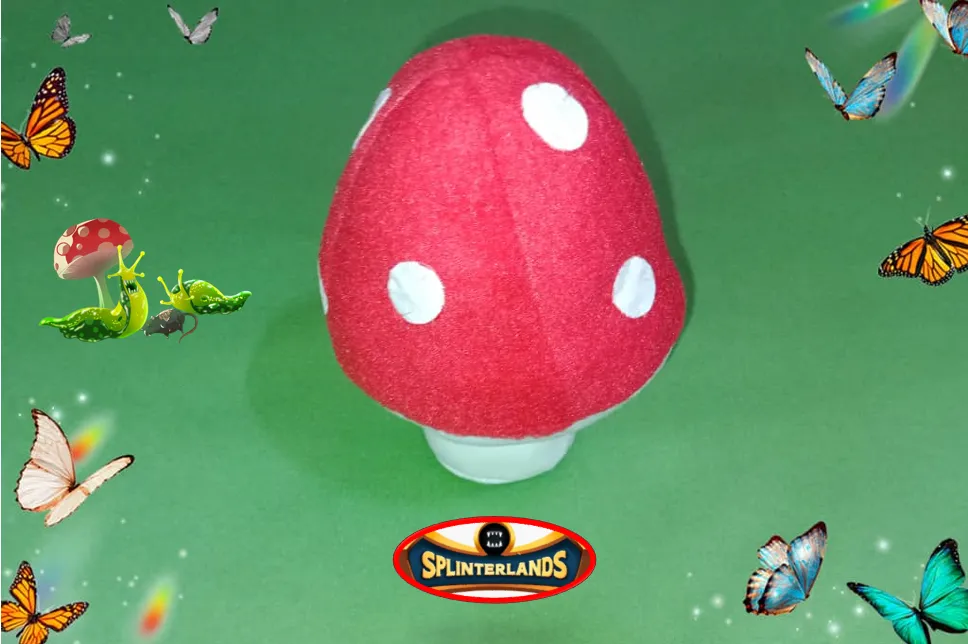

Greetings friends lovers of threads and needles, it is a pleasure to greet you and share my creative project, this is a pincushion mushroom inspired by Cave Slug a character from Splinterlands cards, A cave-dwelling slug that lives in a damp place. In sewing projects we always need to have pins at hand; as they are used to hold the pieces, assemble and also sew faster, so this filetero will be very useful for sewing projects that I will do in the future.

Saludos amigos amantes de los hilos y las agujas, es un placer saludarles y compartir mi proyecto creativo, se trata de un hongo alfiletero inspirado en Cave Slug un personaje de las cartas de Splinterlands, Una babosa cavernícola que habita en un lugar húmedo, en los proyectos de costura siempre necesitamos tener a mano los alfileres; ya que se usan para sujetar las piezas, armar y también coser más rápido, por ello este filetero será de mucha utilidad para los proyectos de costura que vaya a realizar en el futuro.


Polar blanket fabric (red)
Polar blanket fabric (white)
Stuffing or wadding
Pins
Molds
Needle
Sewing machine
Soap
Scissors

Tela manta polar (roja)
Tela manta polar (blanca)
Relleno o guata
Alfileres
Moldes
Aguja
Máquina de coser
Jaboncillo
Tijera


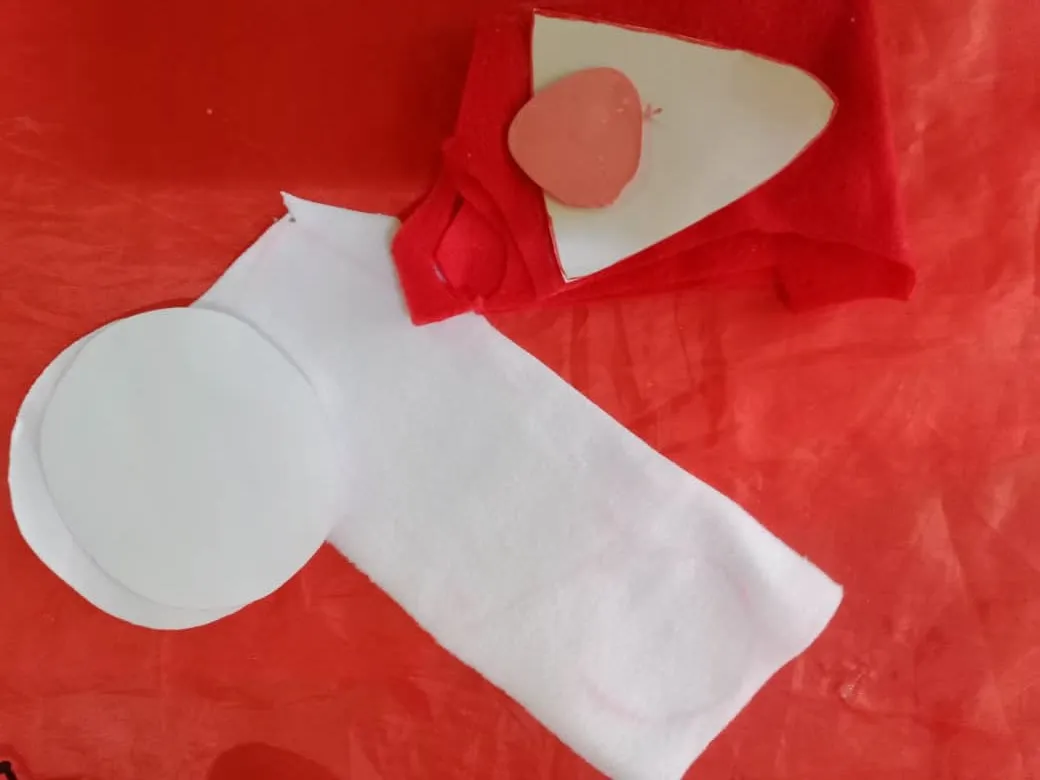
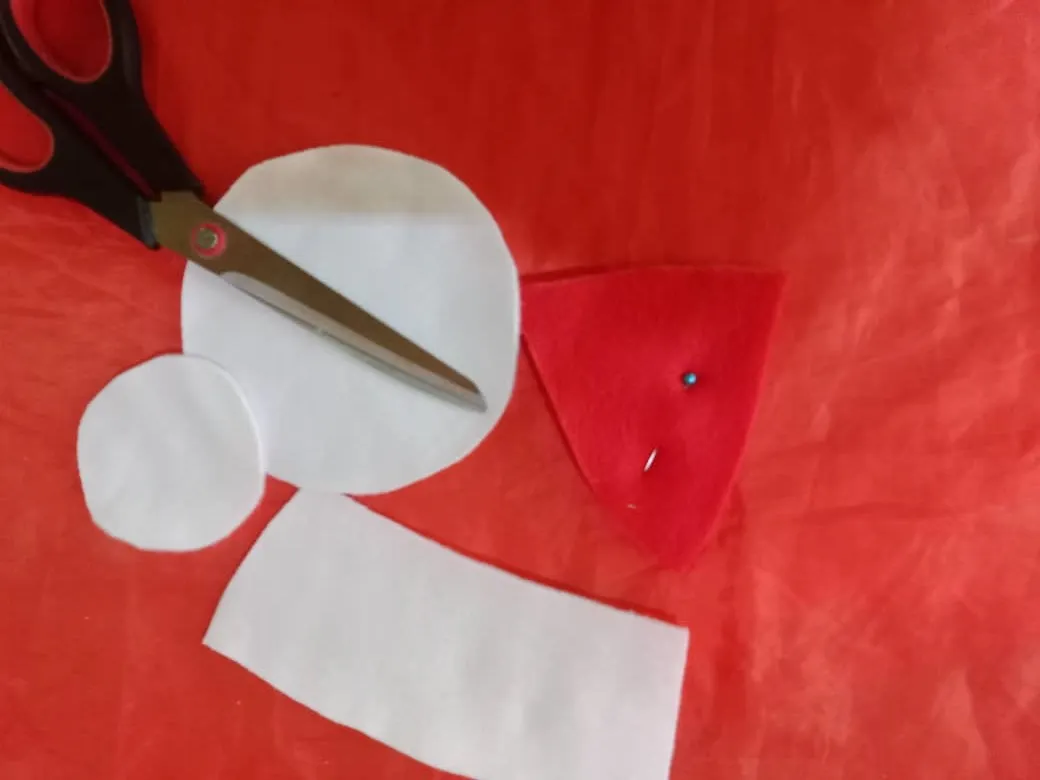
The first step was to make the molds which consists of four triangles, two circles and the base of the mushroom the largest circle will be to cover the mushroom and the rectangle will be the base of the mushroom that will carry on its bottom a lid, then I marked and cut the pieces mentioned.

El primer paso fue hacer los moldes que consta de cuatro triángulos, dos círculos y la base del hongo el círculo más grande será para cubrir el hongo y el rectángulo será la base del hongo que llevará en su parte inferior una tapa, luego marqué y corté las piezas mencionadas.
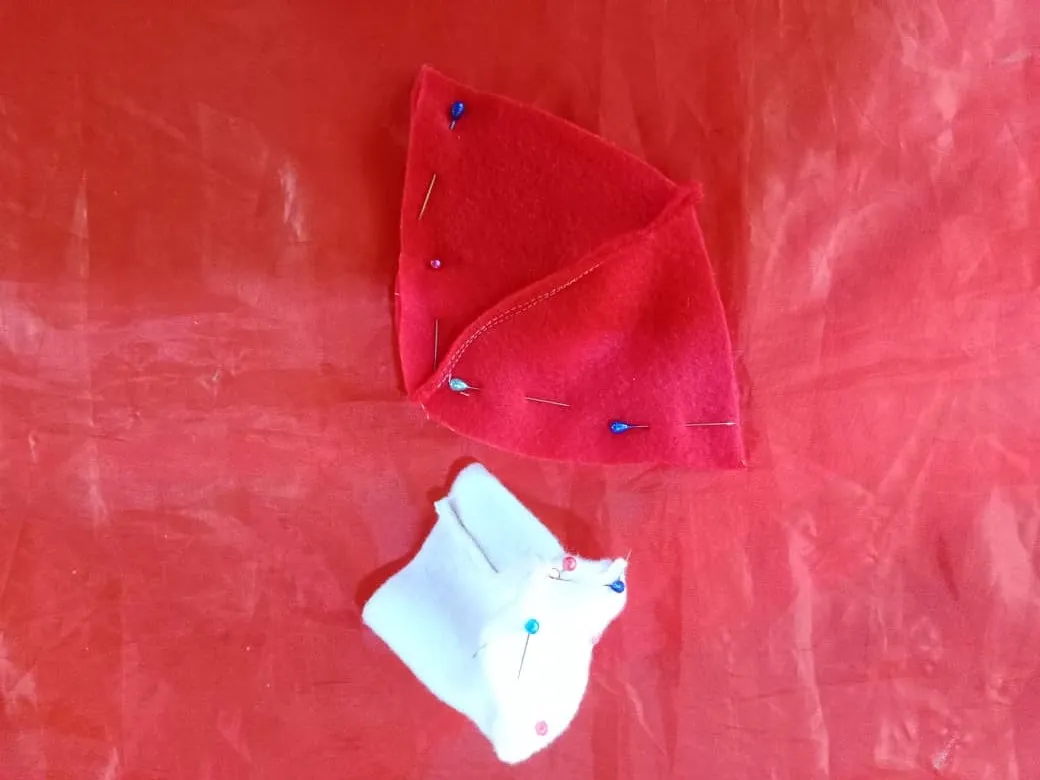
To assemble the mushroom I faced the rectangles on the right side placing them in pairs, pinned and sewed with straight stitch on one of the sides; the base of the mushroom I sewed joining the ends to form a cylinder.
Para ensamblar el hongo enfrenté por el derecho los rectángulos colocándolos de dos en dos dos, sujeté con alfileres y cosí con puntada recta por uno de los laterales; la base del hongo la cosí uniendo los extremos para formar un cilindro.
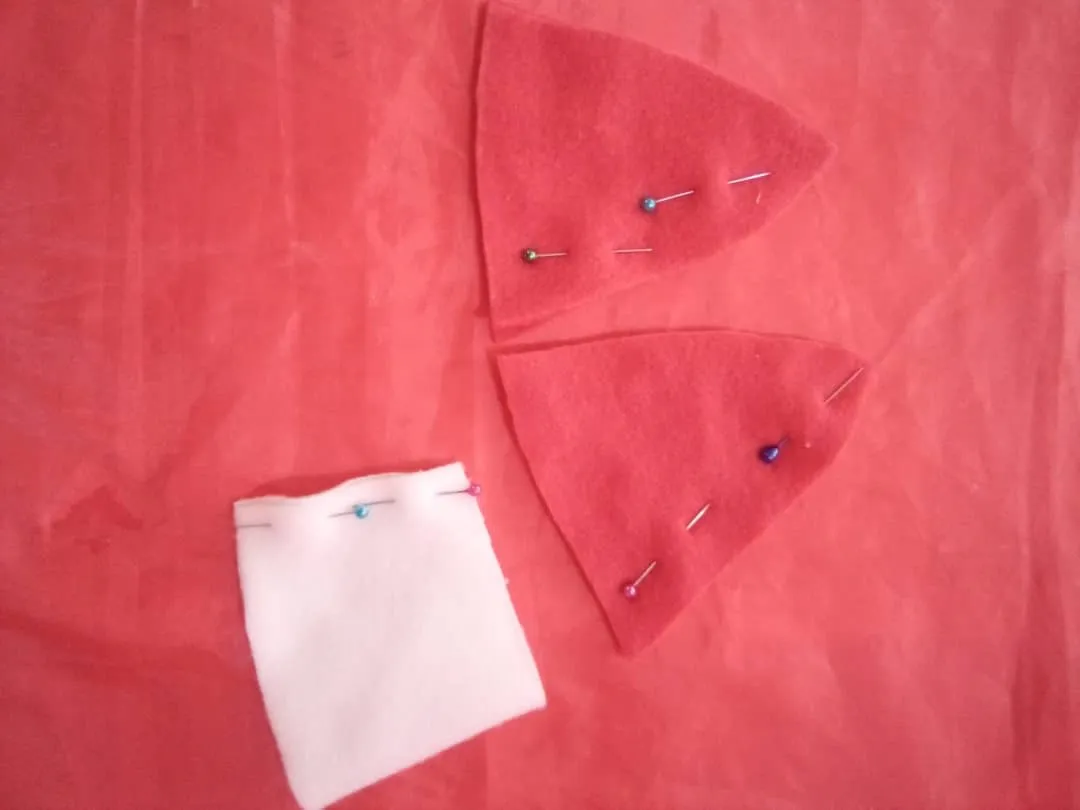
Then I pinned the triangles that I joined in the previous step facing each other on the right side, also the circle at the base and sewed with a straight stitch.
Luego sujeté con alfileres enfrentando por el derecho los triángulos que uní en el paso anterior, también el círculo de la base y cosí con puntada recta.
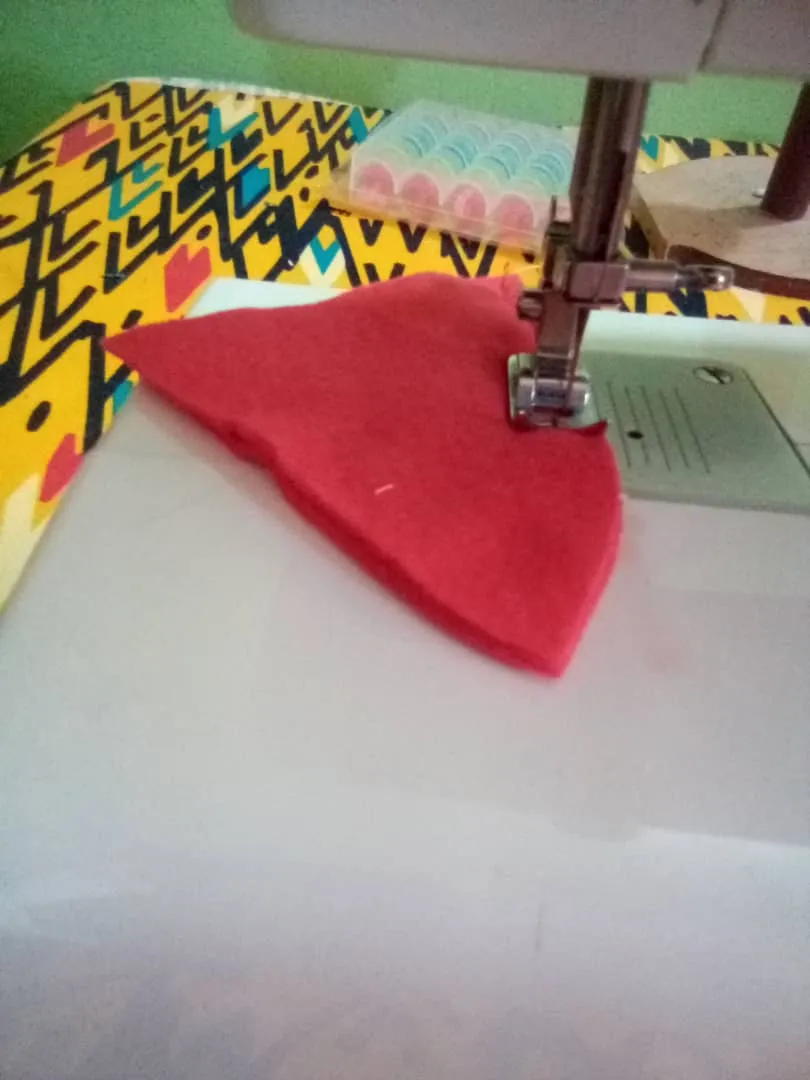
I sewed the triangles together to make the upper part of the mushroom, then I glued the big white circle sewing with a straight stitch all around the contour, to turn it over I made a small hole in the center.
Unidos los triángulos obtuve la parte superior del hongo, luego pegué el círculo blanco grande cosiendo con puntada recta por todo el contorno, para voltear hice un pequeño orificio en el centro.
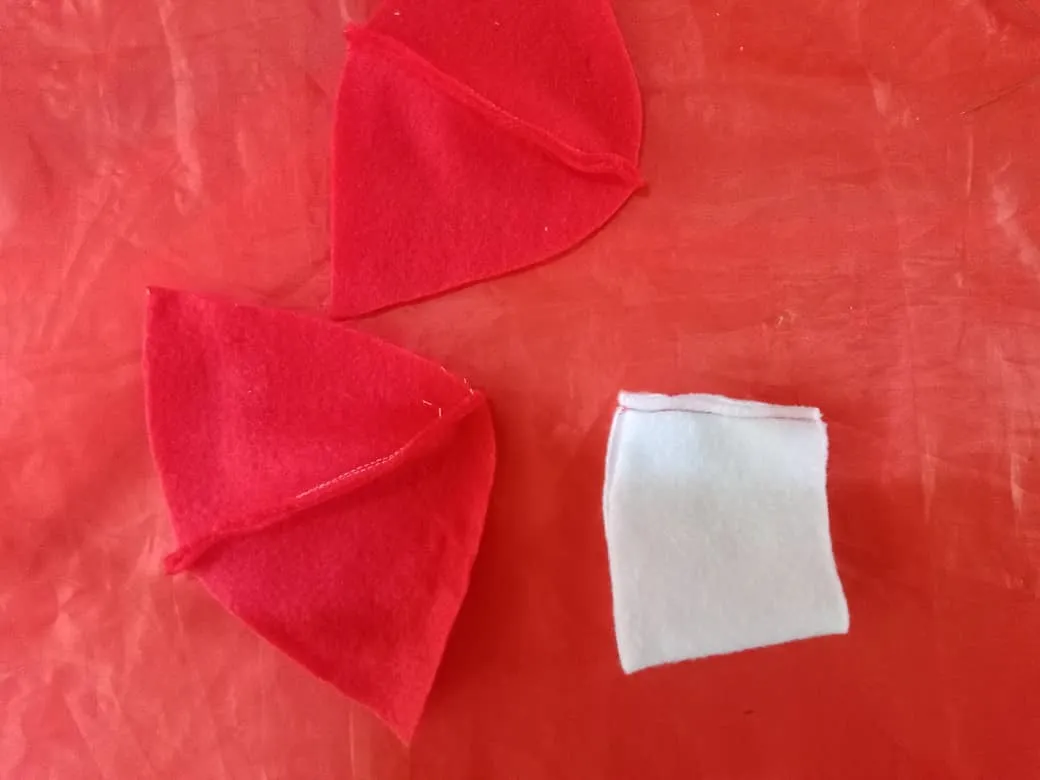
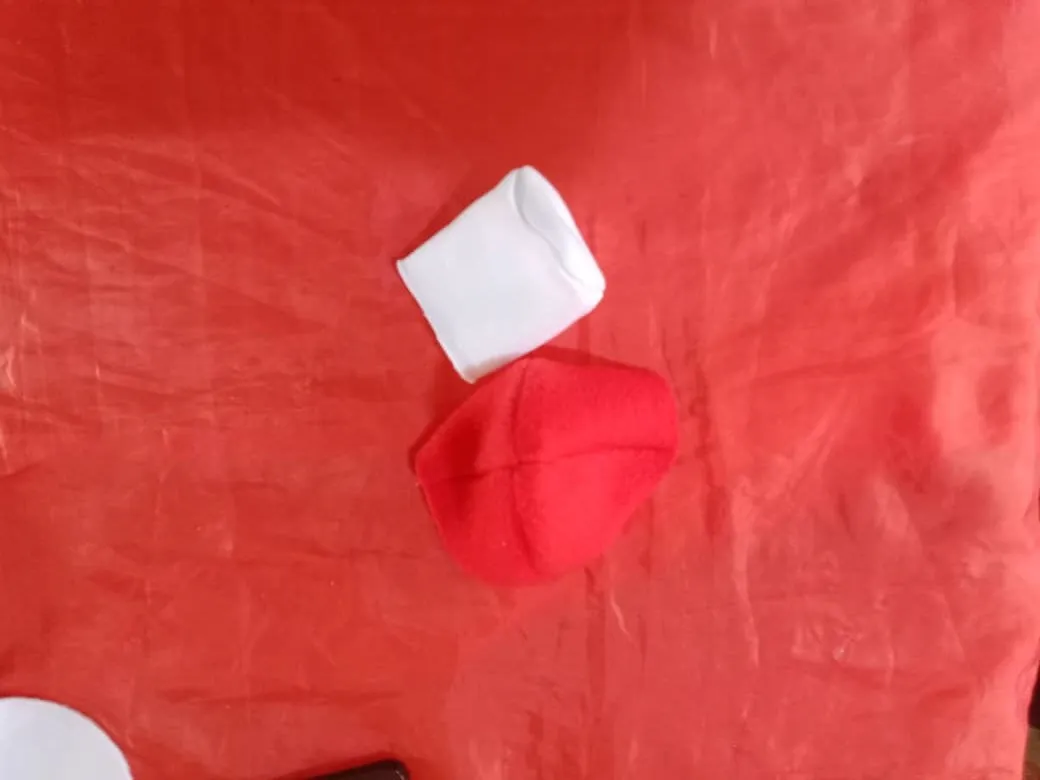
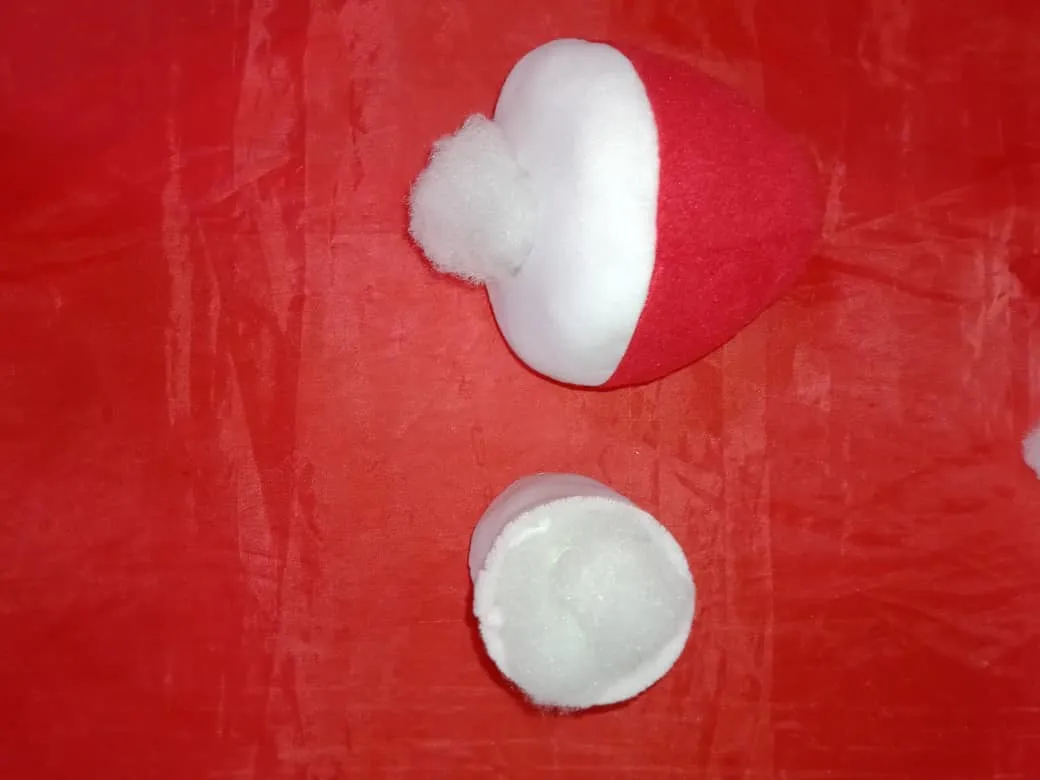
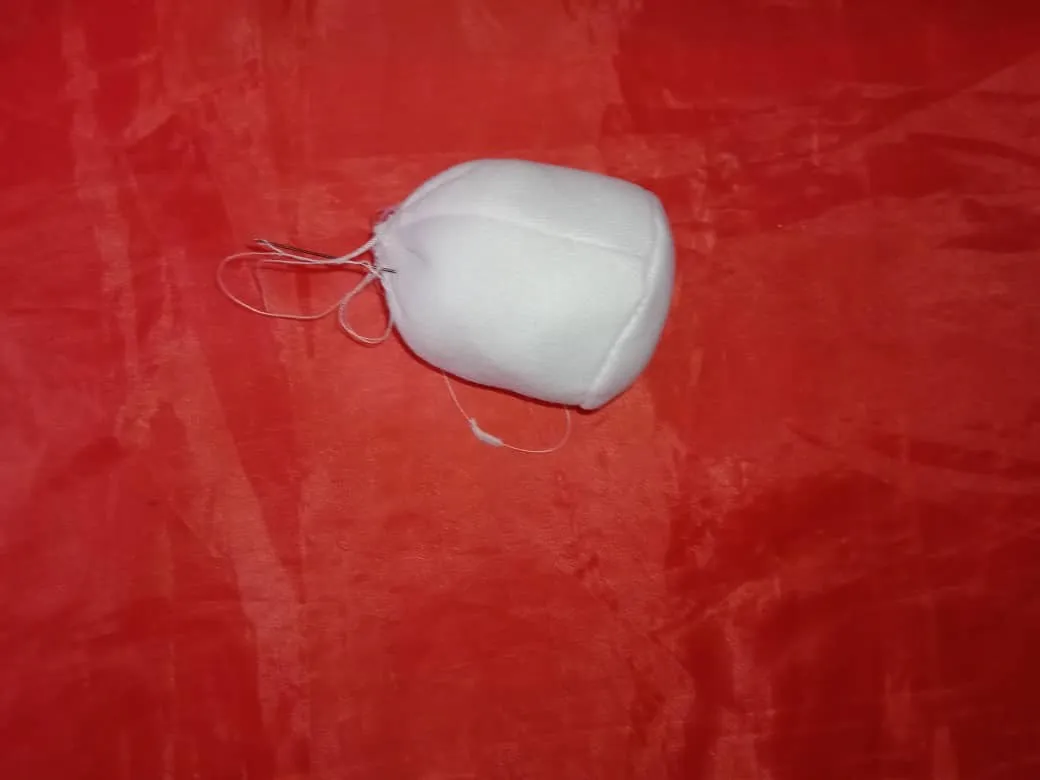
Once the mushroom piece was flipped over I filled in the opening, I added wadding trying to make it of a uniform size, the same way I did with the base I added wadding and then with hand stitch I closed the base.
Volteada la pieza del hongo rellené por la abertura, agregué guata tratando que quedara de un tamaño uniforme, igualmente hice con la base añadí guata, luego con puntada a mano cerré la base.
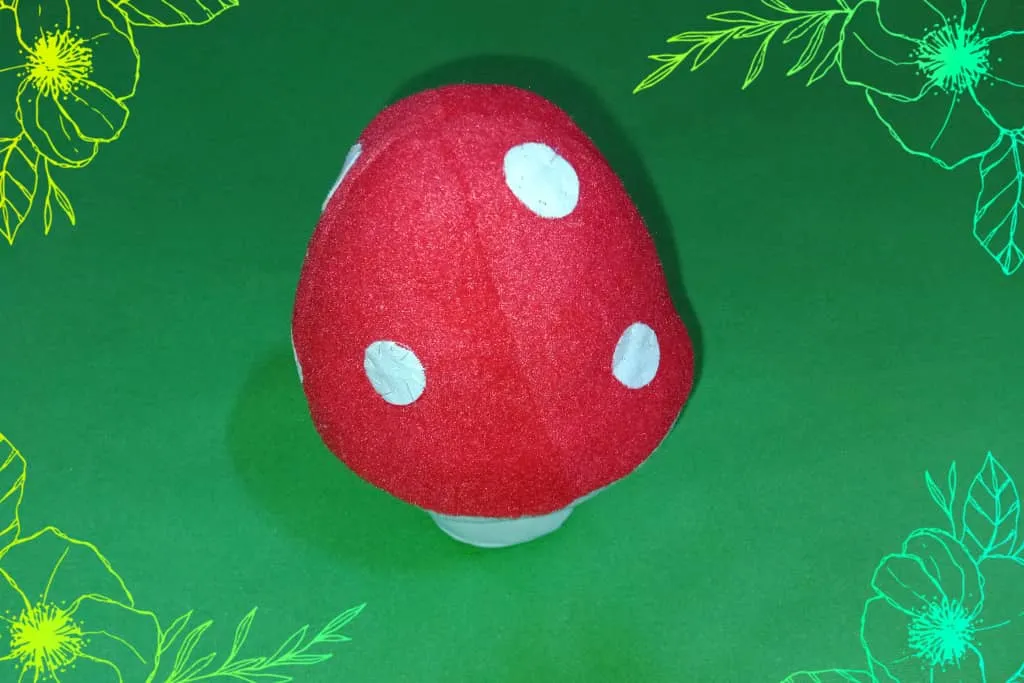
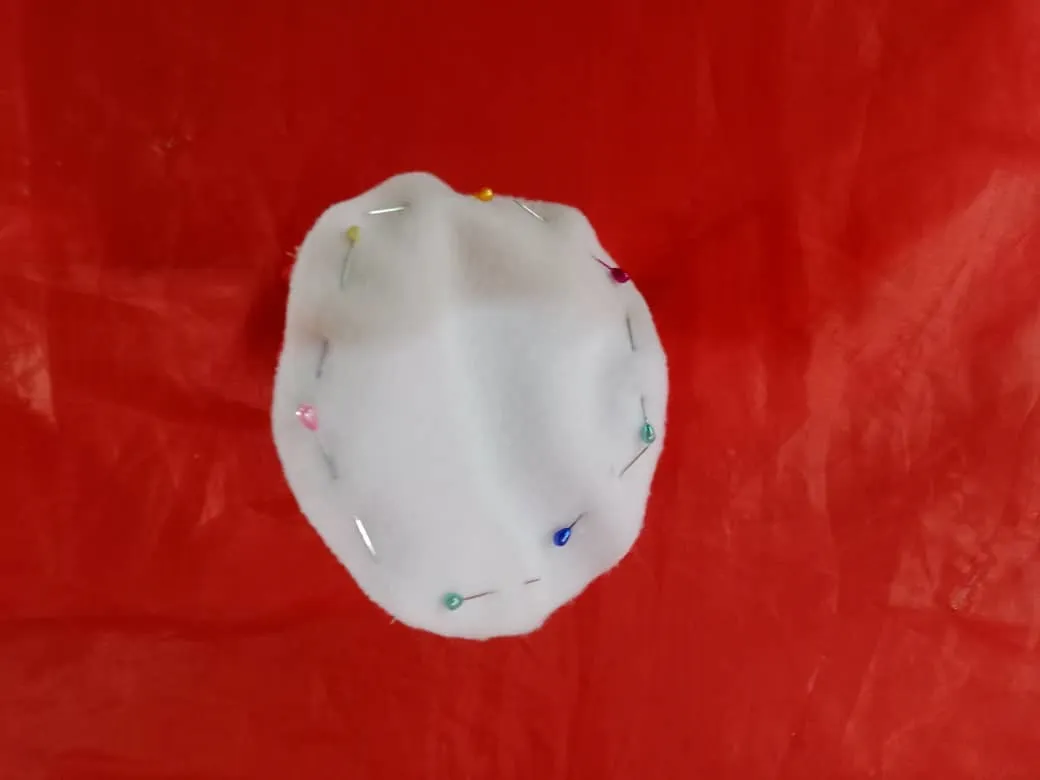
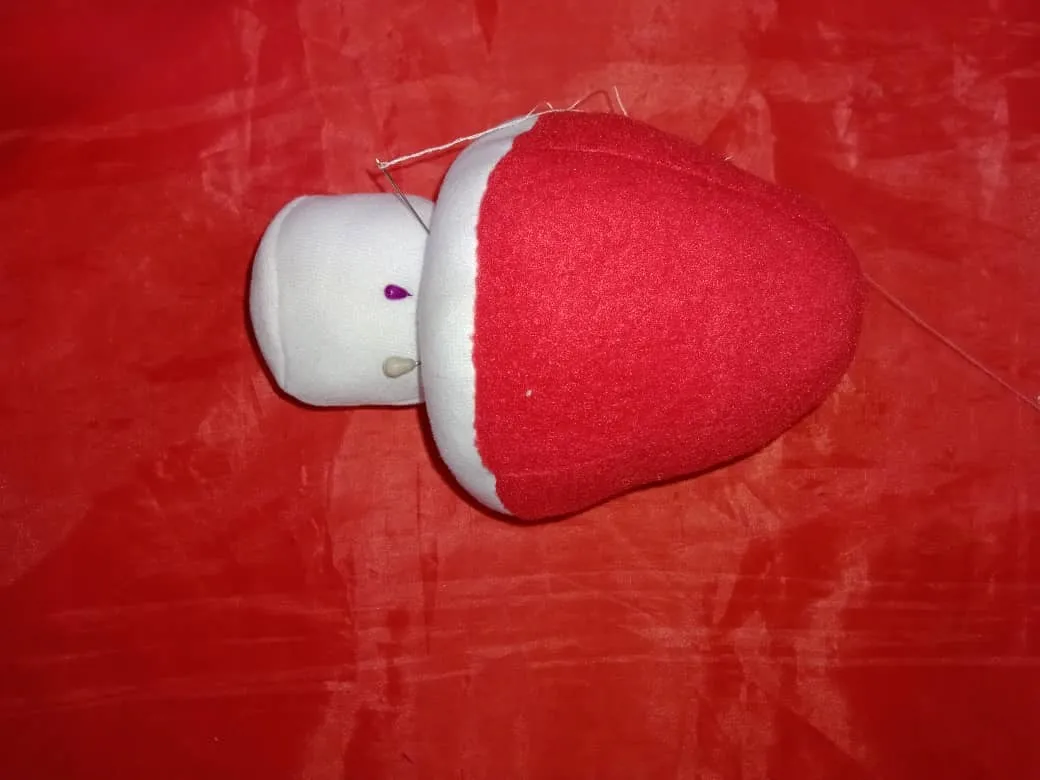
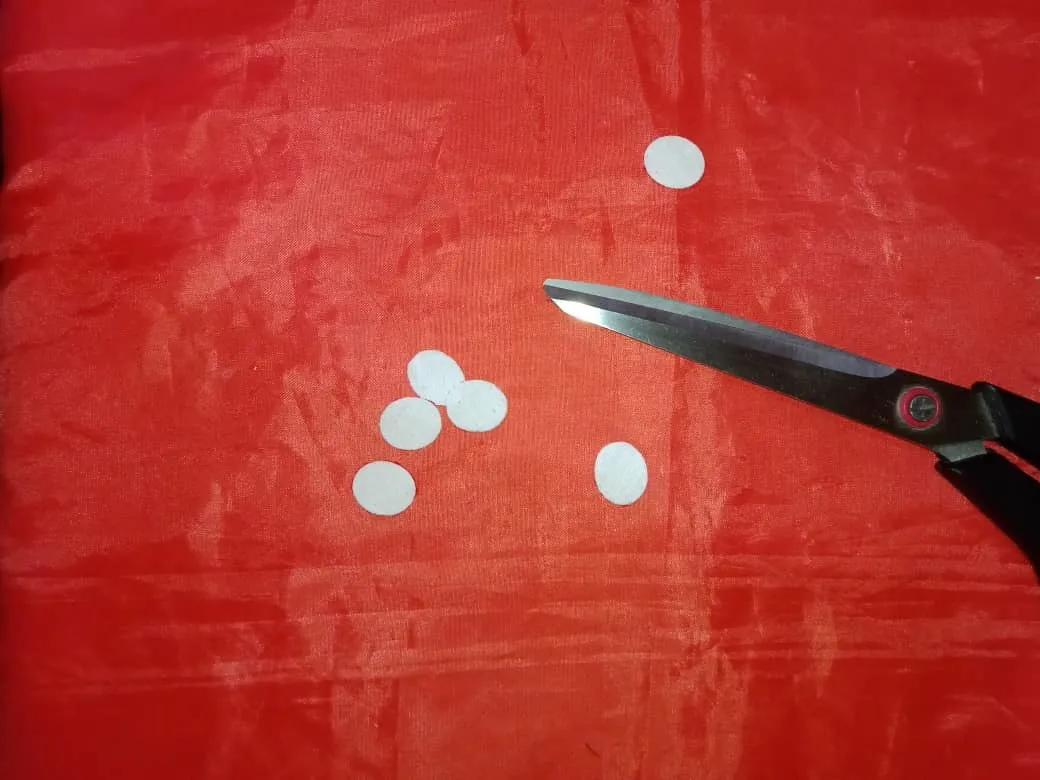
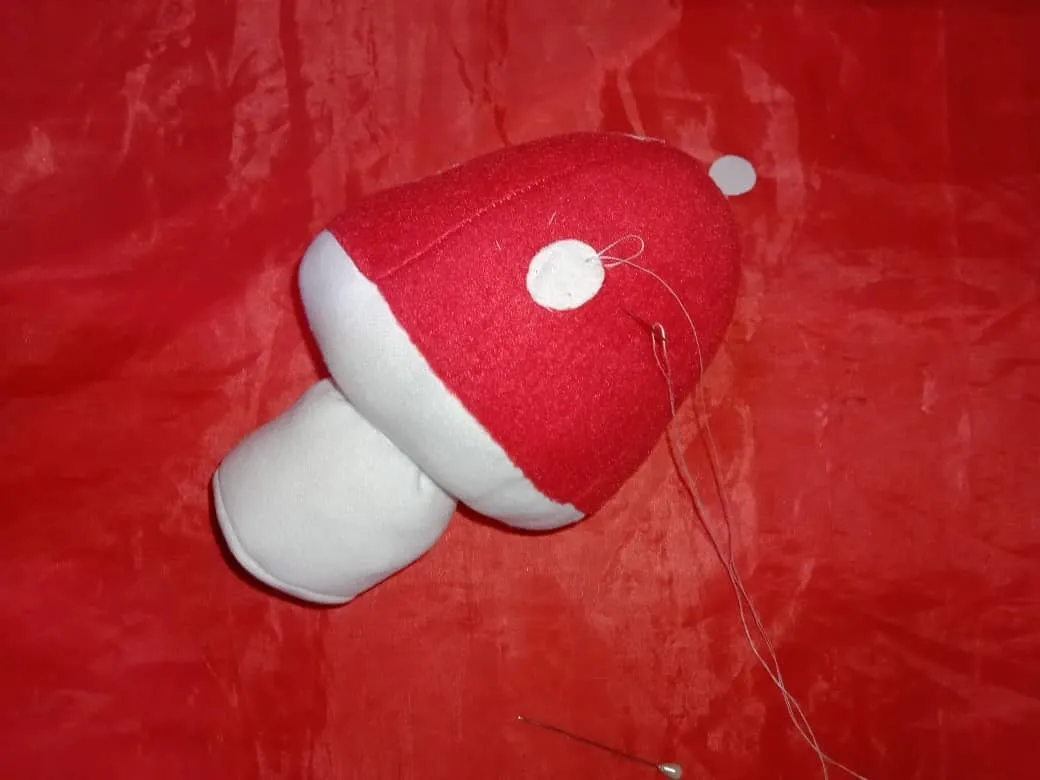
The next step was to glue the base to the mushroom, for this I held the base with pins and sewed with a hidden stitch, to finish I cut several white circles and glued them with hand stitch on the mushroom, like this and with these simple steps a nice Pincushion mushroom to keep our pins close at hand for sewing projects.
El siguiente paso fue pegar la base al hongo, para ello sujeté la base con alfileres y cosí con puntada escondida, para finalizar corte varios círculos blancos y los pegué con puntada a mano en el hongo, así y con estos sencillos pasos está terminado un lindo hongo alfiletero para mantener a mano nuestros alfileres en los proyectos de costura.
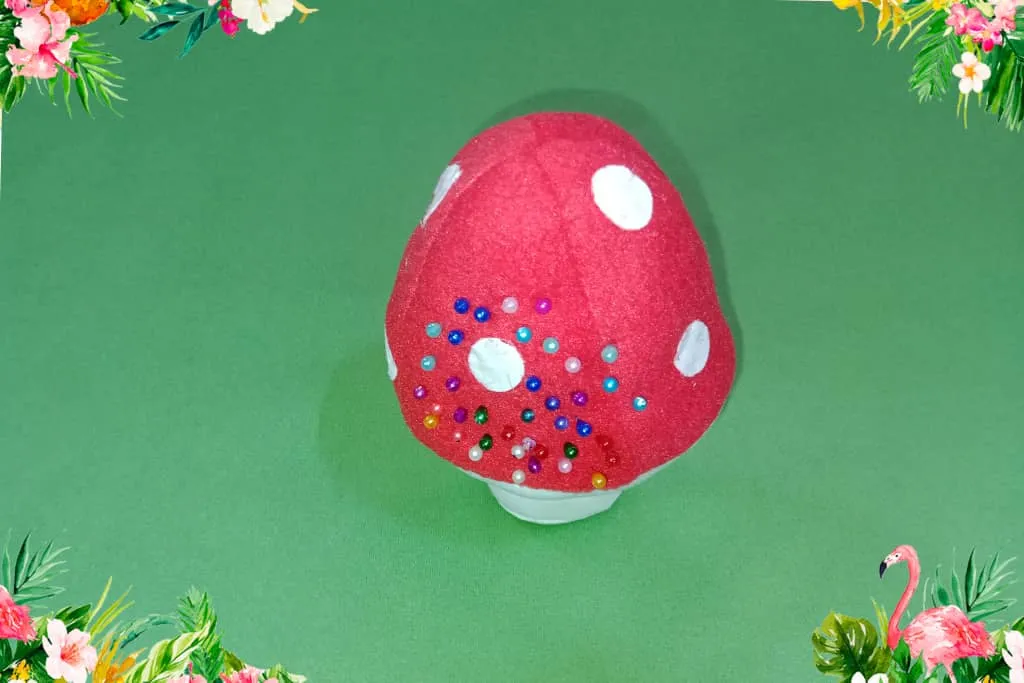
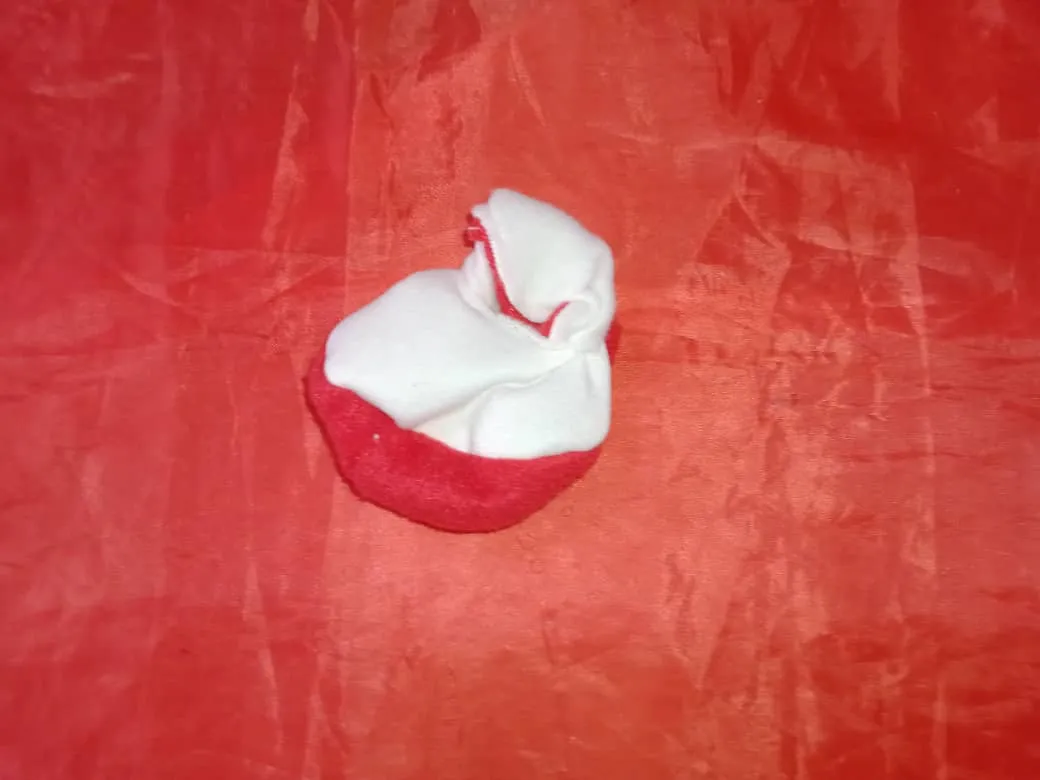
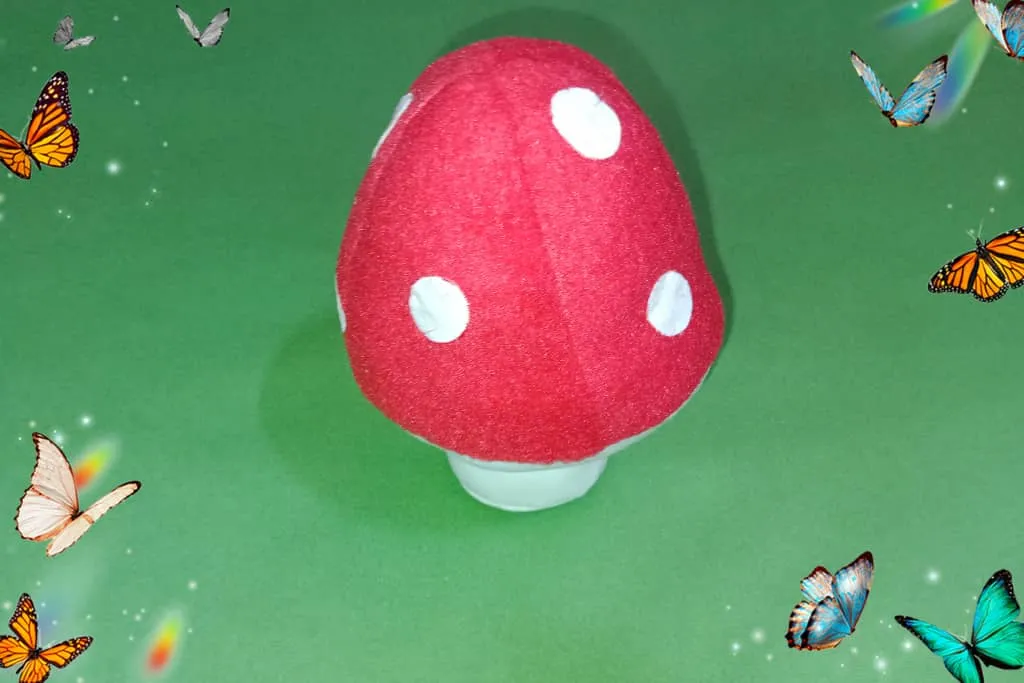
In sewing projects you always need to have pins and there is nothing better than having them on hand and organized in a nice pin cushion. I have made several pin cushions but I really like this one, the mushroom looks great and it has the right width for large pins; It is a simple project to make and you can decorate it with whatever you like, you can place twigs on the base, insects among others, on this occasion I left it with the white base because I need the greatest amount of space to place the small pins and the largest ones in the red part along the needles, I hope you like this project and it is useful to you.
En los proyectos de costura siempre se necesitan tener alfileres y nada mejor que tenerlos a la mano y organizados en un lindo alfiletero, he hecho varios alfileteros pero este me gusta mucho, el hongo se ve muy bien y tiene el ancho adecuado para los alfileres grandes; es un proyecto sencillo de hacer y se puede decorar con lo que más nos guste, se pueden colocar ramitas en la base, insectos entre otros, en esta ocasión lo dejé con la base de color blanco porque necesito la mayor cantidad de espacio para colocar los alfileres pequeños y en la parte roja los más grandes por lo largo de las agujas, espero que les guste este alfiletero y les sea de utilidad.
Blessings!
Bendiciones!

Hasta luego!

Translated with https://www.deepl.com/translator
              All images are my own, captured by a Síragon LC-3000 camera. Dividers courtesy of @kattycrochet.


   Todas las imágenes son de mi autoría, capturadas por una cámara Síragon LC-3000. Divisores cortesía de @kattycrochet.