Feliz y bendecido día amigos de la costura, les saludo con mucho cariño, deseando bediciones para todos. Estoy muy contenta por que una vez más puedo compartir unos minutos muy agradables con todos mis amigos artesanos, diseñadores y más. Admiro y disfruto cada proyecto que comparten a través de esta plataforma, a todos un ¡fortísimo abrazo y mil bendiciones!♥.
Happy and blessed day sewing friends, my seamstress friends, I greet you with love, wishing blessings for all of you. I am very happy because once again I can share a few very pleasant minutes with all my artisan friends, designers and more. I admire and enjoy every project you share through this platform, a big hug and a thousand blessings for all of you!♥.
Aprovecho la oportunidad para disculparme una vez más por mi ausencia en la comunidad. Espero poder incorporarme nuevamente con la ayuda de Dios. Ya les extrañaba mucho😊. Les cuento que tuve muchos días de estrés y cansancio en el trabajo, sin tener tiempo de coser en casa. Ayer estuve más relajada y aproveche el momento para elaborar unas lindas flores de tela y compartir el procedimiento con todos ustedes. Les invito a que me acompañen hasta el final.
I take this opportunity to apologize once again for my absence from the community. I hope to be able to join again with God's help. I already missed them a lot😊. I tell you that I had many days of stress and fatigue at work, without having time to sew at home. Yesterday I was more relaxed and I wanted to take advantage of the moment to make some beautiful fabric flowers and share the procedure with all of you. I invite you to accompany me until the end.
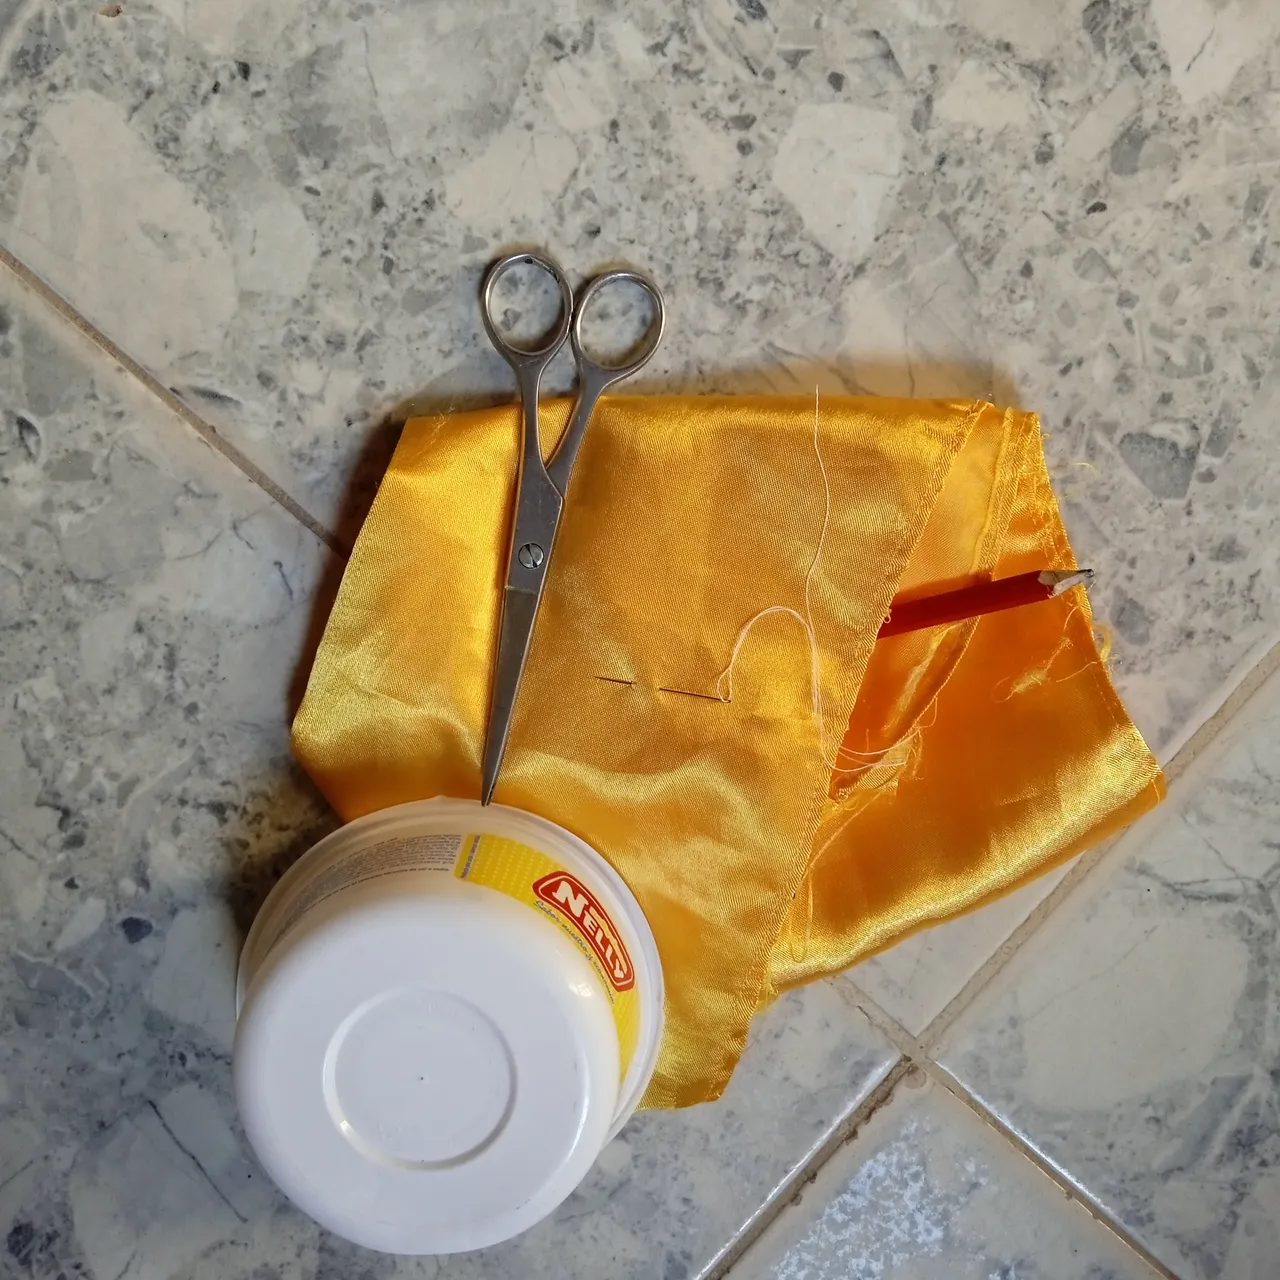
Los materiales que utilice son muy faciles de coseguir.
- Relazos de tela satinada.
- Tijera.
- Lápiz.
- Pedreria.
- Envase de plástico.
- Hilo y aguja, y por supuesto nuestra máquina de coser.
The materials used are very easy to sew.
- Satin fabric ties.
- Scissors.
- Pencil.
- Rhinestones.
- Plastic container.
- Thread and needle and of course our sewing machine.
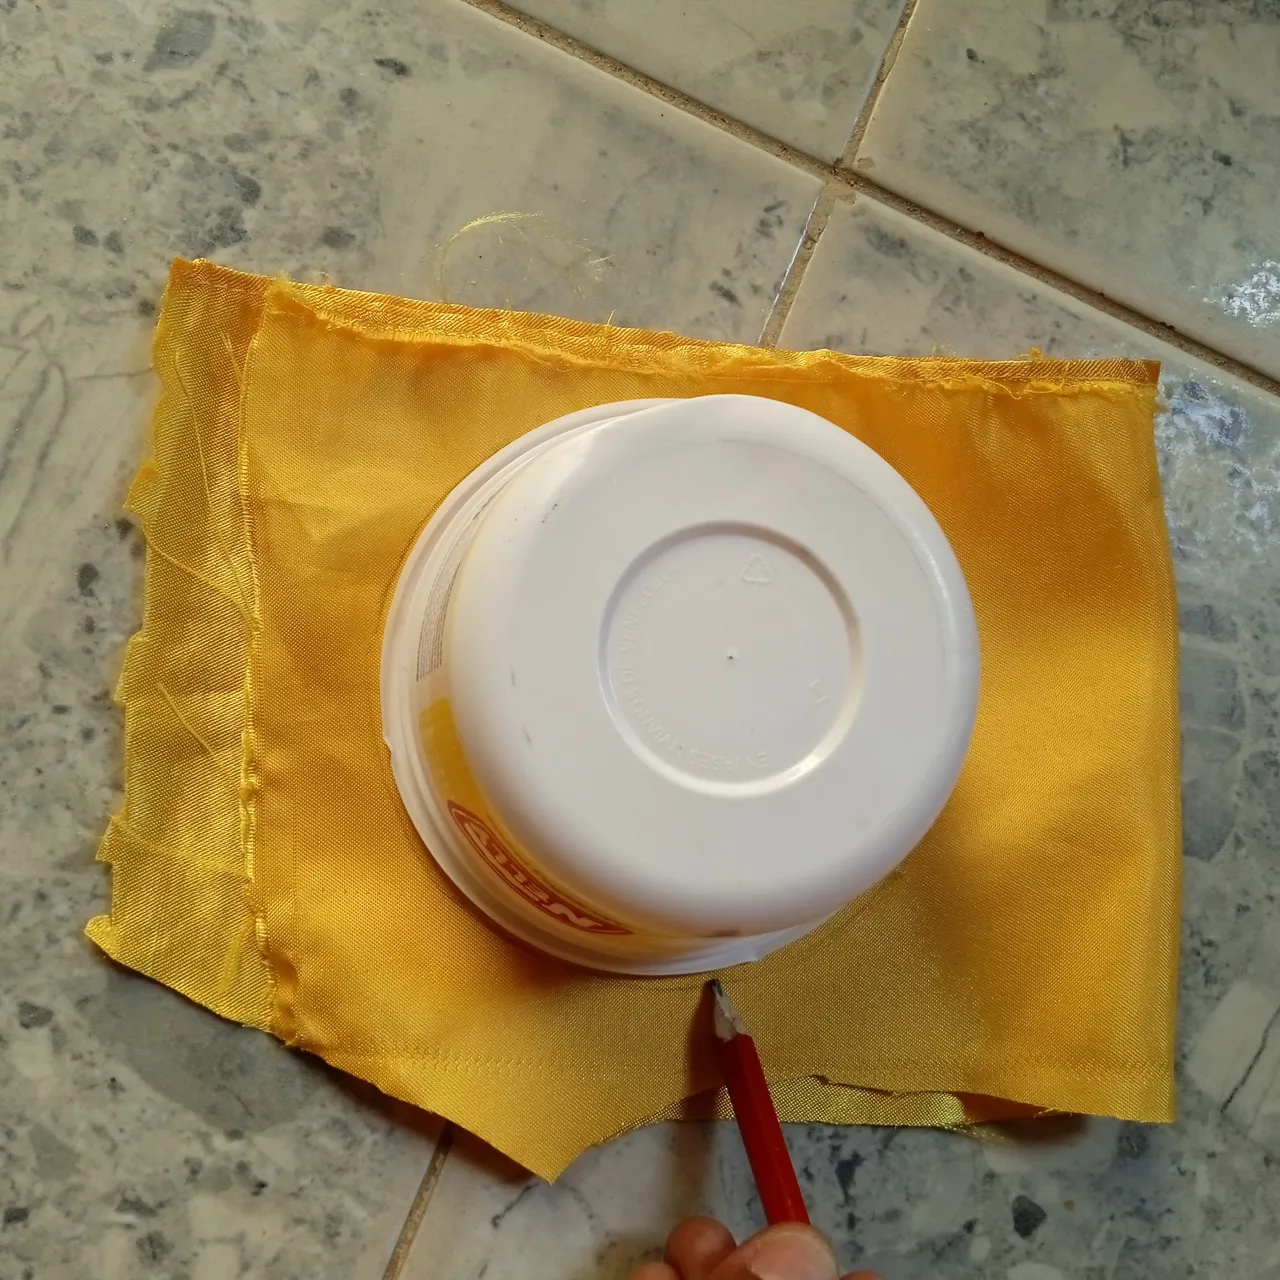
Paso 1.
Para empezar, vamos a tomar un trozo de tela satinada y colocamos un envase redondo sobre la tela, y con ayuda de un lapiz, marcamos para obtener la forma circular.
Step 1.
To begin, we are going to take a piece of satin fabric and place a round container on the fabric, and with the help of a pencil, we mark to obtain the circular shape.
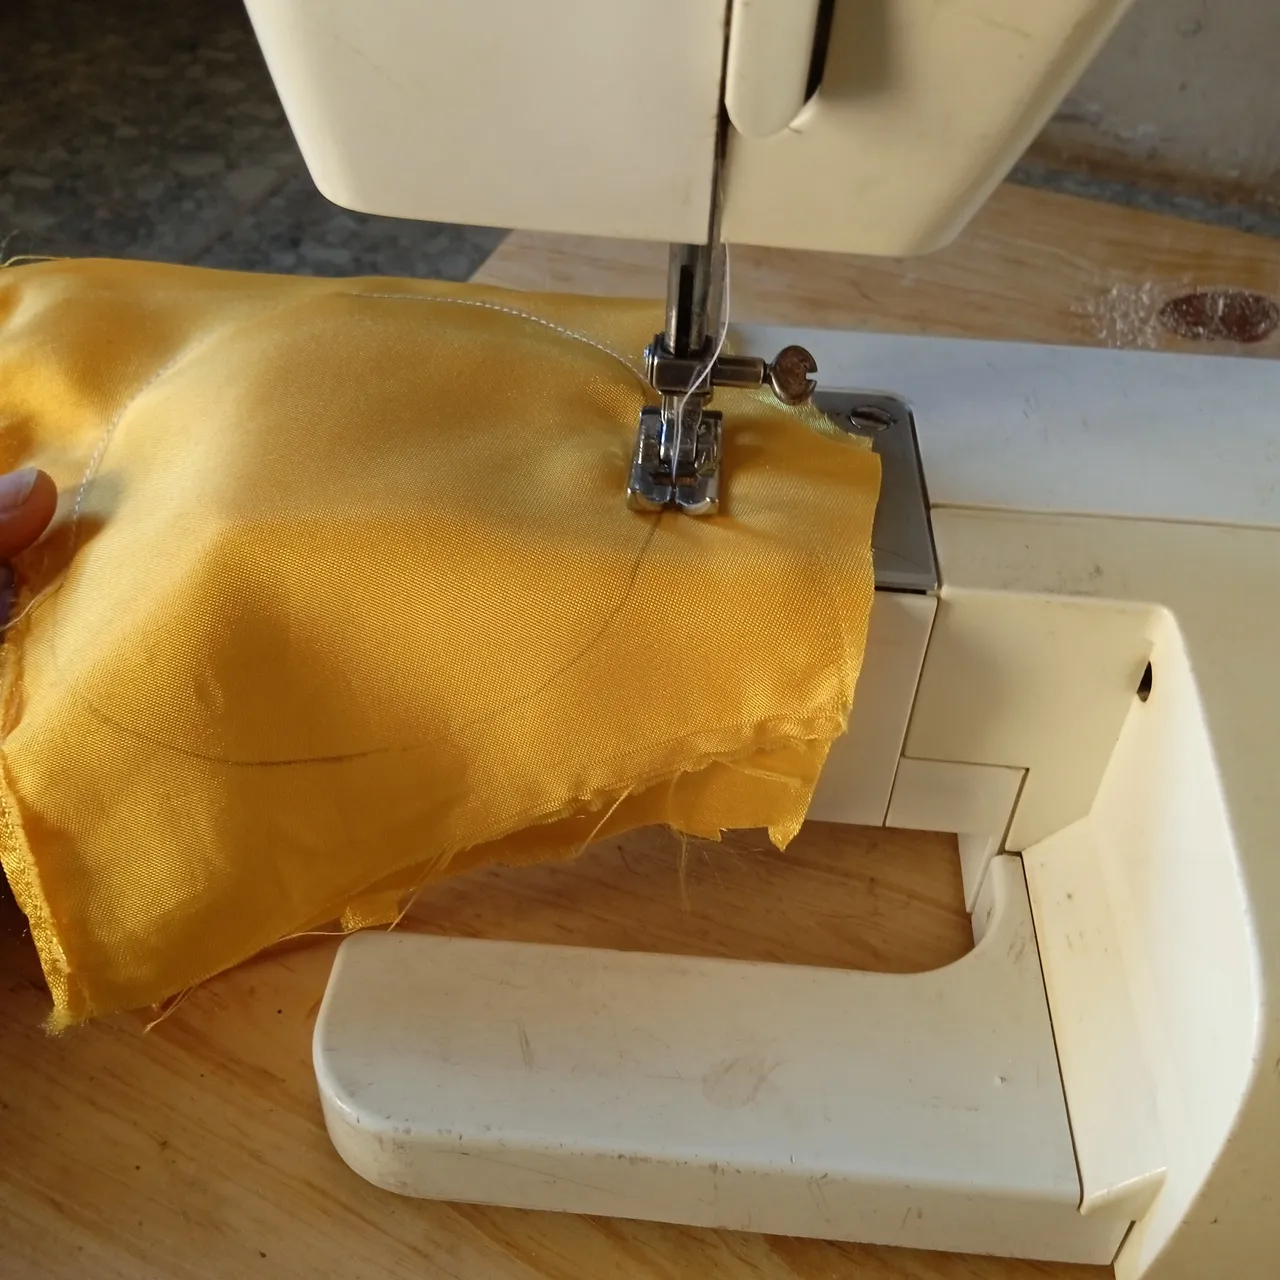
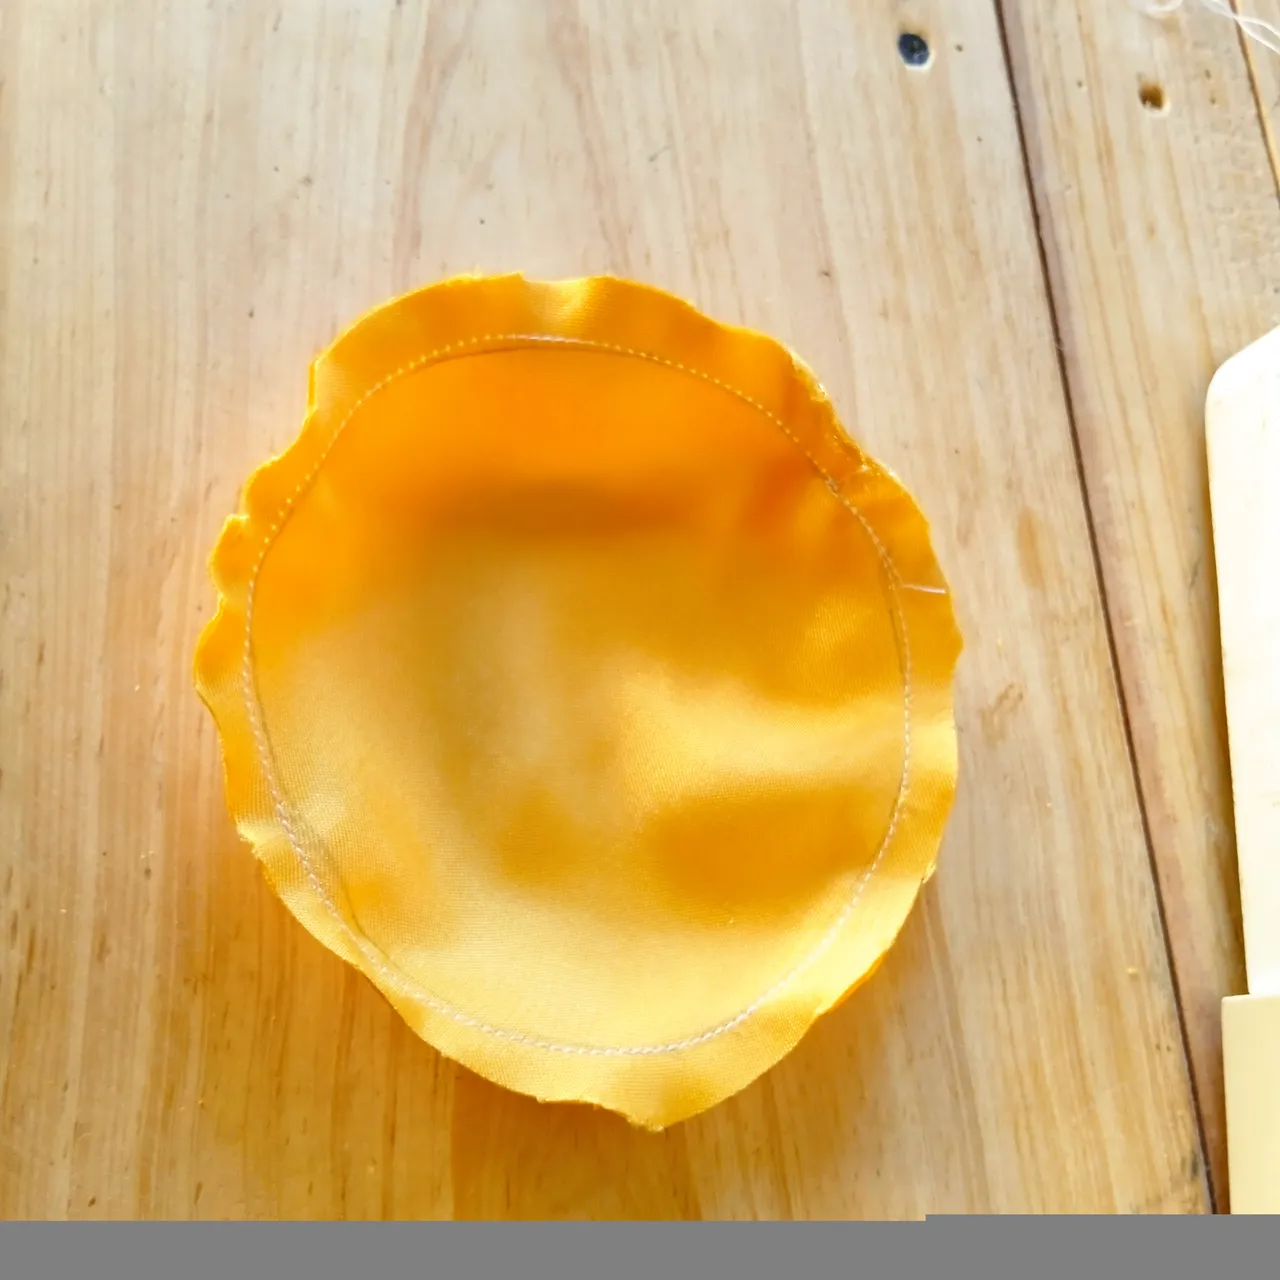
Paso 2.
Sin recortar el círculo, vamos a coser en la máquina siguiendo el círculo que ya hemos marcamos.
Step 2.
Without cutting out the circle, we are going to sew on the machine following the circle we marked.
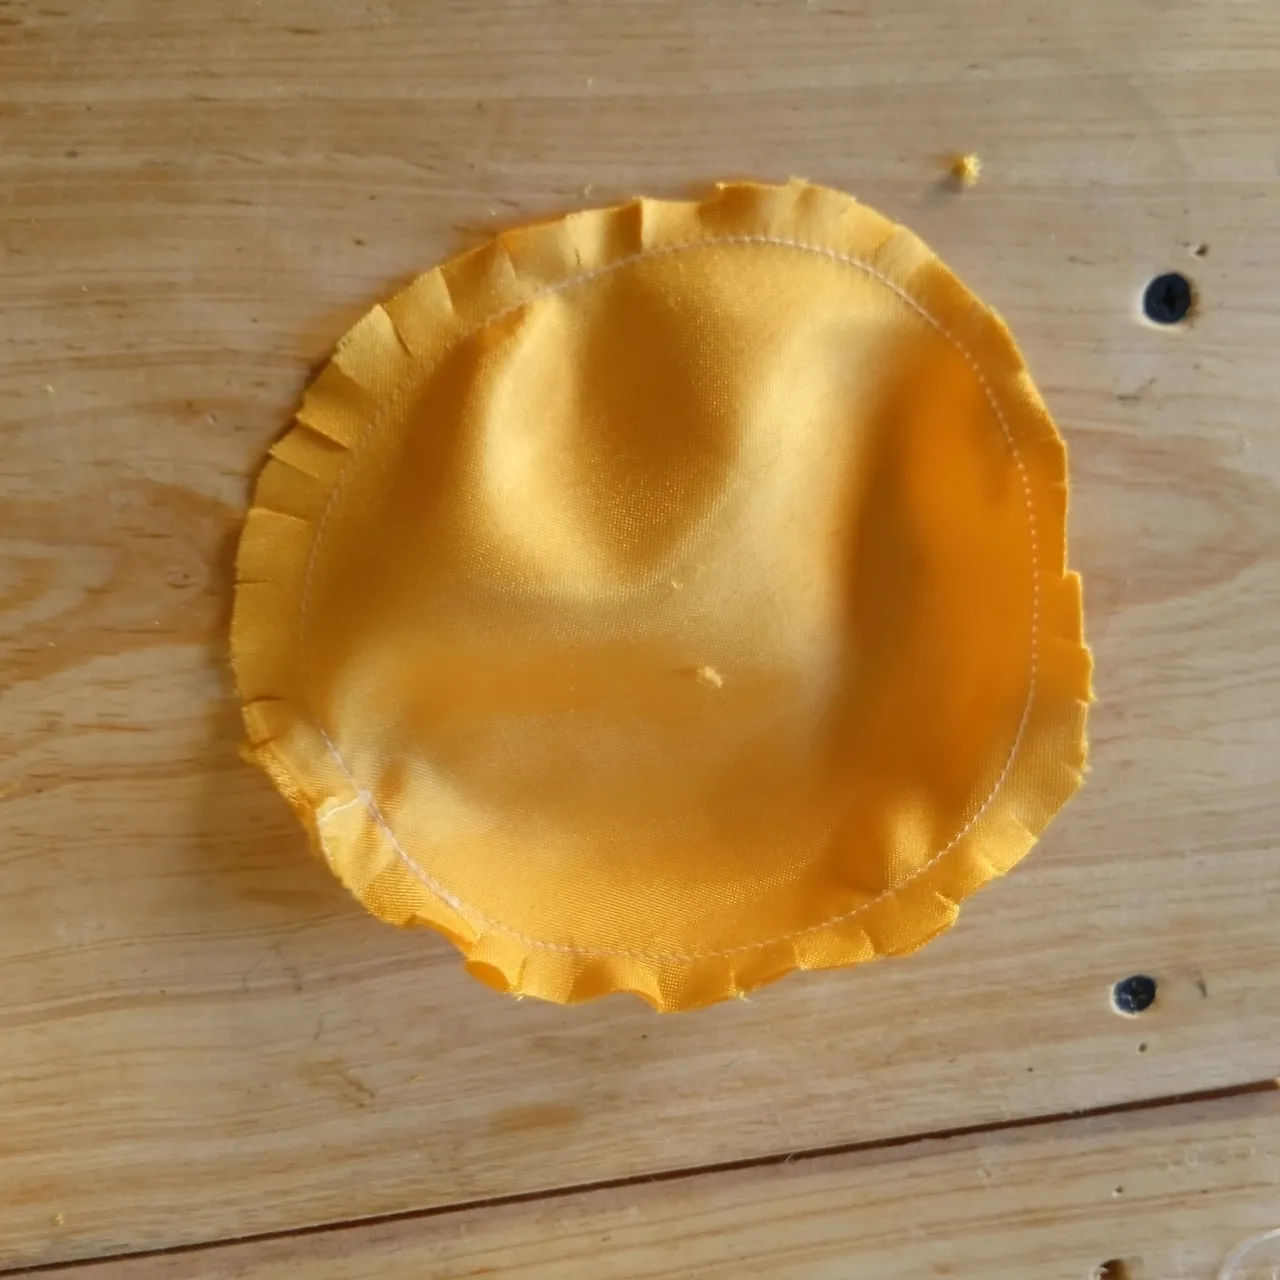
Paso 3.
Ahora procedemos a recortar el círculo con ayuda de una tijera.
Step 3.
Now we proceed to cut out the circle with the help of scissors.
Paso 4.
Una vez que tengamos el círculo, procedemos a hacer unos pequeños cortes verticales alrededor del mismo.
Step 4.
Once we have the circle, we proceed to make some small vertical cuts around the circle.
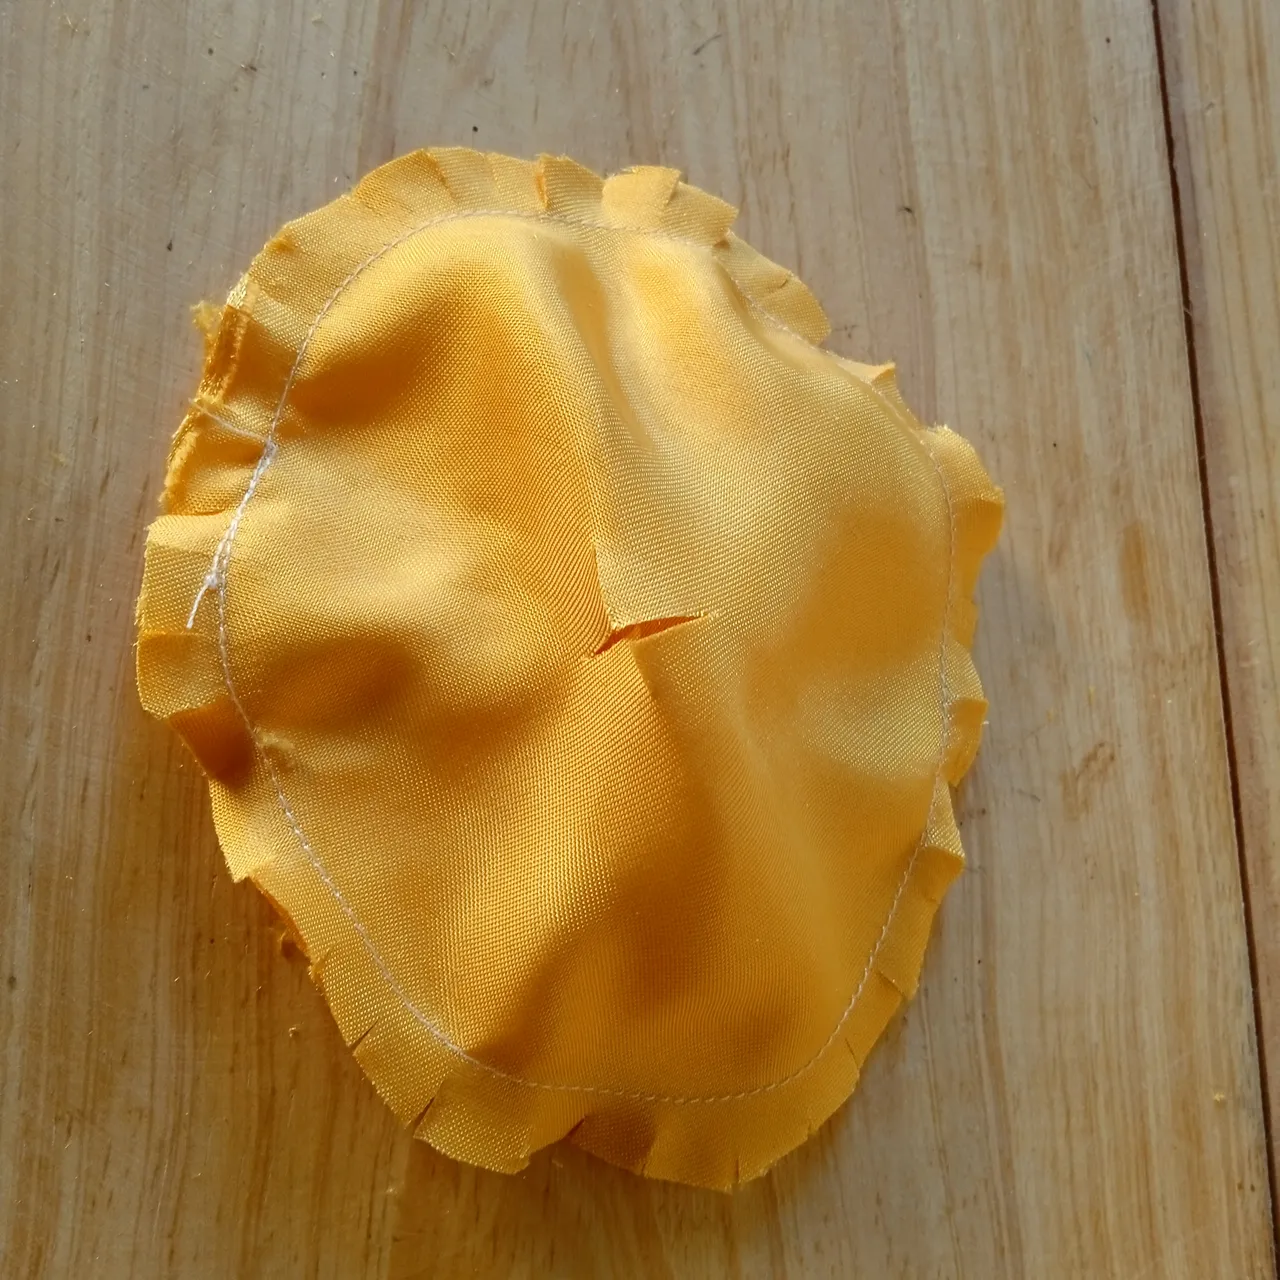
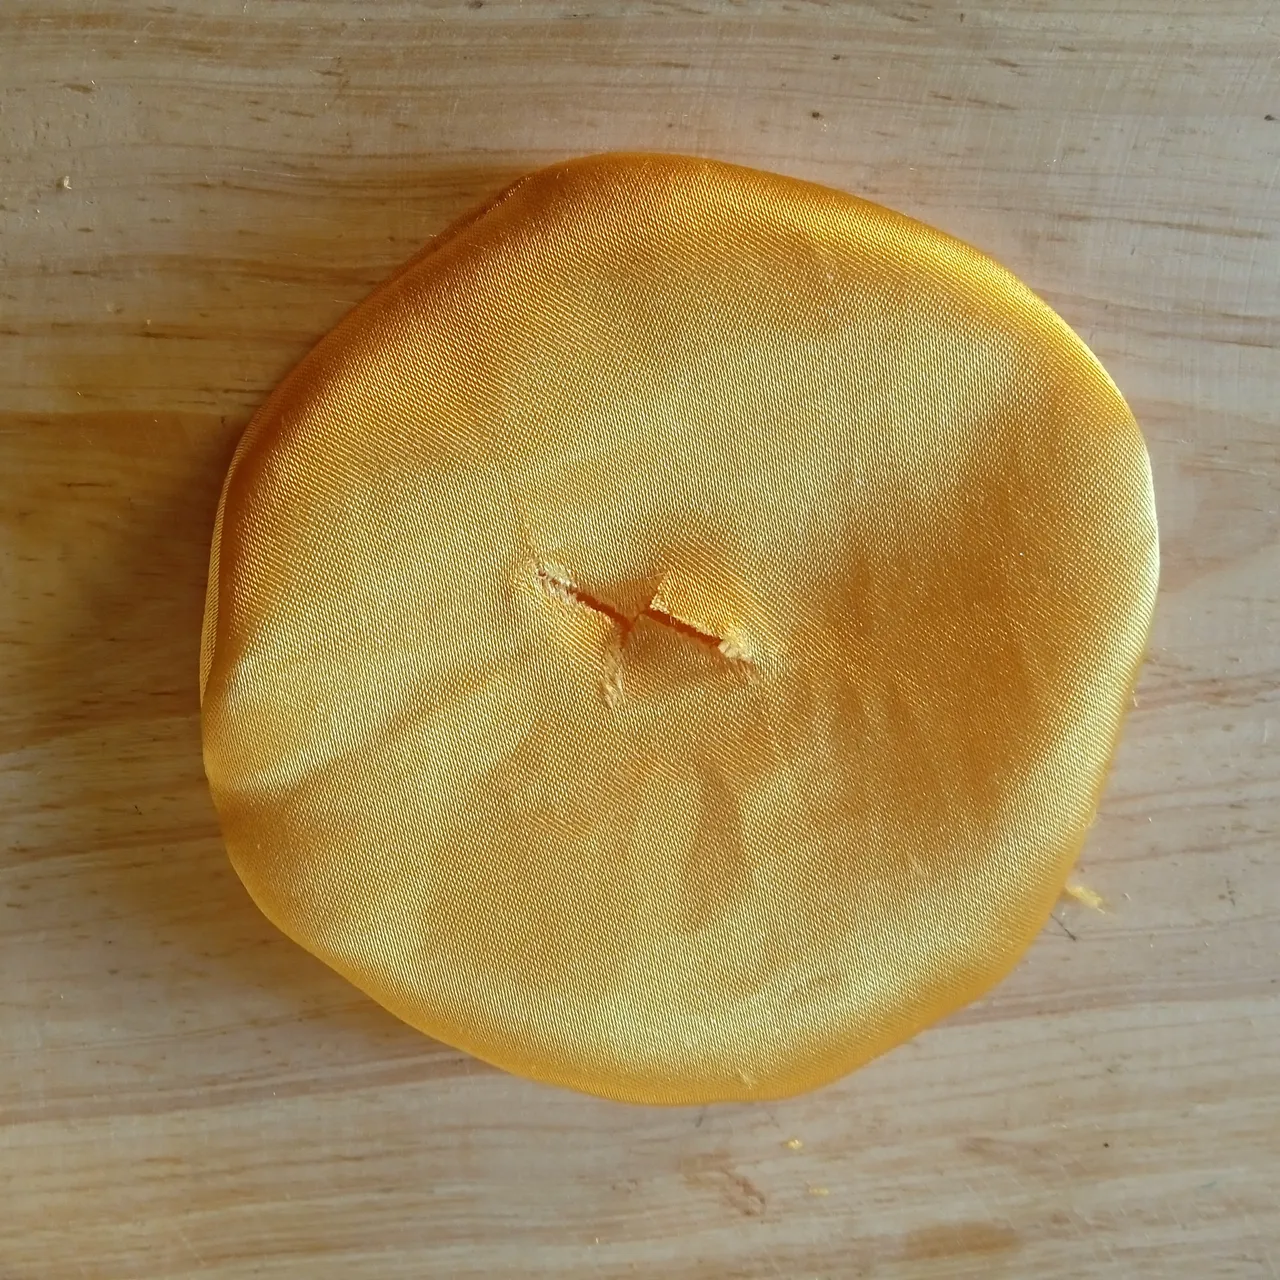
Paso 5.
Seguidamente hacemos una abertura en uno de los lados del círculo para así poder voltear con facilidad.
Step 5.
Next we make an opening in one of the sides of the circle to turn it over easily.
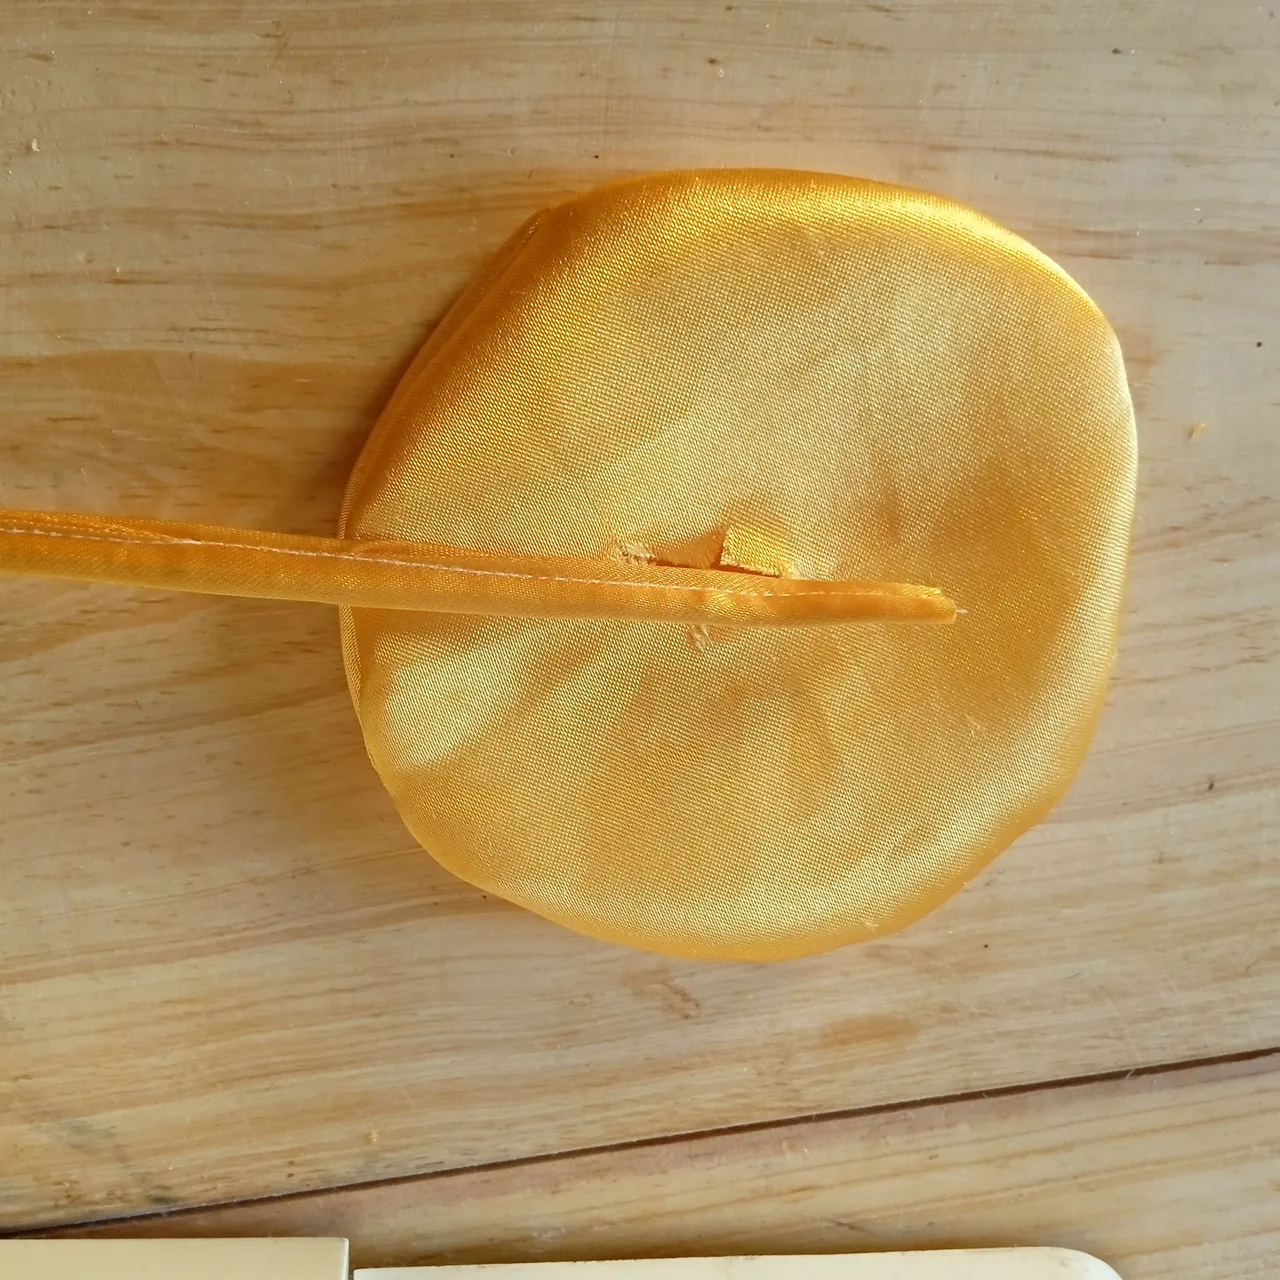
Paso 6.
En este paso vamos a recortar un trozo de tela en forma de rectángulo y doblamos de manera que quede muy fino, finalmente cosemos y obtendremos un cordón el cual sera el tallo. Procedemos a armar nuestra flor. Lo que haremos es colocar este cordón sobre el círculo justo donde esta la abertura.
Step 6.
In this step we are going to cut a piece of fabric in the shape of a rectangle and fold it so that it is very thin, finally we sew and we will obtain a cord which will be the stem. We proceed to assemble our flower. What we will do is place this cord on the circle right where the opening is.
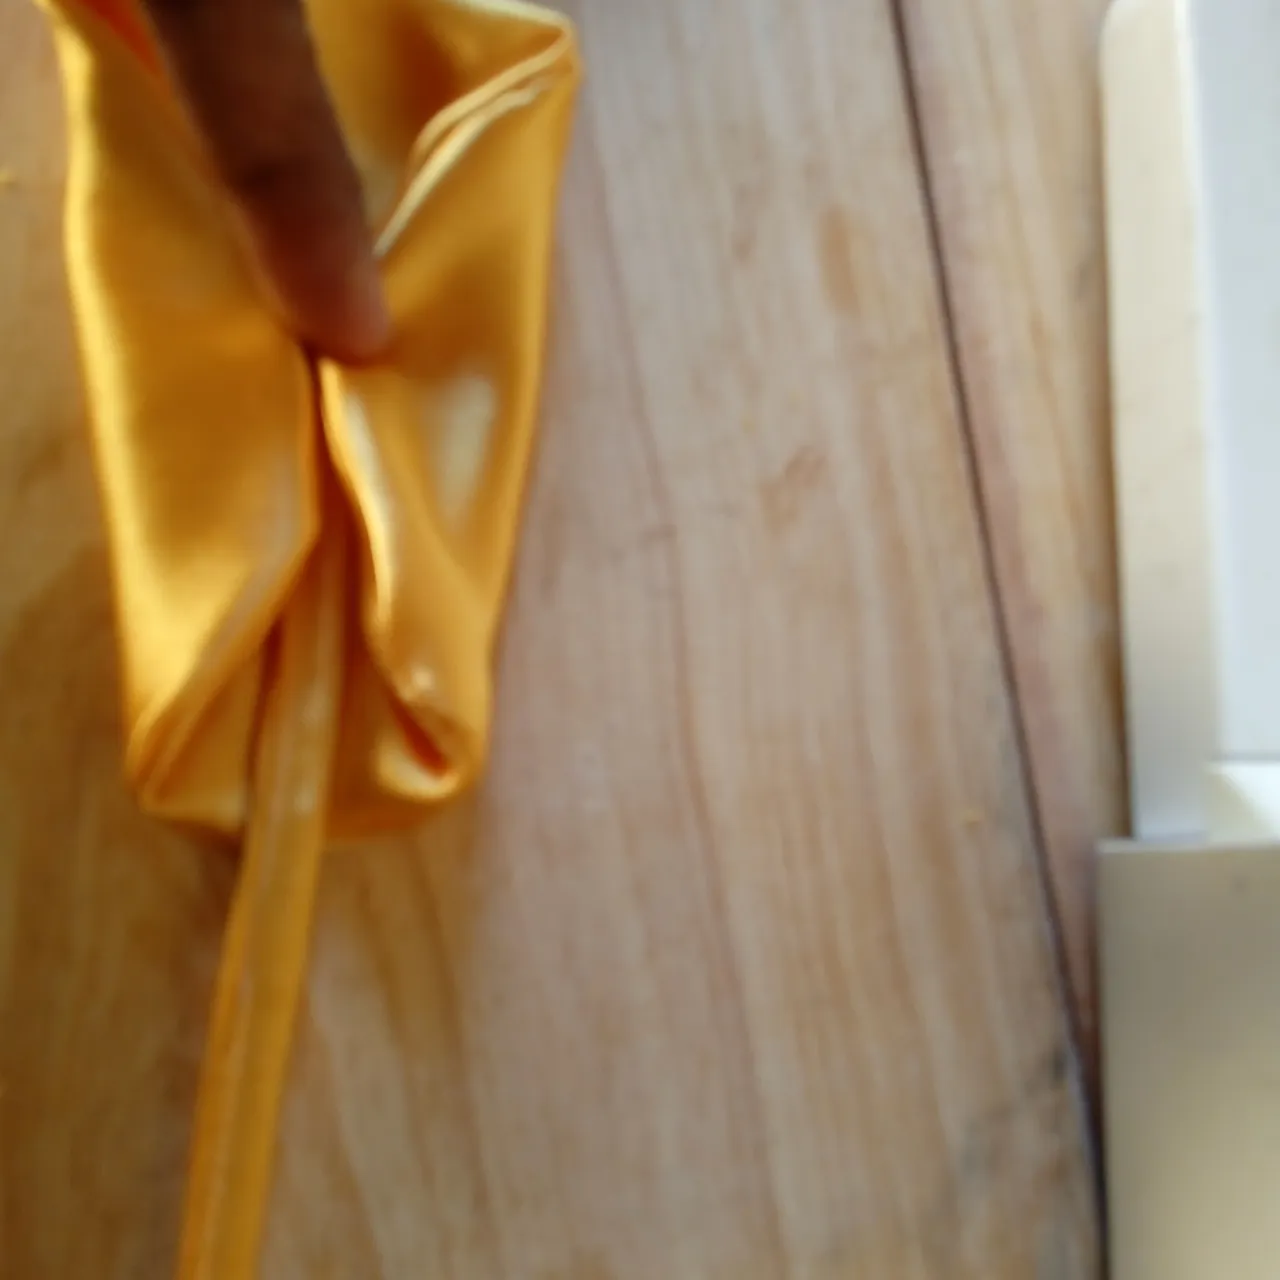
Paso 7.
Doblamos los lados del círculo, llevandolos hasta el centro, pueden sujetar con un alfiler.
Step 7.
We fold the sides of the circle, bringing them to the center, you can fasten with a pin.
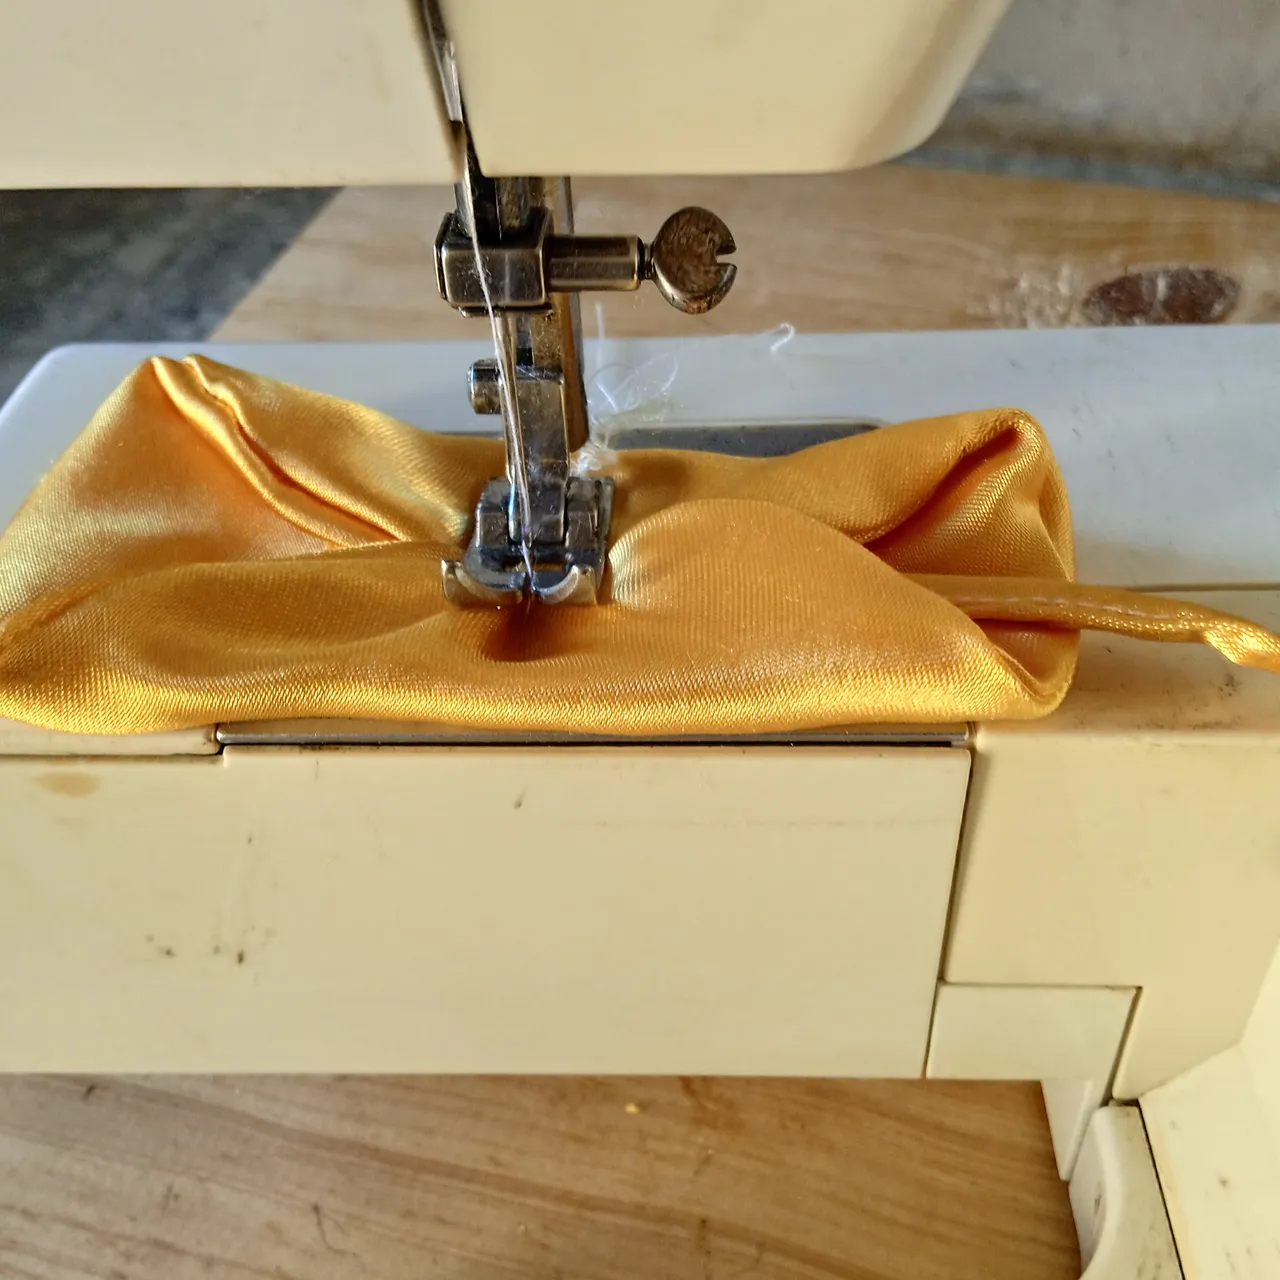
Paso 8.
Cosemos en la máquina y hacemos una pequeña costura como de unos 3cm aproximadamente.
Step 8.
We sew on the machine and make a small seam of approximately 3cm.
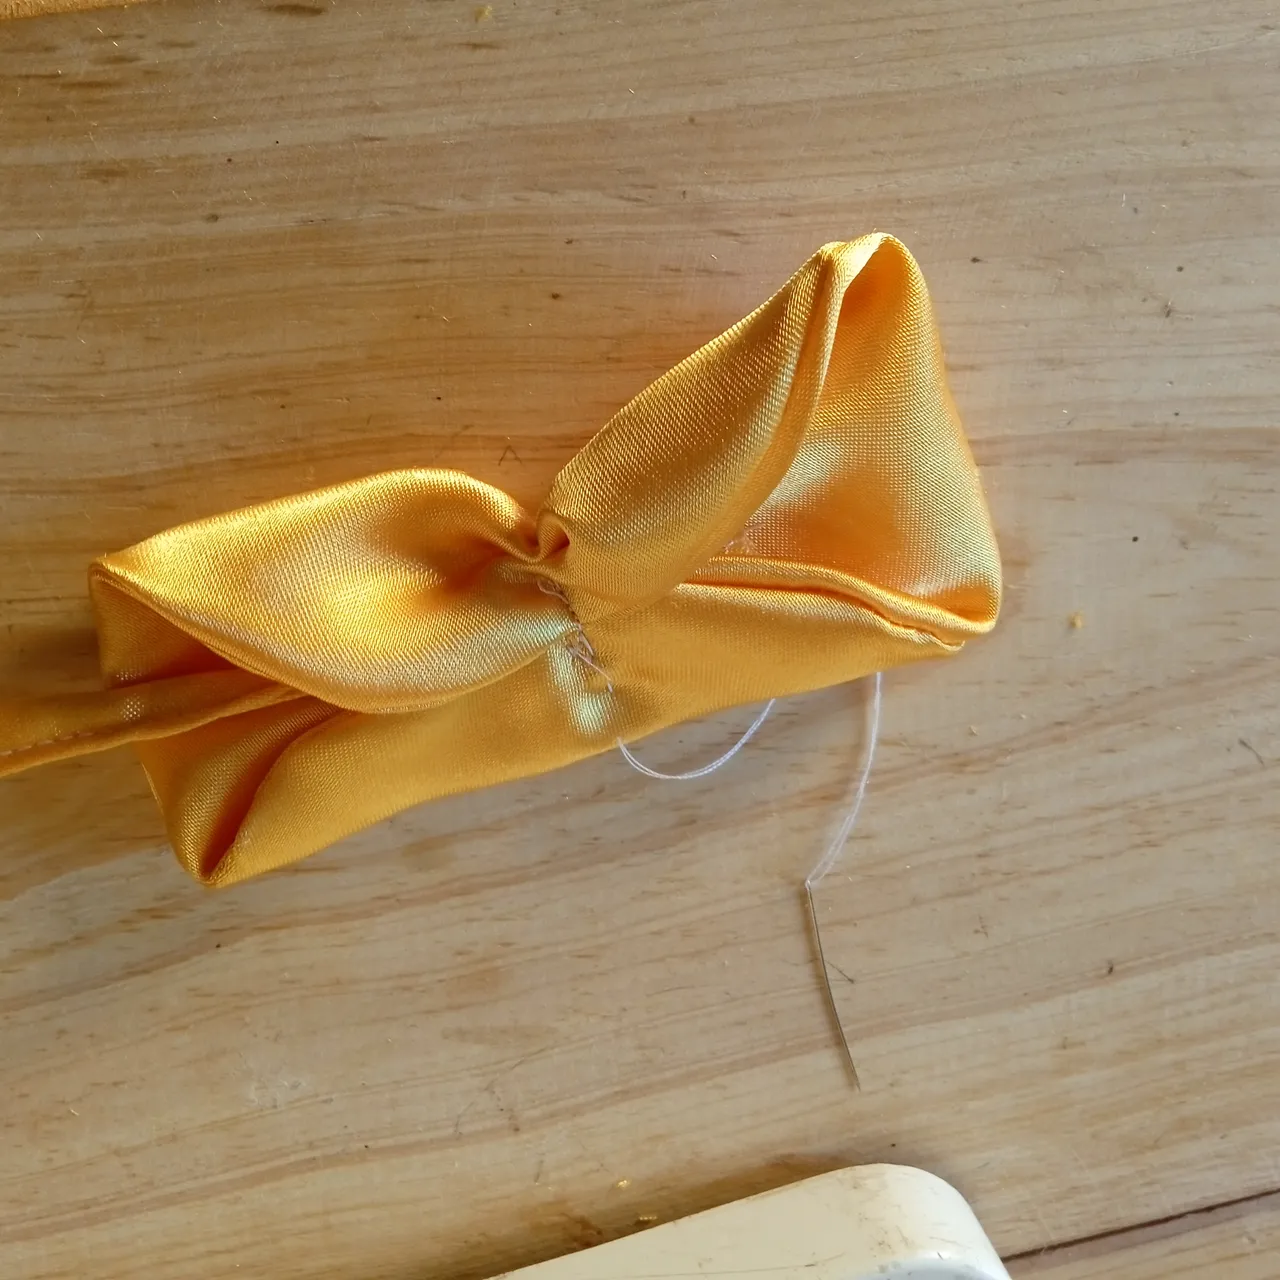
Paso 9.
Con una aguja manual enhebrada hacemos costura floja sobre la otra y halamos el hilo para fruncir.
Step 9.
With a manual needle thread we make a loose seam on the other and weave to gather.
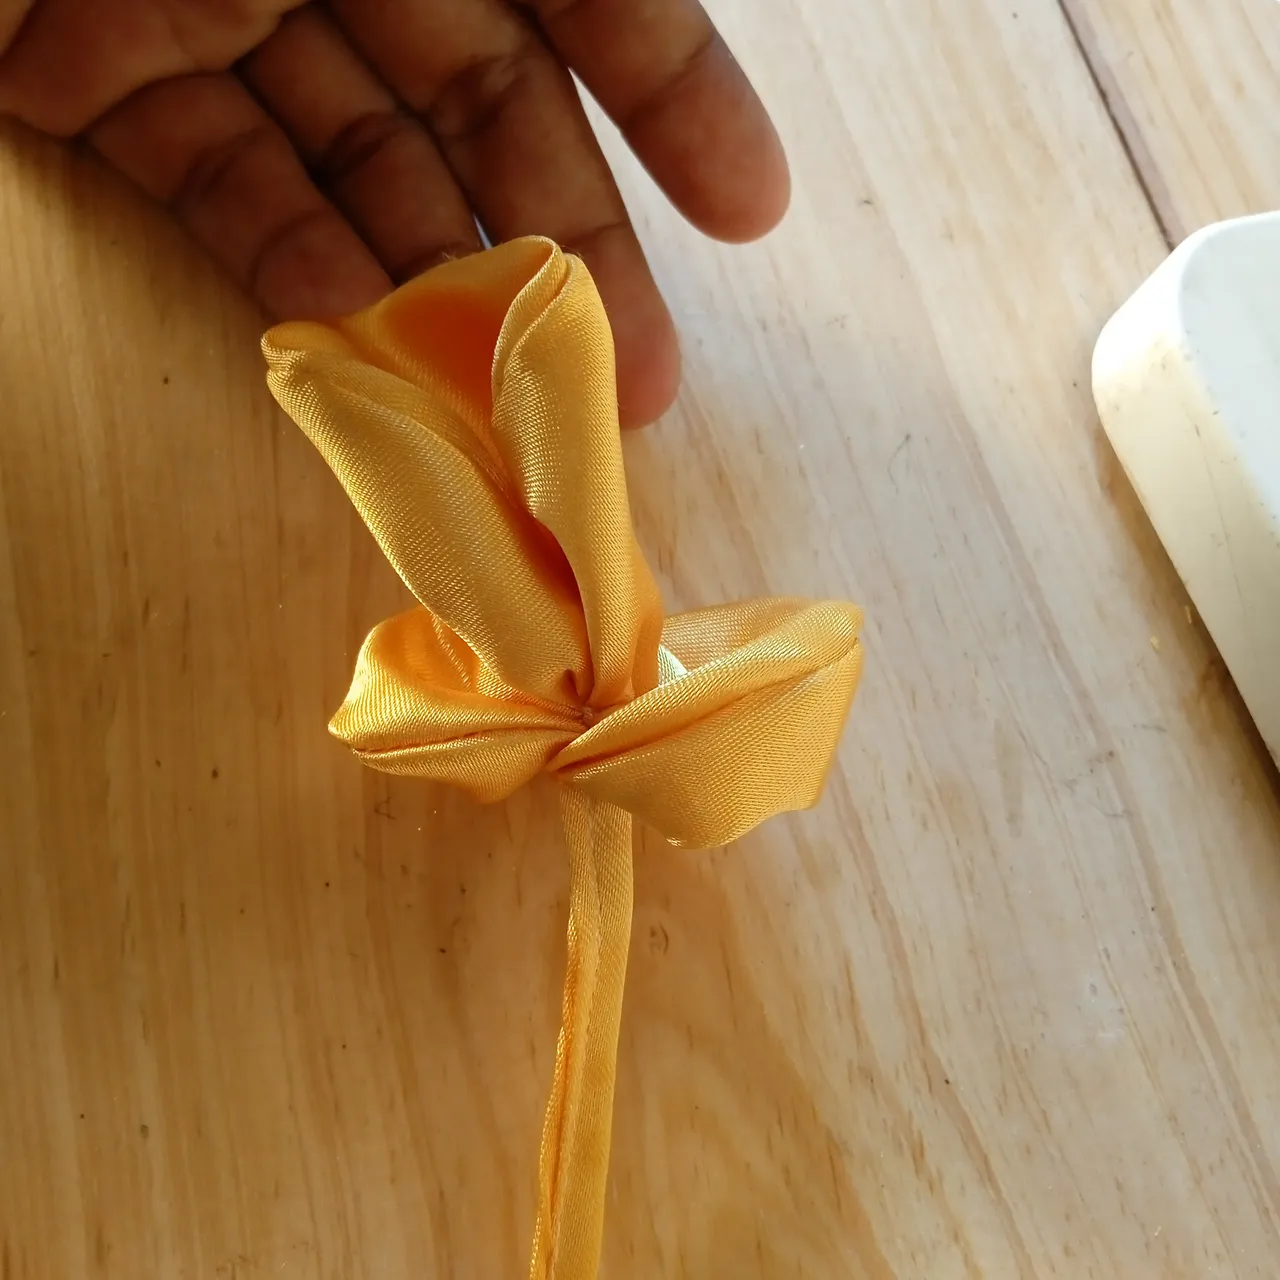
Paso 10.
Una vez terminada la costura, vamos a tomar la parte inferior y la subimos para formar la flor.
Step 10.
Once the sewing is finished, we are going to take the bottom part and raise them to form the flower.
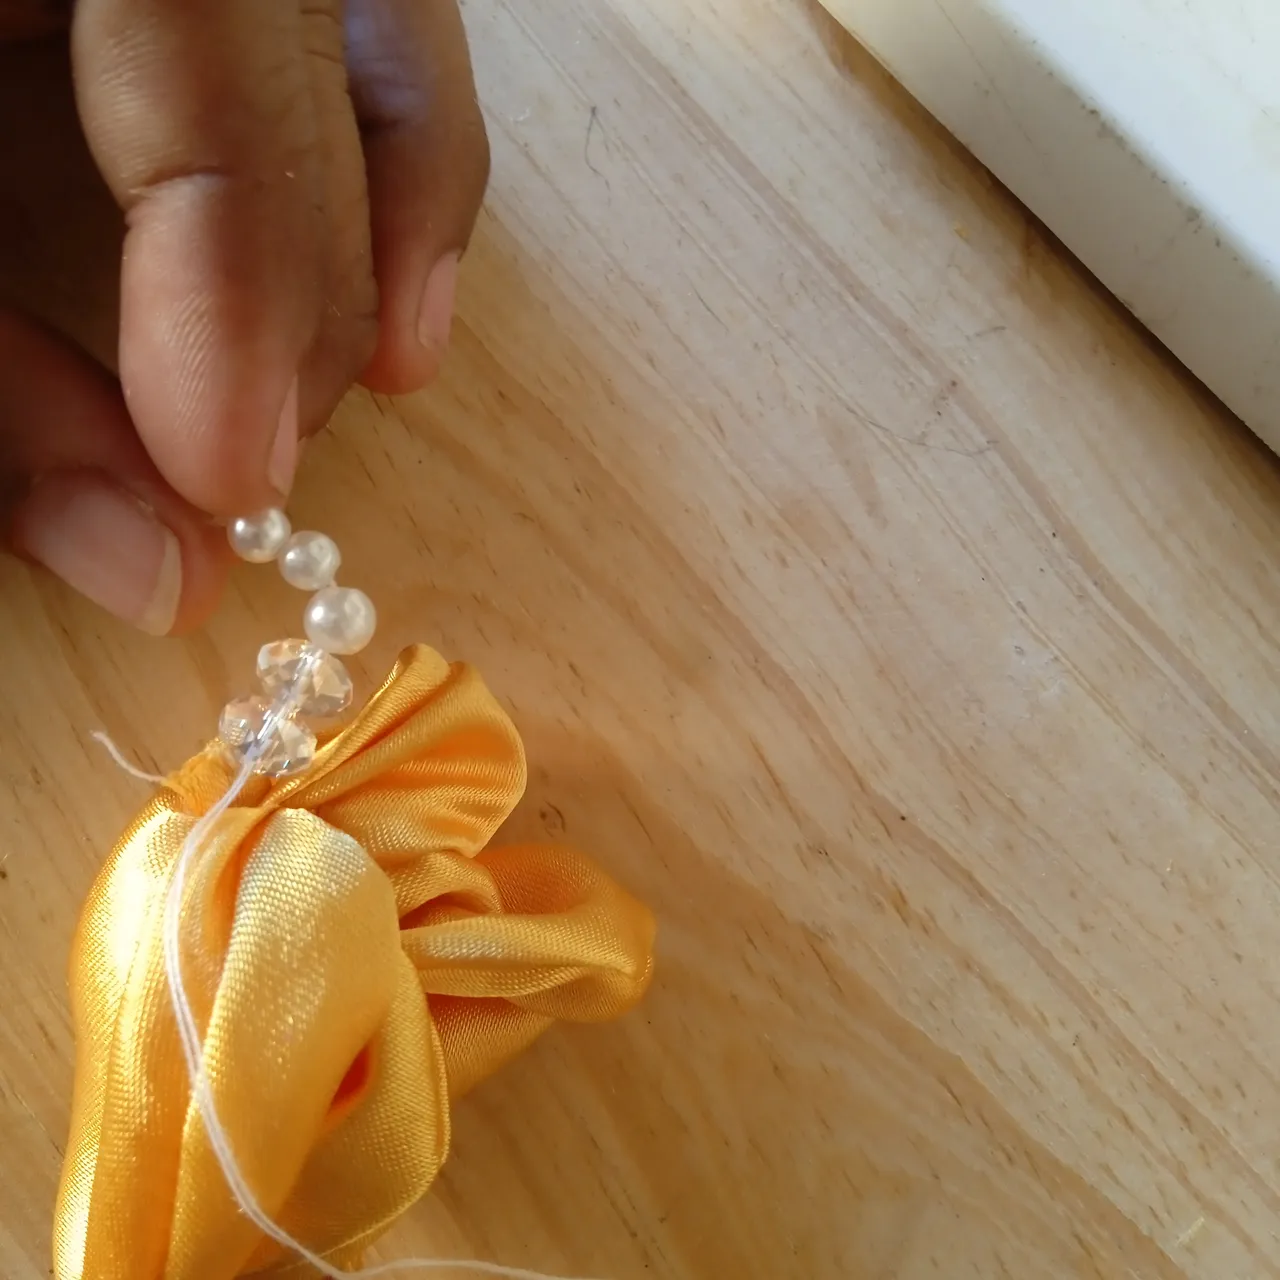
Paso 11.
Para terminar tomamos una aguja con un poco de hilo y colocamos unos cristales y perlas en la parte interior de nuestra flor.
Step 11.
To finish we take a needle with a little thread and place some crystals and pearls on the inside of our flower.
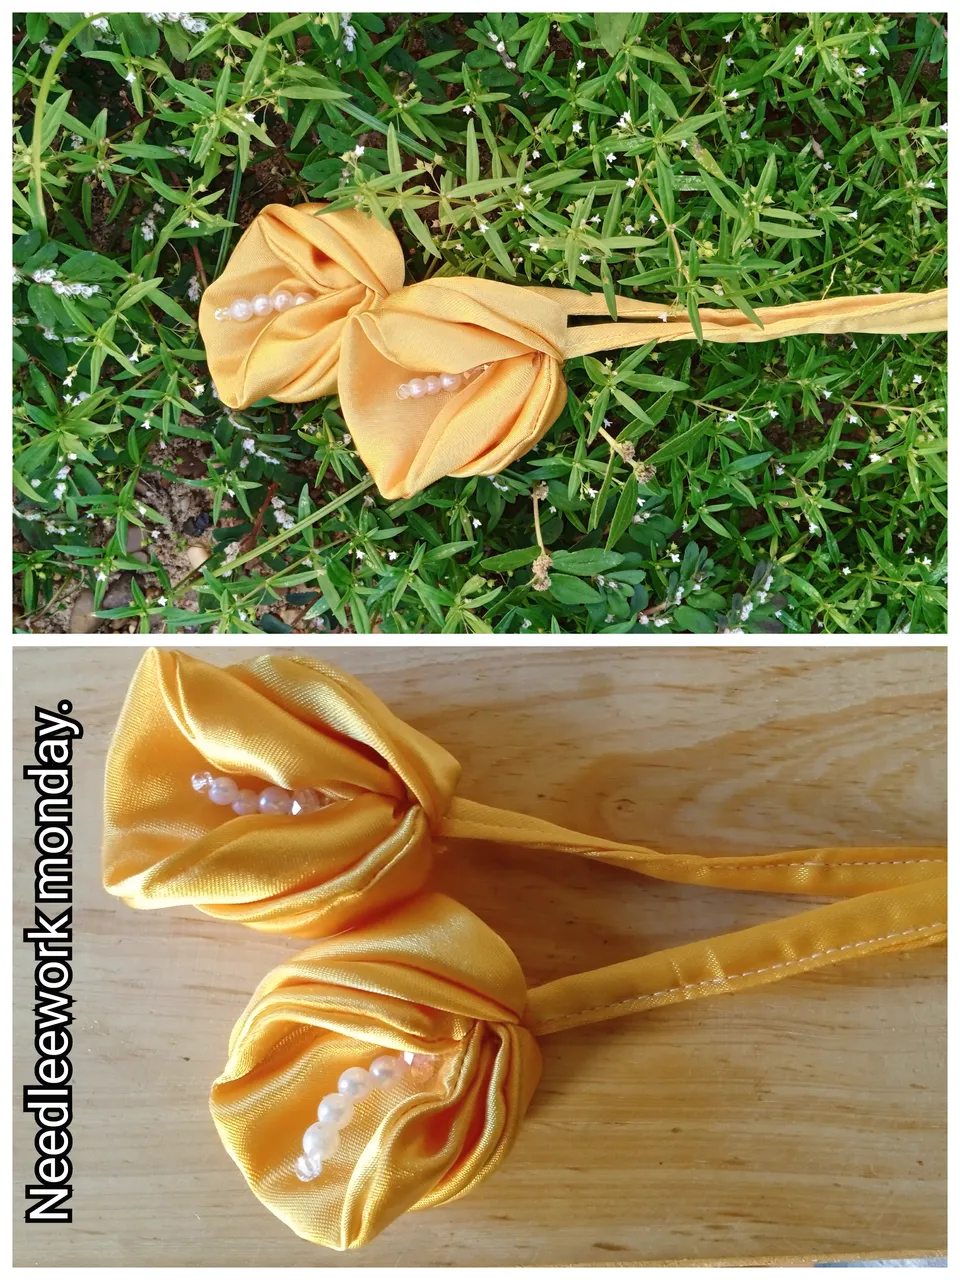
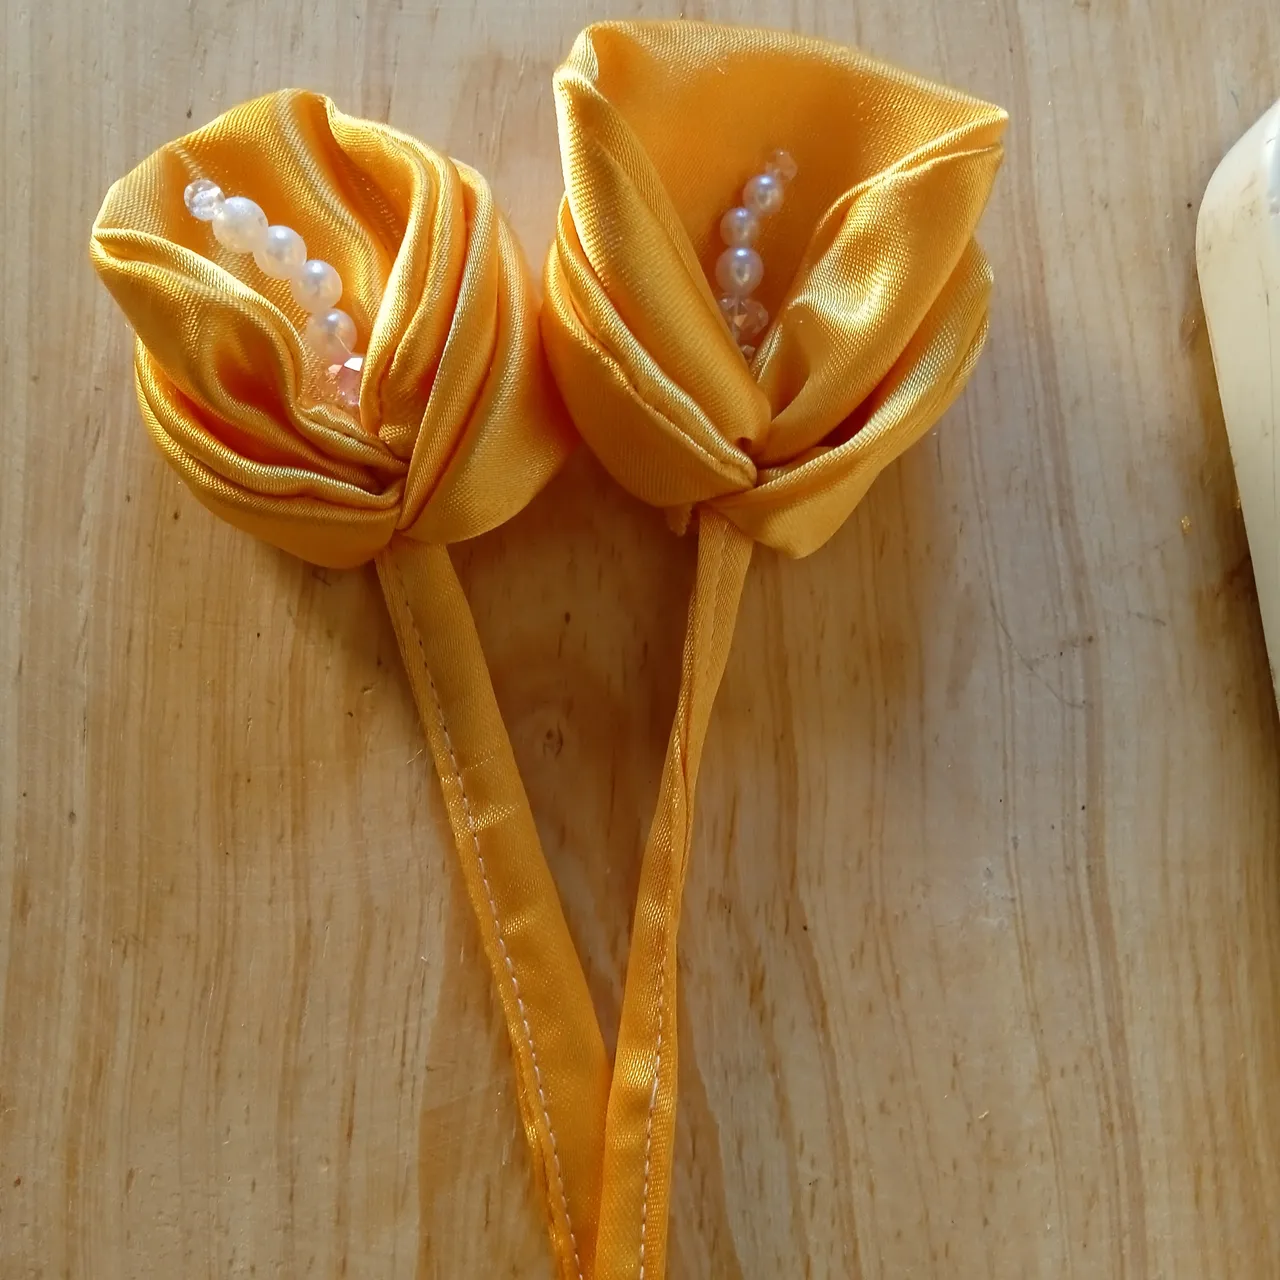
De esta manera nos queda una linda flor de tela que podemos hacer en casa para decorar cualquier espacio hasta nuestra habitación.
This way we have a beautiful fabric flower that we can make at home to decorate any space up to our room.
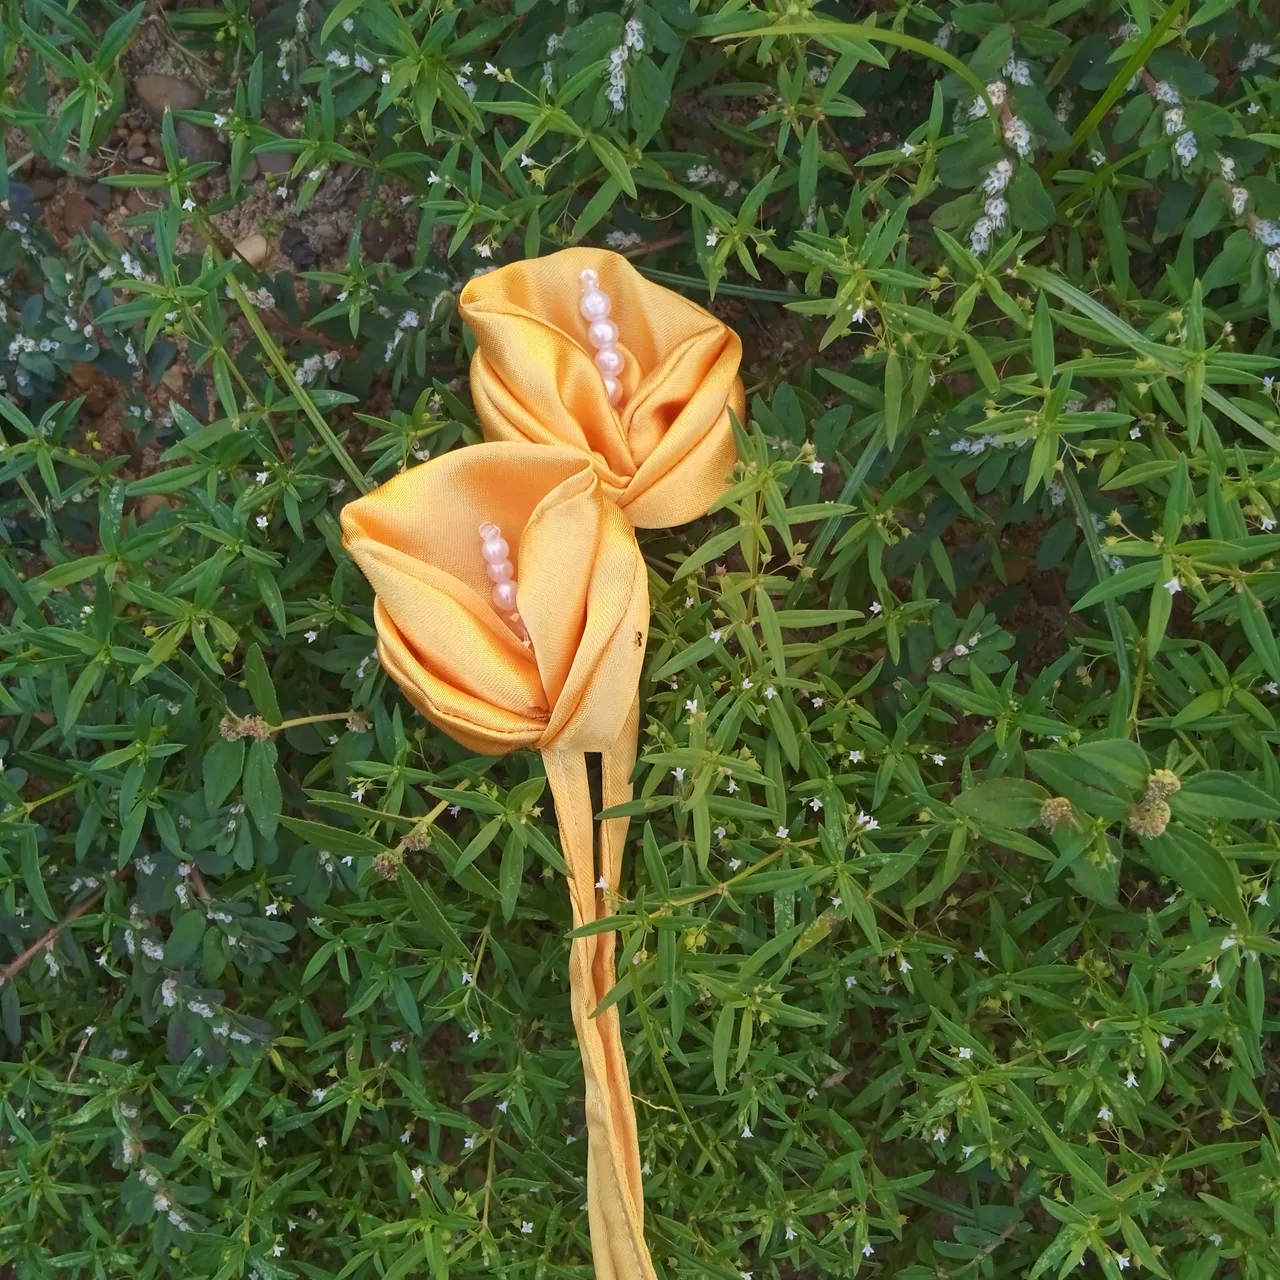
Amigos, me siento muy feliz de poder compartir este lindo tutorial con todos ustedes, espero que les guste y si se animen a elaborar estas lindas flores. Sin mas, les deseo una feliz y bendecido día! cuidense mucho, se les quiere❤.
Friends, I am very happy to be able to share this beautiful tutorial with all of you, I hope you like it and if you dare to make these beautiful flowers. Without further ado, I wish you a happy and blessed day! Take care of yourselves, we love you❤.
Contenido y fotos de mi autoria.
Editor: GriadArt y Photocollage.
Traductor: Google.com
Content and photos of my authorship.
Edition: GriadArt and Photocollage.
Translator: Google.com