Hi community!
On the last post I talked about how good making amigurumis has made for my mental health, so today I want to share with you some easy and quick patterns that you will love to do.
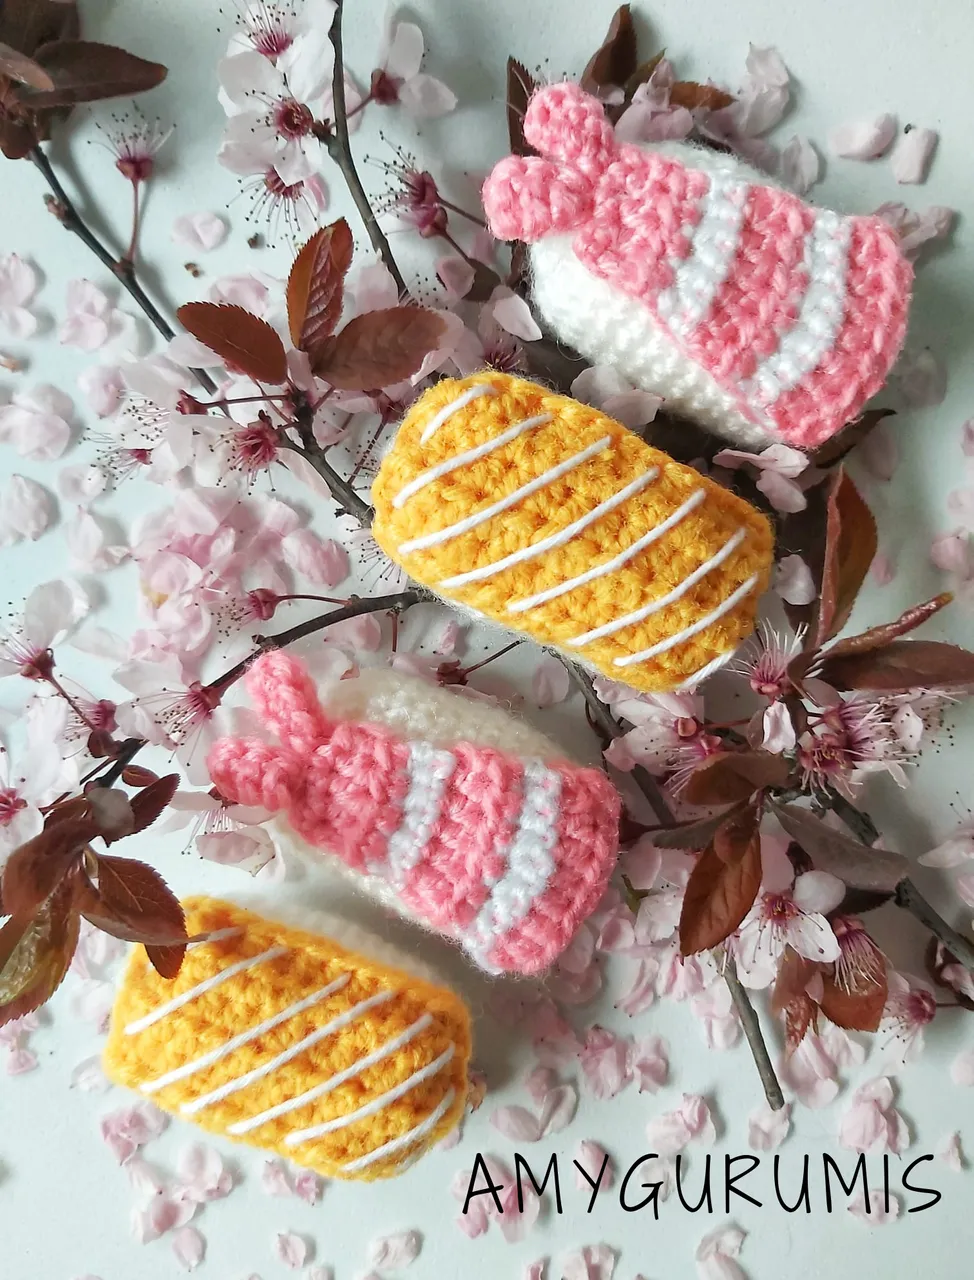
This week I made some nigiris, I guess I was craving for sushi jeje.
¡Hola comunidad!

En el último post hablé de lo bien que me ha hecho hacer amigurumis para mi salud mental, así que hoy quiero compartir con vosotros unos patrones fáciles y rápidos que os encantará hacer.

Esta semana hice unos nigiris, supongo que tenía antojo de sushi jeje.
So this patterns are really easy, the only thing you need to be careful is not losing the count of round and stitches.
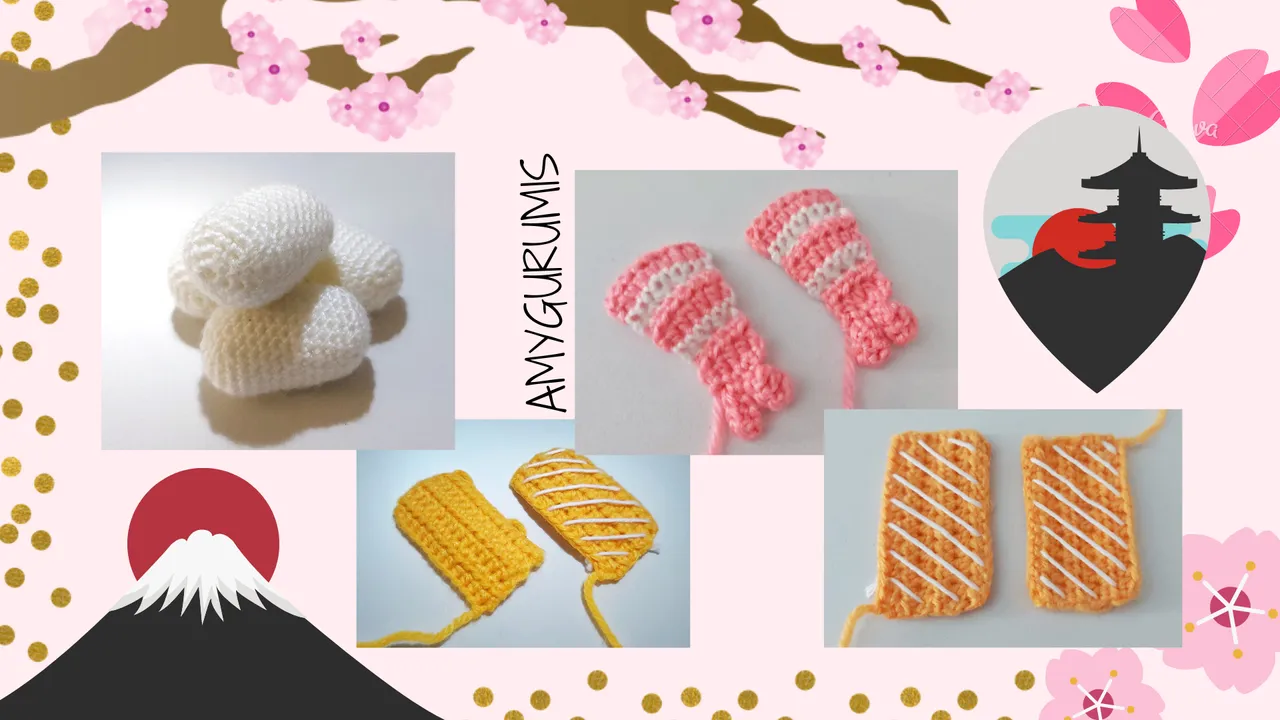
I'll use this nigiris and more sushi amigurumis that are on the make (follow me to get the patterns) to change the magnets of my fridge and give a personaliced touch to my home.
For this week project I used a thinner yarn that the ones I used for my previous amigurumi (fox, penguin, butterfly...)
So... Let's start!
Así que estos patrones son muy fáciles, lo único que hay que tener cuidado es no perder la cuenta de vueltas y puntos.

Usaré estos nigiris y más amigurumis de sushi que están en preparación (sígueme para ver los patrones) para cambiar los imanes de mi nevera y darle un toque personalizado a mi hogar.

Para el proyecto de esta semana he usado una lana más fina que las que usé para mis amigurumis anteriores (zorro, pingüino, mariposa...)
Así que... ¡Empecemos!

- thin wool (white, salmon orange and pink)
- crochet kneedle (3.0mm)
- sinthetyc cotton
- wool needle
- white thread (for the white lines in salmon)

- lana fina (blanco, naranja salmón y rosa)
- Aguja de ganchillo (3,0 mm)
- algodón sintético
- aguja de lana
- hilo blanco (para las líneas blancas en salmón)


For the base:
< White >
- Magic ring (6st)
- 6 inc (12 st)
- 1 sc /1 inc (18)
- 2 sc / 1 inc (24)
- to 15. 1 sc on every st (24)
16 . 2 sc / 1 dec (18) (Start filling with synthetic cotton)
17 . 1 sc / 1 dec (12)
18 . 6 dec and close.
Para la base:
< Blanco >

1. Anillo mágico (6º)
2. 6 aum (12 st)
3. 1 pb / 1 aum (18)
4. 2 pb / 1 aum (24)
5. al 15. 1 pb en cada pt (24)
16. 2 pb / 1 dism (18) (Empezar a rellenar con algodón sintético)
17. 1 pb / 1 dism (12)
18. 6 dic y cierre.
For the salmon:
< Orange / Salmon yarn >
- 14 chain stitches
- Skip the last stitch, do 13 hdc, a chain st and turn.
- to 8. Do 13 hdc, a ch and turn. At the last stitch of round 8 close with a slip st.
If you feel that's goona be too small for the base increase the rounds or the chain at the beggining
With the needle and a thinner thread do the white lines of the salmon sewing every 2 stitches aprox. Cut the thread and hide on the part thats going to be sewed to the base.
Para el salmón:
< lana Naranja / Salmón >

1. 14 puntos de cadena
2. Saltar el último punto, hacer 13 pma, un pt cadena y girar.
3. a 8. Haz 13 hdc, a ch y gira. En el último punto de la vuelta 8 cerrar con un pt deslizado.
Si crees que va a ser demasiado pequeño para la base, aumenta las vueltas o la cadena al principio.
Con la aguja y un hilo más fino hacer las líneas blancas del salmón cosiendo cada 2 puntos aprox. Cortar el hilo y esconder en la parte que se va a coser a la base.
For the prawn:
< Pink yarn >
- Do a 9 chain stitch
- Skipping the st next to the hook, do 8 hdc and a chain, turn.
- Do 8 hdc, change color to white closing the last stitch. Do a chain st and turn
- Do 8 sc a chain and turn.
- 2 sc/ dec / dec / 2 sc (6) (Change color to pink at the end of last st).
- Do 6 hdc a chain and turn.
- Do 6 hdc, change color to white at the end of last st, chain and turn.
- Do 6 sc, a chain and turn
- 1 sc / dec / dec / 1sc (4) (Change color to pink at the end of the last st)
- 4 hdc, chain and turn.
- 4 hdc, chain and turn.
- first st: 1 sc
- 2nd and 3r st: Start with a sc and 5 ch. Skipping the 2 st closer to the hook do 3 dc and a slip st.
- 4th st: 1sc and close.
Leave some yarn at the end to sew it to the base.
Para el langostino:
< lana rosada >
1. Haz un punto de cadeneta de 9
2. Saltando el pt al lado del gancho, haz 8 mpa y una cadeneta, gira.
3. Hacer 8 mpa, cambiar de color a blanco cerrando el último punto. Hacer un pt de cadena y girar
4. Haz 8 pb, una cadena y gira.
5. 2 pb/ dism / dism / 2 pb (6) (Cambiar color a rosa al final del último pt).
6. Haz 6 mpa, una cadena y gira.
7. Hacer 6 mpa, cambiar de color a blanco al final del último pt, una cadena y girar.
8. Hacer 6 pb, una cadeneta y girar
9. 1 pb / dism / dism / 1pb (4) (Cambiar color a rosa al final del último punto)
10. 4 mpa, cadena y girar.
11. 4 mpa, cadena y girar.
12.
- 1r pt: 1 pb
- 2o y 3r pt: Empezar con un pb y 5 cad. Saltando el 2 pt más cerca del gancho, haz 3 dc y un pt deslizado.
- 4o pt: 1 pb y cerrar.
Deja un poco de hilo al final para coserlo a la base.
Now sew the larn you leave on the prawn and the salmon tot he base, hide the wool and TADA!
Ahora cose la lana que te ha sobrado en el salmón y el langostino a la base y... TADA!


Hope you like it, I do love it jeje. See you on my nexts posts!

