I trust we all had a good weekend and we’re having a great week. It’s another #needleworkmonday and I’m more than excited to share a piece I worked on during the week.
I had a disagreement with one of my close friends that made us stop talking for a few days, this is someone I to talk to everyday.
I spoke to a few people about the disagreement we had and I figured I was at fault.
I felt really bad and I wanted to apologize in a really sweet way. A few days before the disagreement, she sent me a picture of a crochet crop top that she wanted, in order to take pictures with for her shoot as she’s a model.
I decided I was going to make that for her as an apology gift because there was no way she’d ask me about the top as she was still angry and not speaking to me.
This took me about 4hours to make.
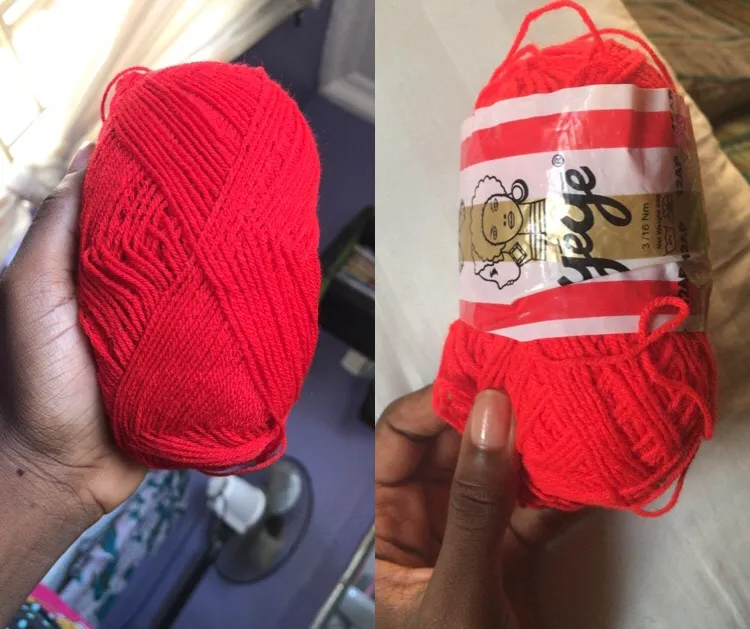
MATERIALS I USED
•2 balls of red Nigerian yèyè yarn
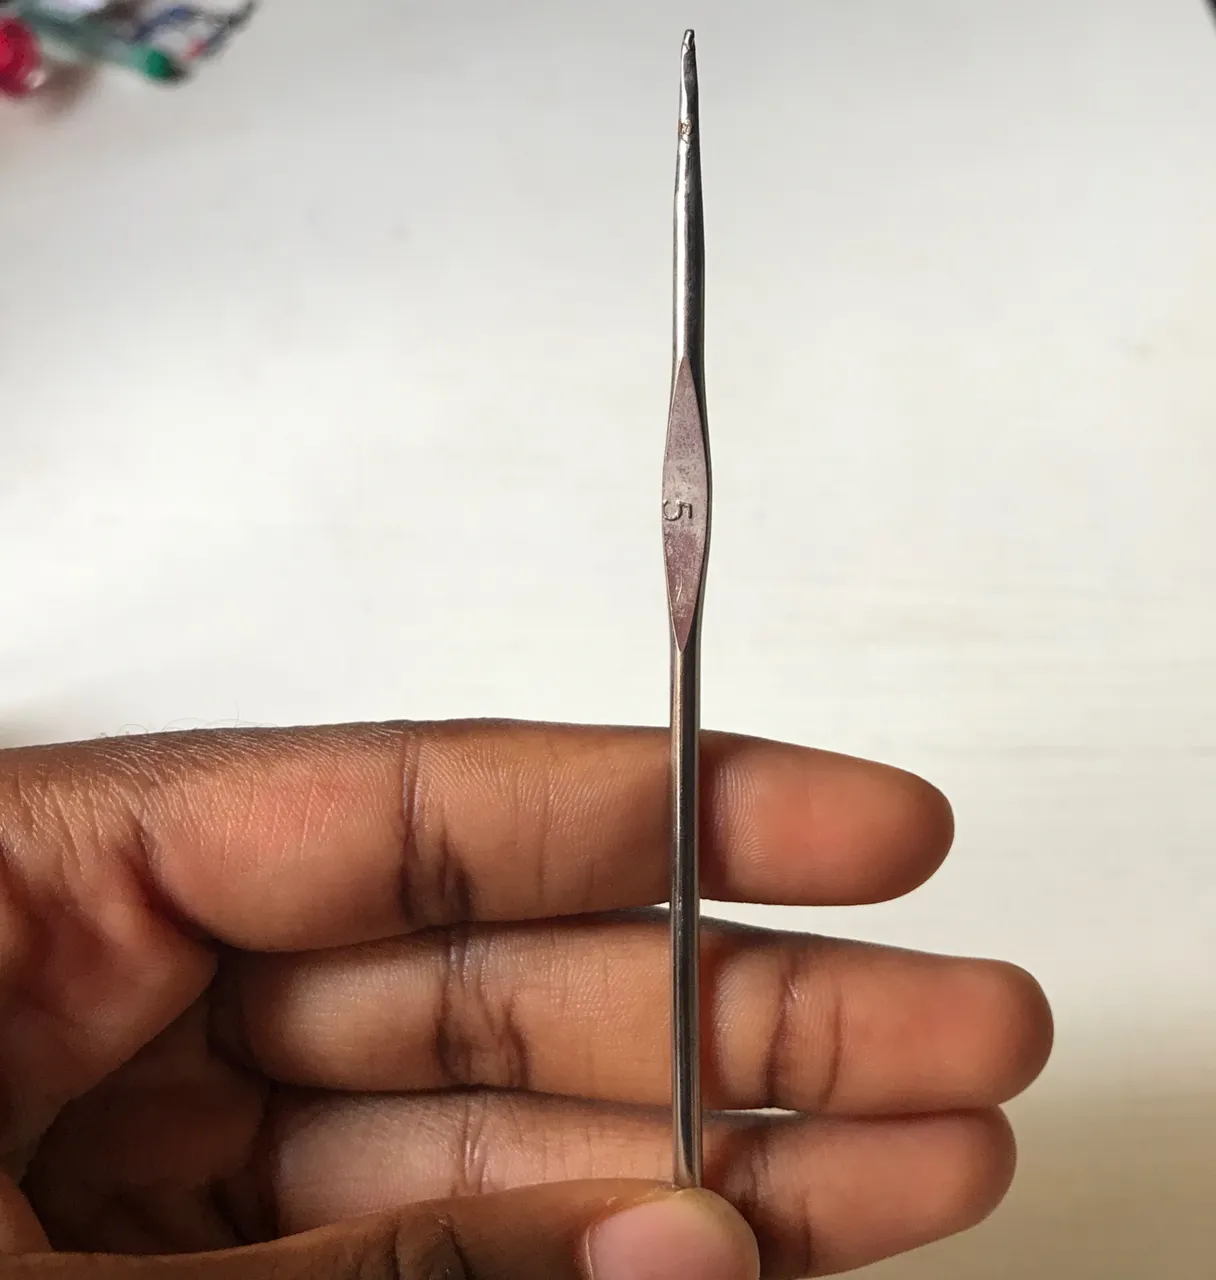
•One 5mm crochet hook
•Scissors
PROCESS(BOTTOM DESIGN)
It was a size small top and I’m a size small as well so I used my measurement.
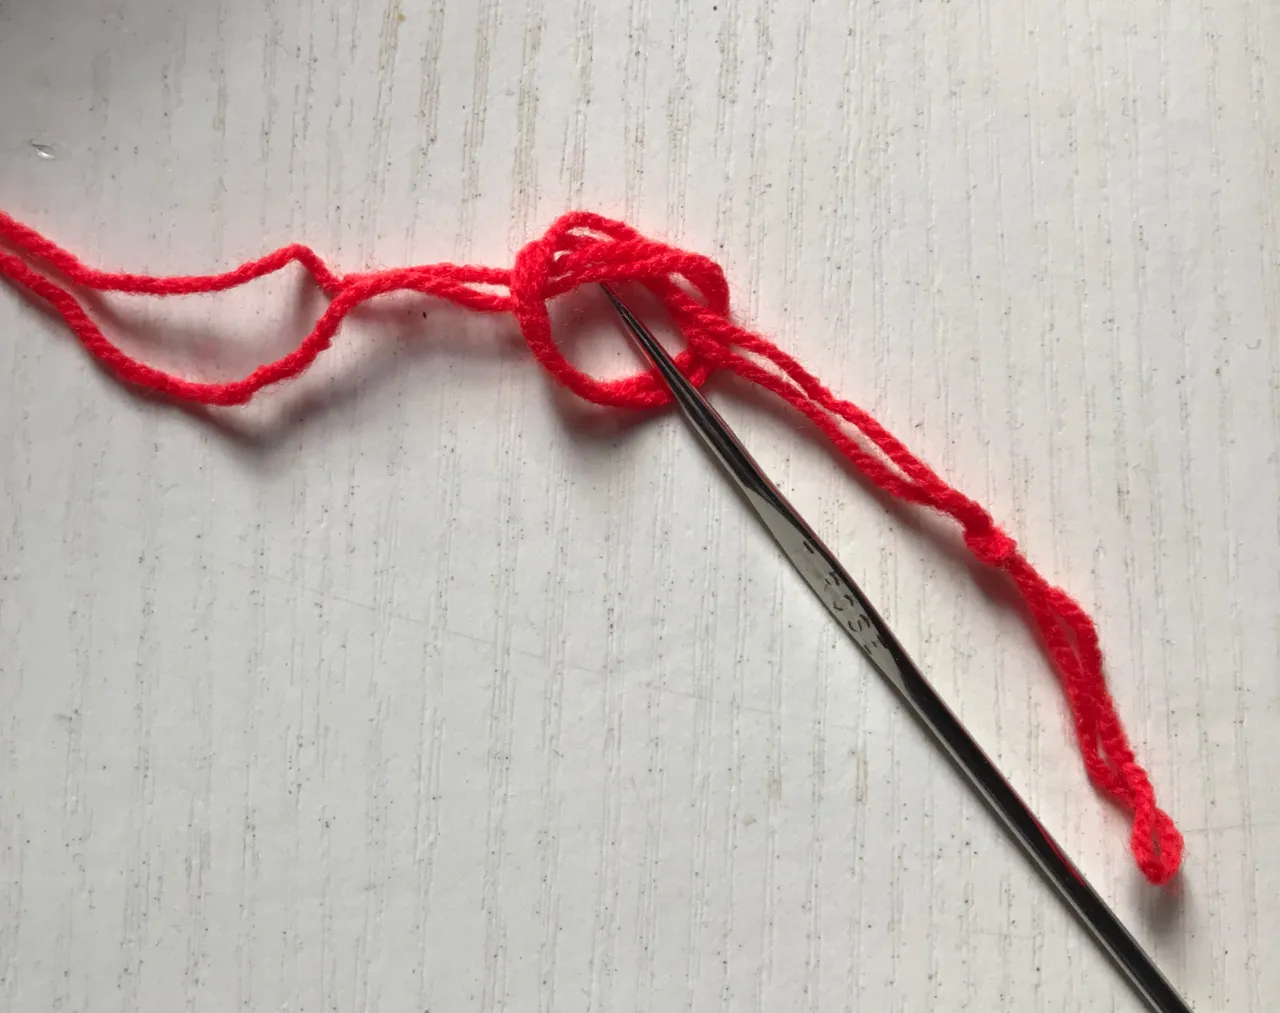
I made a slip knot and a chain of about 30, a chain that was long enough to wrap around my back. I went in with a double crochet in each of the 30 stitches.
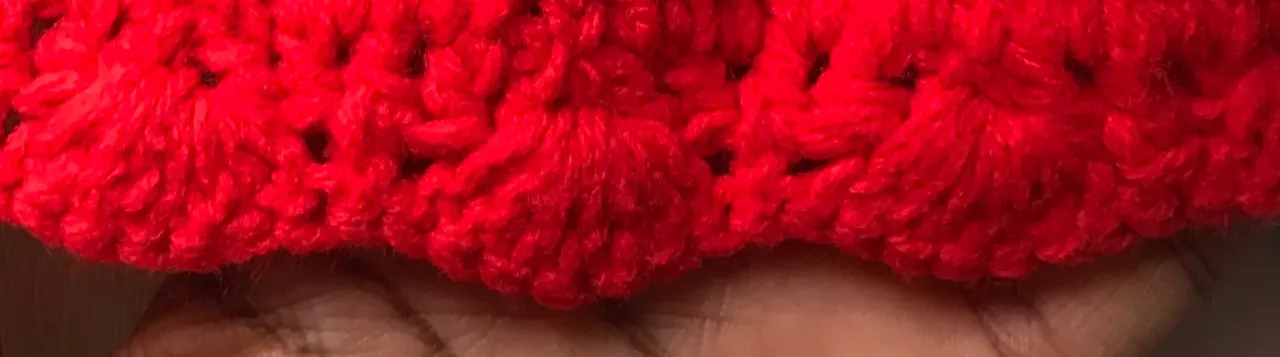
Making the design at the bottom of my top, I chained up 2 and went in with 6 double crochets in the same space, I inserted a single crochet into the next chain space and went in with 6 double crochets in the next space as done earlier.
I repeated this pattern and finished up to the end of the row and then I cut with a scissors.
PROCESS(BODY OF THE TOP)
Making this was a repetitive process. After cutting,I flipped to the other part with a design and I joined my yarn to the edge of the stitch with a slip knot. I chained up 2 and went in with a double crochet in the same chain space and also in every stitch until the end of the row.
For the second row, I increased a bit. I flipped my piece, chained up 2, inserted 2 double crochets in the same chain space and went in with 1 double crochet in the next chain space until I reached the last chain. For the last chain on the row, I inserted 2 double crochets as I did for the first. This is called the increase.

I repeated this pattern for a total of 15 rows. At this point, it fully covered my burst area and It was time for me to start decreasing towards the neck area.
To decrease, I skipped the first chain space and the last chain space on each row, by not inserting a double crochet in them. I placed one double crochet in each of the chain spaces excluding the first chain and the last chain.
I repeated this pattern for a total of 10 rows until it was the right size for my neck area and then I cut.
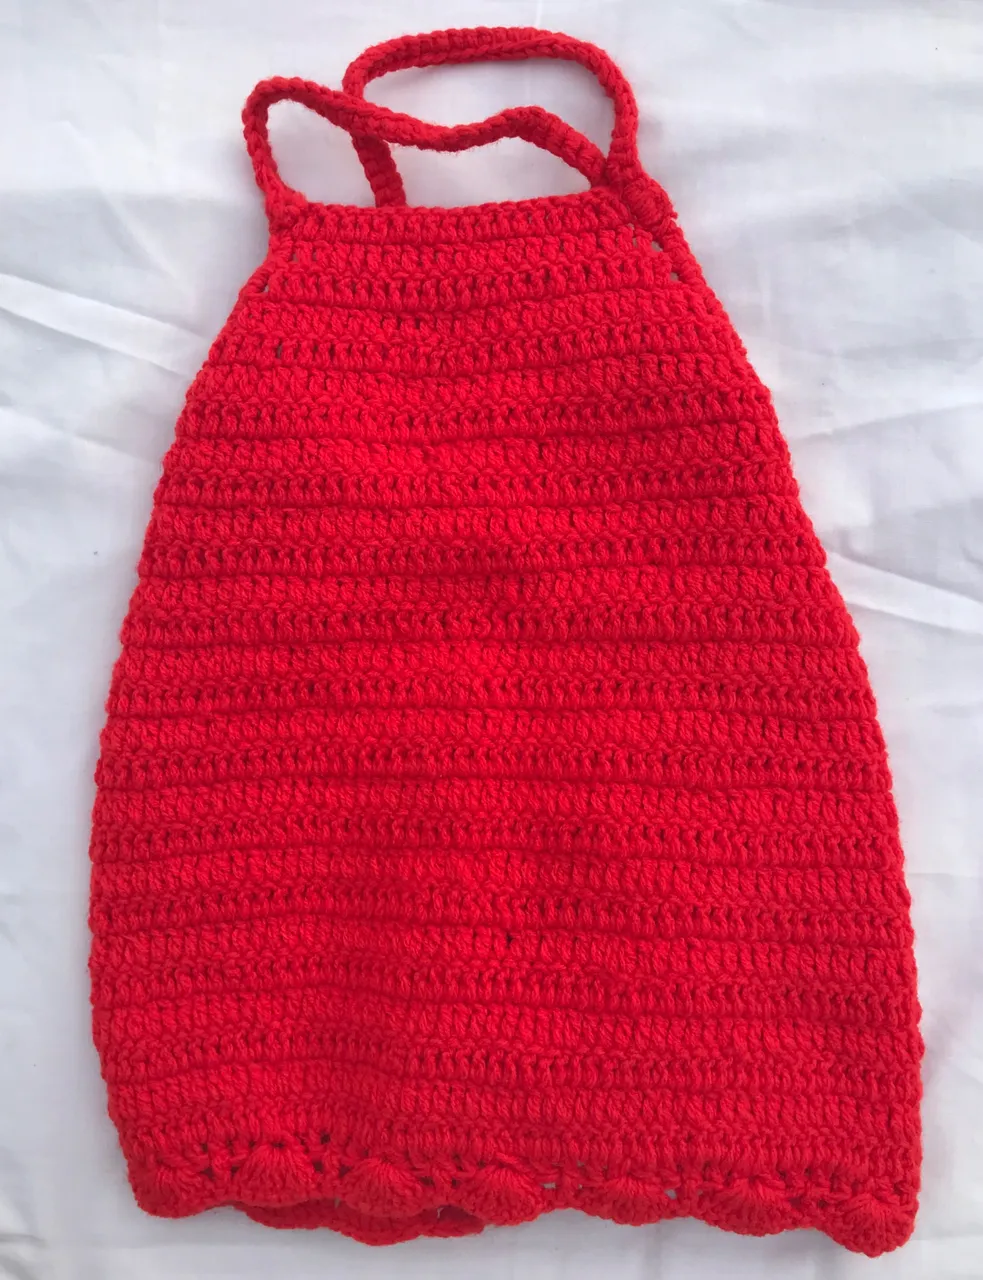
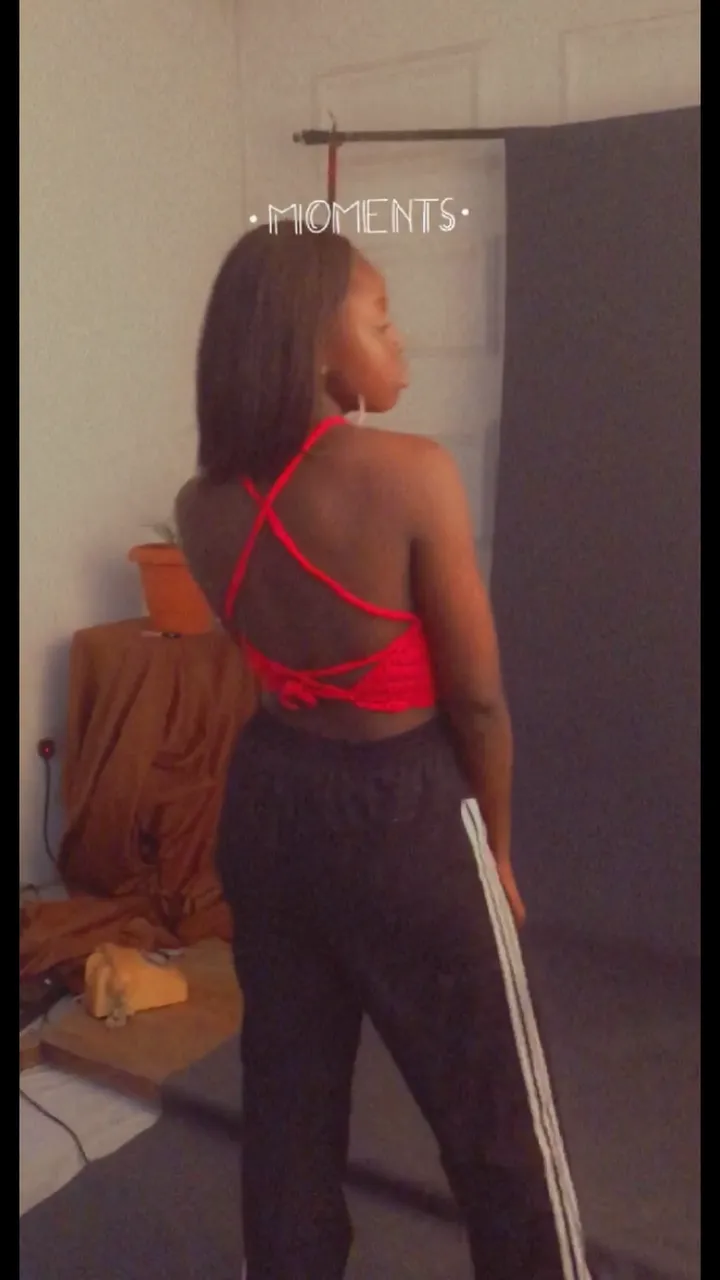
THE STRAPS & FINISH WORK
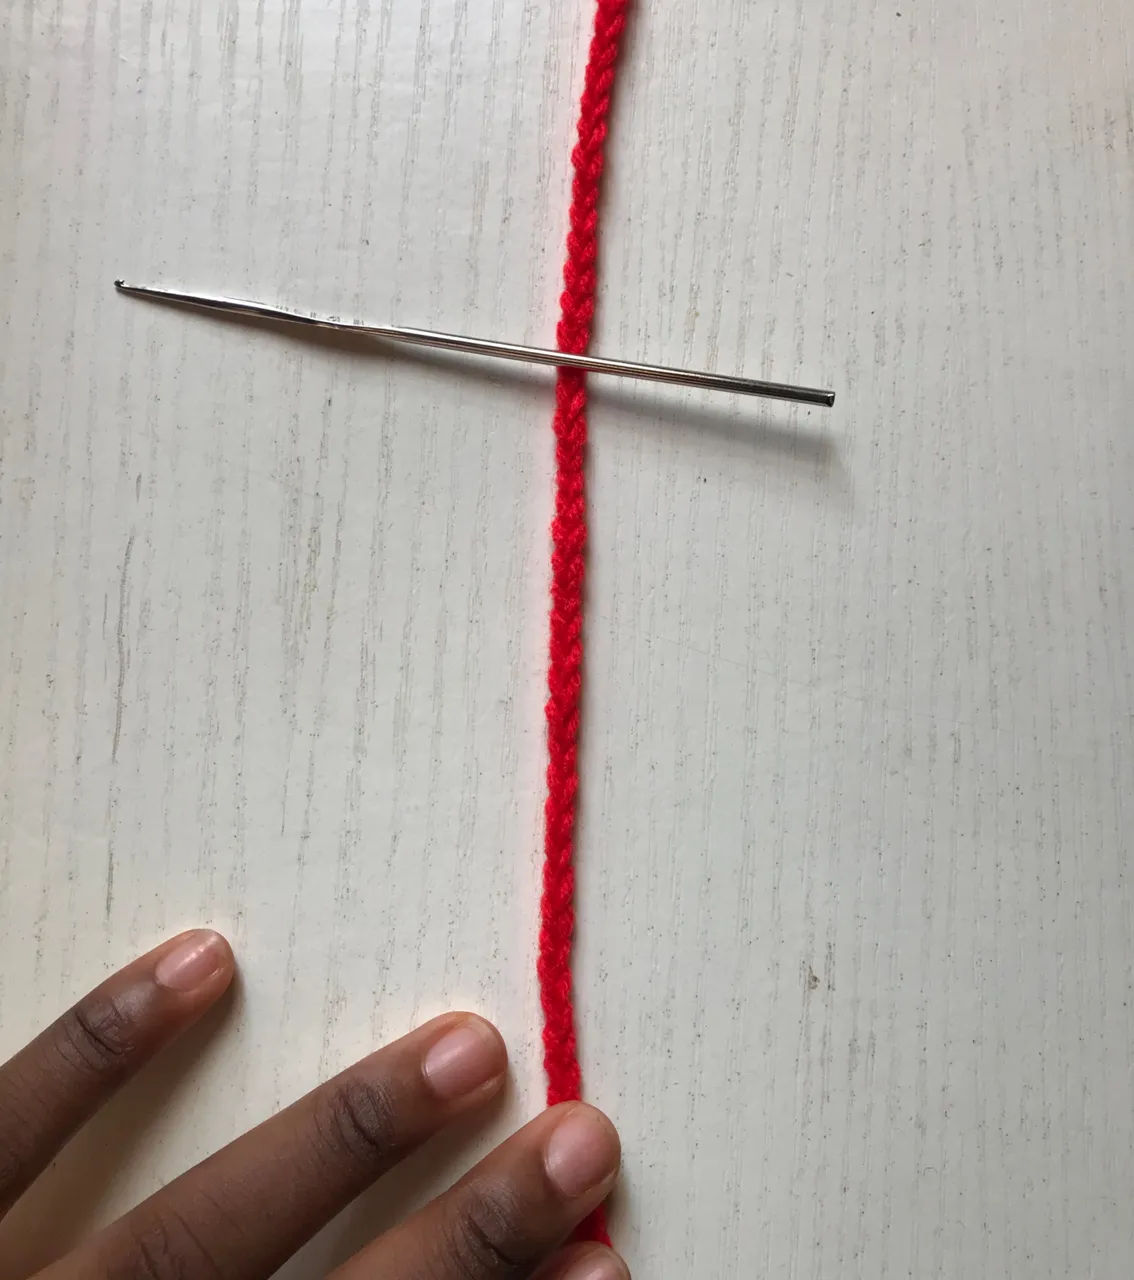
I made a slip knot on the left edge of the neck area of the top and made a chain of 100, long enough to tie a cross-cross pattern to the back.
I did the same on the right side of the neck area. For my finishing touch, I inserted a single crochet on the edge of every stitch round the top, for a neater appearance and my top was ready.
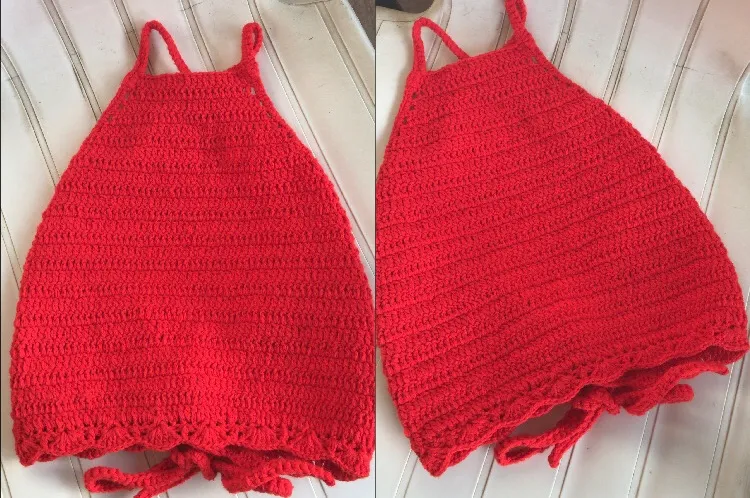
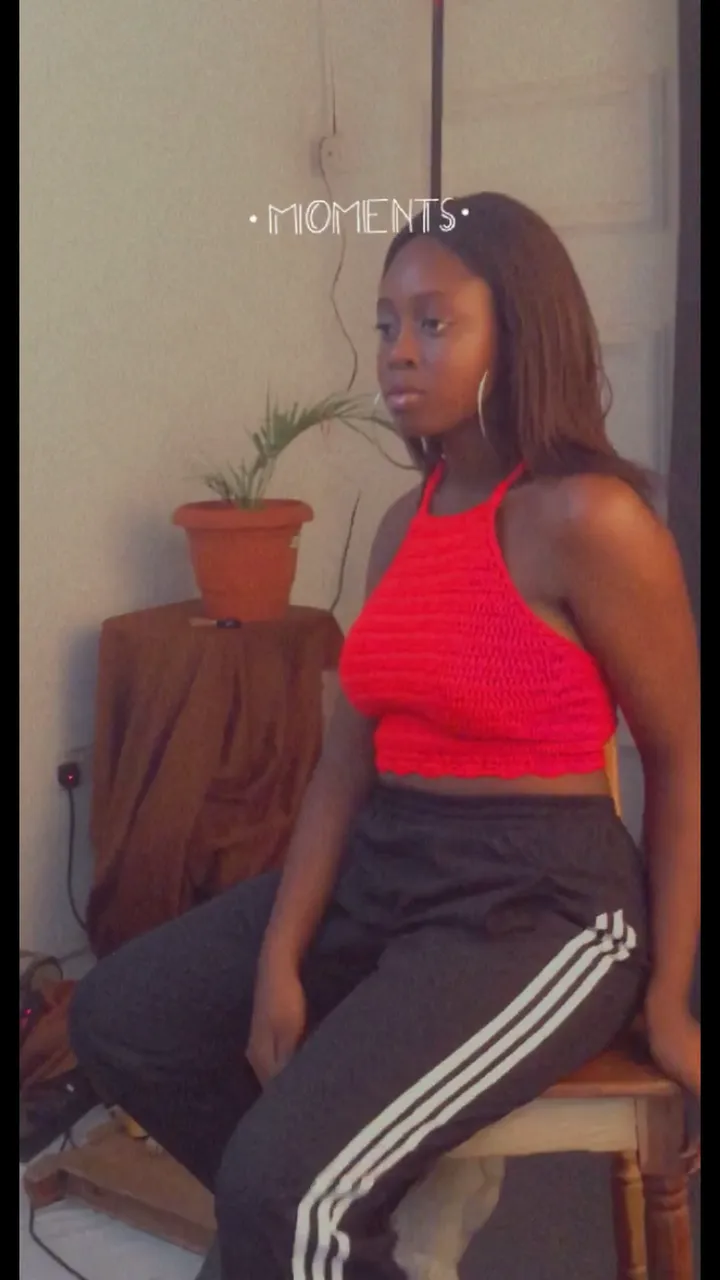
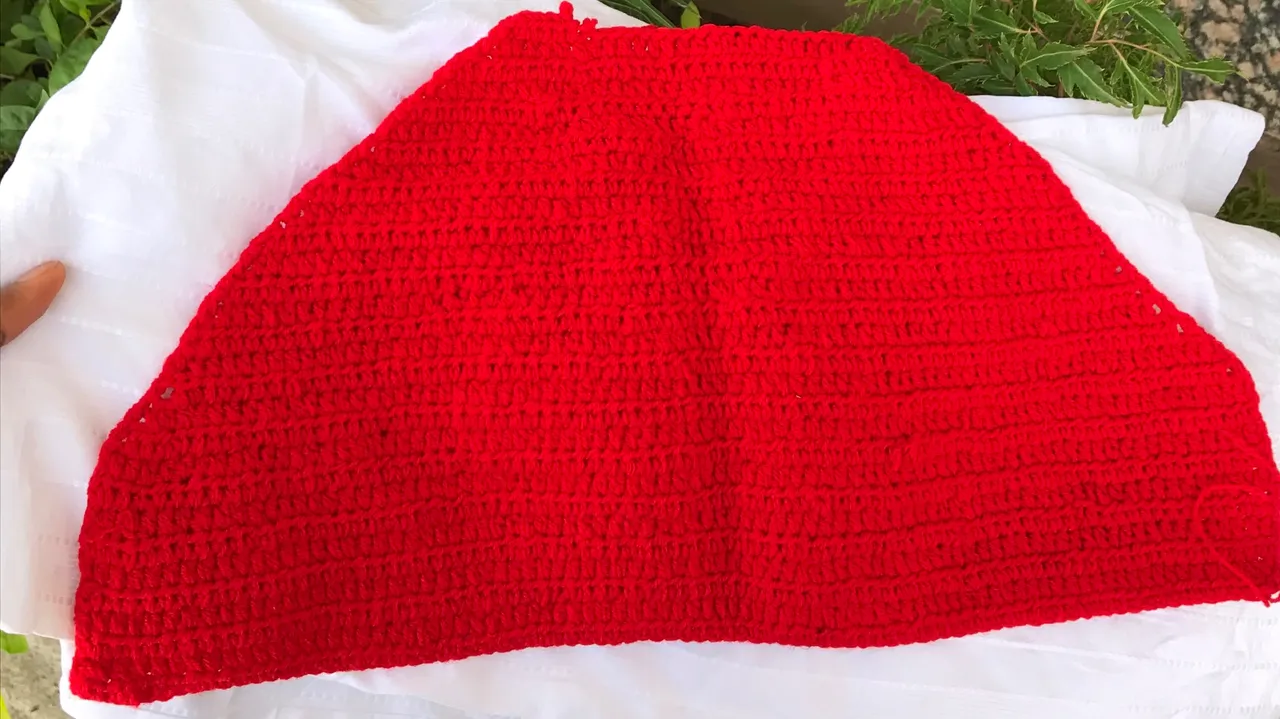
The best part about making this top is being able to surprise my friend with my apology gift, and I was able to resolve our disagreement. It was perfect for her shoot, she loved it as well and she sent beautiful pictures. I’d say with a sense of fulfillment and pride that I was able to kill 2 birds with one stone, by resolving our disagreement and also gifting her the top she wanted.