¡Hola comunidad de Hive! Espero estén excelentes, con mucha salud, hoy les muestro la tercera parte de el parche encargado de el vídeo juego The Legend of Zelda.

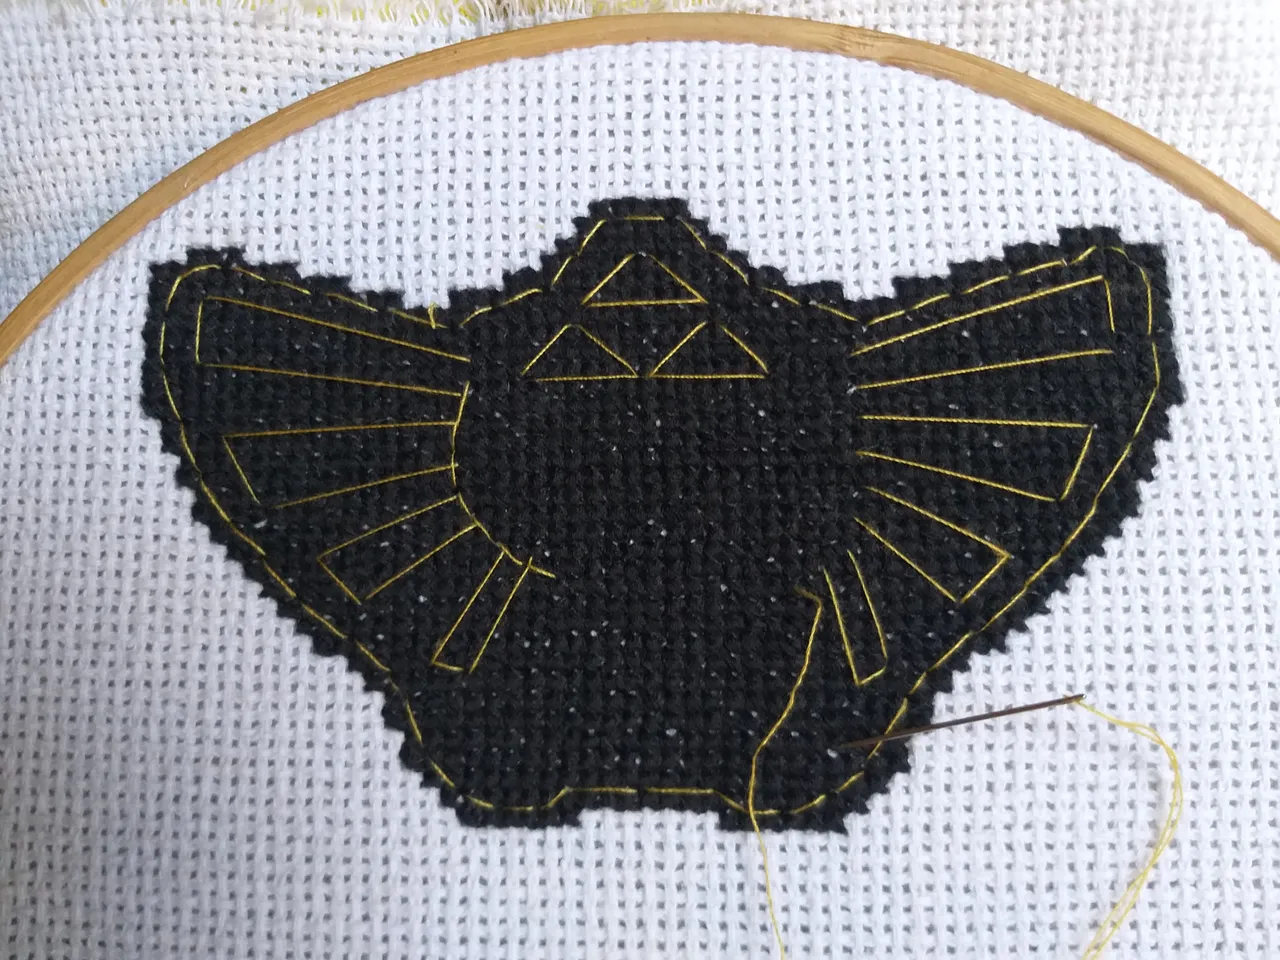
Hoy trabajaremos con hilo amarillo, lo veo como un hilo brillante algo similar a el dorado el cual lleva esta imagen, comienzo con una sola hebra de hilo esto porque quiero hacer un boceto directo de los elementos que van dentro.
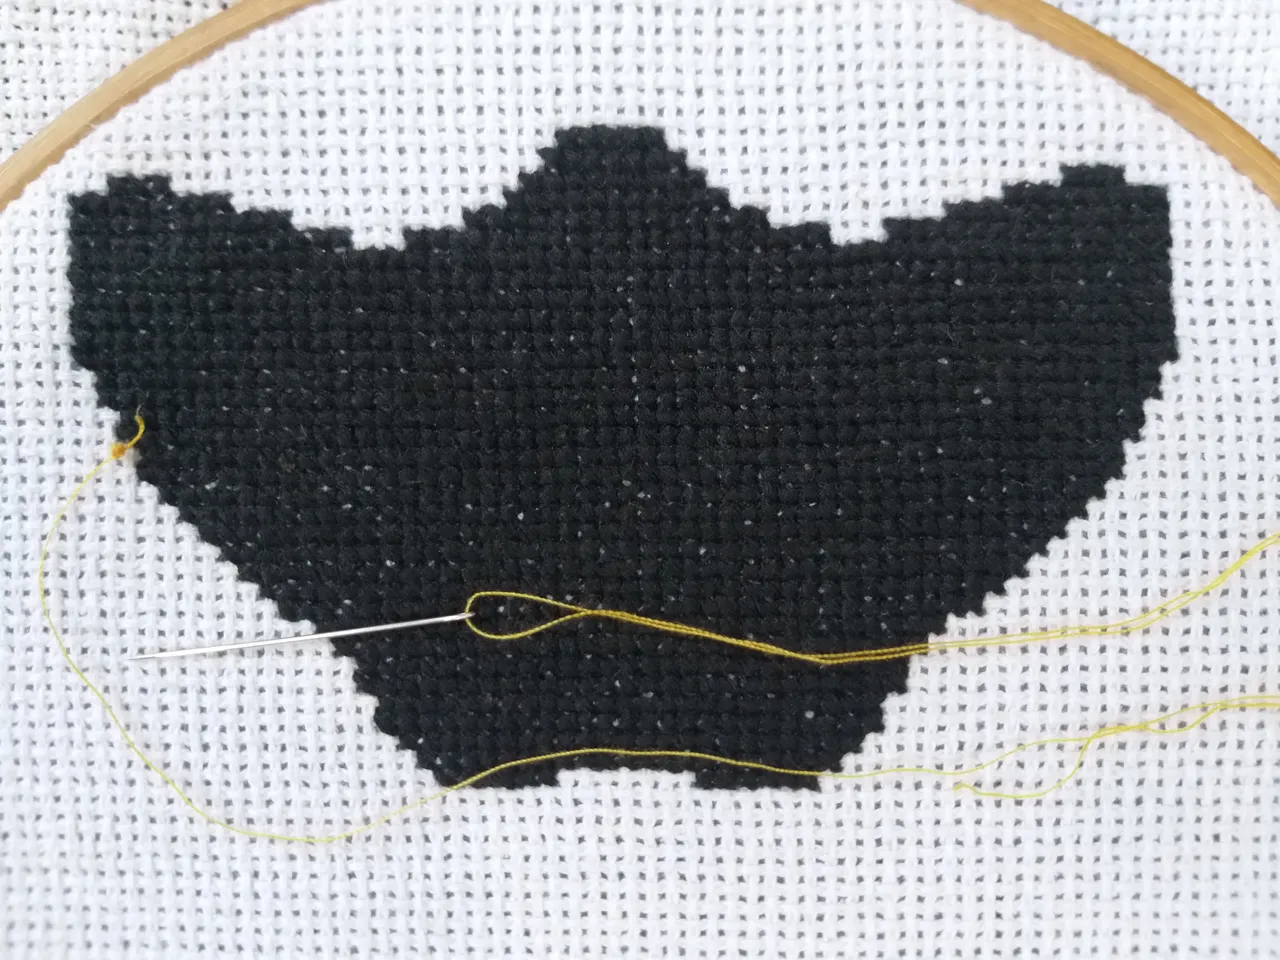
Para el boceto se utiliza puntada de atrás, este punto es fácil desarmar por alguna equivocación en el proceso, ayuda también en cuanto a que se puede alargar o encojer según las curvas o puntas que se necesitaran, es decir podemos realizar el punto del tamaño que deseemos.
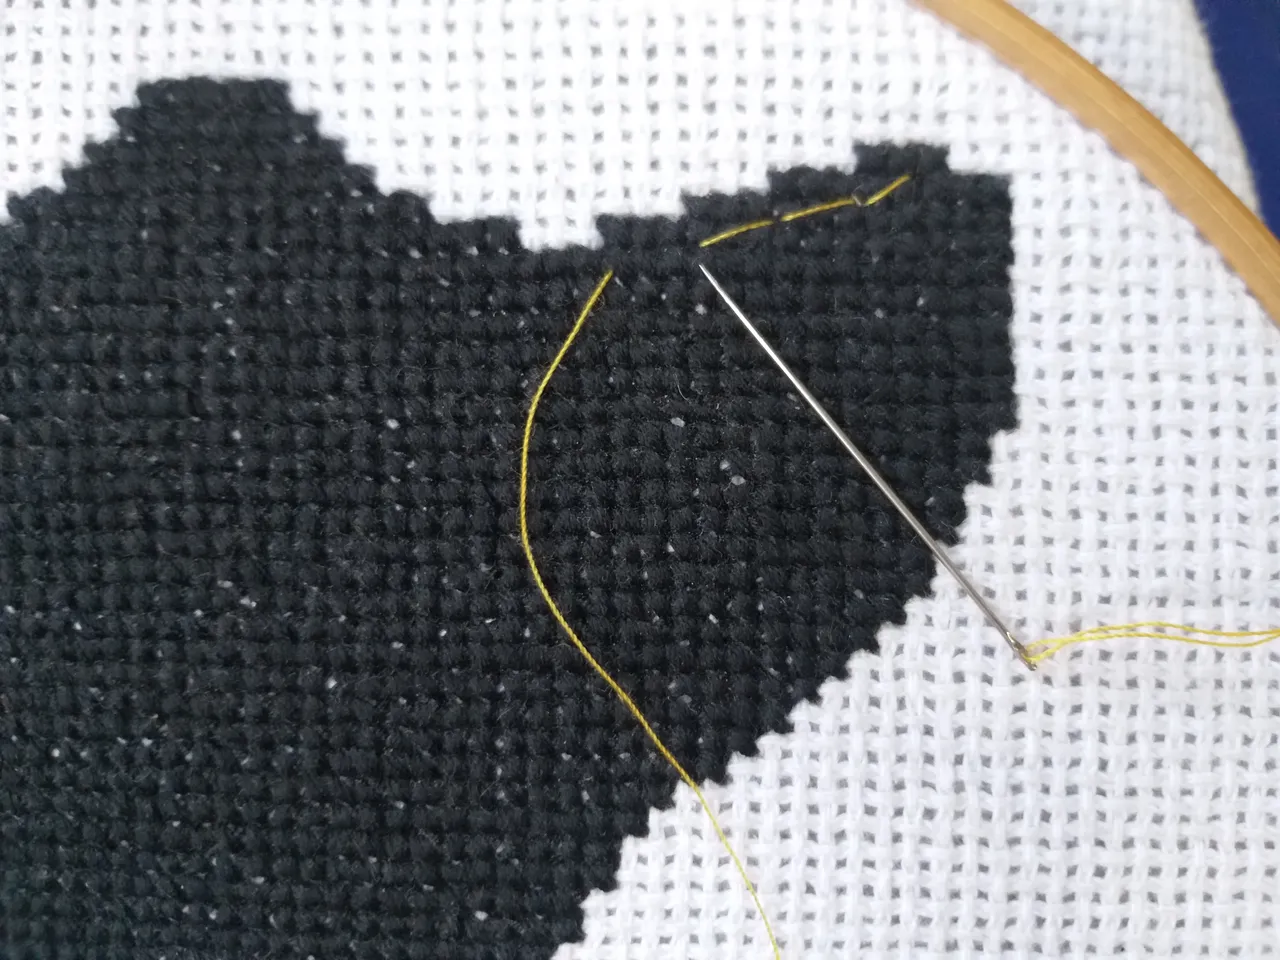
Puntada de atrás: a la vista parece puntada de maquina de coser, pero no lo es, ya que esta por la parte superior se ve como una puntada seguida pero por la parte interior son mas largos los punto.
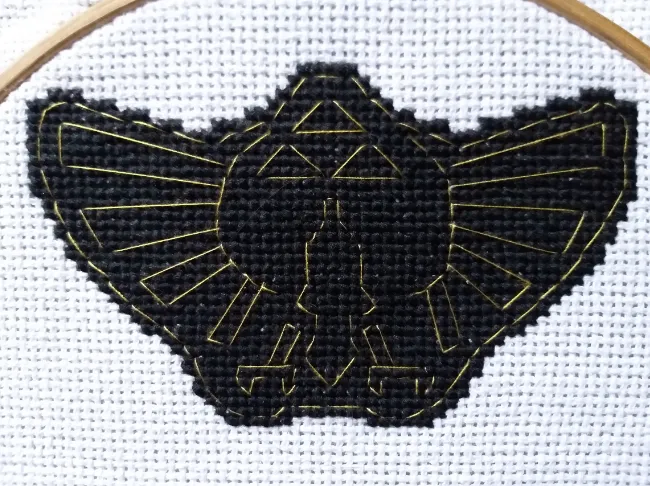
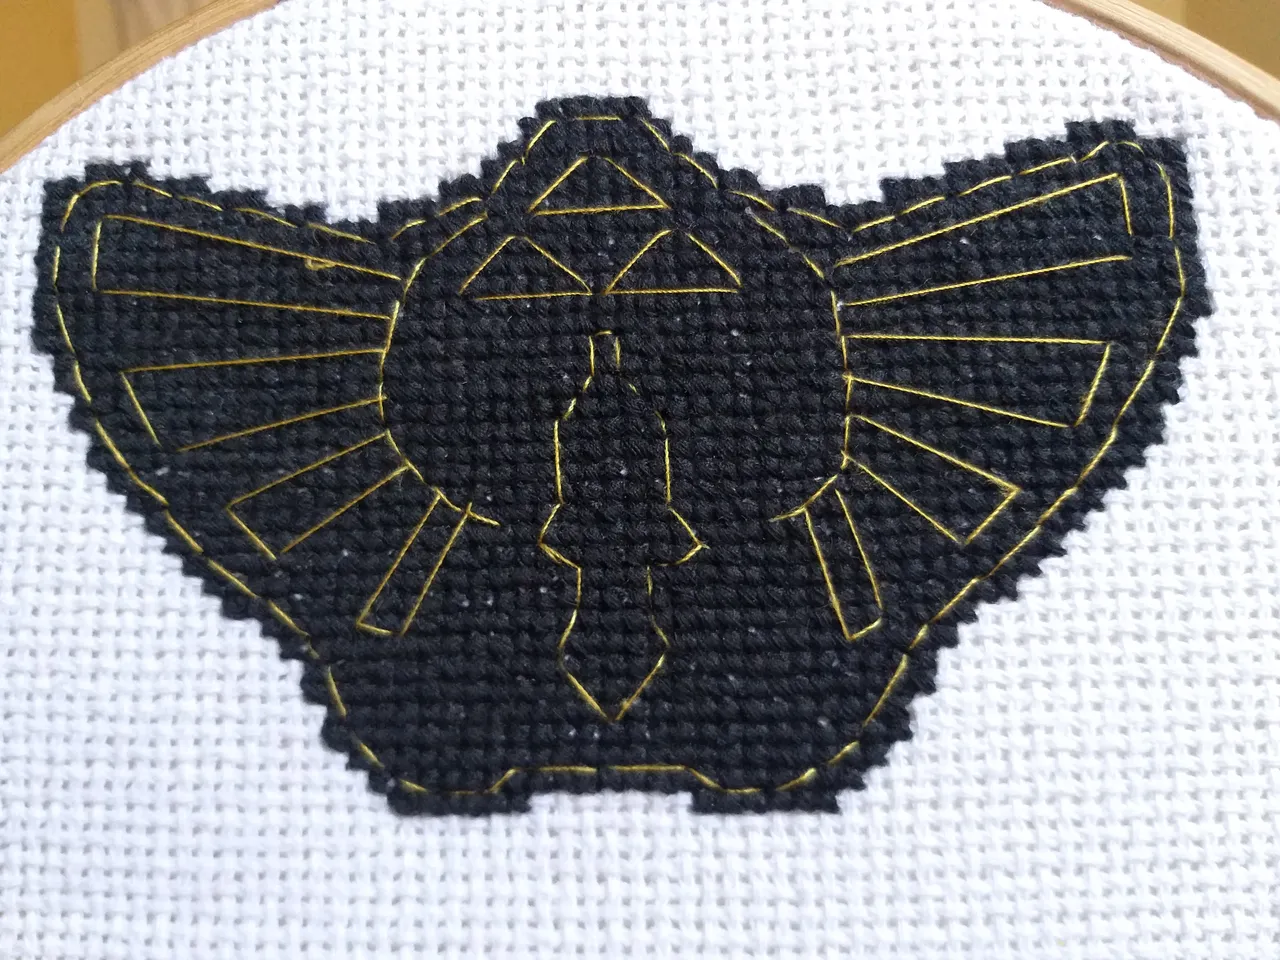
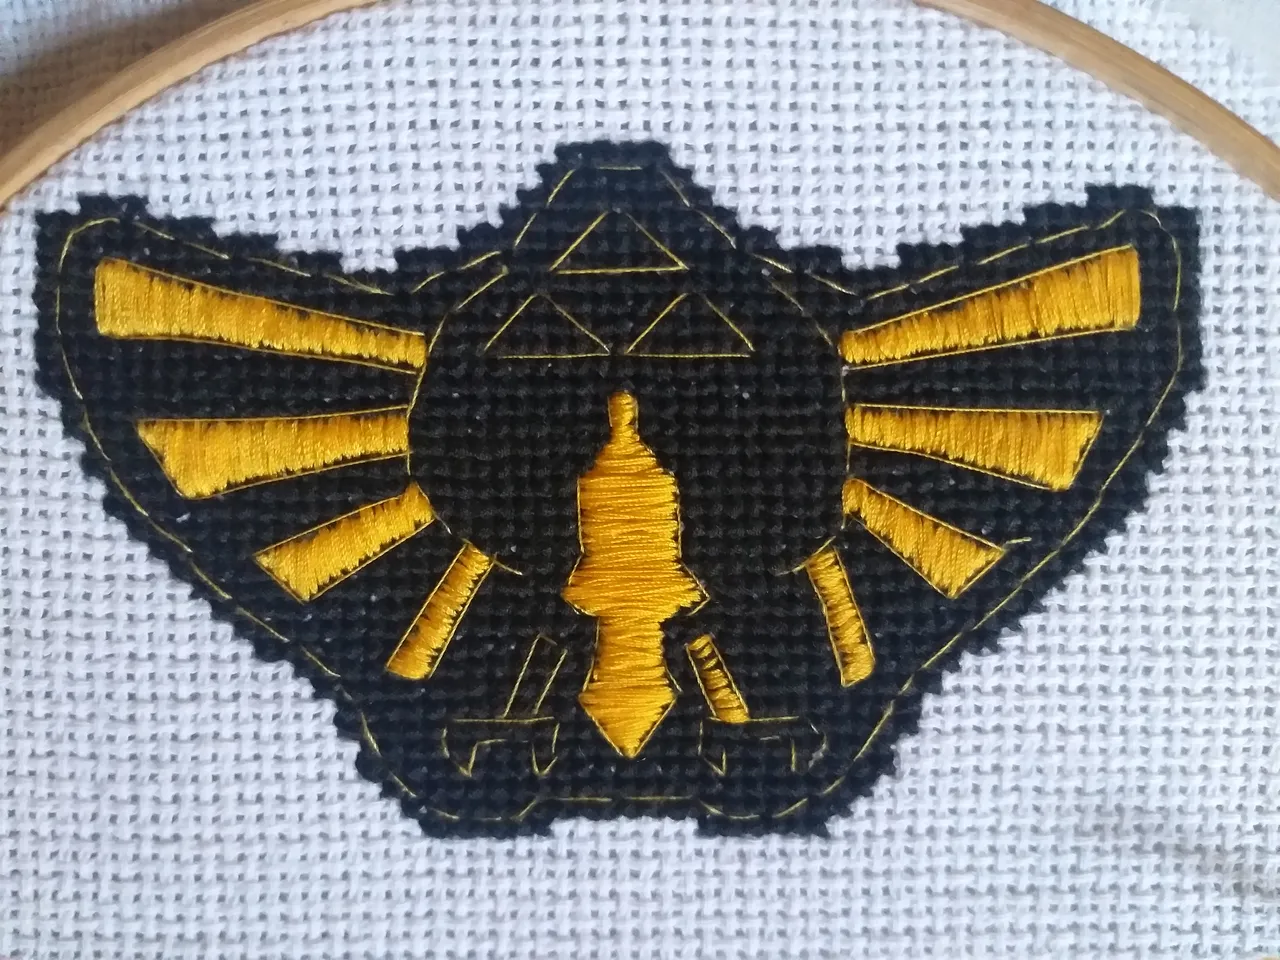
Es sencillo y rápido trabajar con este punto y una hebra de hilo, como lleva un borde en todo alrededor de las alas es lo primero que se realizo, luego busque el centro, aquí se ubican tres triángulos piramidales.
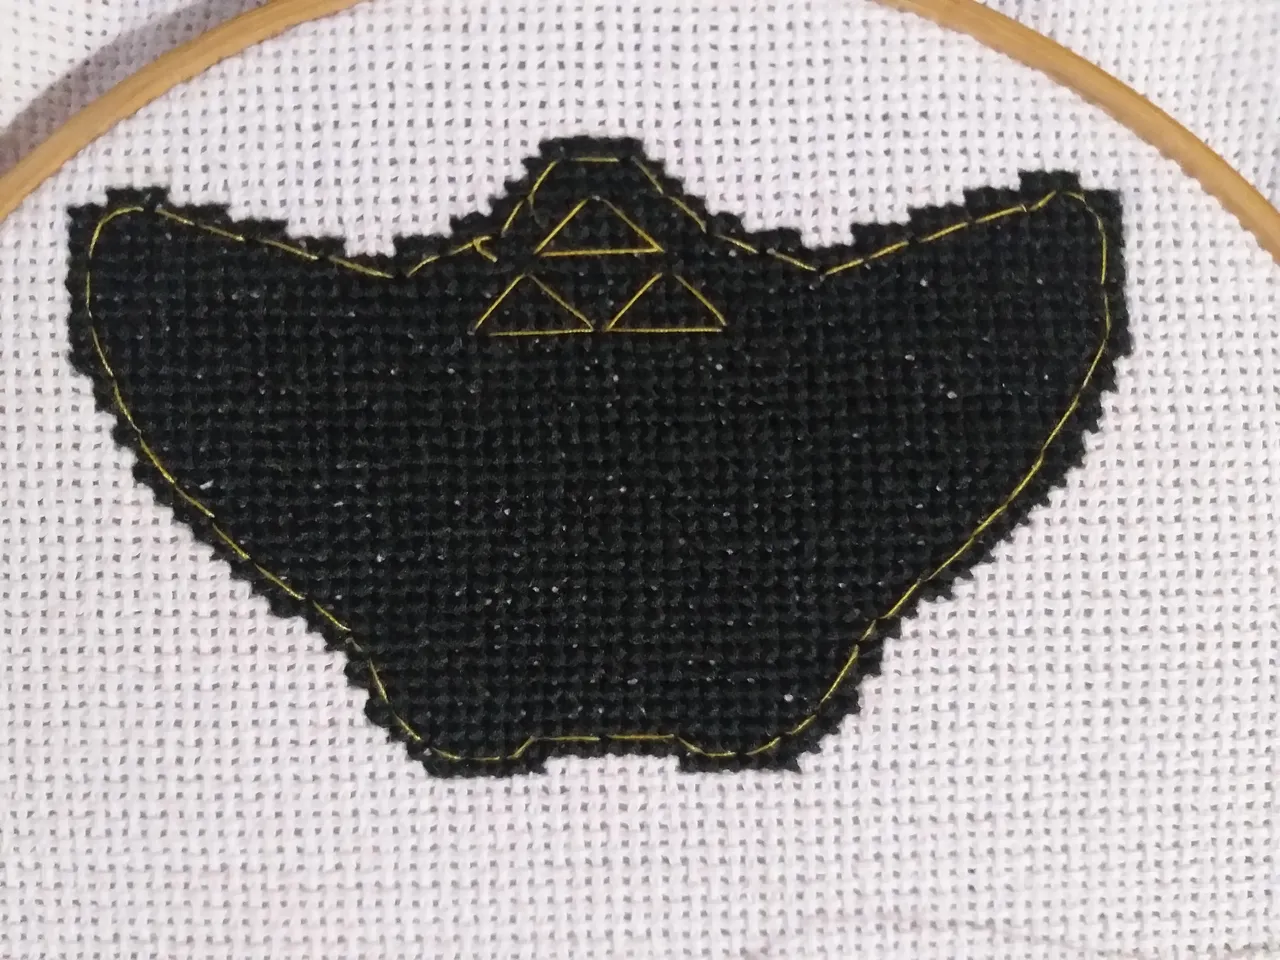
En el lado izquierdo y derecho dentro de las alas lleva unas especies de rectángulos que se van desvaneciendo hacia el centro. Por ultimo tiene como una especie de espada y unas patas de ave.
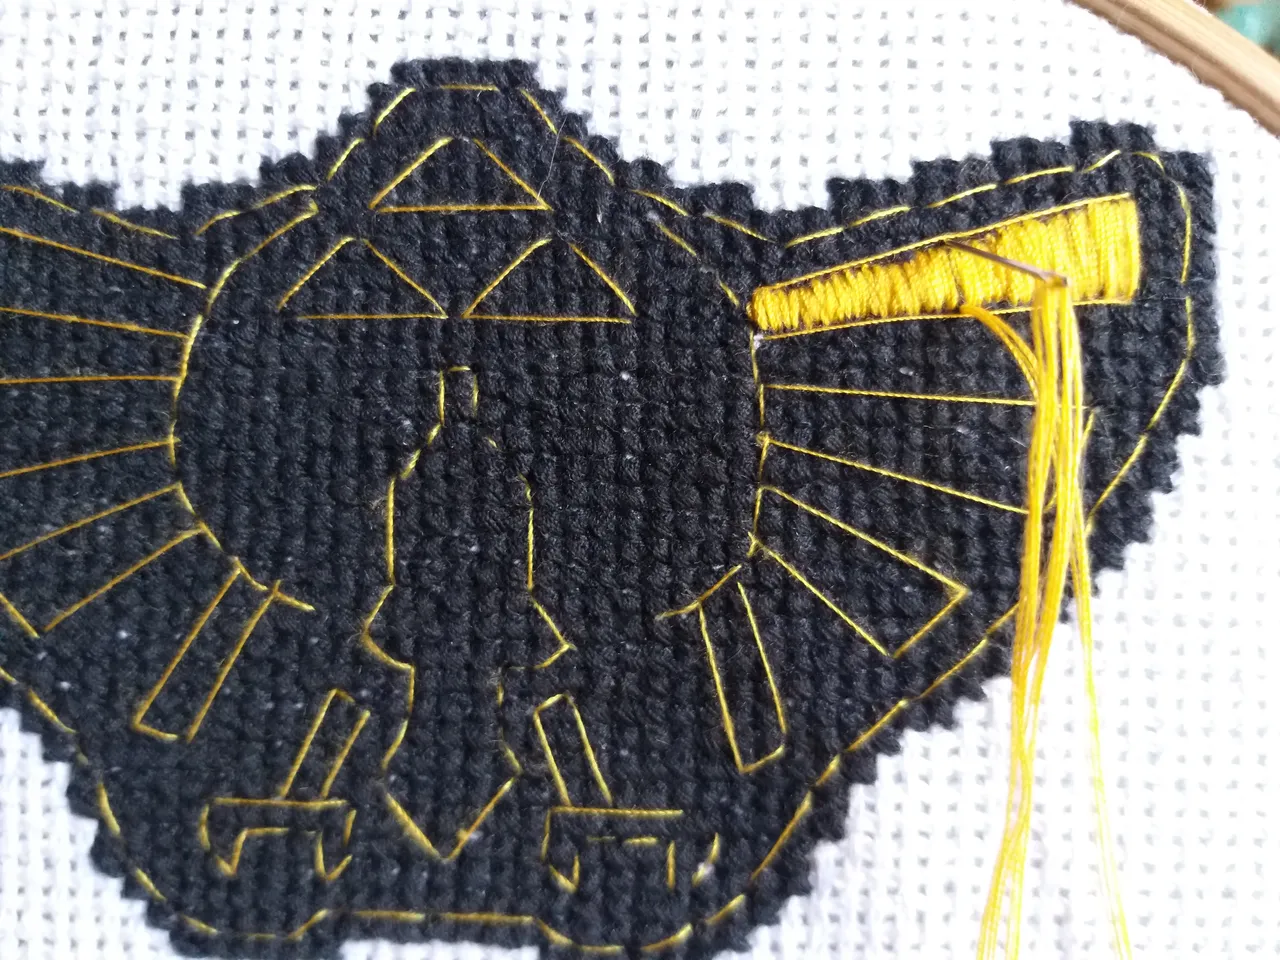
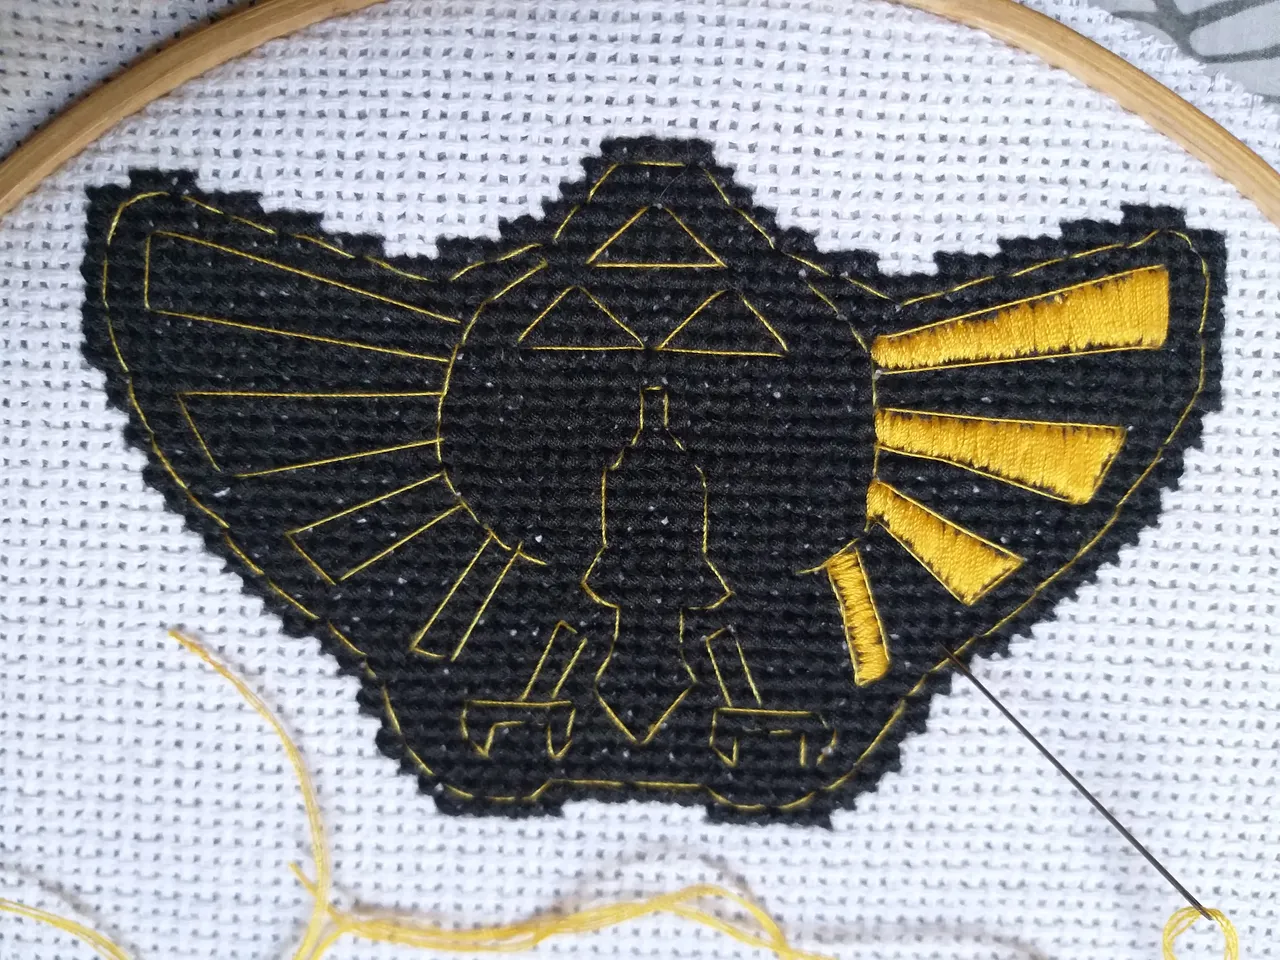
Para el relleno utilizamos varias hebras de hilo, en este caso utilizo 4 hebras y trabajo con la puntada de relleno, todo el boceto y siluetas dibujadas con la puntada de atrás va relleno de el hilo amarillo, primero comencé con los rectángulos que se van desvaneciendo hacia dentro, ya que tuve la impresión de que serian los que se llevarían mas tiempo, luego de rellenar ambas partes de las alas, procedí a el relleno de la espada, y comienzo de las patas de ave, siendo sincera me llevo como 3 días en relleno, esto porque se trabajo sobre ya la tela bordada, es decir otros puntos y por el grosor de los hilos de abajo, se tiene que tener bastante paciencia y utilizar una aguja de un buen grosor para que sea mas sencillo el paso de el hilo.
Hasta acá va el proceso de este parche el cual espero pronto terminar, gracias por leerme espero les guste como esta quedando, hasta un nuevo post!.
(ENG)
Hello Hive community! I hope you are excellent, in good health, today I show you the third part of the patch in charge of the video game The Legend of Zelda.
Today we will work with yellow thread, I see it as a shiny thread somewhat similar to the gold that this image has, I start with a single thread because I want to make a direct sketch of the elements that go inside.
For the sketch the back point is used, this point is easy to disassemble due to an error in the process, it also helps in that it can be lengthened or shortened according to the curves or points that are needed, that is, we can make the point of the size that we want.
Back stitch: at first glance it looks like a sewing machine stitch, but it is not, since it looks like a continuous stitch on the upper part but on the inside the stitches are longer.
It is easy and quick to work with this stitch and a strand of thread, as it has an edge all around the wings, it is the first thing that is done, then look for the center, here there are three pyramidal triangles.
On the left and right side, inside the wings, it has some kind of rectangles that fade towards the center. Finally it has a kind of sword and bird legs.
For the filling we use several strands, in this case i use 4 strands and work with the filling point, all the sketch and silhouettes drawn with the back stitch are filled with the yellow thread, first i started with the rectangles that fade inwards, since i had the impression that they would be the ones that would take more time, after filling both parts of the wings, i proceeded to the filling of the sword, and beginning of the bird legs, to be honest, it took me about 3 days to fill, this is because the embroidered fabric is already worked on, that is, other stitches and because of the thickness of the threads below, you have to have a lot of patience and use a good-thickness needle to make it easier the passage of the thread.
Until here goes the process of this patch which I hope to finish soon, thanks for reading I hope you like how it is, until a new post!.