Hello everyone, I’m here with another hive themed project. This was inspired by the #hivefest coming up. I was thinking if I were to make it then I would need a cute backpack for a city tour and of course it should have hive logo.
I spent about 8 hours making the whole bag. My favorite part was the logo. Even though I’ve become familiar with it, I’m learning new tapestry tricks using this logo.
I had this bralette and I wanted to transform it into the bag. So I unraveled it and turned it into this bag
The materials I used:
• Old crochet bralette
• 1.60 mm crochet hook
• Measuring tape

I started by just measuring the size of the bag I wanted. I knew I didn’t want it to be big so I went for something around 7inches.
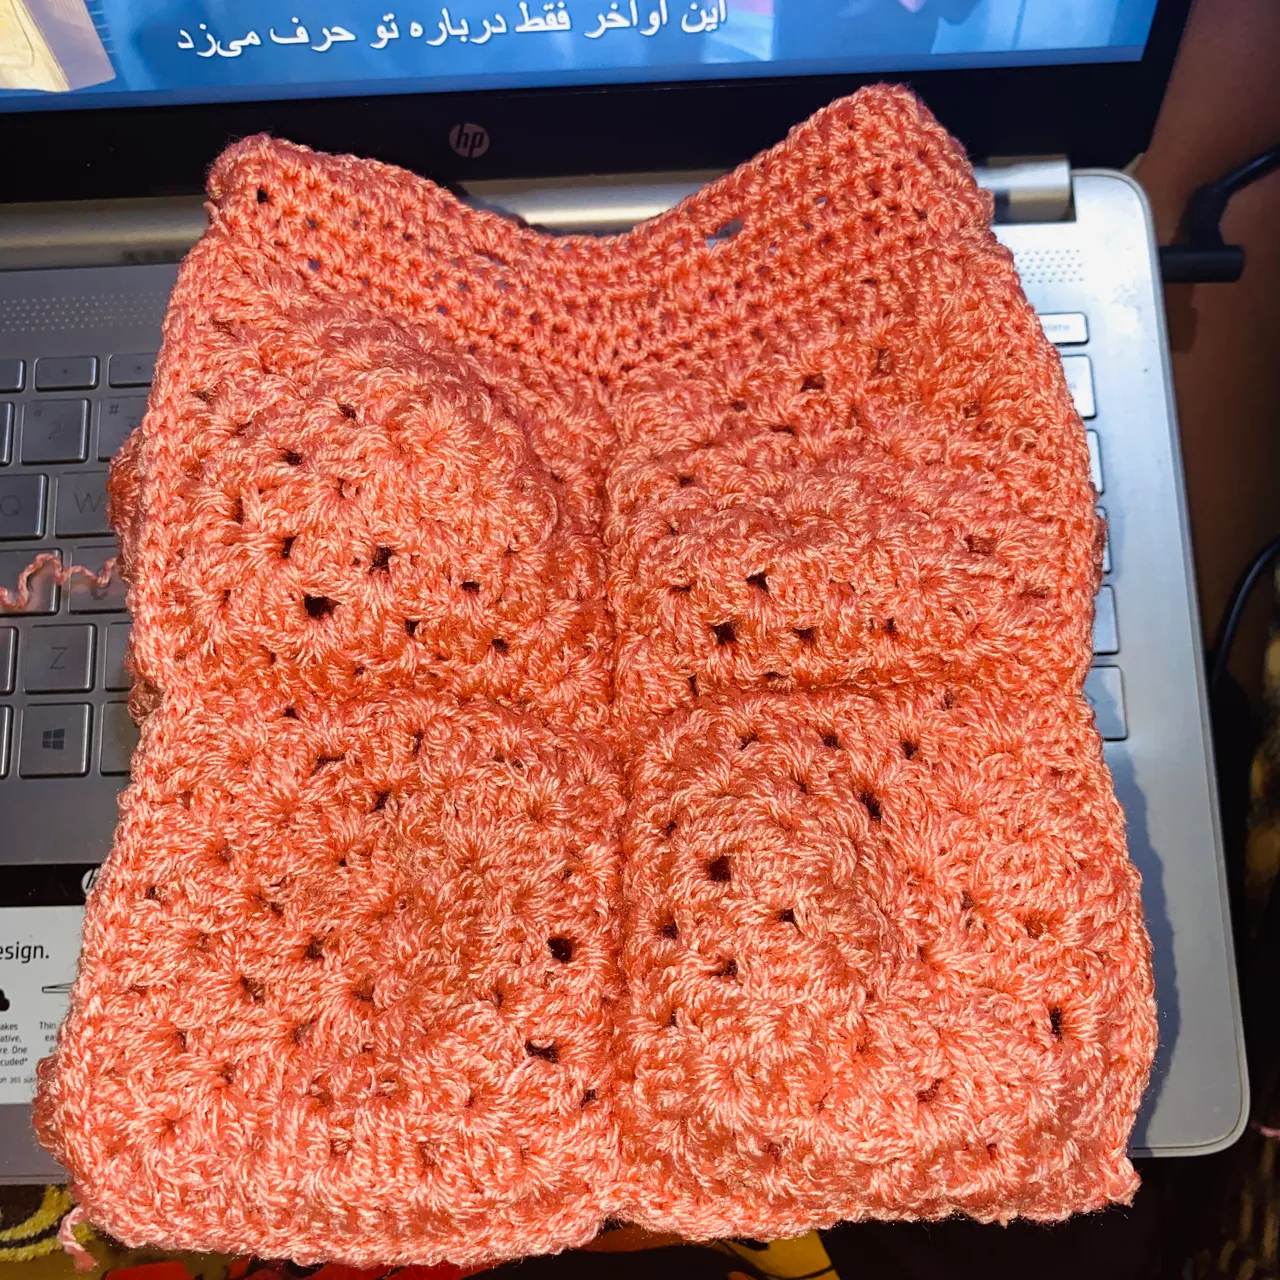
I started making the squares. I made 14 granny squares in total.4 for the front,4 for the back,4 for the sides and 2 for the bottom.
With the granny squares, just like I always start, I made 4 chains and then slip stitched in the first. I made 4 sets of three double crochets with a chain separating the sets.
I just built on this. Anytime I reached the corner, I made a set of the three double crochet separated by a chain.
After getting the size that I wanted, I kept on making them till I got all 14 granny squares.

I then joined them together to form a box or something similar to that. I also doubled the yarn for the bottom to make it firm.
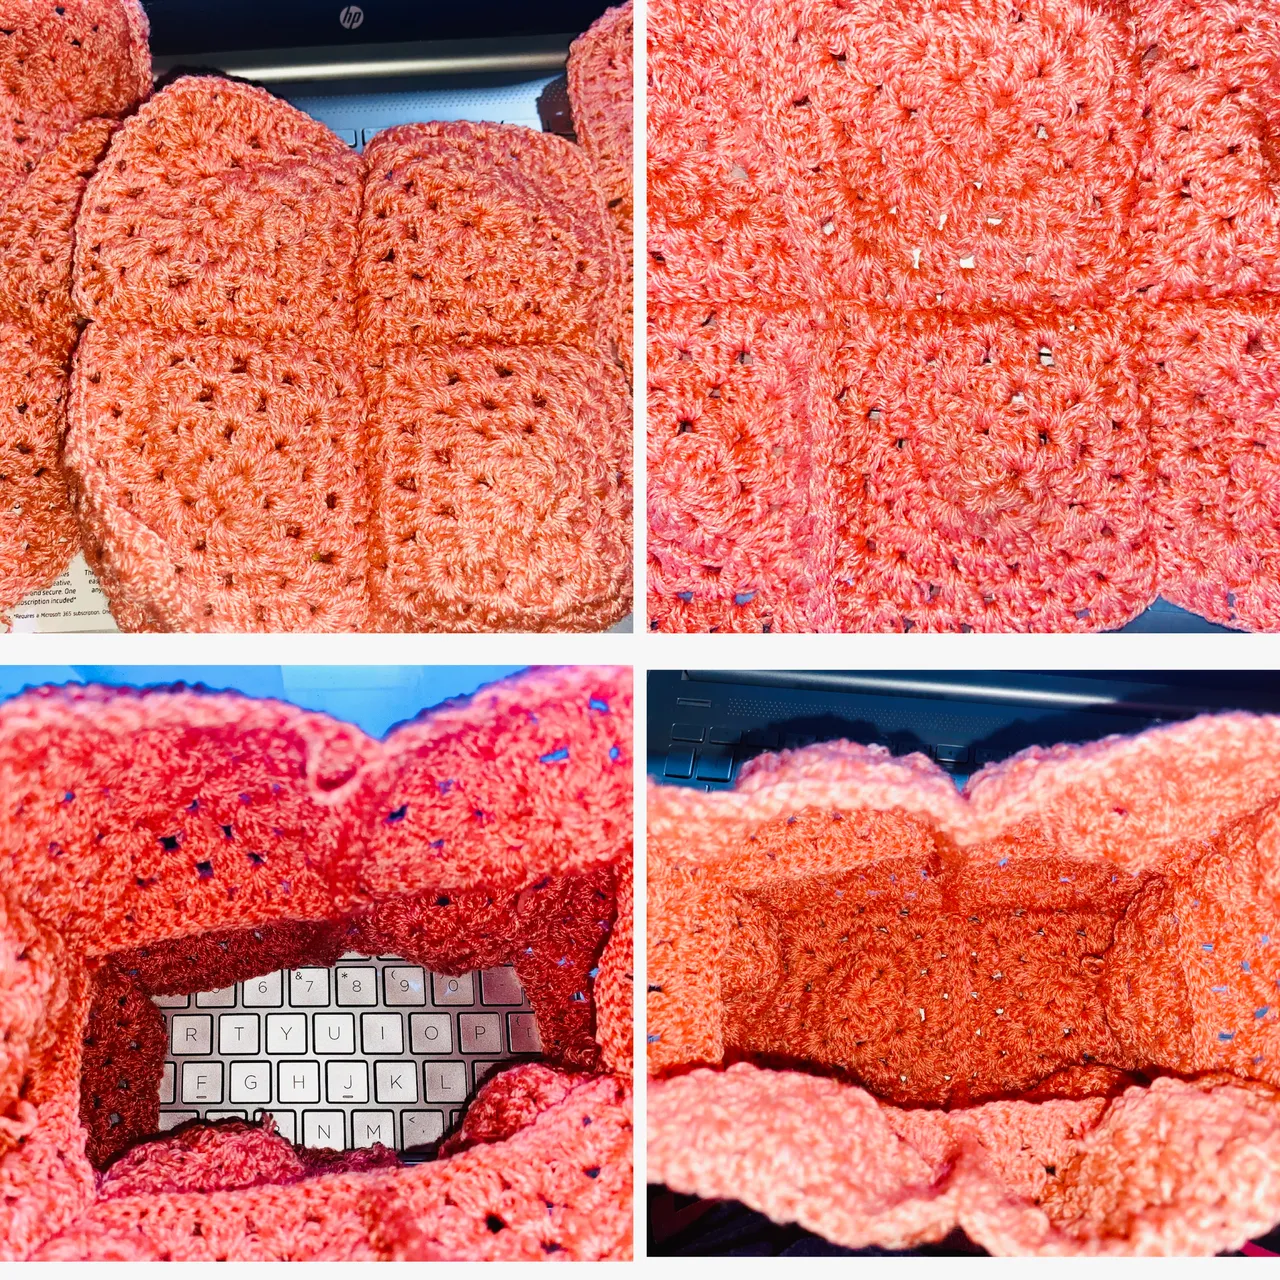
I went ahead to make a row of single crochet and then built it with three rows of half double crochet. During the second row, I made the holes for the lace by chain three and skipping three stitches. I made the lace for the holes and fixed three beads at the ends.

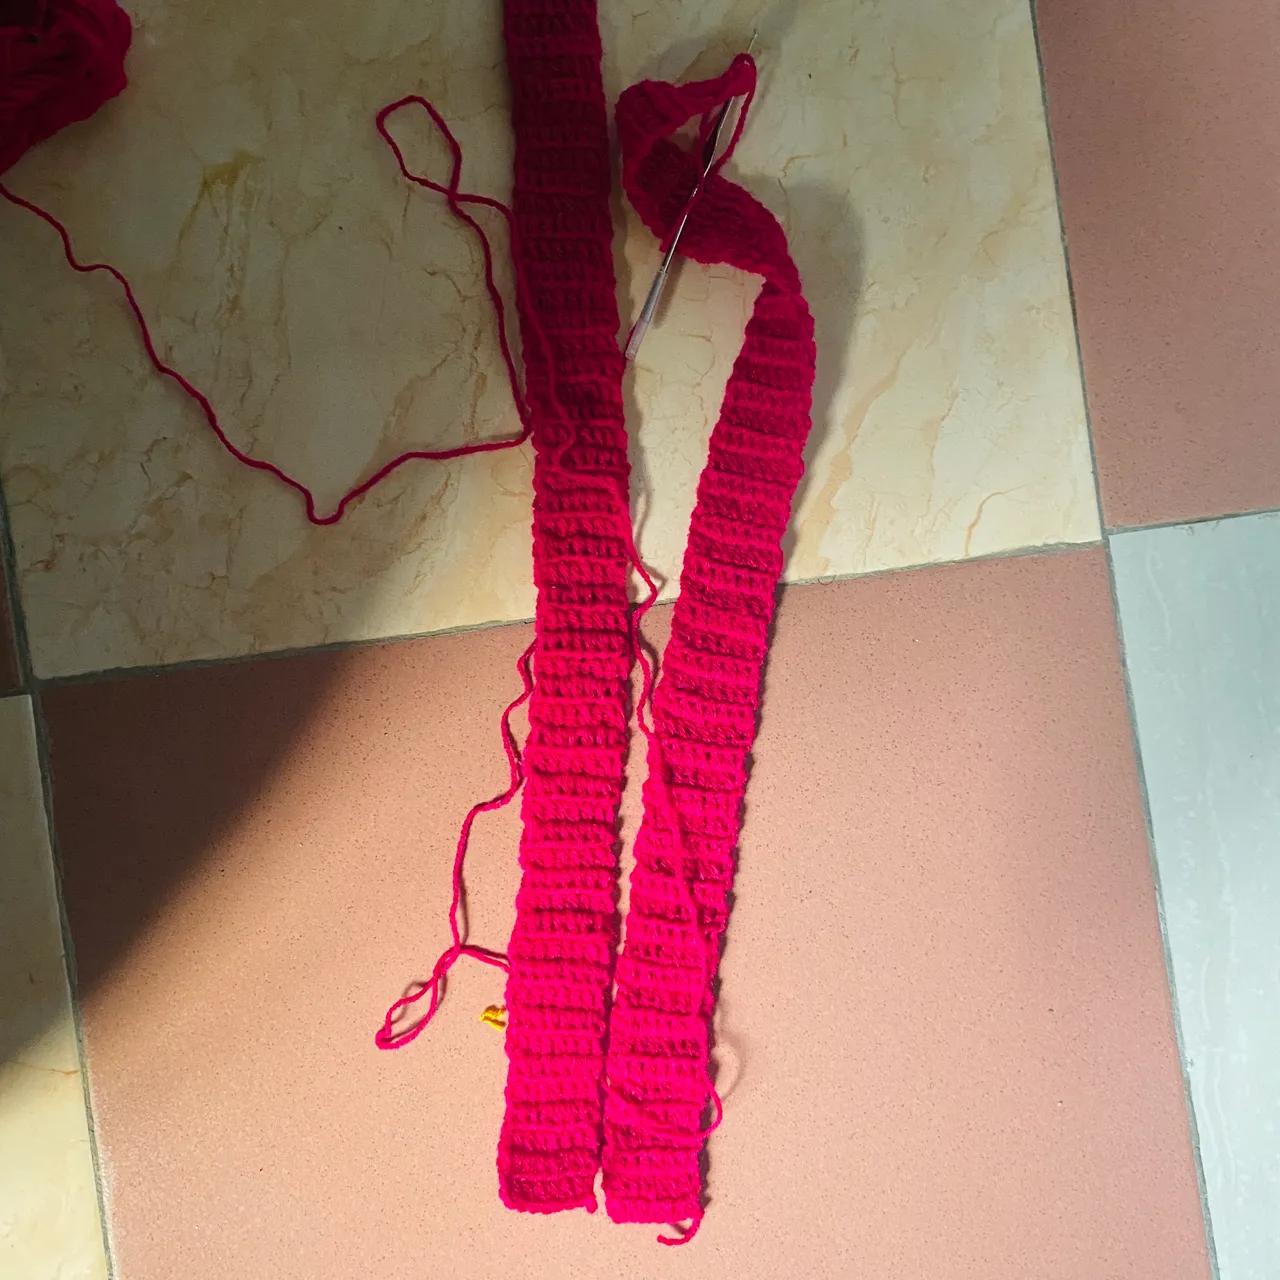
For the shoulder straps of the backpack, I made 47 rows of half double crochet for both straps and then for the handle loop I made 10 rows of half double crochet. I attached them to the back of the backpack.
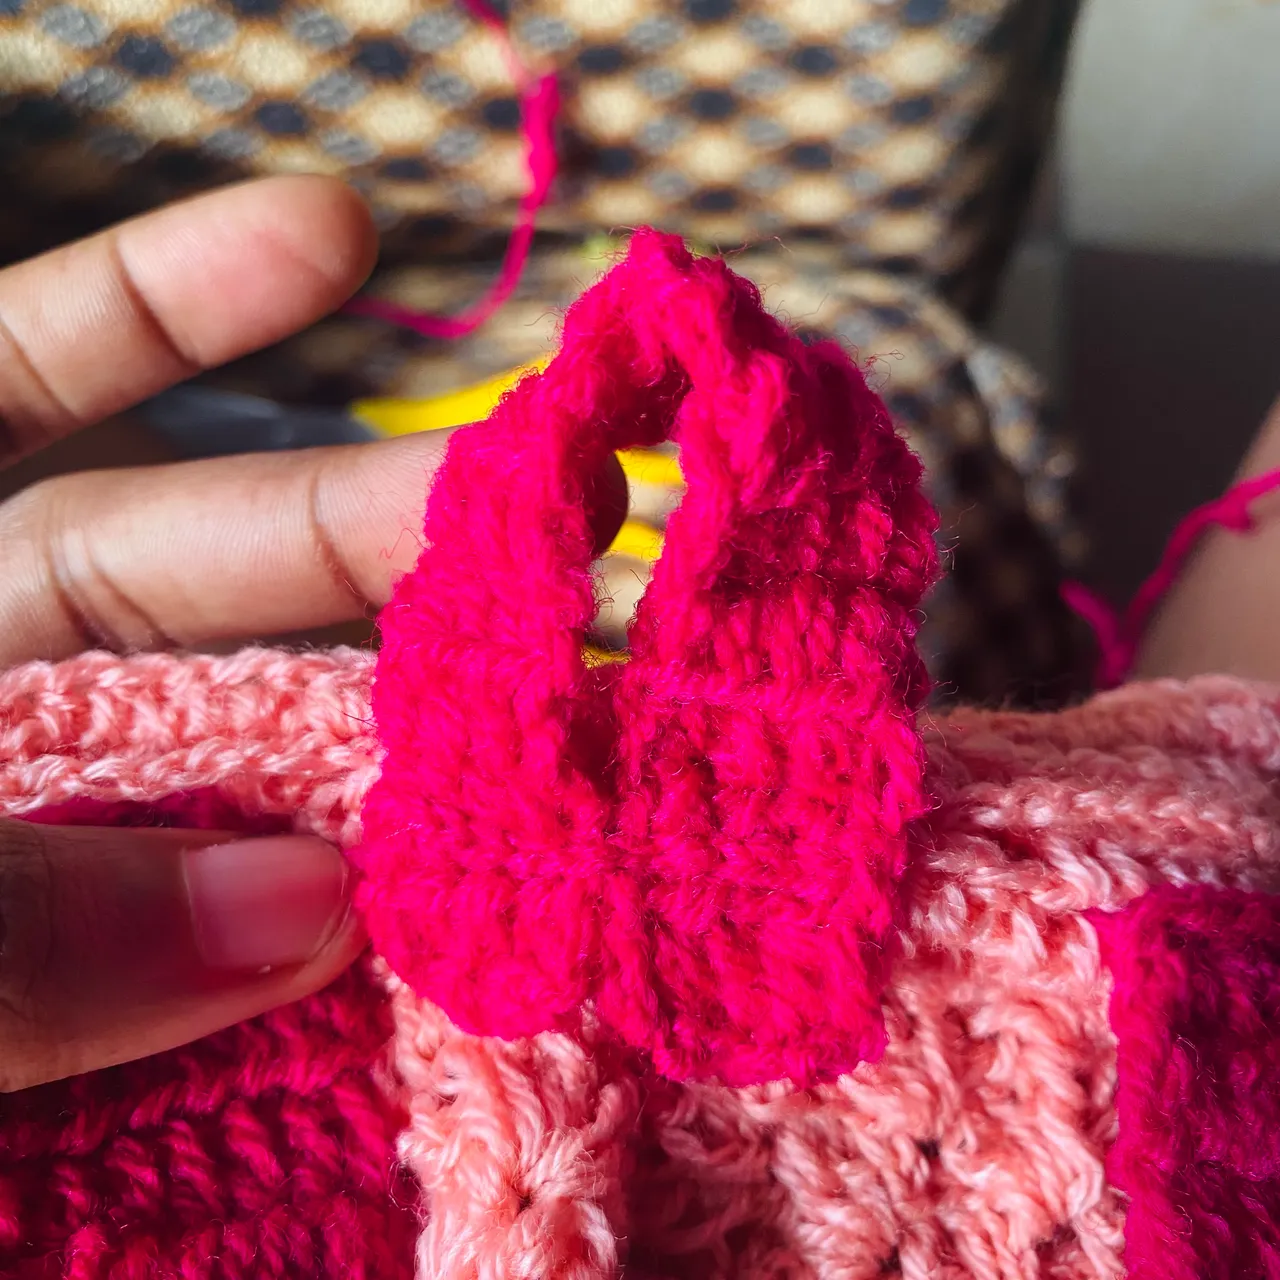
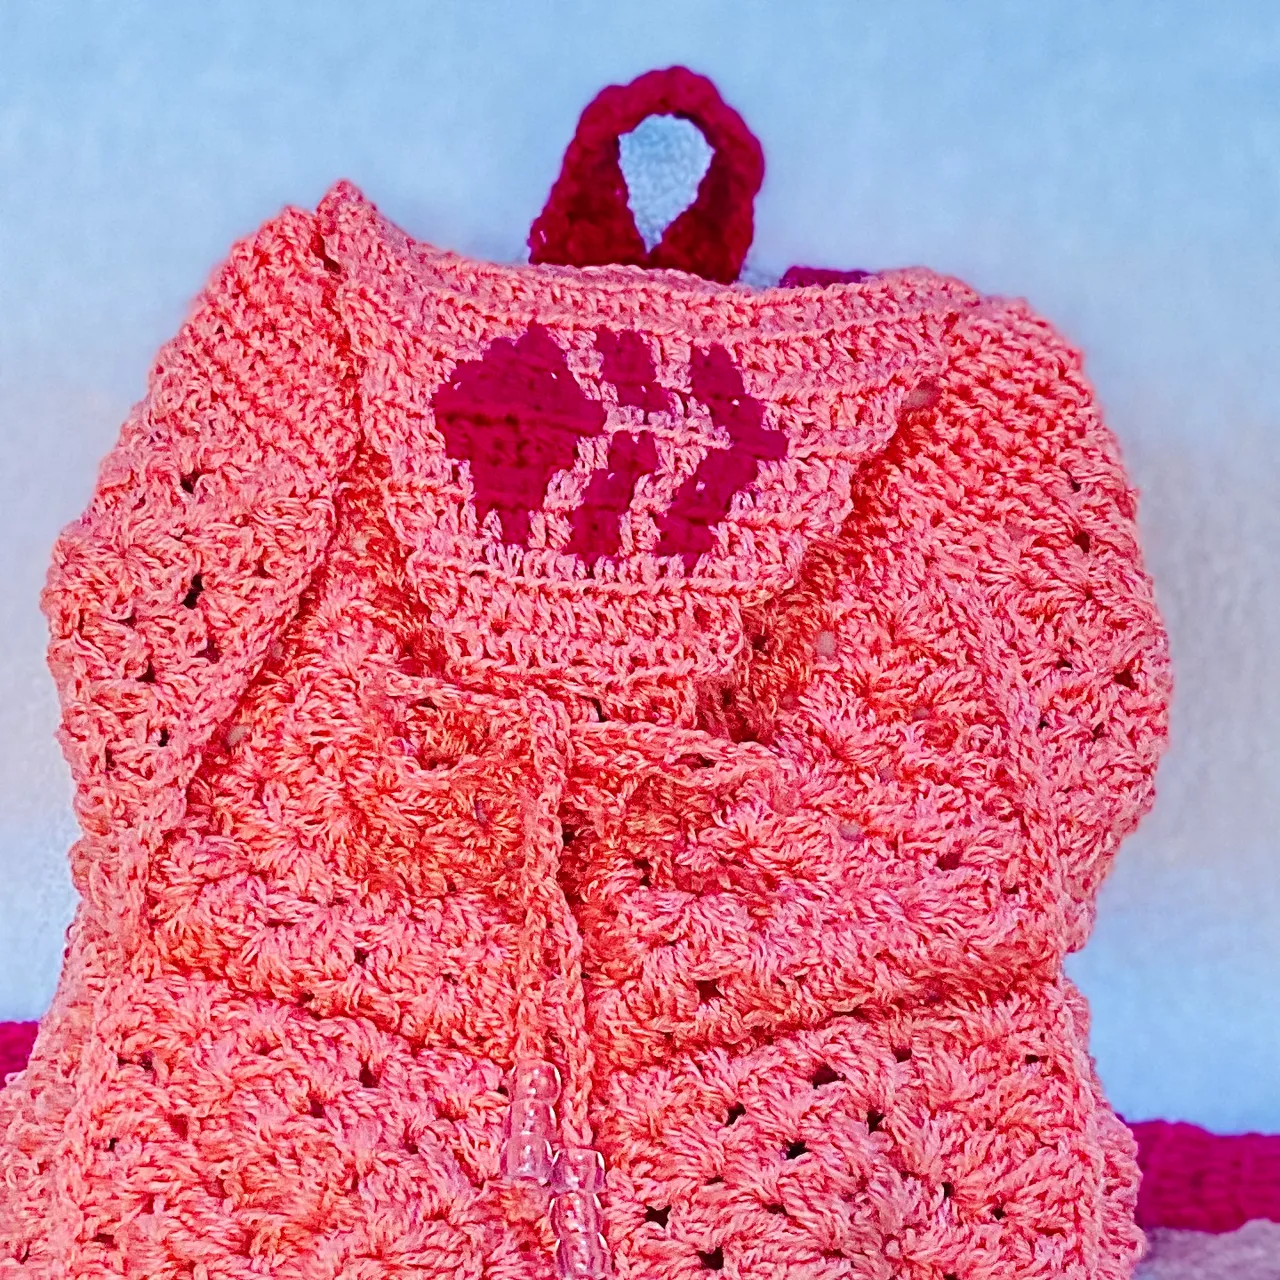
For the cover which has the hive logo, I made rows of half double crochet whiles reducing.
The pattern I used for the hive logo is 1, 3, 5, 7, 5, 3, 1 ( the part that is similar to that of a kite) and 2 each for the tilted L shapes.

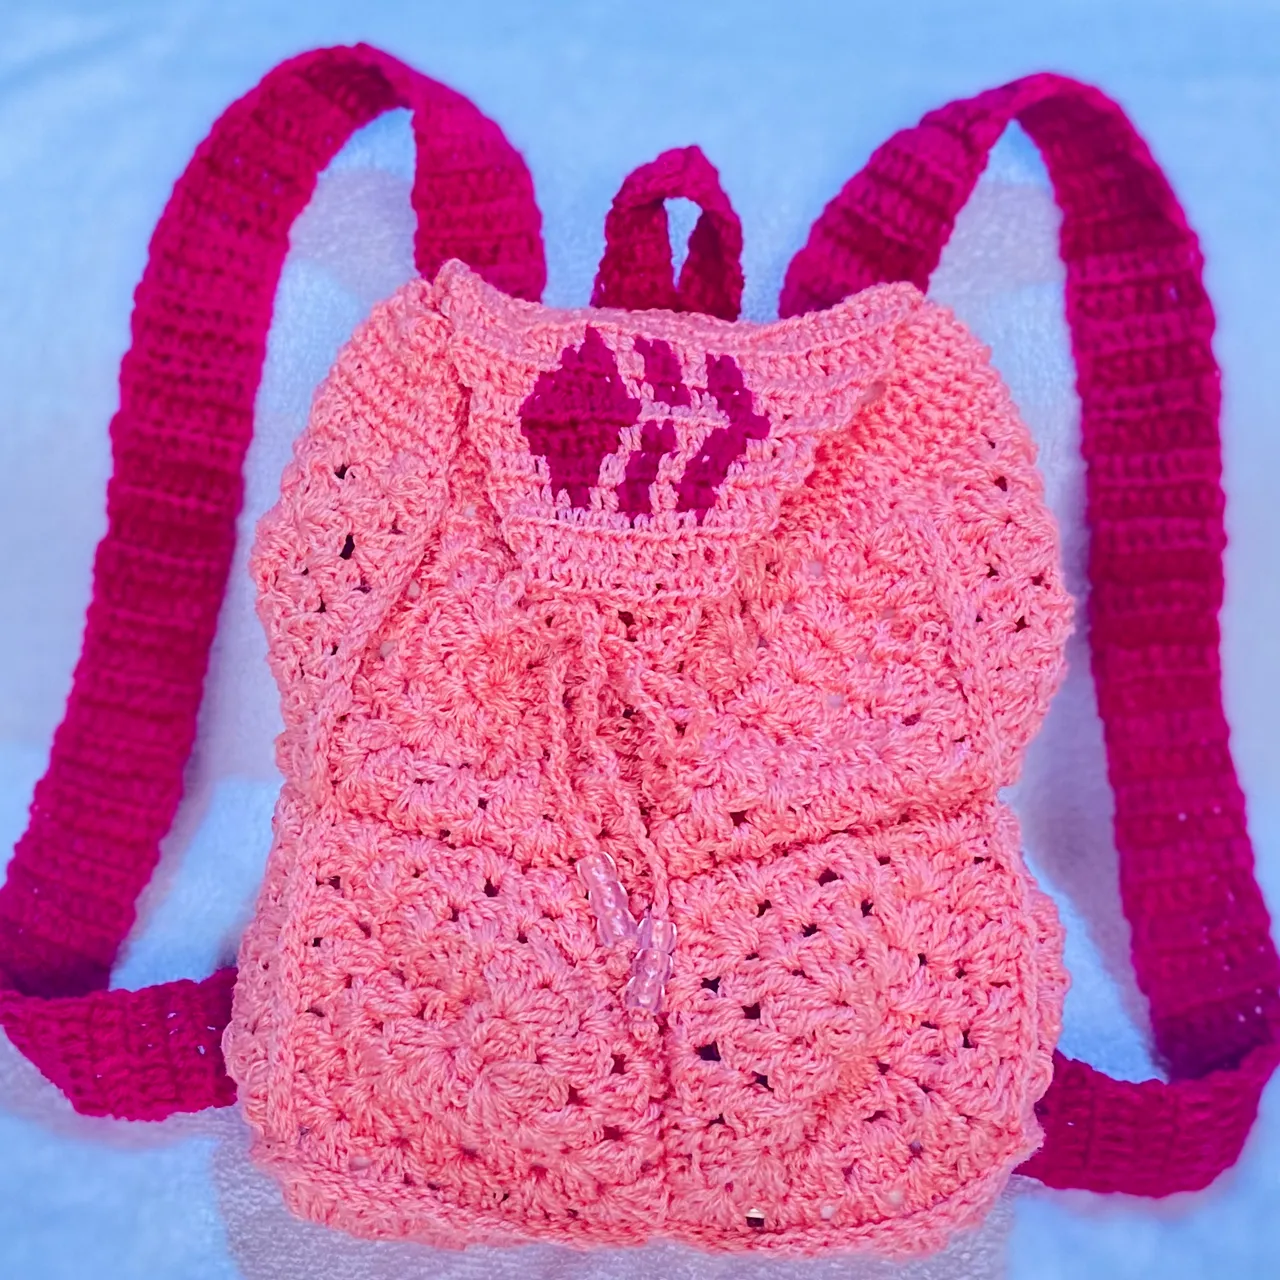
I made a hole at the end of the cover to hang the tied lace and I was done.
The result


I enjoyed making this because it reminded me how much practice tapestry needed. You might think you’re a master and then you touch the hook and you don’t even know what to do.
All Images Are Mine
Grids were made with photogrid