Hello everyone,we are getting organized this year. Do you remember that day when you needed your lip gloss,lip stick,keys,earrings or necklace but couldn’t locate it in your bag so you had to pour all your things from your bag just to find it? You do? Would you want to go through that again? No? Then I have good news for you. I’ll teach you an easy way to make a pouch to keep your essentials and get your stuff organized.

I must also say I got this inspiration from @kattycrochet when she made her organizer.
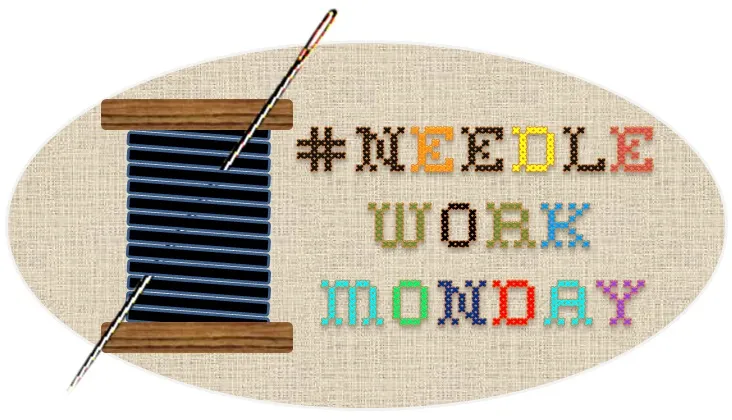
Materials I used:
- Fabric scraps
- Measuring tape
- Fabric Stiffener(optional)
- Elastic band for sewing
- A pair of scissors
Step 1
I cut a rough rectangular size from the fabric scraps and ironed to see the outline well.


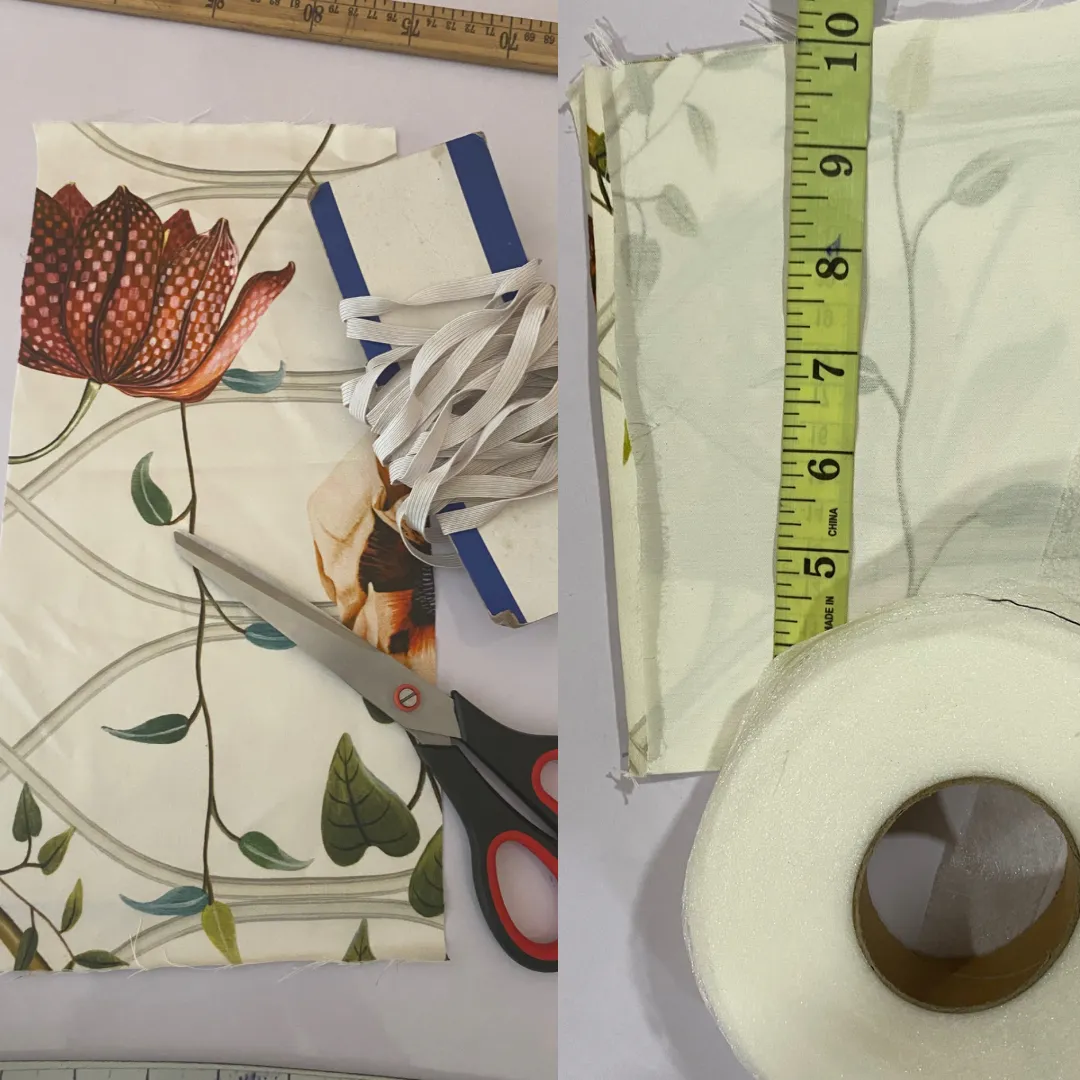
Step 2
I folded the inner side of the fabric into two equal parts and folded about an inch from the upper ends of the fabric.
Step 3
I sewed the ends of the left and right sides starting from just below where the upper folds end.

Step 4
I made a cut at the bottom of sewed sides(both left and right) and folded the seam allowances to let them lie down.

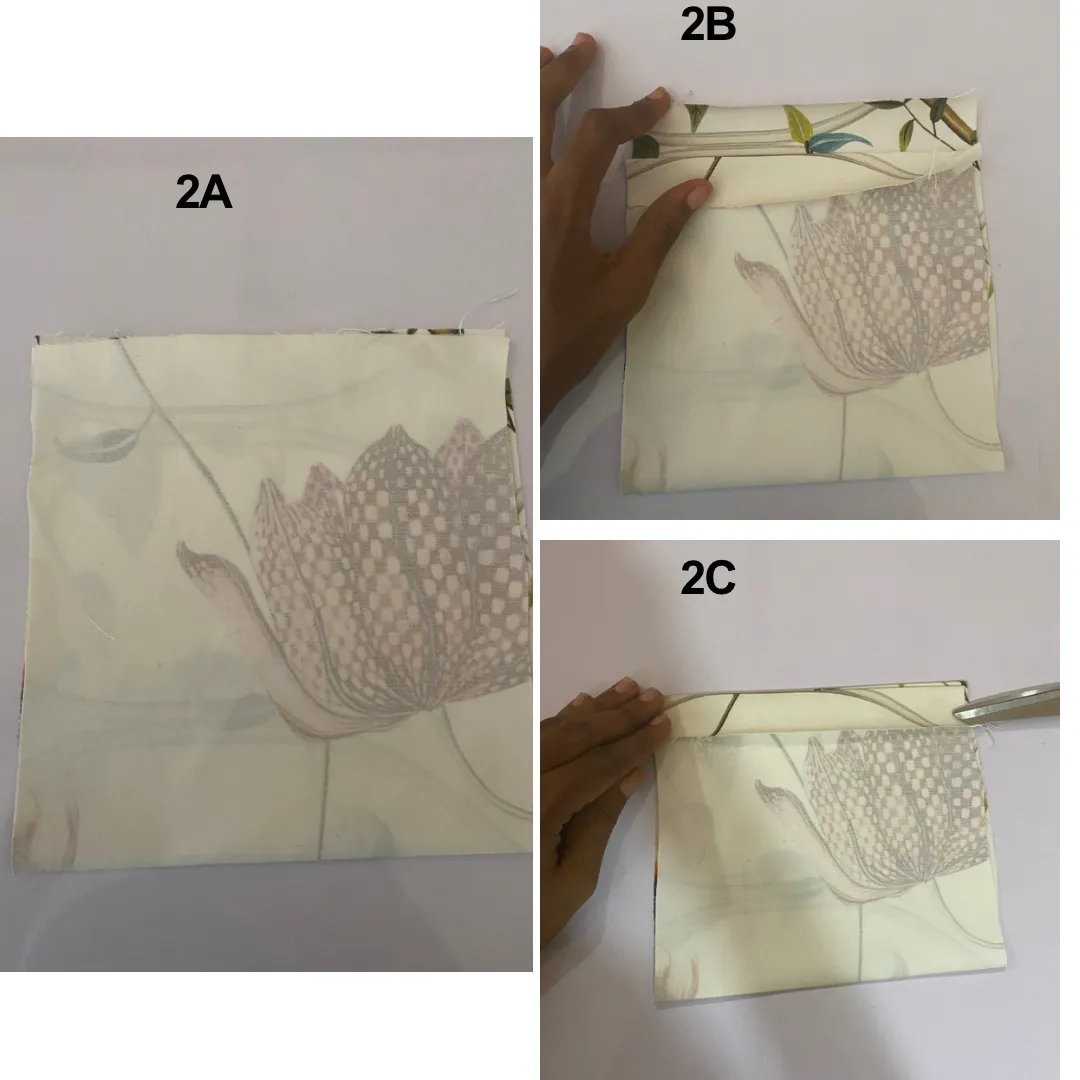
Step 4.1
In making the seam allowances lie down, you can just fold the allowances and sew from top to down(short method) but I wanted to experiment so I did fabric stiffening;
I measured and cut a fabric stiffener of the same size as the seam allowance.Put it on the seam allowance, folded it and ironed it till it laid down and did the same to the other side.(Long method)
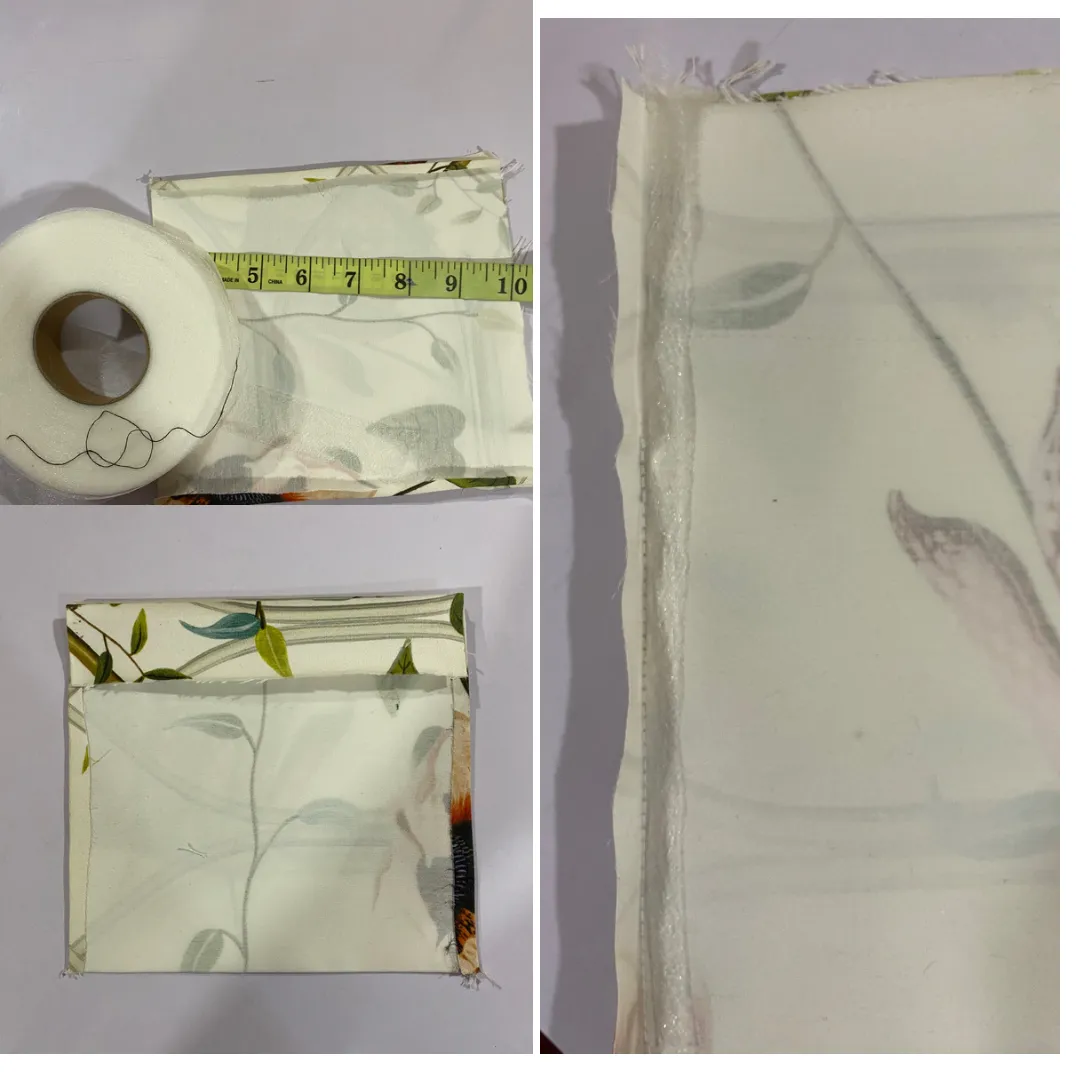
Step 5
I then sewed the upper folded parts to make the casing and now turned the inside of the fabric out.

Step 6
I cut two elastic sewing bands of the same length but longer than the casing.Passed one through the casing to the other side and through the other channel back to the start point so it was like a C pattern and tied the ends.


Step 6.1
From where the band made the C pattern, I passed the other band through that channel to the other side and back to the starting point and tied the ends.

So when I pulled the elastic bands at both ends it made an X pattern.
The result


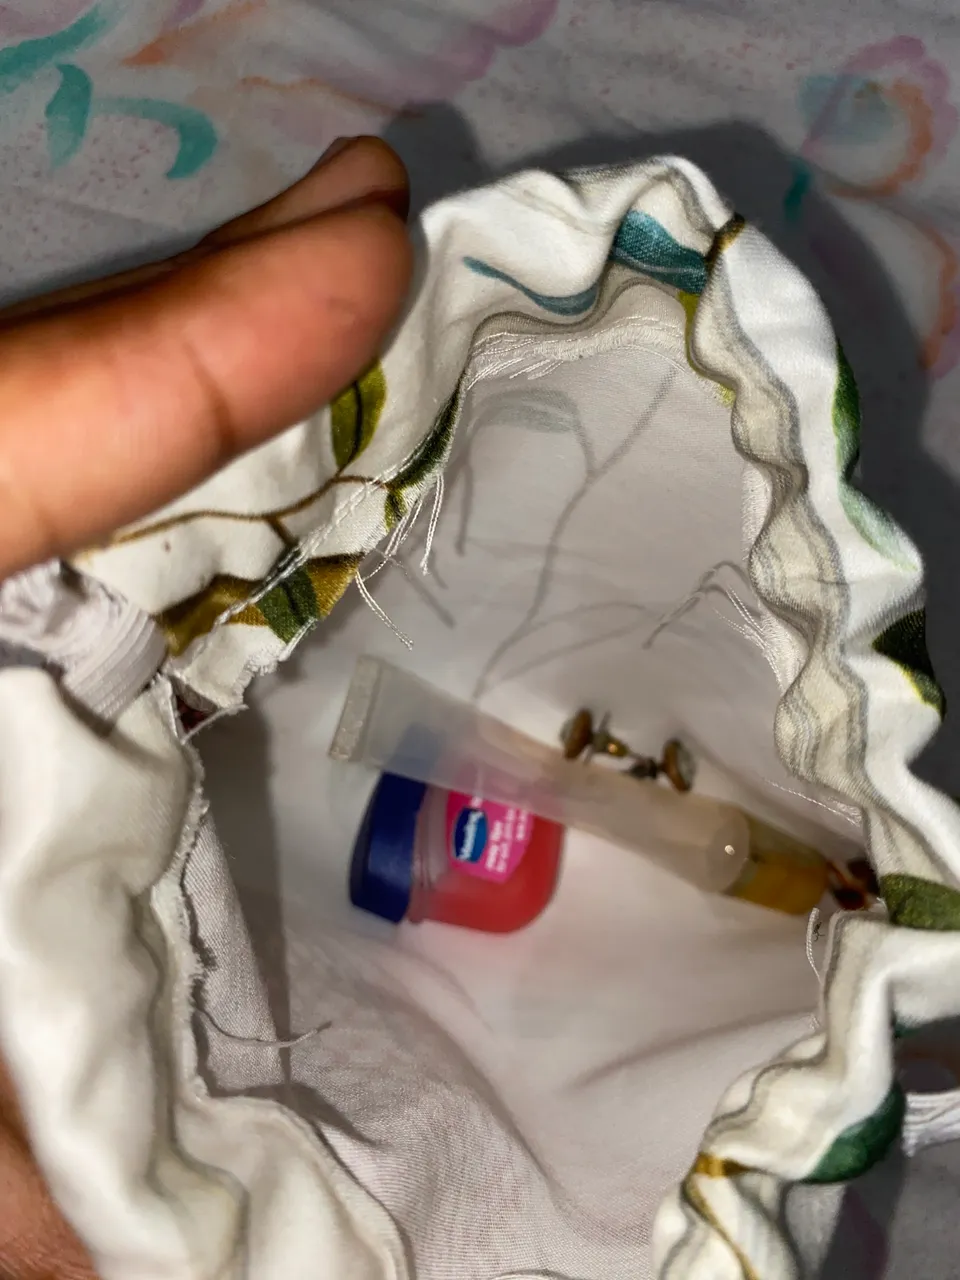
It looked too “normal” for me so as the extra person that I am ,I customized it with letter A (Abenad) using these shiny stones and a glue gun.


I enjoyed making this and I hope you like it.Thank you for your time.