Surpriseeee!!!! I know some people will be surprised and maybe even confused because they probably were expecting a crochet post today. Some days ago, I shared the vintage electric sewing machine that I got from my mom and I’ve been on the machine for a while now. It was a little hard to know how to use it since it is vintage but I was able to download its manual and I’ve been using it just fine.
My mom wasn’t surprised to see me behind the machine but she was surprised I knew how to use it. Hehe, I just made her know I learned from the best. I wanted to make a crop top with wide sleeves because I love baggy clothes. It was a whole roller coaster before getting the top done but I’m still proud of myself. I didn’t have a lot of tools but I improvised and made do of what I had.
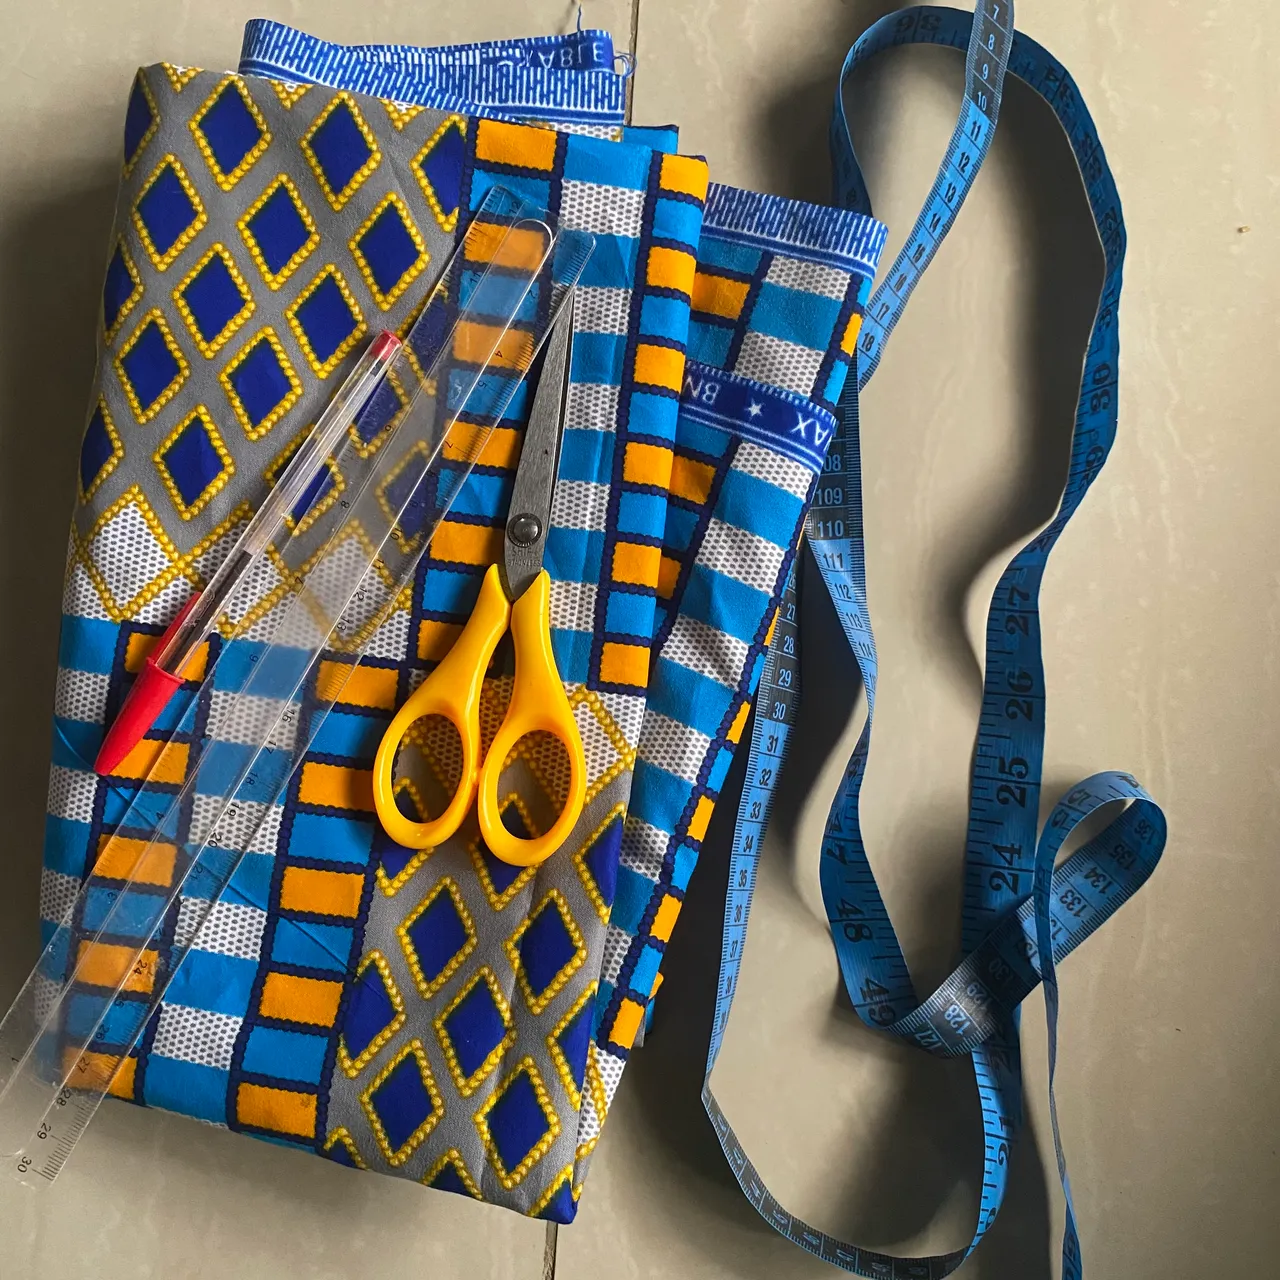
The materials I used:
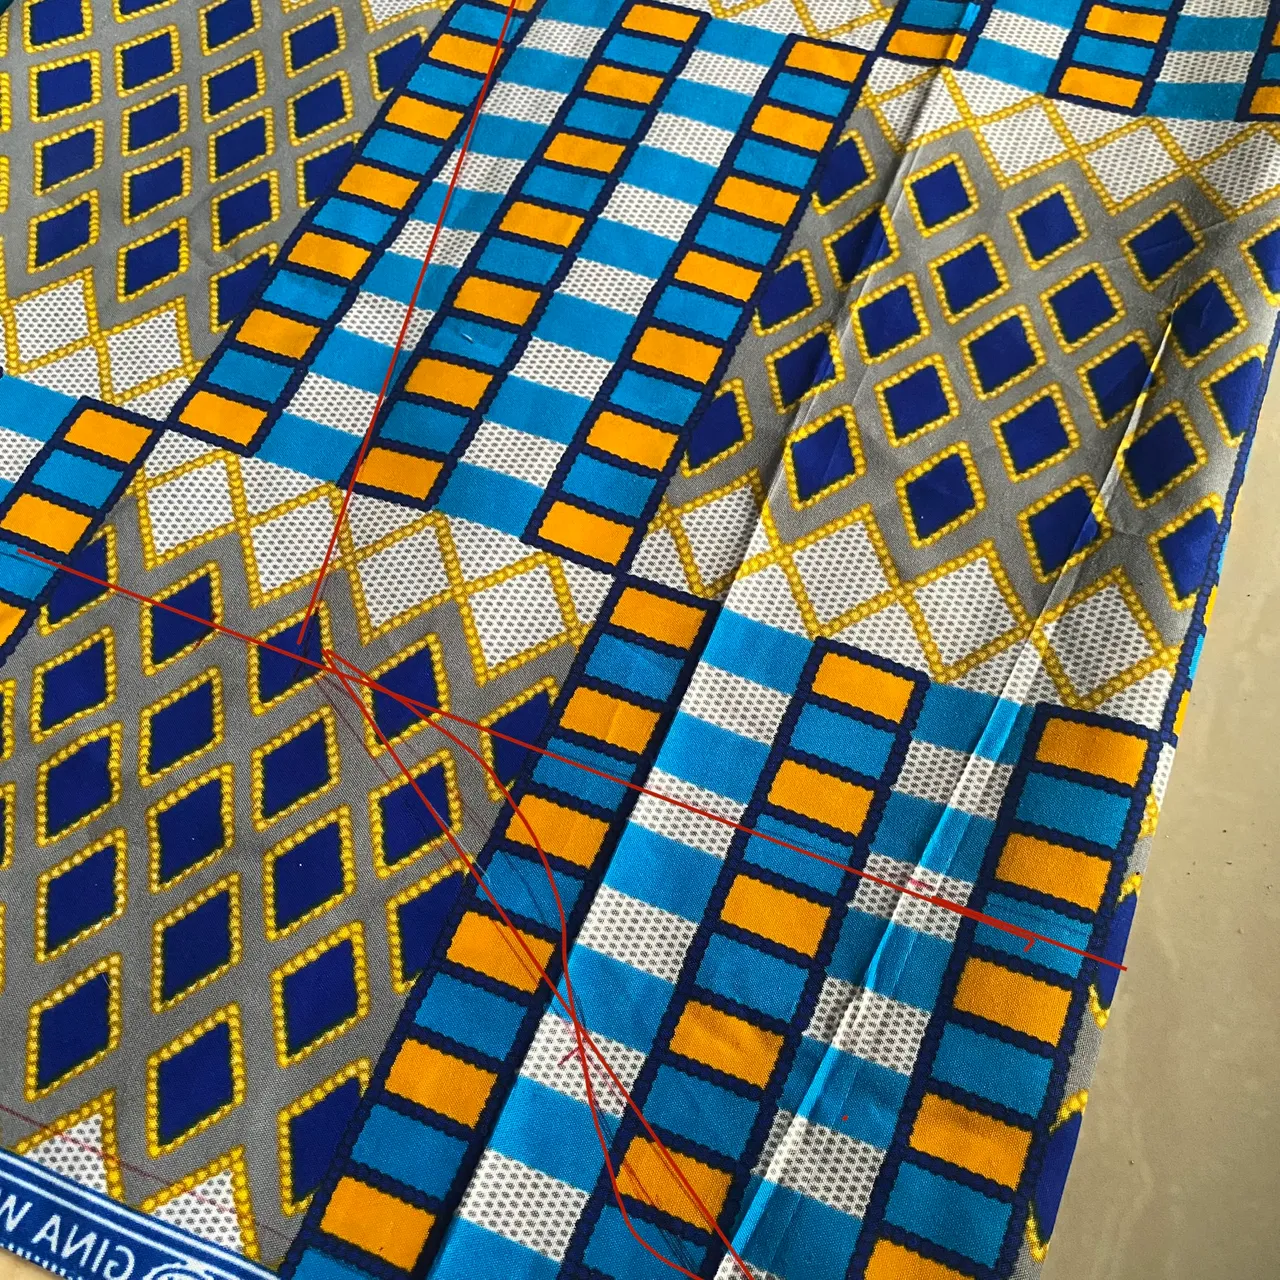
• 2 yards of Ankara fabric
• a pair of scissors
• measuring tape
• ruler(improvising)
• pen(improvising)
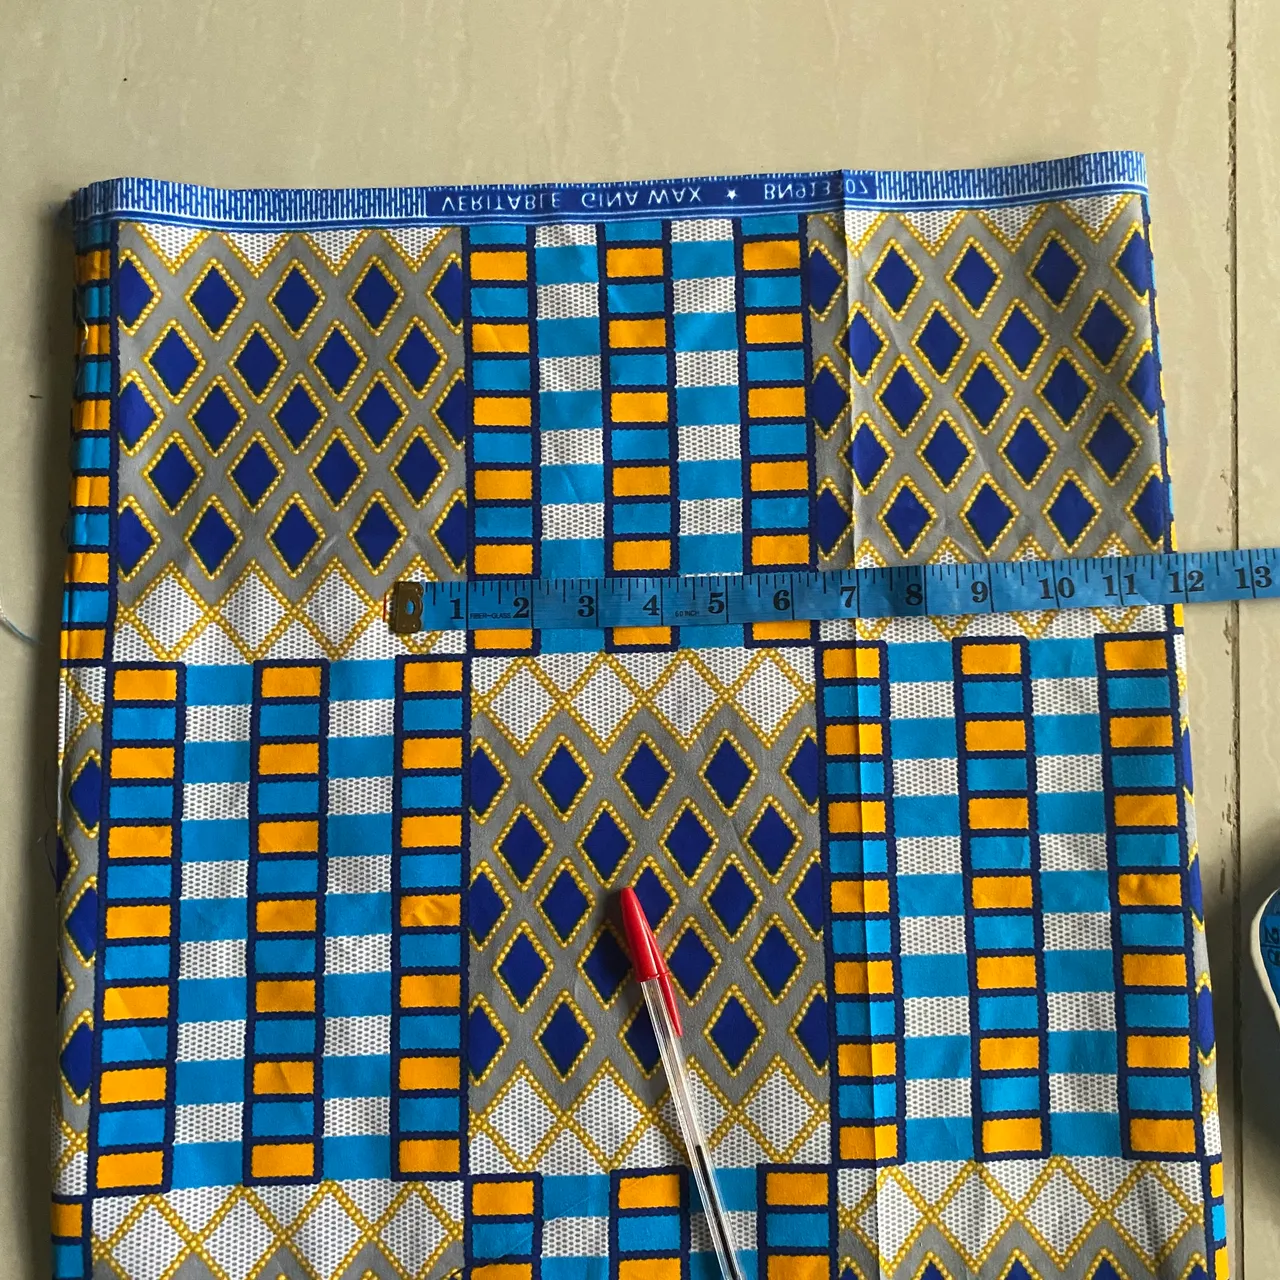
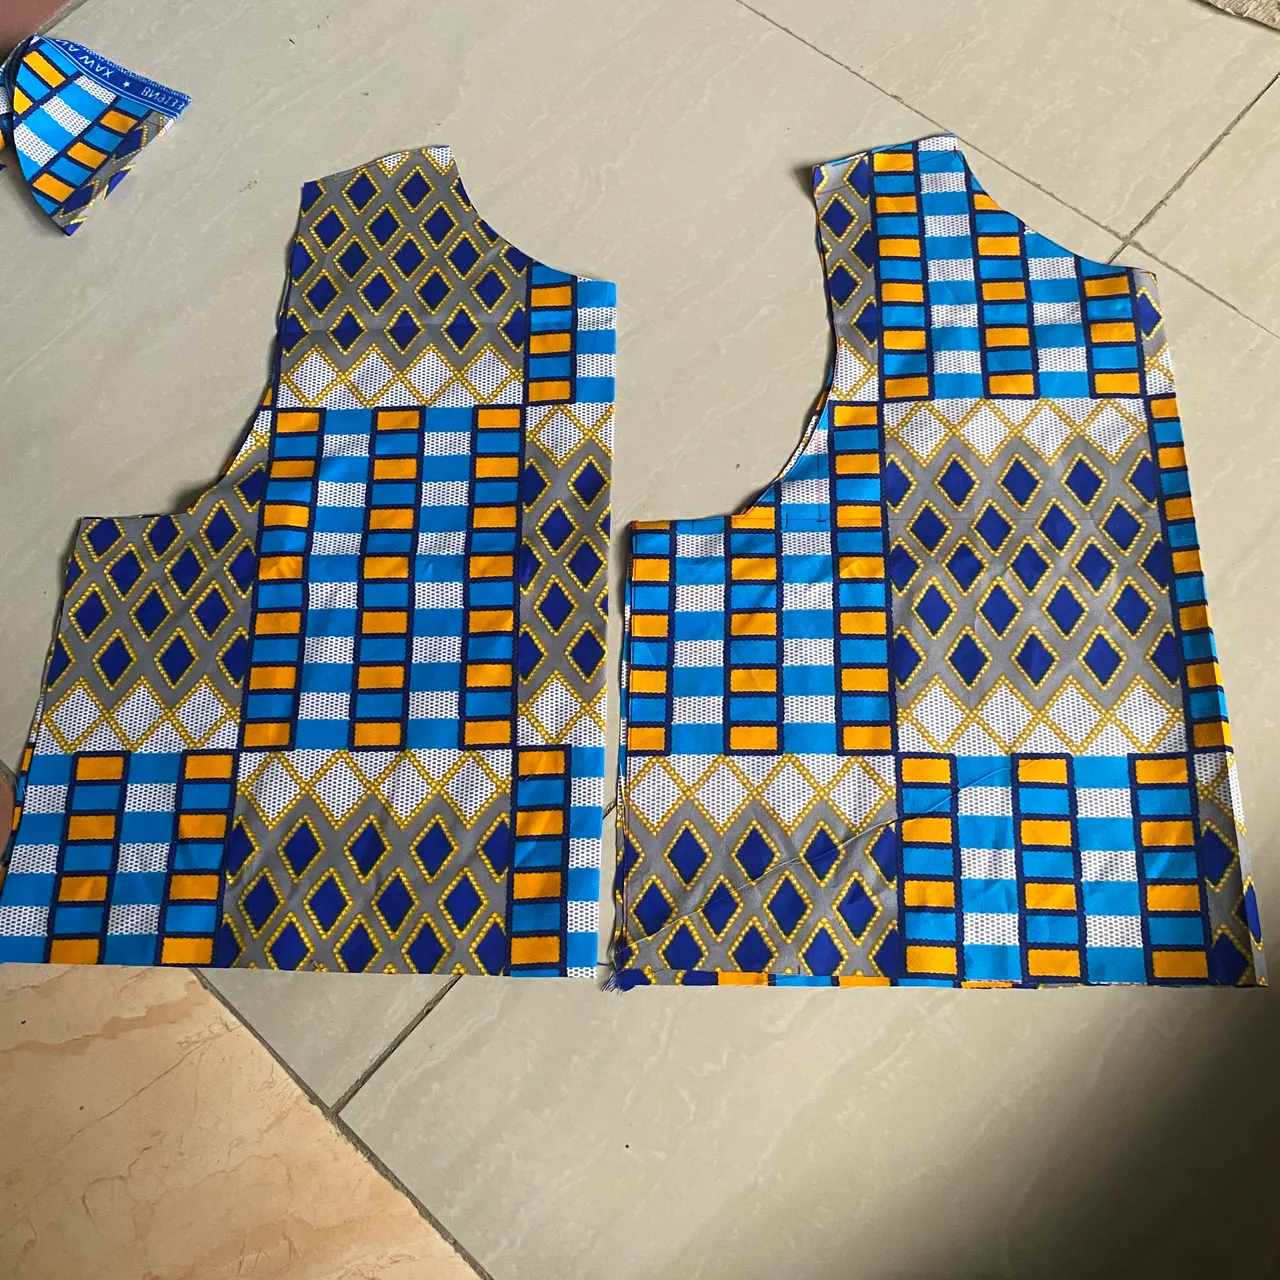
I started by folding the fabric into 4 parts. I marked the starting point where I started working from and then using my measurements I marked the front and back neck depth and width. Since I was making a free top with no zipper, I made the front and back of the neck depth and width the same so as to make it easy when wearing the top. I used 3.5inches for the depth and 4inches for the width.
I then moved to the arm hole and bust line. I divided my bust into 4, marked that place while connecting it to the my armhole length. I then moved to the length of the top. Since it was a crop top, I made the length 17inches.
After everything, I added allowances to all the parts. Since I didn’t have a chalk, I used pen but I wouldn’t recommend it because it was a little difficult to see when I was cutting.
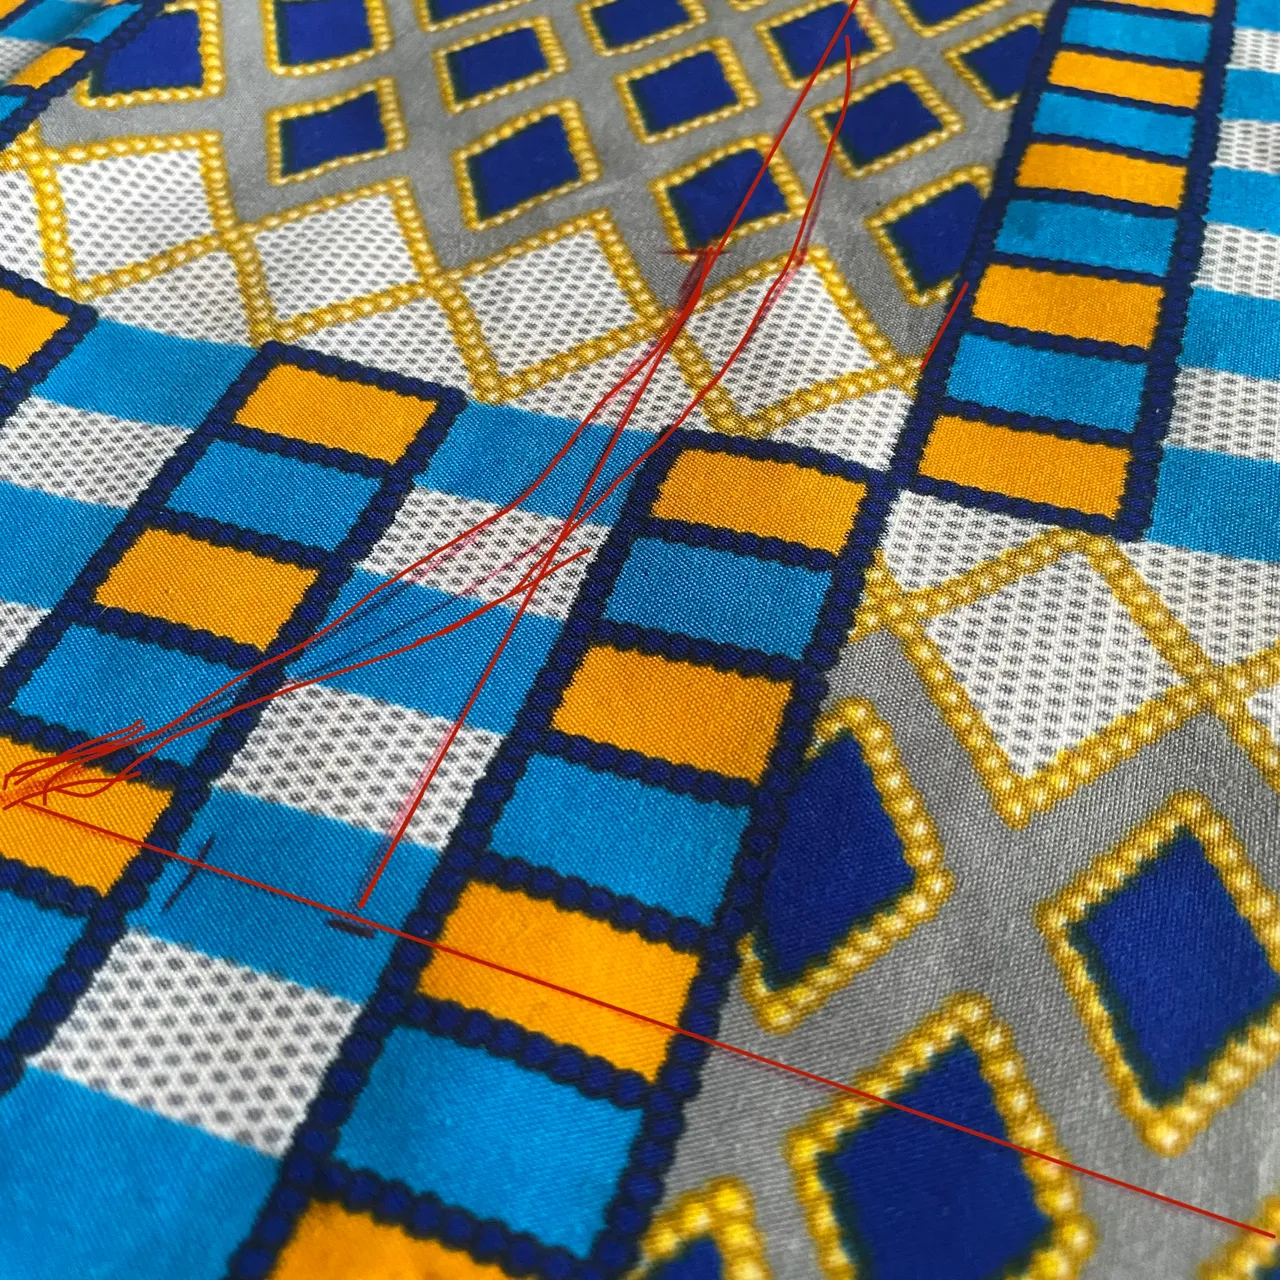
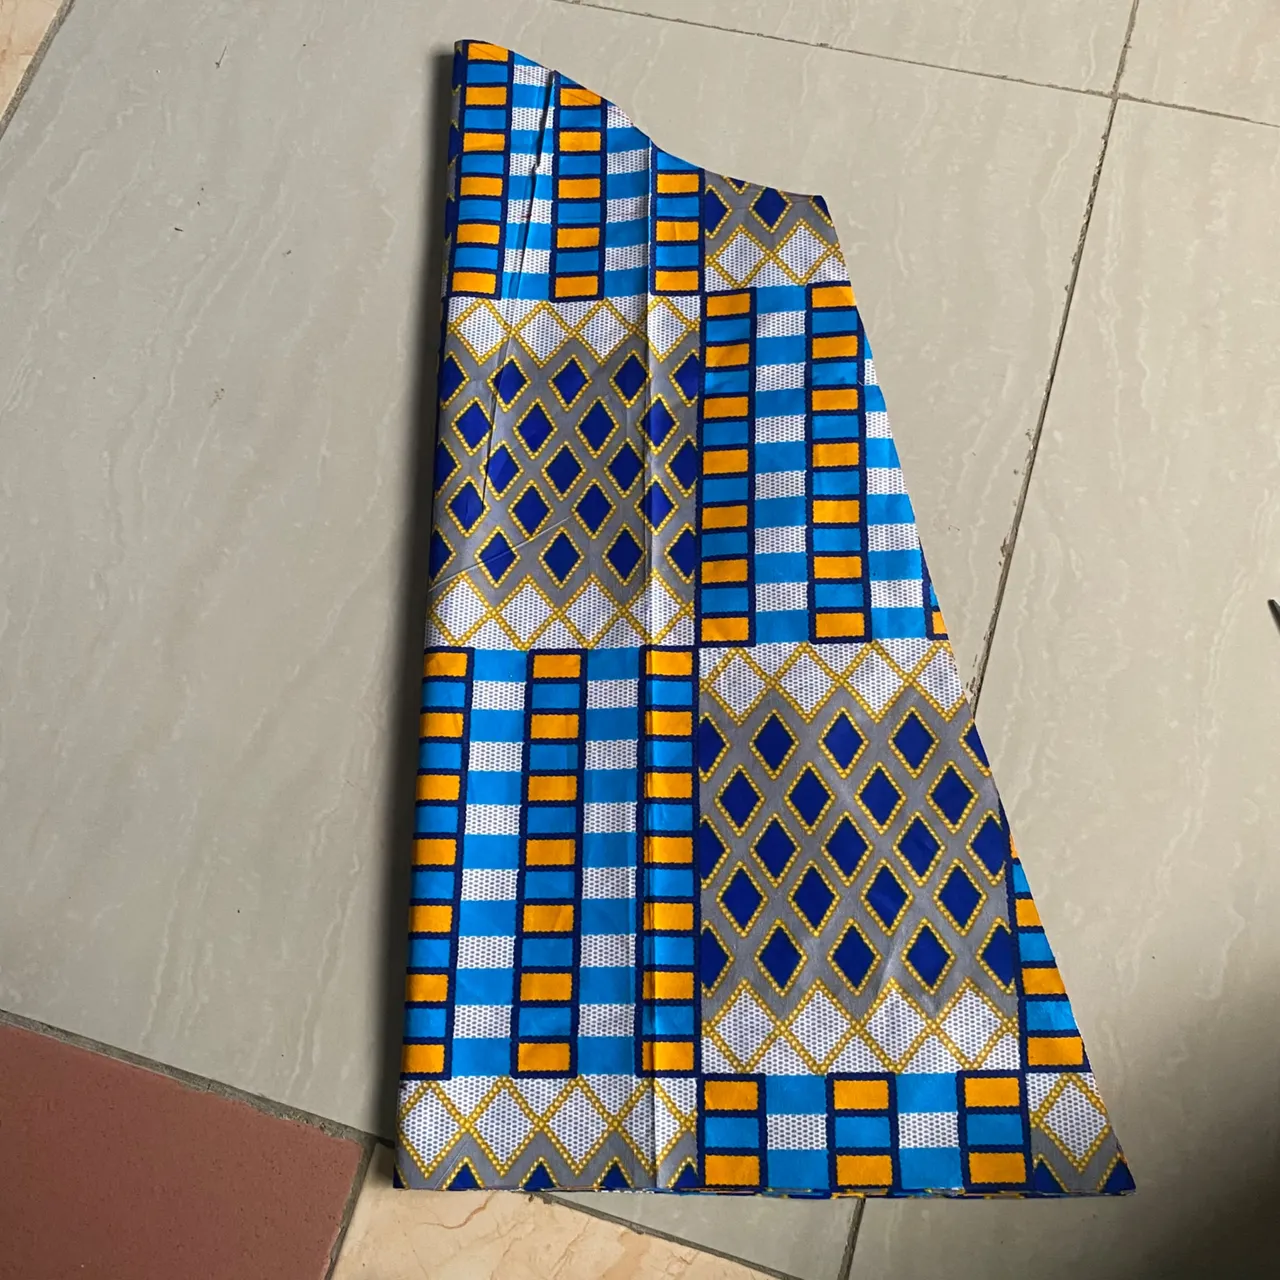
I moved on to the sleeves. I folded the fabric into 4 and then I marked the starting point. I wanted a really wide and long sleeves so I used a length of 23inches and a width of 20inches.
I marked the armhole and connected it to length with a line. I added about 3 inches for allowance.
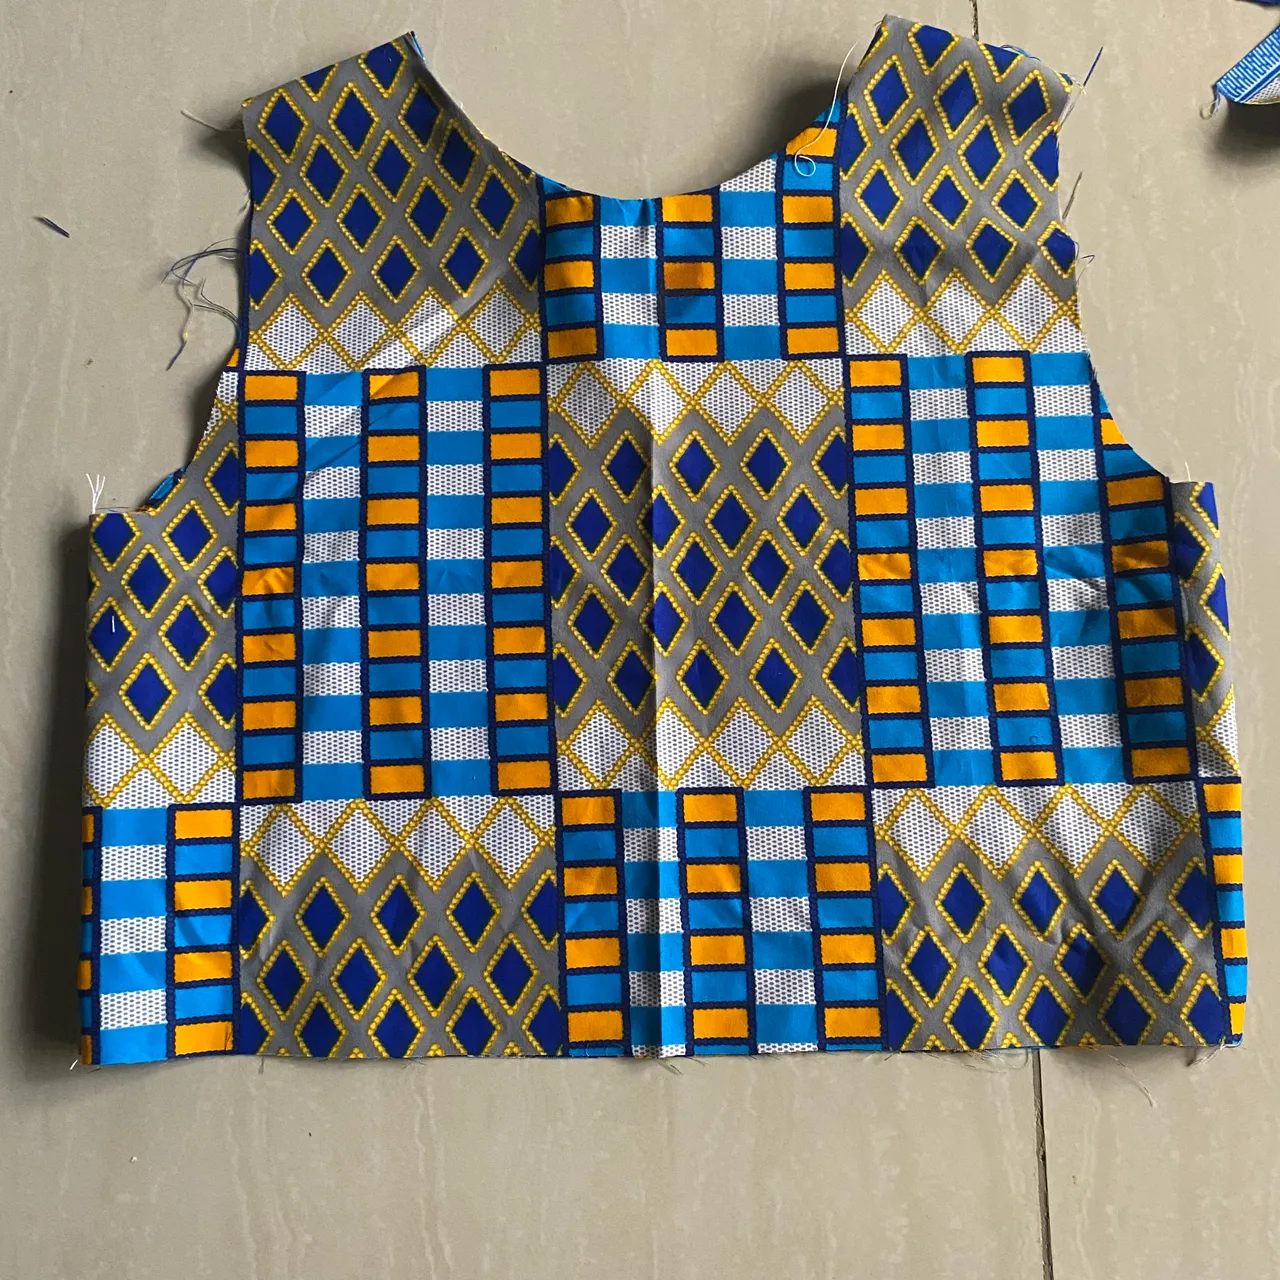
cutting
I then cut everything from what I had marked and here came the mistake. Since I didn’t use a chalk, I couldn’t see the allowance on the sleeves well so I cut without the allowance. Right after cutting I shouted and that caught my mom’s attention. She asked me to correct it by attached about 3inches of fabric to all the edges of the sleeves and that worked like magic.
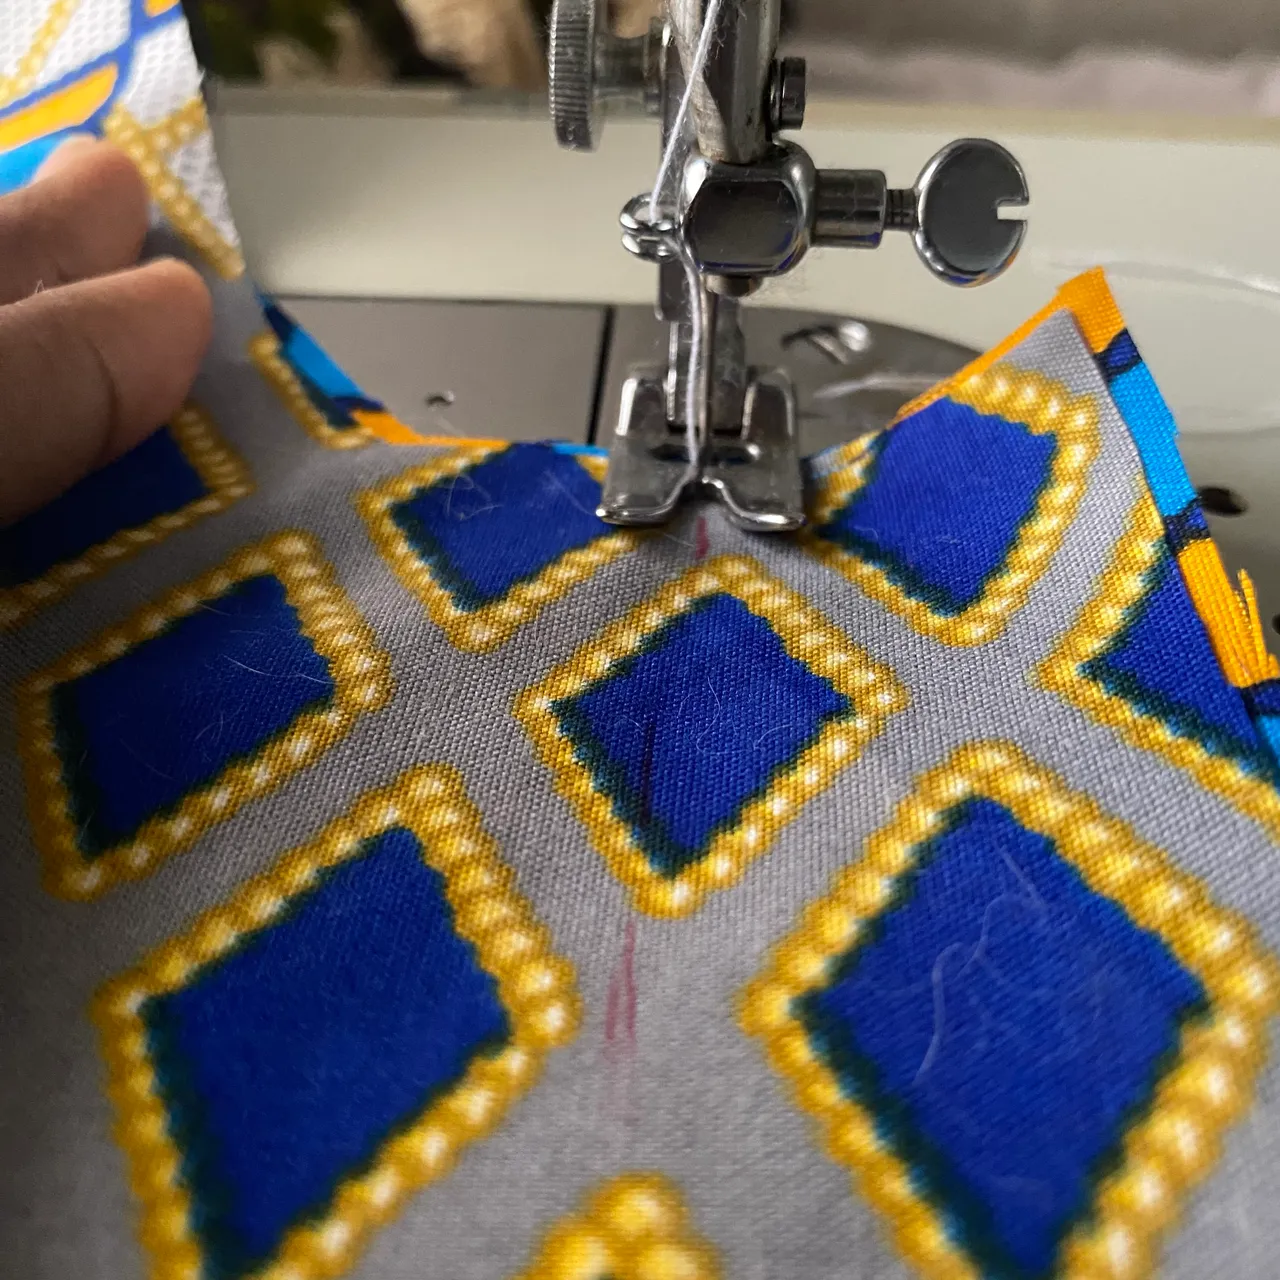
sewing
I started assembling the parts by facing the neck parts of the stop and then I continued with the front and back. I sewed the front and back together and then added the sleeves. That was the most part of the whole sewing process. It was after I was done with it that my mom showed me how to do really do it well.
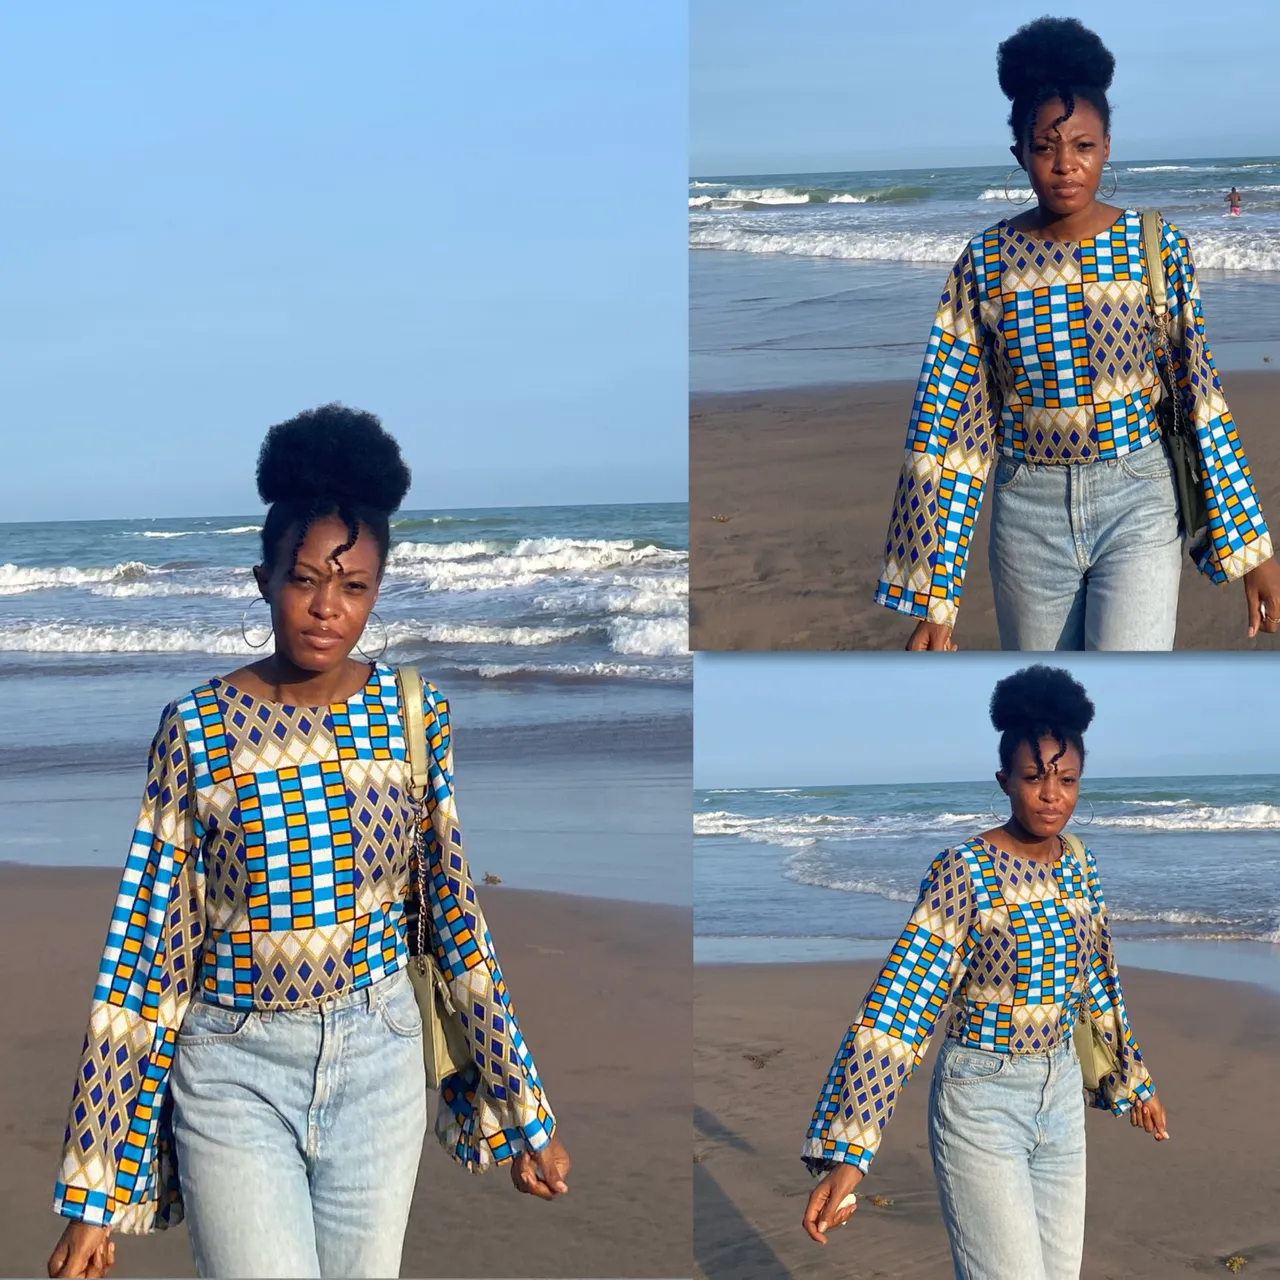
The result

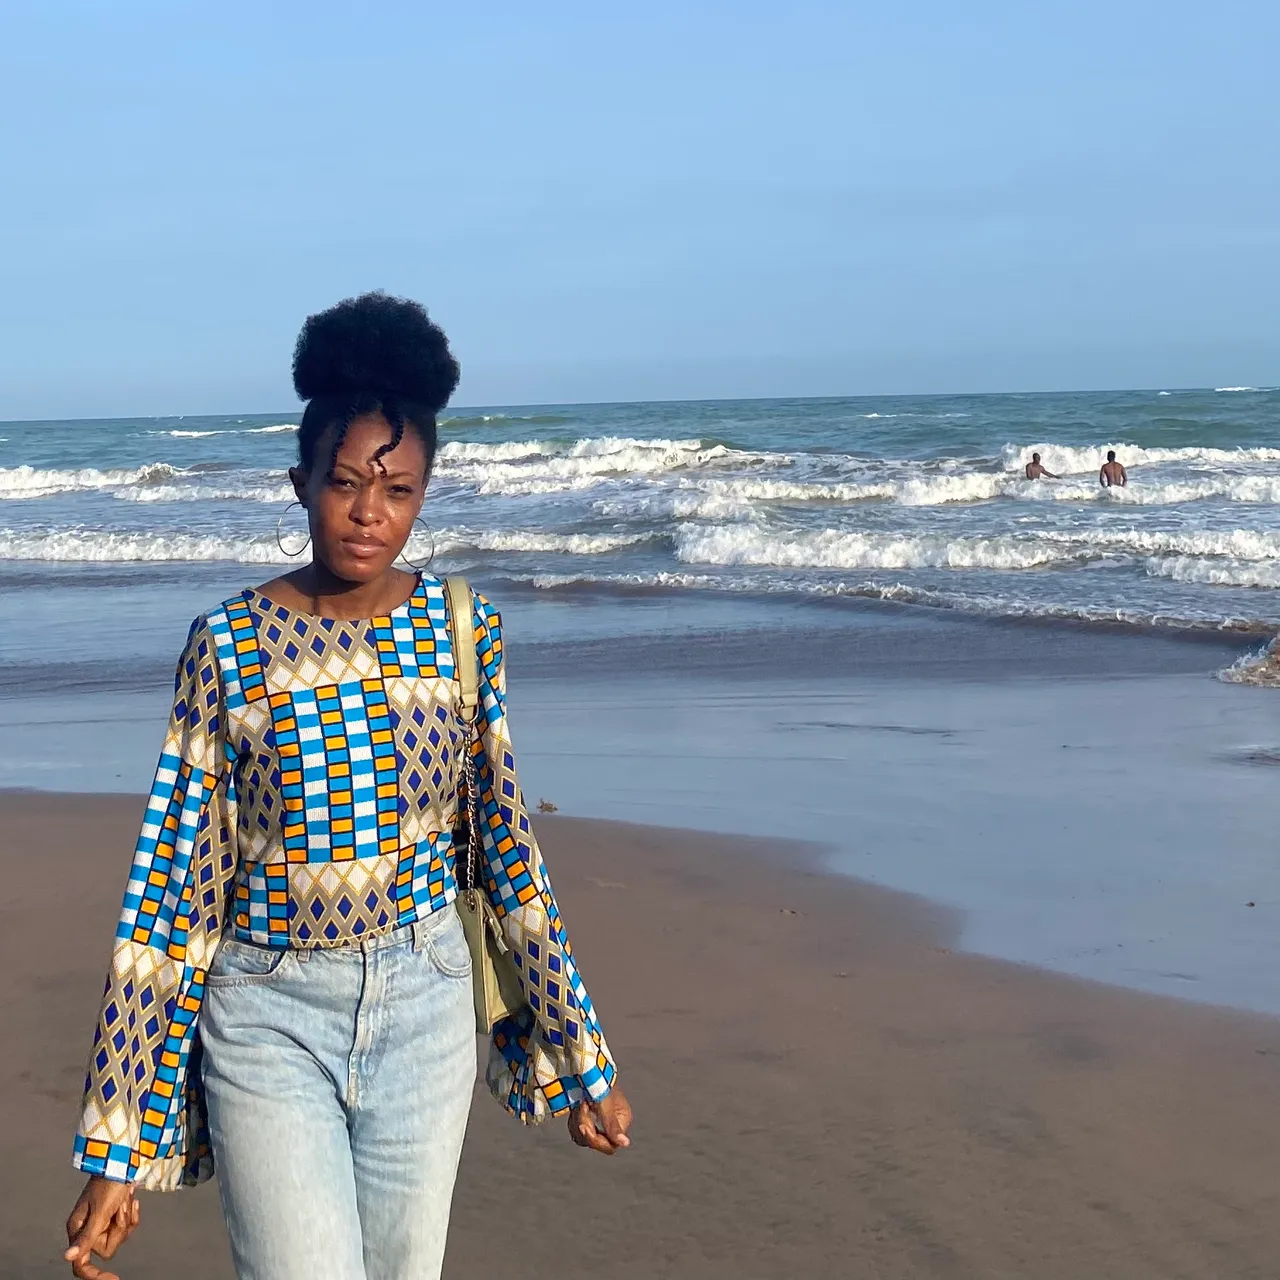
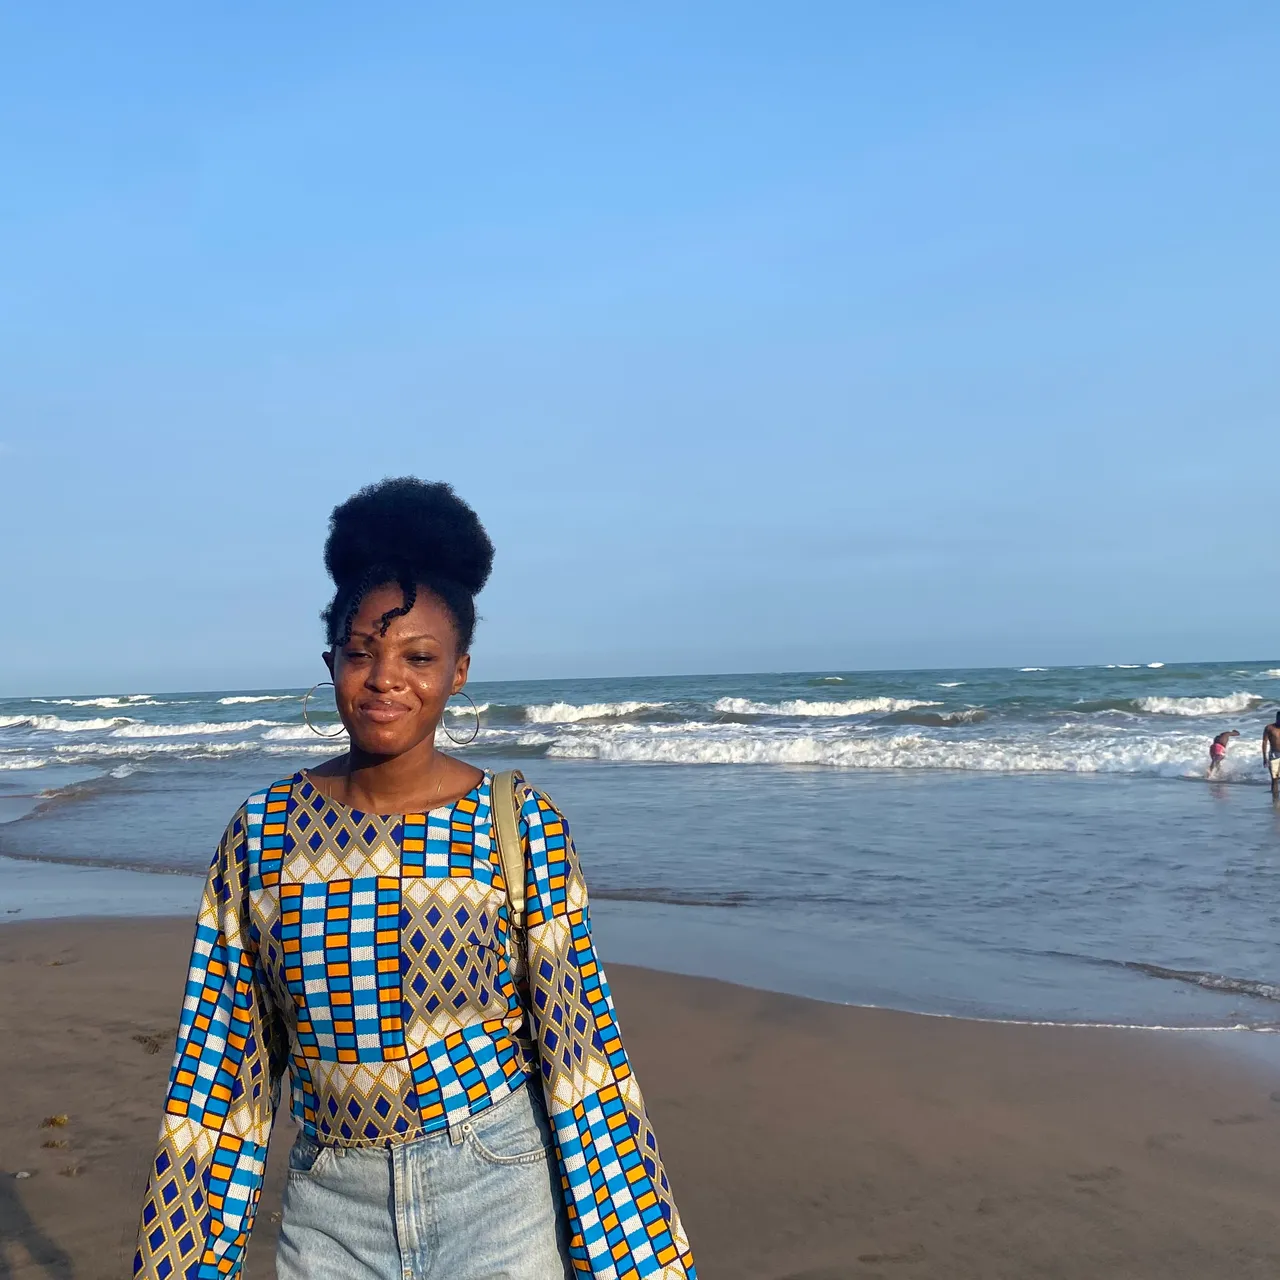
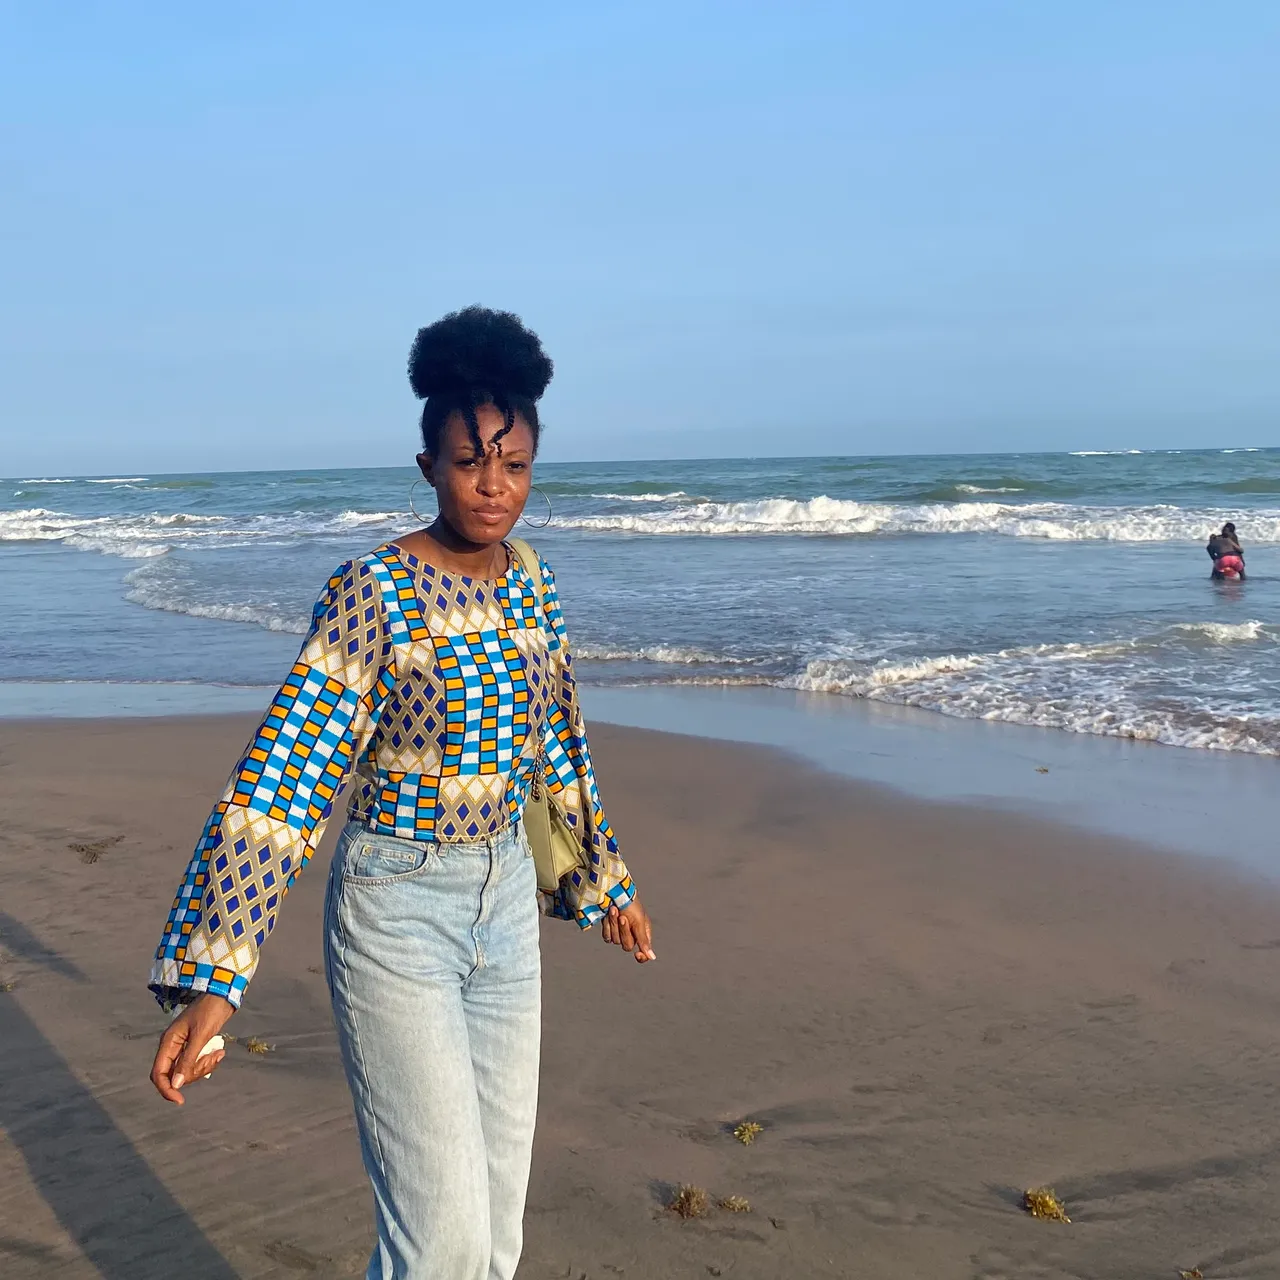
It was really nice doing this and I felt happy. I got more prouder after people started asking me where I got my top from when I went to the beach.
Even though this wasn’t my first sewing, it was my first time sewing with no supervision so it took me about 8 hours. I went on so many breaks because I got confused so many times. I remember making the same mistake twice which made me ask myself, “girl, are you dumb”. Lol. I’m sure by the time I become perfect, I will need to write a whole book about my sewing chronicles.
Thank you for your time and I hope you like my top. I would also appreciate any sewing tips a beginner should know.
All images are mine