Edited in Canva Pro.

Sources and Materials
Below are the materials I used in this art.

Photo from Google as a result of Google Search.
- Pencils: Needed for drafts. You're not required to use this specific ones. Just use what is available.
- HBW Eraser: A cheap and trusty eraser.
- Adobe Photoshop CS2: For digital lineart and coloring.
You can check this link on another post for a more detailed description on how I use them.
𝕴𝖓𝖙𝖗𝖔𝖉𝖚𝖈𝖙𝖎𝖔𝖓
What's the better way to get inspiration than doing an anime marathon from Episode 1 to Episode 13 on a Sunday?
With this, an inspiration struck me in the name of Anya Forger. I've been watching SpyxFamily and can't forget that Anya smug face. Hopefully, I'll do a bit better on transitioning that with one of the Splinterlands characters. Here's how I did it.

Photo taken from Google as a result of Google Search.
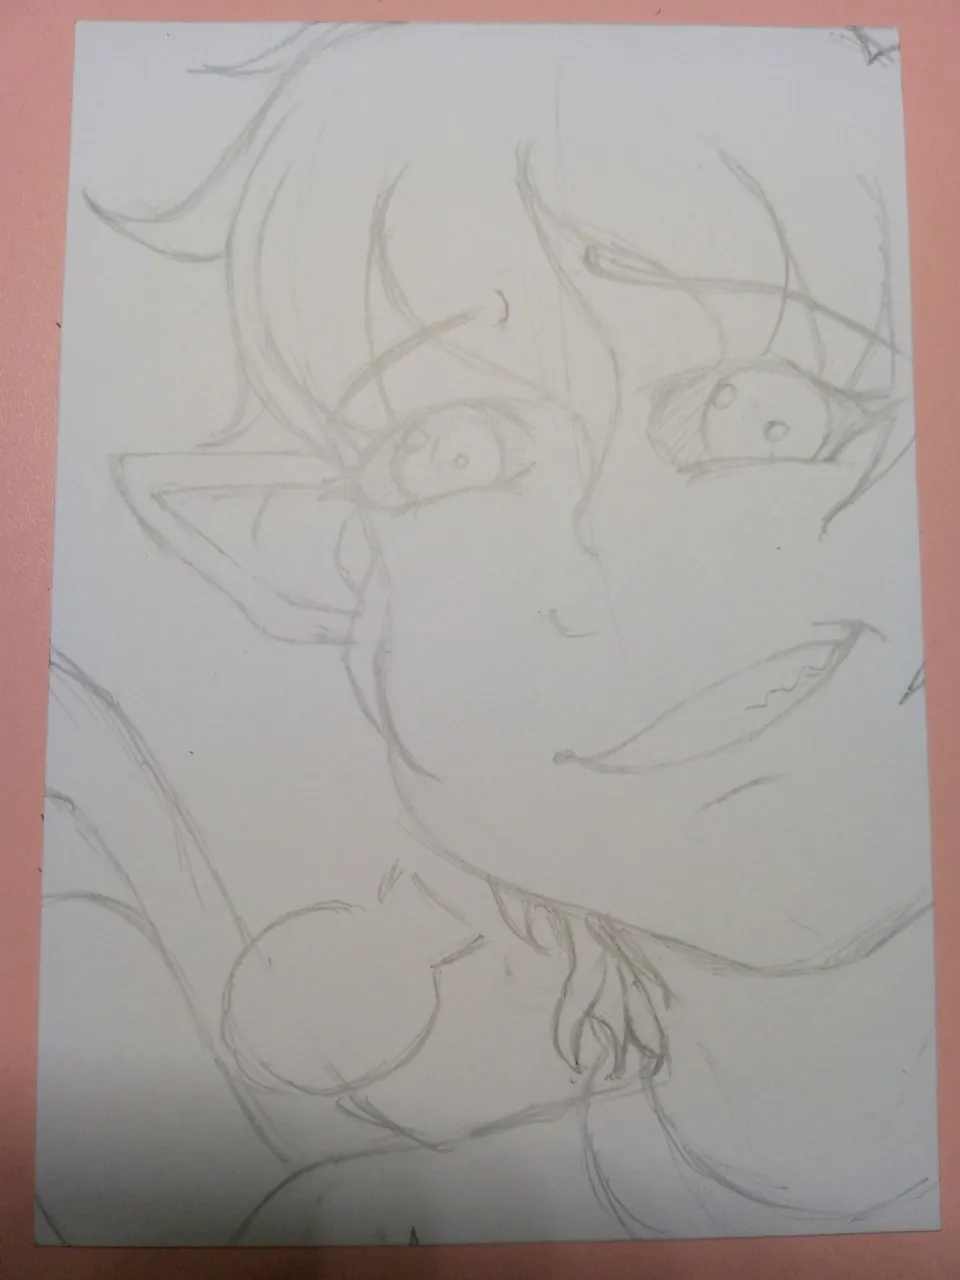
Step 1 Draft
Screenshot taken from Photoshop CS2.
Using my trusty pencil, I did a quick draft of one of the characters. Originally, it would've been Xander Foxwood since he fits the look but I remembered doing his fan art on another post so, I went with Enchanted Pixie instead.
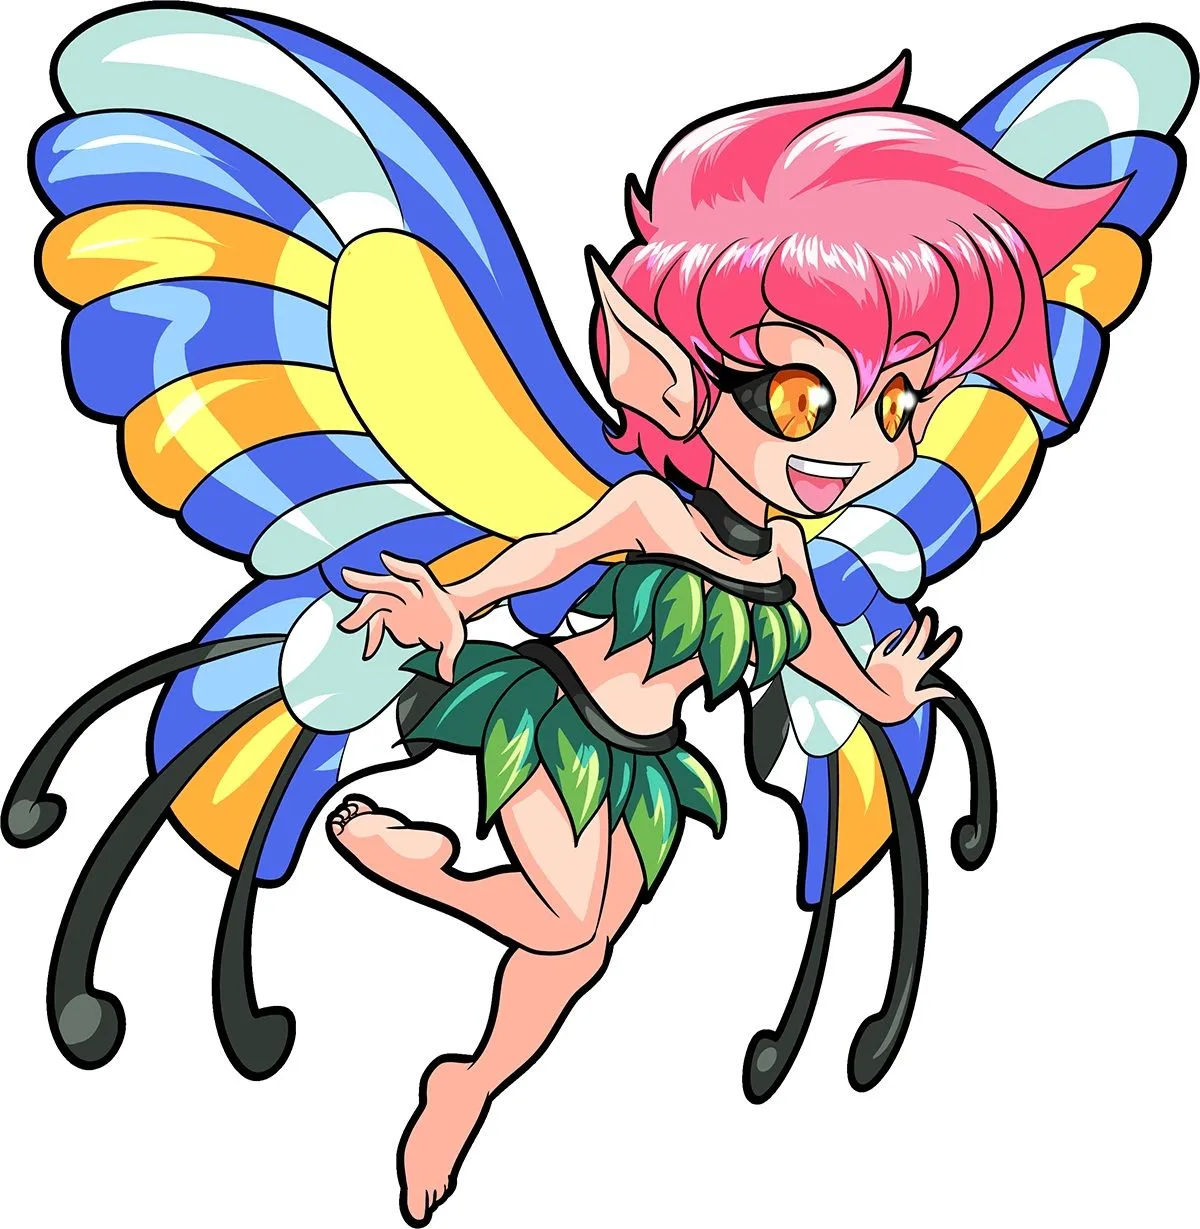
Photo from Splinterlands Website
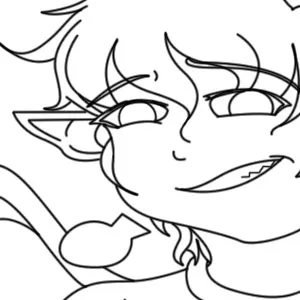
Step 2 Lineart
Screenshot taken from Photoshop CS2.
I wanted to see my progress so for this one, I decided to go back to digital art. A good relative of mine allowed me to borrow their huge -beep- tablet so I've been experimenting now for a few days. I tried to do the lineart on the tablet, tried to install some apps but at the end, I decided to use the trusty laptop instead with the mouse.
The Stylus was a wonderful idea but I find it easier and faster to use Photoshop with mouse instead. I might change my mind on this in the future, but for now, I'm sticking with the oldies.
I do use the tablet for watching videos and encoding. I did this documentation in the tablet using the app, "Obsidian.", a powerful note taking tool.
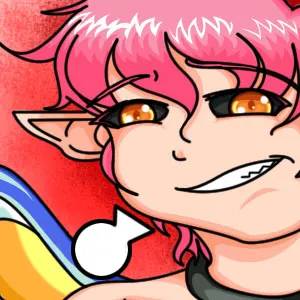
Step 3 Base Color
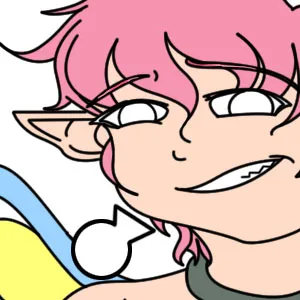
Screenshot taken from Photoshop CS2.
I wanted to do the coloring as well on the said tablet. The problem I encountered is that this tablet is not an Android and the apps I wanted to use only works on Android. So, I transferred it back on the laptop and had the coloring there with Photoshop CS 2.
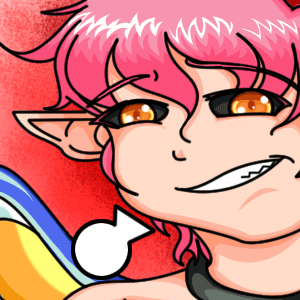
Step 4 Shadow 1
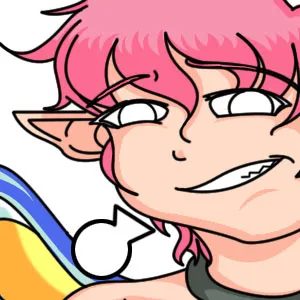
Screenshot taken from Photoshop CS2.
Add a new layer before coloring in the shadows. This allows you to not affect the base color in case you want to edit something else later. Actually, it's a good practice to separate the layers for each colors and edit that you do to make the changes much easier when you need to.
Step 5 Shadow 2
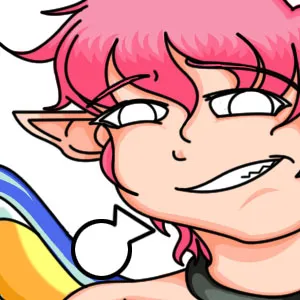
Screenshot taken from Photoshop CS2.
On another layer, apply a darker color of the shadows you already applied. This is not mandatory. Just remember that the more second shadow you add, the darker the overall feel of your drawing.
Since the smug face is more on the jolly side, Just apply a little bit, mostly on the edges, just enough to increase the depth but not enough to make you feel depression.
Step 6 Highlights 1
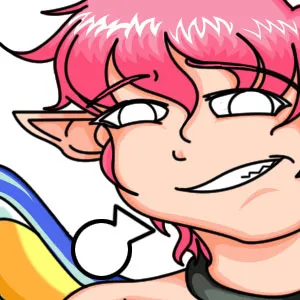
Screenshot taken from Photoshop CS2.
For the highlights, you can do it in two ways.
One, duplicate the shadows and delete the part you want to add the highlights.
Two, just add white and adjust the opacity. You can also use blending option but I found that a little bit inflexible. So, if you want to use the Multiply Blending effect, you can just add black and reduce the opacity. It will almost look the same, if not better.
I was planning to add highlights on the rest of the body at first, however, as I study the original artwork, it seemed like the artist used the highlights as the base color and then one shadow. This messed up my plans so instead, I added the highlights on the hair instead.
I used the second step. Add new layer above, add whites using the pen tool and that's it.
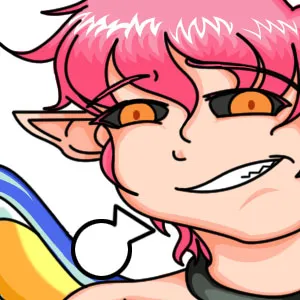
Step 7 Eyes

Screenshot taken from Photoshop CS2.
I had the eyes on the separate step as usual because I like to take my time when doing the eyes. I feel like the more the eyes are correctly done, the more your you can get your audience's attention.
As they say, "Eyes are the windows of the soul."
Screenshot from Photoshop.
Like in the overall steps. I first added the base color.

Screenshot from Photoshop.
Then, add the shadows both from the outer and inner part of the eyes.

Screenshot from Photoshop.
I added a darker one on the edges to add depth on the eyes.

Screenshot from Photoshop.
Add a yellow one for the highlights, same as the original art. Then, add a lighter yellow on the middle part of the first highlights.

Screenshot from Photoshop.
As the last step, using the Ellipse tool, add white circles which would serve as the second highlights for the eyes.
Step 8 Background
Screenshot taken from Photoshop CS2.
I made the background in a whole package. This is an emote drawing so the background isn't really the focus and I don't want to detail the steps since, like I said, I don't want the background to get the focus.
However, just a rough explanation is that I made a gradient coloring using Photoshop CS2. Using a combination of brushes, presets and hardness, I made this as a background.

Screenshot from Photoshop CS2.
The setting below are the settings I used in the brushes to make the background.


Screenshot from Photoshop CS2.
Step 9 Animation
Screenshot taken from Photoshop CS2.
One thing I love about Photoshop is that you can add IBs or in-betweens pretty easily. The bad part is that it can only do IBs of moving assets from one place to another.

Screenshot from Photoshop.
To do the one above, you only need to follow four steps. (Three if you already have "From-To" frames.)
- Duplicate the frame you want to animate. On the second frame, using the move tool, place it on where you want to move it.
- Highlight frames 1 and 2. Click the Tweening tool below the Animation bar.
- Input how many frames will be added in between the two frames. Normal frame per second is 30 but if I am not mistaken, you can reduce it to 24 frames per second. The golden rule is the more frames in between, the slower the animation.
- Click Okay.

While trying to get some inspiration, I also managed to pick up some interesting knowledge. Unknowingly, I was doing the japanese 1/2/3 Shadow System in my works as you can see in this video by Oridays on Youtube. (or at least most of it.)
In my style, as you can see above, I do a base color, then apply the first shadow, then second shadow, then highlights then final highlights.
The Japanese style is closely like that. They don't do the base color to everything but applies a first shadow that serves as the base color. What isn't colored in the first shadow also acts as the highlights so in the Japanese Style, the base color and highlights are already applied on the first shadow while in my style, it's chopped off and are on different steps.
The Second and third shadow acts the same just giving the drawing more depth. In my style, it's the first and second shadow instead.
If you look at it, my style is technically the Japanese 1/2/3 shading system but a longer version of it.

Made using Adobe Photoshop CS2.

- This post is an entry for Splinterland's Art Contest.
- Other sources that I do not own are cited under their respective photos. Photos and drawings without cited sources are mine and made for this post.
- Animated Banners and Dividers are edited in Canva Pro.
- Some of the fonts used are from instafonts.io
If you're interested in playing the game, support me by registering using my referral link here
ᕼᗩᐯE ᖴᑌᑎ ᗪᖇᗩᗯIᑎG!