More markup. Divs. Classes.

I really liked all the appreciation for my formatting post part 1 so I took the time to make an advanced formatting post with all I have learned.
I present you these advanced markup and html techniques

EVEN MORE MARKUP
I gave you the markup for Headings, Bold, Italic, Code, Blockquote, Lists and Tables, but markup has some more to reveal.
Alternatives
There is alternative on H1 and H2 heading. If you underline a line with (====) or (-----) you will get H1 or H2.
This markup
Heading 1 ========= Heading 2 ----------------
will give you :
Heading 1
Heading 2

Bold and Italic - I already showed you how to use ** and * to make bold and italic. It could be useful to know that you could make the same effect using underscores
_italic text_ __bold text__Don't forget you can combine underscores and asterisks for bold-italic
You can also have strikethrough effect using two tildes (~~)
~~text to strikethrough~~ You can make the code effect code using back-ticks (`) around the text
If you want longer few lines code effect use triple back-ticks (```)
There are some other even more detailed specifications of markup language which you can find here:
Markdown Cheatsheet by Adam Pritchard

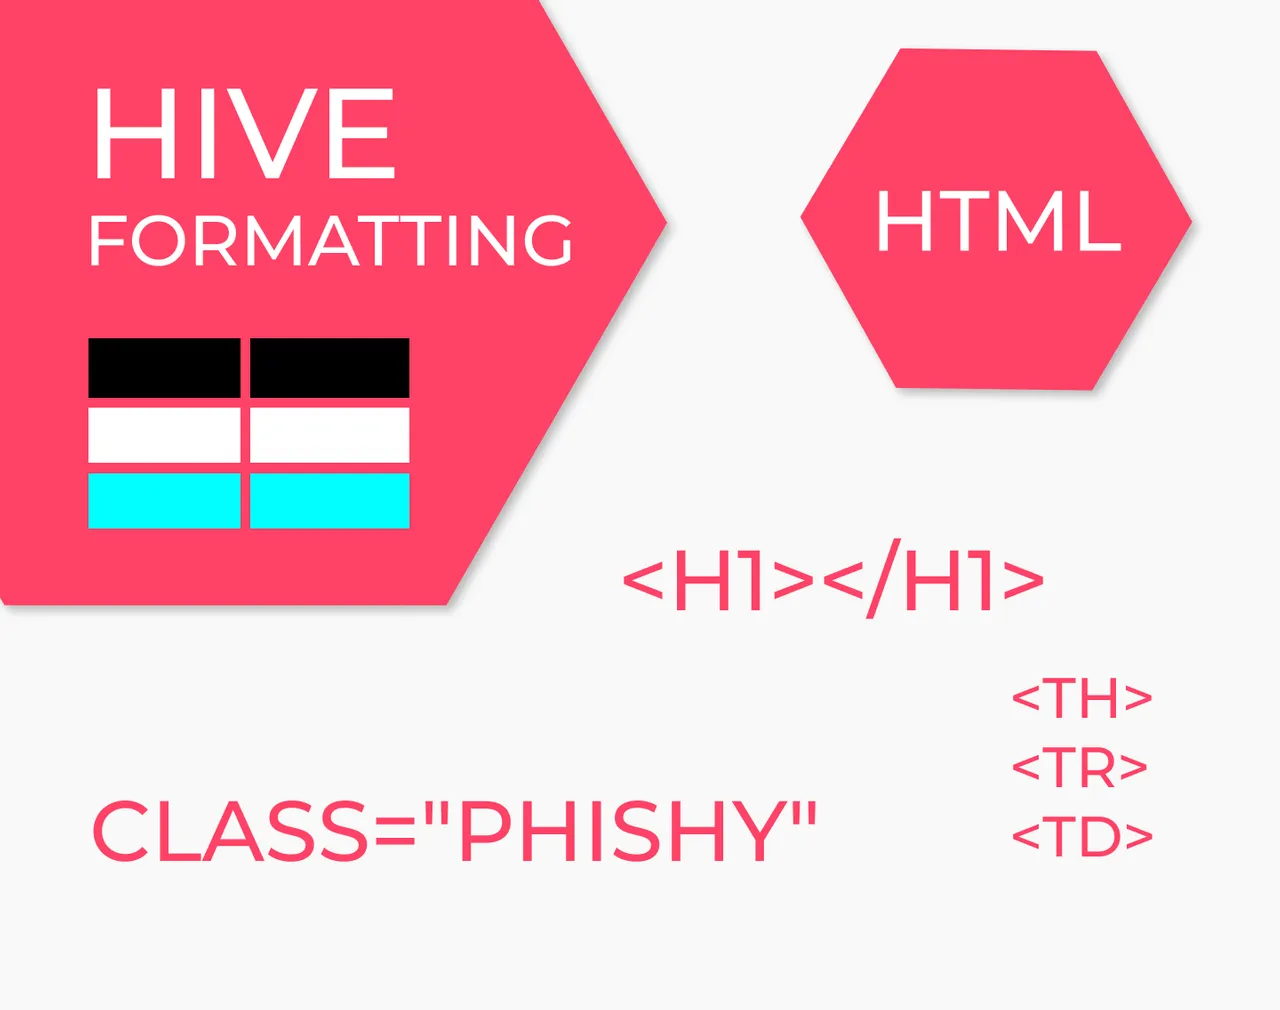
HTML TAGS
HTML is the language of the web. Every page you see is marked in HTML. The part of HTML that you can use in a post is pretty small, but I will show you what I know.
Everything you can make in Markup, you can make with HTML tags.
HTML tags are words surrounded by angle brackets <>
There is always an opening tag
<html>
and a closing tag
</html>
Let me start with
1.Headings
Instead using one or more # to indicate Heading you can use these html tags
<h1>Your heading text</h1> <h2>Your heading text</h2> <h3>Your heading text</h3> <h4>Your heading text</h4> <h5>Your heading text</h5>
The result will be:
Your heading text
Your heading text
Your heading text
Your heading text
Your heading text
2.You have tags for all the markup text formatting
| HTML Code | Result |
|---|---|
| I am so Bold I am Italic> I am blockquote |
3. Lists
| Ordered list code | Result |
|---|---|
|
|
| Ordered list code | Result |
|
|
4. Tables
This is actually looking more complex than the markup.
The <table> tag defines an HTML table.
Rows are defined with a <tr> tag.
Table headers are defined with a <th> tag.
Table cells (data) are defined with a <td> tag.
You can have as many data cells in are row as you wish, they are not defined by the first row length.
code
<table> <tr> <th>Heading in column 1 row 1</th><th>Heading in column 2 row 1</th> </tr> <tr> <td>column 1 row 2</td><td> column 2 row 2.</td><td> column 3 row 2.</td> </tr> <tr> <th>Heading in column 1 row 3 </th><td>row 3 column 2</td> </tr></table>result
| Heading in column 1 row 1 | Heading in column 2 row 1 | |
|---|---|---|
| column 1 row 2 | column 2 row 2. | column 3 row 2. |
| Heading in column 1 row 3 | row 3 column 2 |
5.DIVS and CLASS
This is where it gets fancy.
DIV is a container. Like a box in which you put other html tags. If the box has a label, all the tags inside follow that label. The label is the CLASS property.
Let me give you an example
Align DIV (Pull to box to the left or to the right)
<div class="pull-right">Text inside a DIV. Class pull-right aligns it right on the screen </div>
<div class="pull left">Text inside a DIV. Class pull-left aligns it left on the screen </div>
*You can use multiple DIV containers to alight images, text boxer or anything in the way you want.*

Align text (The way text is aligned in a column)
It is important to distinguish this from the previous way of aligning. You can have a box of text, that is on the right side of the screen (class="pull-right") , but still have the text aligned to the right side of the box.
To control text alignment, you have to use DIV again, just like this:
<div class="text-left">Text inside a DIV. Text is aligned left inside the DIV </div><div class="text-right">Text inside a DIV. Text is aligned right inside the DIV </div><div class="text-center">Text inside a DIV. Text is centered inside the DIV </div><div class="text-justify">Text inside a DIV. Text is justified inside the DIV </div>
The look of each text block you can see in the gif upside or test alone.
5.SPAN
SPAN can be used like a div, but it is an inline element. This means that classes that are made for text or links will apply to spans.
Most interesting example is having text with different colors, actually just red :D
This can be done with class called phishy<span class="phishy">This is some red text </span>
You can actually make some interesting combinations if you check the source code and reverse engineer some of the classes. The problem is that they will be only applicable to the front end that you are using.
For example I played with some of the classes in @ecency and made this:
If you are not on ecency, you probably won't see it ;)
If you find some interesting classes that work on all frontends will be happy to see them
5.Links and Images
Nothing extraordinary here.
This is a code for link<a href="https://peakD.com/hive-12358/@brutalisti/a-ux-designer-want-to" >This is a Dynamic FAQ post </a>
That will look like this:
This is a Dynamic FAQ post
This is code of image:
<img src="https://images.hive.blog/u/brutalisti/avatar"/>5.CENTER
Center tags can center your content. Sometimes you get a strange bug, if you leave blank/empty lines between the lines.
If you put both center tags in a single line it works fine just like that.
uncentered test text
You can also use center in multiple lines, but you should never leave an empty line. Example:
another line of centered text
Third line of centered text
Uncentered text
And leaving just a single empty line produce a BUG and everything below gets centered
for example
< center>
line of text
⠀
second line of text with blank line above
< /center>
Uncentered text
To make the above example work, remove the blank space from the opening and closing div tags.

References
@jason04/how-to-format-your-blog-in-an-epic-way-or-a-guide-for-beginners
@jonrhythmic/formatting-your-steemit-posts-using-html-markup-text-formatting-guide
https://github.com/adam-p/markdown-here/wiki/Markdown-Cheatsheet
@brutalisti/make-you-post-easier-to
If you have any questions check my dynamic post for questions
All images, text and illustrations in this post are original content.
We have a brand new Beeple portrait NFT dropped