This is not the only way to build with Earth. This is simply how I do it. Remember, these are my natural building diaries. And thus will be accounts of my trials, errors, and hopefully success in building with the raw materials that Earth provides for us.
On this particular site the Earth is almost entirely clay. Clay soils aren't idea for gardening but very helpful when looking to create an earthen wall. In general the proportions for cob are as follows ...
- 1 part clay
- 1 part sand
- water and straw is determined by the builder(s)
Of course, there are many variations. Think of these as general proportions. Personally I think that clay should always be soaked in water to make a clay "cream" instead of dry clumps of clay directly from the ground.

Cob is meant to be moldable and flexible, and similar to the texture of "play-dough". Clay is the "elastic" malleable ingredient while sand brings the texture. Cut up bits of straw add the fibers that bind the mix together.
I feel as though I have discussed cob mixtures many times in the past. Today, what I would really love to discuss is clay plaster!

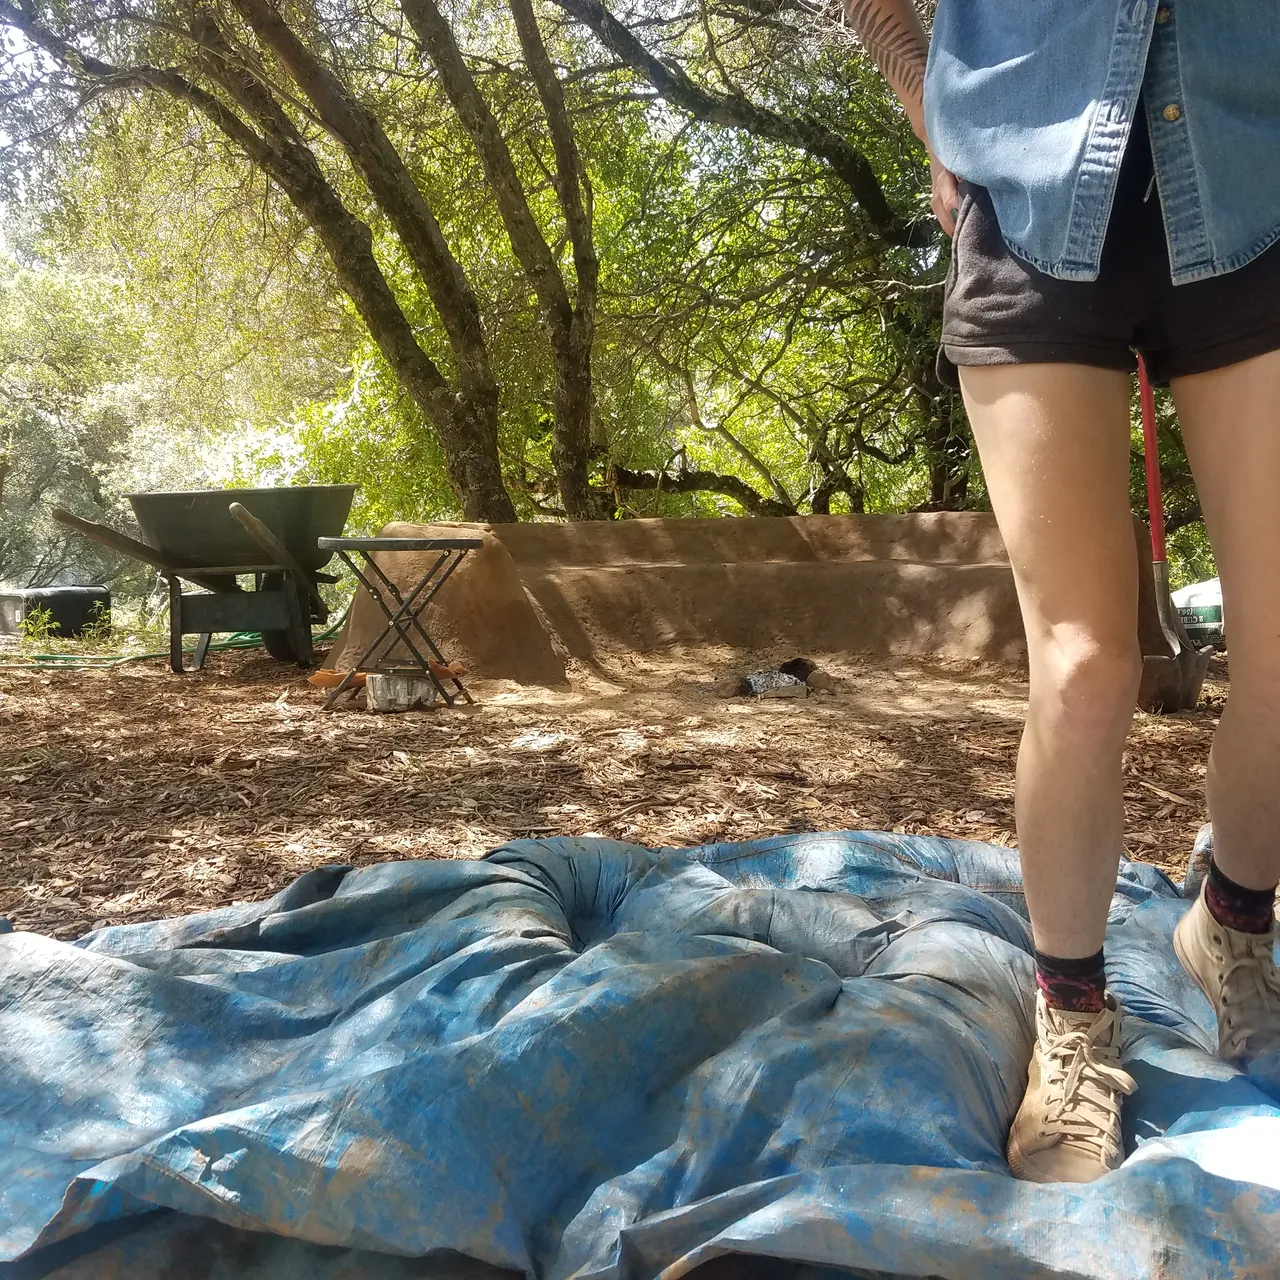
Clay plaster is really quite similar to cob. It is the final layer that gives a cob wall (or bench as is the case here) a finished look. Clay plasters have some ingredients that add impearmability. Some clay plasters have flour, linseed oil, or lime wash that protect the clay & sand within.

This bench has no protective roof or barrier besides the branches of the trees. Last year I simply painted with lime wash which did not last the rainy season. This lime wash paint might be great for indoors but this bench needs to resist all kinds of weather.
This time around I chose the following recipe:
- 1 part fine sand (sandbox sand)
- 1 part barbotina (clay that has been soaked in water until creamy)
- 1 pint of lime putty
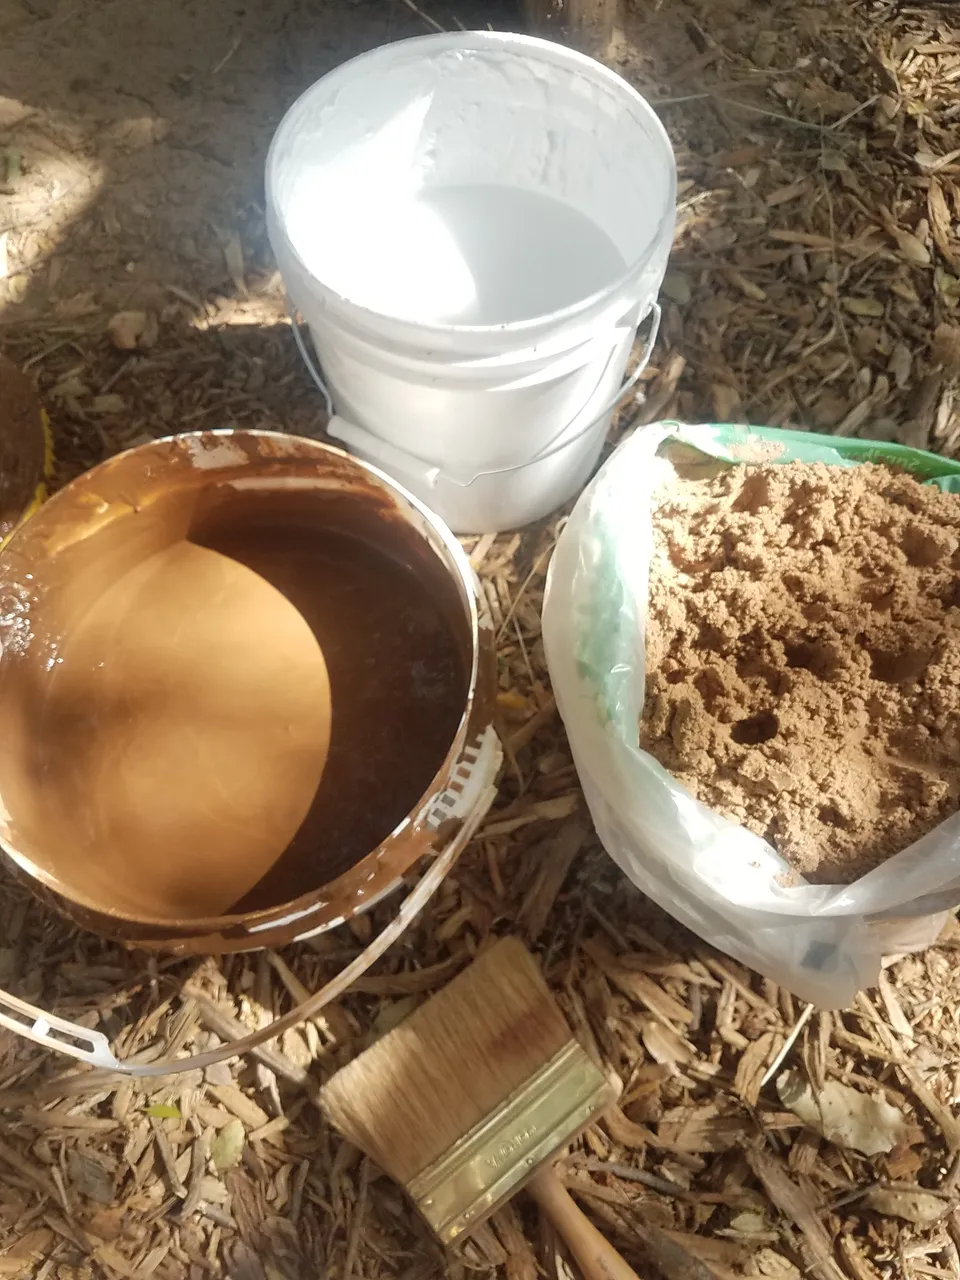
Instead of straw this recipe has lime putty. Depending on where you live in the world different lime products are available. After a lot of research my mom and I decided to buy lime putty that has been pre hydrated.

Also, this mix is going to be much more like peanut butter than like play dough. The plaster will go on quite liquid and will dry slowly all night. Later on I plan to do a layer of two of lime/clay wash.

It is important to say that anything that includes lime should be handled with care. I wore 2 layers of gloves, glasses, and should have probably been wearing a face mask too. I also showered after each work session as lime can be corrosive and dries the skin out. Everything was just fine, no injuries at all!
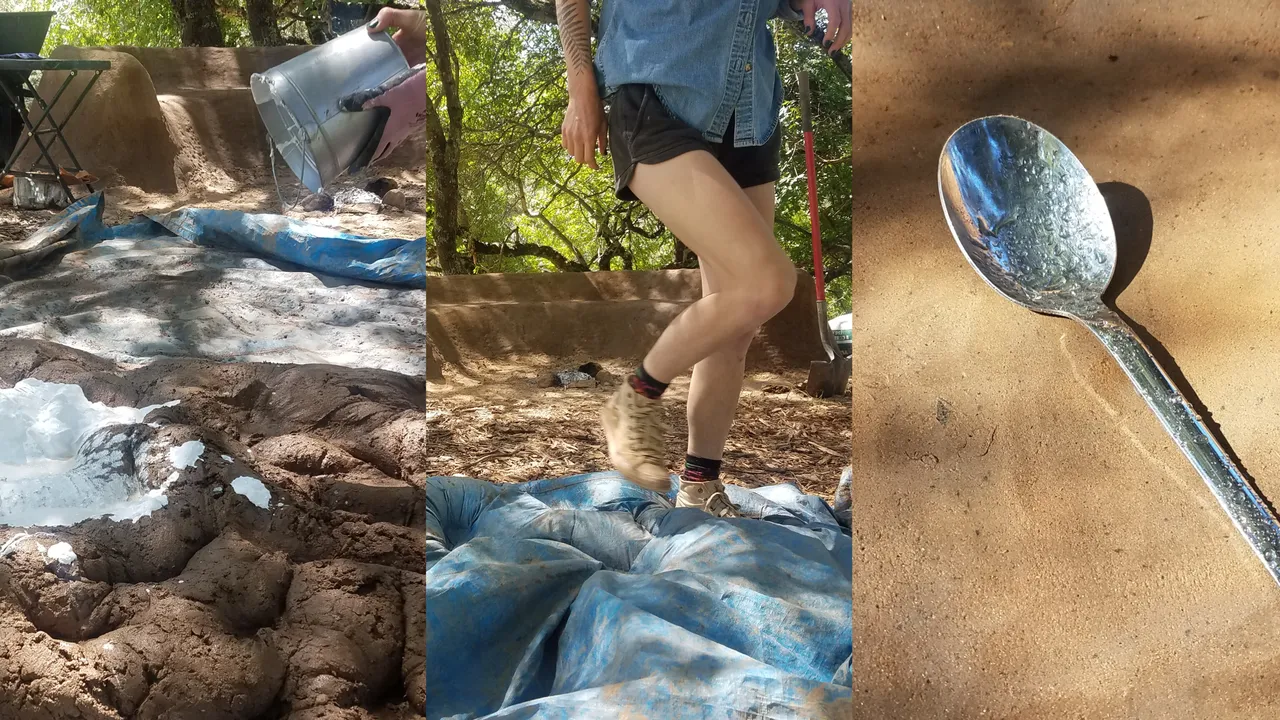
It goes without saying that I mixed each batch of clay plaster without touching the mix with my bare hands. Instead I just mixed the plaster by rolling it inside of a waterproof tarp.
The clay plaster went on really nicely and was even fun to apply! Lime dries out very quickly by the way. So I kept the tarp with the mix tightly bundled in the tarp and a small batch in a sealable bucket.

As the plaster was drying I went around with spoon to rub out the forming cracks. Cracking is totally normal to the drying process. The cracks are releasing excess air and water. Some permanent cracking is inevitable but my goal was the eliminate as many as possible.

It took about a day to dry completely, and this is how the bench turned out! Remember that there is another layer of paint to go ... see you next time in Natural Building Diaries 📖✒