
Before you start with Midjourney please understand the Guidelines and Terms of Service and use this tool responsibly
Quick note: If you missed previous guides, check them out before you continue with this one.
Prompt Building Tool: @awesomeintrigue/midjourney-prompt-tool-easy-way
Image Prompts
There are several ways in which we can use images as prompts; as inspiration, as a starting point, to blend two images together, and we can remix those outputs to make some creative results.
Starting Point vs Inspiration
First, we are going to use our image as a starting point. This is how I created my profile picture so we will look at that process as a reference.
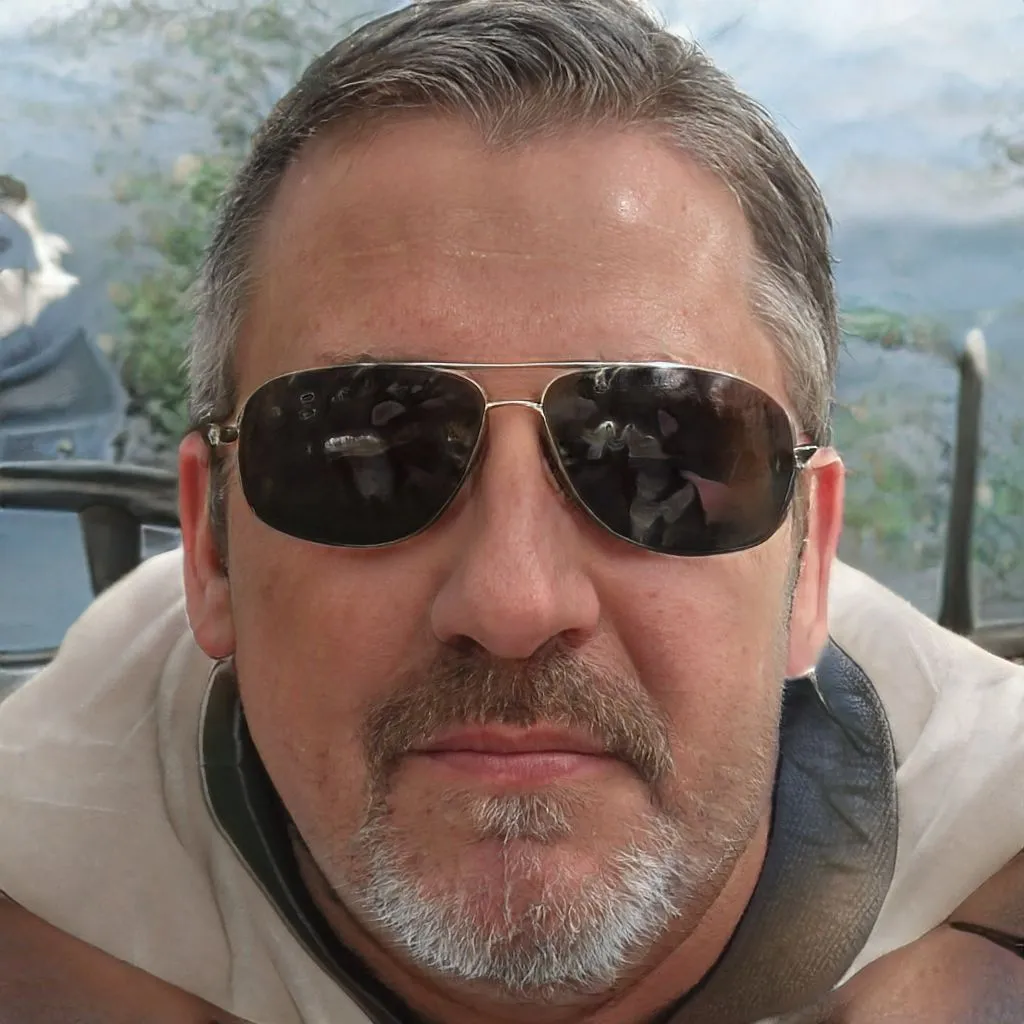
For you will need an image of yourself, but I'm gonna use something different. Have you ever heard of the website thispersondoesnotexist.com? Every time you load this website you get an image of a real-looking person that is AI generated and when you refresh the page you get another person that doesn't exist.
So I will grab this image for our starting point:
Now we are going to use that image as a part of our prompts.
IMPORTANT NOTE 1: When you are using an image as a starting point it needs to be the first part of your prompt, before you add any text.
We can add images to our prompt in multiple ways, I'll show you two easiest ones I've been using.
Directly in Discord
To do this, you need to open a private message (DM) window with Midjourney or you can do it in a newbies channel.
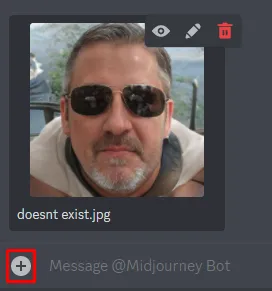
You can upload the image in two ways. You either click on the plus sign left from the text box and find the image you want to upload:
Or you can just drag and drop the image into the discord window.
Now all you have to do it start your prompt with /imagine and drag and drop the image in the prompt area, not behind it but directly in the prompt box:

Alternatively, you can right-click on the uploaded image and select Copy Link and then paste it into your prompt.
By Using Prompt Tools
If you followed my guide for the Midjourney Prompt Tool you already know I mentioned this option.
On the site you can see the "Upload Inspiration Image" button and the tool will add the image prompt for you.
IMPORTANT NOTE 2:You need to be aware that this site will put your image prompt behind the text part which will produce different results. Because the image will now be a source of inspiration rather than the starting point.
So now let's actually see what I mean by starting point versus inspiration. The first thing we gonna take a look at is the starting point, in other words, a result for the image prompt placed before the text prompt.

Prompt Used: /image < image link > as a cartoon character made for a logo of a pilot blogger --ar 1:1
Before I comment on it, here is an image as inspiration or in other words, a prompt with text before the image.
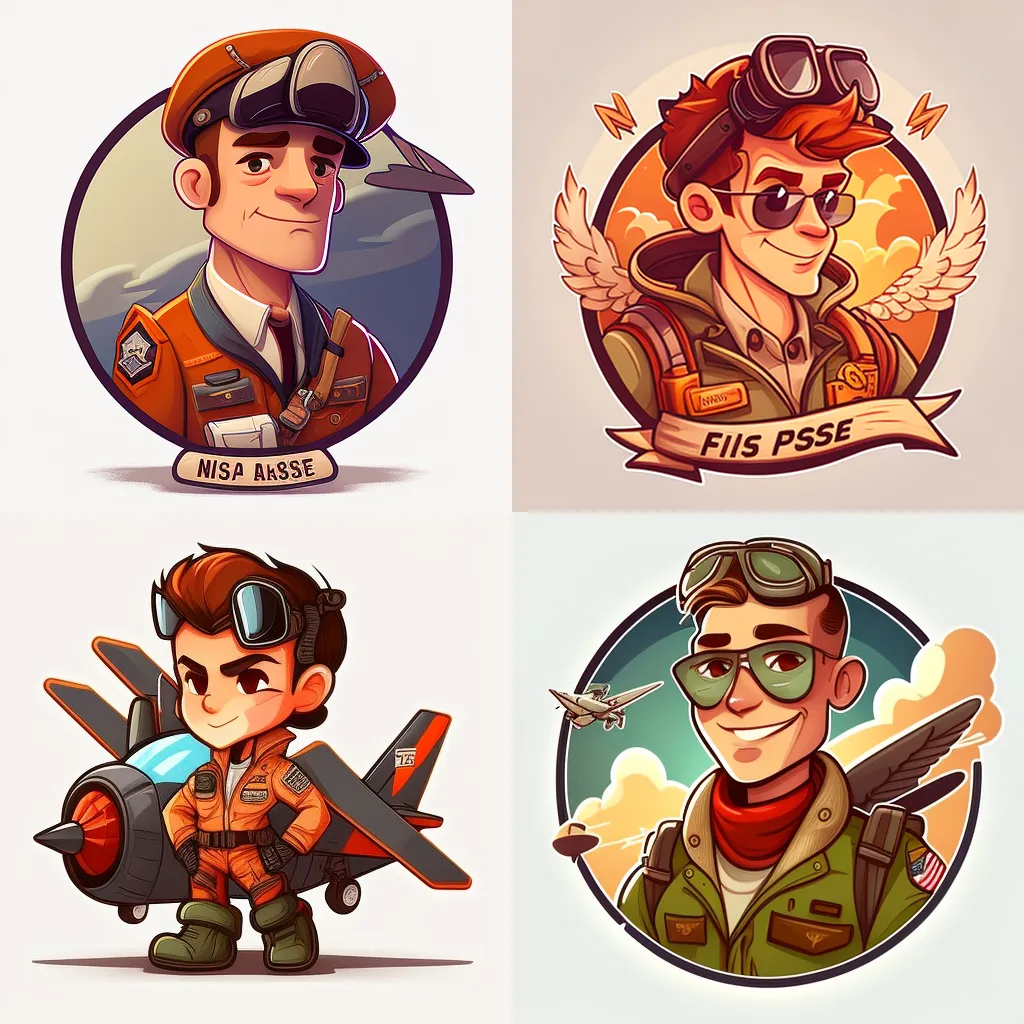
Prompt Used: /image as a cartoon character made for a logo of a pilot blogger < image link > --ar 1:1
I hope you can now better understand the difference. Basically, in the first case where the image was a starting point. We got something we might consider a cartoonish logo or a profile pic, and we can clearly see that this is our guy with added elements that could resemble something related to a pilot.
In the second prompt, the inspiration prompt. The guy from the image isn't recognizable but we can see some features present. Well, the most obvious one, it's a man, haha. We have similar colors used, and sunglasses are present even though they are weirdly applied.
Of course, this isn't the perfect output you might be looking for but by going through only a couple of iterations you can get some pretty nice results. I made this purely to show the differences so that you can make one of these for yourself.
If you end up making yourself a profile picture like this, please leave your results in the comments.
Multi Image prompts - Blending
Yes, we can use multiple images in our prompts. We can even use only images in our prompts.
/blend is a command I'm just briefly gonna mention but I don't recommend using it. Why? Well because blending is just a simpler version of a /imagine prompt with only images meant to make it easier to use on mobile.
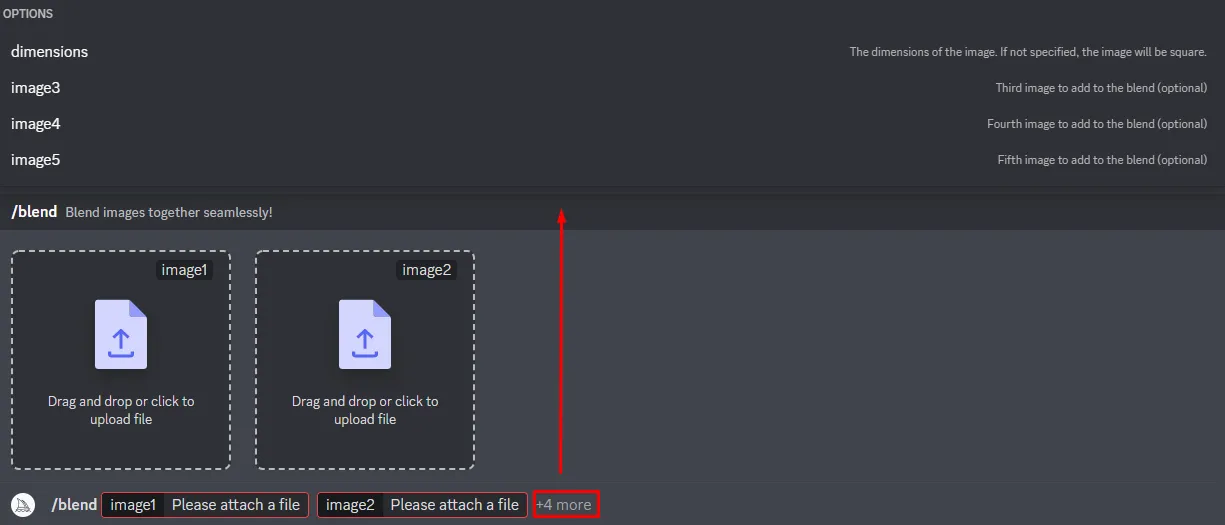
You can choose between 2 to 5 images and dimensions. You can't add any text to the prompt. With /imagine You can use even more images if you want, and also add text prompts as usual. If you aren't on mobile I don't see why would you be using /blend.
Anyway, using multiple images in the prompt is as easy as using one. You need to upload those images in Discord and put them into your prompt, and don't forget to leave space between the links, of course.
After that, you can add a text prompt and parameter as usual. Let me show you one example. I will be using these images:
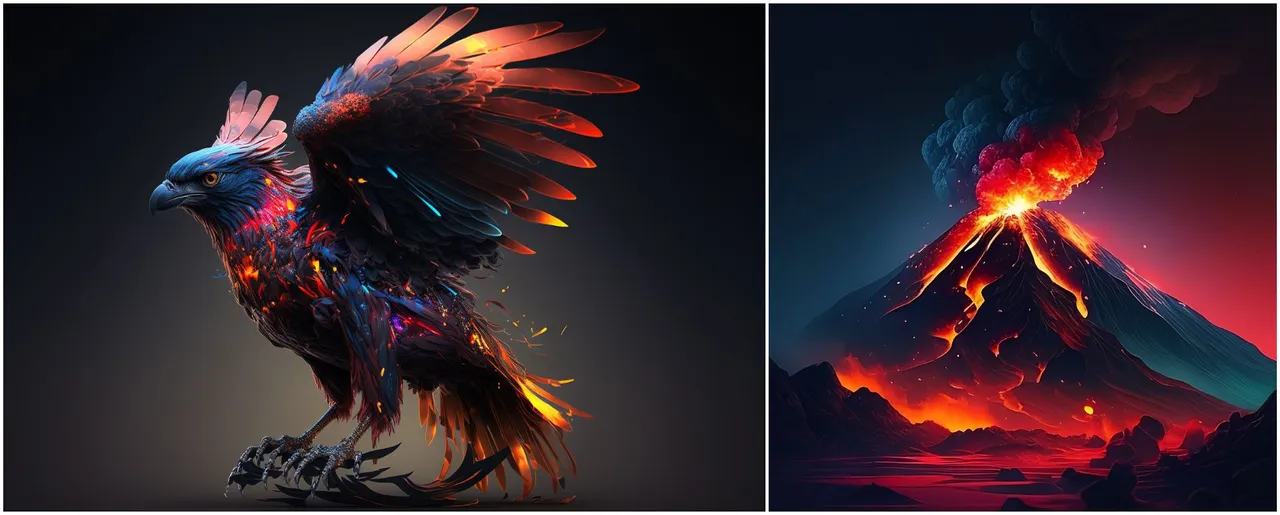
You might recognize the one on the left from the earlier post. On the right, I made an erupting volcano also using Midjourney.
Our prompt looks like this: /imagine < left image > < right image > ,cyberpunk, 4k, in space --ar 3:2
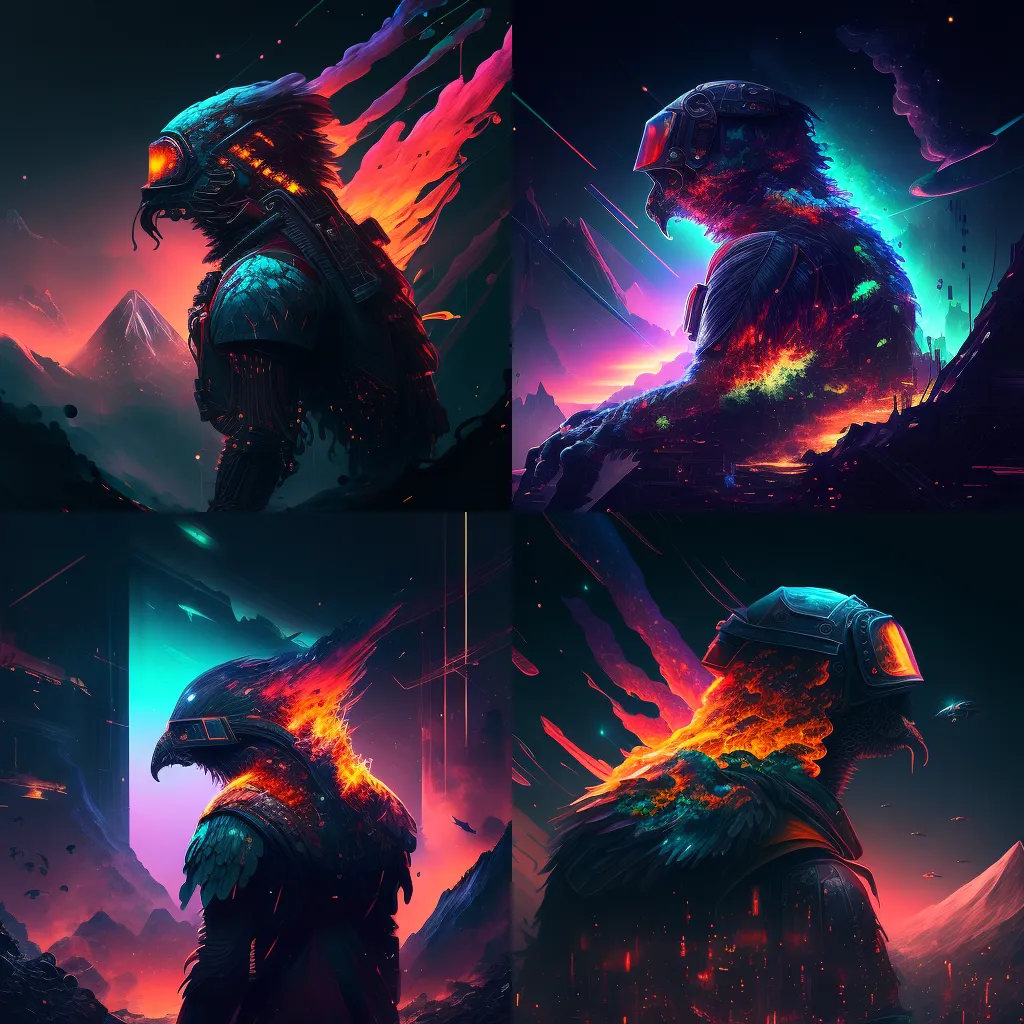
I used a pretty funky combination there but we somewhat got it. The eagle is completely transformed into some cyberpunk giant, I presume the size comes from AI's understanding of the size of the volcano, and we also got mountains in the background to compare the size with. Also, we have kinda gotten an "in space" feel, even though that was a stretch to begin with, haha.
I'll give you another example when we switch the images. So now the prompt looks like this:
/imagine < right image > < left image > ,mystical, 4k, shiny full moon in the background --ar 3:2
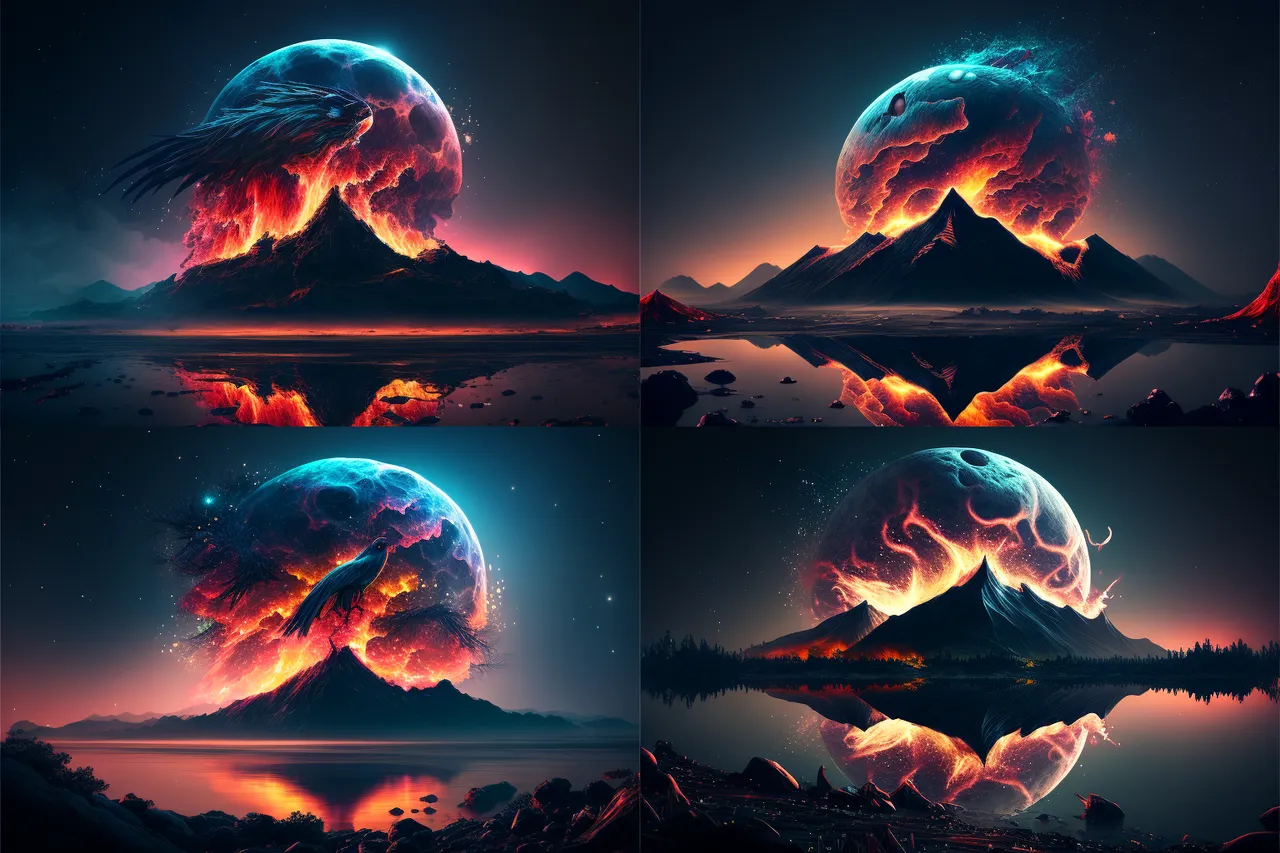
The reverse order of images gave us a completely new idea. We have a volcano (more like a mountain though) with eagle features randomly spread across, except image 3 straight up has an eagle on top. Nevertheless, we got all of the elements combined, including the moon in the background which was part of our text prompt.
Multi-image prompts can give amazing outputs, but they can be hard to control, so there is a lot of trial and error with them, especially if you are trying to connect concepts that don't mix so obviously to the AI.
Remixing
Remixing is one of the most interesting features of Midjourney. In case you missed my first guide on how to set up Midjoureny and turn on the Remix Mode. Here's a quick recap.
Go into your DMs with the Midjourney bot or in one of the newbies channels on their discord. Type in /settings. When you press enter you should get something like this:

Make sure to click on the Remix mode, you will know that it's enabled when it turns green.
Alternatively, just type into your DMs with the Midjourney bot or in one of the newbies channels on their discord a command /prefer remix.
If you want to disable it later, with the first method click again on the Remix mode, or just type again /prefer remix in the chat.
With that out of the way, let's take a look at what remixing looks like. We are going to start with this:
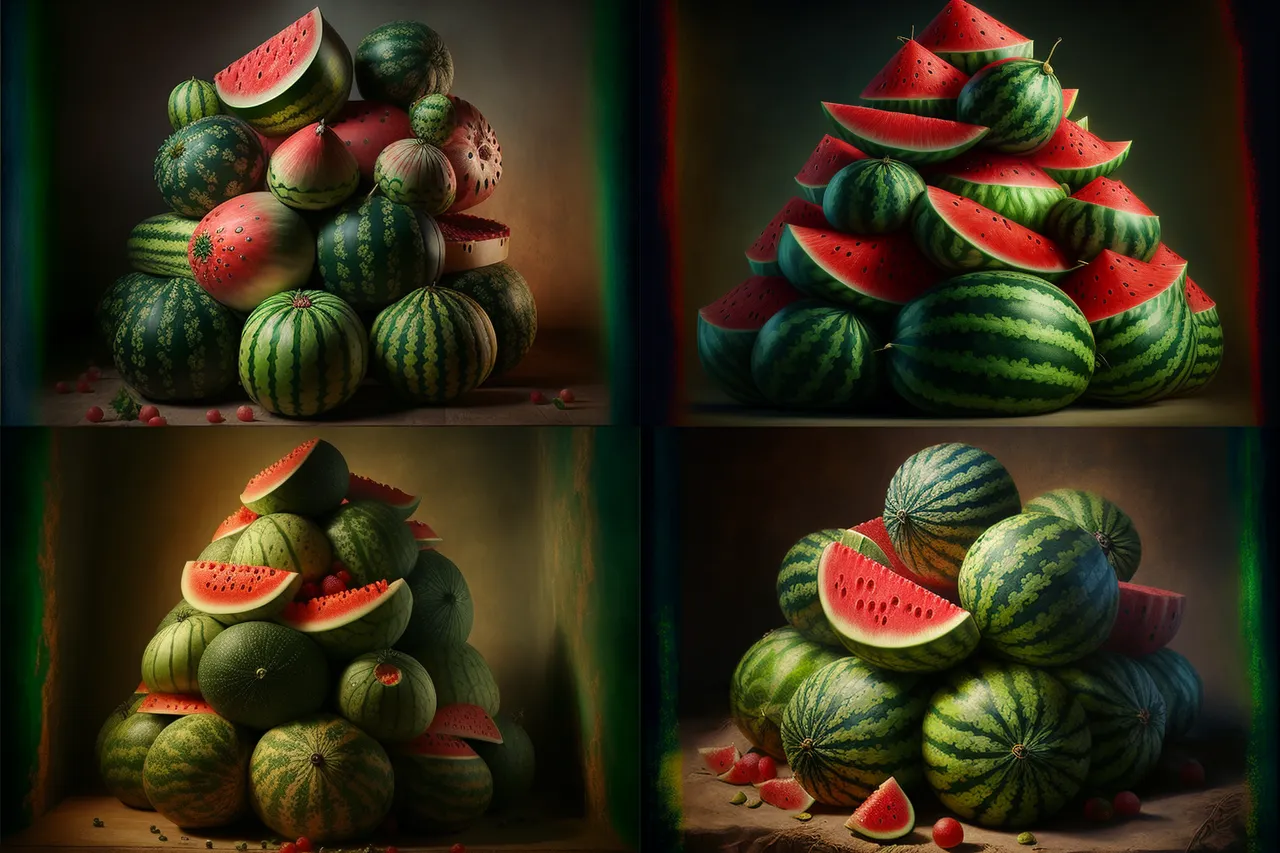
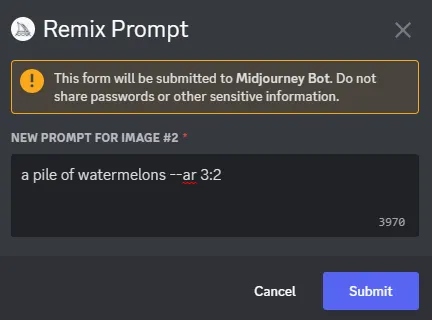
The prompt used was: /imagine a pile of watermelons --ar 3:2
This might look random but there's a reason for it. Remixing is similar to using starting point image prompts in a way where you can take the output you just got a use its features for the follow-up prompt.
For example, let's use image 2 for remixing. So we are going to press the V2 button and get this:
Now we are going to change this prompt to: /imagine a pile of plushie minions --ar 3:2
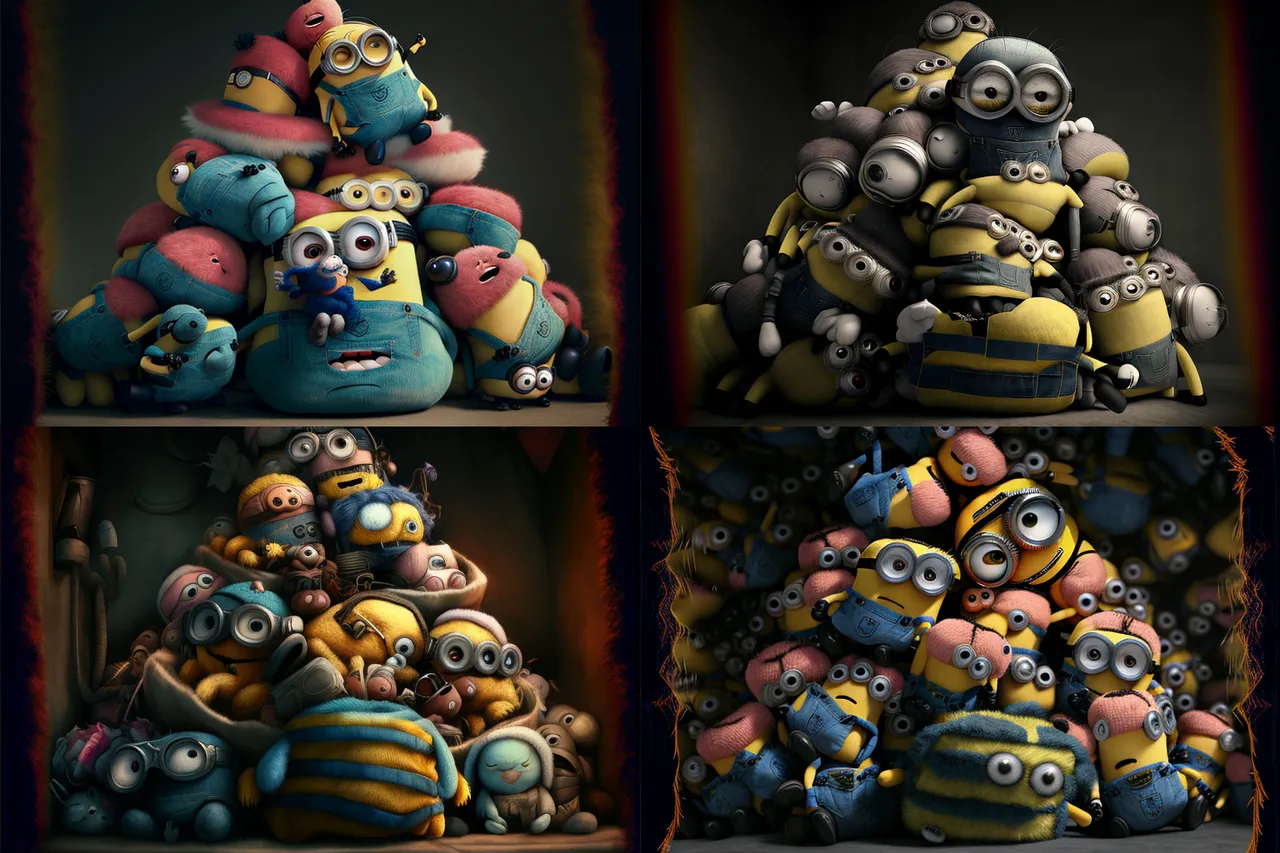
As you can see, now we got a completely new image but we kept the shape from the pile of watermelons and those reddish sidelines that framed the image. Let's now try to remix once again, and we will pick image 3.
The next prompt is: /imagine bouquets of roses --ar 3:2
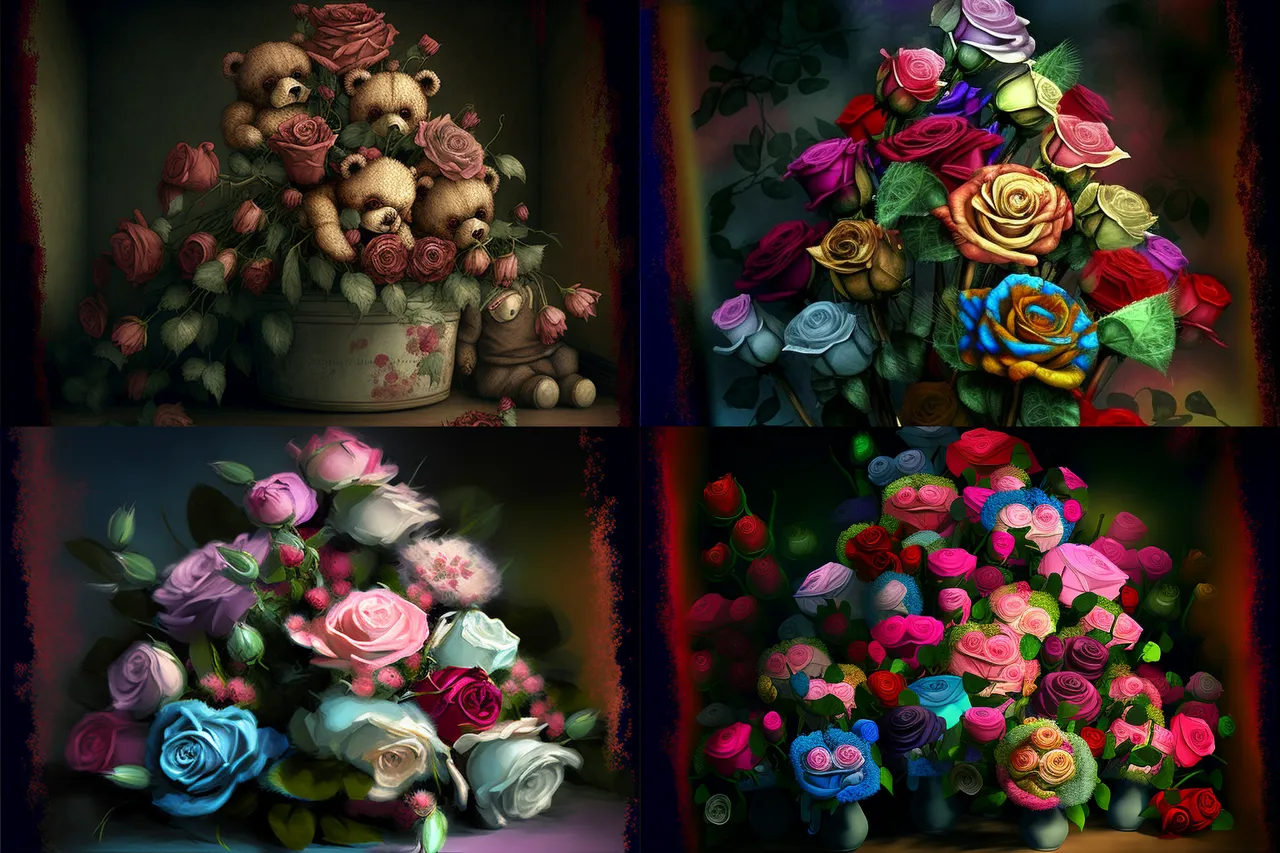
And now we are on the bouquets of roses still keeping the general feature even from that first image. We can even see some influence on images 2 and 4, from those background elements that were added in the minions image 3.

That should be it for image prompts, at least for now. If I missed something or you have any questions please leave a comment. Feedback is always appreciated, help me create these guides as helpful as possible for you and for others. I think we covered all the basics, if not, also tell me now in the comments. I'm gonna take a little break until we get back to some more advanced stuff. I'm currently sick so my accuracy and enthusiasm are really low, and I don't want that in my tutorials... and as always.
Thank you for reading.


