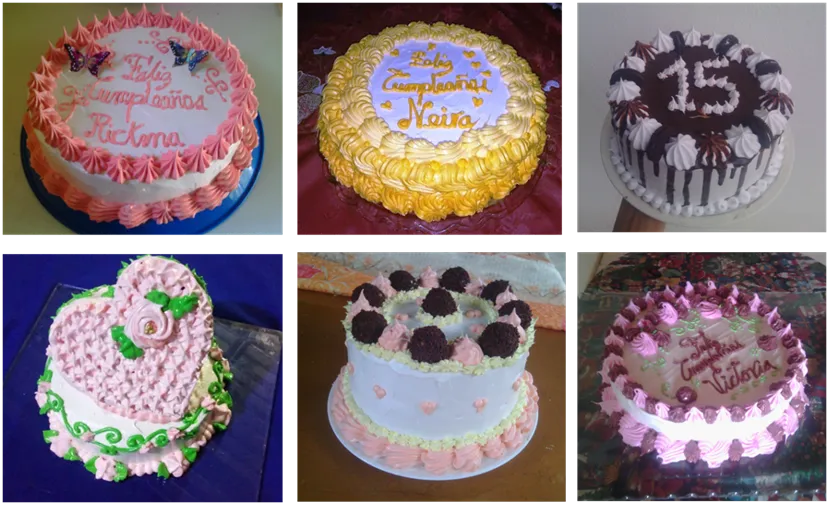
The Italian meringue is one of the most worked pastry creams to decorate cakes, with the pastry bag and varieties of nozzles we can make many shapes and designs to our cakes, its preparation requires agility and precision in the hand, likewise, we must also take into account the thickness of the cream and its sweetness to handle a texture that allows us to make the figures we want, I learned this technique watching a very special lady, I have been perfecting the technique over time and practice. The preparation of Italian meringue is very important because the mixture can be damaged if not prepared properly, there are many margins of error in each process and it is important to take into account every detail, here I will explain how to prepare this meringue that will make us enjoy a delicious cake.
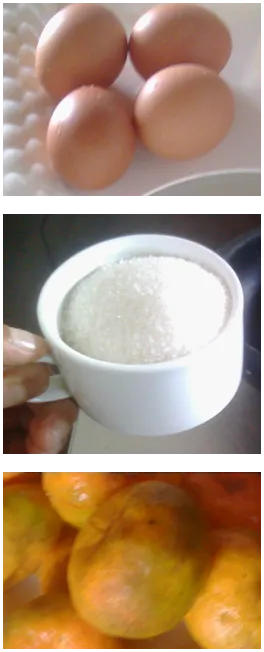
Ingredientes
5 tazas de azúcar
6 huevos
1 limón o esencia de nata.
1 taza de agua
Ingredients
5 cups sugar
6 eggs
1 lemon or cream essence.
1 cup of water

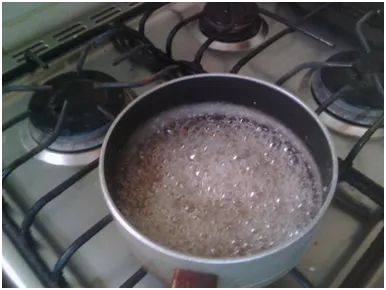
1- iniciamos colocando 2 y ½ tazas de azúcar en una olla luego se le agrega ½ taza de agua, remover con una cuchara y cocinar a fuego alto, mientras empieza a hervir se procede a separar tres claras de los huevos de las yemas, uno por uno colocando en un recipiente, cuando el azúcar comience a burbujear comenzar a batir las clara a punto de nieve.
1- we start by placing 2 and ½ cups of sugar in a pot then add ½ cup of water, stir with a spoon and cook over high heat, while it starts to boil proceed to separate three egg whites from the yolks, one by one placing them in a bowl, when the sugar starts to bubble begin to beat the whites until stiff.
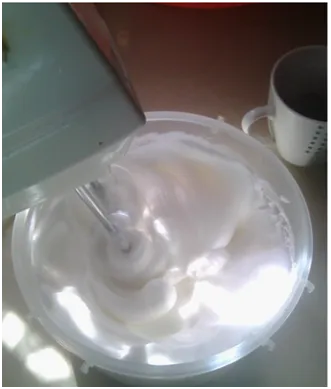
2- In a bowl or container of 1 liter of water, beat the egg whites with the mixer in a circular way with the container inclined until it is firm and stiff. It is important not to stop beating the egg whites until you finish adding the sugar because it could fall and become watery.
3- When the sugar has a thicker consistency with the spoon, lift and drop the liquid until it forms thick and dense drops. This way you will know that it is ready to start mixing with the egg whites already stiffened.
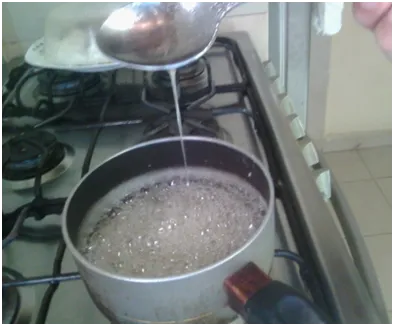
4- Cuando el azúcar está en su punto de (almíbar) baja el nivel de la llama de fuego a muy lento, y comienza añadir de a una cucharadas de almíbar y vas mezclando, recomiendo que otra persona los ayude así baten la mezcla con mayor agilidad. Yo suelo hacerlo solo la mayoría de las veces, pero ustedes si están comenzando en el mundo de la repostería les recomiendo tener un poco de ayuda, ya con el tiempo y más práctica lograrán hacerlo solo, al menos que cuenten con una batidora con pie de amigo, seguimos añadiendo cucharadas de almíbar poco a poco hasta completar 10 luego puedes agregarlo desde la olla en forma circular en la mezcla pero de chorros en chorros como que si fueran 5 cucharada y cuando la mezcla comience a levantarse de forma consistente, hasta que queda bien dura y brillante así estará lista.
4- When the sugar is at its syrupy point (syrup) lower the flame level to very low, and start adding one spoonful of syrup at a time and mix, I recommend that another person helps you so you can beat the mixture with more agility. I usually do it alone most of the time, but if you are starting in the world of baking I recommend you to have a little help, and with time and more practice you will be able to do it alone, unless you have a mixer with a stand mixer, continue adding spoonfuls of syrup little by little until completing 10 then you can add it from the pot in a circular form in the mixture but in squirts as if they were 5 spoonfuls and when the mixture begins to rise consistently, until it is very hard and shiny so it will be ready.
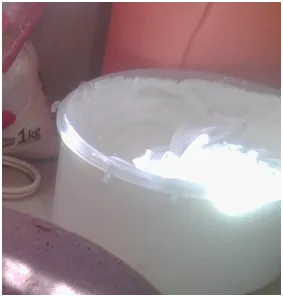
MATERIALES:
Espátula de pastelería
2 mangas.
1 boquilla # 21
1 boquilla # 4B
Colorante liquido o en polvo rosado
Pastry spatula
2 sleeves.
1 nozzle # 21
1 nozzle # 4B
Liquid or powdered pink coloring
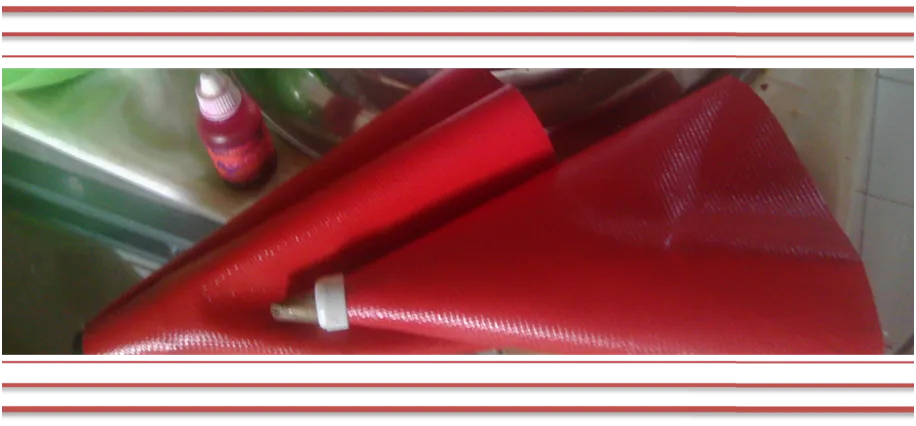

1- Se cubre la torta utilizando la espátula con el merengue blanco comenzando por los lados, luego la parte superior.
1- Using the spatula, cover the cake with the white meringue, starting with the sides, then the top.
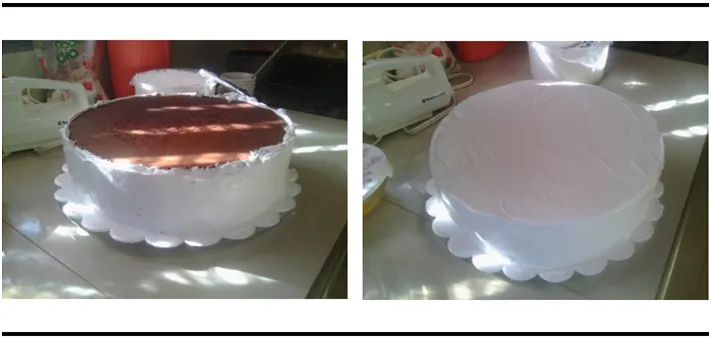
2- Procedemos agregar el colorante y mezclar suavemente con la batidora hasta que todo tenga un color uniforme.
2- Proceed to add the coloring and mix gently with the mixer until everything has a uniform color.
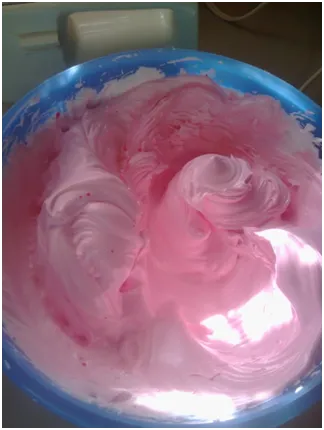
3- Colocamos la boquilla # 21 en la manga, rellenamos con merengue rosado y comenzamos a decorar desde abajo hacia arriba, en la parte inferior se utilizo la técnica de mangueado (La coma) consiste en colocar la boquilla acostada hacia la base, presionando suavemente hasta formar un punto grueso, baja la presión para darle forma de coma así sucesivamente hasta lograr la técnica.
3- Place the nozzle # 4B in the sleeve, fill with pink meringue and begin to decorate from the bottom up, at the bottom I used the technique of mangueado (The comma) is to place the nozzle lying towards the base, pressing gently to form a thick point, lower the pressure to give it a comma shape and so on until the technique is achieved.
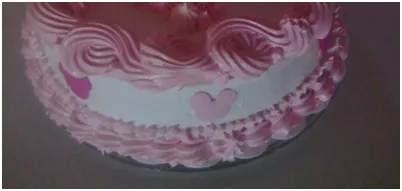
4- En la parte superior se uso una técnica de espirales invertidos esto permitió crear un diseño diferente y voluminoso, consiste en presionar y dejar caer el merengue formando un círculos, invirtiendo la orientación para crear el efecto desordenado, al final con la boquilla # 24 rellena las orillas que se puedan ver blancas y en el centro coloca puntos cambiando la presión para agrandar o disminuir los tamaño de los puntos jugando a crear ramilletes de flores. Al final agregas la decoración superficial para definir el motivo de la fiesta en este caso era de Mickey personaje de Disney.
4- In the upper part a technique of inverted spirals was used to create a different and voluminous design, it consists of pressing and dropping the meringue forming circles, inverting the orientation to create a messy effect, at the end with the nozzle # 4B fill the edges that can be seen white and in the center place dots changing the pressure to enlarge or decrease the size of the dots playing to create bouquets of flowers. At the end add the surface decoration to define the motif of the party in this case it was Mickey Disney character.
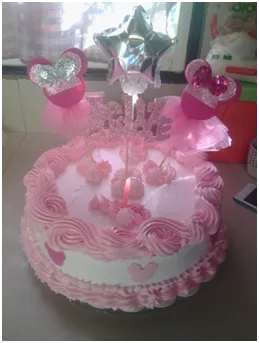
This way I created a beautiful cake where everyone was pleased not only by the beauty and creativity but also by the sweetness and texture of the soft moist cake and the right amount of sugar. The most important thing is to comply with the beating technique, this way you will achieve good results, cheer up and create your own decoration, you just need imagination. If you don't try it, she will never know you could do it.
I HOPE YOU LIKE MY CREATION AND THANK YOU FOR YOUR SUPPORT.
“La imaginación es ir más allá de lo que vemos, depende de ti crear lo que imaginaste”
"Imagination is going beyond what we see, it is up to you to create what you imagined.".
"Imagination is going beyond what we see, it is up to you to create what you imagined.".