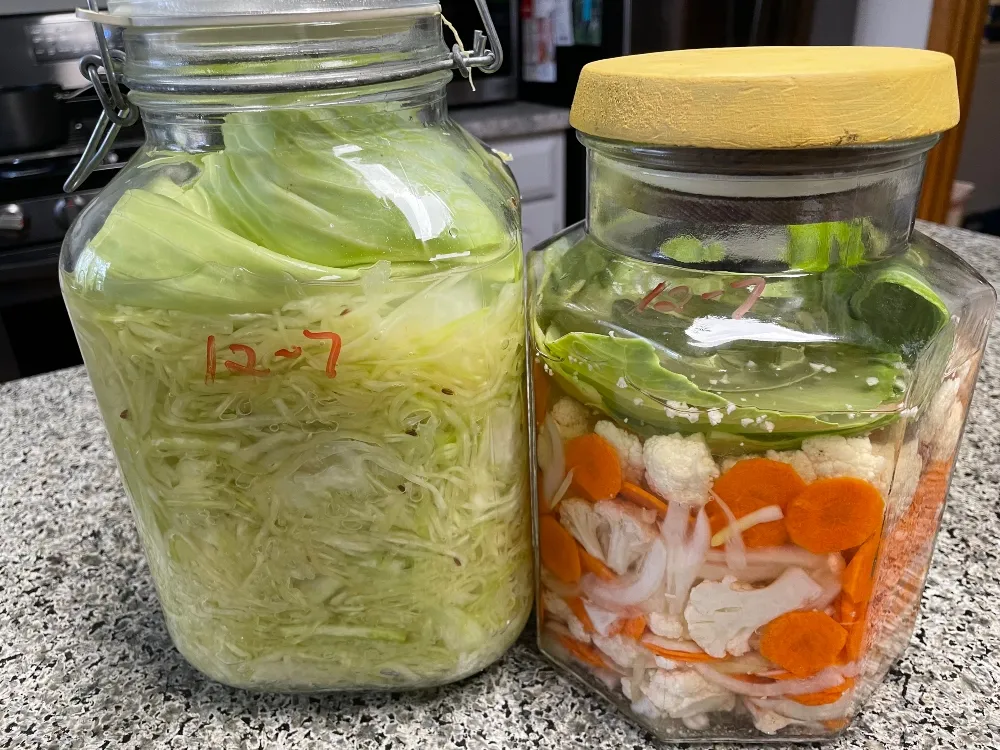
I am finally starting to catch up a bit with some postings I wanted to make. Today, I will share how I made this Sauerkraut and fermented Cauliflower and Carrots.
I did this batch on December 7th and both of them have fermented to my liking and have been jarred and put into the refrigerator.
Sauerkraut
The process is so simple that I often wonder why more people do not ferment their own, especially since homemade is packed full of wonderful probiotics to enhance your gut biome.
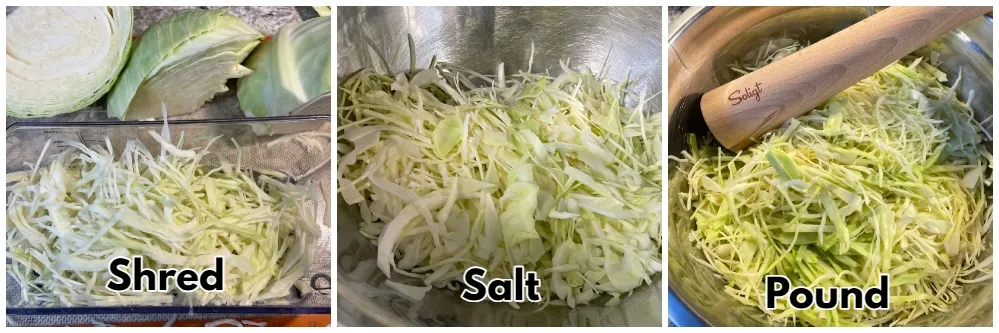
Shred
Choose a large head of Cabbage and peel off the outer leaves saving one for the jar to cover the slaw. After removing the core from the head, slice your cabbage into very thin shreds, I use a mandolin to do mine which keeps the slices the same thickness.
Salt
Layer the shredded cabbage into a large bowl sprinkling with sea salt as you go. This will begin to break down the structure of the shreds and release some of the natural liquid.
Pound
After about 15 minutes you can begin massaging the cabbage with your hands or use a wooden pounding tool to help the cabbage release its own brine.
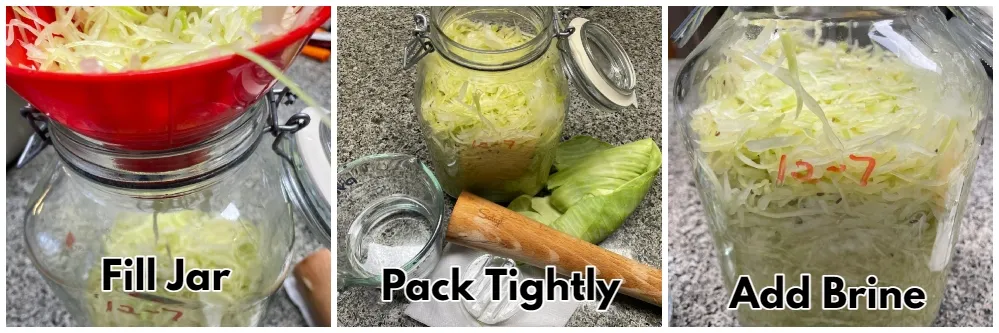
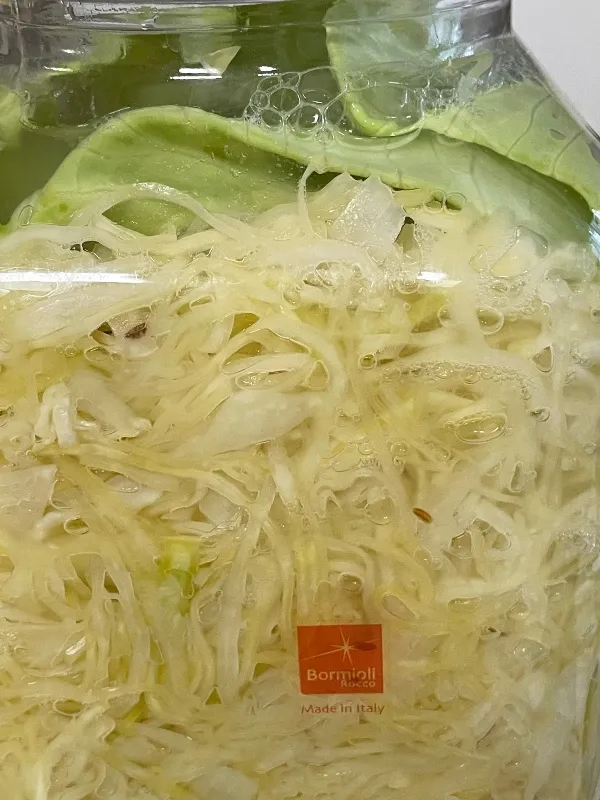
Fill the Jar
Begin packing the cabbage into a sterilized glass container.
Pack Tightly
Be sure to press it down tightly as you fill the jars to remove any air pockets.
Add Brine
Continue filling the jar leaving about 1 1/2" headspace. Pour all the brine created by pounding the cabbage in the jar until it is all submerged.
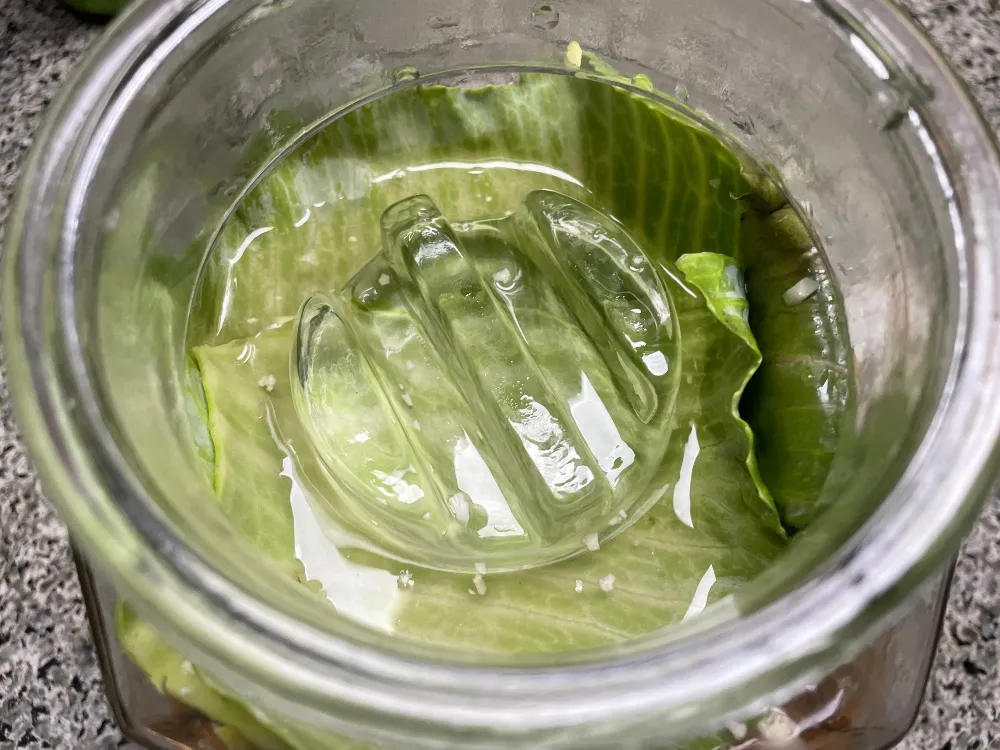
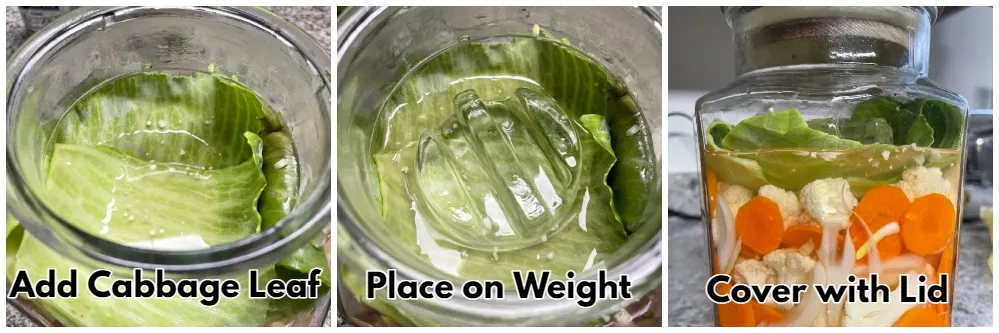
Trim the reserved cabbage leaf to the size of the jar's opening and place it on top of the cabbage. I add a glass weight on top of the leaf to keep all the cabbage under the brine during the fermenting stage. This helps to reduce the risk of any cabbage floating to the top and becoming moldy.
Place your jar on the countertop out of direct sunlight for 3 - 5 weeks depending on how sour you like it to become.
After a few days, you should begin to see some bubbles begin to rise to the surface. This is a great sign that the cabbage has started the fermenting process perfectly.
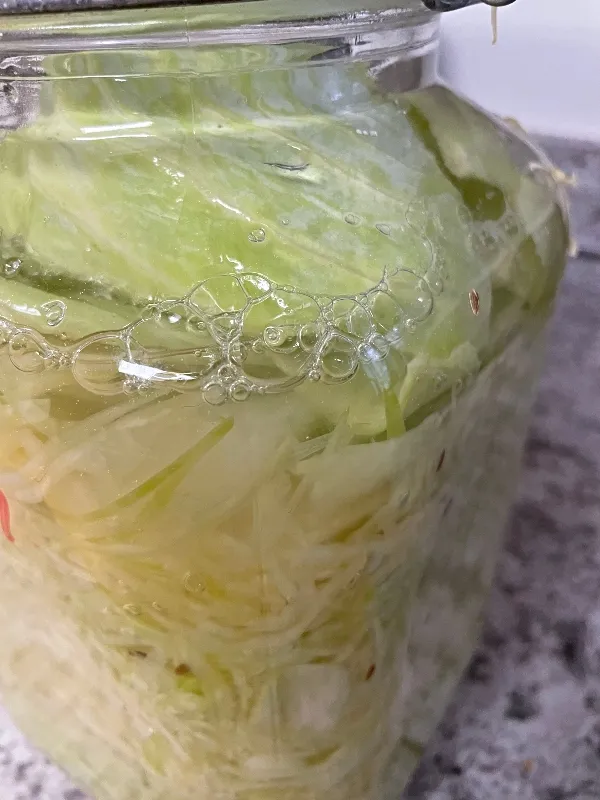
Every few days I take the lid off and poke a chopstick down the sides of the jar to release some of the built-up gases. Also, to be safe you can place the jar on top of a plate to catch any overflow that may spill out of the jar.
The bubbles will start to subside after 5 or 6 days but the fermenting process will continue. The longer you leave sauerkraut out at room temperature the sourer it will become, it is totally your preference.
Within 10 days or so you should begin to see a slight color change in the cabbage itself. I begin tasting mine at this point. I ended up leaving it out on the counter until the middle of January before I put it into smaller jars. I could have left it longer but I tend not to like it too sour.
Lunch
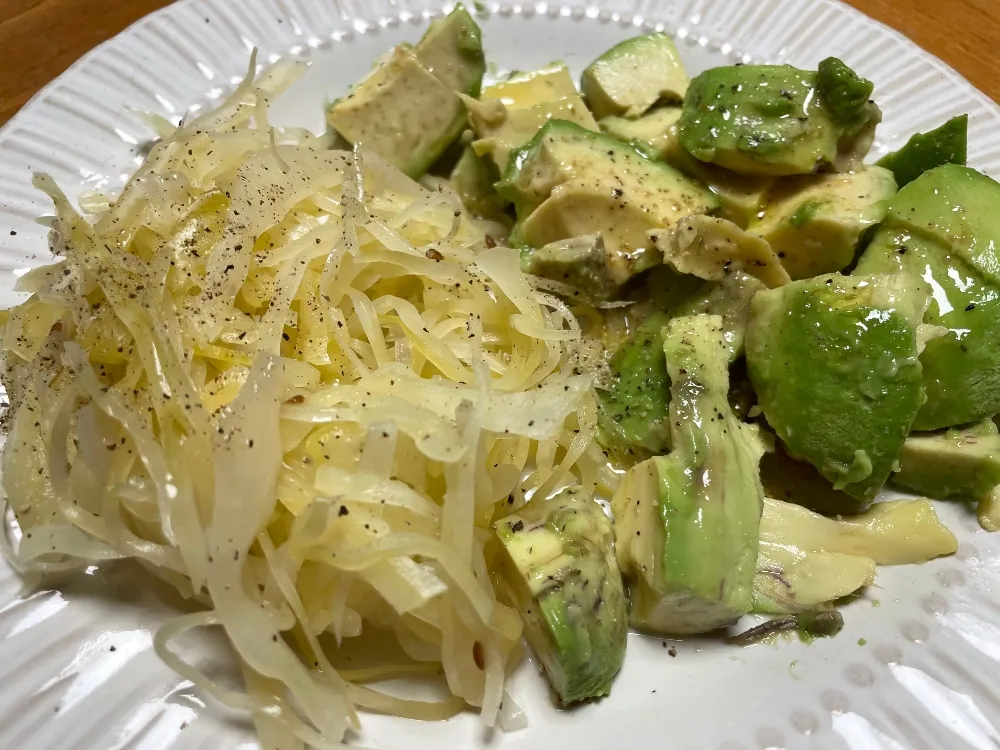
It was so nice to finally have some fresh, homemade sauerkraut once again. I had run out before Thanksgiving and I could tell the difference in my stomach from the lack of fermented vegetables.
My system is so used to having them every few days that I can feel the change once I don't have any to consume. I swear, it really makes a huge difference in keeping my acid reflux in check.
Since I started fermenting two years ago my gut has been healing from all the abuse from ingesting so many painkillers, NSAIDS, and acid-reducing medications.
Eating just 2 Tablespoons every day will give you the wonderful probiotics to help heal your digestive tract.
Cauliflower and Carrots
Brine
4 cups distilled or spring water
2 Tablespoons Sea Salt
Boil the water and add salt stirring until dissolved, set aside.

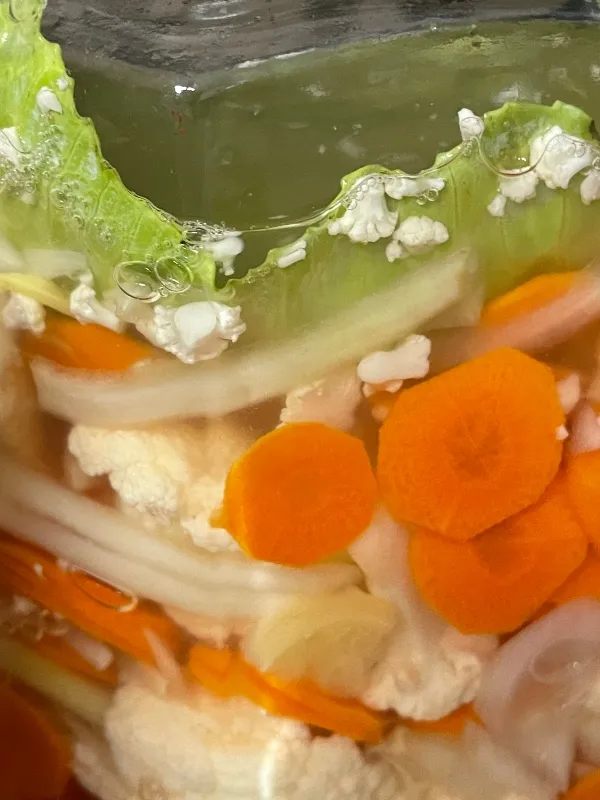
Chop a head of Cauliflower into small florets and thinly slice two carrots. I also added a large onion thinly sliced to this batch.
Fill Jar
Add the vegetables to your fermenting jar packing it down tightly to remove air pockets.
Add Brine
Fill the jar with the cooled brine and then top the veggies with a cabbage leaf. Place a fermenting weight on top to keep the veggies below the brine. Cover and place on your countertop to ferment.
The fermenting process will be the same as with making the sauerkraut. Be sure to take off the cover every few days to release some of the gases from the jar.
When you feel the veggies have fermented enough to your liking, it is time to put them into smaller jars and place them in the refrigerator.
Lunch
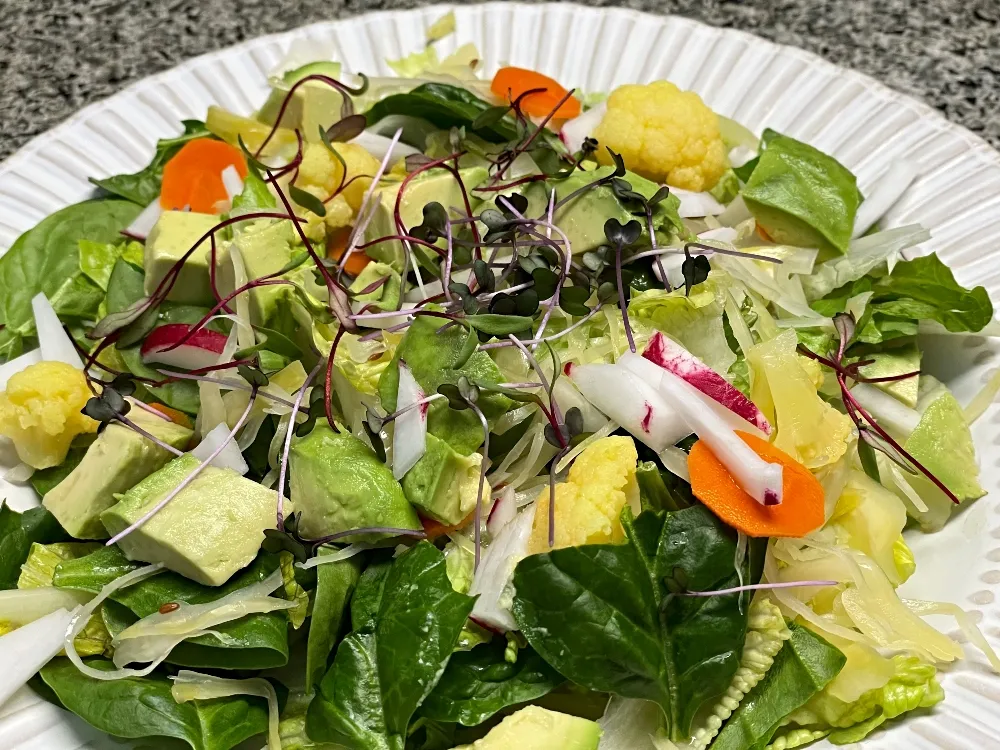
Adding the fermented vegetables to my salad added some extra zip to lunch. It is wonderful to have the ferments back in my diet again.
I hope this inspires some of you to make your own fermented food to aid you in achieving a healthier gut biome.
Until next time, this is Sunscape
Sun. Scape. Ing Your Day