A loving greeting to all my Hive friends, it's a pleasure to be back in this beautiful community Foodies Bee Hive sharing one of my recipes and learning much more from all of you. I haven't posted here in a while, since I've been very busy finishing my diploma studies and attending to my community's vacation plans, tasks that have required a lot of time and energy. But here I am leaving you with much affection a delicious recipe because if there is something that rehabilitates me energetically is cooking and eating delicious food.
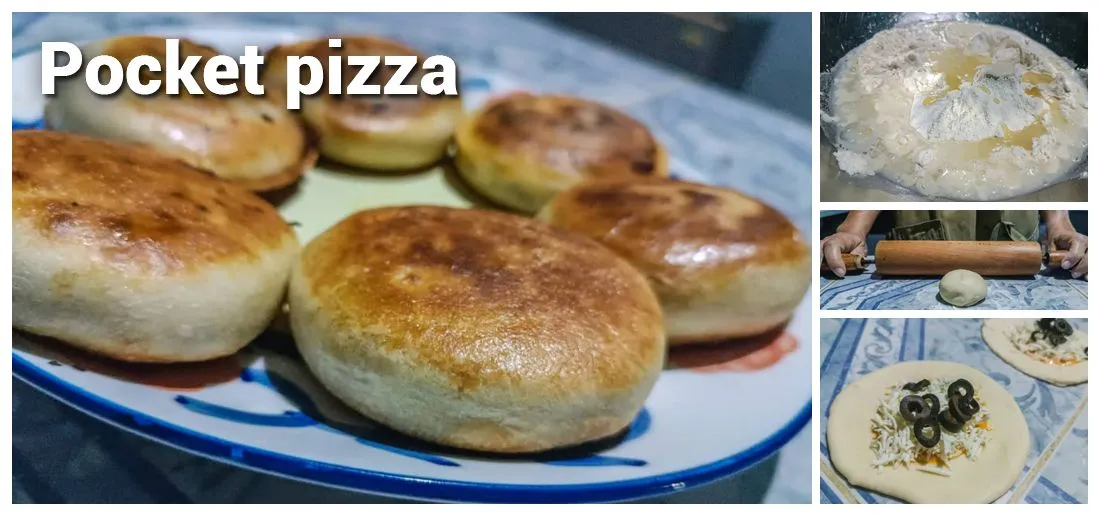
This time I bring you a Pocket Pizza, so called because of its small size. This is a very common pizza format in Canada but it has become very popular in recent times thanks to some pizza franchises. The fascinating thing about this recipe is that we will not need yeast or oven and the pizzas will be in a lovely and pleasant format to eat.
The natural thing in pizzas is to use mozzarella cheese and this recipe is no exception, but at home we only had a very popular cheese in the region, it is rather a wet cheese and not elastic at all. So in spite of not having mozzarella this type of cheese provided an exquisite moisture to the dough, I still recommend making it with mozzarella, but just for this time we will do it differently.
It is also important to add that, as it is a law with pizzas, we are free to put whatever ingredients we want on them.
I have made it quite simple, but you can get creative.
Here is the recipe to make six pocket pizzas of a generous size.
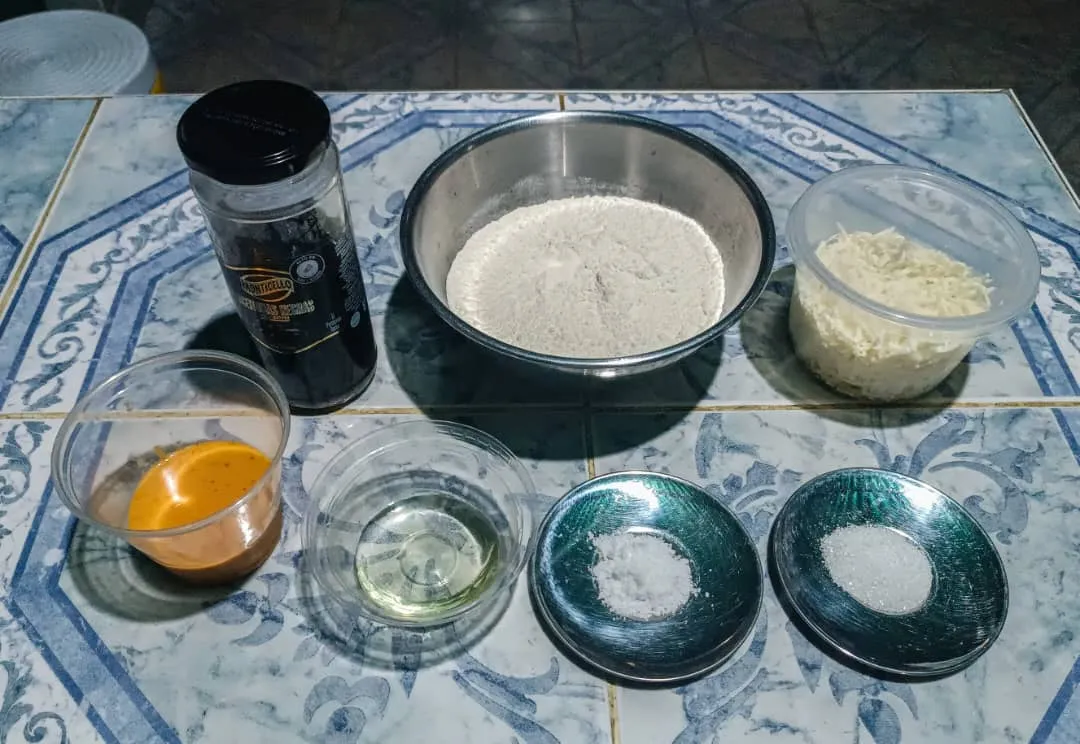
Ingredients
- 250 gr flour
- 7 gr salt
- 7 g sugar
- 140 ml of water
- 60 ml oil
- 120 gr cheese
- 12 spoonfuls of tomato sauce
- 8 black olives
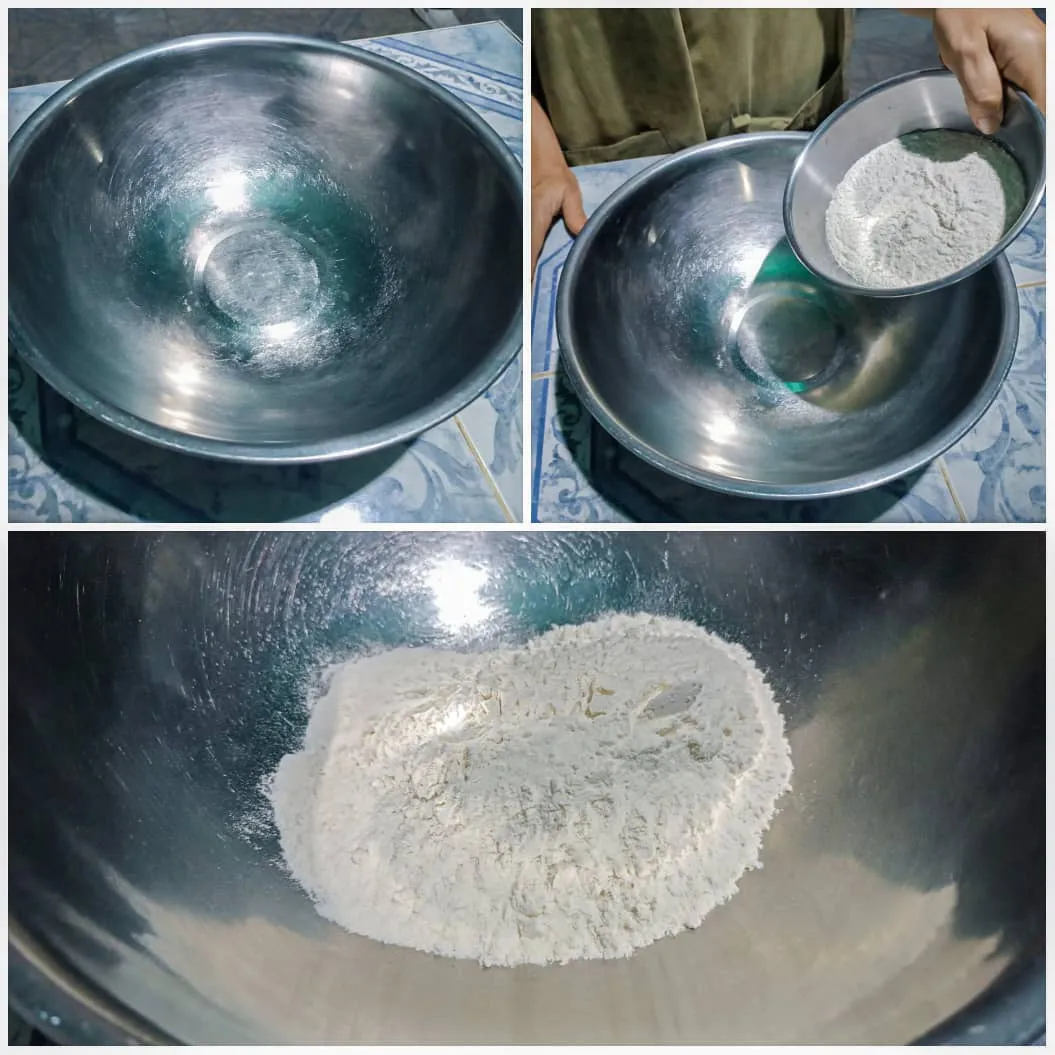
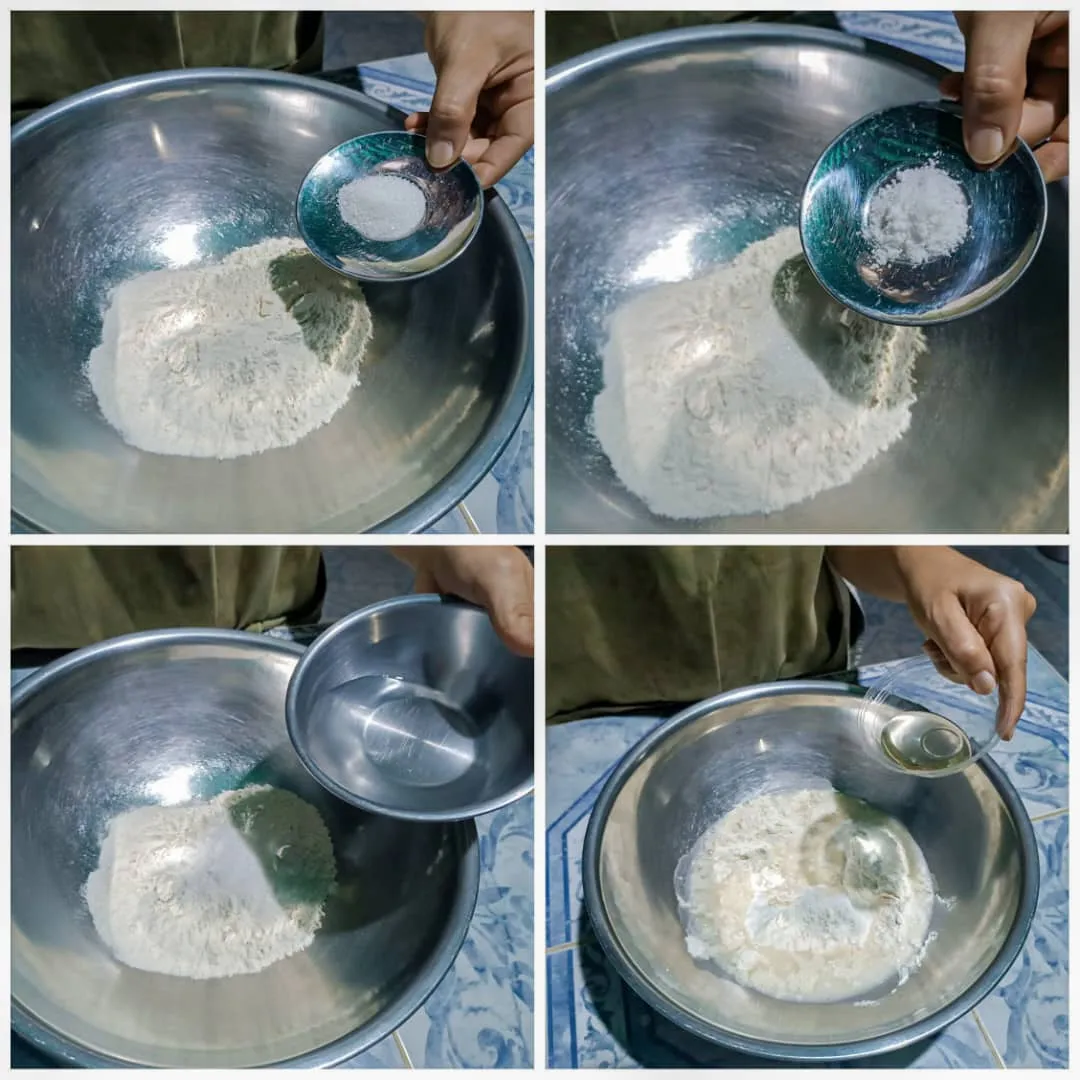
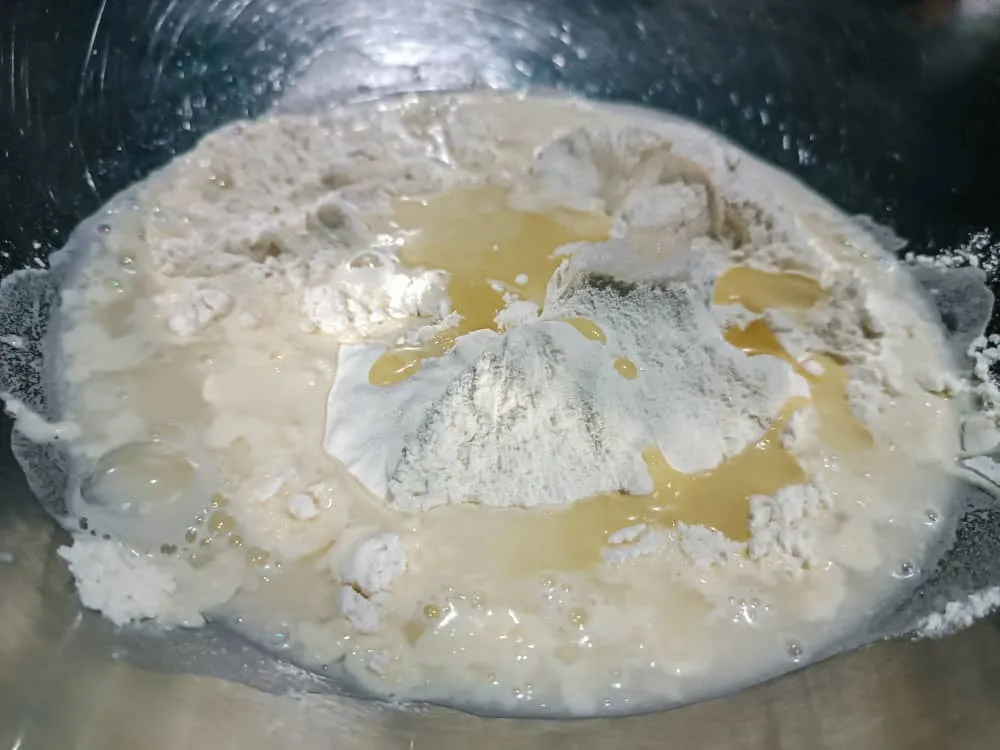
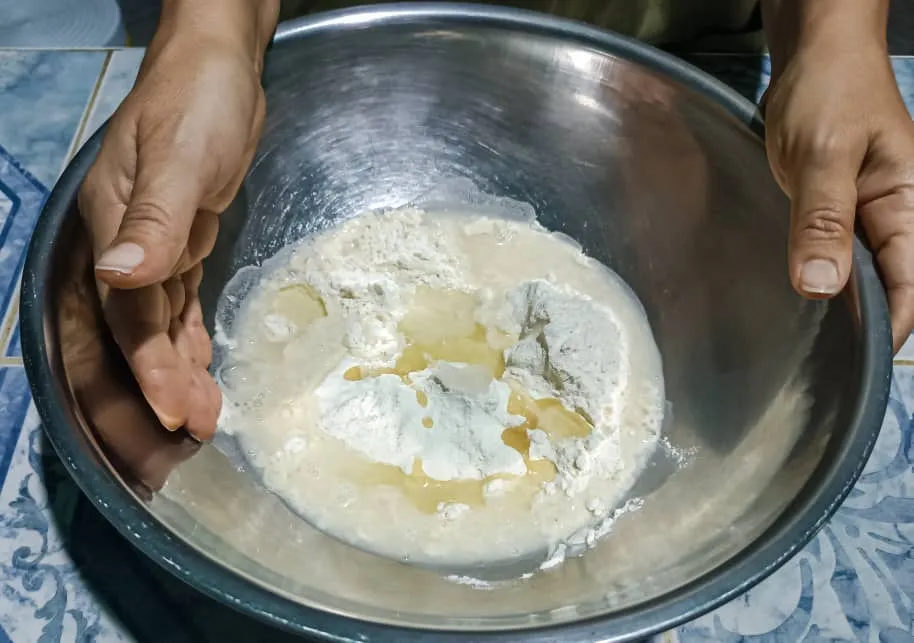
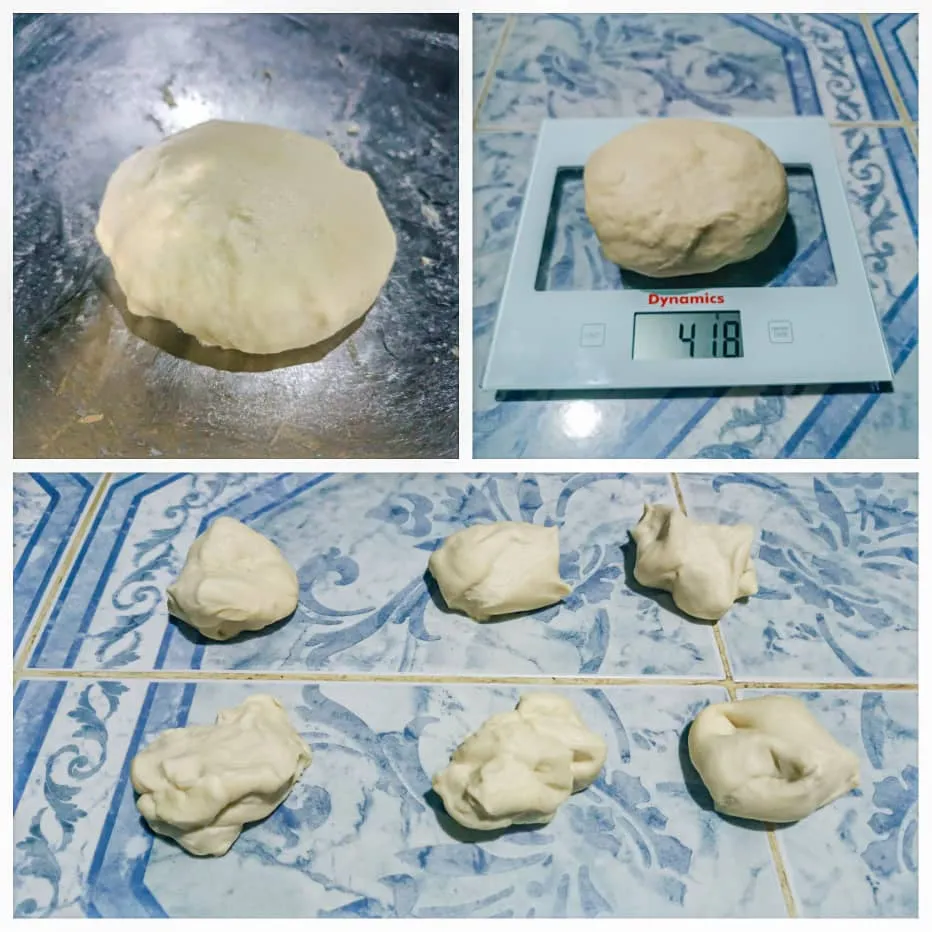
The first thing we will do is to put the flour in a bowl and then we will add the salt, sugar, water, oil and we will knead for ten minutes continuously, and when it is a uniform dough we will let it rest for 20 minutes.
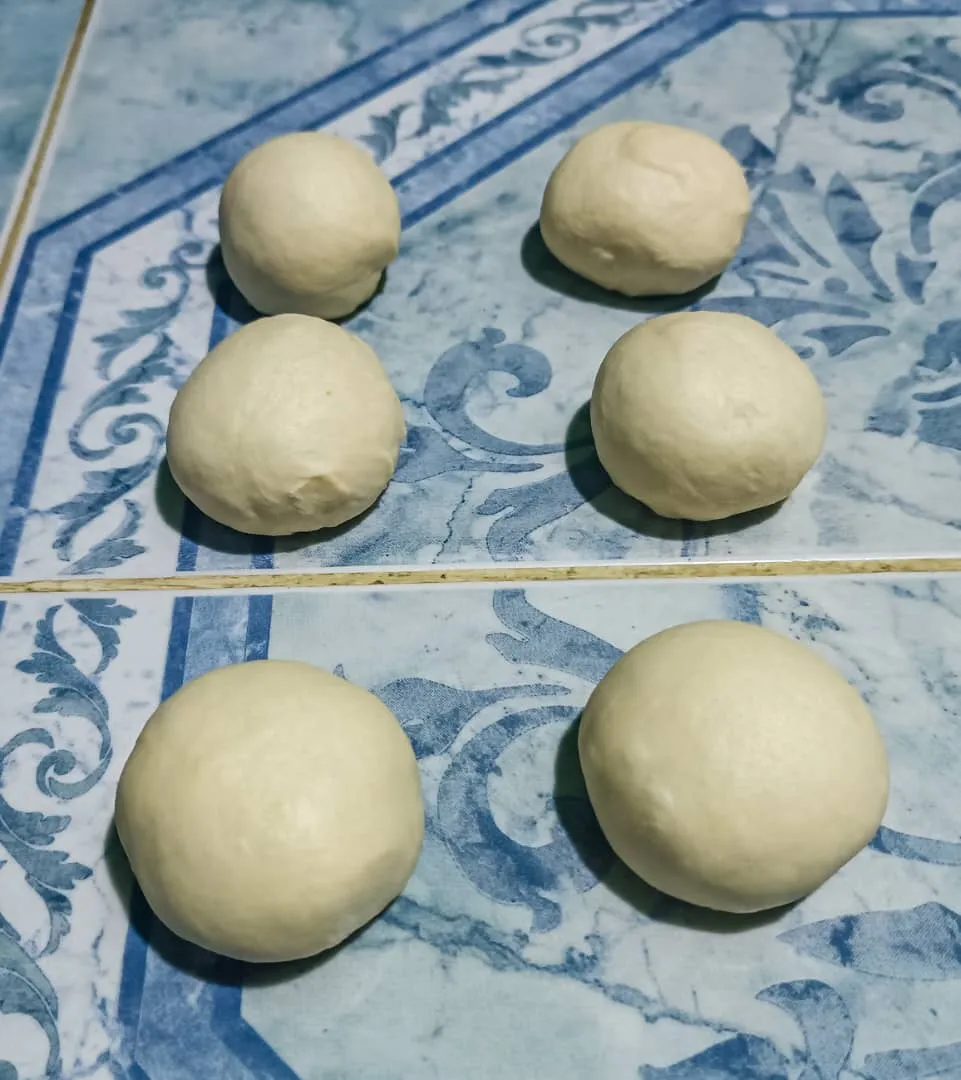
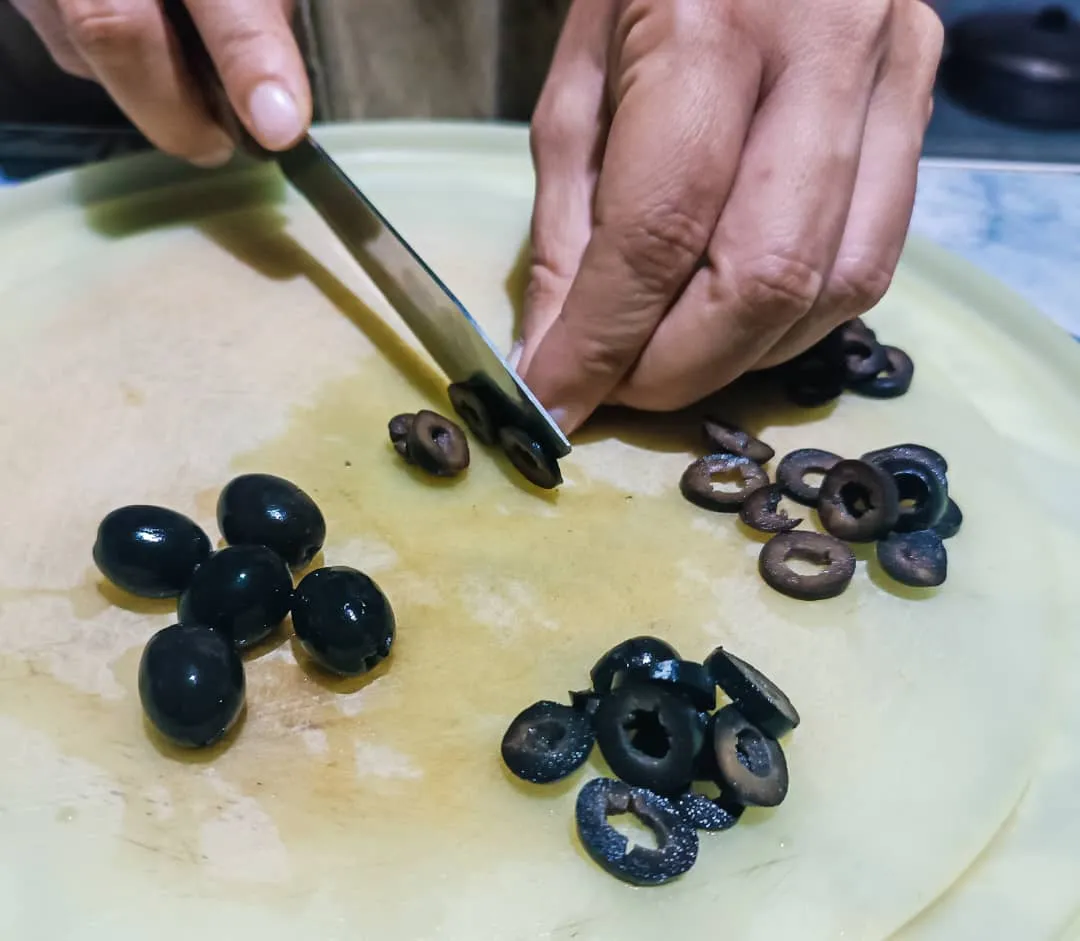
The result will be a soft and elastic dough, weighing approximately 418 gr. We will divide this dough in six portions and we will begin to roll them one by one, until we have six perfectly round balls, which we will let rest for another 10 minutes. In the meantime we can fillet the black olives.

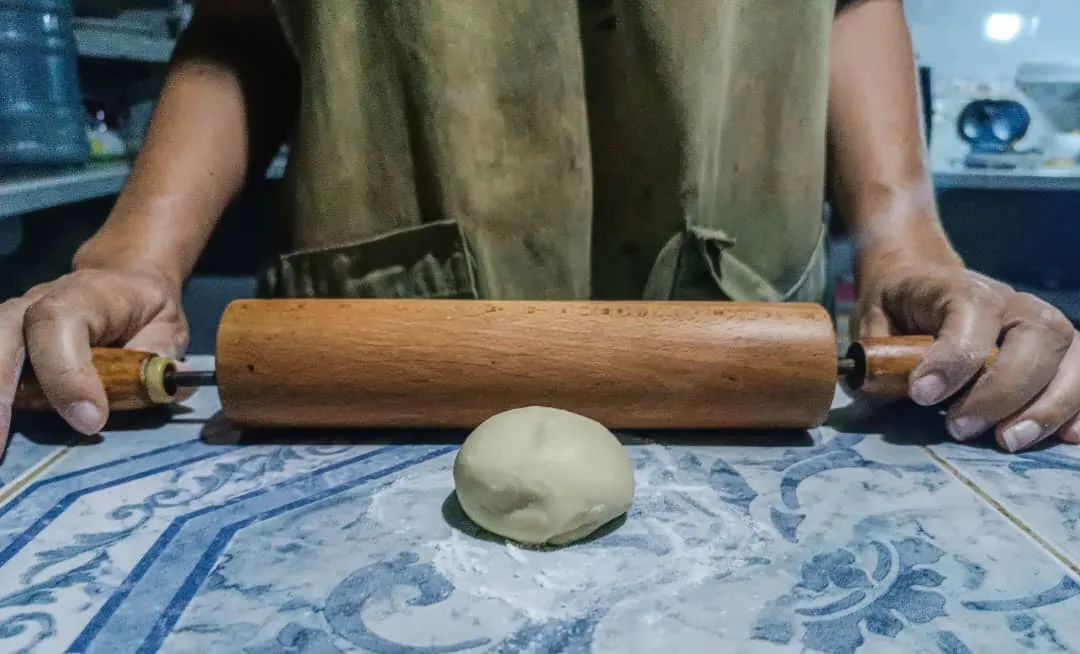
Now we will take one of the balls and with the help of the rolling pin we will stretch it quite a bit, at least 1 millimeter, as the dough is elastic it will not break, but we must be careful not to overdo it with the rolling pin.
Now comes the most fun part: to assemble our pizzas, I will make them two by two because the electric appliance where I will cook them only allows me to cook two at the same time. But if it is not the case and we are going to use a griddle we can assemble the ones that fit on it. Then, once the two balls are stretched, we will put on one of them two spoonfuls of tomato sauce, 30 grams of cheese and two sliced olives. We will do the same with the second one and we will get ready to close.
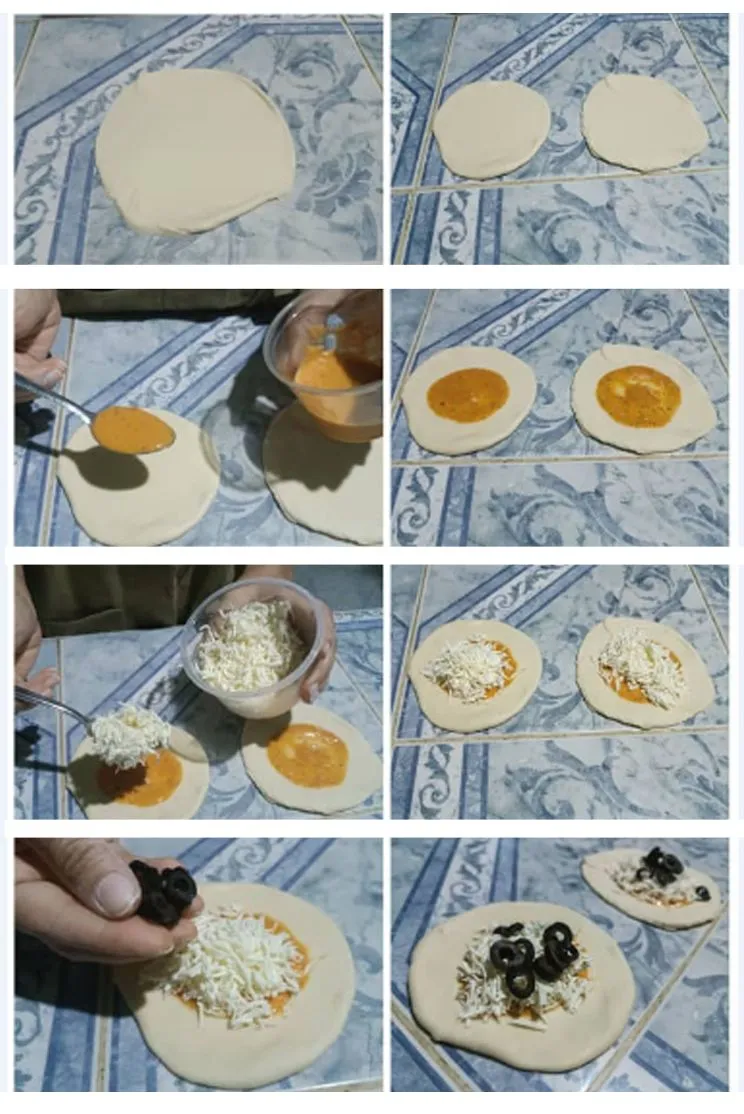
To close it is important that we do not concentrate on doing it in a linear way or it will be like a simple pie. We are going to take a tip from one side and another from the other, we will imagine that we are forming an asterisk. We will gently pinch the dough to close it and finally we will roll it a little and our pizza will be ready to cook.
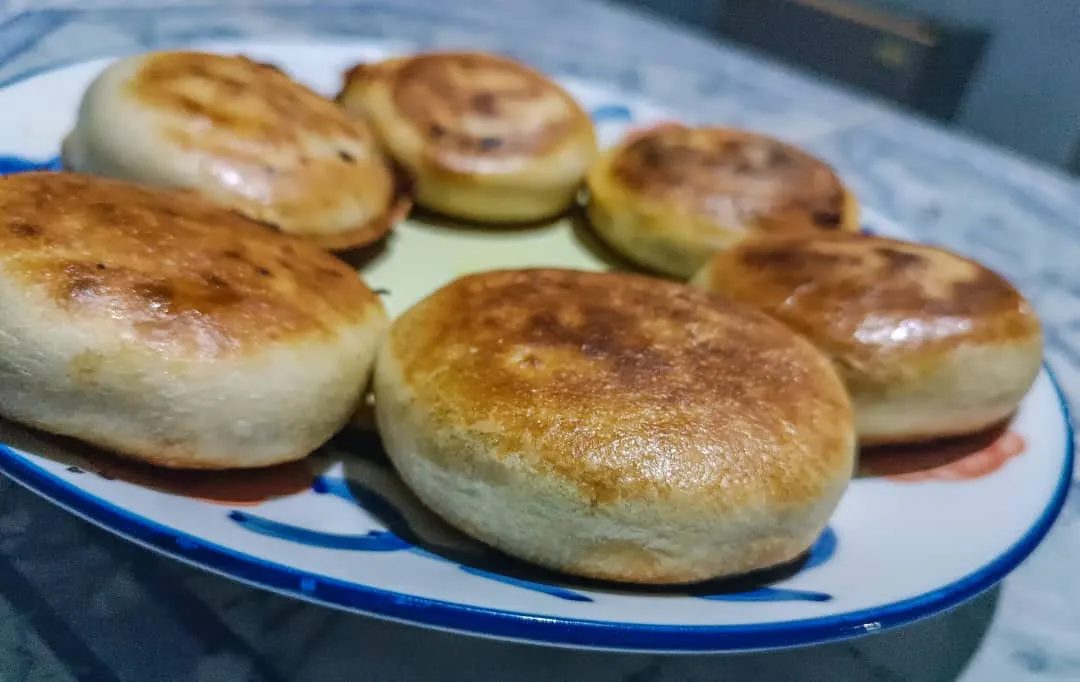
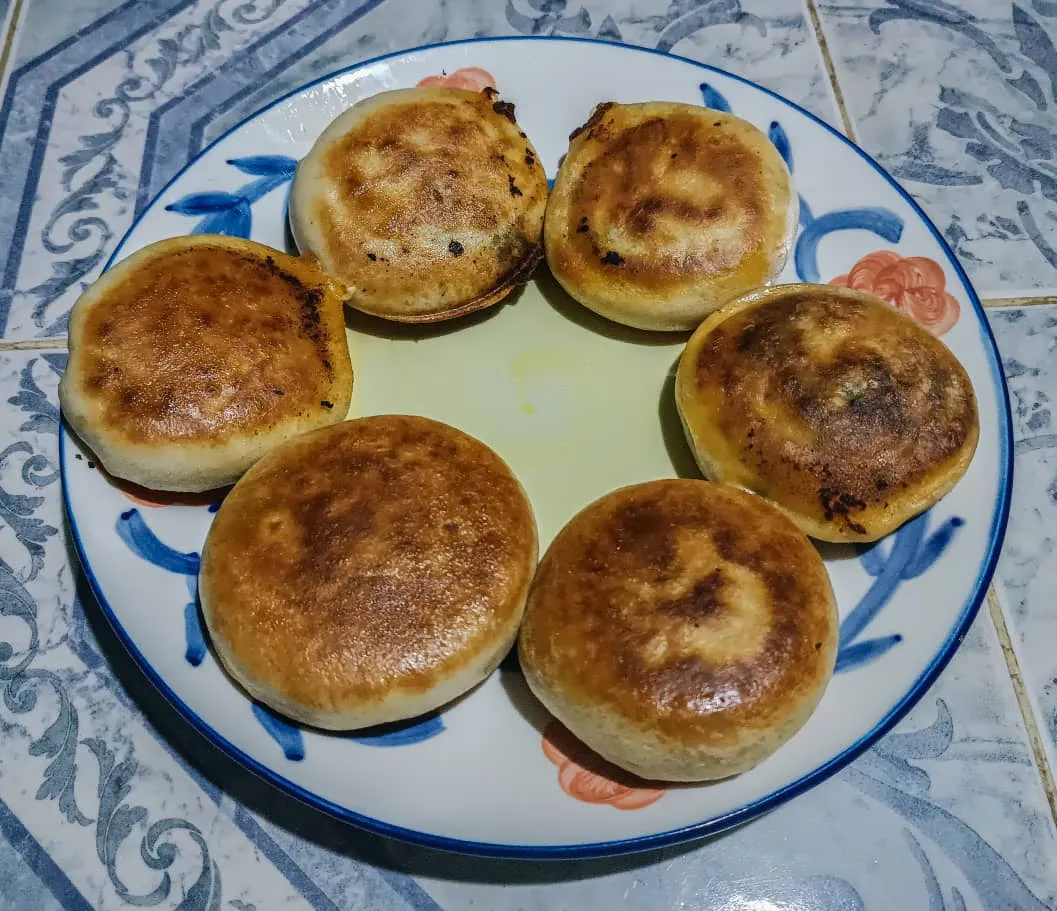
We will take it to the griddle, in my case to this small appliance that in my country is used to cook arepas, this cooks on top and bottom but if we are using a griddle we will have to flip them when they are browned on one side and wait until it is browned on the second.
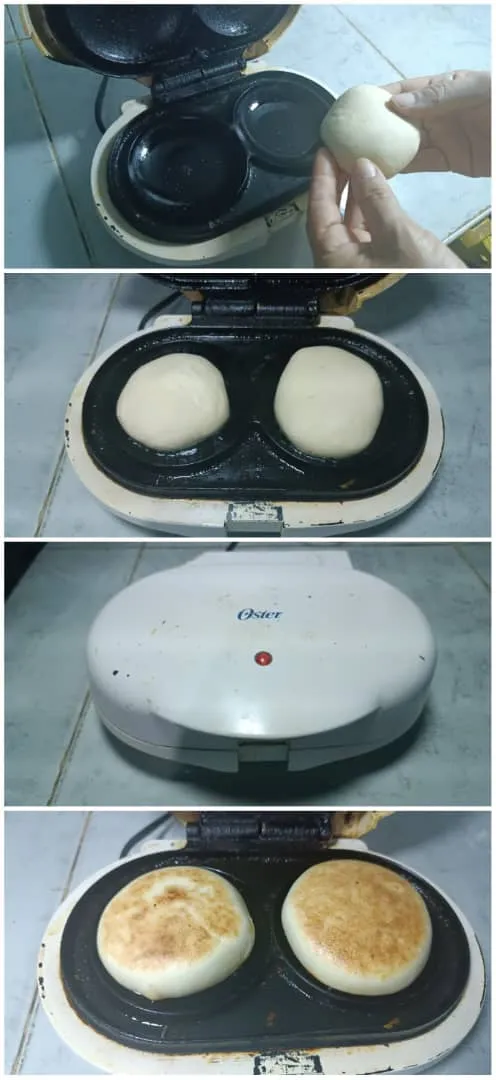
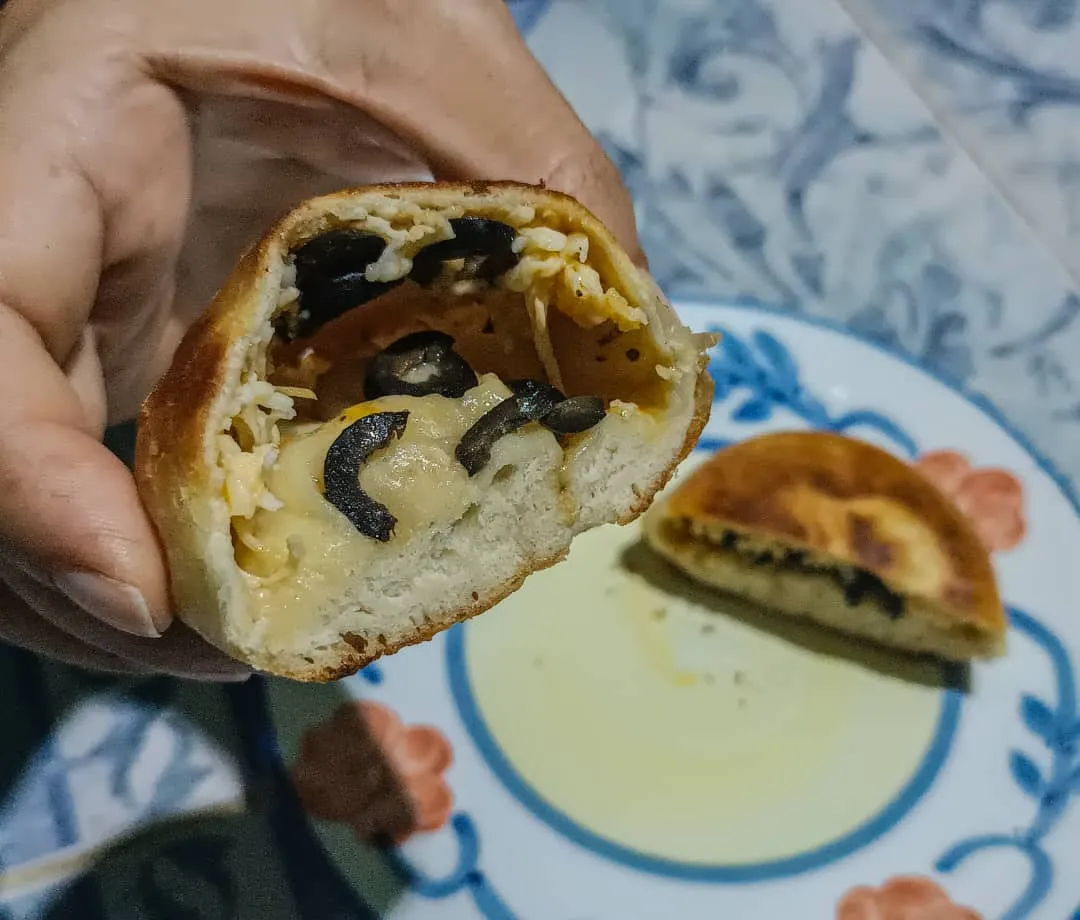
Our pocket pizzas are ready, this is a wonderful format to enjoy pizza. It is certainly easier to eat them or move them if we want them to be the food of our picnic. Besides all the flavors are concentrated inside and every bite is a sublime explosion.
I hope you enjoyed accompanying me throughout the process, I really enjoyed sharing it with you. I hope you are encouraged to try this delicious version of pizza, I say goodbye until next time.


Original content by the author.
Resources: Xiaomi redmi note 11s
Own photos
Translated with Deepl.com
All rights reserved || @jetta.amaya// 2023
Pizza de bolsillo, no dejaras de comerla (Ingles/Español)
Un saludo amoroso para todos mis amigos de Hive, es un placer estar nuevamente en esta hermosa comunidad Foodies Bee Hive compartiendo una de mis recetas y aprendiendo mucho más de todos ustedes. Tenía tiempo sin publicar acá, ya que he estado muy ocupada terminando los estudios de mi diplomado y atendiendo los planes vacacionales de mi comunidad, tareas que han requerido de mucho tiempo y energía. Pero aquí estoy dejándoles con mucho cariño una deliciosa receta ya que si hay algo que me rehabilita energéticamente es cocinar y comer rico.
En esta ocasión les traigo una Pizza de Bolsillo, se llama así por su pequeño tamaño. Este es un formato de pizza muy común en Canadá pero se ha popularizado mucho en los últimos tiempos gracias a algunas franquicias pizzeras. Lo fascinante de esta receta es que no necesitaremos levadura ni horno y las pizzas quedaran en un formato adorable y agradable para comer.
Lo natural en las pizzas es usar queso mozzarella y esta receta no es la excepción, pero en casa solo teníamos un queso muy popular en la región, es más bien un queso húmedo y nada elástico. Así que a pesar de no tener mozzarella este tipo de queso le brindo una humedad exquisita a la masa, igual yo recomiendo hacerla con mozzarella, pero solo por esta vez lo haremos diferente.
También es importante agregar que, como es una ley con las pizzas, somos libres de ponerles los ingredientes que deseemos. Yo la he hecho bastante sencilla, pero ustedes pónganse creativos.
A continuación les dejare la receta para realizar seis pizzas de bolsillo de un tamaño generoso.
Ingredientes
- 250 gr de harina
- 7 gr de sal
- 7 gr de azúcar
- 140 ml de agua
- 60 ml de aceite
- 120 gr de queso
- 12 cucharadas de salsa de tomate
- 8 aceitunas negras
Lo primero que haremos será poner la harina en un bol y enseguida le arrojaremos la sal, el azúcar, el agua, el aceite y nos dispondremos a amasar durante diez minutos continuos, y cuando ya sea una masa uniforme la dejaremos reposar por 20 minutos.
El resultado será una masa suave y elástica, que pesara aproximadamente 418 gr. Esta masa la dividiremos en seis porciones y empezaremos a bolearlas una por una, hasta que sea seis bolitas perfectamente redondas, que dejaremos reposar por otros 10 minutos. Mientras tanto podremos filetear las aceitunas negras.
Ahora tomaremos una de las bolitas y con ayuda del rodillo la estiraremos bastante, por lo menos 1 milímetro, como la masa es elástica no se romperá, pero igual debemos estar pendientes de no sobrepasarnos con el rodillo.
Ahora viene la parte más divertida: montar nuestras pizzas, yo las hare de dos en dos porque el artefacto eléctrico donde las cocinare solo me permite cocinar dos en simultaneo. Pero si no es el caso y vamos a usar una plancha podemos montar las que quepan en ella. Entonces ya estiradas las dos bolitas pondremos sobre una de ellas dos cucharadas de salsa de tomate, 30 gr de queso y dos aceitunas fileteadas. Haremos lo mismo con la segunda y nos dispondremos a cerrar.
Para cerrar es importante que no nos concentremos en hacerlo de forma lineal o quedara como una simple empanada. Vamos a ir tomando una punta de un lado y otra de otra, imaginaremos que estamos formando un asterisco. Pellizcaremos suavemente la masa para ir cerrado y por último la bolearemos un poco y quedara nuestra pizza lista para cocinar.
La llevaremos a la plancha, en mi caso a este pequeño artefacto que en mi país se utiliza para cocinar arepas, esta cocina por arriba y por abajo pero si estamos usando una plancha tendremos que voltearlas cuando estén doradas por un lado y espera hasta que se dore por el segundo.
Están listas nuestras pizzas de bolsillo, este es un formato maravilloso para disfrutar de la pizza. Sin duda es más fácil para comerlas o trasladarlas si es que queremos que sea la comida de nuestro picnic. Además que todos los sabores se concentran en el interior y cada mordisco es una explosión sublime.
Espero disfrutaran acompañándome en todo el proceso, yo disfrute mucho compartirlo con ustedes. Espero se animen a probar esta rica versión de pizza, me despido hasta la próxima.