
It's the cake you've all been waiting for! Drenched in chocolate ganache and with its milk tart liqueur twist, this cheesecake is sure to tickle your tastebuds!

I started plotting this cake MONTHS before @ZakLudick's birthday, and it took a lot of scheming as well as some team work to pull it off.
I have already made 2 cheesecakes using this base recipe, and let me tell you, once you've got the basics nailed, your imagination can run wild and you can create any flavour your heart desires.
My goal was to make a double-decker chocolate, caramel, oreo-based, chocolate ganache-covered cheesecake, laced with milk tart liqueur, and this is how I pulled it off.

Ingredients:
1 layer prebaked chocolate cake sponge (I used half the batter from my regular chocolate cake recipe, and used the rest to make cupcakes Claire's Crazy Cakes, Bakes and Kitchen Hacks: Chapter 3 - Ultimate Chocolate Cake This is a high sugar and oil content sponge and it stores extemely well (up to a week without drying out , so I recommend you make this part in advance.
you will also need to make the cheesecake at least a day in advance so that it has time to set before you start building layers and smothering with ganache.

The Cheesecake:
250g original chocolate Oreo's
1/2 cup melted butter
1 1/2 cups Milk Tart Liqueur
2 tbsp gelatine
500g cream cheese
1/2 cup castor sugar
3 of cups cream
1 tin of Caramel treat
300 top- deck chocolate
300g dark chocolate
Chocolate whispers 1 bag
spray & cook/ cook
baking paper
25cm springform cake tin
2 x Large mixing bowl
1 soup or desert bowl - microwave safe
2 x wooden spoons
Wooden Chopping board
large sharp chopping knife

Method:
- Trace and cut baking paper to line the inside of both the base and the spring form casing of the baking tin
Generously spray the inside of the tin and then place your traced and cut baking paper. Spray again and ensure there are no areas where the cake can adhere.

In a seperate bowl, Crush the oreos. Add the melted butter to the biscuits and mix to combine. Spread the biscuit mixture evenly at the bottom of the cake tin: pressing the biscuits flat with a spoon. Freeze until later.


In another separate microwave safe bowl, combine 1 cup of Milk Tart Liqueur with 2 tbsp gelatine and microwave on high at 30-second bursts, mixing in-between, until the gelatin is completely melted. I used more gelatine than usual this time around because I wanted the cake to set as firmly as possible to be able to support the layers.


In a large mixing bowl, combine the cream cheese with the sugar and mix using a hand mixer until light and fluffy.

Add the Milk tart liqueur and gelatin mixture to the cream cheese and beat with the hand mixer until combined.


Crush about half the bag of chocolate whispers and add to the mixture.
whip 1 cup of cream with 30ml of Milk Tart Liqueur until stiff and add to the cream cheese and crushed chocolate whisper mixture


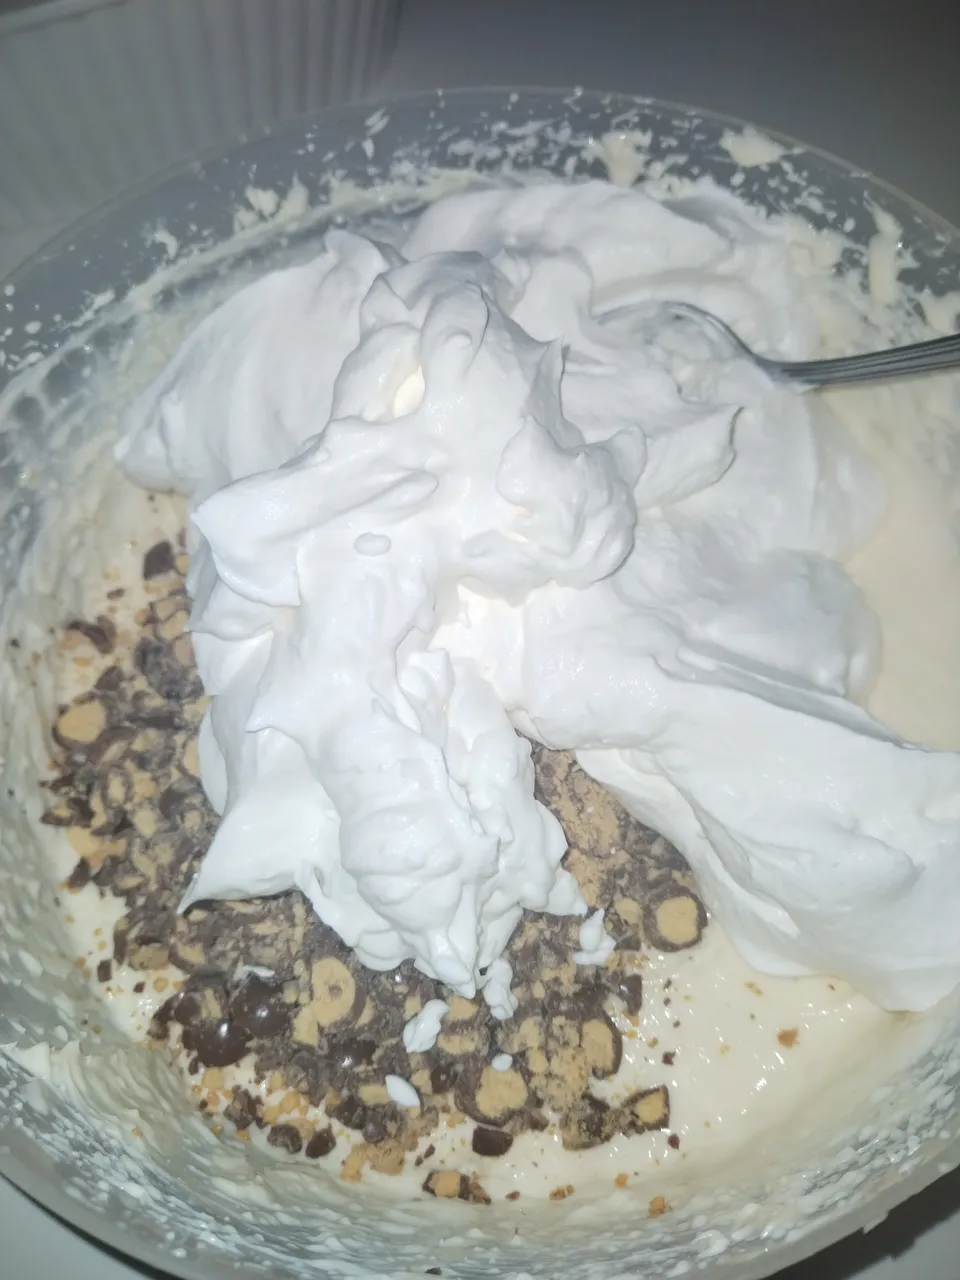
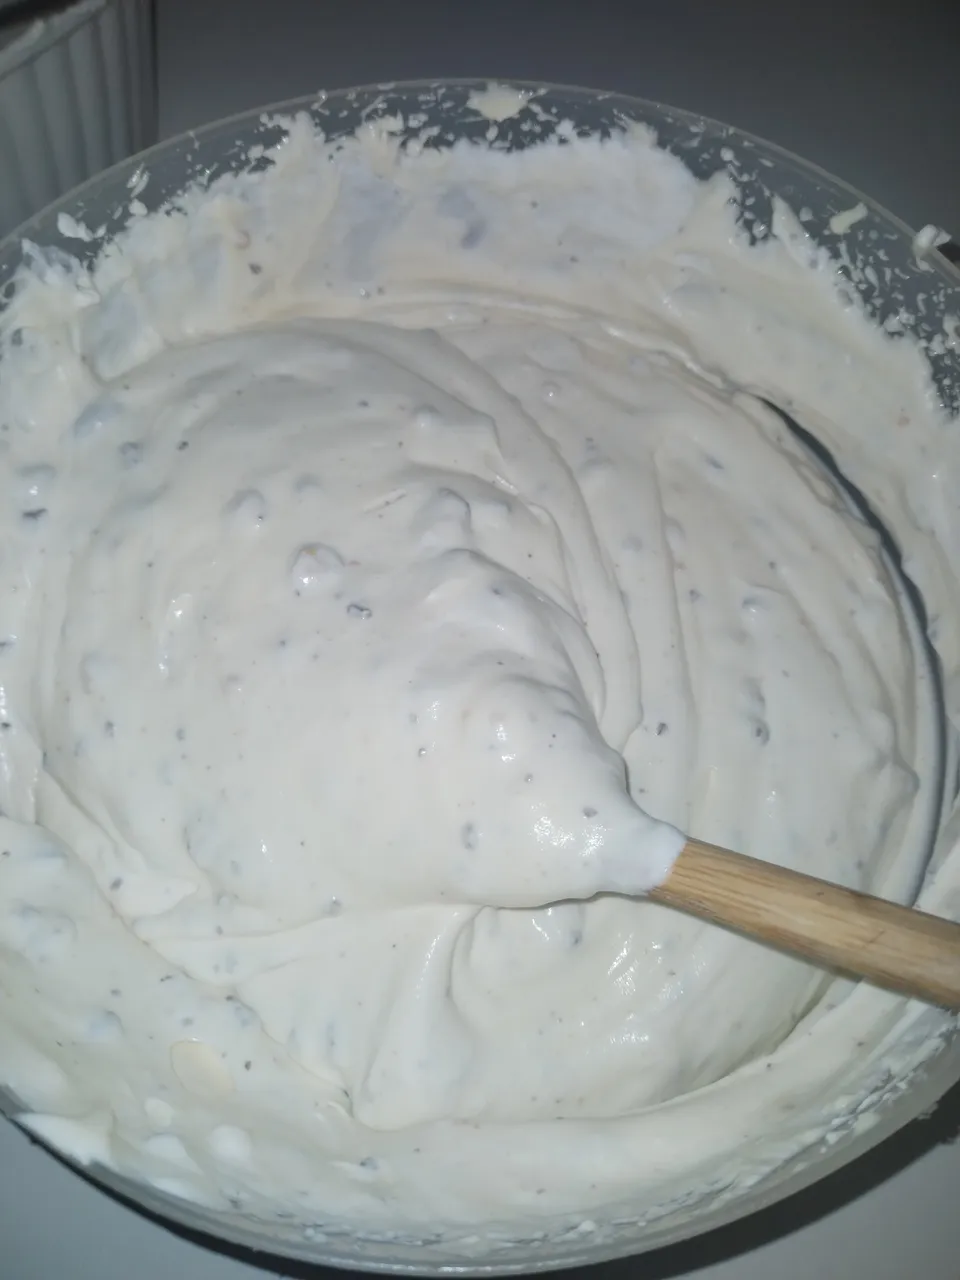
Remove the base from the freezer and spread the mixture over the biscuit base and refrigerate for 24 hours.


The Ganache
On a wooden chopping board, dice the chocolates into In two separate pots, one for the dark chocolate, one for the top deck. Dicing with a good sharp knife leads to easier and smoother melting. Place your dark and top-deck chocolate pieces into their separate pots.


Have your clean separate wooden spoons ready


Add 1 cup of cream to each pot and melt the chocolate gently, stirring constantly. Don't abandon your chocolate or put the stove on to high. Burnt chocolate is sad chocolate. Once well combined, smooth and melted, set aside to cool.
When you are ready to assemble, remove the cheesecake from fridge.
now the fun starts.
Get your chocolate cake out and get a friend to help you because this is some gravity defying, nervewrecking stuff!

The idea is you want the caramel treat between the cheese cake and the chocolate cake. The chocolate cake may not want to stay in one solid piece, so this must be done with care.

Spread the entire tin of caramel treat on one side of the chocolate cake.
Remove the sides of the springform tin and the baking paper from around the sides of the cheesecake. Remember, there is still baking paper at the bottom of your cheesecake that you'll need to remove!
This means, that yes, we are planning to flip that whole cake upside down. Thank heavens for the extended setting time and the extra gelatine!
Place the chocolate cake, caramel side down, on top of the cheesecake. Place a baking tray lined with baking paper on top of the double-decker cake and Flip the whole thing over. You will now be able to remove the bottom of the spring form tin and the baking paper from the oreo biscuit base of your cake.
Take another baking tray lined with baking paper and flip the cake the right way up.


Now that you've almost had an aneurysm, you are ready to drench the cake with ganache and decorate with the remaining whispers and edible glitter!

Remember to work quickly, especially if it's a hot day. You don't want your cheesecake to lose its stiff consistency or melt. Refrigerate immediately after decorating.

Manage your expectations: I thought we'd be eating this cake for DAYS, but it was demolished in less than 30 minutes. So Glad I secretly pinched a piece for myself and hid it away!!

