
Saludos amigos de HiveNFTGameLatino. Como bien saben, desde hace un tiempo he estado participando en el reto semanal de Hashkings comparte tu arte.
Pueden leer más sobre este reto siguiendo este enlace:
@hivenftgamela/reto-semanal-hashkings-comparte-tu-arte-the-heavy-johnny-100000-buds-esen
Aunque el último reto, el tercero en el que yo participo, ya terminó, no quise perder la oportunidad de continuar expandiendo mi colección de figuritas inspiradas en estos curiosos personajes de Hashkings.
En esta ocasión debíamos hacer un arte inspirado en The Heavy Johnny, un avatar bastante interesante que quise hacer lo más apegado posible al personaje.
En las fotos que acompañan la publicación pueden ver el proceso creativo de tan bonita escultura que hice.

Paso a paso
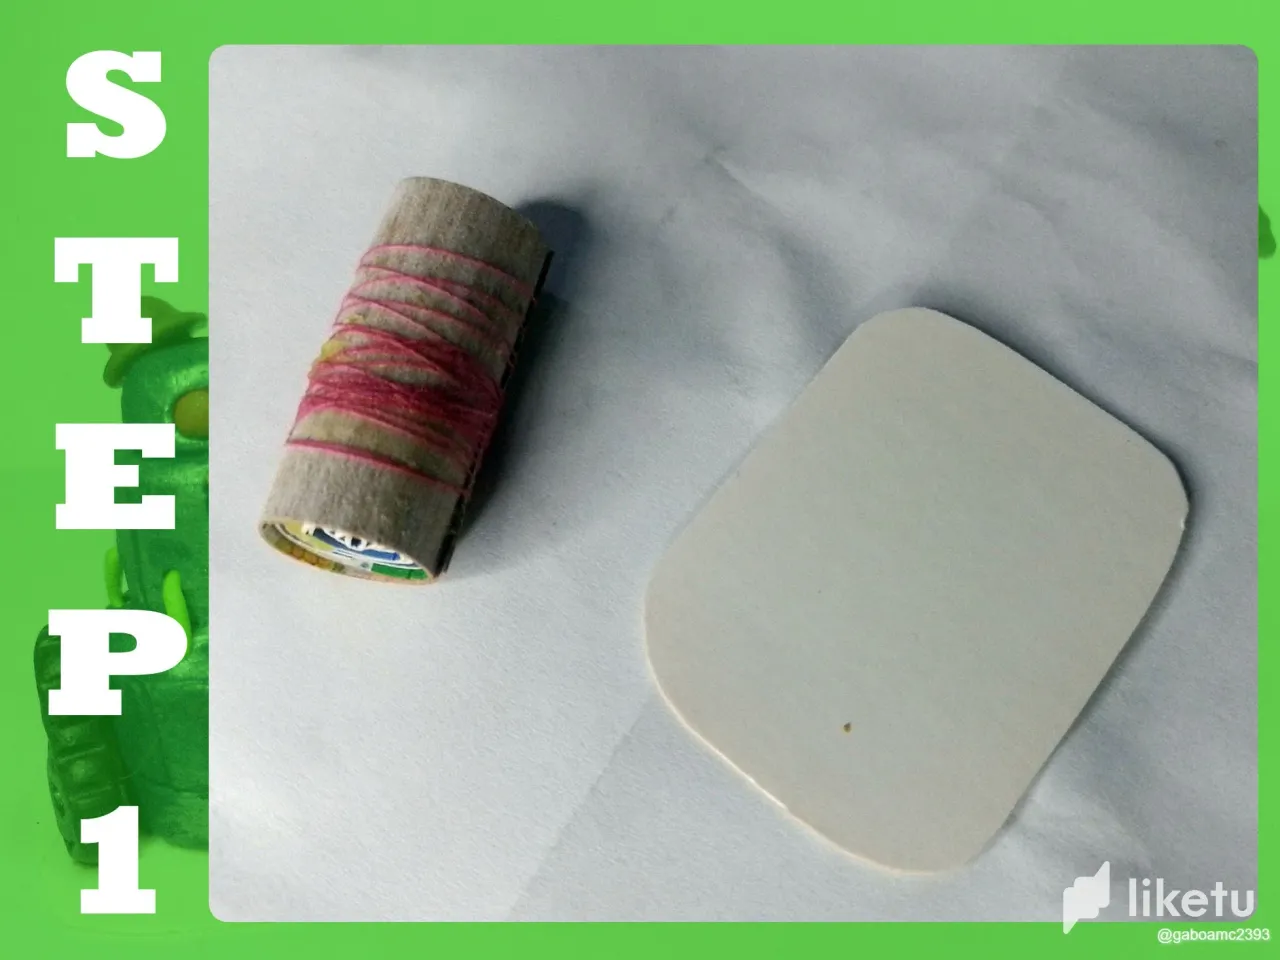
En el paso uno hice el esqueleto o el soporte de la figura. En este caso, por la propia forma del personaje, hice un cilindro de cartón y un trozo de cartulina cuadrada, con los bordes redondeados, para la base.
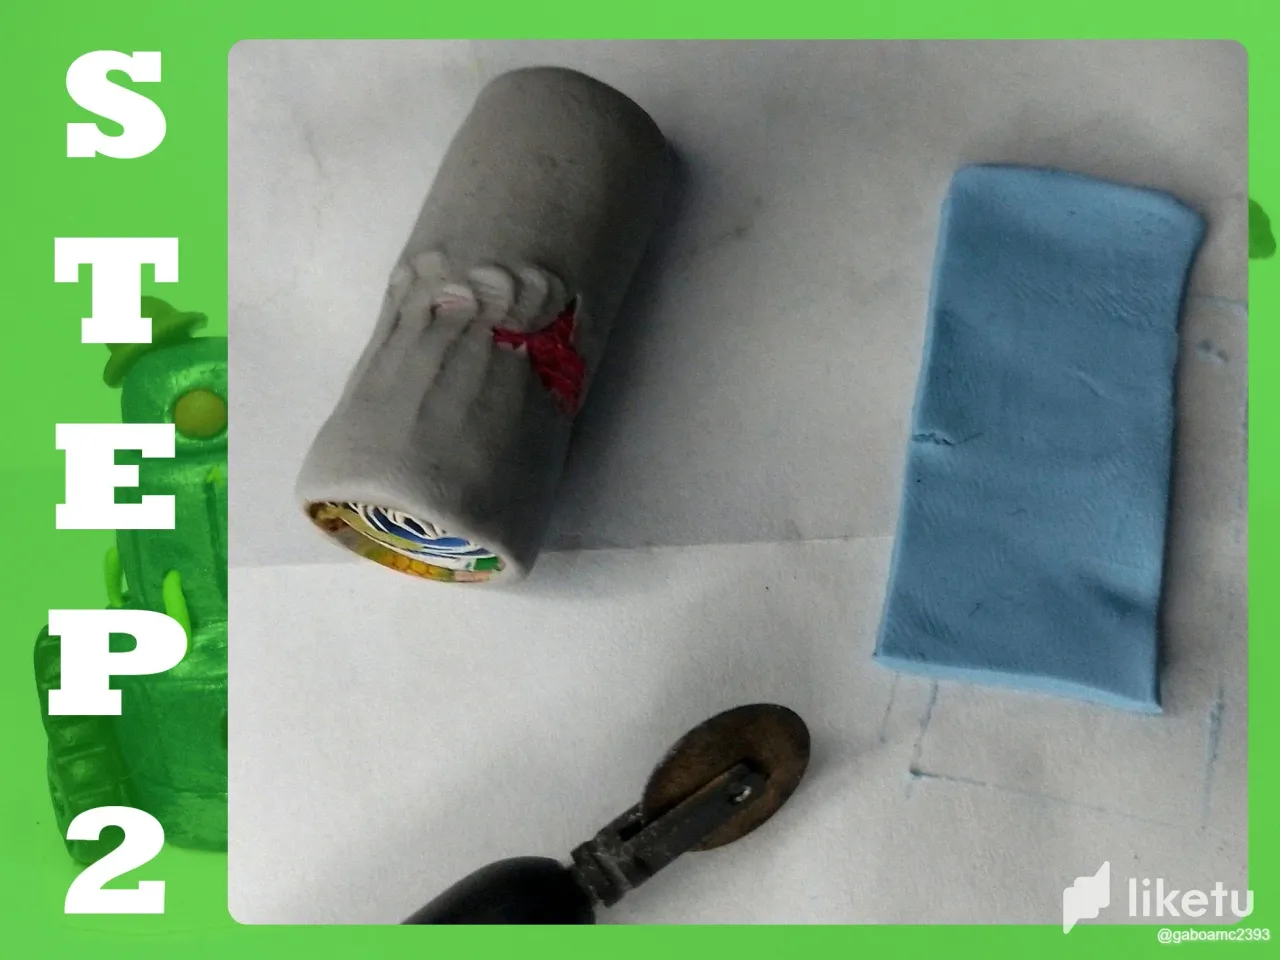
En el paso dos cubrí el cilindro de cartulina con plastilina gris, este sería el color base de la escultura, pues es un robot así que el gris le queda perfecto.
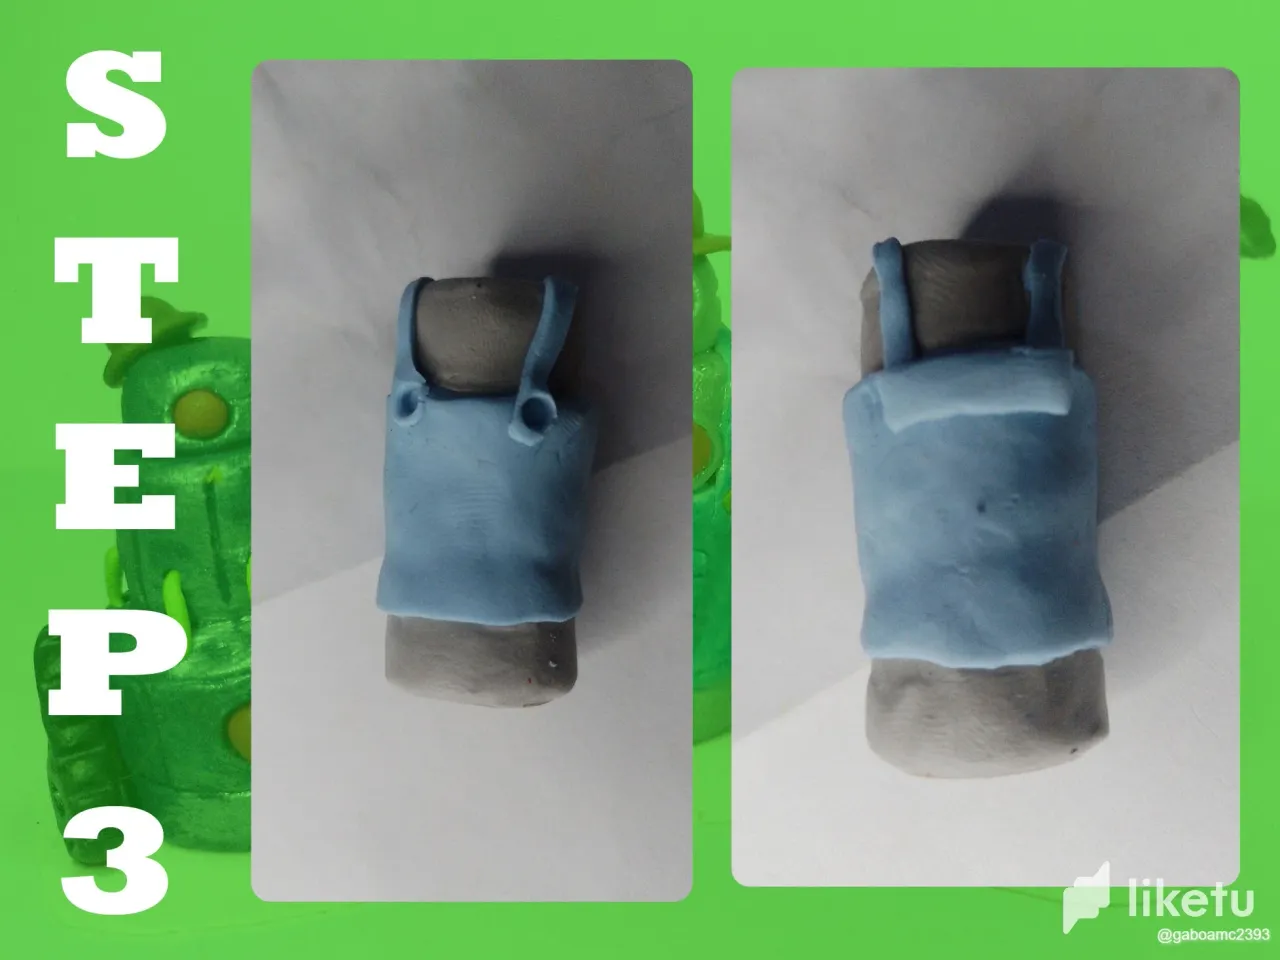
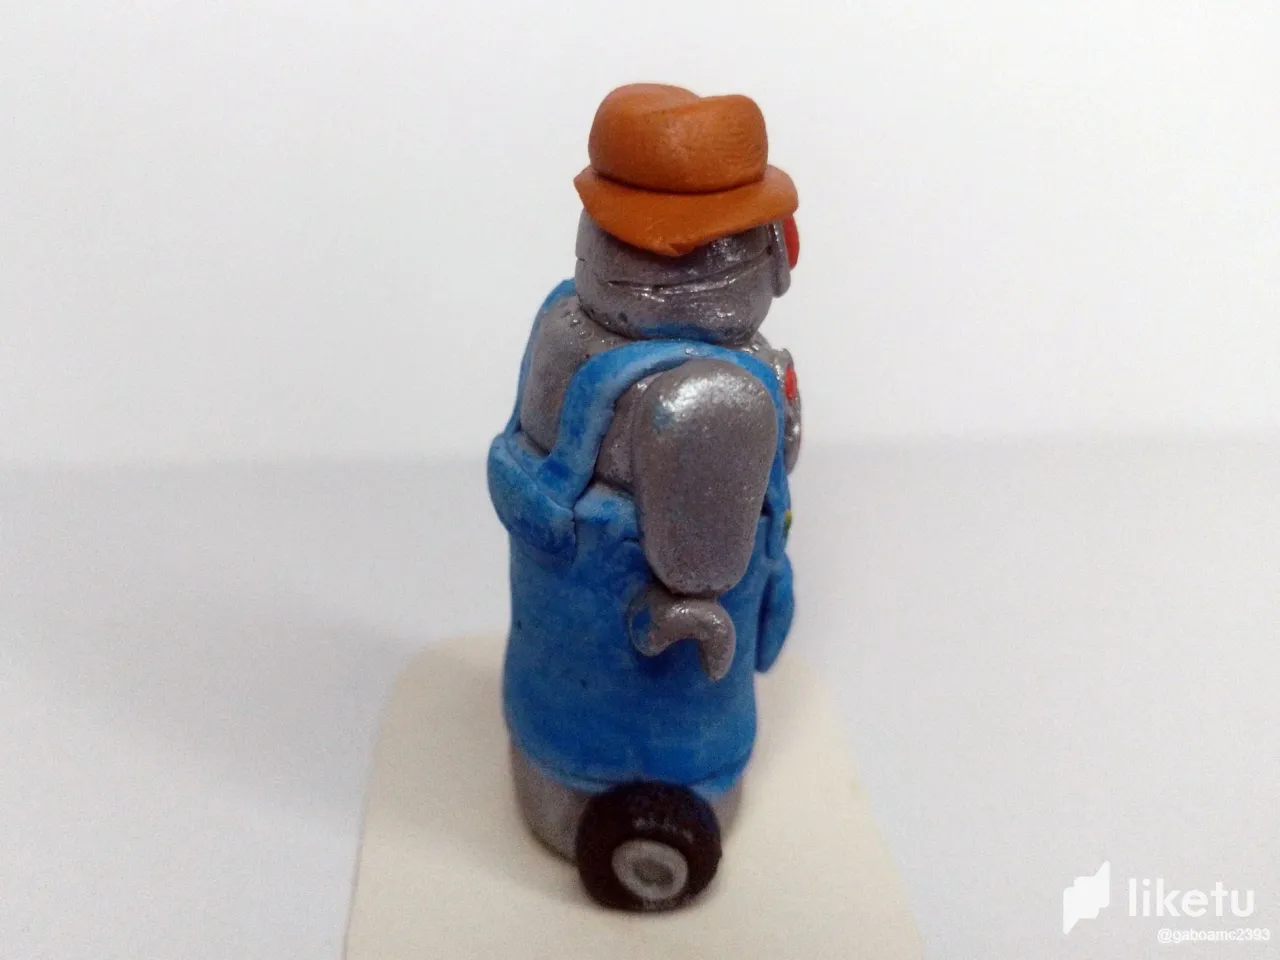
Con este material cubrí todo el cilindro, o al menos gran parte de los bordes tanto superiores como inferiores. Posteriormente corté un trozo de plastilina azul con forma de rectángulo alargado.En el paso tres cubrí la parte central del cilindro con el rectángulo azul. Este sería una suerte de braga para el personaje, así que también le hice sus tirantes y broches, tanto en la parte delantera como en la parte trasera.
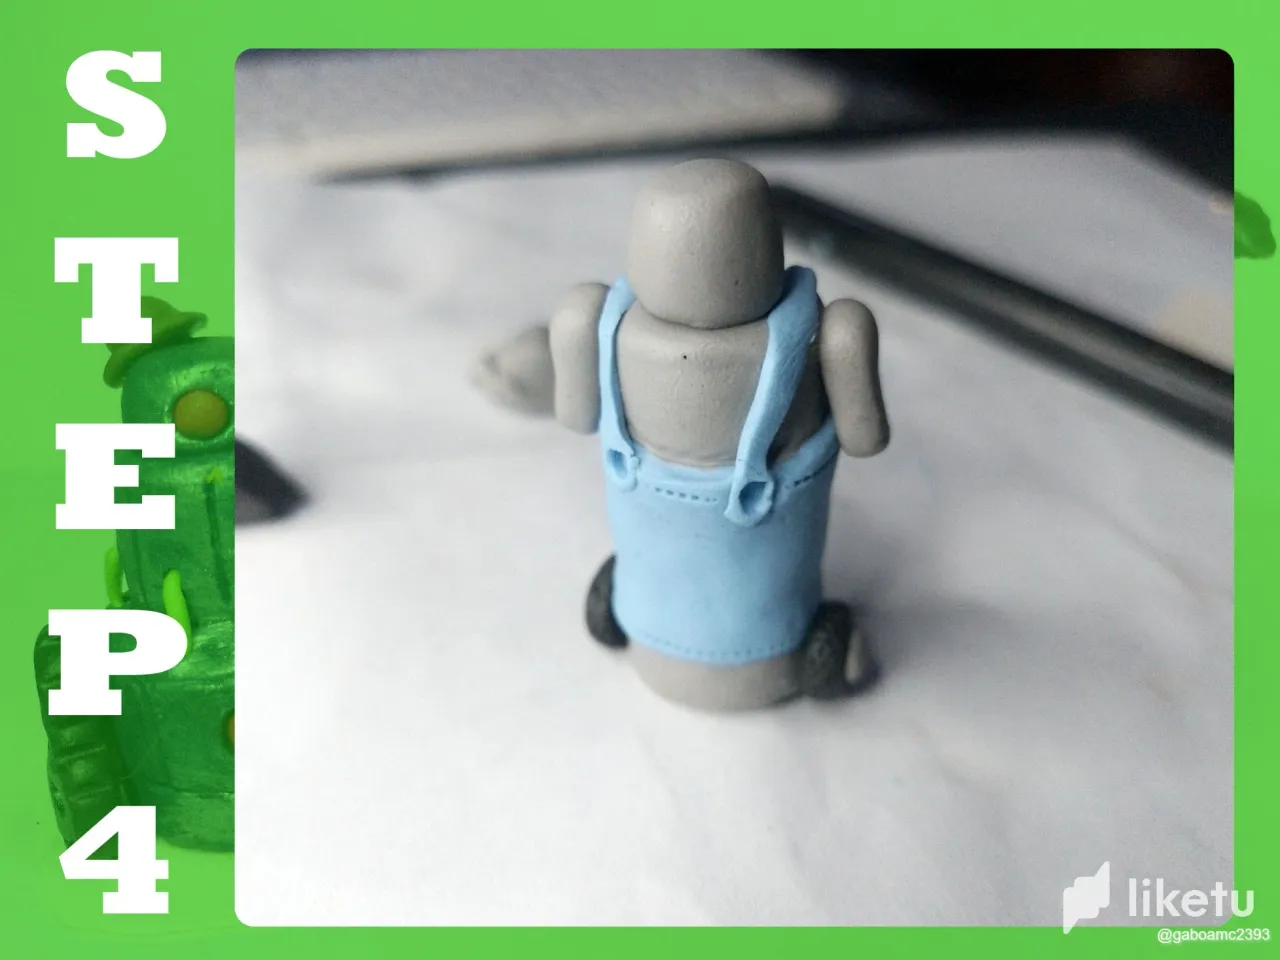
En el cuarto paso le agregué la cabeza, un cilindro mucho más pequeño. También le agregué los brazos y las ruedas, con las cuales se puede movilizar el personaje.
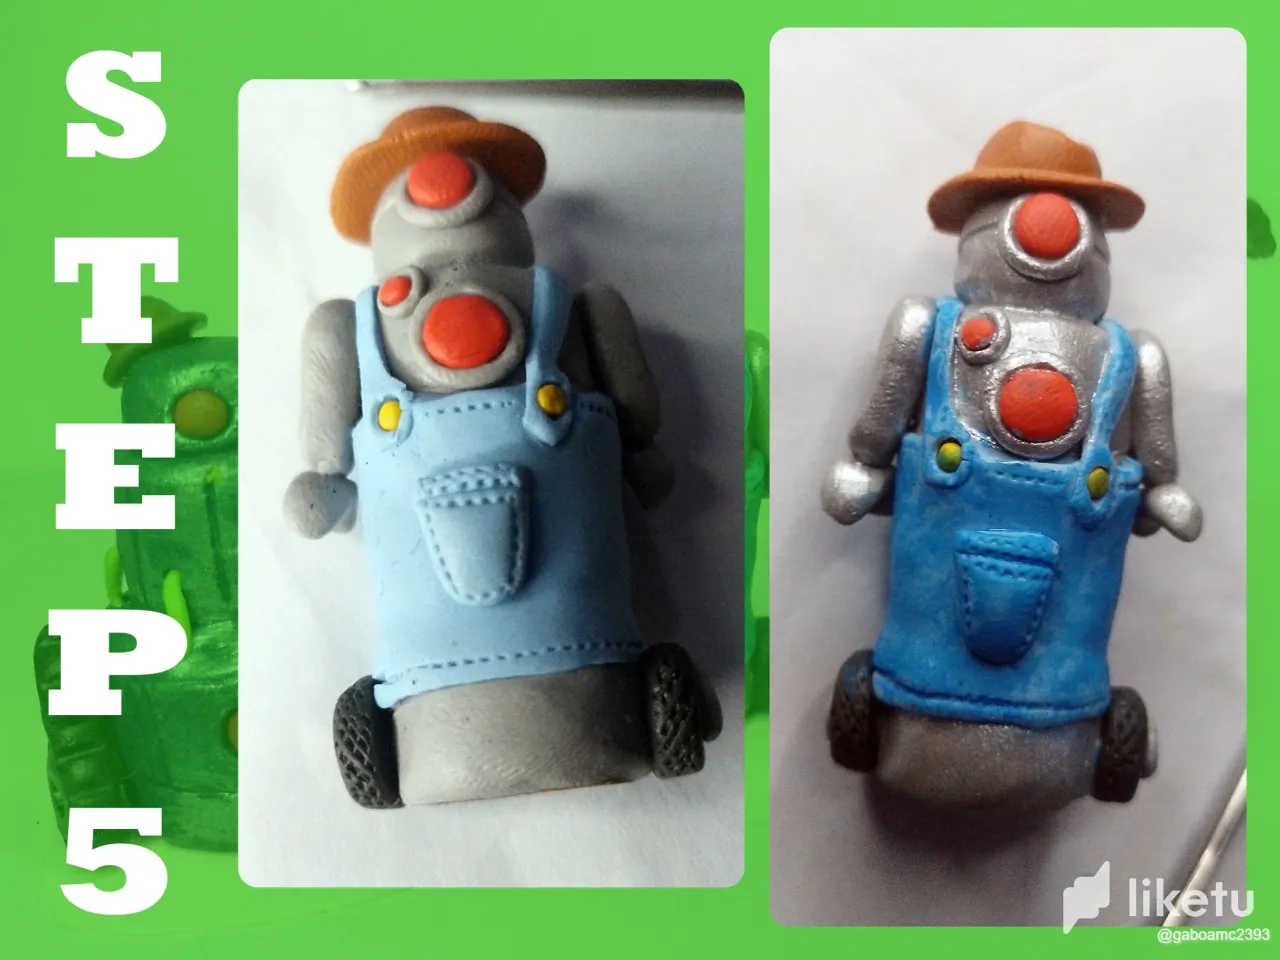
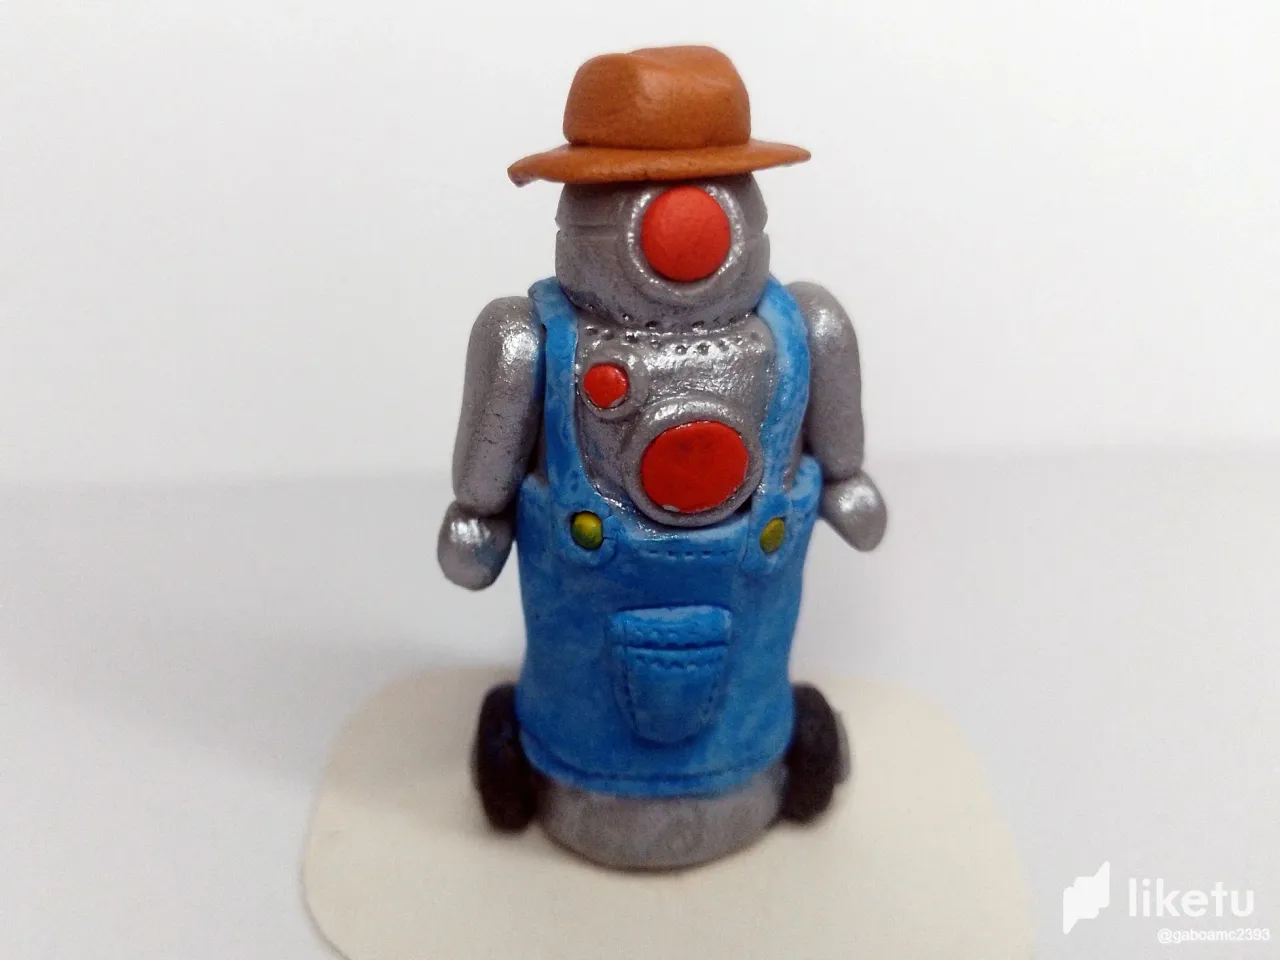
Lo último que hice en el 5to paso fue agregar los focos rojos que el personaje tiene en el pecho y en la cabeza. Tiene dos en el pecho, uno grande y uno mucho más pequeño. El de la cabeza es similar al del pecho, pero un poco más pequeño.
Por otra parte, también le hice el sombrero, se lo coloqué en su lugar y finalmente le agregué una delgada capa de pintura plateada.
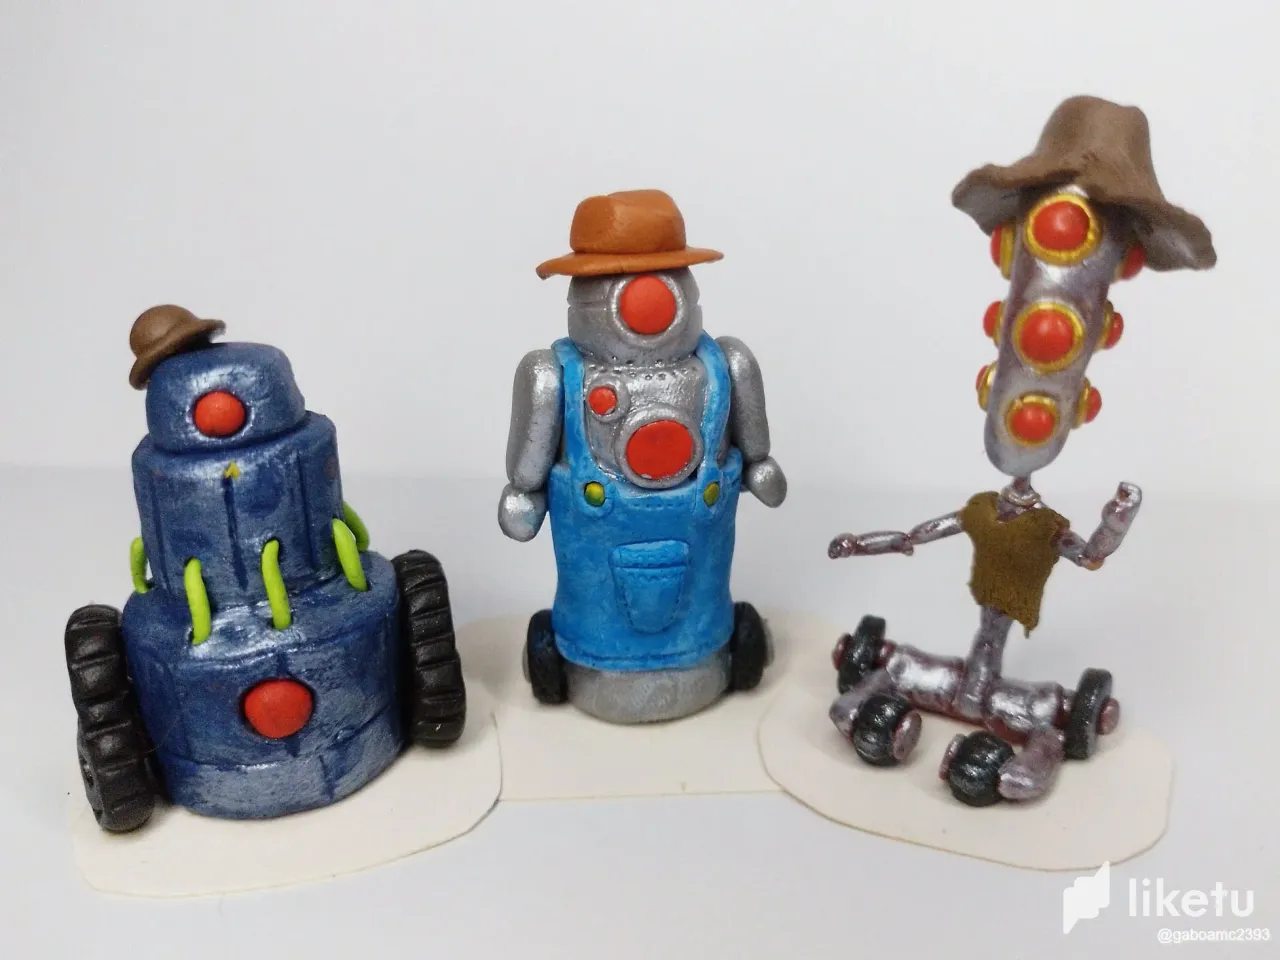
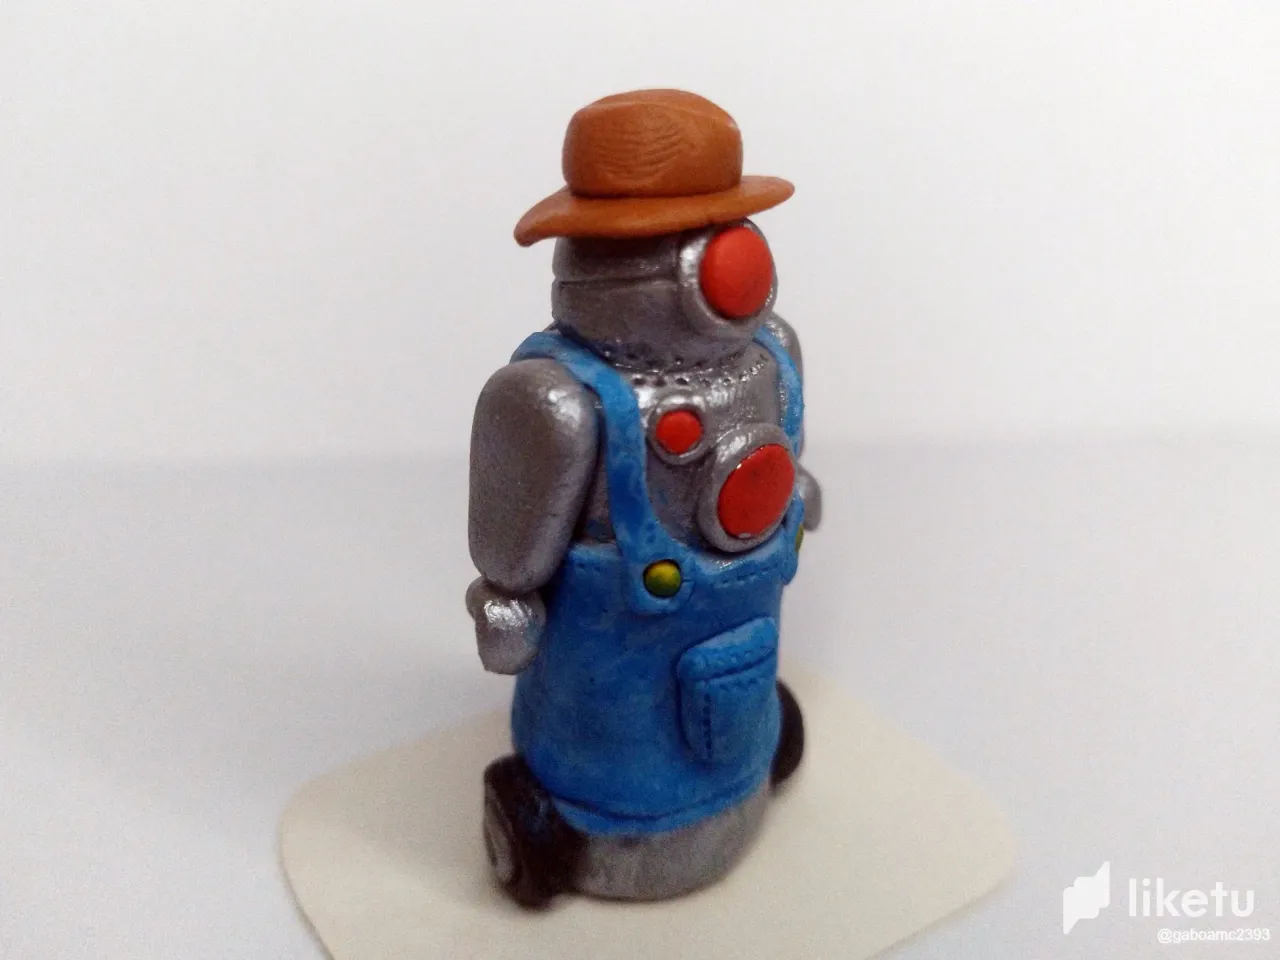
De esta manera la figurita quedó terminada. Pueden ver incluso una fotografía de los tres personajes que he hecho para el reto.
Los invito a dejar sus opiniones sobre esta genial publicación abajo en los comentarios. En este tipo de trabajo siempre es bueno leer lo que los compañeros piensan de lo que se hace, así que estaré encantado de leerlos.
Agradezco que se tomaran el tiempo de visitar mi publicación. Sin más que agregar, me despido entonces...
¡Hasta la próxima!
English
Greetings friends of HiveNFTGameLatino. As you well know, for some time now I have been participating in the weekly challenge of Hashkings share your art.
You can read more about this challenge by following this link:
@hivenftgamela/reto-semanal-hashkings-comparte-tu-arte-the-heavy-johnny-100000-buds-esen
Although the last challenge, the third in which I participate, is over, I didn't want to miss the opportunity to continue expanding my collection of figurines inspired by these curious Hashkings characters.
This time we had to make an artwork inspired by The Heavy Johnny, a very interesting avatar that I wanted to make as close as possible to the character.
In the pictures that accompany the publication you can see the creative process of such a nice sculpture I made.
Step By Step
In step 1 I made the skeleton or support for the figure. In this case, because of the shape of the character, I made a cardboard cylinder and a square piece of cardboard, with rounded edges, for the base.
In step 2 I covered the cardboard cylinder with gray plasticine, this would be the base color of the sculpture, as it is a robot so gray is perfect for it.
With this material I covered the entire cylinder, or at least most of the top and bottom edges. Then I cut a piece of blue plasticine in the shape of an elongated rectangle.In step 3 I covered the central part of the cylinder with the blue rectangle. This would be a sort of panty for the character, so I also made her suspenders and snaps, both in the front and in the back.
In step 4 I added the head, a much smaller cylinder. I also added the arms and the wheels, with which the character can be moved.
The last thing I did in step 5 was to add the red bulbs that the character has on his chest and head. He has two on his chest, a big one and a much smaller one. The one on the head is similar to the one on the chest, but a little smaller.
On the other hand, I also made the hat, put it in place and finally added a thin layer of silver paint.
This way the figurine was finished. You can even see a picture of the three characters I made for the challenge.
I invite you to leave your opinions about this cool publication below in the comments. In this kind of work it's always good to read what your peers think about what you do, so I'll be happy to read them.
I appreciate you taking the time to visit my publication. With nothing more to add, I'll take my leave then....
See you next time!