Greetings beautiful Homesteading community. This is my first post here, but I'm sure I'll do more in the future. It is very nice to know that there is a niche where we can access knowledge that is valuable, useful and practical, derived from the experience of other fellow Hivers, and at the same time share part of our knowledge, creating a nice synergy.

My house is very old, it is an inheritance from my maternal family. This house was built in the first decade of the 20th century, that is, it is more than 100 years old. Now, approximately 75% of its structure is made of mud and reeds, for which a technique that in my country is called "bahareque" was used in its construction, which is nothing more than making a structure with strong and long anchored timbers. perpendicular and deep into the ground, to later interweave horizontally, a kind of latticework with reeds similar to bamboo, and then fill those spaces with a mixture of mud, sand and straw; to later make a plaster or frieze that gives uniformity to the wall, while protecting it and preventing harmful insects from getting inside. It is a house with a structure typical of Venezuelan towns, with a long main entrance, like a corridor, which is called a "zaguán", and it is precisely this area that I began to repair (myself) and I have brought the first part of this process to share it with you.
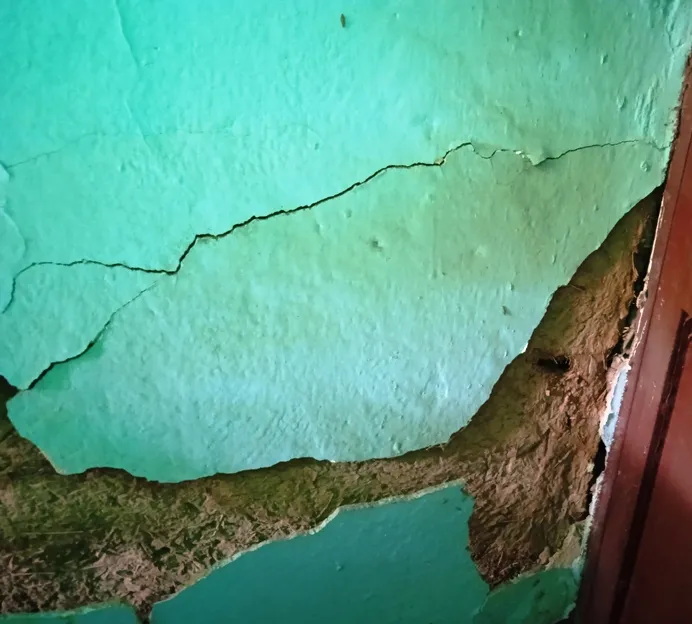
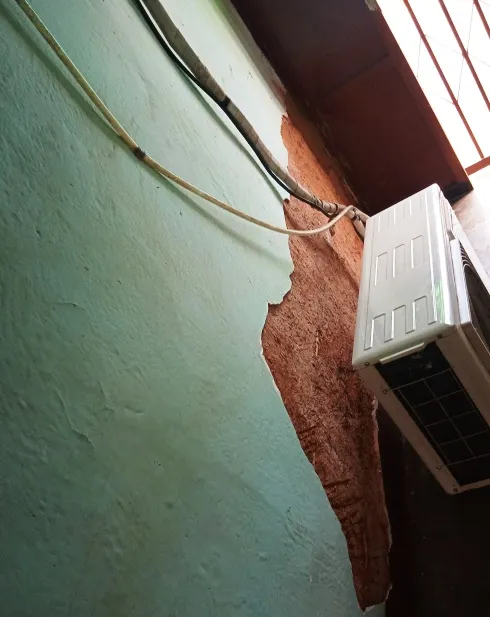
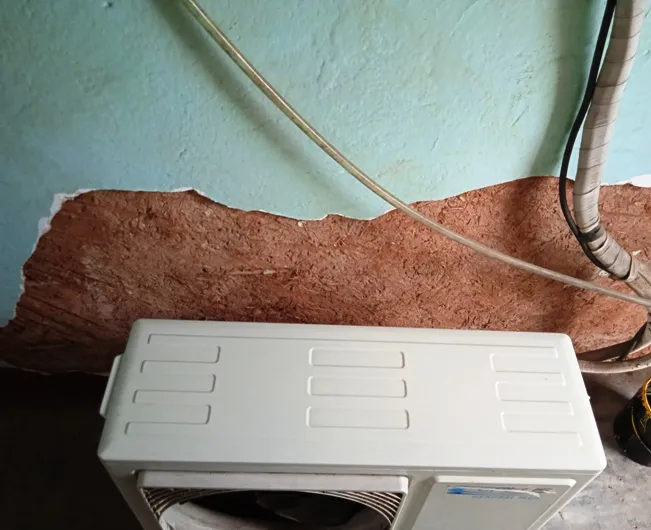
13 years ago I installed an air conditioner in one of the rooms adjacent to this corridor. I did not want to place the air compressor on the roof of the house, but in the corridor area; however, the water that drains from the air console, even though there is always a container where I collect it (this water is very useful for watering my plants), has sometimes been falling on the floor in the corridor, and I think that due to capillarity, the wall has been filtering, deteriorating its coating or frieze, which has become evident in recent months, so I decided to fix it.
I made this decision, because I looked for a mason, who demanded that the air compressor be moved in order to work comfortably. Moving this equipment implies an extra expense, both for the labor of the technician, and for the gas that is required to be recharged in the air conditioning. Maybe I could have had a second opinion, but I didn't want to look any further, so I figured if the house was built over a century ago and had been well maintained, I could repair it, since the mud that was used to build it was extracted from the lot of my house. My husband did not like the idea very much, and he told me that he would repair the wall, but it seemed like a fun and satisfying thing to do, so I told him that I would do it, and that if I needed his help, I would say in due course.
So I got down to work, and the first thing I did was watch some tutorials on YouTube on how to repair the frieze on the mud walls. I saw several, until I concluded that I would make my own mix and that's what I did.
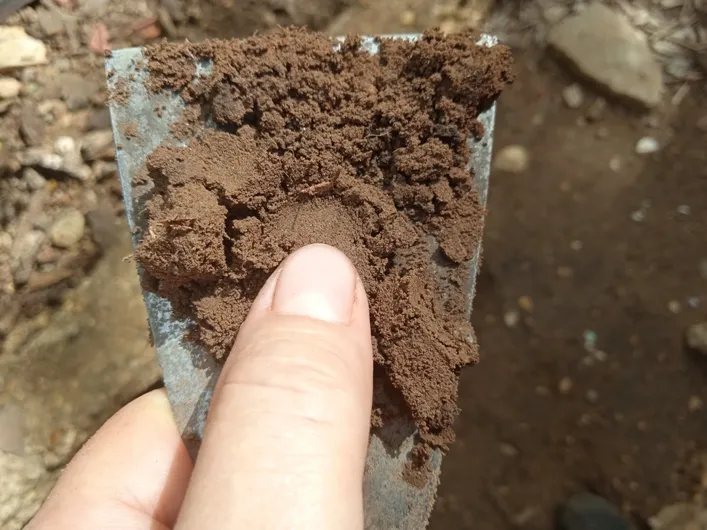
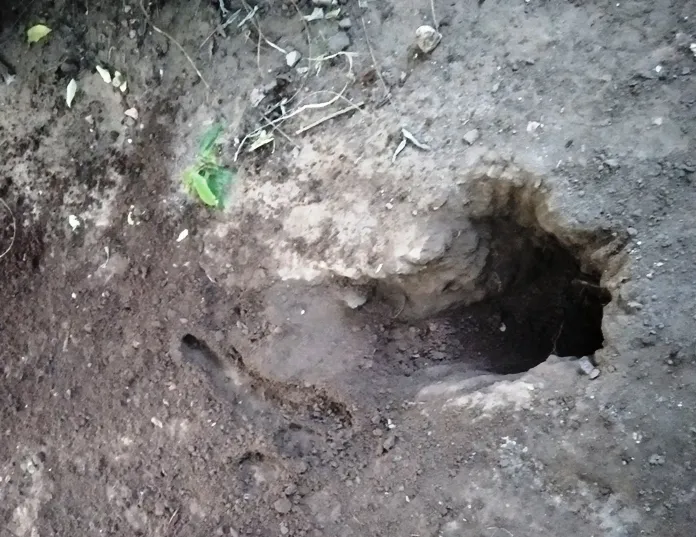
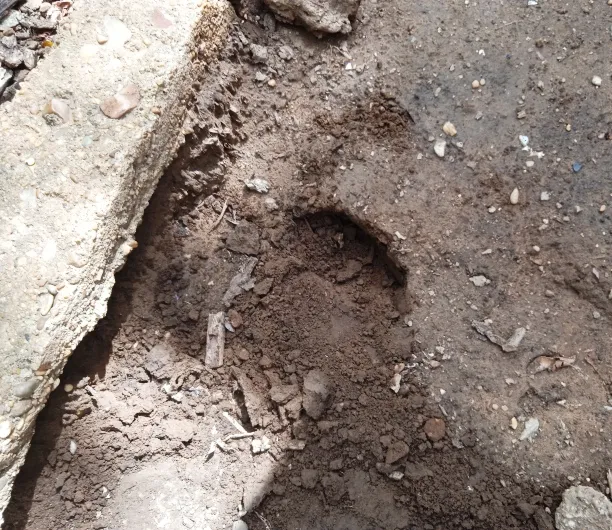
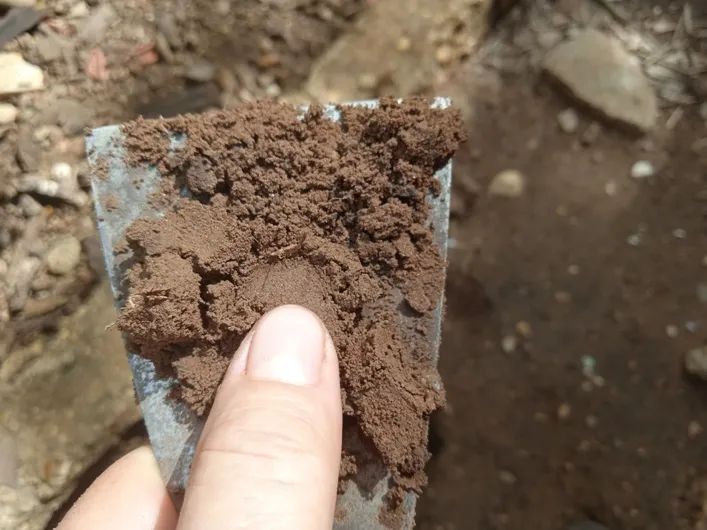
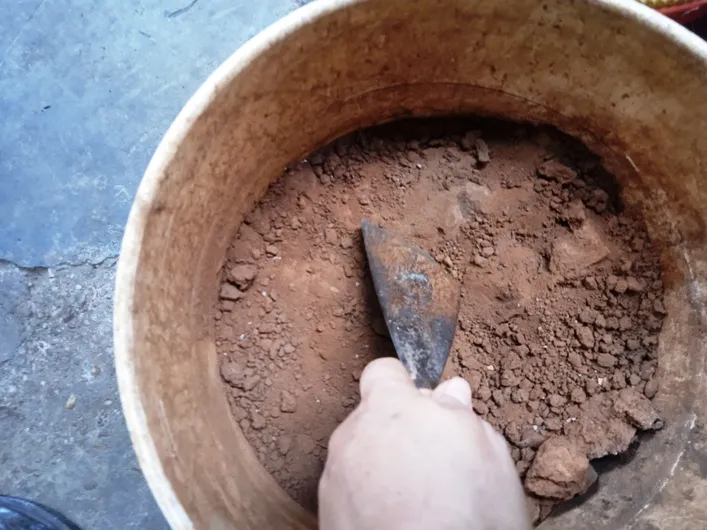
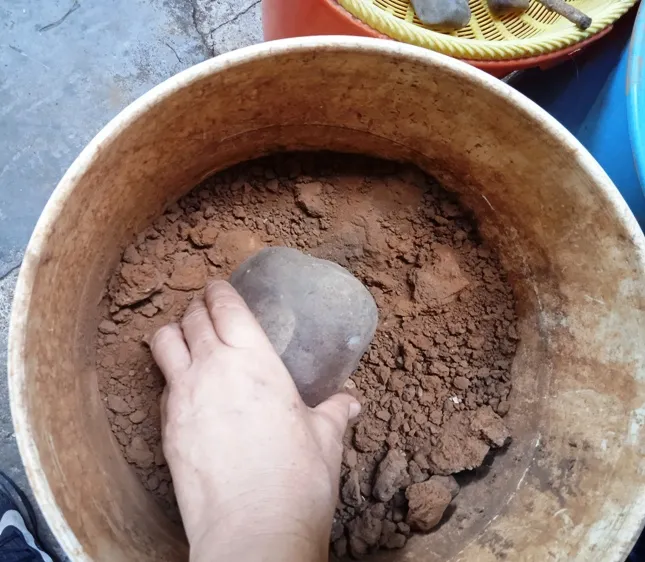
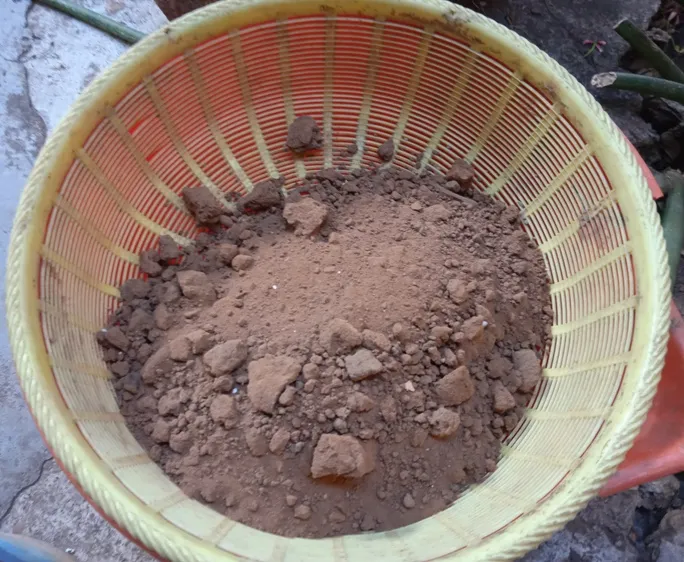
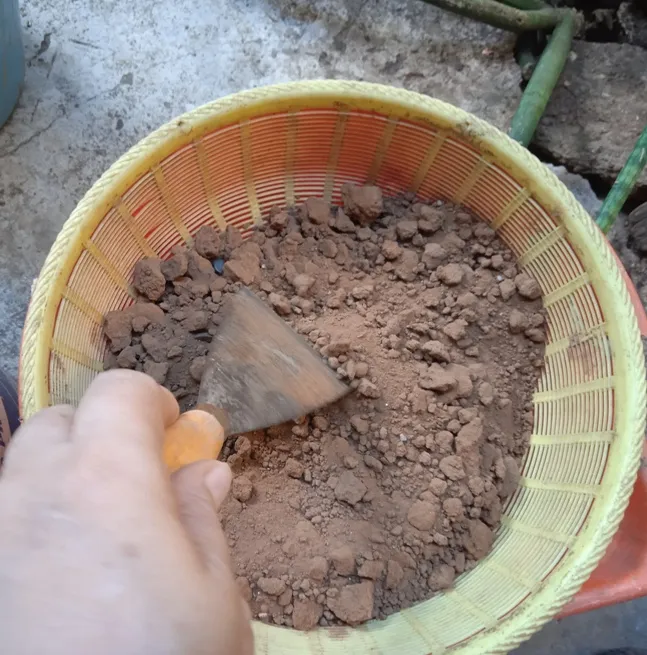
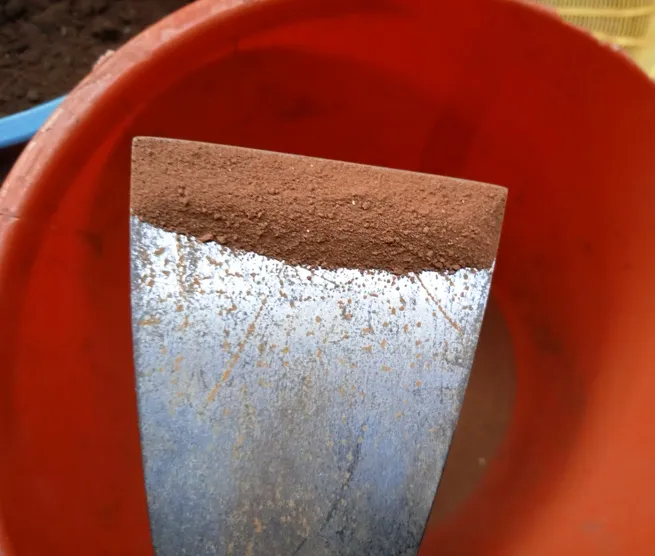
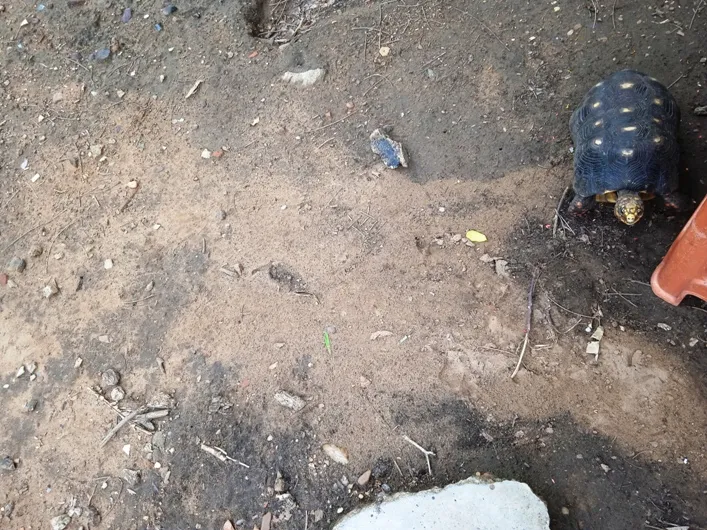
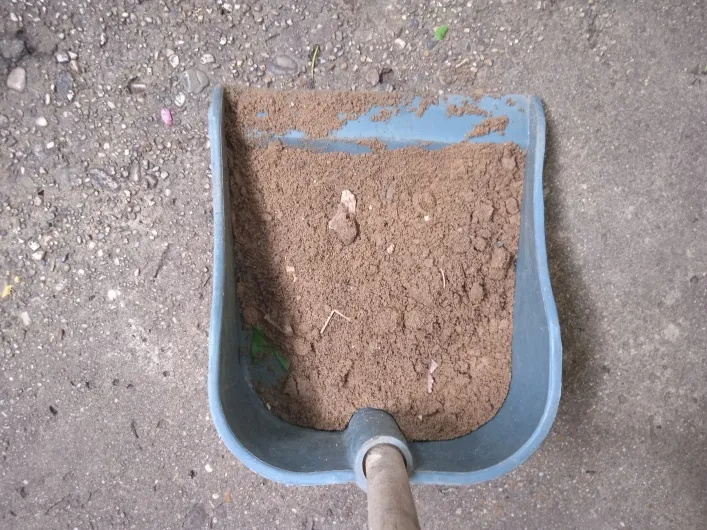
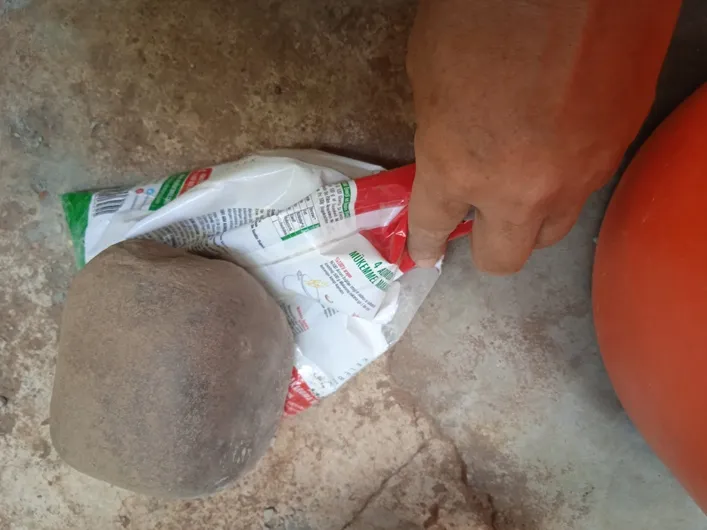
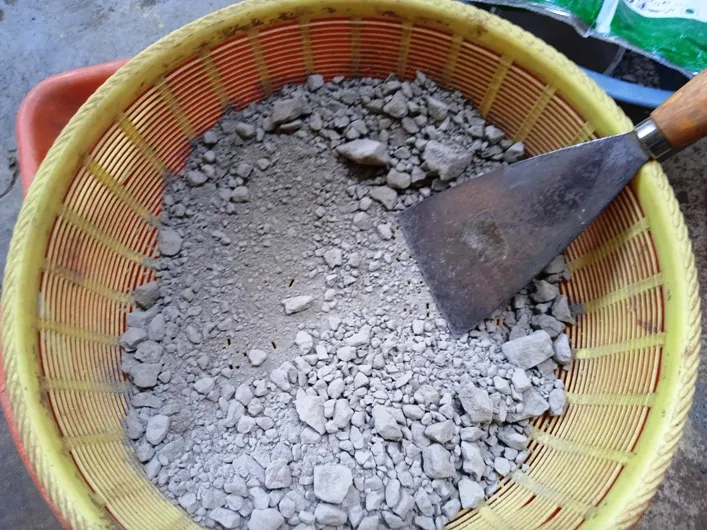
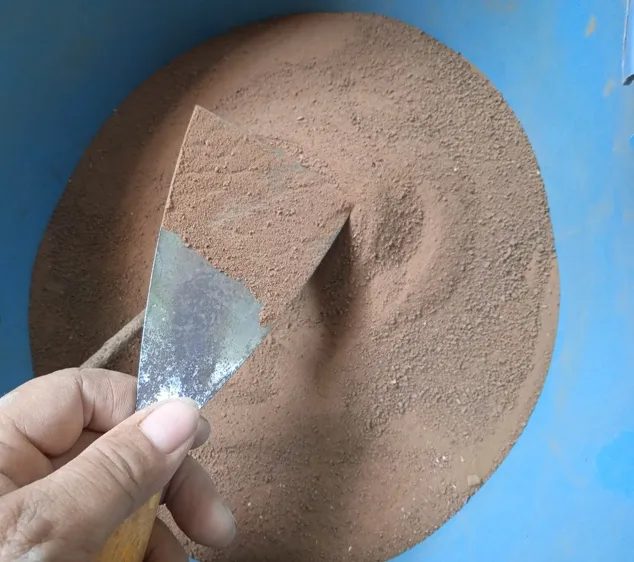
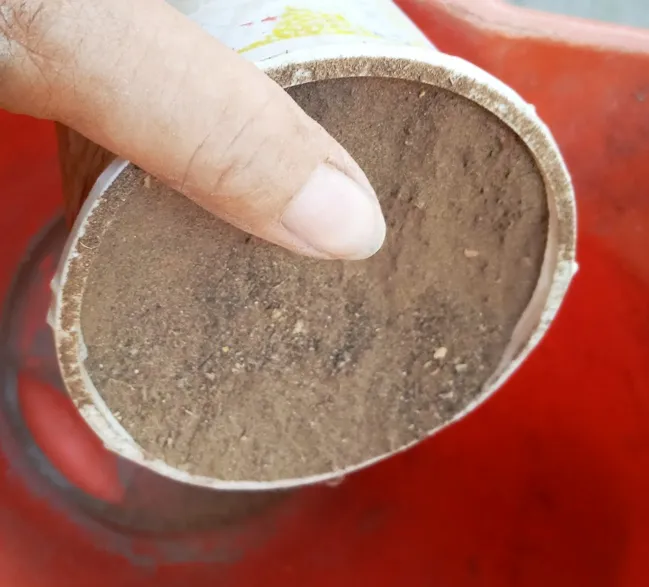
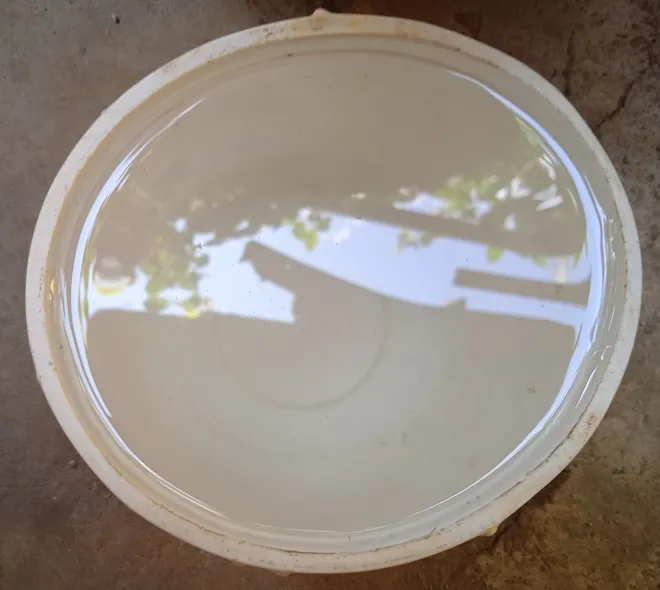
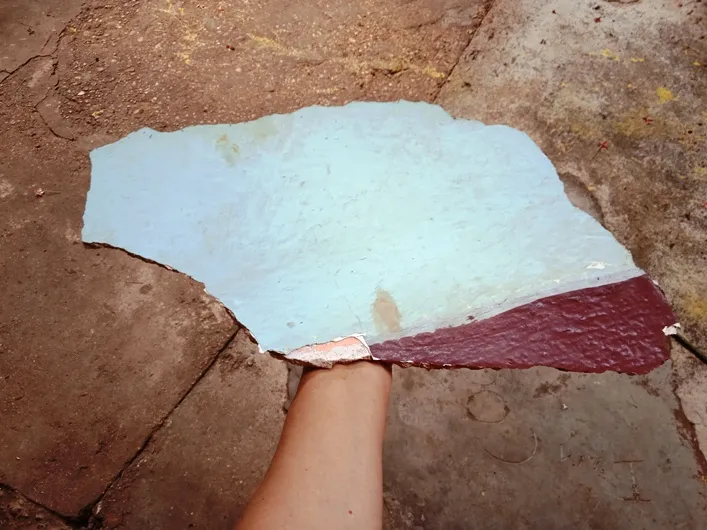
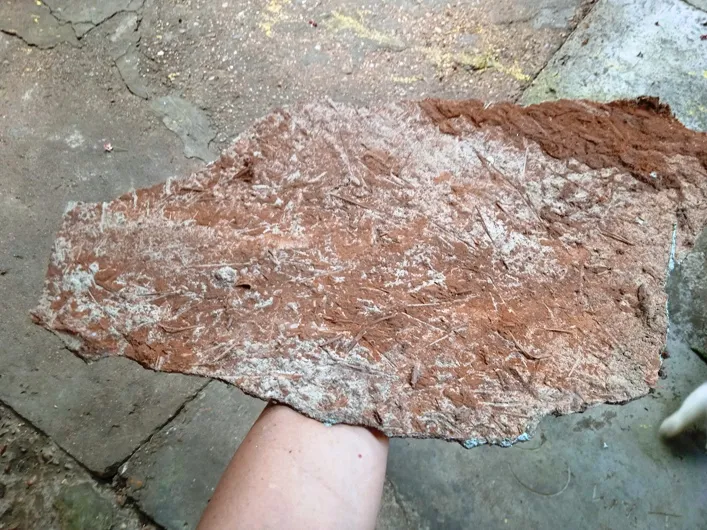
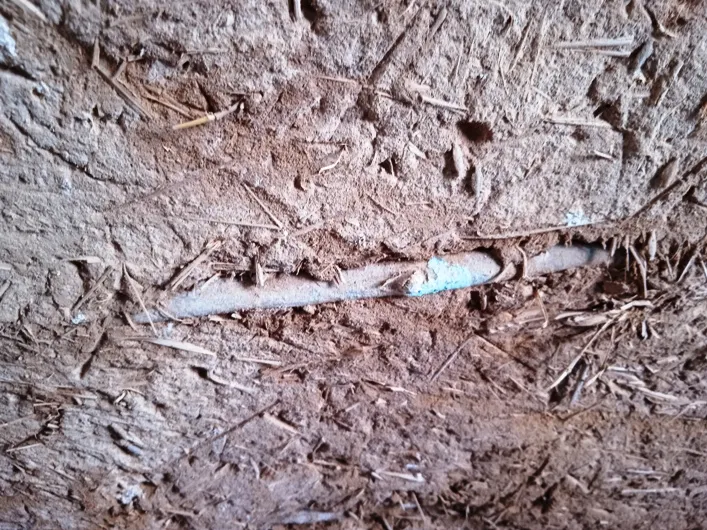
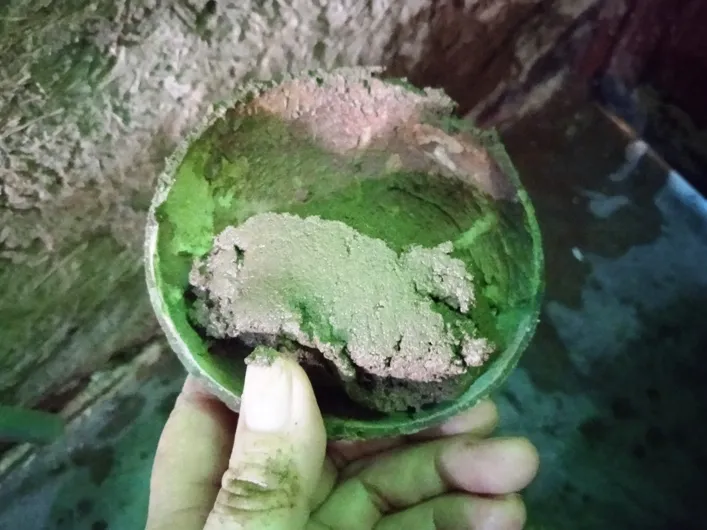
To create my mixture, I took a red earth that I had collected last year 2022, with the idea of building a clay oven, which would serve me to cook and also bake my clay pieces. I extracted this earth from a hole more than 30 centimeters deep, which my dogs had dug in the lot, when the earth was wet and loose, (you can see a photo of a hole similar to the one they opened last year). Let us remember that this type of material is obtained in the deepest layers of the soil. I collected about 40 kilos of this beautiful red clay soil and stored it in a plastic bucket. As it was already dry and caked, I proceeded to grind it with a stone and then sift it, obtaining a fine red powder. The photo on the cover and others that I share with you below, is of a land with similar characteristics to this clay, which I have shared so that you have an idea of what it looks like and how it can be collected.

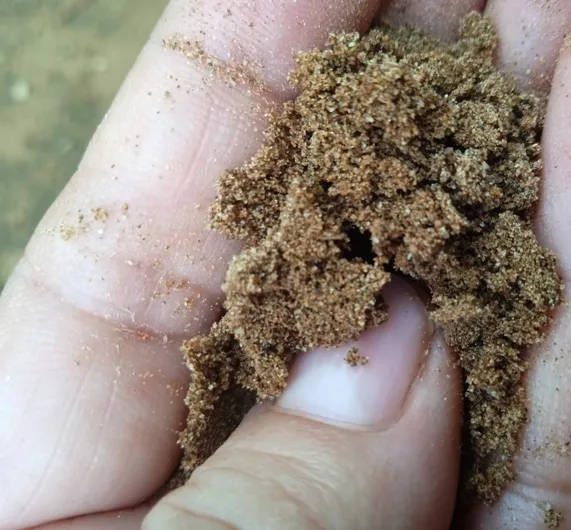
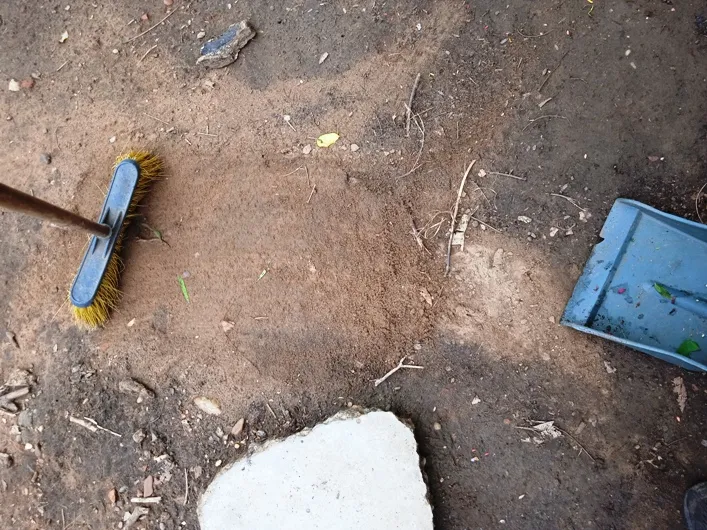
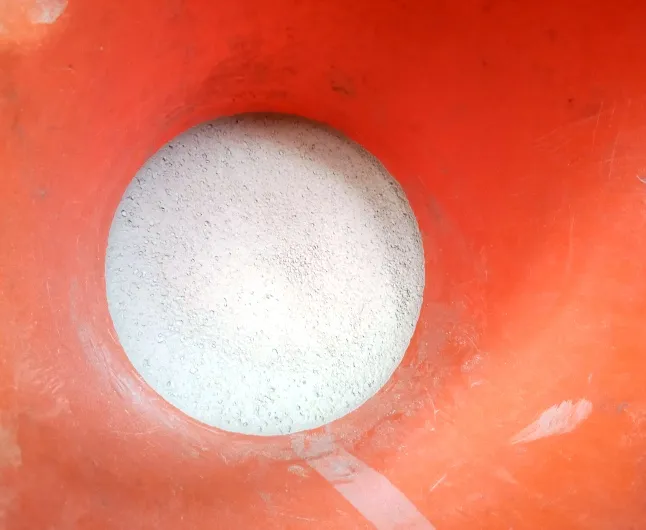
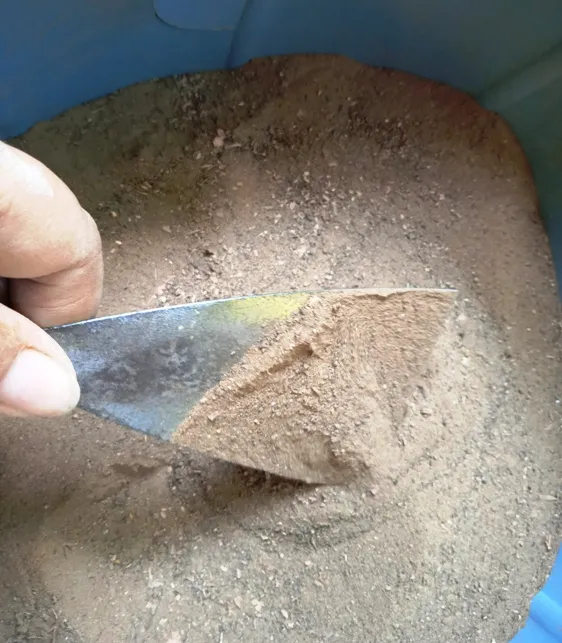
The next thing I did was collect sand from my lot, and something is happening: In my yard there are areas that have a lot of organic matter, black earth with earthworms, with a forest smell, but there is an area that is very sandy. In that area it is easy to collect sand by simply sweeping with a broom and using a shovel. Then what you have to do is sift this material and you get a good quality sand.
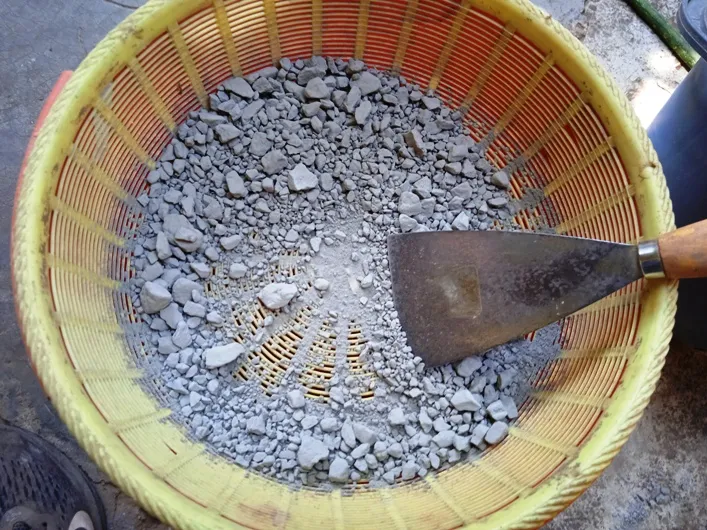
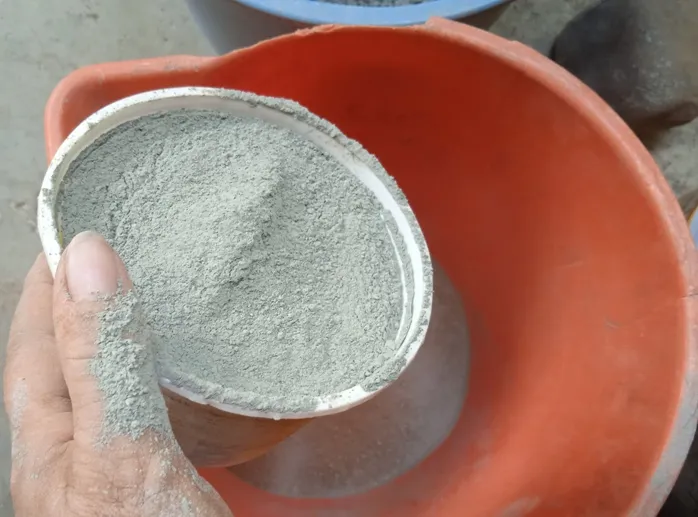
To complete my mix, I took some cement left over from a previous repair. Unfortunately it was very hard and caked but that didn't stop me from using it as I also ground and sieved it into a fine powder of construction cement.
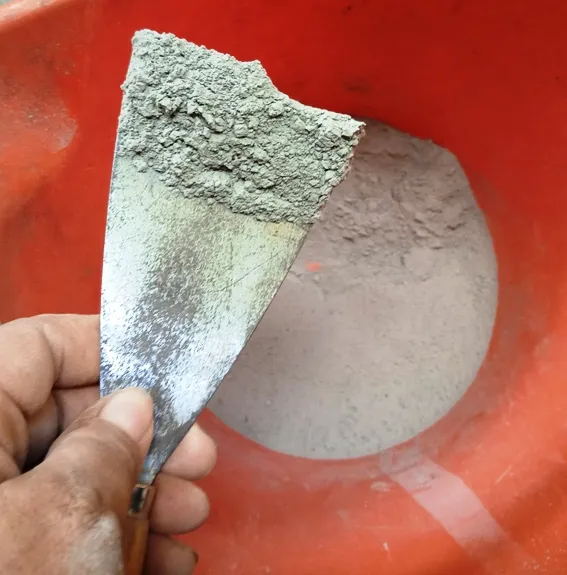
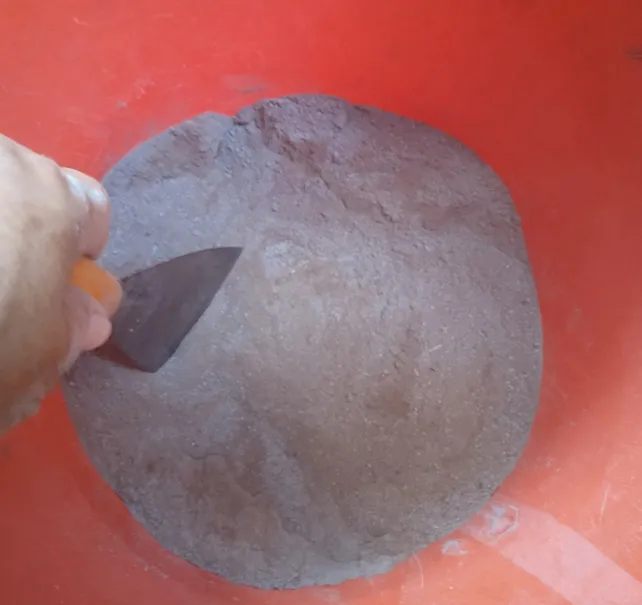
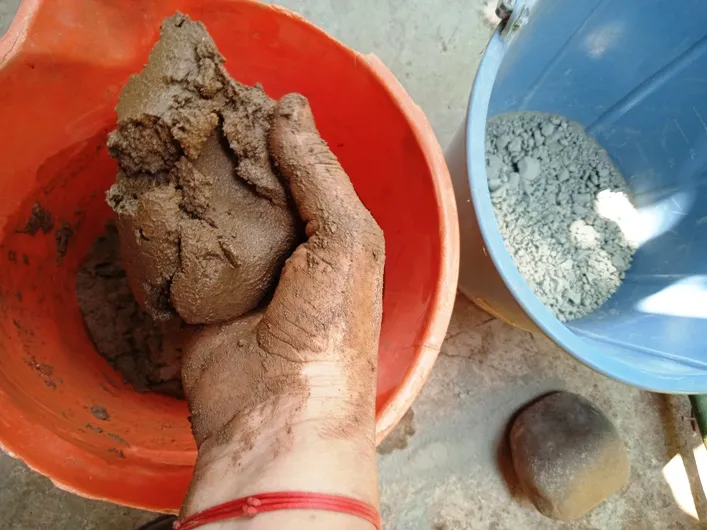
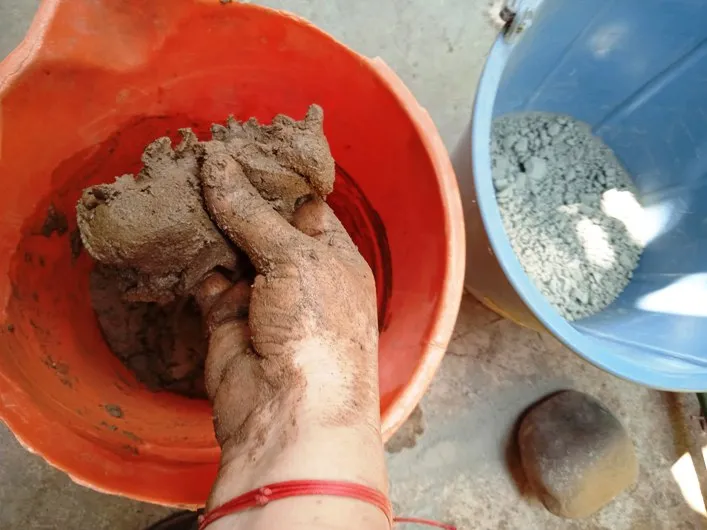
Next, what I did was mix equal parts clayey soil, sand and cement. I tried to mix well so the materials would evenly distribute. To this I added another part of water, but in less quantity, 20% less. I gradually added the water, until I obtained a soft and elastic paste, similar to the clay I use to make pieces or figures. In this mix I omitted the use of dry straw or some vegetable material, because it is a covering, it is not the internal part of the wall.
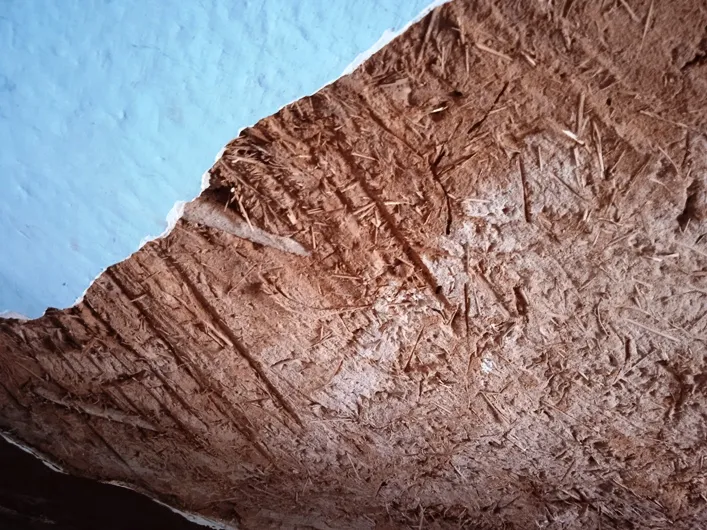
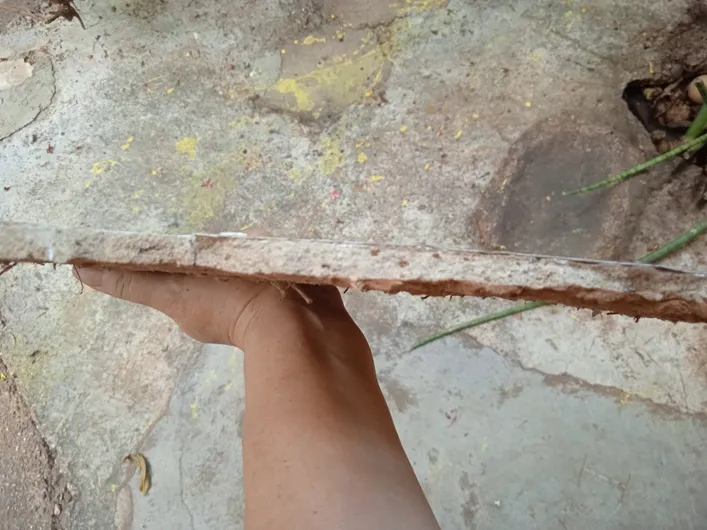
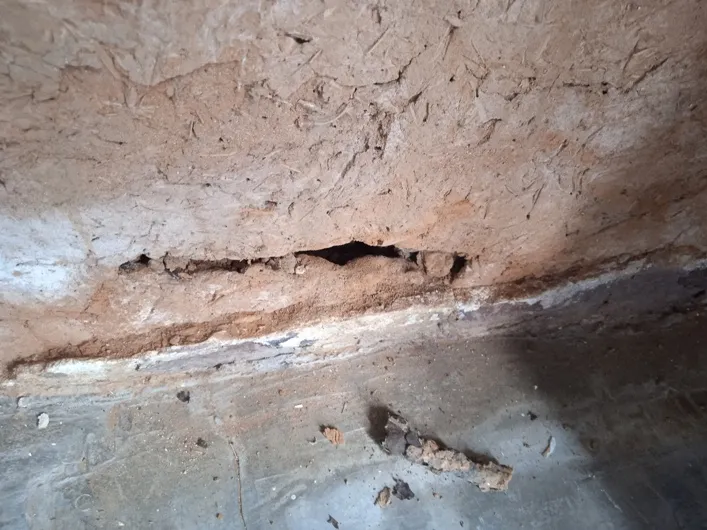
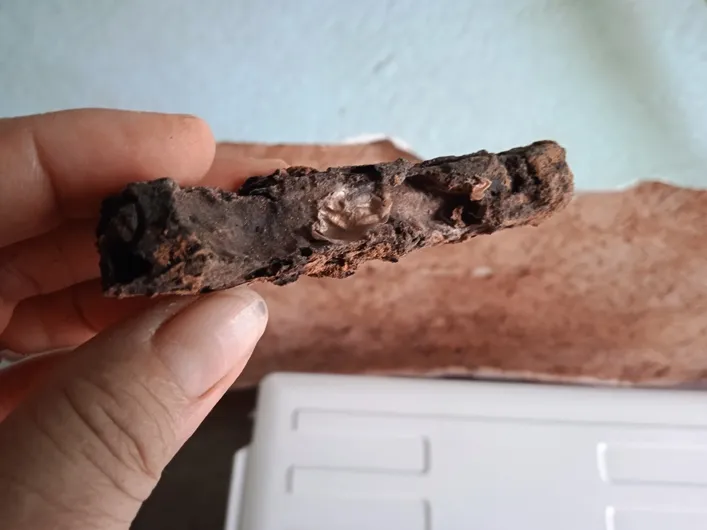
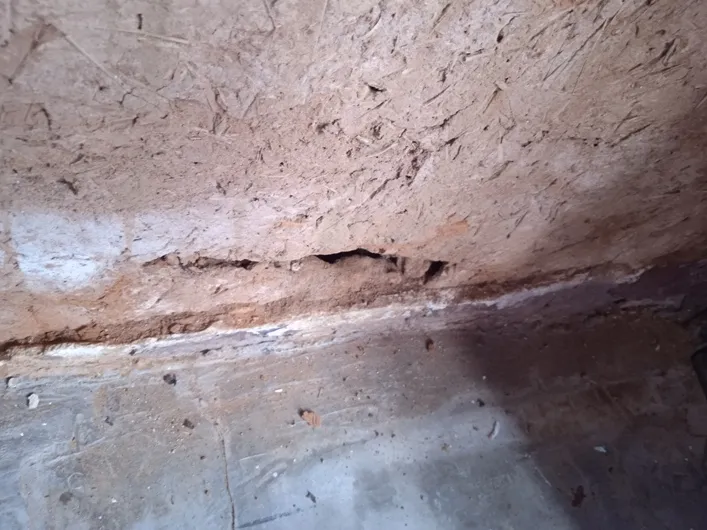
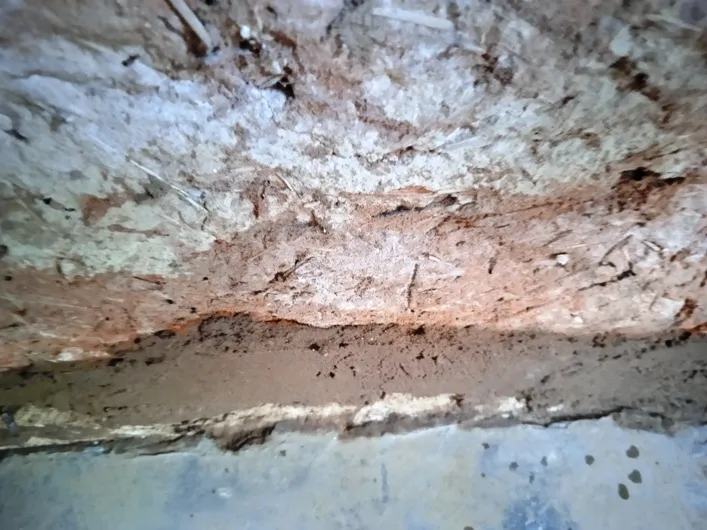
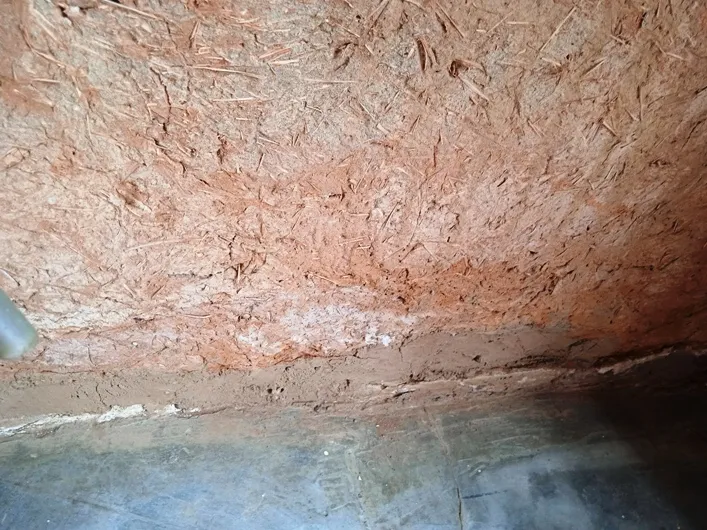
I then removed the damaged coating. It is surprising to see that this very old wall does not have any metal mesh to support it, everything is wood, mud, straw, lianas and reeds. The thickness of the frieze is also notable, which, although it is irregular, is on average more than one centimeter. When the wall was left bare, I could see that there is damage to the base, that even one of the reeds rotted, which confirms that the damage was caused by the water that the air conditioning expels.
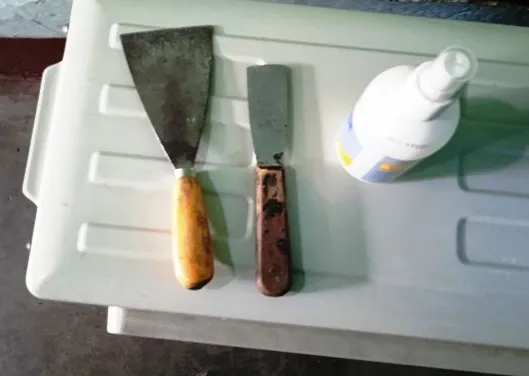
To work properly, very few tools are required: some masonry spatulas and a water sprinkler, and most importantly, your hands, you don't have to fear getting your hands dirty. Here the first thing I did was spray the wall that I am going to cover well with water, and this is essential because it is what ensures the adherence of the mixture to the structure, if this provision is not taken, when the mixture dries it will detach from the wall. The next thing to do is to place portions of the mixture with your hands, while they are also smoothed with your hands, and then give them a neater finish with the masonry tools, you can even use a piece of wet foam rubber to give the surface more smoothness. It should be noted that I did the test initially on a small area of the wall, to test the mix and it turned out fine. I must also say that I did not take photos of this process because I was alone at home, and my hands were completely covered in mixture. The test turned out excellent as you can see after several days of applying the frieze.

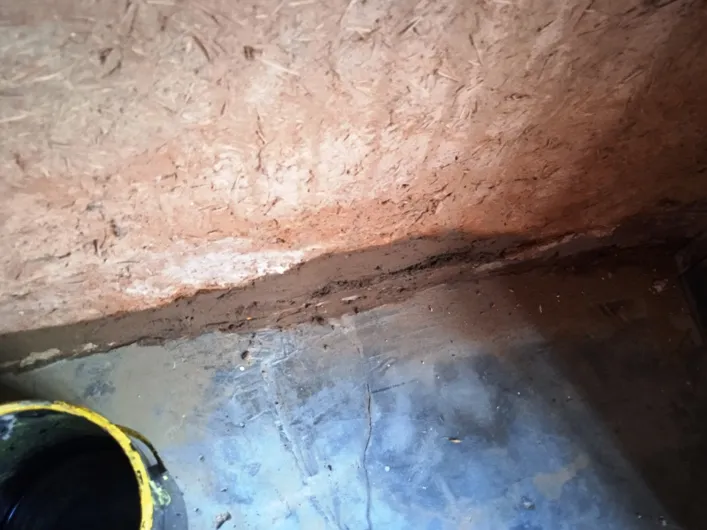
Seeing the significant damage to the base of the wall, I prepared more mix and, although it lacks straw or plant material, I used it to fill in the deep holes that the structure showed at the bottom. Although the holes looked small, I was able to get a lot of mix into them. I let it dry for about two weeks, making sure of the firmness of the repair. And here comes this first part, which I will continue in future posts, because I am repairing the entire hallway, and although the most notorious damage is the area that I showed you, there are other repairs to be made to this area of the house.


 Delegations welcome!