Image designed by me in canva editor.
El día de hoy quiero compartir con contigo una forma práctica sencilla y divertida de elaborar unas hermosas rosas de papel, no son muchos los materiales que necesitas y puedes usar tu creación como regalo de cumpleaños o simplemente para el día de las madres cuando llegue la fecha.
Today I want to share with you a simple and fun practical way to make beautiful paper roses, you don't need many materials and you can use your creation as a birthday gift or simply for Mother's Day when the date arrives.

Materiales
Materials
| Español / English | |
|---|---|
| Pinturas | paints |
| Papel | Paper |
| Pinceles | brushes |
| Pegamento blanco | White glue |
| Tijeras | Scissors |
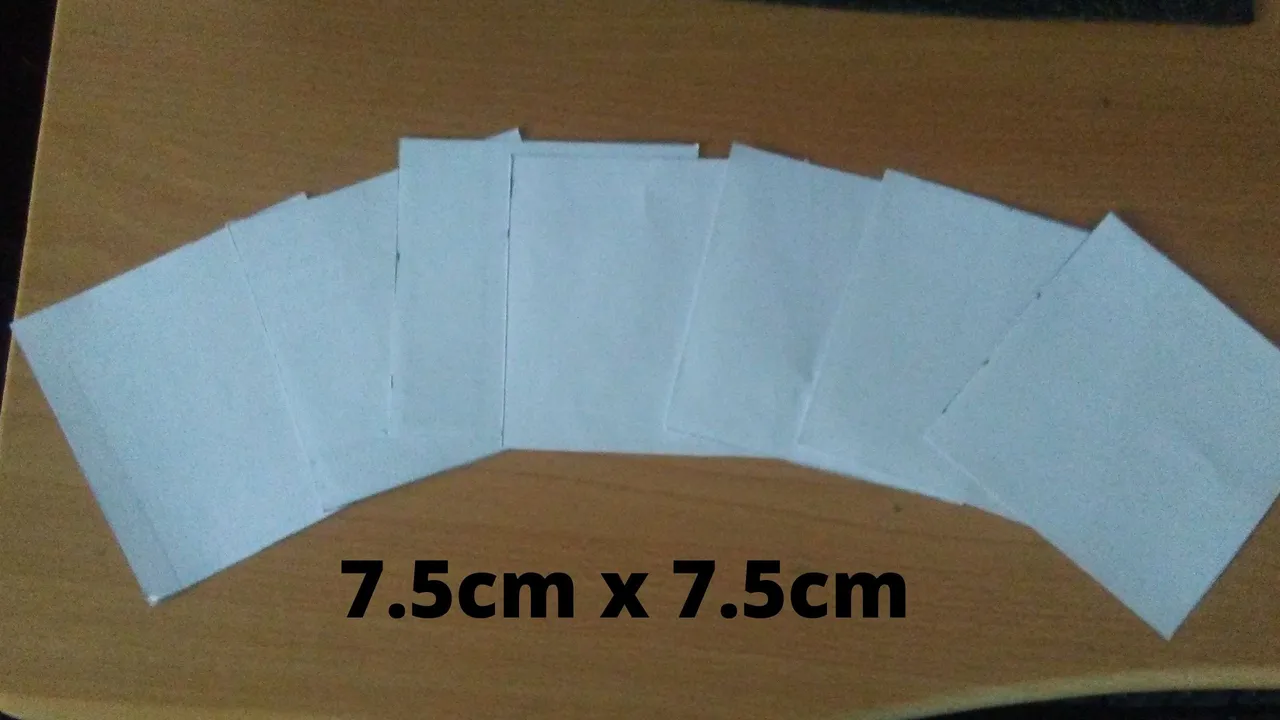
Lo primero que debes hacer es recortar 7 piezas cuadradas de papel de 7.5 cm de ancho por 7.5 cm de largo.
The first thing to do is to cut out 7 square pieces of paper 7.5 cm wide by 7.5 cm long.
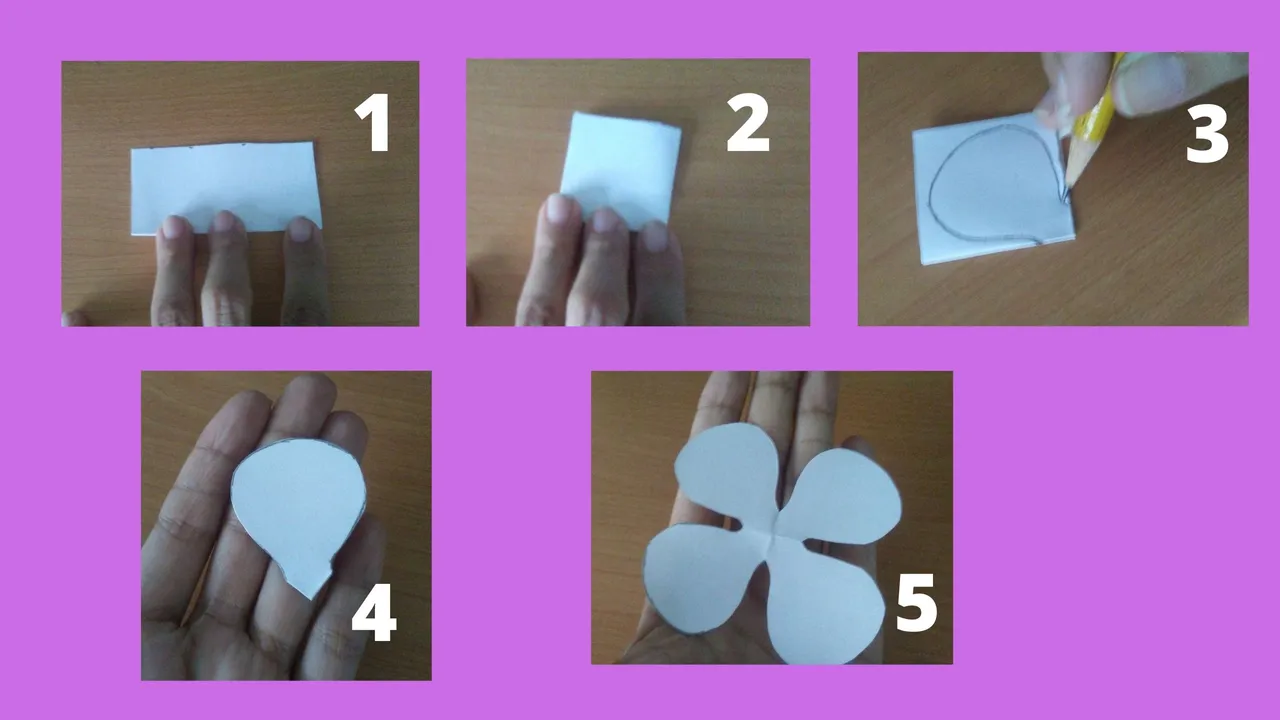
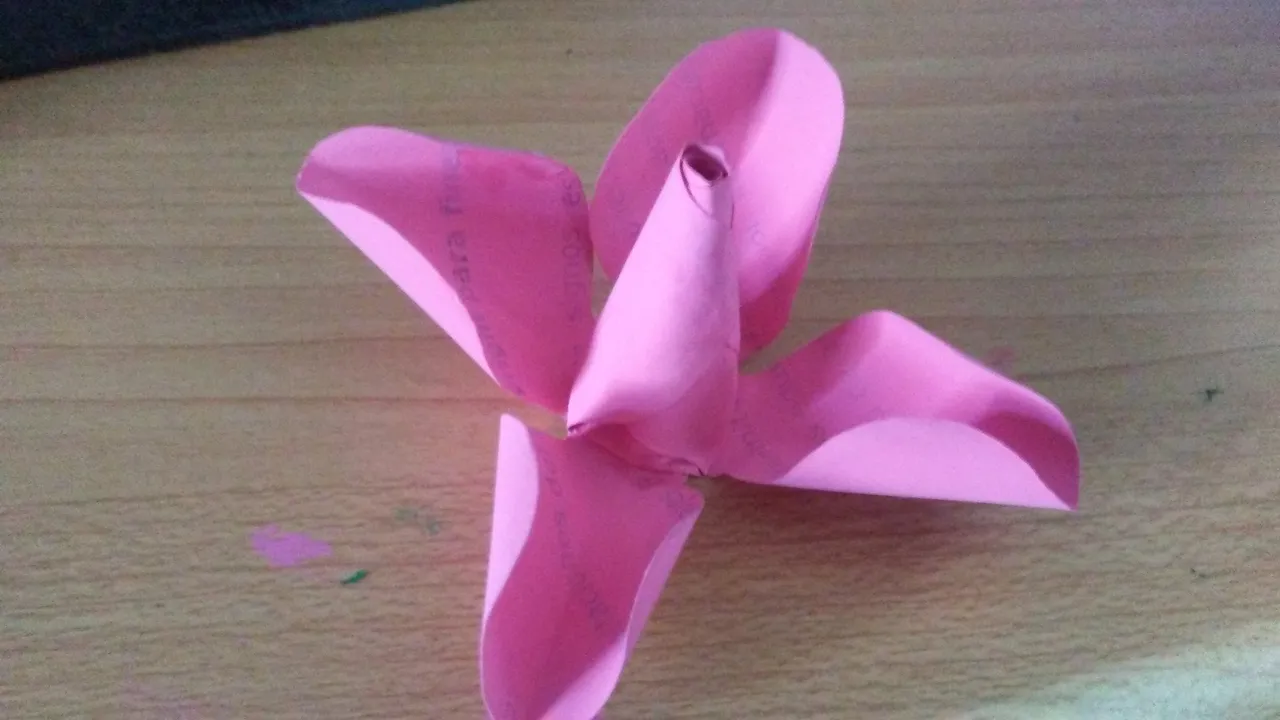
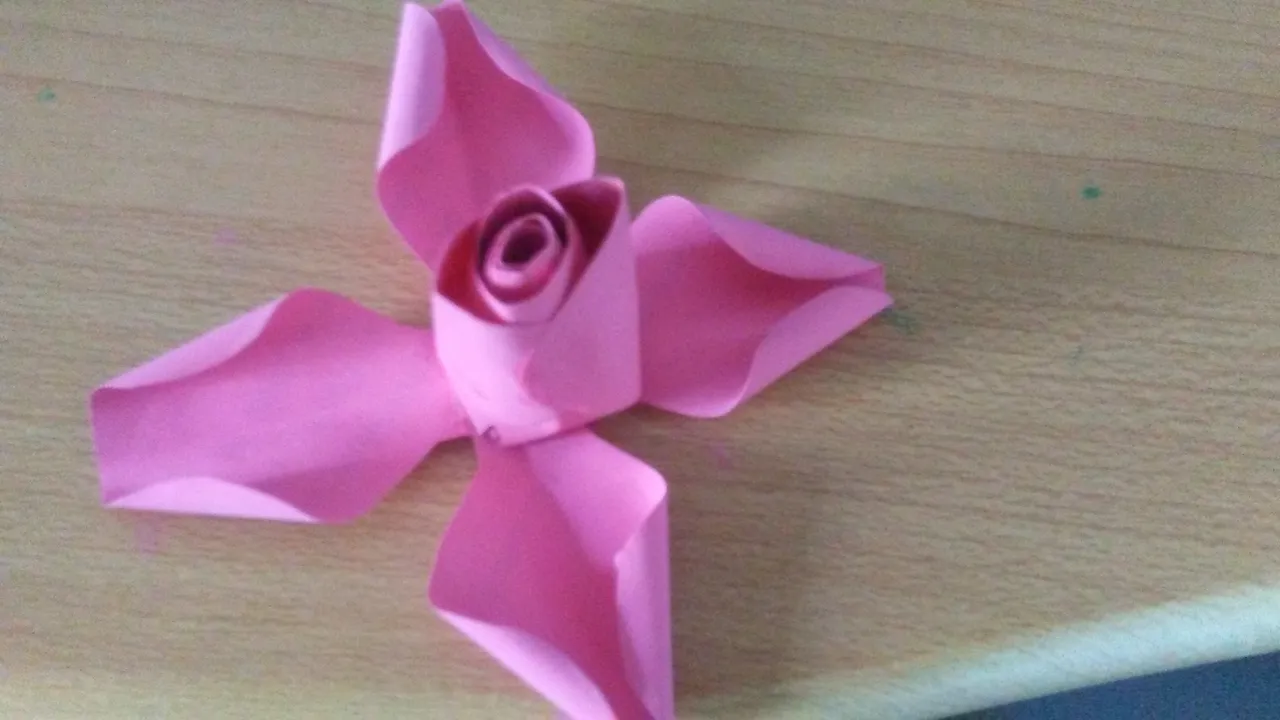
Toma una de las piezas, doblála por la mitad y luego vuelve a doblarla a la mitad (en total debes doblar dos veces hasta obtener un cuadro pequeño) luego dibuja un pétalo como puedes observar en la imagen 3 y luego recorta la figura. Al desplegar obtendrás cuatro pétalos como puedes ver en la imagen 5.
Take one of the pieces, fold it in half and then fold it in half again (in total you have to fold it twice until you get a small square), then draw a petal as you can see in image 3 and then cut out the figure. When unfolded you will get four petals as you can see in picture 5.
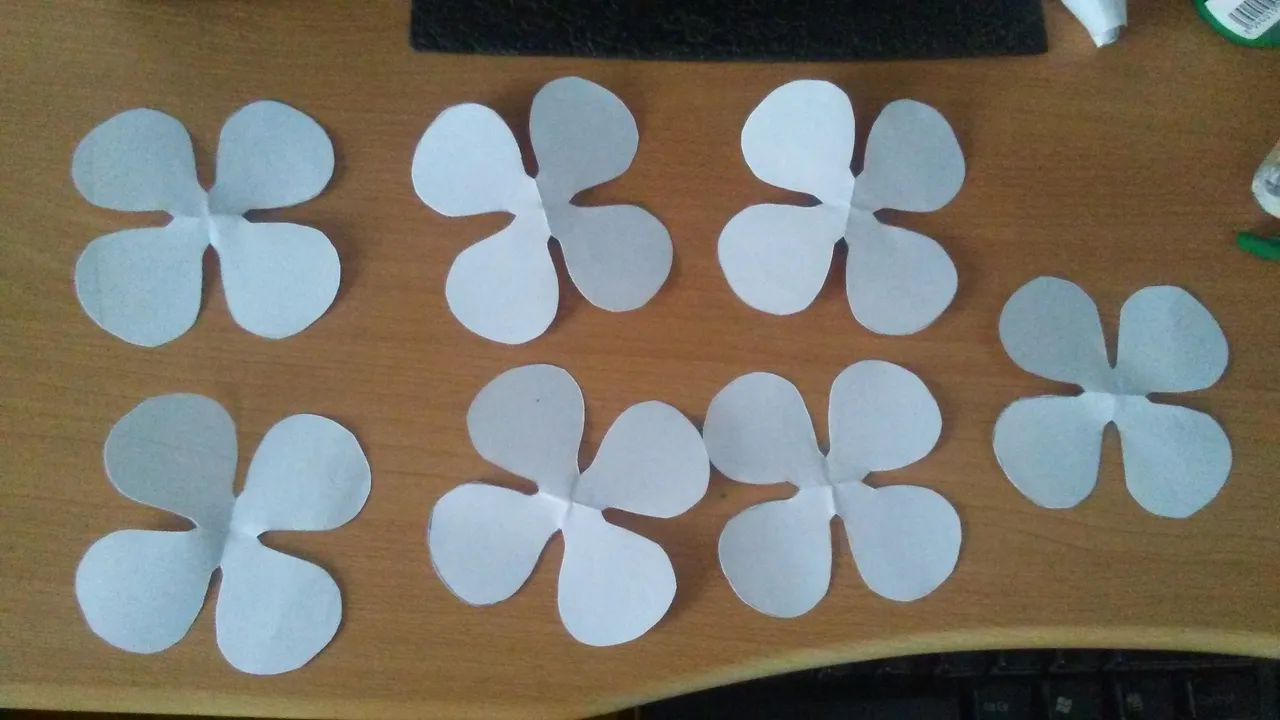
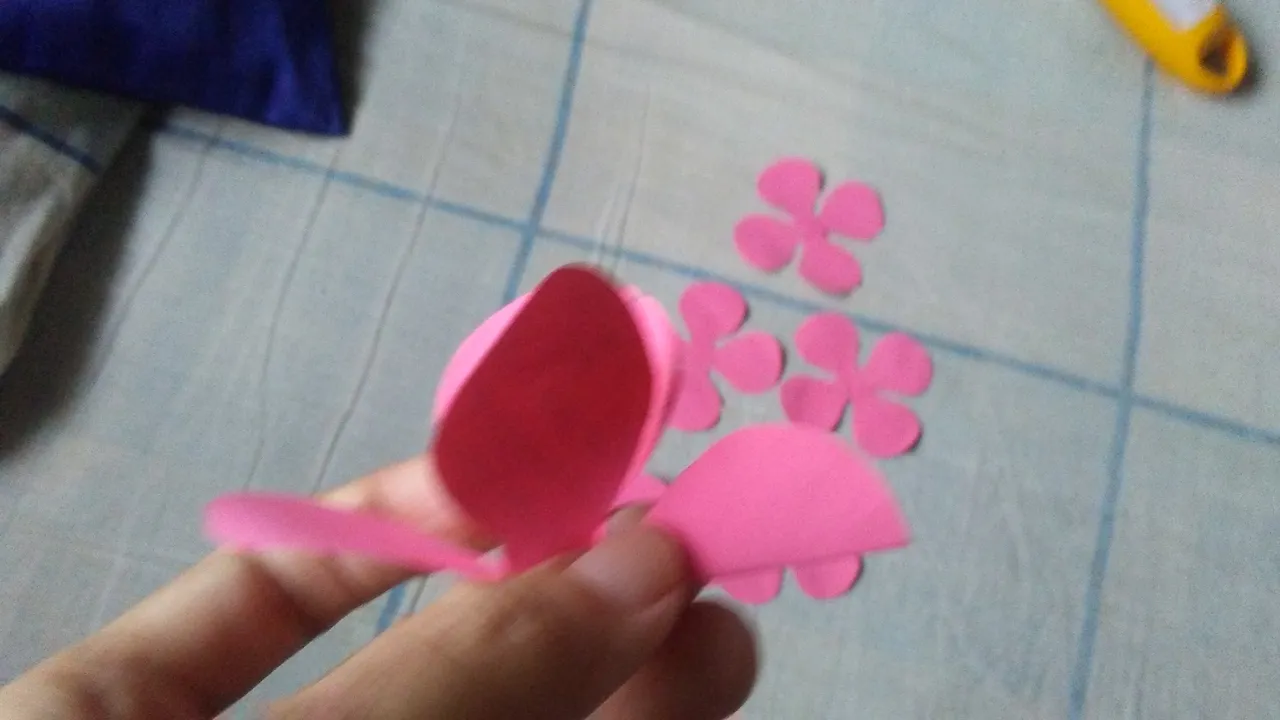
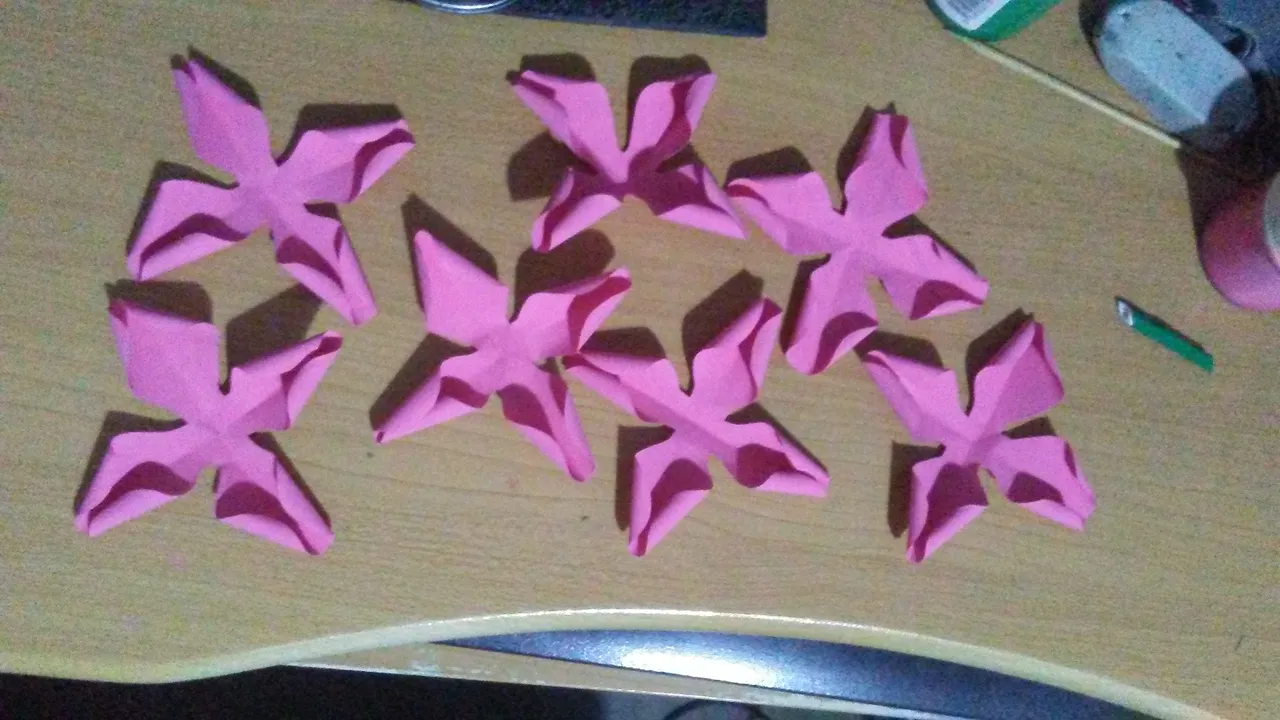
Haz los mismo con las otras seis piezas de papel hasta obtener todos estos pétalos.
Do the same with the other six pieces of paper until you have all these petals.
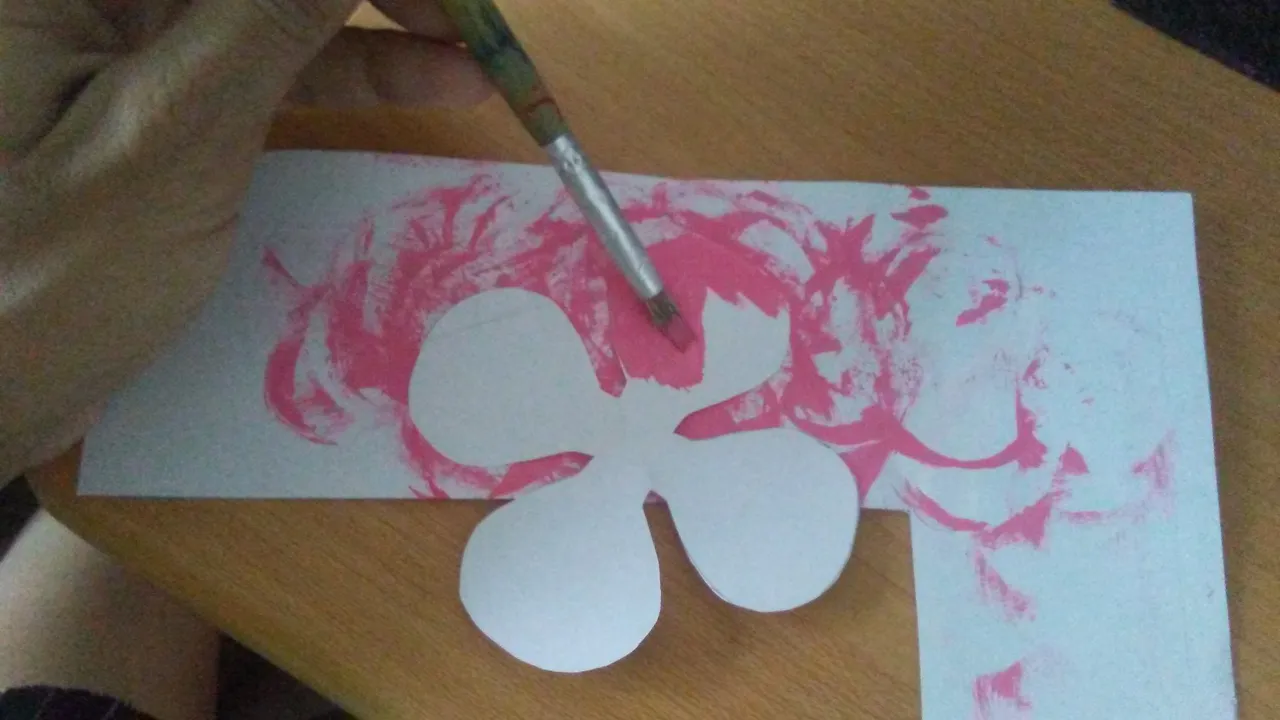
Ahora debes pintar las piezas con el color de tu preferencia.
Now you must paint the pieces with the colour of your choice.

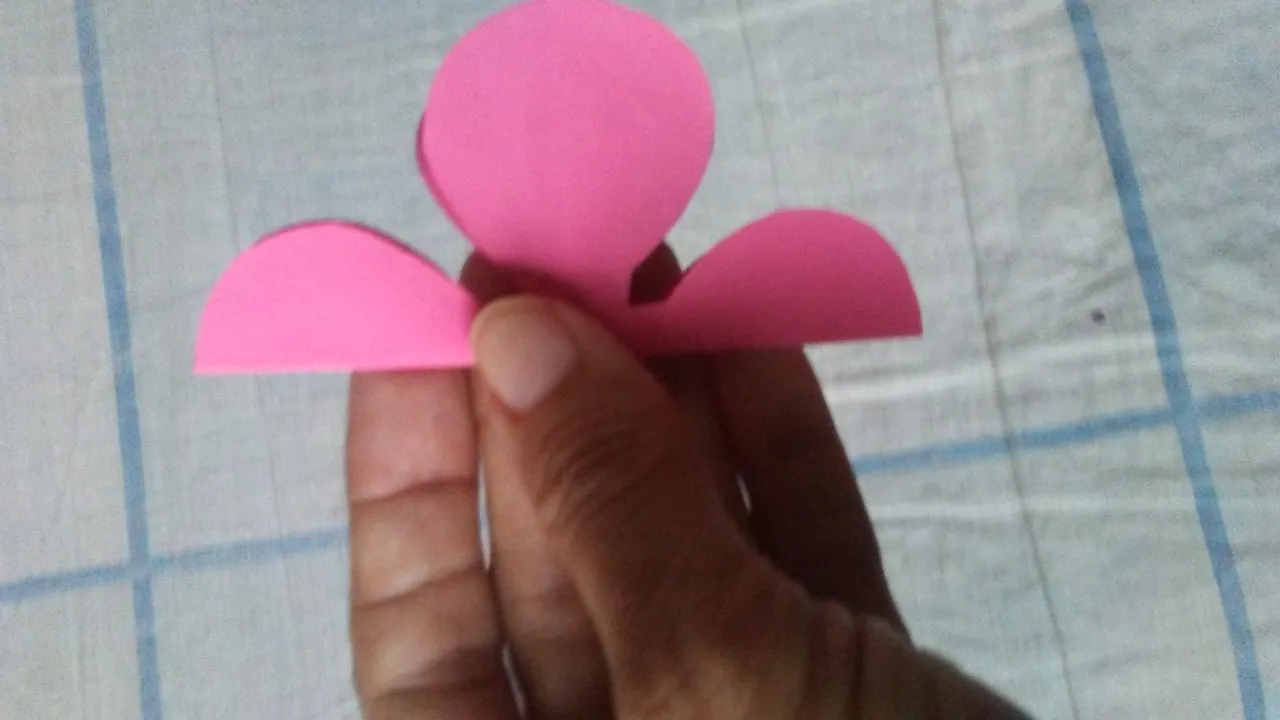
El siguiente paso es doblar cada pieza por la mitad tal y como muestro en las siguientes imágenes.
The next step is to fold each piece in half as shown in the following pictures.
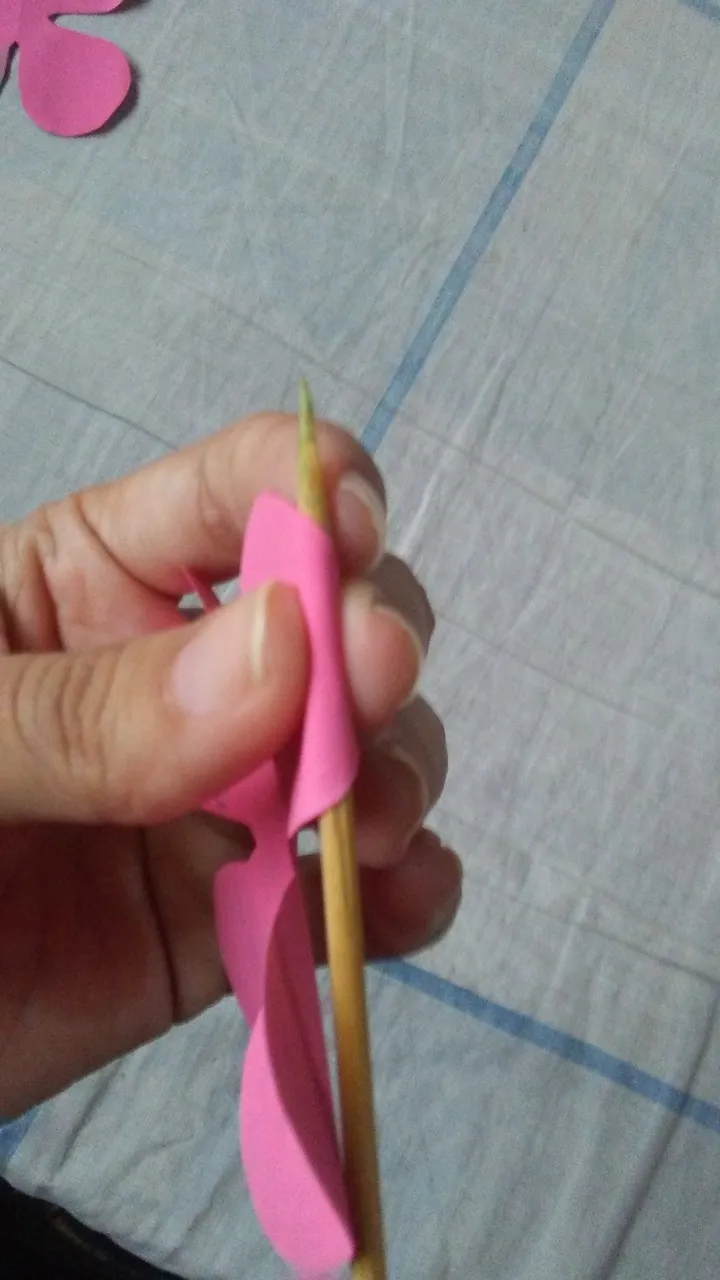
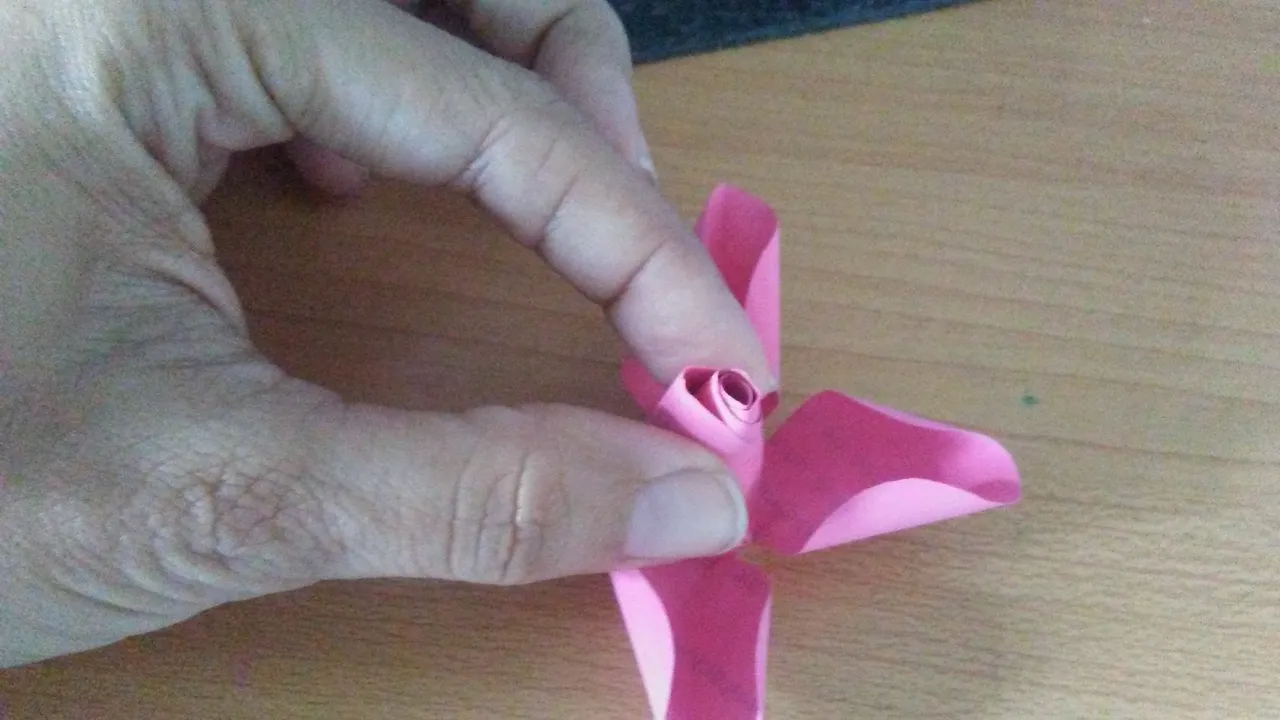
Ahora dale forma a los pétalos, rizándolos con palillo de madera.
Now shape the petals by curling them with a wooden stick.
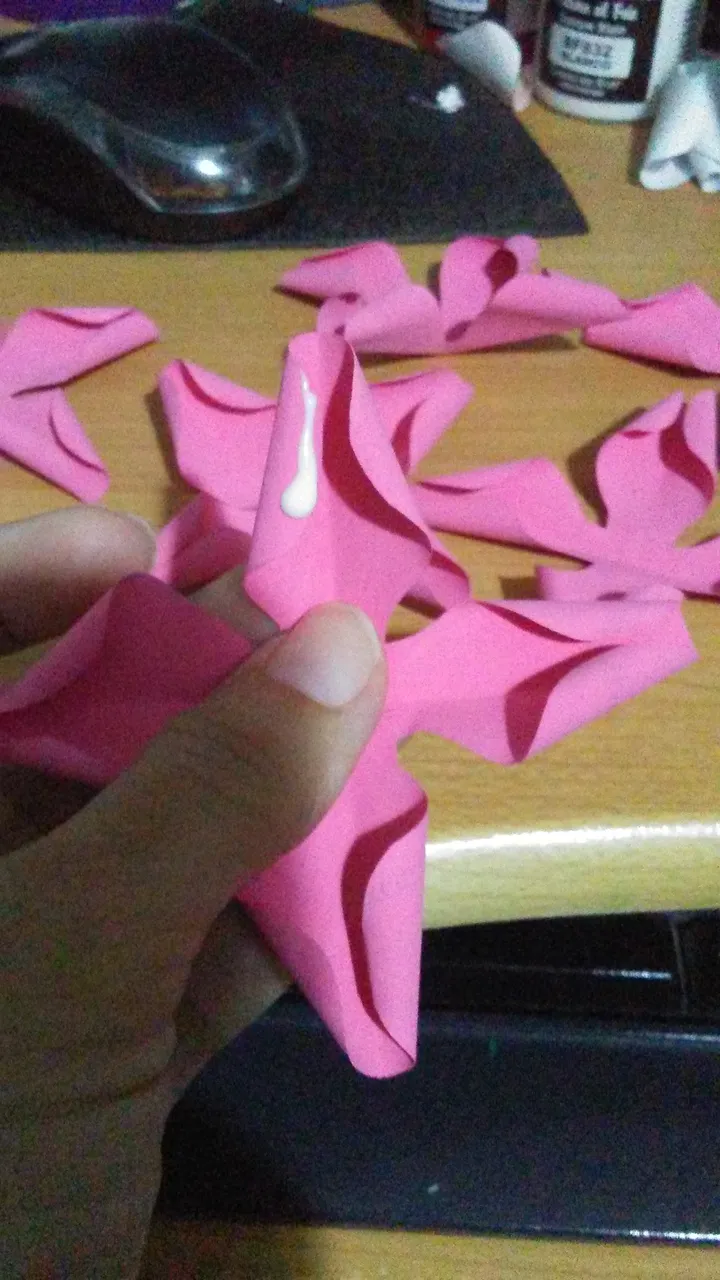
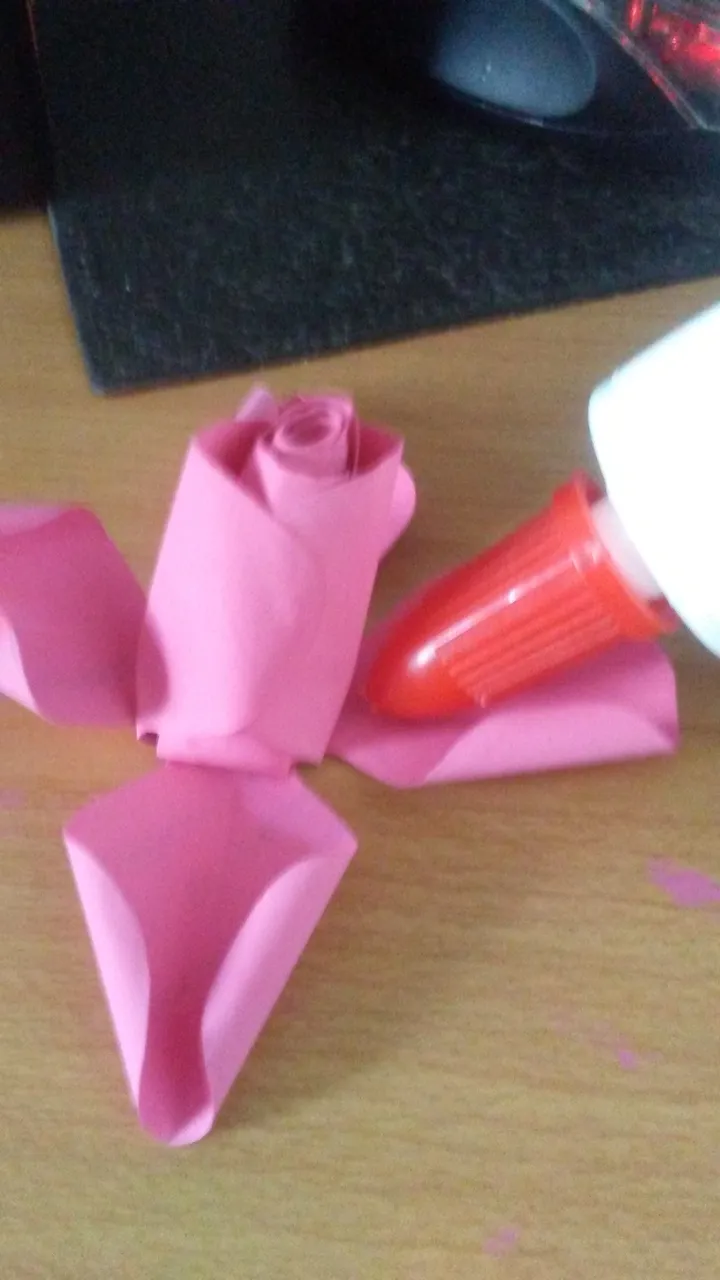
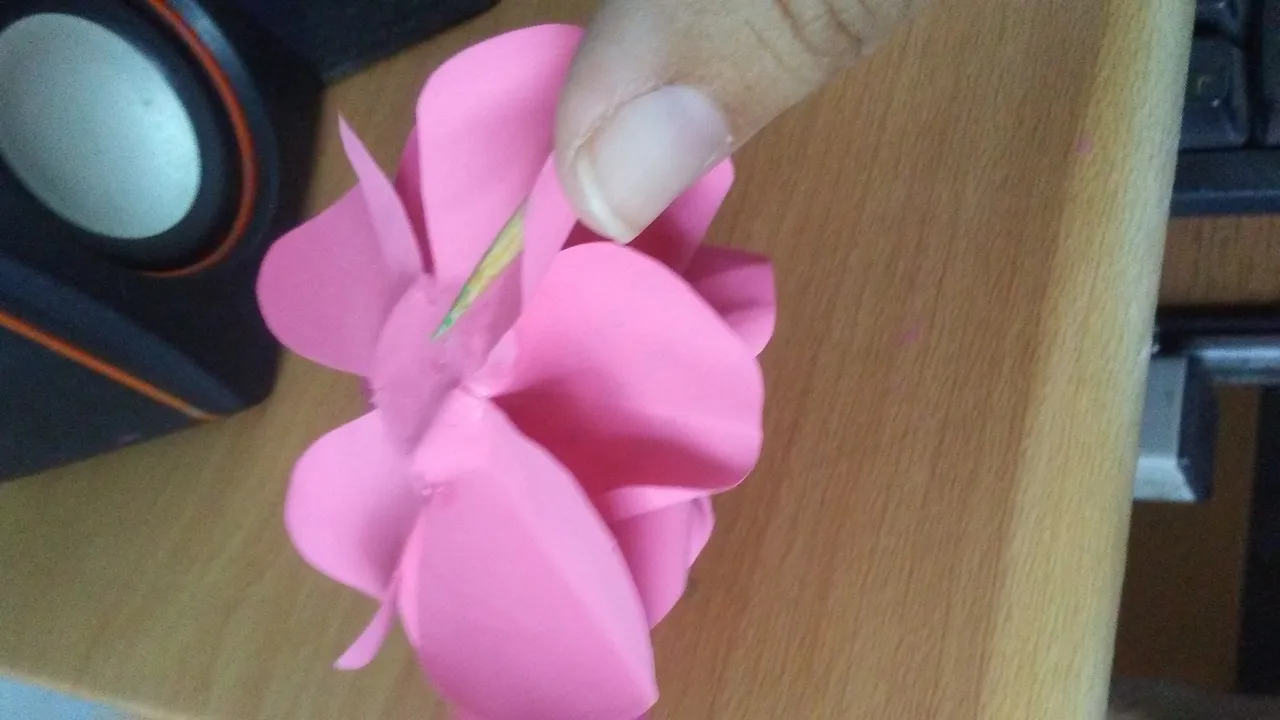
Pon un poco de pegamento blanco en una las solapas de los pétalos, posteriormente une las dos solapas y luego pega los demás pétalos como se muestra en las imágenes hasta obtener una especie de cono.
Put some white glue on one of the flaps of the petals, then glue the two flaps together and then glue the other petals as shown in the pictures until you get a kind of cone.
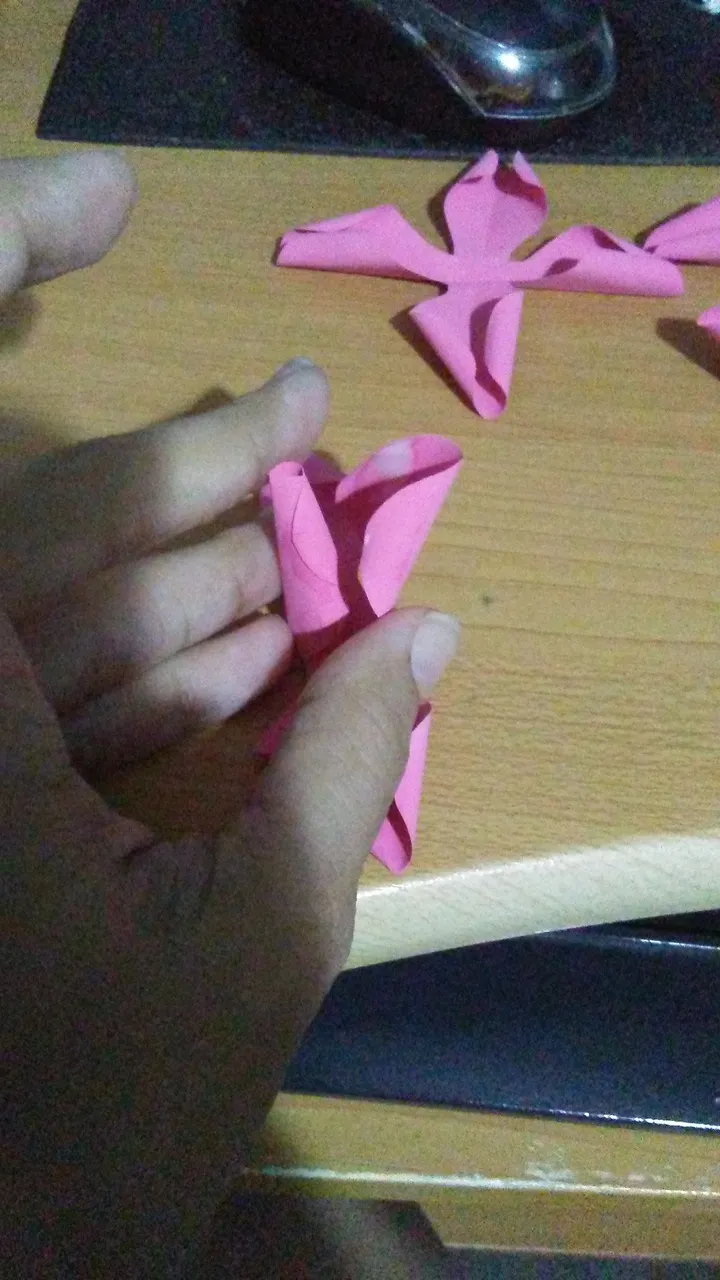
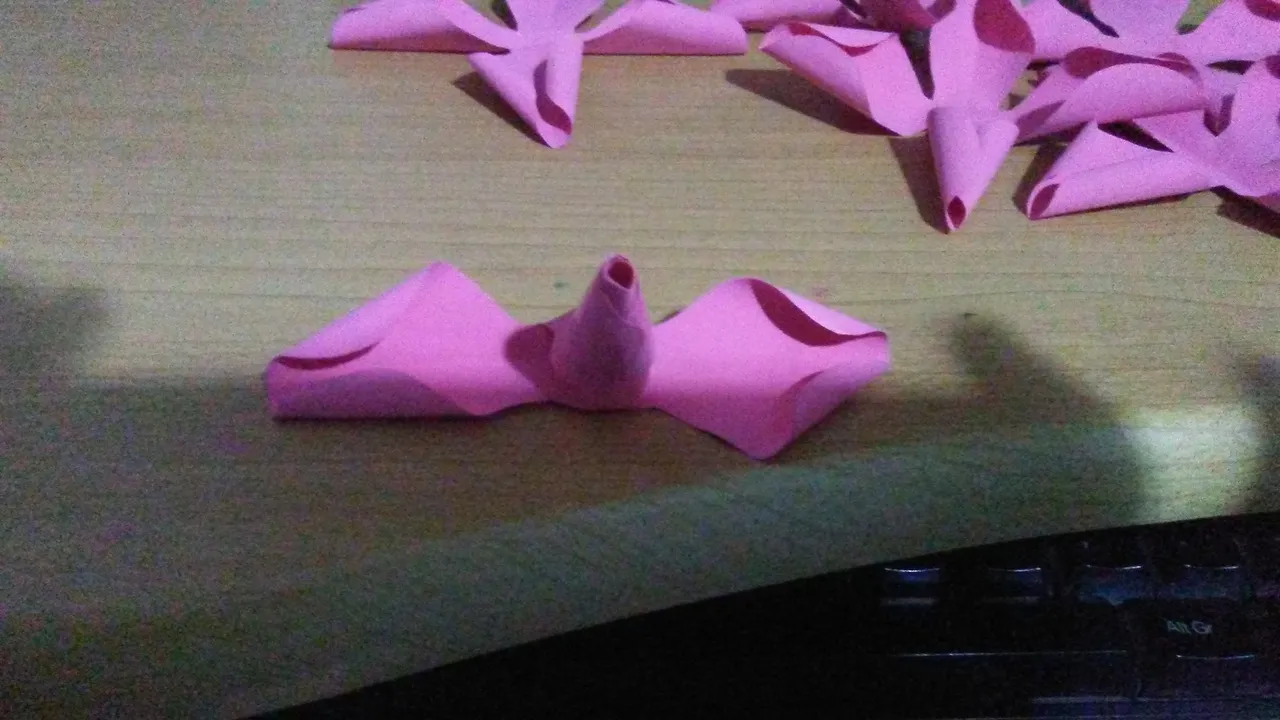
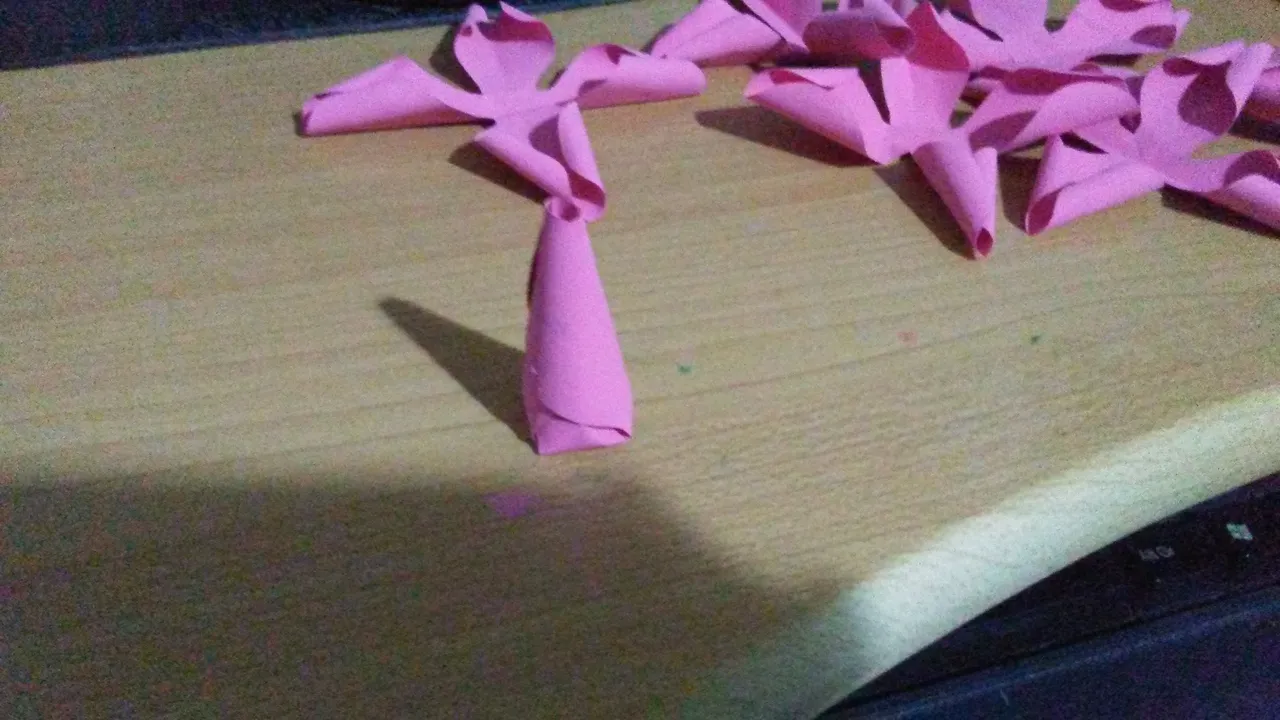
Ahora pon un poco de pegamento en la base del cono y pégalo sobre otra de las piezas de cuatro pétalos.
Now put some glue on the base of the cone and glue it onto one of the other four-petal pieces.

Debemos repetir este proceso varias veces hasta terminar con todas las piezas pero debemos tomar en cuenta algo muy importante, a medida que vayamos avanzando, debemos ir pegando los pétalos de manera que queden cada vez más abiertos, de esta forma.
We must repeat this process several times until we finish with all the pieces but we must take into account something very important, as we go along, we must glue the petals so that they are more and more open, in this way.
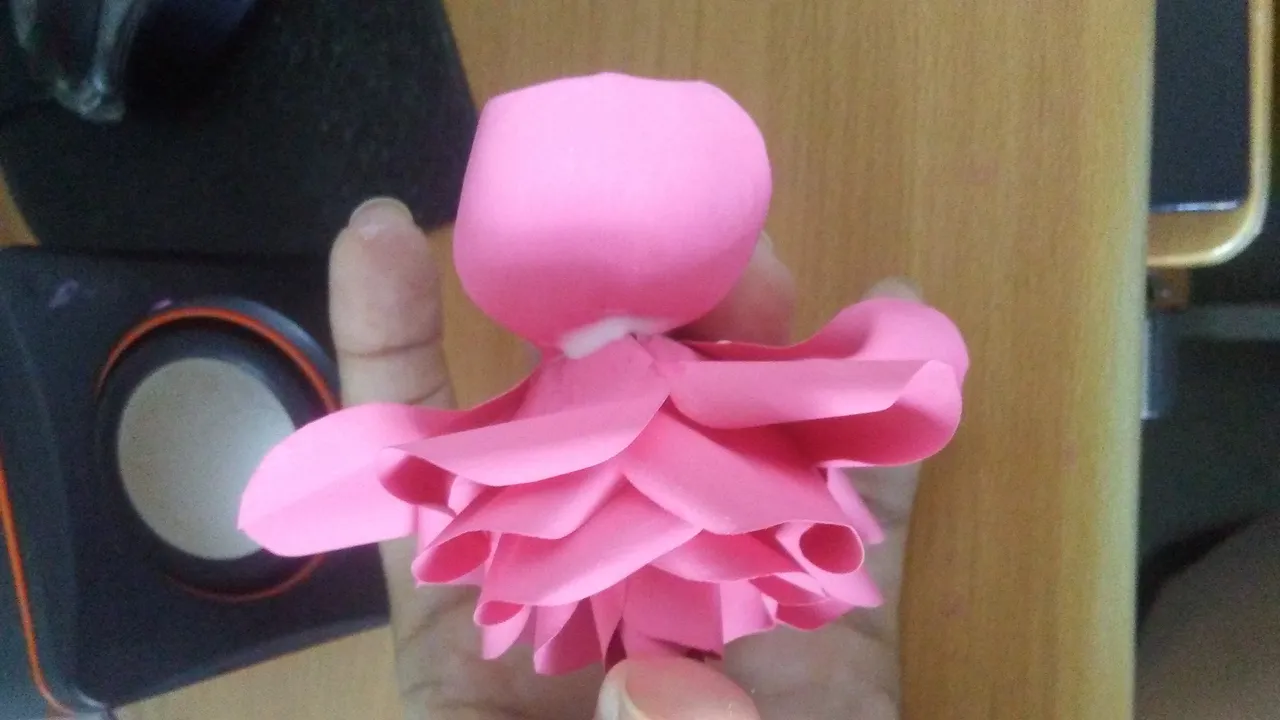
Las últimas dos o tres piezas debes pegarlas al revés en la base con la intención de otorgarle más volumen a tu rosa, es decir, de esta manera.
The last two or three pieces should be glued upside down on the base with the intention of giving more volume to your rose, i.e. like this.
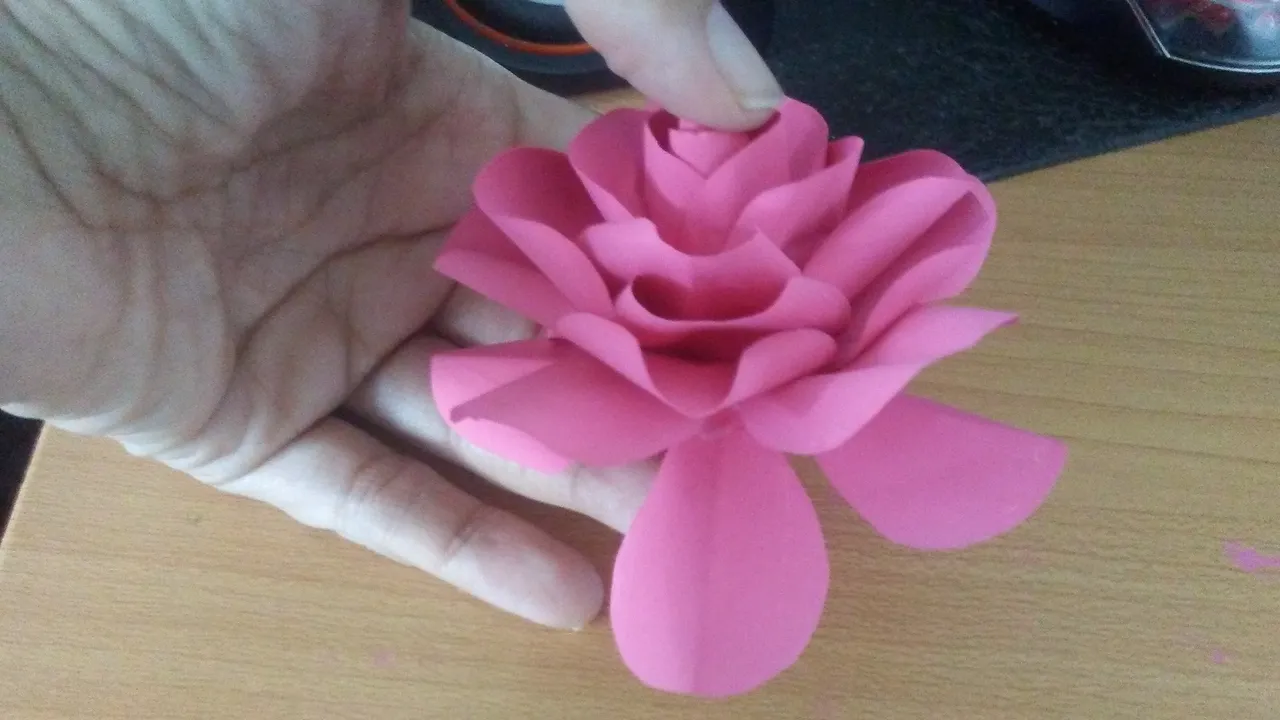
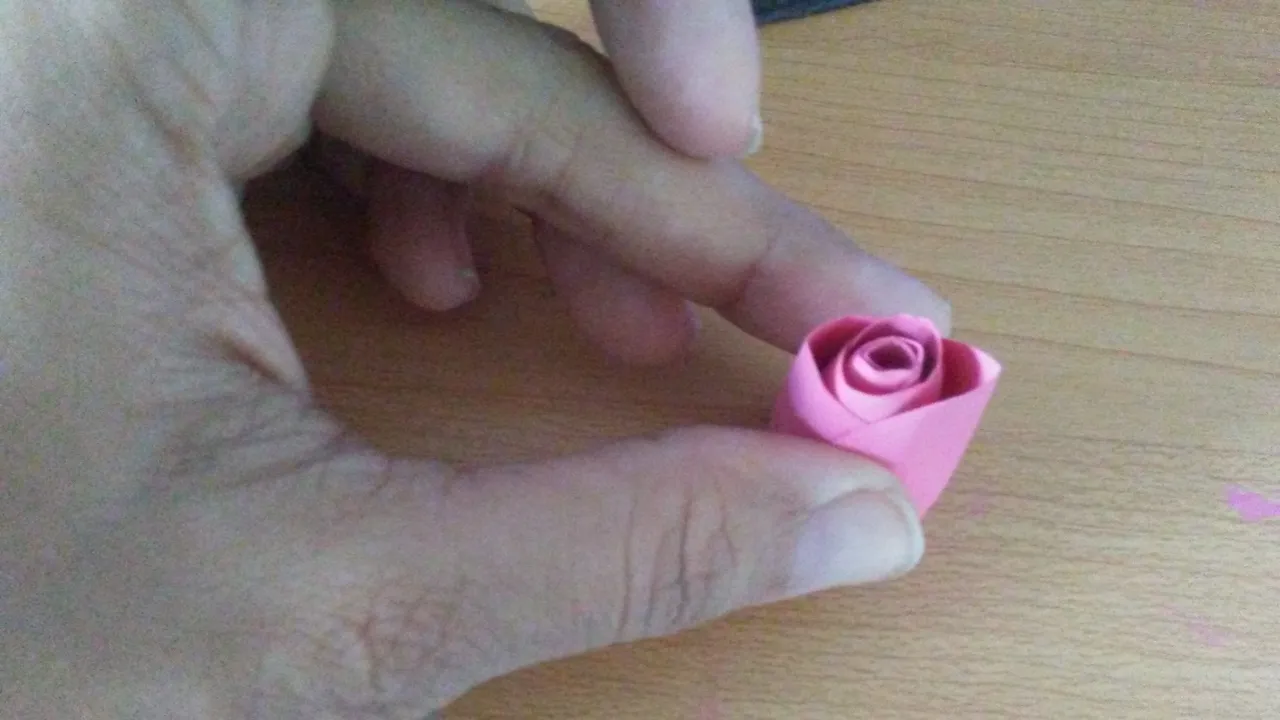
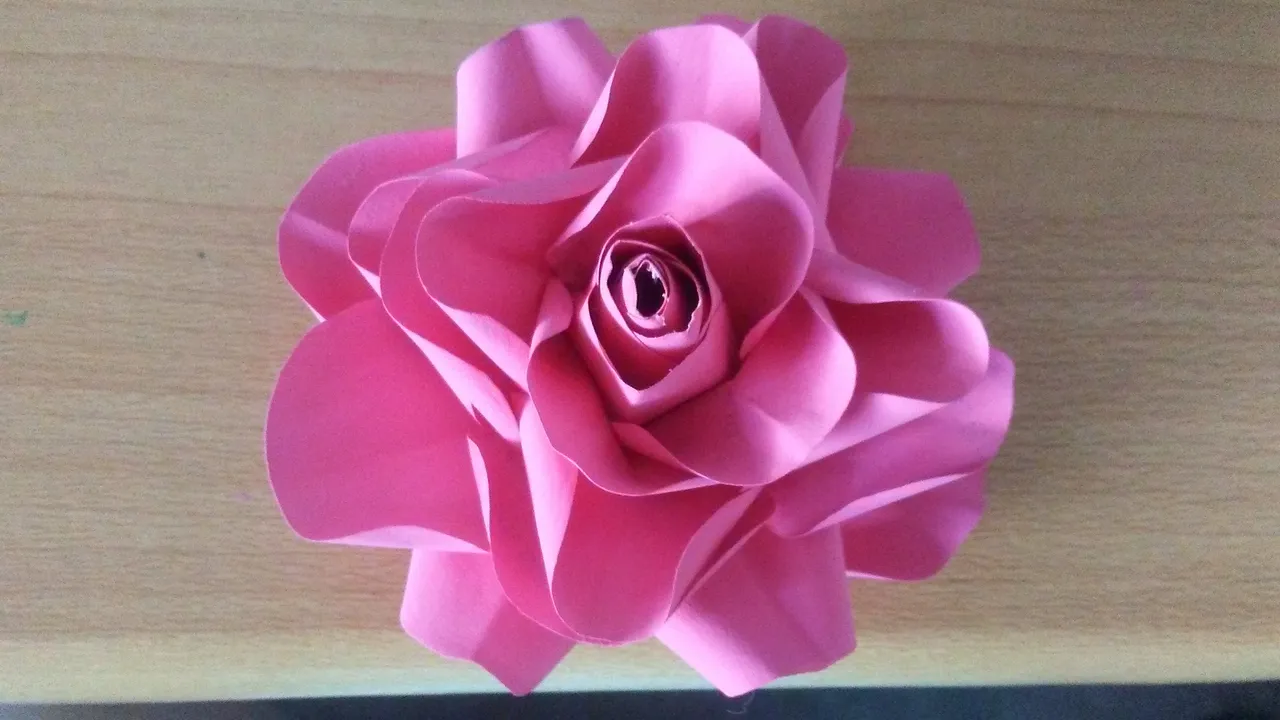
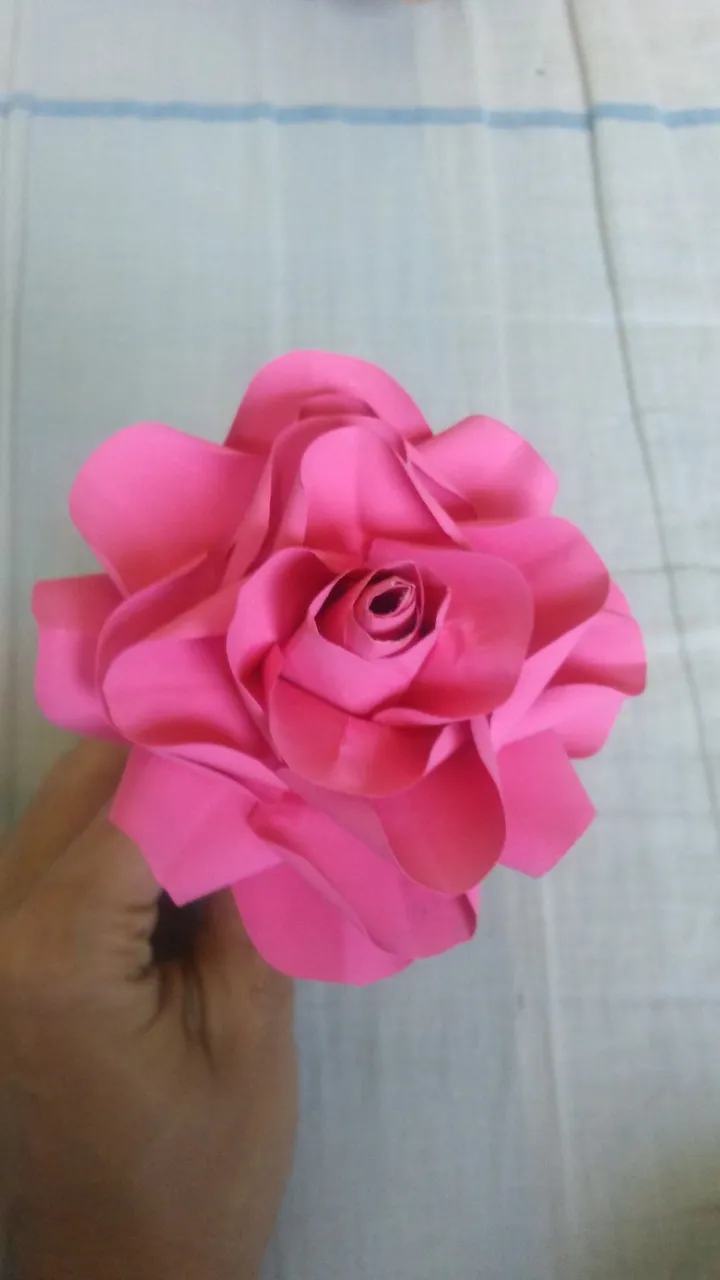
Afina los detalle volviendo a rizar los pétalos. y al final habrás obtenido tu flor.
Fine-tune the details by re-curling the petals and at the end you will have your flower.

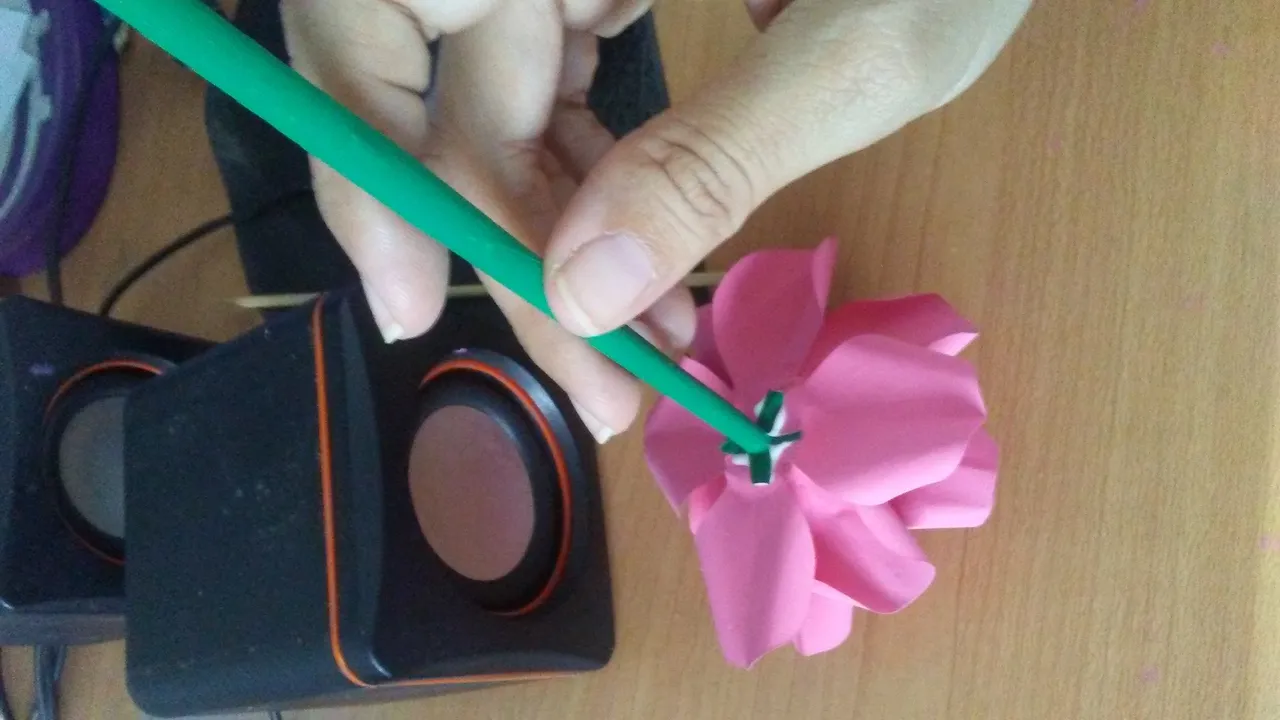
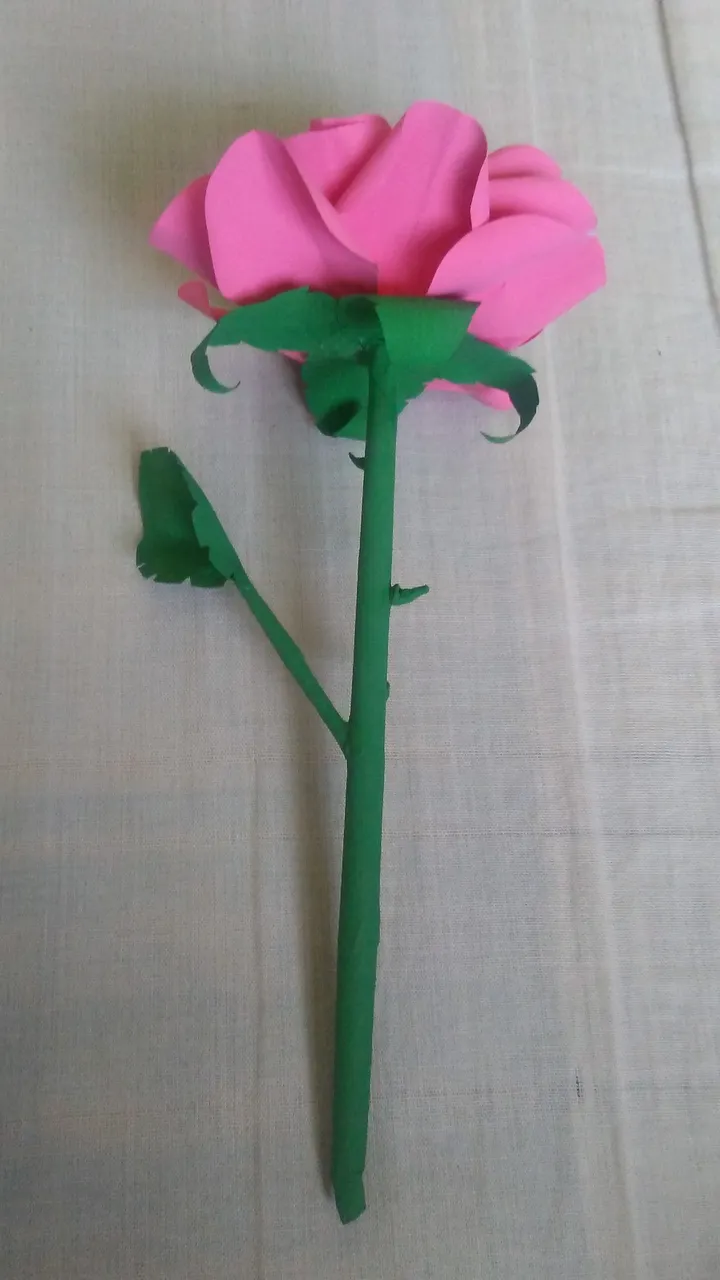
Ahora solo nos queda pegarle el tallo y las hojas con pegamento blanco. Si quieres saber como elaborar el tallo y las hojas de esta rosa, al final de este post te dejaré un enlace que te conducirá a un tutorial que hice donde además aprenderás a elaboras otro tipo de rosa.
Now we just need to glue the stem and leaves with white glue. If you want to know how to make the stem and leaves of this rose, at the end of this post I will leave a link that will take you to a tutorial I made where you will also learn how to make another type of rose.
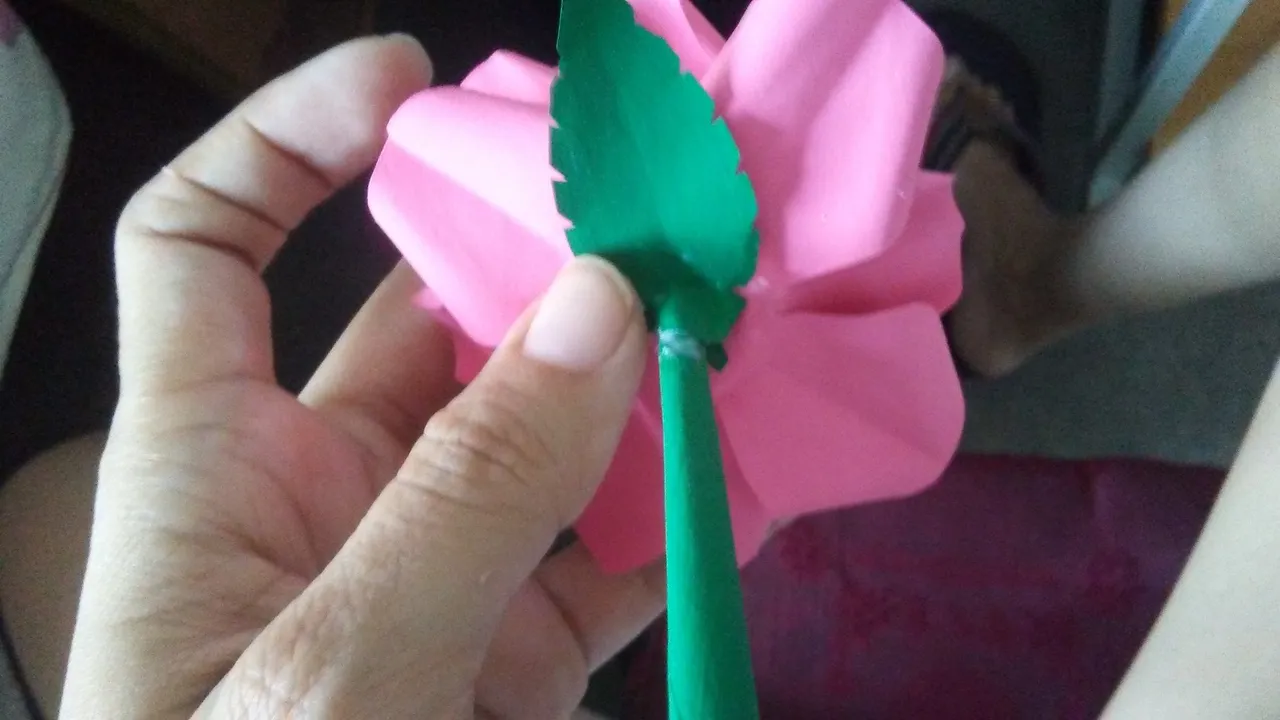
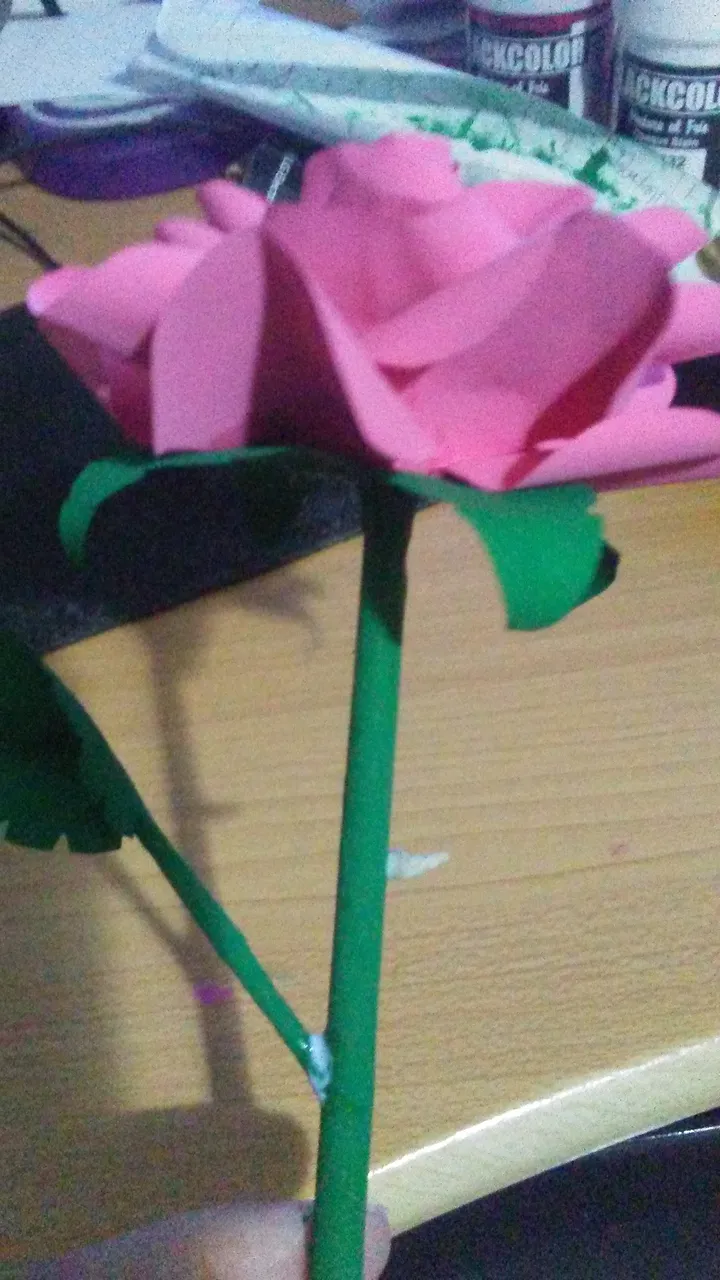
Y listo ya tienes tu flor, si quieres puedes dejarla así pero como a mí me gustan los detalles decidí elaborar algunas espinas, usando una pedacito muy pero muy pequeño de papel higiénico embadurnado con pegamento, posteriormente los moldeé con ayuda de un palillo de madera, los pegué al tallo y los pinté con pintura verde y éste fue el resultado.
And now you have your flower, if you want you can leave it like that but as I like details I decided to make some thorns, using a very, very small piece of toilet paper smeared with glue, then I moulded them with the help of a wooden stick, glued them to the stem and painted them with green paint and this was the result.

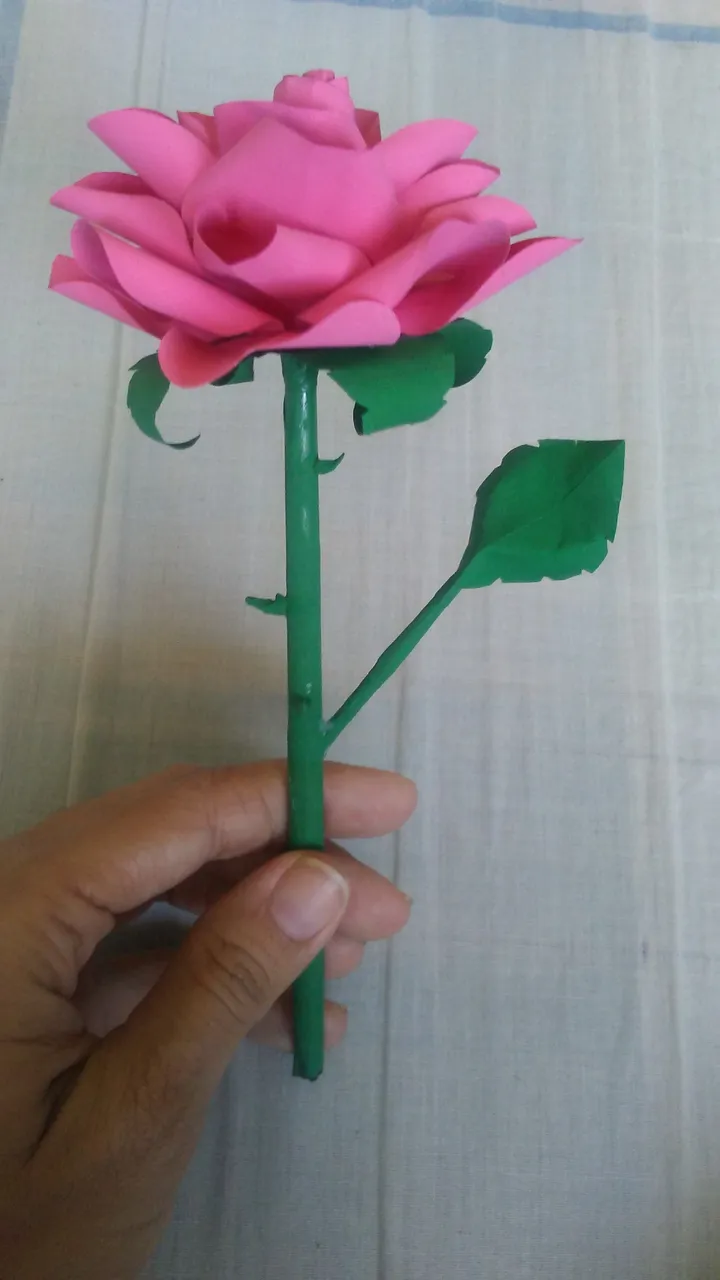
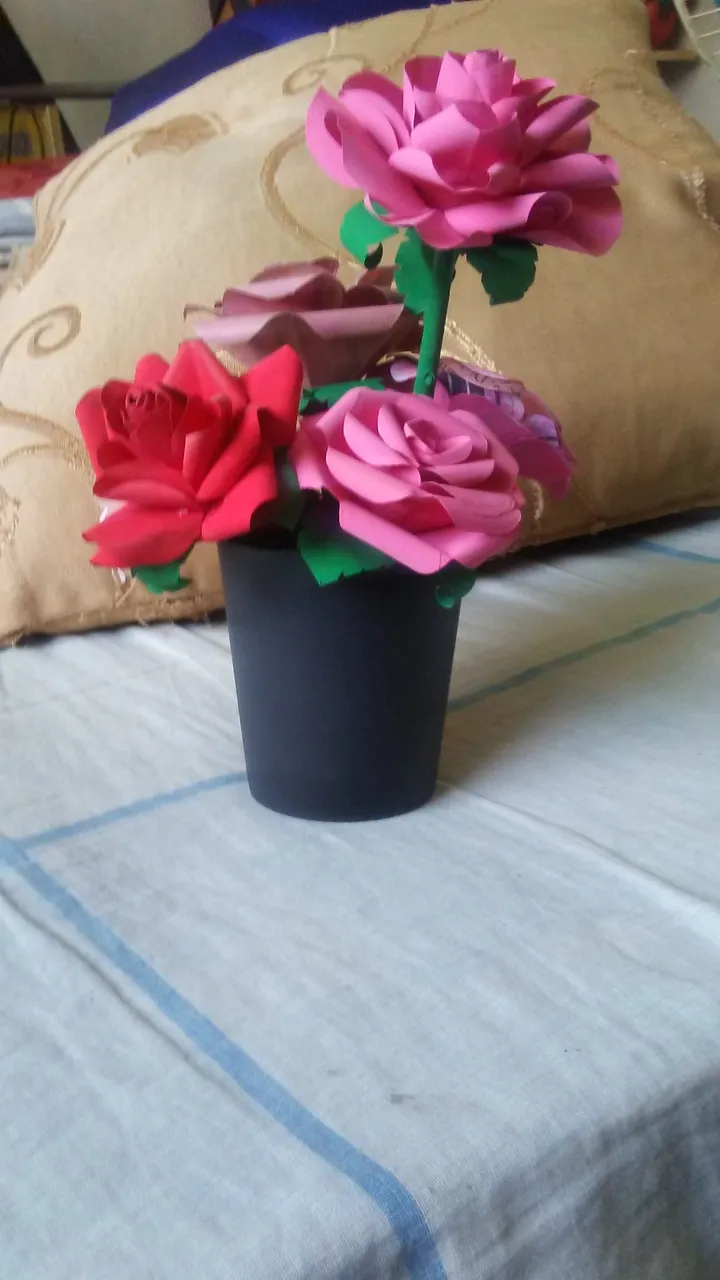
Eso es todo, los pasos son muy sencillos de seguir así que estoy segura de que tus rosas quedarán maravillosas. Muchas gracias por toda tu atención, nos vemos en una próxima oportunidad. Aquí te dejaré otra forma incluso más sencilla de elaborar rosas de papel, además de los tallos y las hojas.
That's all, the steps are very easy to follow so I'm sure your roses will look wonderful. Thank you very much for all your attention, see you next time. Here is another even easier way to make paper roses, besides the stems and leaves.

Todas las fotografías me pertenecen y fueron tomadas con mi teléfono celular LGK4 Lite.
All pictures belong to me and were taken with my LGK4 Lite mobile phone.