
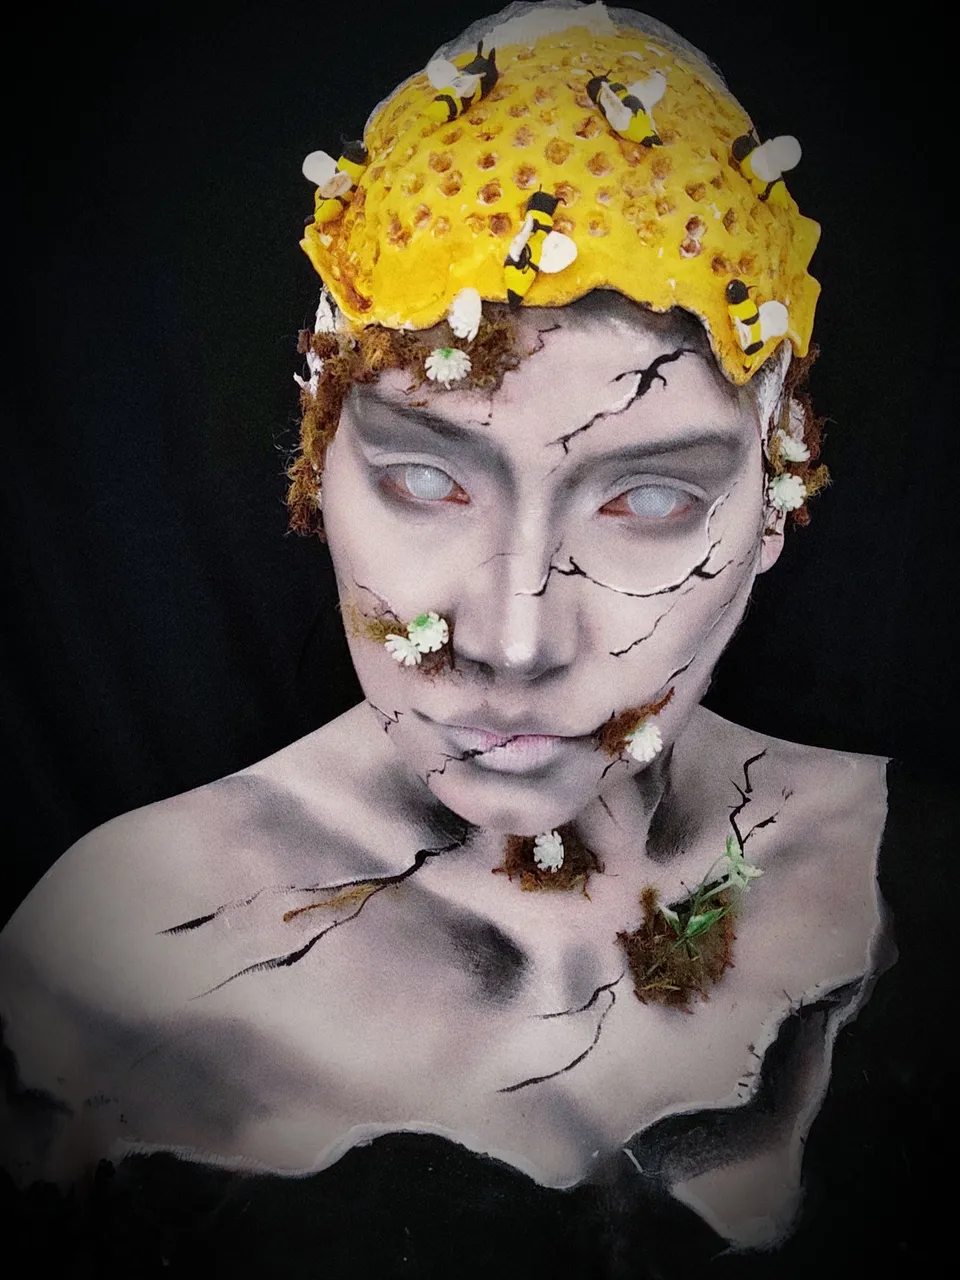
Hola mi gente hermosa estamos llegando a fin de semana, espero que la pasen todos muy bien. Estoy muy contenta de poder traerles este contenido de maquillaje artístico, para esta oportunidad quise convertirme en una escultura un busto de antiguedad lo imagine colocado en un bosque o un parque abandonado algo sombrio y le quise agregar una colmena de abejas en la parte superior también que está escultura tenga follaje saliendo de sus grietas, esta es mi creatividad así que empecé a trabajar desde el día anterior cuando termine de hacer mis tareas, me puse a elaborar unas pequeñas abejitas con foami moldeable y las guarde para el momento que las iba a utilizar.
Les explicaré un poco de este proceso y de los materiales que utilice para llevar a cabo el maquillaje

| Primero reuní los materiales |
|---|
| Pinturas corporales (blanca, negra, amarilla, marrón) |
| Sombras negra |
| Polvo blanco para bebé |
| Follaje |
| Flores pequeñas artificiales |
| Lentes de contactos blanco |
| Papel film |
| Servilleta |
| Látex líquido |
| Pega para pegar pestañas postizas |
| Foami moldeable blanco |
| First I gathered the materials |
|---|
| Body paints (white, black, yellow, brown) |
| Black shadows |
| White talcum powder |
| Foliage |
| Small artificial flowers |
| White contact lenses |
| Paper film |
| Napkin |
| Liquid latex |
| Glue for gluing false eyelashes |
| Moldable white Foami |
En el proceso que puedes ver en el vídeo, primero me puse papel film en la cabeza para hacer una especie de calva, luego pegué servilletas con látex, después puse la masa moldeable, e hice la forma de agujeros para hacer una colmena, la pegué con látex.
Luego apliqué pintura blanca en la cara, la expandí con una esponja y la sellé con polvo blanco. Después apliqué pintura amarilla en la colmena y en cada agujero pintura amarilla y marrón y luego empecé a pegar las abejas con el pegamento para pegar las pestañas.
Luego trabaje con la sombra negra aplicandola en varias zonas de la cara haciendo contornos y creando profundidad en algunas partes.
Luego apliqué pintura blanca en el cuello, pecho y parte de un hombro, sellé y procedí a trabajar con la sombra negra trabajando esos contornos y resaltando esas partes. Luego con pintura negra empecé a dibujar las grietas en la zona de la cara, cuello y escote.
Continué con la aplicación de los detalles como el follaje y las pequeñas flores. Y en la parte inferior apliqué pintura negra y terminé con lentillas blancas.
In the process that you can see in the video, first I put cling film on my head to make a kind of bald head, then I glued napkins with latex, then I put the moldable dough, and made the shape of holes to make a beehive, I glued it with latex.
Then I applied white paint on the face, expanded it with a sponge and sealed it with white powder. Then I applied yellow paint on the hive and on each hole yellow and brown paint and then I started gluing the bees with the glue to glue the eyelashes.
Then I worked with the black shadow applying it on several areas of the face making contours and creating depth in some parts.
Then I applied white paint on the neck, chest and part of one shoulder, sealed and proceeded to work with the black shadow working those contours and highlighting those parts. Then with black paint I started to draw the cracks in the face, neck and neckline area.
I continued with the application of the details like the foliage and the small flowers. And at the bottom I applied black paint and finished with white lenses.

Las fotos fueron tomadas con mi teléfono Redmi note 9 pro.
El video fue editado con canva pro
Usé una música de la galería de canva pro, mi cuenta está asociada a YouTube así que tengo permiso para usar esta música.
Nombre de la música:Fear Being Unfelt (Ingrid Witt)
The photos were taken with my Redmi note 9 pro phone.
The video was edited with canva pro
I used a music from canva pro gallery my account is associated with YouTube so I have permission to use this music.
Name of the music:Fear Being Unfelt (Ingrid Witt)
▶️ 3Speak