Español
Photoshop es uno de los programas más conocidos que hay en cuanto a edición fotográfica. Aunque es muy popular, lo cierto es que no es un programa gratuito y no todos están dispuestos a pagar para darle un simple retoque a alguna foto, sobre todo si hay otras opciones gratuitas en el mercado.
Sin embargo, la propia Adobe (compañía creadora de estos programas) posee una versión para móvil de Photoshop, llamada LightRoom. Es una aplicación bastante interesante que he estado usando desde hace un par de días y la verdad no está nada mal…
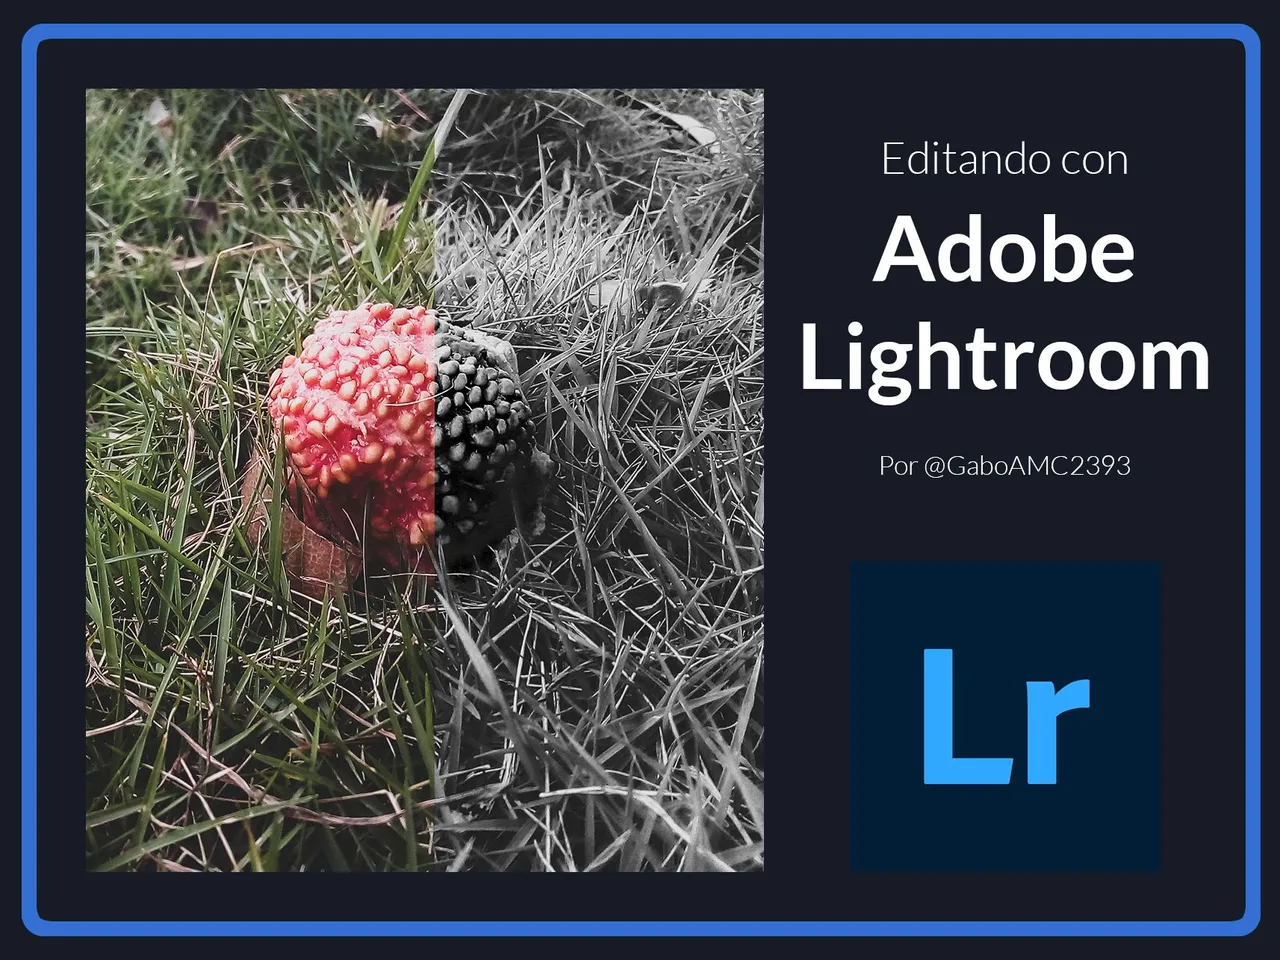
Como ya les mencioné, en el mercado existen muchas opciones gratuitas de apps para edición de imágenes y retoques fotográficos. Algunas son bastante buenas y otras no tanto; pero yo, que he usado Photoshop anteriormente, decidí instalar esta a ver que tal.
Quería tener una app en mi dispositivo para darle retoques rápidos a las fotos y, tras haberla usado, creo que cumple con el propósito inicial por el cual la descargué. No es totalmente gratuita, porque algunas opciones requieren hacerse premium; sin embargo, las opciones gratuitas de las que dispone son más que suficiente.
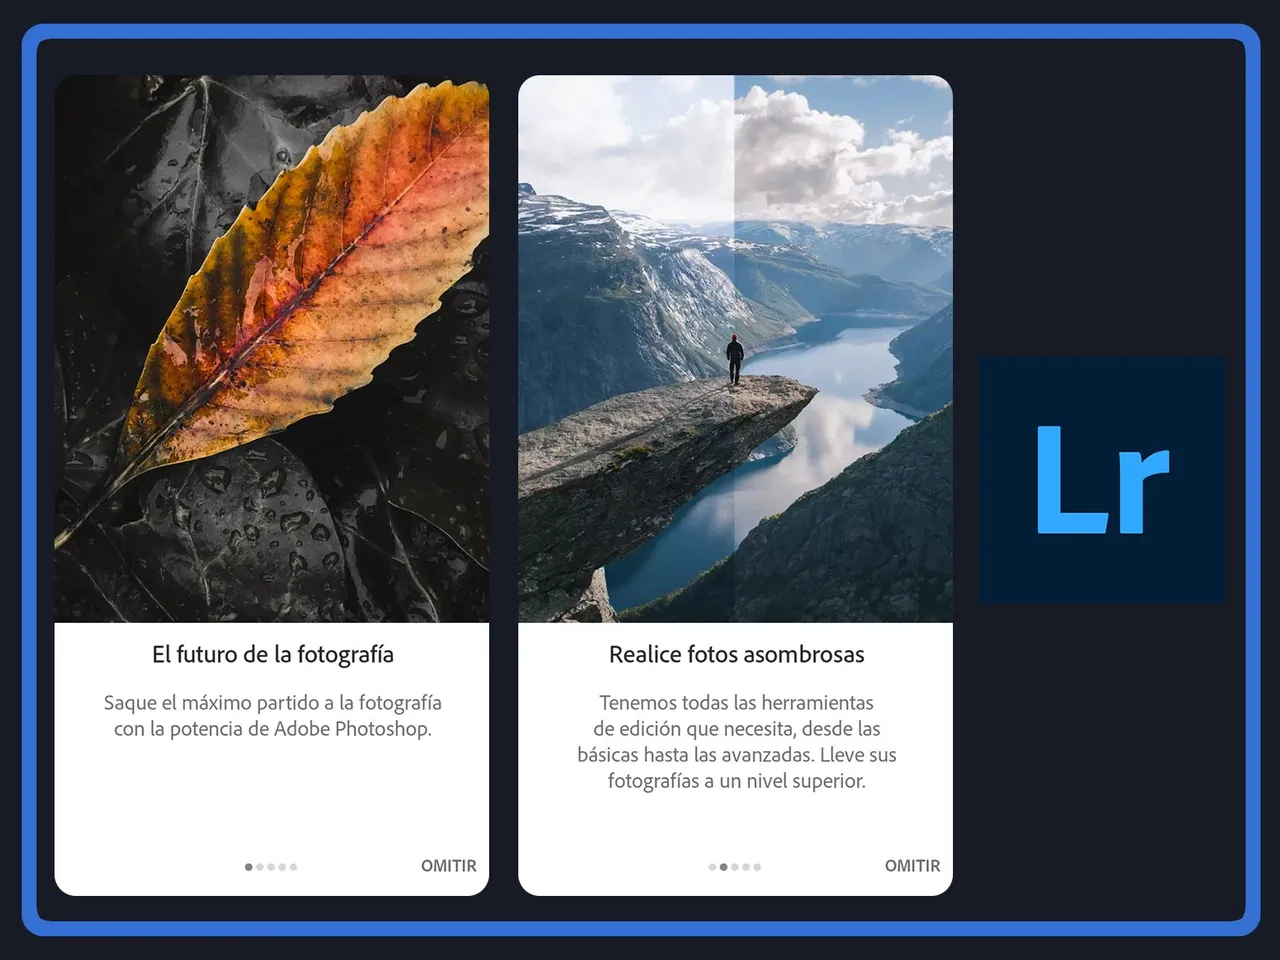
Mi movil es android, así que usé la playstore para descargarla. Pesa poco más de 100 mb y el inicio es rápido. Te explica un poco qué puedes hacer con la app, incluso hay un mini tutorial cuando vas a editar las fotos.
Puedes descargarla directamente de la playstore siguiendo este enlace:
https://play.google.com/store/apps/details?id=com.adobe.lrmobile&hl=es_VE&gl=US
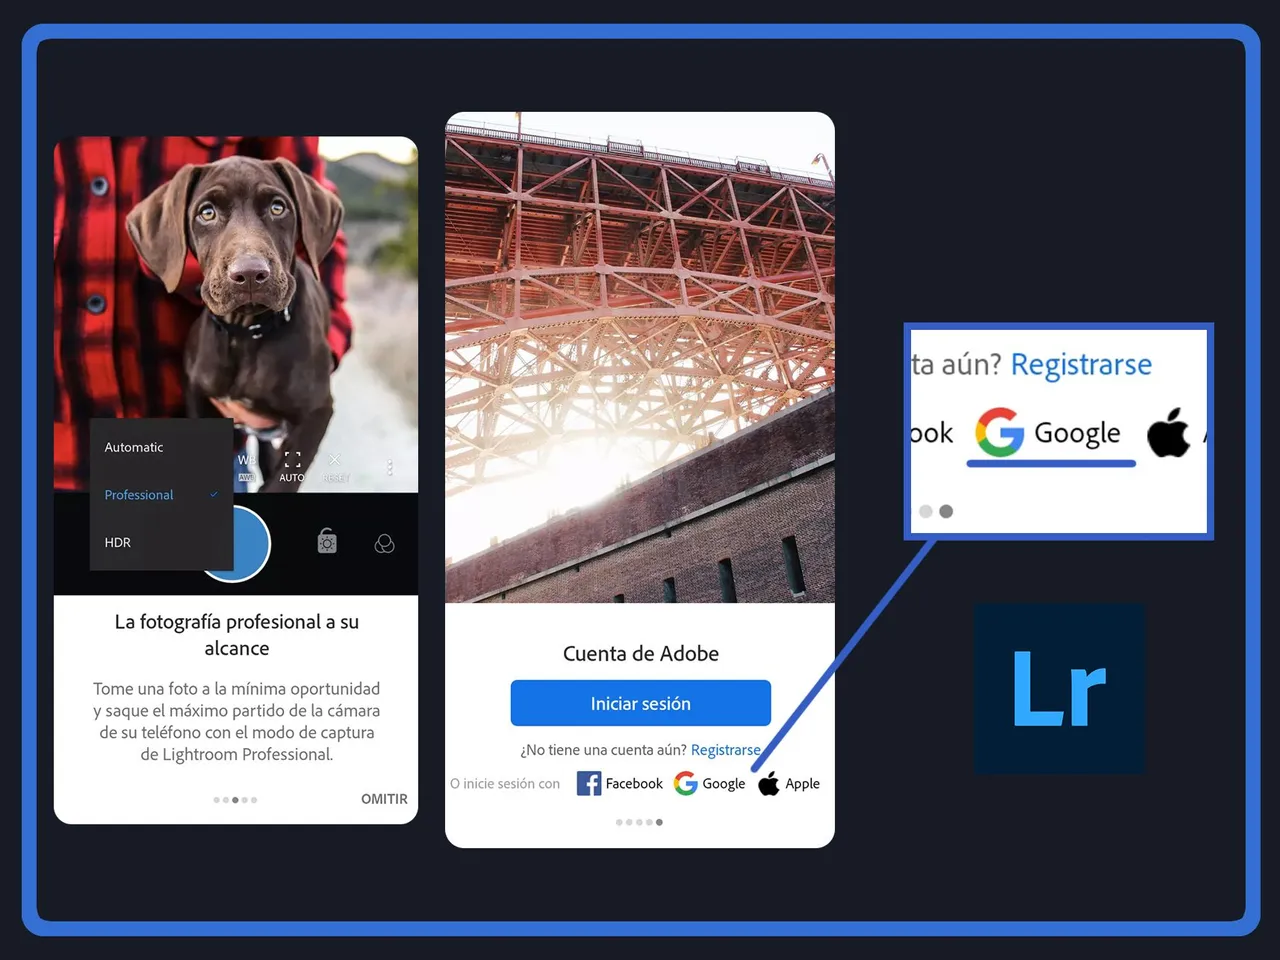
Al comienzo apareció una pantalla donde solicitaba una cuenta adobe, pero también da la opción de iniciar sesión con Facebook, Google o Apple. Para los que no tengan cuenta adobe, es una buena opción.
Módulos
Una vez en la app, nos encontramos con diferentes módulos interesantes.
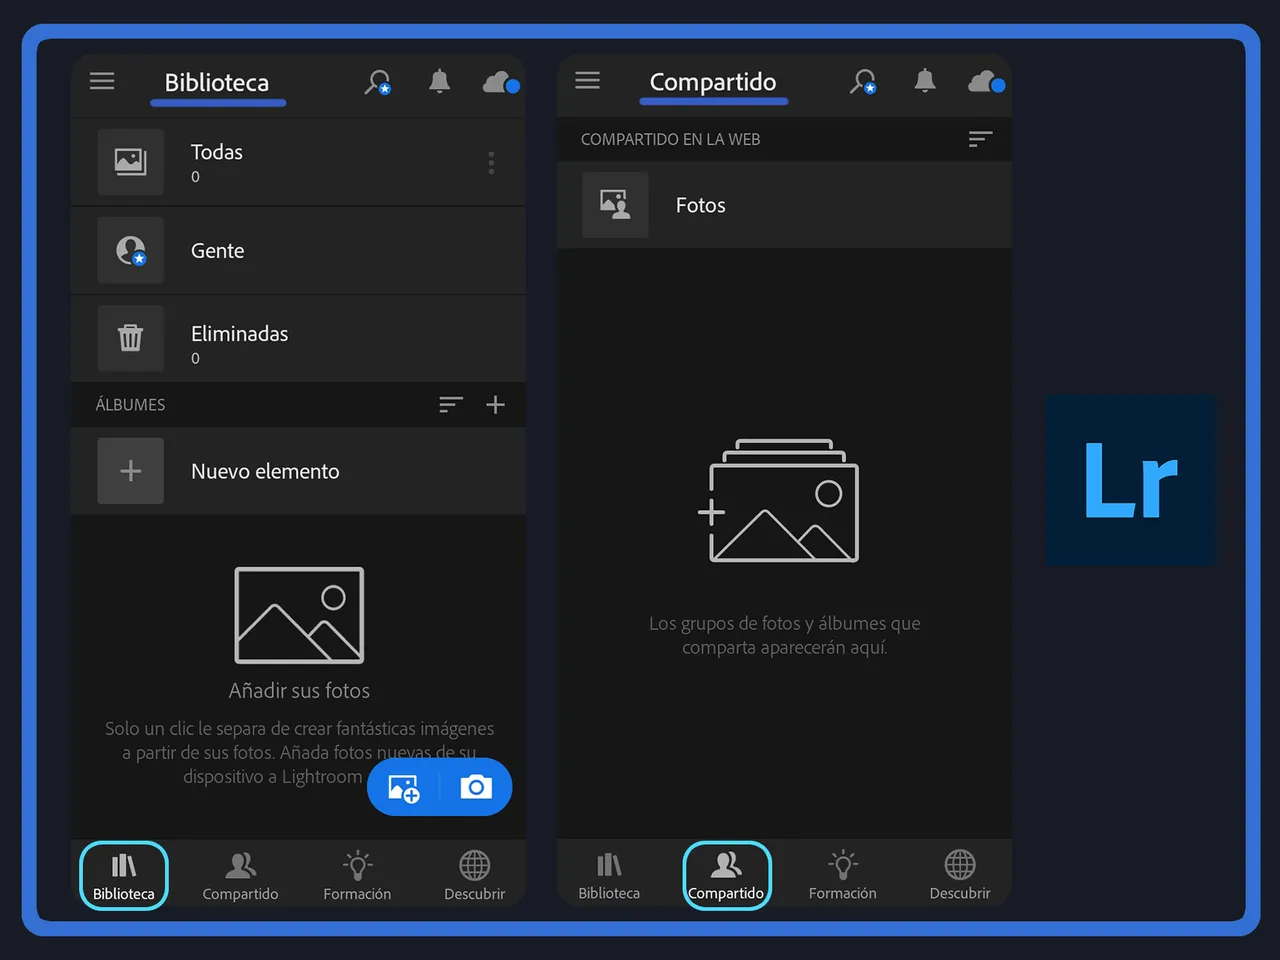
Biblioteca: En este módulo se encuentran todas las imágenes que hemos importado a la aplicación. Tenemos la opción de agregar imágenes para editarla a través de la cámara (capturando al foto), o desde nuestra galería.
Apareceran en "Todas" o, si lo prefieren, pueden crear más álbumes para los distintos tipos de fotografías que van a agregar a la aplicación.
Compartido: es un módulo para, como su nombre lo indica, consultar las fotos o álgumes completos de fotografía que hemos compartido en la web. No hay mucho más que describir acá.
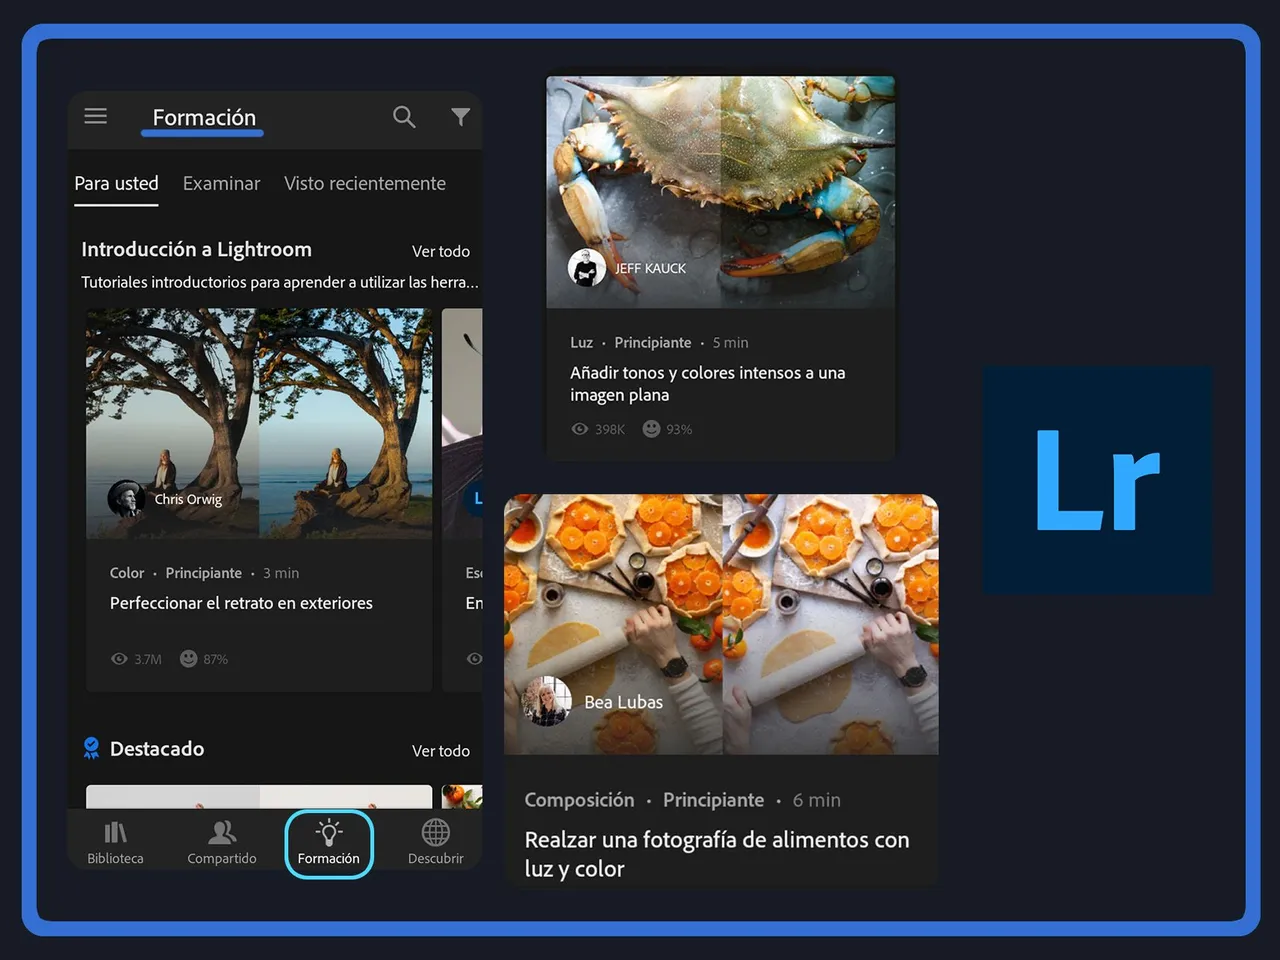
Formación: este es un módulo que me parece realmente interesante, porque encontraremos un montón de tutoriales que podemos seguir para mejorar nuestras ediciones.
Me parecen geniales porque algunos, los que he hecho, son tutoriales que podemos seguir en tiempo real, en nuestra app y con las propias herramientas que tenemos allí. Es una opción buenísima para todos los que estan comenzando a usar la aplicación y no tienen mucha idea de cómo se usa.
Edición
Para editar una foto simplemente tenemos que tenerla en nuestra biblioteca (módulo Biblioteca). Tenemos que buscar la imagen y entonces presionar sobre esta para comenzar con la edición.
En el editor contamos con un montón de herramientas con las que podemos familiarizarnos con el tiempo; es decir, con el uso de la propia aplicación. Sin embargo, les comentaré algunas características bastante interesante.
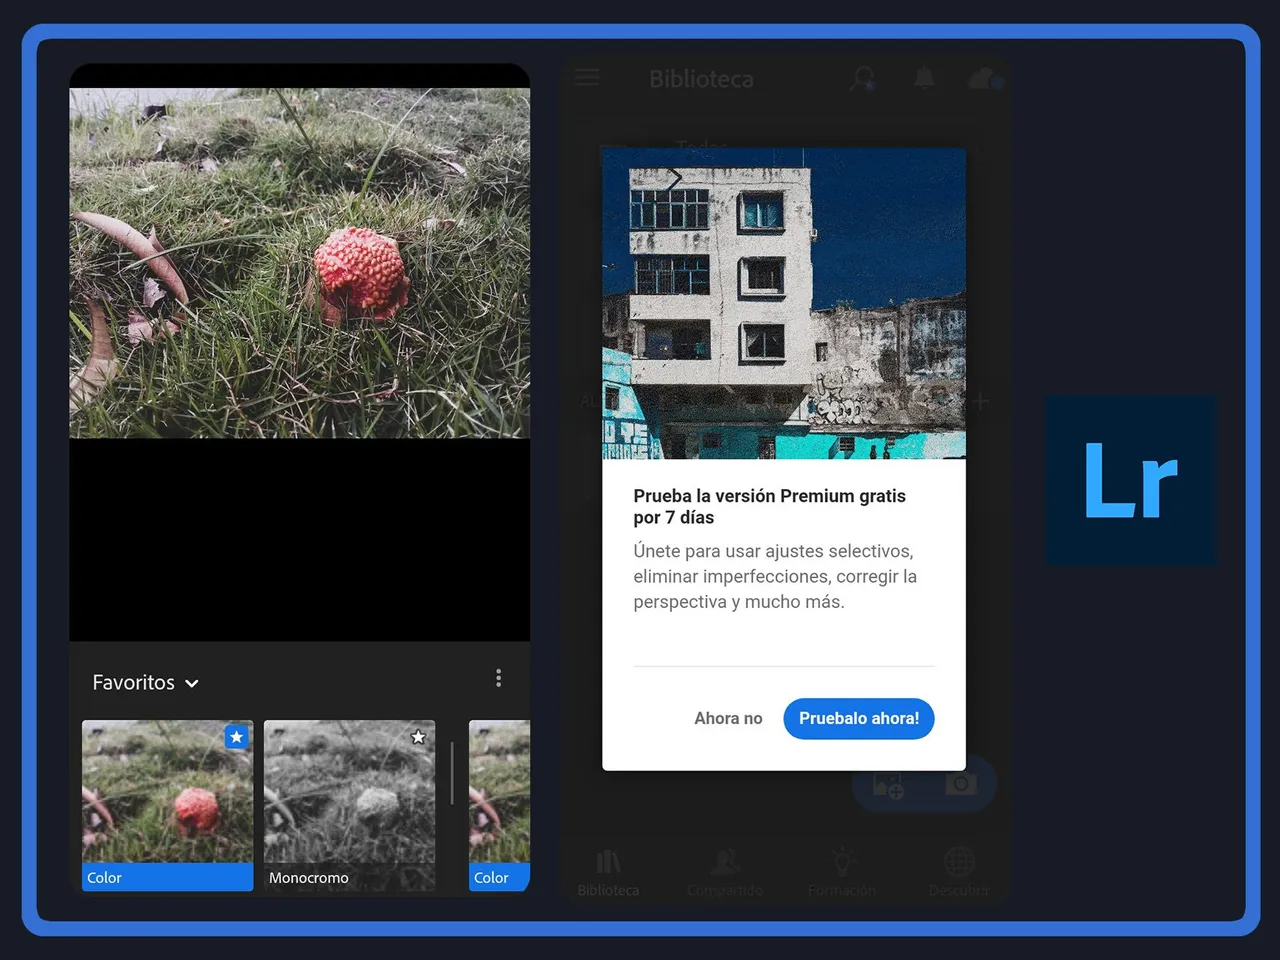
Ajustes preestablecidos: es la primera opción (gratuida) que tenemos para editar alguna foto. Nos permite cambiar el estilo a nuestra foto, dándole alguno de estos ajustes preestablecidos que trae la app, como contraste elevado, alto contraste y detalles, Vivos, o Mate.
Una de nuestras fotos podría tener un mejor aspecto con simplemente agregarle alguno de estos ajustes, así que es una manera sencilla de mejorarlas.

Otras opciones que tenemos con las de Luz, Color y Efectos.
Luz: aquí podemos configurar la exposición, contraste, iluminación, sombra, entre otras propiedades de nuestra fotografía. Si tenemos una fotografía que quedó un poco oscura, este apartado puede ayudarnos a mejorarla un poco, aunque no hace milagros.
Color: esta opción me parece muy interesante, porque en más de una ocasión he tomado fotografías en las que la temperatura, por ejemplo, no es la adecuada. En este apartado podemos mejorar eso, la temperatura, el matiz, intensidad, entre otras propiedades.
Supongamos que tomamos una foto y esta quedó un poco naranja. Pues bien, en el apartado del color podemos ajustar su temperatura a una un poco más azul, lo cual de dará mayor calidéz a la foto.
Efectos: en este apartado encontraremos una serie de efectos que podemos aplicar a nuestras fotos. Los más comunes que encontré fueron los de claidad o neblina, pero hay otros que se pueden aplicar en las fotos para darle un toque interesante.

Como detalle adicional, esto me parece que es para la opción premium. Podemos guardar nuestros perfiles favoritos para aplicarlos directamente a nuevas fotografías, como los ajustes preestablecidos que mencioné antes. Es algo útil, pero estoy casi seguro de que solo funciona en Premium.
Ahora bien, puede darse el caso de que mientras usamos la app, nos aparezca una viso de prueba gratis Premium por 7 días. No suena mal, así podrán ver si vale la pena o no pagar por las caracteristicas adicionales que ofrece la aplicación. Yo me quedo con las herramientras gratis que tiene, son más que suficiente para mi.
Edición finalizada
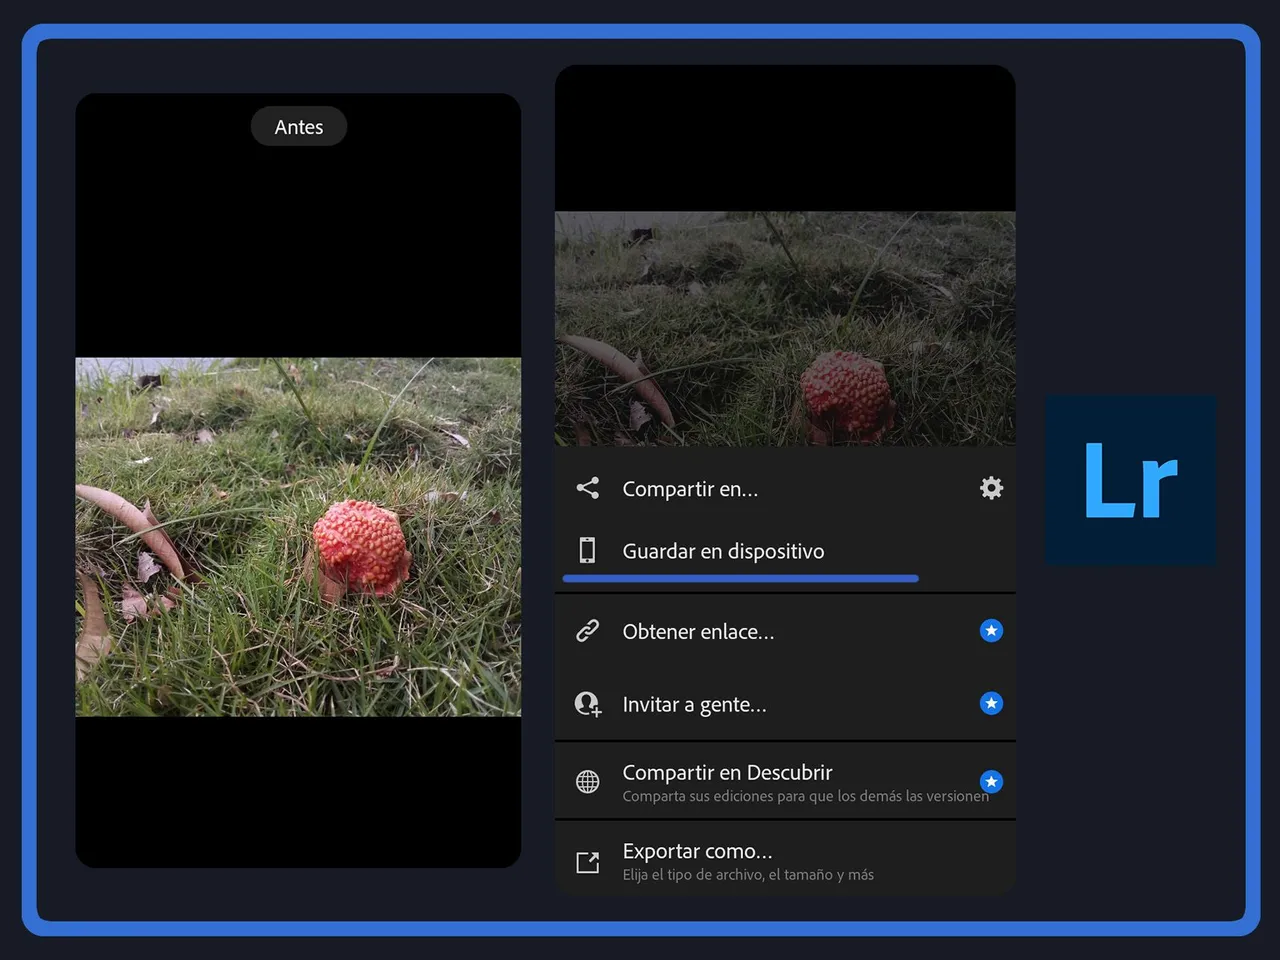
Una vez que terminaste la edición, puedes presionar por unos segundos y verás cómo se veía la imagen antes de editarla. Al soltarla vuelve a como la tenías. Es para ver un antes y un después...
Una vez lista, podrás presionar en compartir y Guardar en dispositivo y listo, la foto aparecerá en tu galería en un álbum llamado "AdobeLightroom"

En mi caso, edité cinco fotografías aplicando distintas herramientas, para darle estilos diversos a cada fotografía.
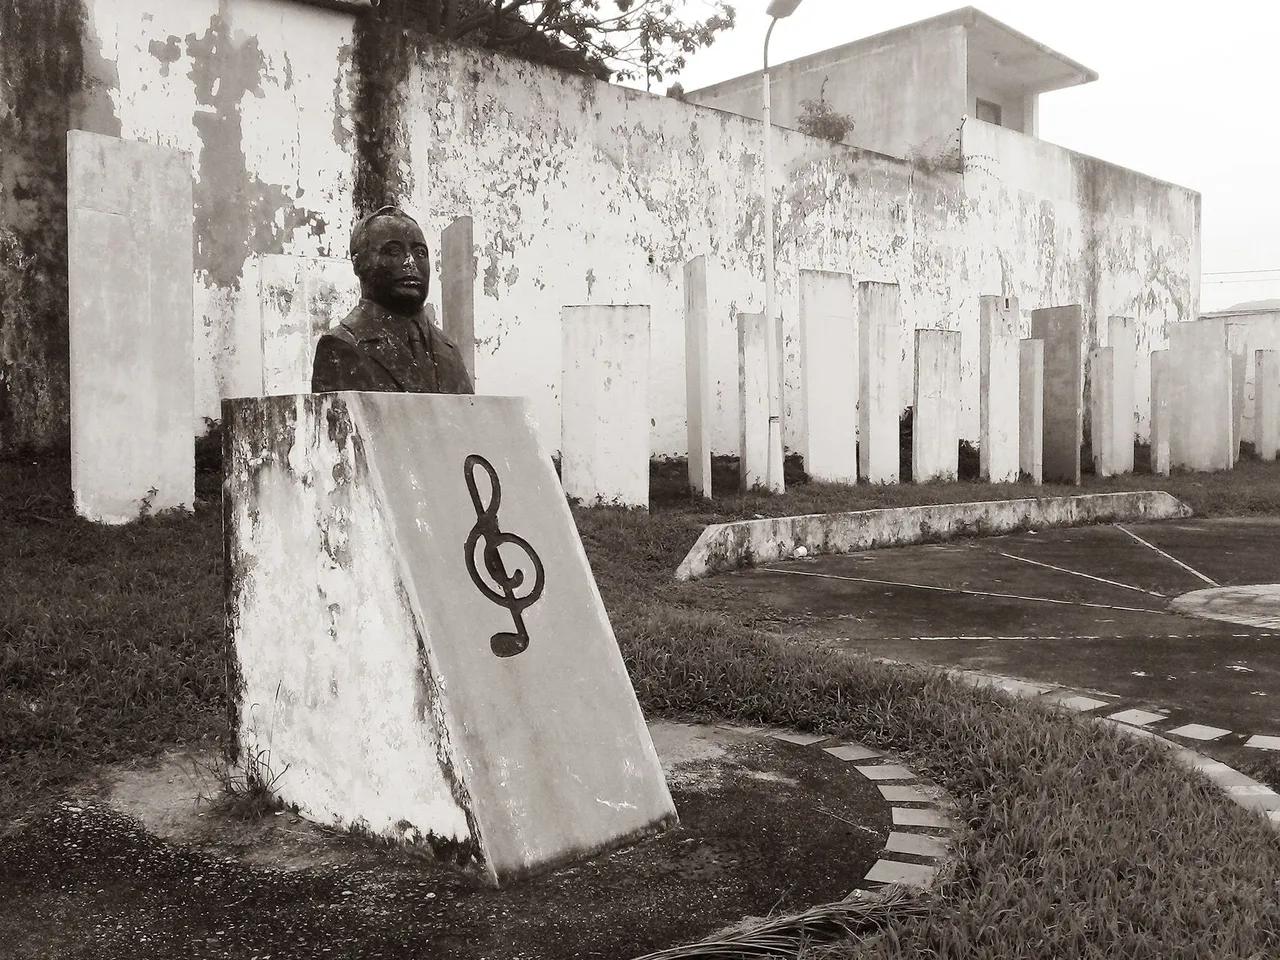
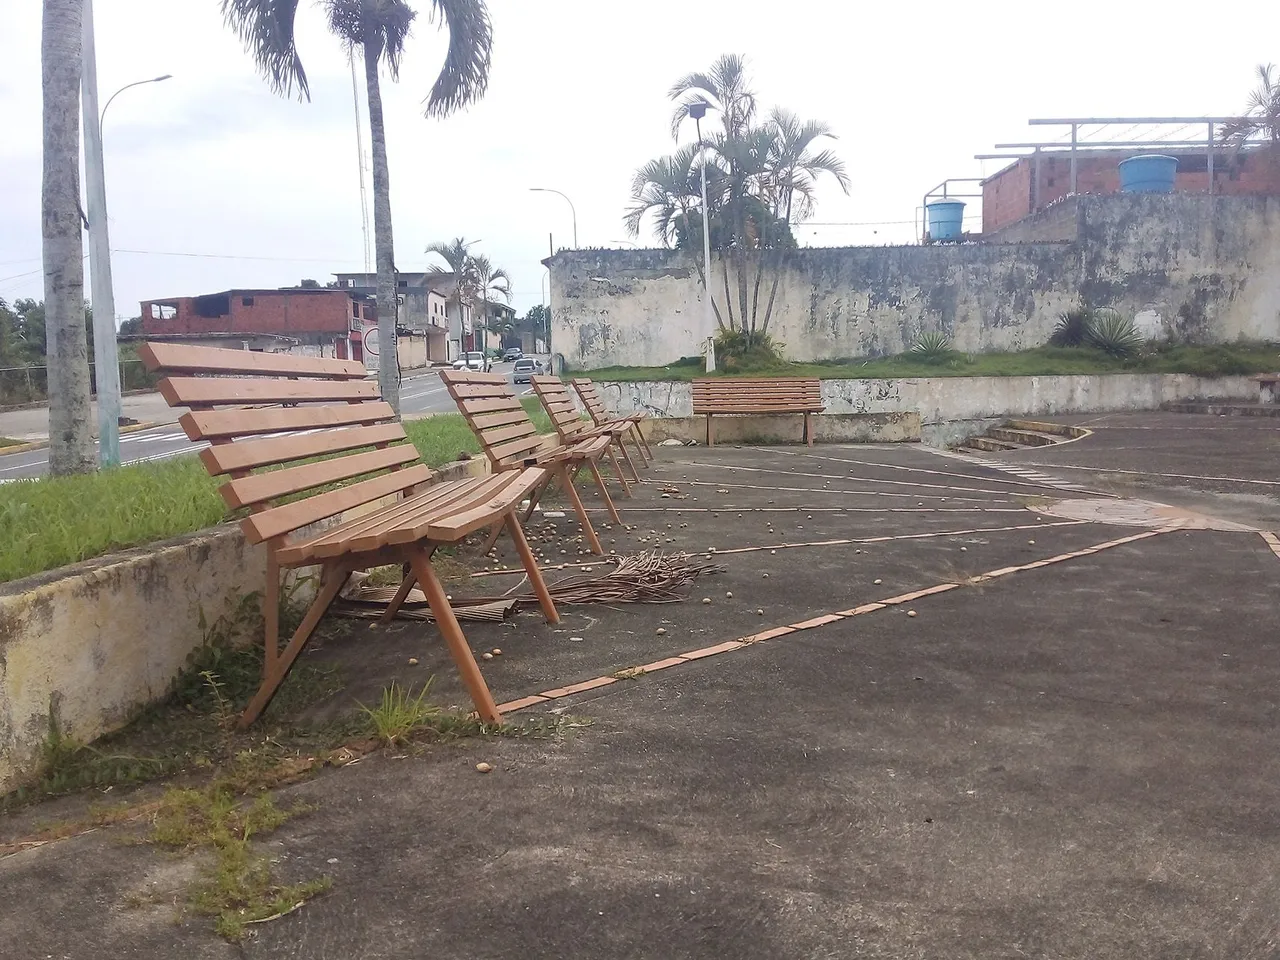
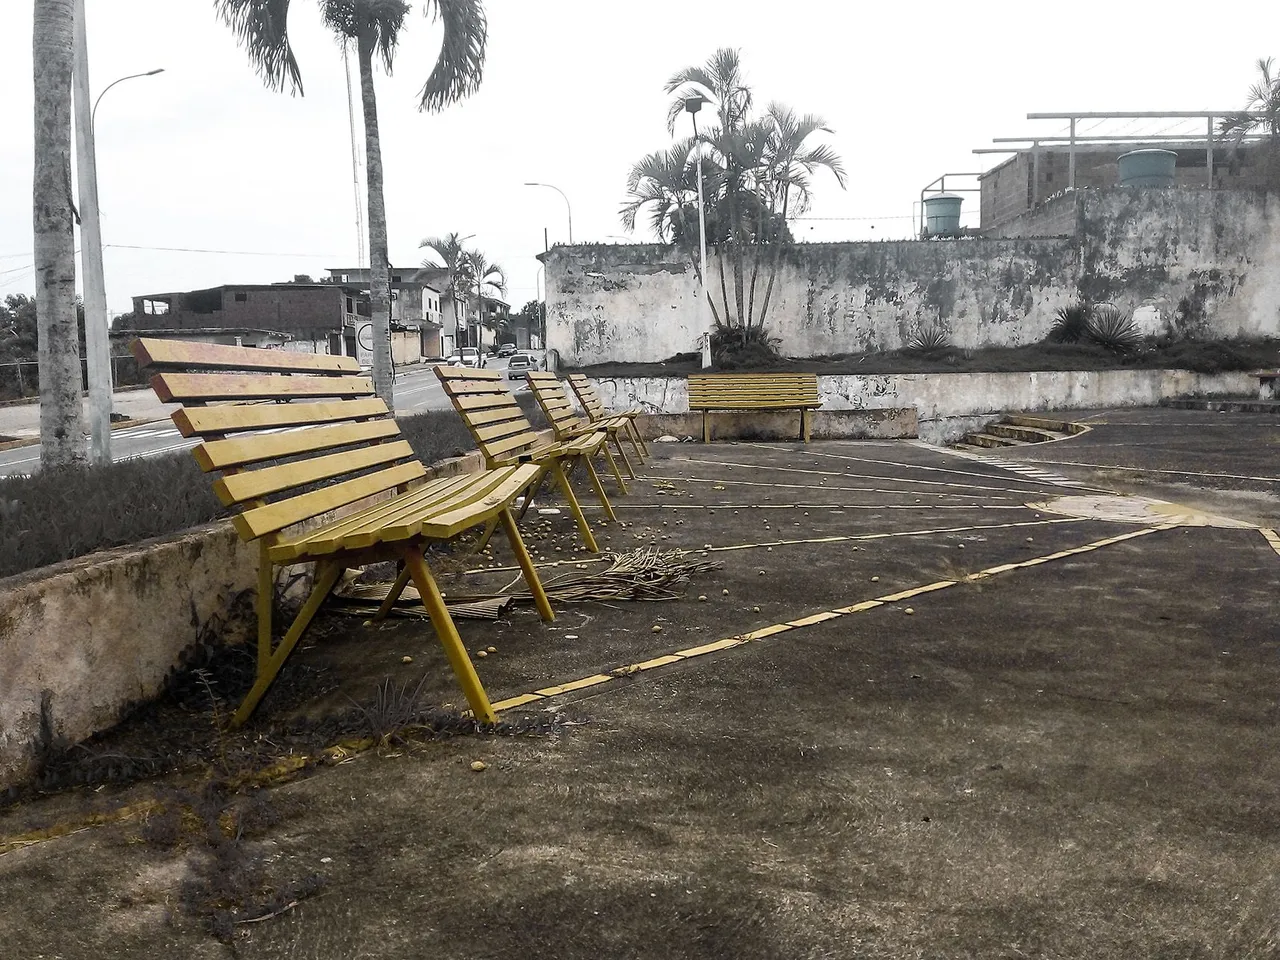
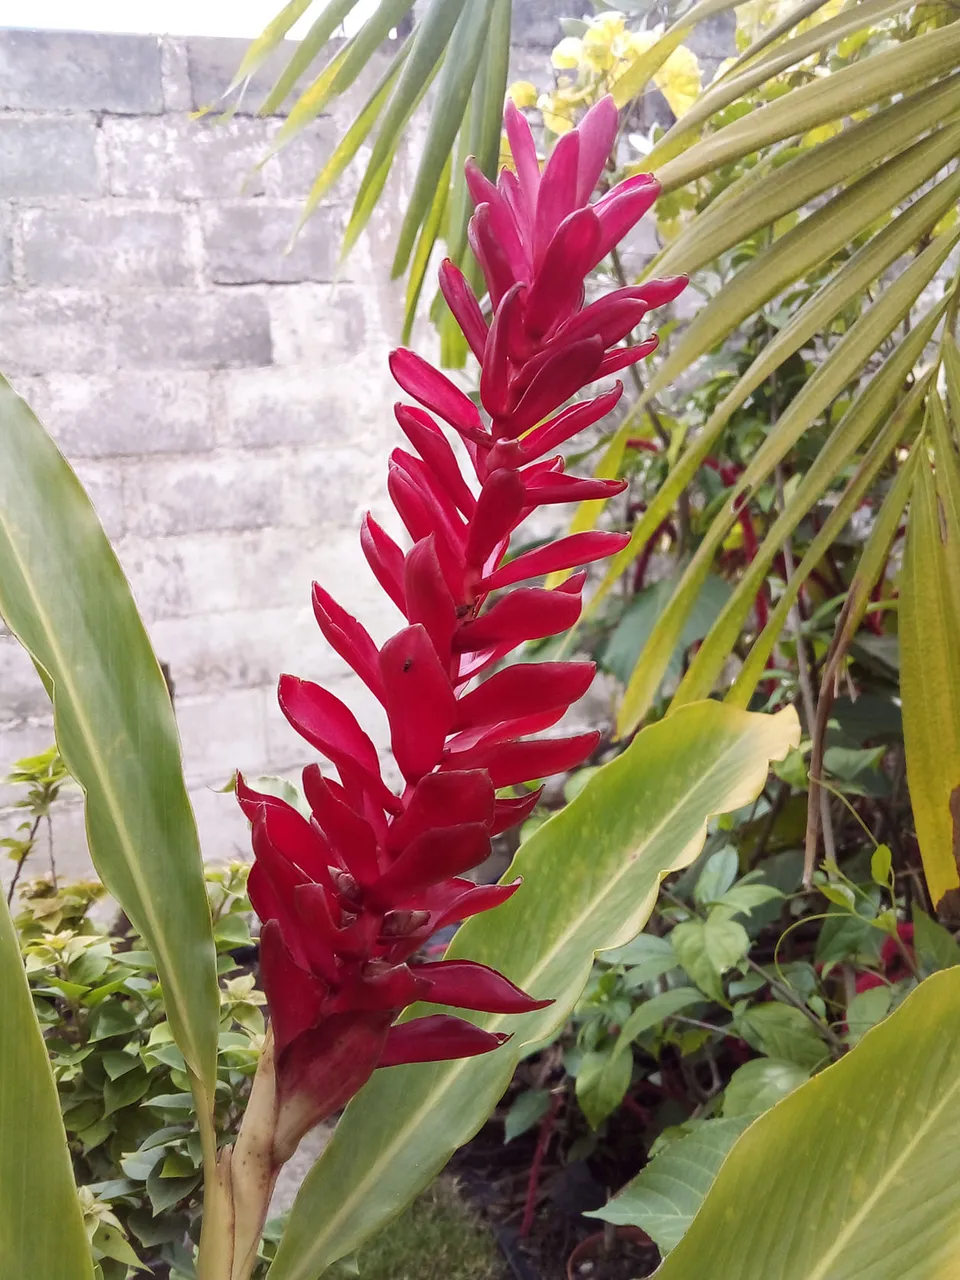
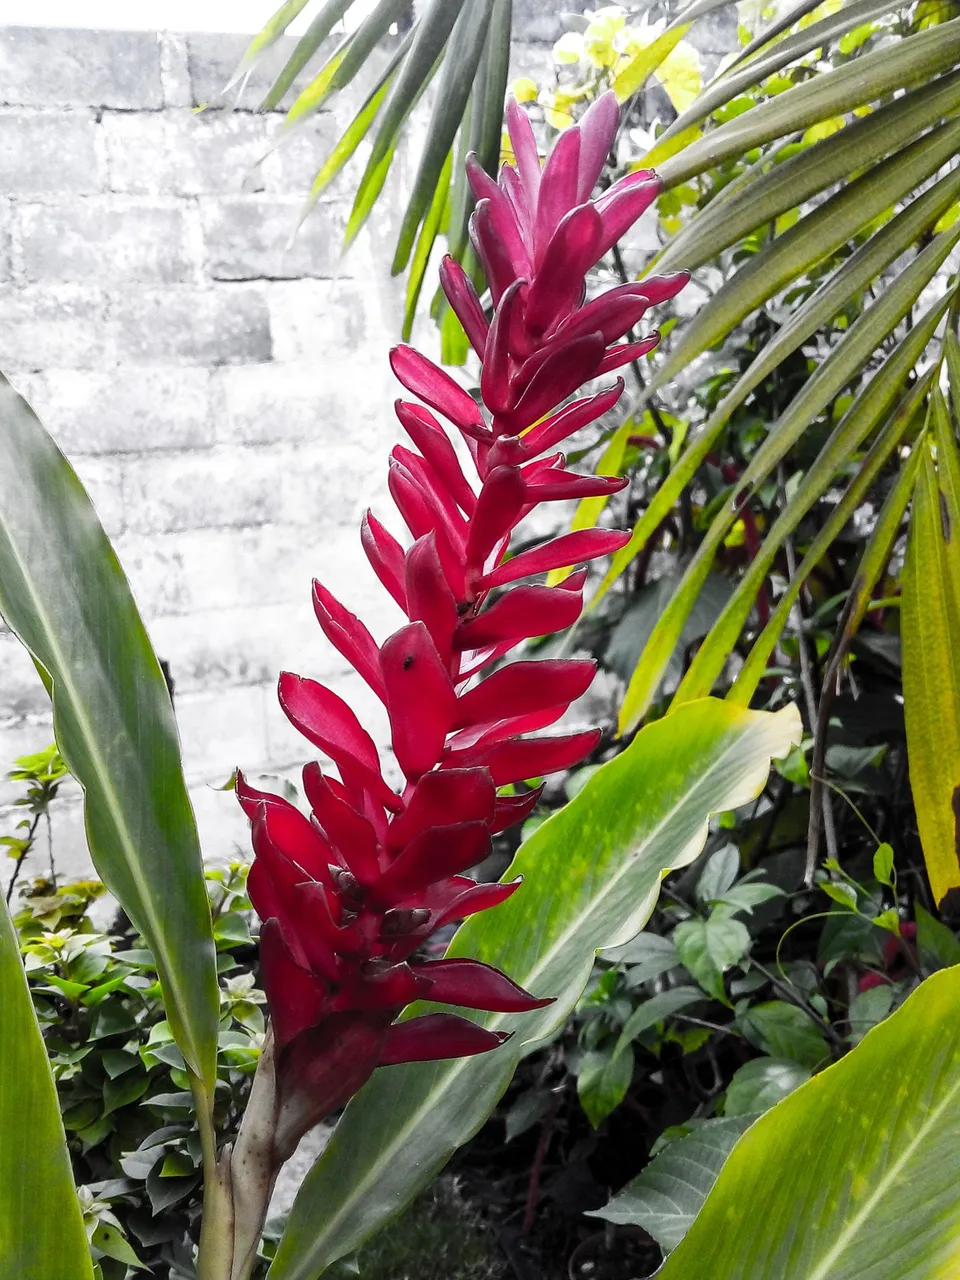
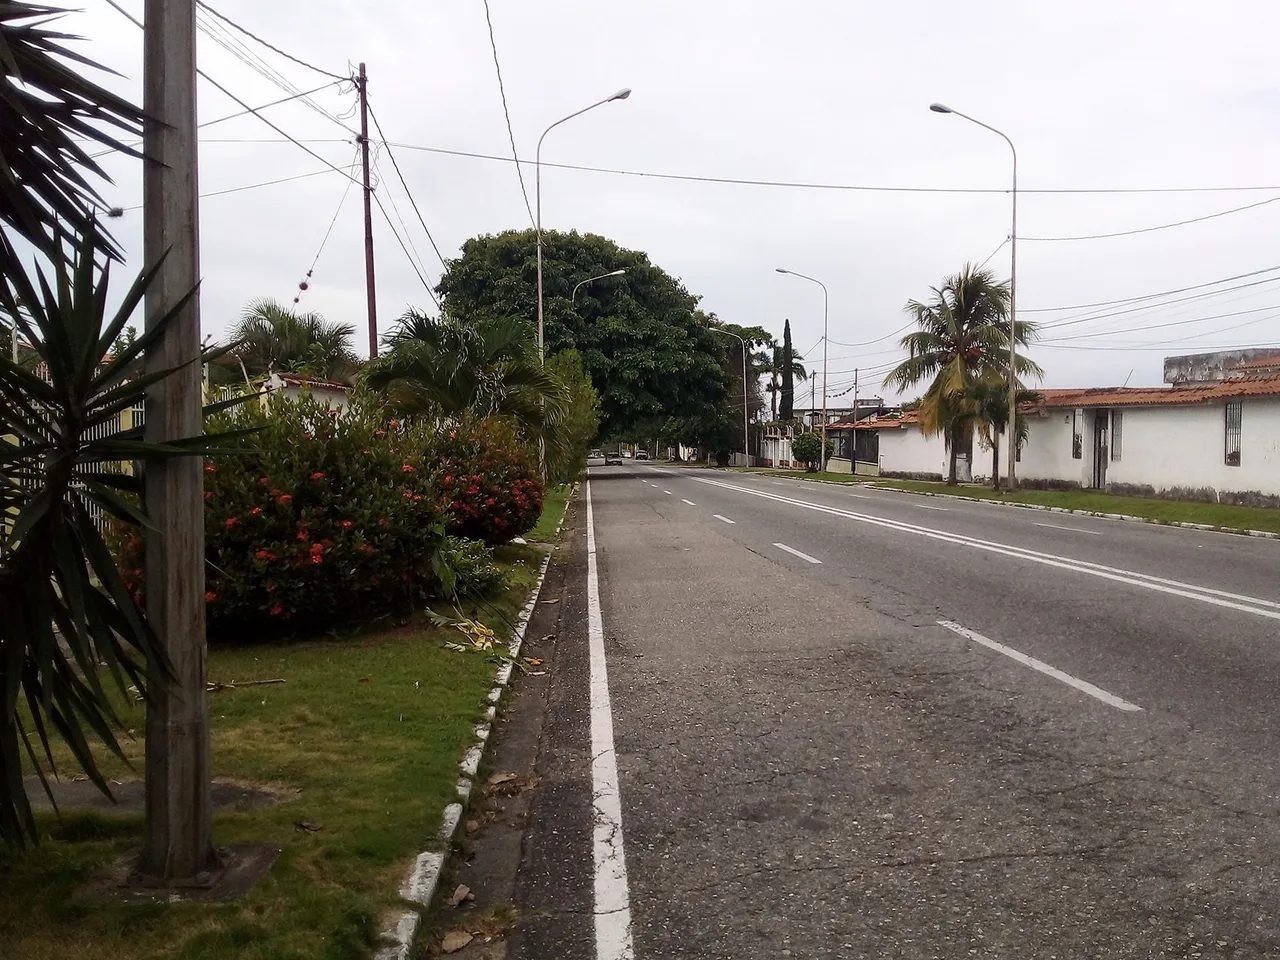
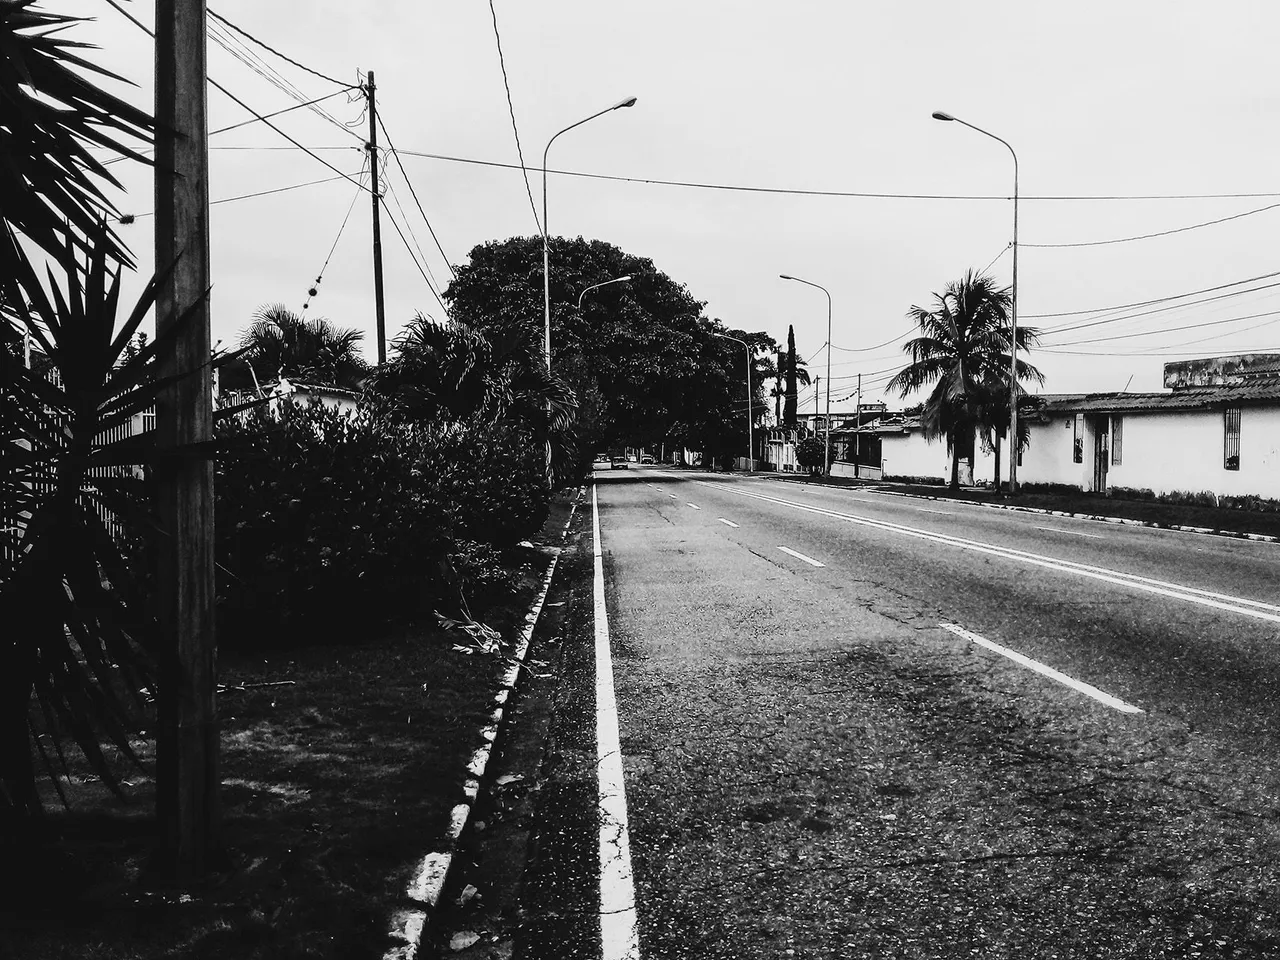
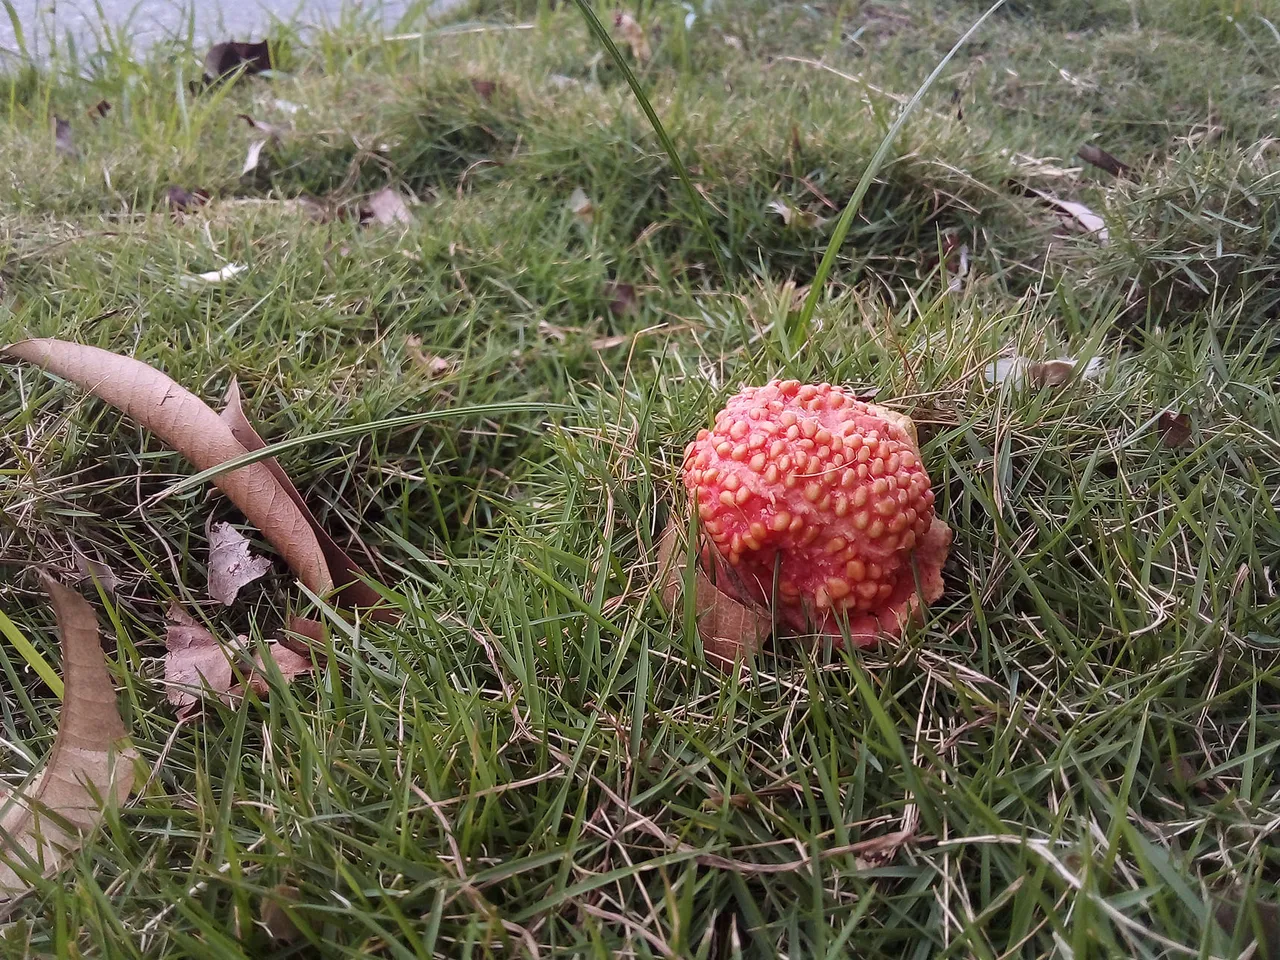
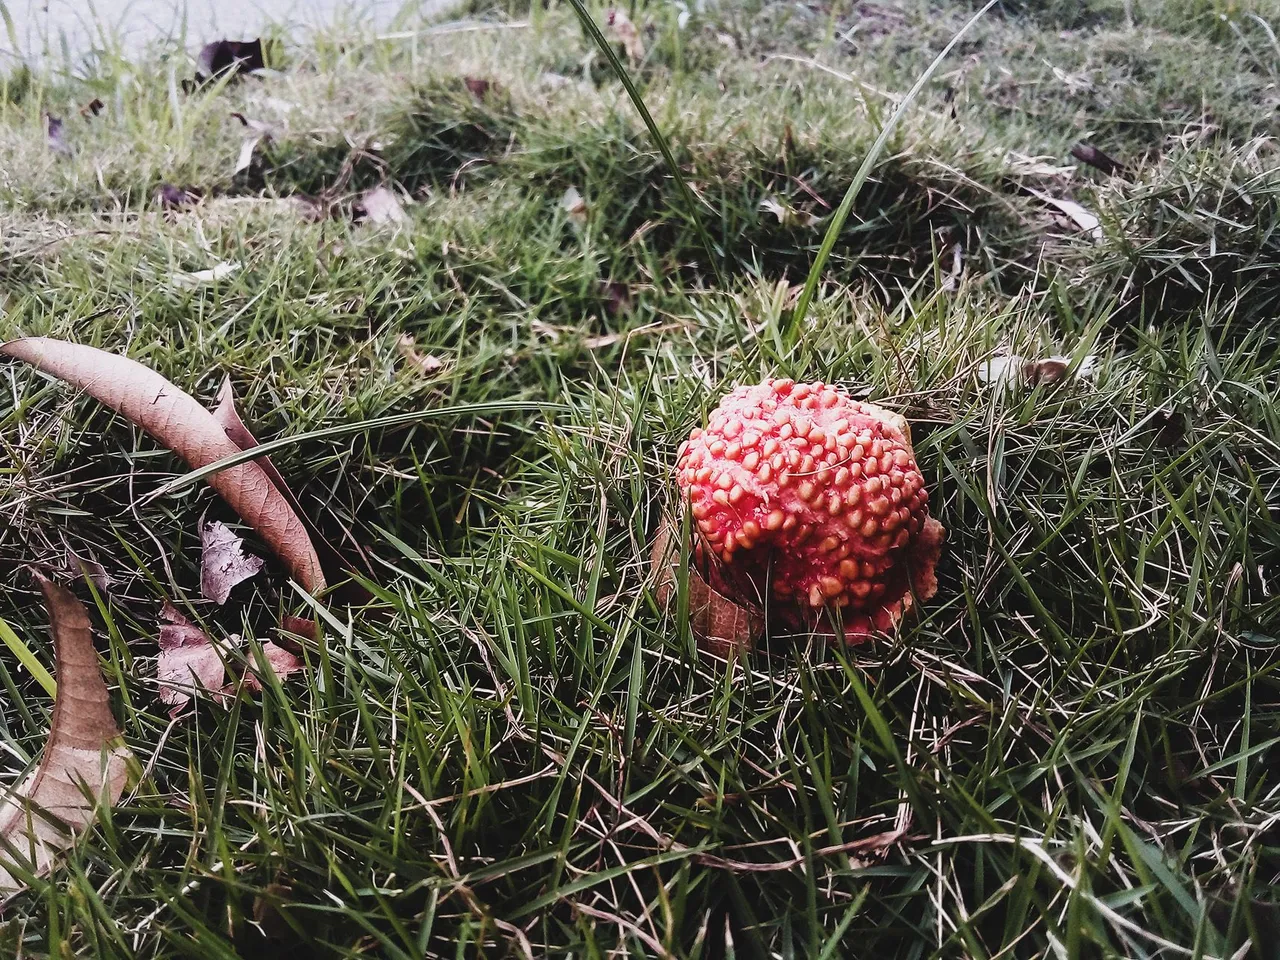
Les dejo esta serie de fotografías en donde pueden ver el antes (izquierda) y el después (derecha).
 |  |
 |  |
|---|
 |  |
|---|
 |  |
|---|
 |  |
|---|
Como pueden ver, se pueden mejorar algunas fotos o simplemente darle efectos geniales y diferentes. Es una herramienta tecnológica al alcance de muchos, ya que la mayoría contamos con un dispositivo en donde podemos instalarla y ejecutarla, para darle un toque mas profesional a nuestras fotos.
Bien, ¿qué les ha parecido la publicación? Me gustaría saber sus opiniones al respecto o, si ya han usado esta app, también pueden comentarlo más abajo. Sin más que agregar, les agradezco mucho su lectura, me despido entonces...
¡Hasta la próxima!
English
Photoshop is one of the most popular photo editing programs. Although it is very popular, the truth is that it is not a free program and not everyone is willing to pay to simply retouch a photo, especially if there are other free options on the market.
However, Adobe itself (the company that creates these programs) has a mobile version of Photoshop, called LightRoom. It is a very interesting application that I have been using for a couple of days now and it is not bad at all...
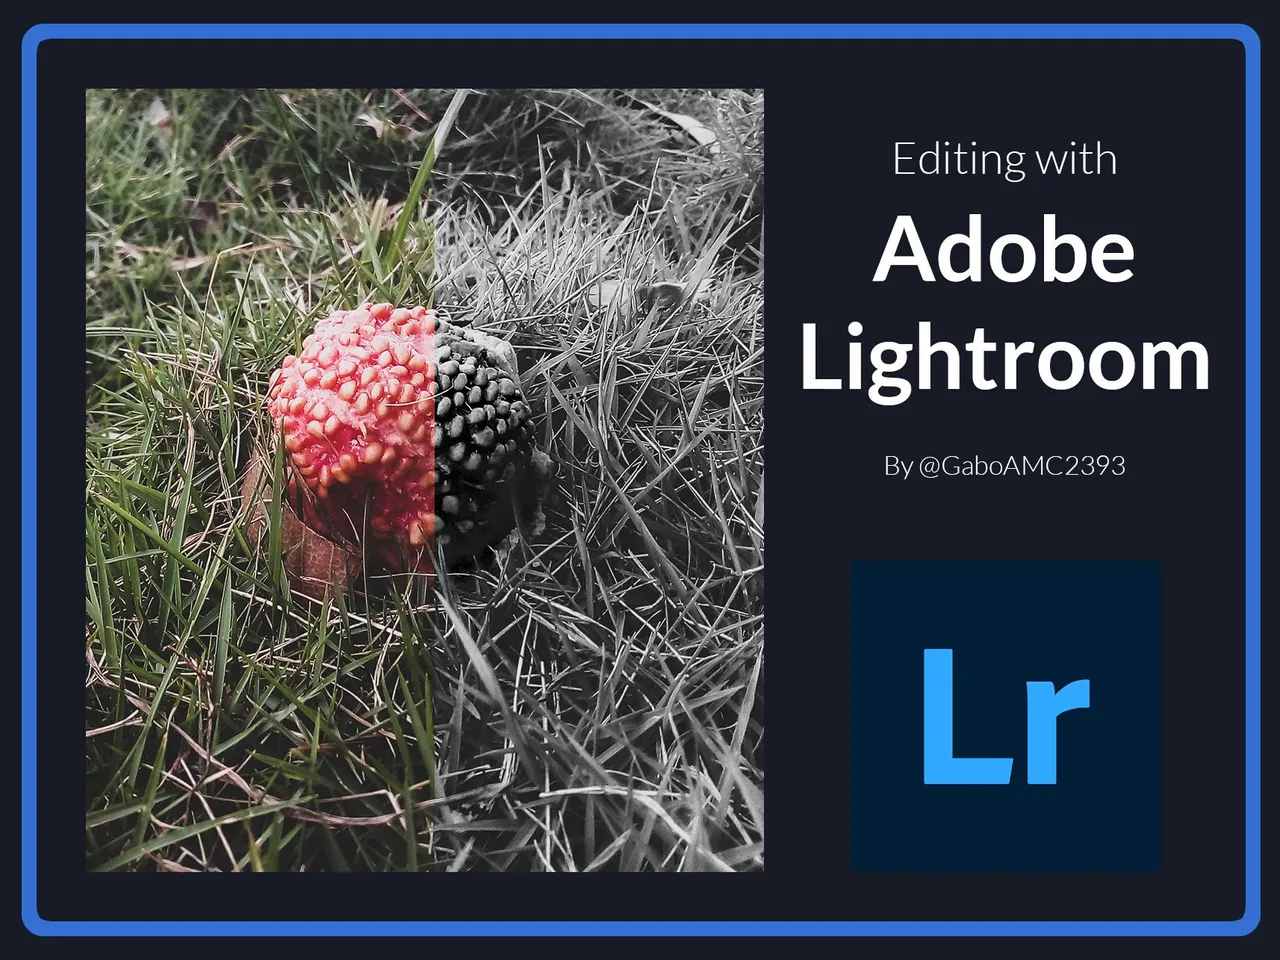
As I already mentioned, there are many free image editing and photo retouching apps on the market. Some are pretty good and others not so good; but I, who have used Photoshop before, decided to install this one to see how it works.
I wanted to have an app on my device to give quick retouching to photos and, after having used it, I think it fulfills the initial purpose for which I downloaded it. It's not totally free, because some options require a premium membership; however, the free options it has are more than enough.

My phone is android, so I used the playstore to download it. It weighs just over 100mb and the startup is fast. It explains a bit what you can do with the app, there is even a mini tutorial when you go to edit the photos.
You can download it directly from the playstore by following this link:
https://play.google.com/store/apps/details?id=com.adobe.lrmobile&hl=es_VE&gl=US
At the beginning there was a screen asking for an Adobe account, but it also gives the option to log in with Facebook, Google or Apple. For those who don't have an Adobe account, it's a good option.

Modules
Once in the app, we find different interesting modules.
Library: In this module are all the images that we have imported to the application. We have the option to add images to edit them through the camera (capturing the photo), or from our gallery.
They will appear in "All" or, if you prefer, you can create more albums for the different types of pictures you are going to add to the application.
Shared: is a module to, as its name indicates, consult the photos or complete photo albums that we have shared on the web. There is not much more to describe here.

Training: this is a module that I find really interesting, because we will find a lot of tutorials that we can follow to improve our edits.
I think they are great because some of them, the ones I have done, are tutorials that we can follow in real time, in our app and with the tools we have there. It's a great option for all those who are starting to use the application and don't have much idea of how to use it.

Edition
To edit a photo we simply need to have it in our library (Library module). We have to find the image and then click on it to start editing.
In the editor we have a lot of tools that we can familiarize ourselves with over time; that is, with the use of the application itself. However, I will tell you about some quite interesting features.
Presets: is the first option (free) we have to edit a photo. It allows us to change the style of our photo, giving it some of these presets that the app brings, such as high contrast, high contrast and details, Vivid, or Matte.
One of our photos could have a better look by simply adding any of these settings, so it is a simple way to improve them.

Other options we have are Light, Color and Effects.
Light: here we can configure the exposure, contrast, illumination, shadow, among other properties of our photograph. If we have a photograph that is a little dark, this section can help us to improve it a little, although it does not work miracles.
Color: i find this option very interesting, because on more than one occasion I have taken pictures in which the temperature, for example, is not the right one. In this section we can improve that, the temperature, the hue, intensity, among other properties.
Let's suppose we take a picture and it looks a little orange. Well, in the color section we can adjust its temperature to a slightly bluer one, which will give more warmth to the photo.
Effects: in this section we will find a series of effects that we can apply to our photos. The most common ones that I found were those of clarity or haze, but there are others that can be applied to the photos to give them an interesting touch.

As an additional detail, this seems to me to be for the premium option. We can save our favorite profiles to apply directly to new photos, like the presets I mentioned earlier. It's a useful thing, but I'm pretty sure it only works in Premium.
Now, it may be the case that while using the app, a 7-day Premium free trial will appear. It doesn't sound bad, so you can see whether or not it is worth paying for the additional features offered by the application. I'll stick with the free tools it has, they are more than enough for me.

Edition completed
Once you have finished editing, you can press for a few seconds and you will see how the image looked before you edited it. When you release it, it goes back to the way you had it. It is to see a before and after...
Once ready, you can click on share and save to device and ready, the photo will appear in your gallery in an album called "AdobeLightroom".


In my case, I edited five photographs by applying different tools, to give different styles to each photograph.
I leave you with this series of photographs where you can see the before (left) and after (right).
 |  |
 |  |
|---|
 |  |
|---|
 |  |
|---|
 |  |
|---|
As you can see, you can improve some photos or simply give them cool and different effects. It is a technological tool available to many, since most of us have a device where we can install it and run it, to give a more professional touch to our photos.
Well, what did you think of the publication? I would like to know your opinions about it or, if you have already used this app, you can also comment below. Without further ado, I thank you very much for reading, I'll say goodbye then...
See you next time!
Traducido con DeepL
El lago de agua salada
Mujeres Aterradas
Cleaning Time
