

Hellooo, beautiful people! I hope you had a nice day. Yesterday I spent the morning thinking about what makeup to do, my boyfriend suggested me something dark, kind of gothic, so I got down to work. I'll be sharing with you the result, step by step and tips to get you started. Let's get started!
¡Hooola, gente bonita! Espero hayan tenido un buen día. Ayer pasé la mañana pensando en qué maquillaje hacerme, mi novio me sugirió algo oscuro, medio gótico, así que me puse manos a la obra. Les voy a estar compartiendo el resultado, paso a poso y tips para que les salga. ¡Comencemos!

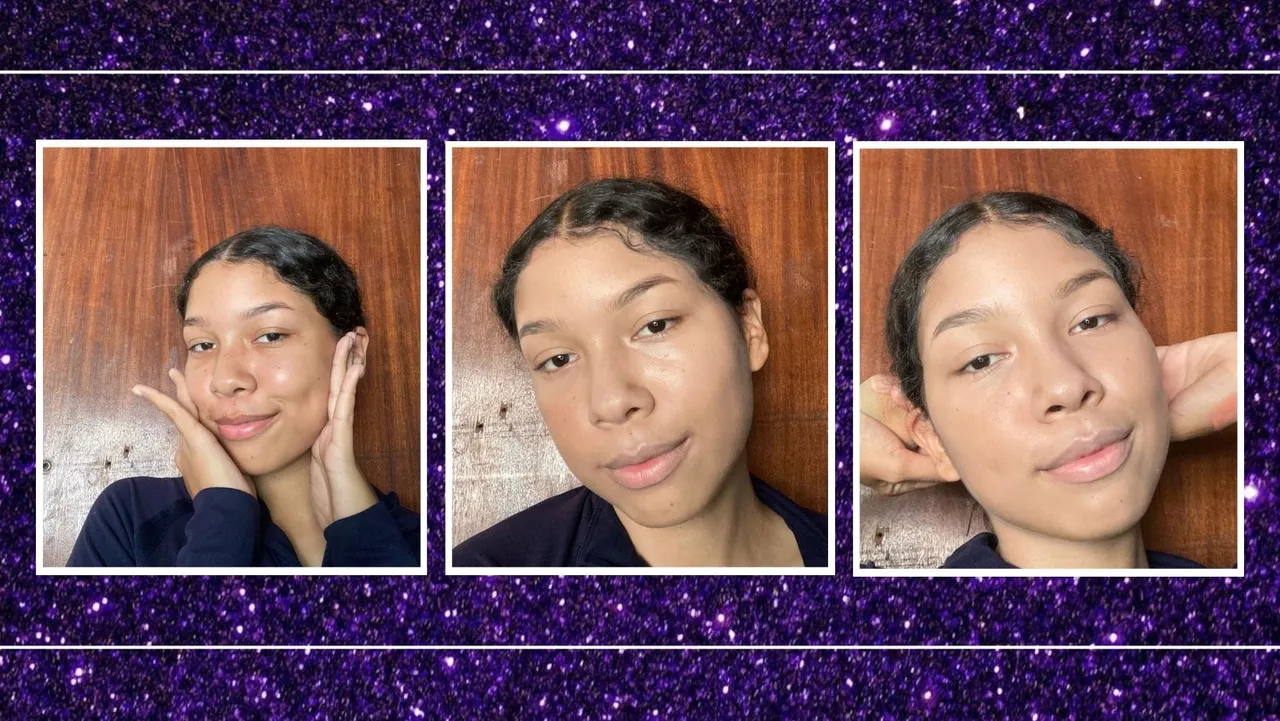
With my skin clean and moisturized, I start correcting. Since my dark circles under my eyes are bluish and not very pronounced, I neutralize them with orange concealer very punctually. You can't see it on camera but that's how I started. Then I applied the concealer in stitches so as not to move the orange concealer underneath, with the same care I apply the foundation.
Con mi piel limpia e hidratada empiezo a corregir. Como mis ojeras son azuladas y poco pronunciadas las neutralizo con corrector naranja muy puntualmente. En cámara no se alcanza a ver tanto pero así comencé. Después apliqué el corrector en puntadas para no mover el corrector naranja de abajo, con el mismo cuidado aplico la base.
For baking I place loose powder with a sponge under the eye in an inverted triangle shape, remember that baking is more about the pressure than the amount of powder itself. Before baking on the cheeks I like to apply the contour near the cheekbone. Then when I place the baking on the cheek it will accentuate the features.
Para el baking coloco polvo suelto con una esponja debajo del ojo en forma de triángulo invertido, recuerda que el “baking” se trata más de la presión que de la cantidad de polvo en sí. Antes de hacer el baking en la mejillas me gusta aplicar el contorno cerca del pómulo. Entonces cuando coloque el baking de la mejilla se van a acentuar las facciones.
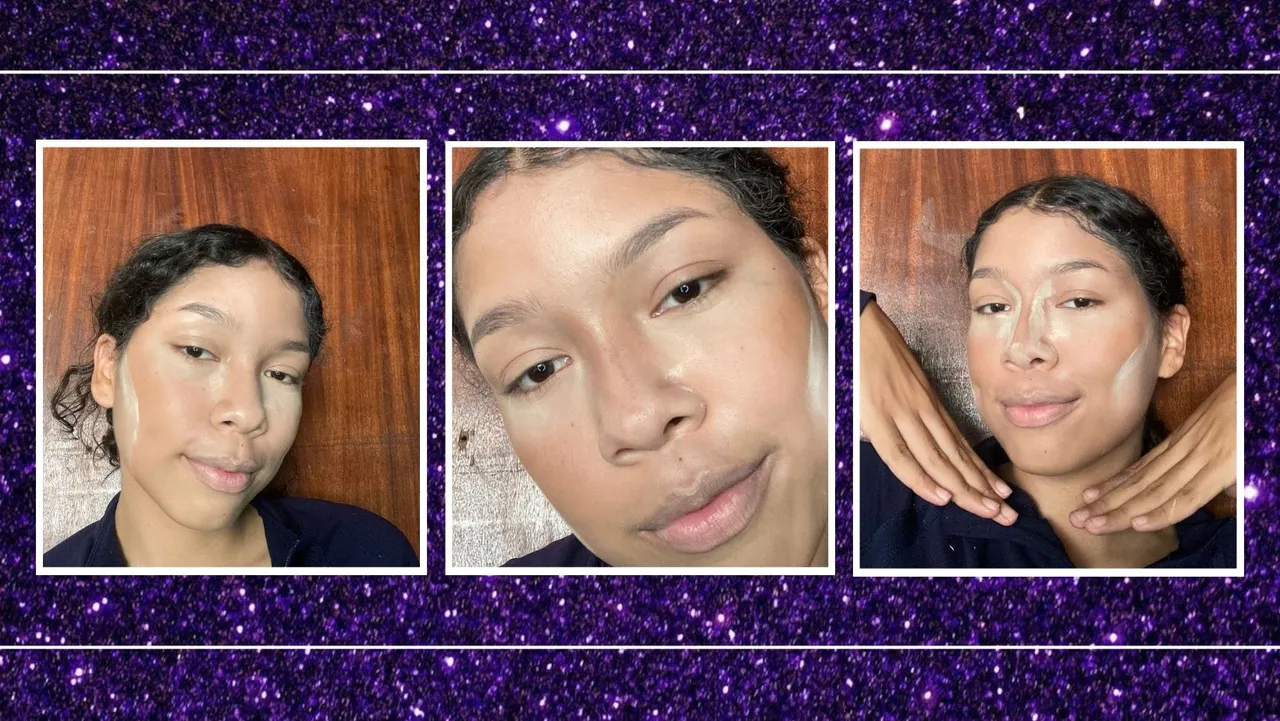
Now it's time to correct the nose. I outline with contour from the middle of the nose to the birth of the eyebrows, from the middle to the tip I narrow the lines more and at the tip I make a circle to elevate the nose, then I blend with a wide brush and apply baking to make the lateral skin of the nose look like part of the rest of the face.
Llegó el turno de corregir la nariz. Yo delineo con contorno desde el medio de la nariz hasta el nacimiento de las cejas, del medio a la punta estrecho más las líneas y en la punta hago un círculo para elevar la nariz, después difumino con una brocha amplia y aplico baking para que la piel lateral de la nariz parezca parte del resto de la cara.
While the baking takes effect I apply makeup to my eyebrows, then I spread the baking with a wide brush to seal the rest of the face, apply blush and I have the canvas ready to start with the eyes.
Mientras el baking hace su efecto me maquillo las cejas, después esparzo el baking con una brocha amplia para sellar el resto del rostro, aplico rubor y ya tengo el lienzo listo para empezar con los ojos.

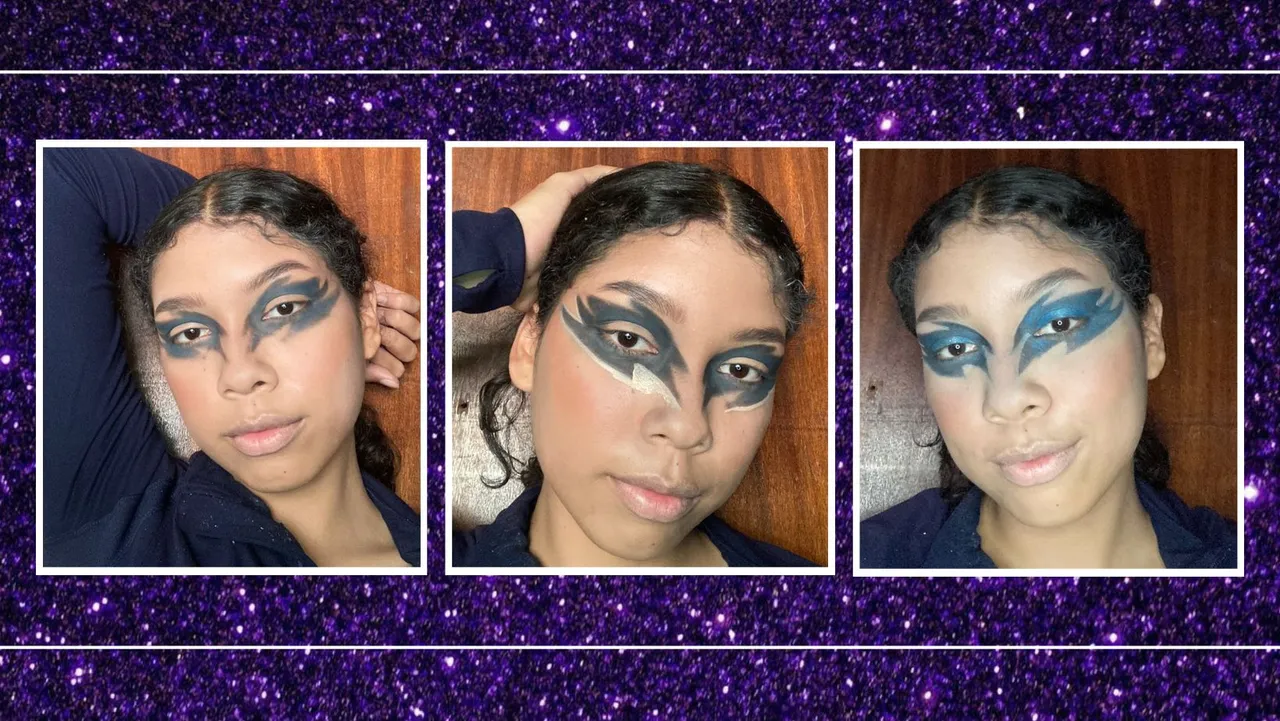
To avoid messes, I like to draw the shapes with brown shadow first, then repeat the process with black shadow on the edges blending inwards. I felt that if I did only black it would look weird so I decided to apply a very dark blue on the inner part except for the lower eyelid. Don't worry if you look like a raccoon, trust the process.
Para evitar desastres, me gusta dibujar primero las formas con sombra café, después repito el proceso con sombra negra en los bordes difuminando hacia adentro. Sentía que si lo hacía solo negro sería extraño entonces decidí aplicar un azul muy oscuro en la parte interna exceptuando el párpado inferior. No se preocupen si parecen un mapache, confíen en el proceso.

Dark colors that are poorly blended look patchy, so the secret here is to blend as much as you can to make the foundation as smooth as possible. With concealer and a very small brush I start to correct the edges of the shadow, so everything will look cleaner. To blend the concealer without ruining the rest I recommend using a sponge and giving small touches one by one.
Los colores oscuros mal difuminados se ven parchosos, entonces el secreto aquí será difuminar todo lo que puedas para que la base sea lo más lisa posible. Con corrector y una brocha muy pequeña comienzo a corregir los bordes de la sombra, así se verá todo más limpio. Para difuminar el corrector sin arruinar lo demás te recomiendo usar una esponja y dar pequeños toques de uno en uno.
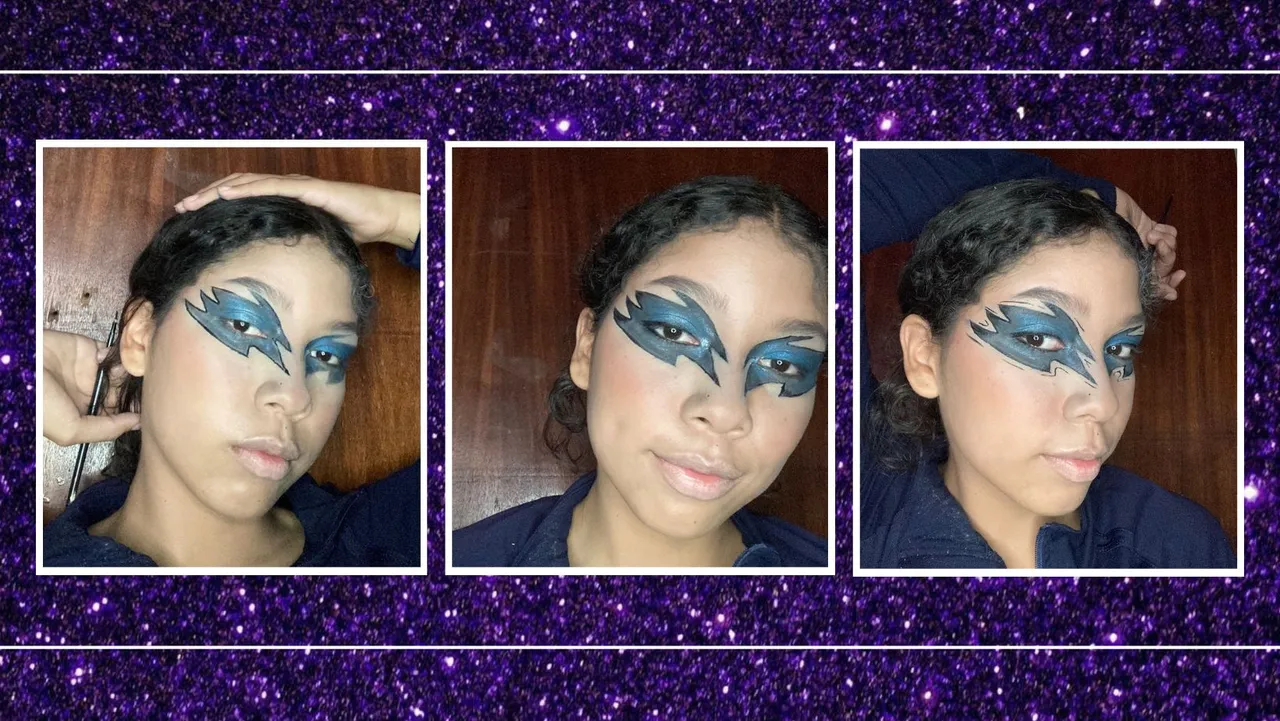
For the lower eyelid I'm going to apply a blue satin shadow, as it's a bit light and I'm not looking for so much contrast, I'm going to add a layer of the dark blue I used in the beginning. To make everything more uniform I will use the blue satin shadow in a smaller amount on the rest of the eye areas. In addition to small dots of white satin shadow, mainly on the tear trough.
Para el párpado inferior voy a aplicar una sombra satinada azul, como es un poco clara y no busco tanto contraste, voy a añadirle una capa del azul oscuro que usé en un principio. Para que todo sea más uniforme usaré la sombra satinada azul en menor cantidad en el resto de zonas del ojo. Además de pequeños puntos de sombra satinada blanca, principalmente en el lagrimal.
Now comes the scary part: the eyeliner. I bought a very thin and short brush to pick up eyeliner and apply it easier. I recommend that you support your elbow for more confidence and apply a soft, thin line first and then go over to guide you better.
Ahora viene la parte que puede dar miedo: el delineador. Yo compré una brocha muy delgada y corta para tomar delineador y aplicarlo más fácil. Te recomiendo que apoyes el codo para más confiaza y que primero apliques una línea suave, fina y después repases para guiarte mejor.
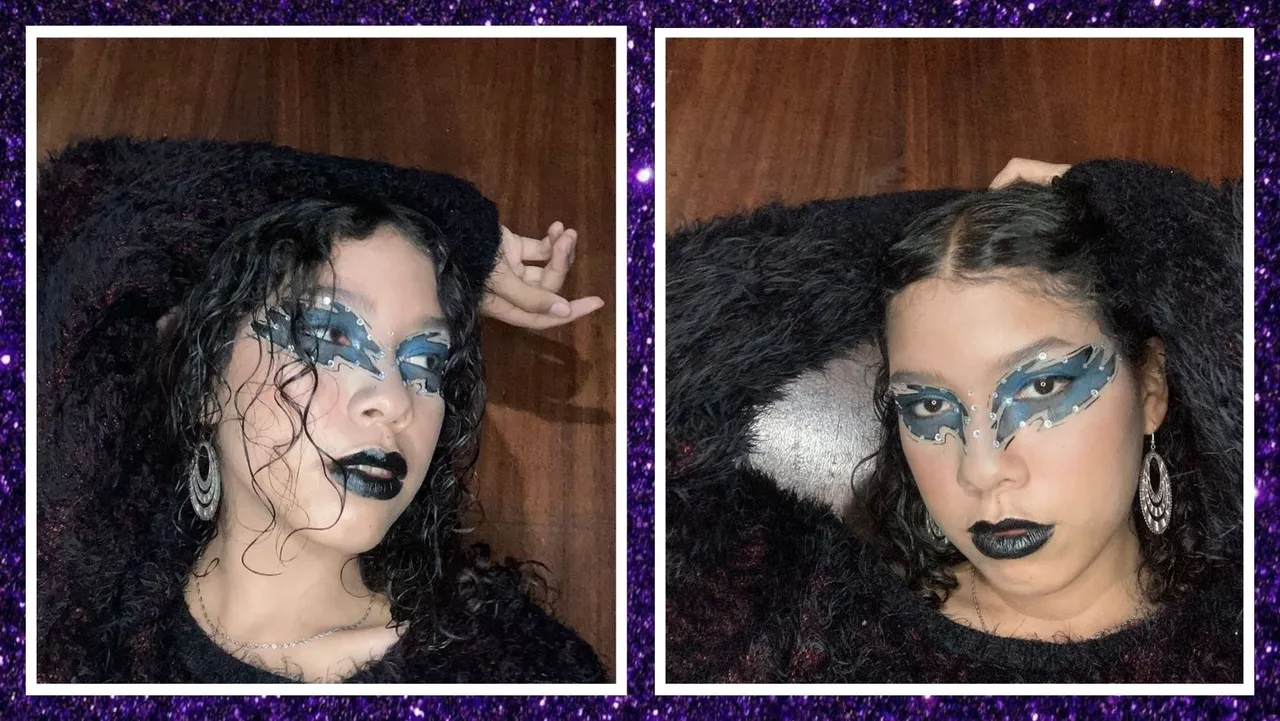
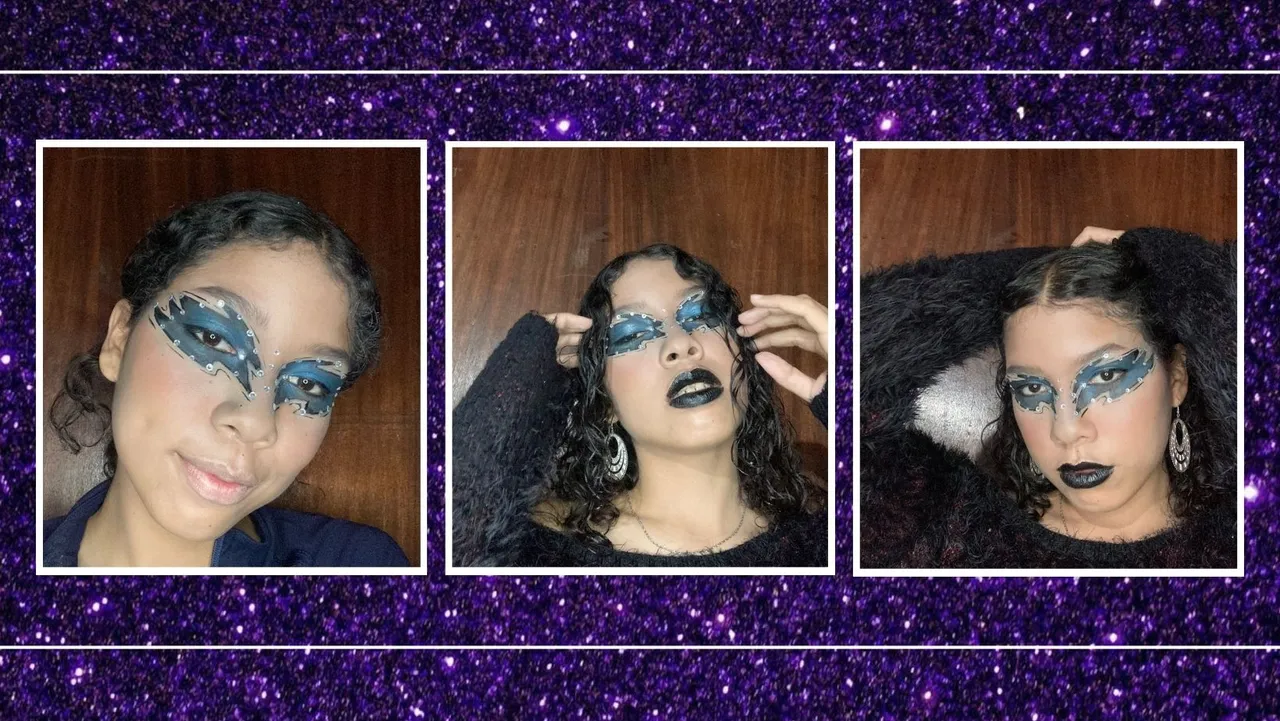
I add drama by darkening the corners with eyeliner, I also apply more to the edge of the eye and do a short liner. Then I do a few lines outside the eye as a detail. Carefully, I place crystals all around, black lipstick and voila! We are done.
Añado dramatismo oscureciendo las esquinas con delineador, también aplico más en el borde del ojo y hago un delineado corto. Después hago algunas líneas fuera del ojo como detalle. Con cuidado, coloco cristales alrededor, labial negro y ¡voilá! Hemos terminado.
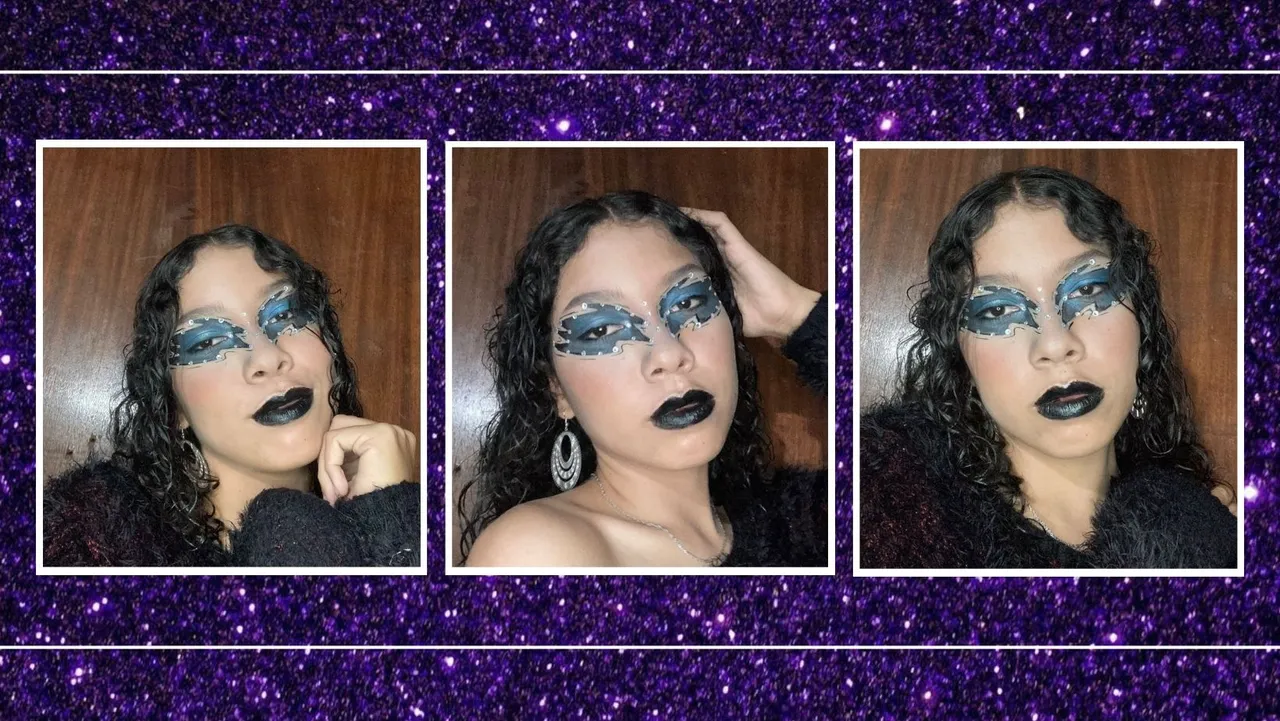
I hope you liked this makeup, if you do it don't forget to tag me to see it. I accept all the tips you have for me and I hope you have a nice morning/afternoon/evening. I send you a hug.
Espero te haya gustado este maquillaje, si lo realizas no olvides etiquetarme para verlo. Acepto todos los consejos que tengan para mí y espero tengan una bonita mañana/tarde/noche. Les mando un abrazo.

The text was translated from DeepL App, the cover, dividers and images were edited in Canva App.
El texto fue traducido de DeepL App, la portada, divisores e imagenes fueron editadas en Canva App.