Hola linda comunidad de Hive y del poder del maquillaje 💄// Hello beautiful Hive community and of makeup power 💄

Quiero mostrarles un maquillaje que tenía en mi galería y no me acordaba de el y que tenía todo el proceso guardado. Es sobre uno de los personajes más icónicos para las fechas decembrinas ✨El Grinch✨. Me hizo mucha emoción hacerlo y espero a ustedes también les guste tanto como a mí.
A primera vista parece un maquillaje algo elaborado pero la verdad es que es algo sencillo de hacer, y aquí el paso a paso.
I want to show you a makeup that I had in my gallery and I didn't remember it and I had the whole process saved. It's about one of the most iconic characters for the holidays ✨The Grinch✨. It made me very excited to do it and I hope you also like it as much as I do.
At first glance it looks like an elaborate makeup but the truth is that it is something simple to do, and here is the step by step.
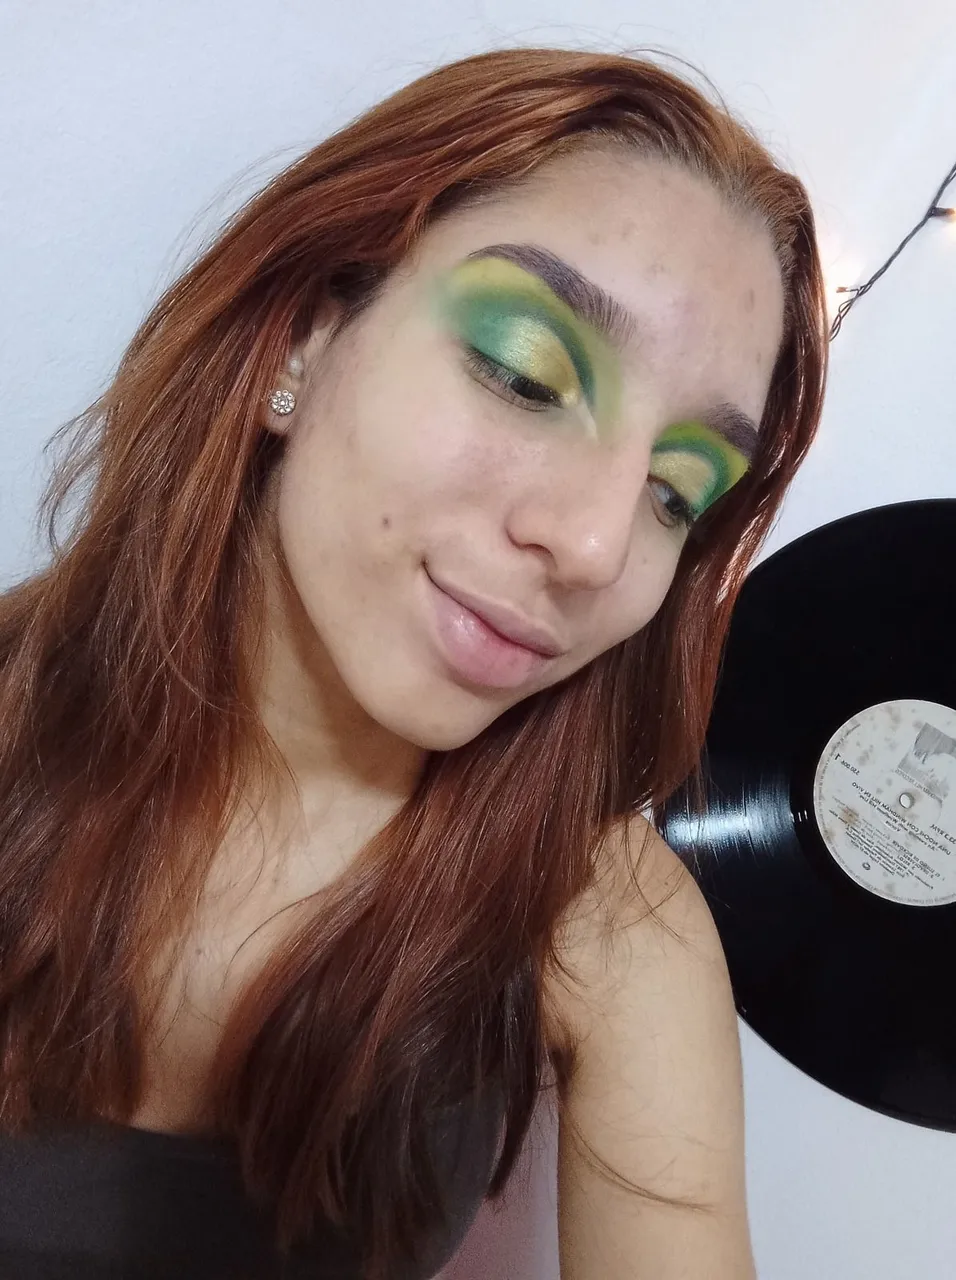
Comenzamos realizando el trabajo de ojos, con tonalidades verdes y doradas, aplicamos corrector en nuestro parpado y la primera sombra que aplicaremos será la verde claro, como color manzana 🍏 en todo el párpado fijo, seguida de una color verde más oscuro 💚 y aplicamos un poco de color negro para profundizarlo.
Limpiamos el párpado móvil para que quede un arco bien definido y prolijo y aplicamos de nuevo corrector para perfeccionar. En el párpado móvil agregaremos un sombra dorada desde el lagrimal hasta la mitad del párpado y para la parte externa aplicamos el mismo verde oscuro de arriba y lo difuminamos con el dorado.
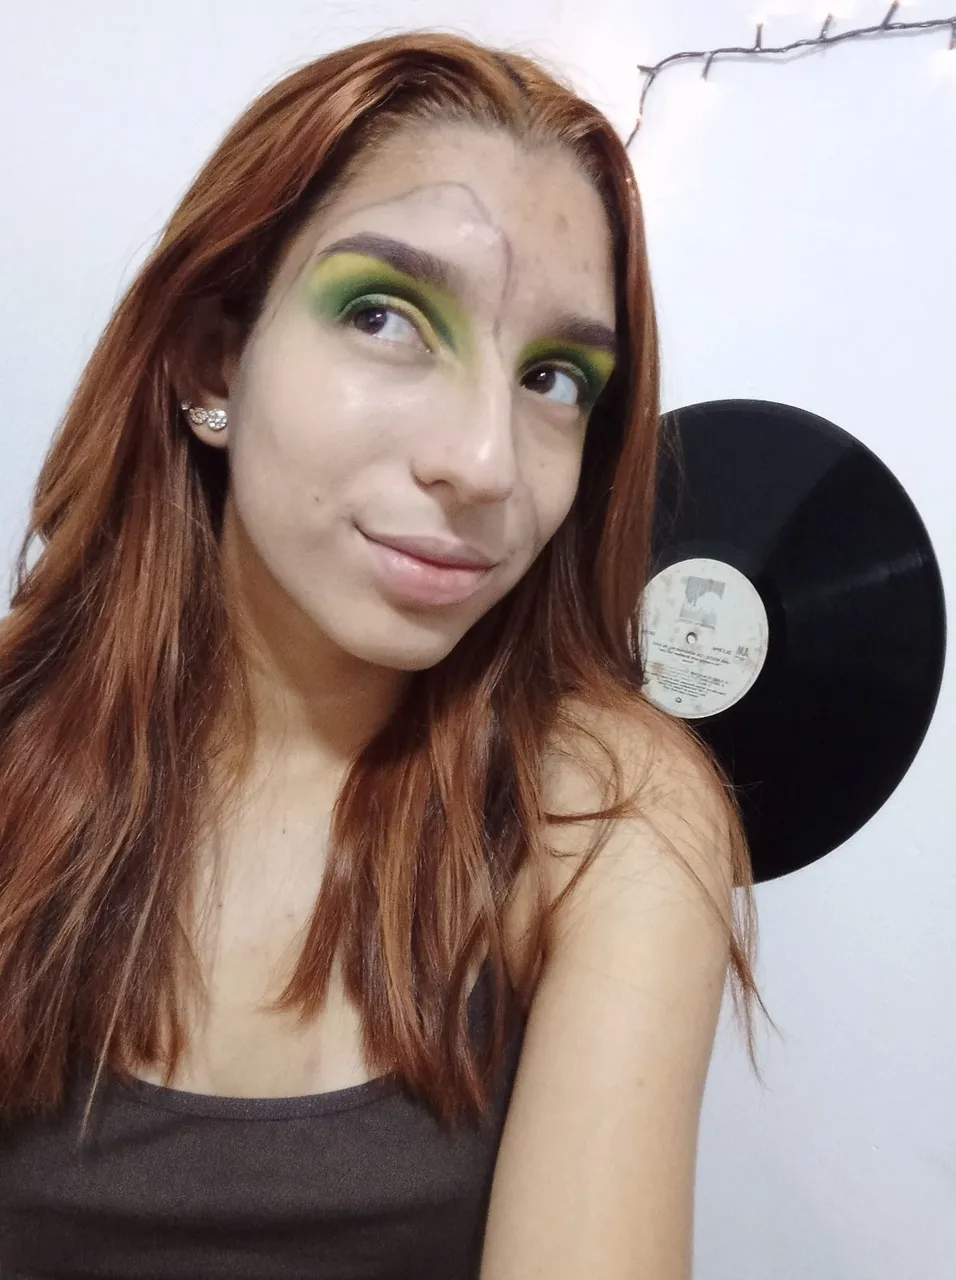
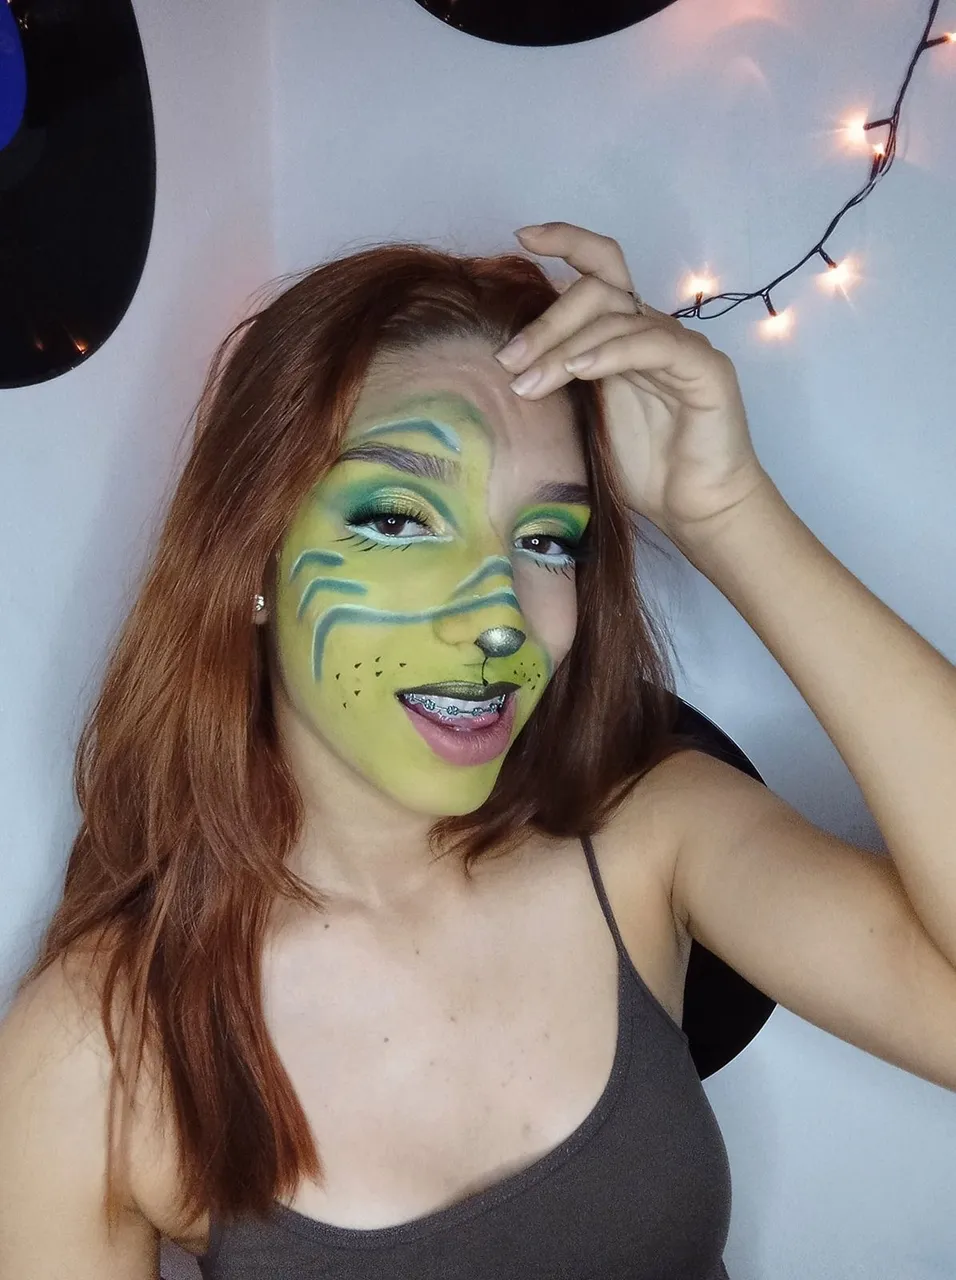
Arreglamos nuestras cejas y las peinamos hacia arriba dándole un acabado como si estuvieran desordenadas, a diferencia de otros maquillajes yo decidí no hacer las cejas negras, ya que quería dar la impresión de que era una "chica Grinch" y no el Grinch en si, por eso las pinte como lo hago habitualmente.
We start by doing the eye work, with green and golden shades, we apply concealer on our eyelid and the first shade we will apply will be light green, like apple color 🍏 all over the fixed eyelid, followed by a darker green color 💚 and we apply a little black color to deepen it.
We clean up the mobile eyelid for a well-defined and neat arch and apply concealer again to perfect. On the mobile eyelid we will add a golden shadow from the tear trough to the middle of the eyelid and for the outer part we apply the same dark green as above and blend it with the golden one.
We fix our eyebrows and comb them upwards giving it a finish as if they were messy, unlike other makeup I decided not to make the eyebrows black, as I wanted to give the impression that I was a "Grinch girl" and not the Grinch himself, so I painted them as I usually do.
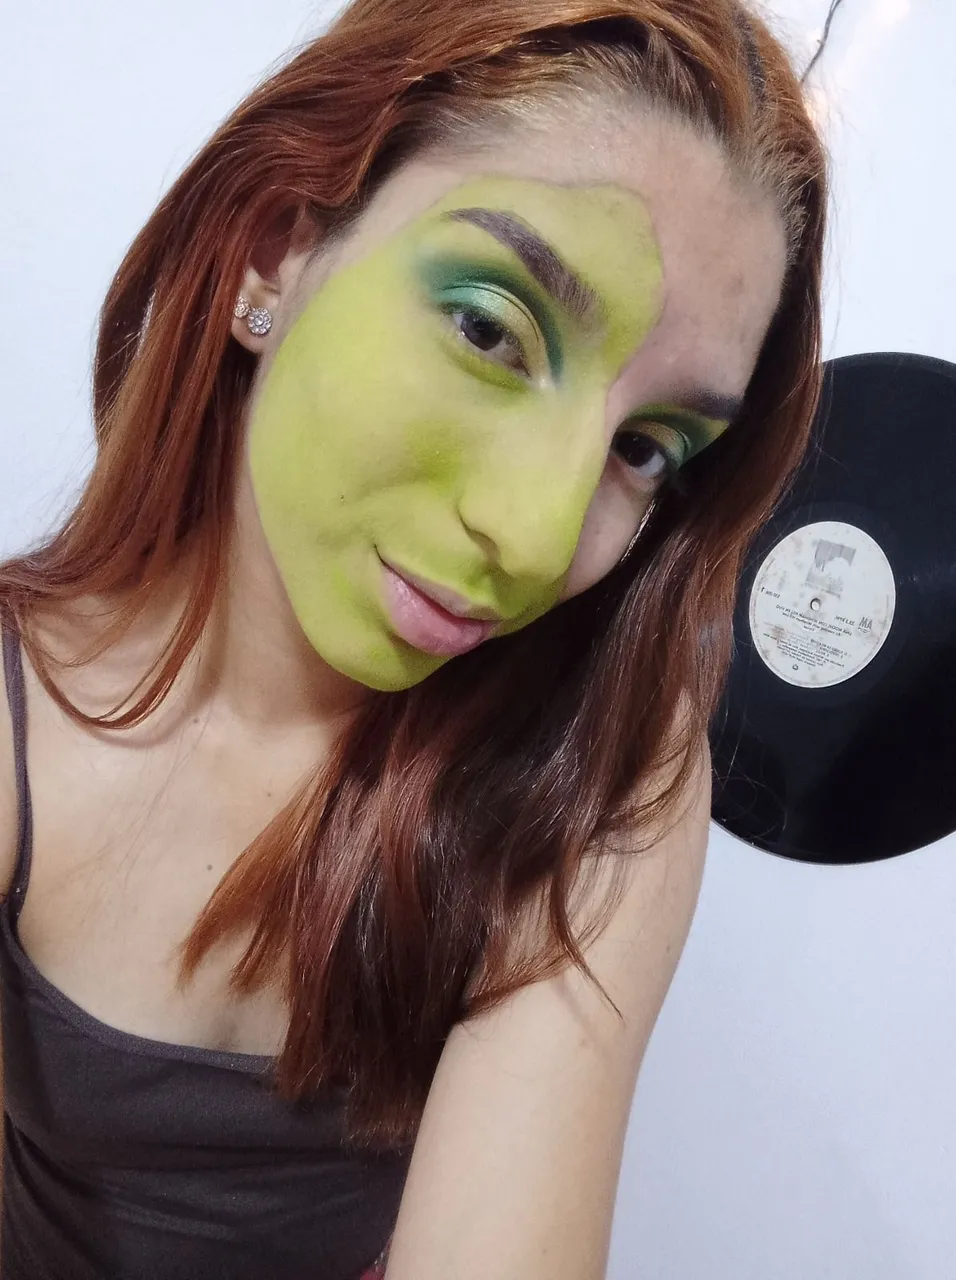
Luego pasamos a realizar el rostro del Grinch, para eso vamos a hacer una división en el lado derecho pero no abarcando todo el rostro de ese lado ya que dejaremos como dos dedos de distancia en la frente y a los lados y vamos a abarcar toda la nariz, la boca y lo pasamos en una línea diagonal hasta el cachete izquierdo.
Una vez hayamos delimitado dónde vamos a hacer el rostro del Grinch vamos a aplicar corrector para empezar con las sombras, yo lo realice con sombras normales, pero quedaría con mejor acabado si fueran en crema. Rellenamos todo nuestro espacio con un color verde manzana y le damos sombra y profundidad a los bordes con una sombras verde oscuro y con un marrón/café.
Then we move on to the Grinch's face, for that we are going to make a division on the right side but not covering the entire face on that side as we will leave about two fingers of distance on the forehead and sides and we will cover the entire nose, mouth and we pass it in a diagonal line to the left cheek.
Once we have delimited where we are going to make the Grinch's face we are going to apply concealer to start with the shadows, I did it with normal shadows, but it would look better if they were in cream. We fill in all our space with an apple green color and give shadow and depth to the edges with a dark green shadow and a brown/brown/brown.
 |  |
|---|
Para las líneas de expresiones características del Grinch vamos a utilizar corrector y sombras, marcamos las líneas con corrector y con con un pincel fino le colocamos la sombra verde muy oscura, de esos que tienen cierta afinidad hacia el gris. Y para darle detalles vamos a agregarle una línea blanca arriba de cada línea para iluminarla, tanto las líneas de la boca y pómulos cómo la de las cejas.
Para hacer la ilusión de que la piel se está doblando para mostrar la verdadera identidad vamos a hacer unas líneas como de sombras marrones y blancas difuminadas para hacer el efecto de los dobles de la piel tanto en la frente como en la esquina donde termina la cara del Grinch del lado izquierdo. Para terminar con los detalles vamos a hacer pequeños lunares con delineador a los lados de la boca.
For the lines of expressions characteristic of the Grinch we are going to use concealer and shadows, we mark the lines with concealer and with a fine brush we place the very dark green shadow, one of those that have a certain affinity towards gray. And to give details we are going to add a white line above each line to illuminate it, both the lines of the mouth and cheekbones as well as the eyebrows.
To make the illusion that the skin is bending to show the true identity we are going to make some lines like brown and white shadows blurred to make the effect of the skin doubles both in the forehead and in the corner where the Grinch's face ends on the left side. To finish with the details we are going to make small polka dots with eyeliner on the sides of the mouth.
 |  |
|---|
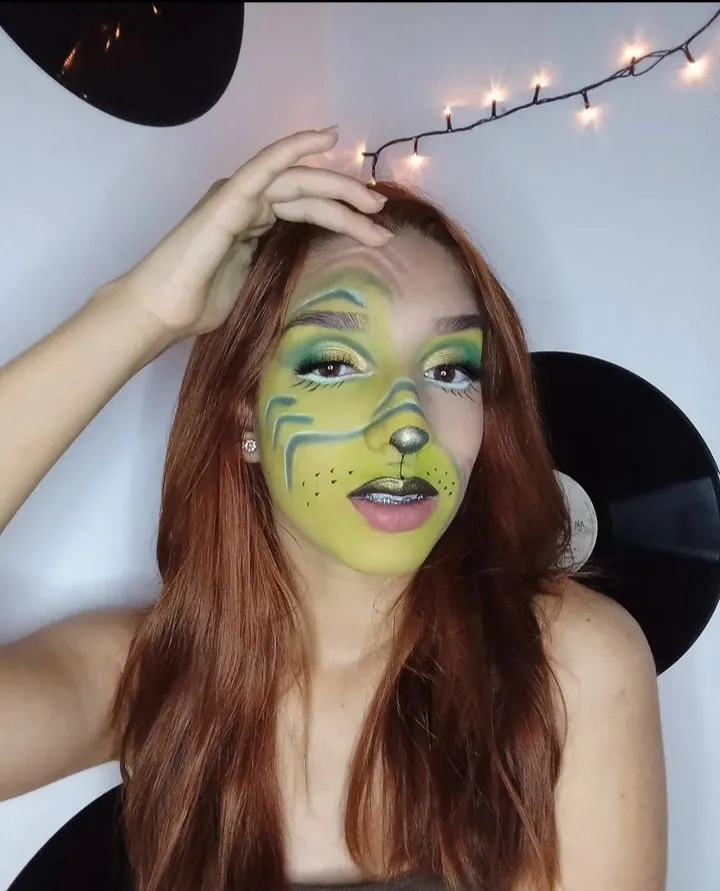
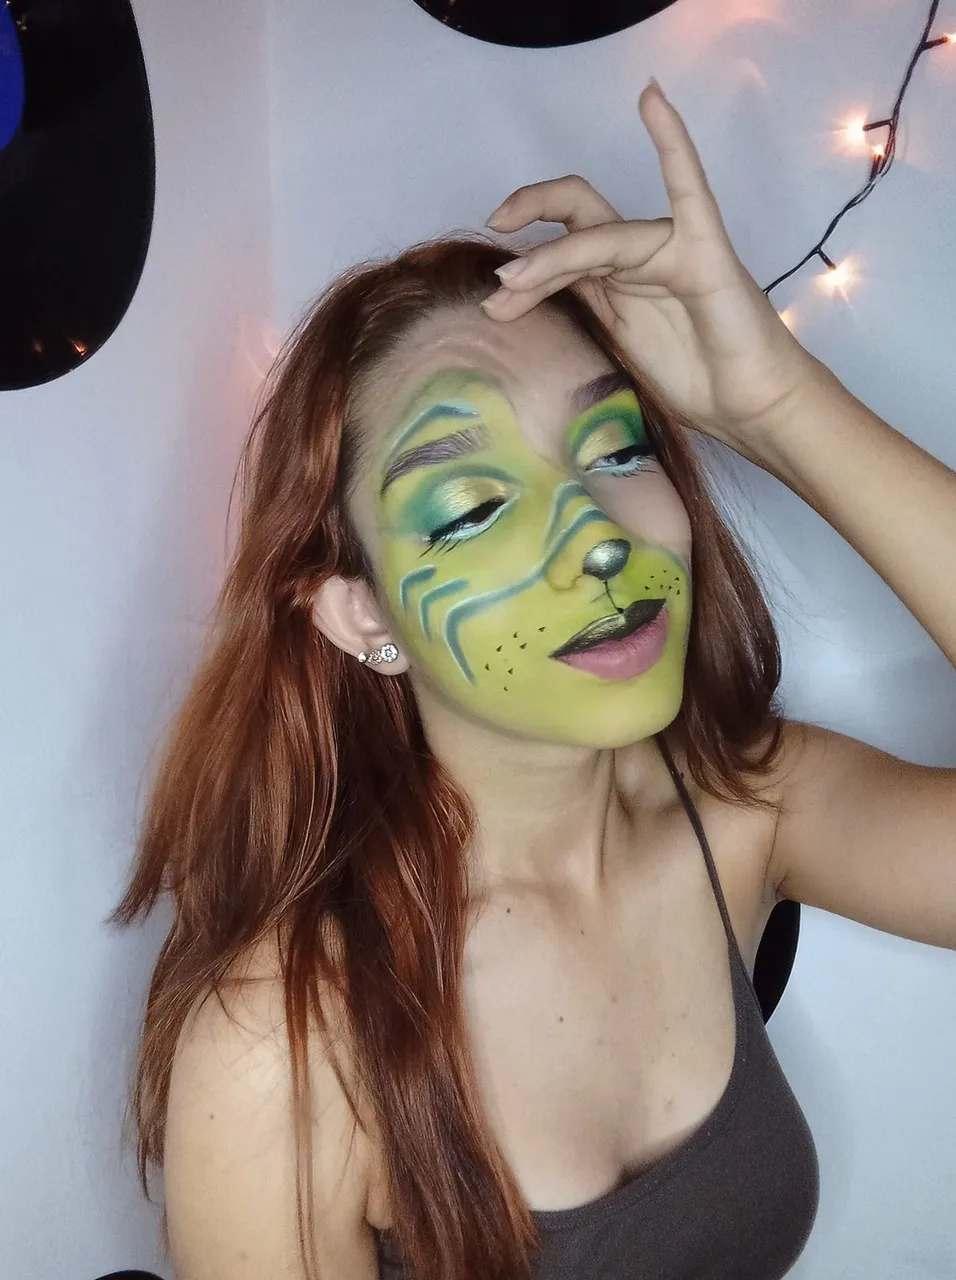
Para la nariz y los labios, vamos a hacer un círculo con delineador negro o delineador en gel en la punta de la nariz y trataremos una línea hasta el arco de cupido en el labio superior, y dicho labio también pintaremos de Negro. Con una sombra metalizada vamos a cubrir eso que acabamos de hacer tanto nariz como el labio, y para el labio inferior delineamos y aplicamos un tono Nude.
En la parte inferior del ojo haremos una línea con delineador blanco bien pronunciada que vaya desde el lagrimal hasta la parte externa y la llevamos un poco más abajo de la línea de agua, y por últimos dibujamos pestañas inferiores con delineador que desean bien acentuadas hacia afuera, añadimos pestañas postizas y listo.
Para el lado que está sin maquilar pues solo me aplicamos base corrector, sellamos con polvo y aplicamos rubor.
For the nose and lips, we are going to make a circle with black eyeliner or gel eyeliner on the tip of the nose and we will try a line up to the cupid's bow on the upper lip, and that lip we will also paint in Black. With a metallic shadow we will cover what we have just done both nose and lip, and for the lower lip we will outline and apply a Nude tone.
On the lower part of the eye we will make a line with white eyeliner well pronounced that goes from the tear to the outer part and we take it a little below the water line, and finally we draw lower eyelashes with eyeliner that you want well accentuated outwards, we add false eyelashes and that's it.
For the side that is not made up, we just apply concealer, seal with powder and apply blush.
 |  | |
|---|
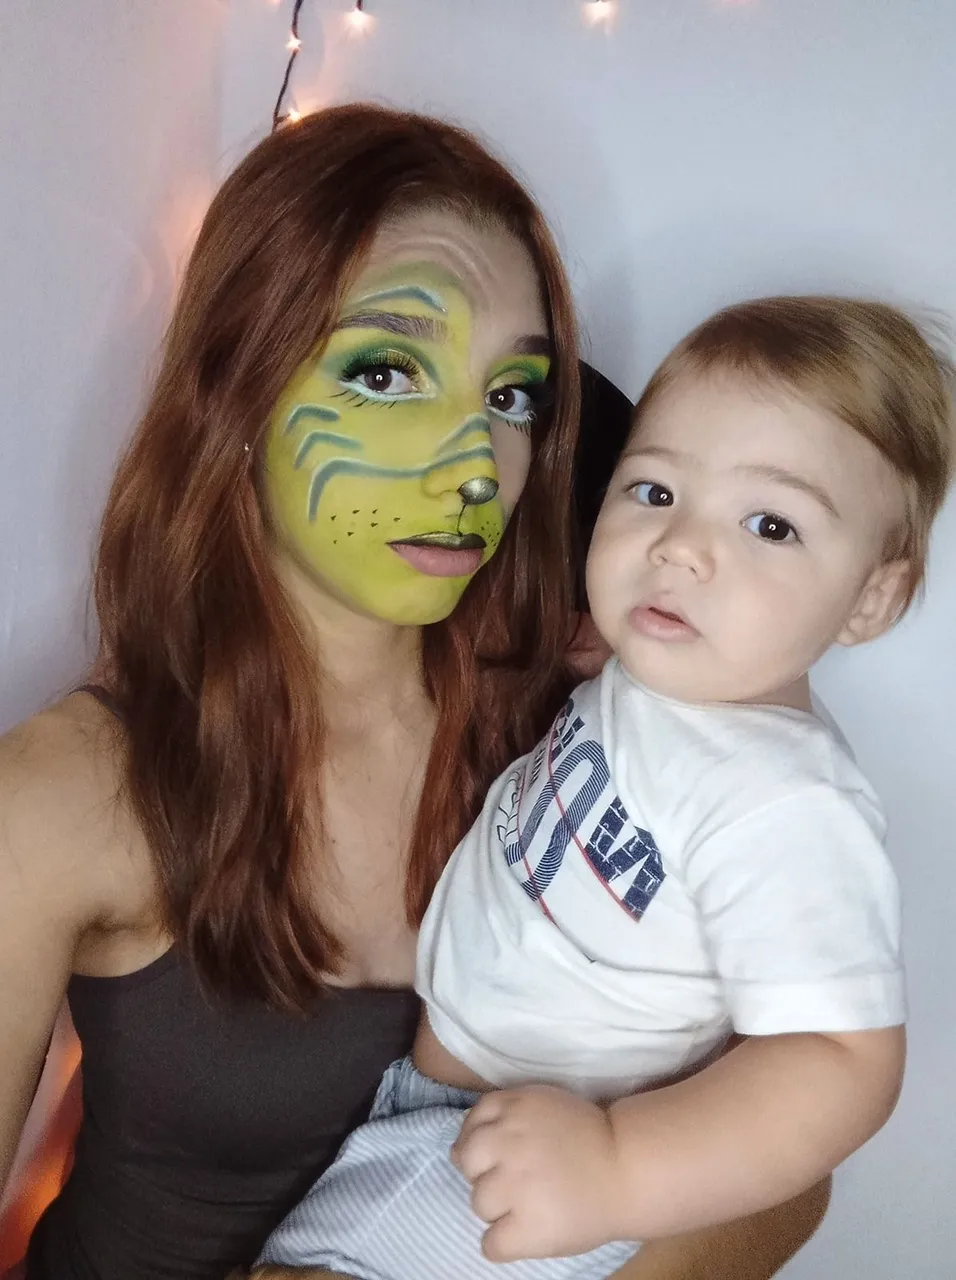
Y listo, aunque lleva varios pasos no es un maquillaje muy elaborado y la verdad a comparación con otros maquillajes no llevo mucho tiempo realizarlo. Y recuerda que aunque te miren raro como mi sobrino al verme con el maquillaje 😂😂 tu simplemente haz que fluya tu arte y sobre todo disfruta cada parte del proceso.
Nos vemos en un próximo post, chau ❤️
And that's it, although it takes several steps it is not a very elaborate makeup and the truth is that compared to other makeups it doesn't take a lot of time to do it. And remember that even if they look at you funny like my nephew when they see me with makeup 😂😂 you just let your art flow and above all enjoy every part of the process.
See you in a next post, bye ❤️