
Ha pasado poco más de un año desde mi último maquillaje social... (Mostrado como tutorial en Hive). Asi que la práctica y las pocas habilidades para un paso a paso se me han ido llenando de telarañas 😁, sin embargo nunca es tarde para volver a empezar y por eso estoy aquí.
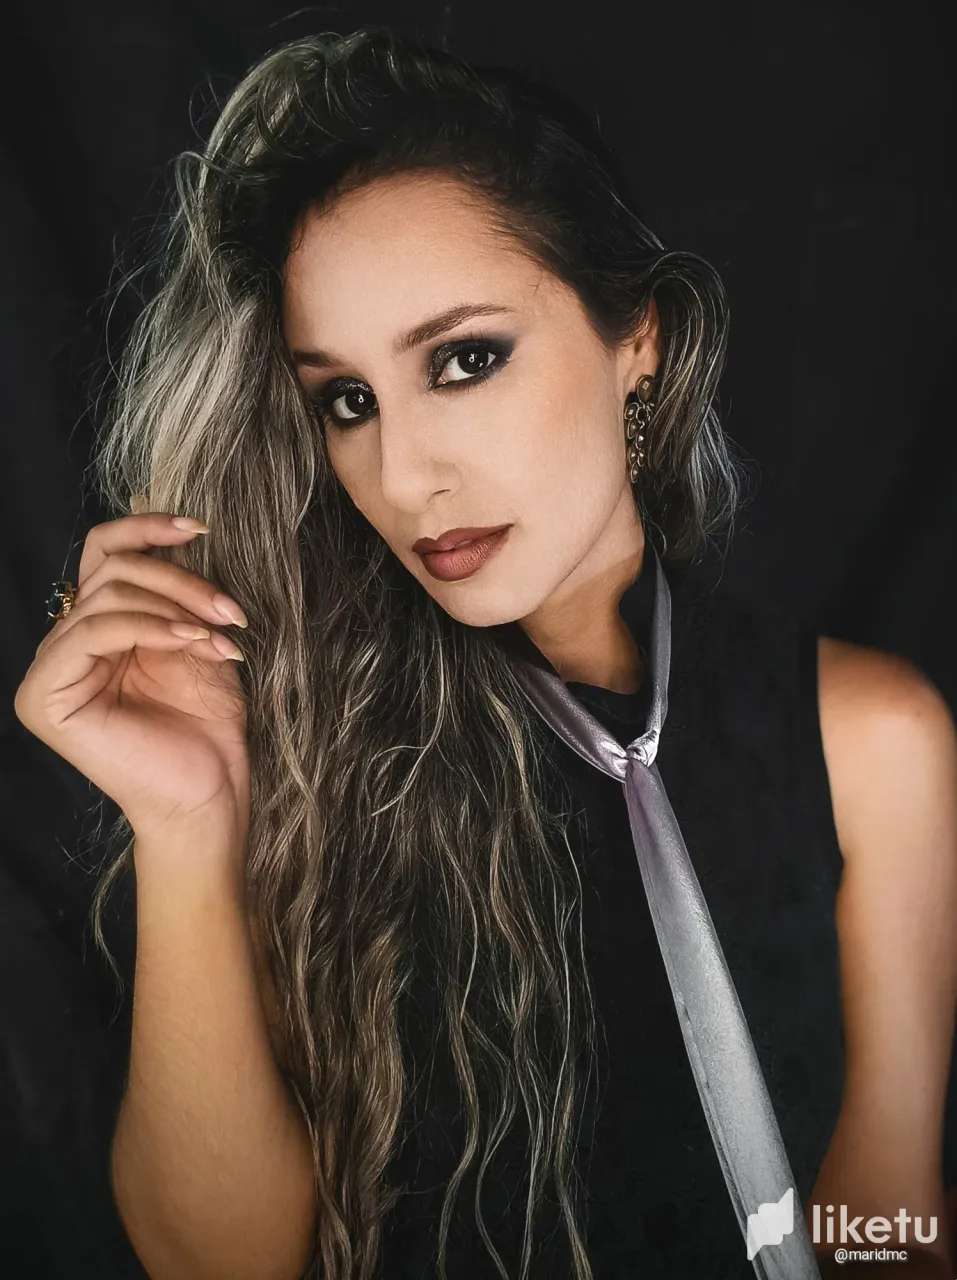
Este es mi primer intento maquillaje smokey eyes, que básicamente consiste en usar sombras oscuras y dar un aspecto de humo (difuminado) en los Ojos.
En lo personal, reconozco que me hace falta aprender a difuminar bastante todavía (entre otras cosas), pero lo sigo intentando. 😁
En fin, hoy quiero mostrarles un maquillaje al que le tengo bastante miedo, pues existe una delgada línea entre quedar ahumado o verme como mapache.🙈
¡Empezamos!
It's been a little over a year since my last social makeup.... (Shown as a tutorial on Hive). So practice and few skills for a step-by-step have been filling me with cobwebs 😁, however it's never too late to start again and that's why I'm here.
This is my first attempt smokey eyes makeup, which basically consists of using dark shadows and giving a smokey (smudged) look on the Eyes.
Personally, I admit that I still need to learn how to blend quite a bit (among other things), but I'm still trying. 😁
Anyway, today I want to show you a makeup that I'm quite afraid of, because there's a fine line between looking smoky or looking like a raccoon.🙈
Let's get started!
El paso a paso fue bastante fácil, siento que una de las cosas más complejas es la técnica con la que lo ejecutas.
- Yo empecé el paso 1 de la siguiente manera:
Con lápiz de ojos color negro, marqué la línea de las pestañas y también por la línea interna del agua.
- Paso 2
El siguiente paso fue aplicar lápiz negro en todo mi párpado móvil hasta la cuenca del ojo. (Las sombras negras que tengo no son lo suficientemente intensas, por lo que usar este lápiz cremoso, haría más fácil dar una apariencia ahumada al difuminar)
The step by step was quite easy, I feel that one of the most complex things is the technique with which you execute it.
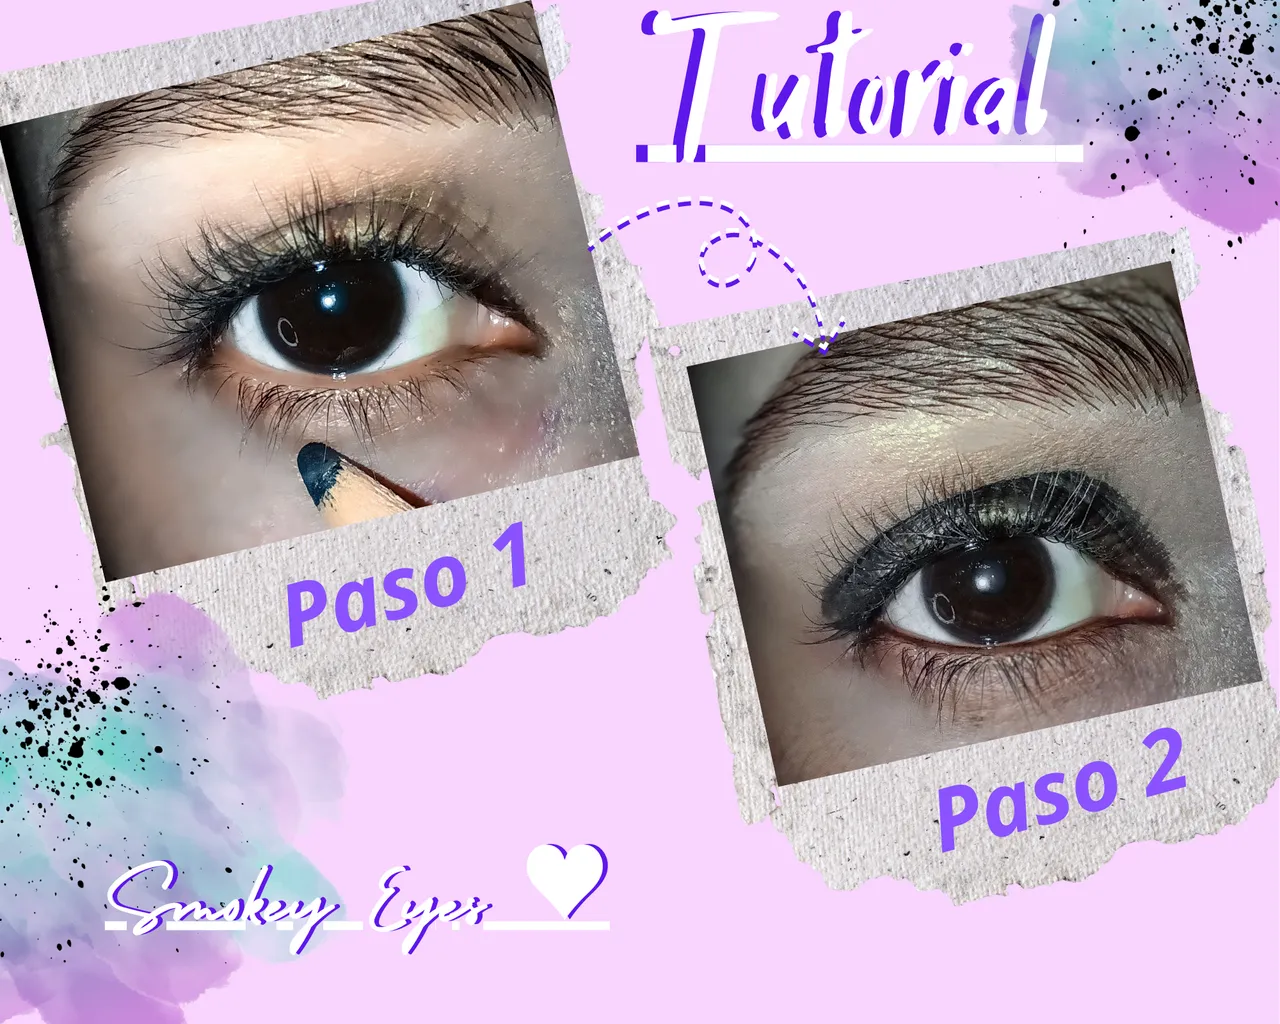
- I started step 1 as follows:
With black eyeliner pencil, I marked the lash line and also along the inner water line.
- Step 2
The next step was to apply black pencil all over my mobile eyelid up to the eye socket. (The black shadows I have are not intense enough, so using this creamy pencil would make it easier to give a smoky look when blending).
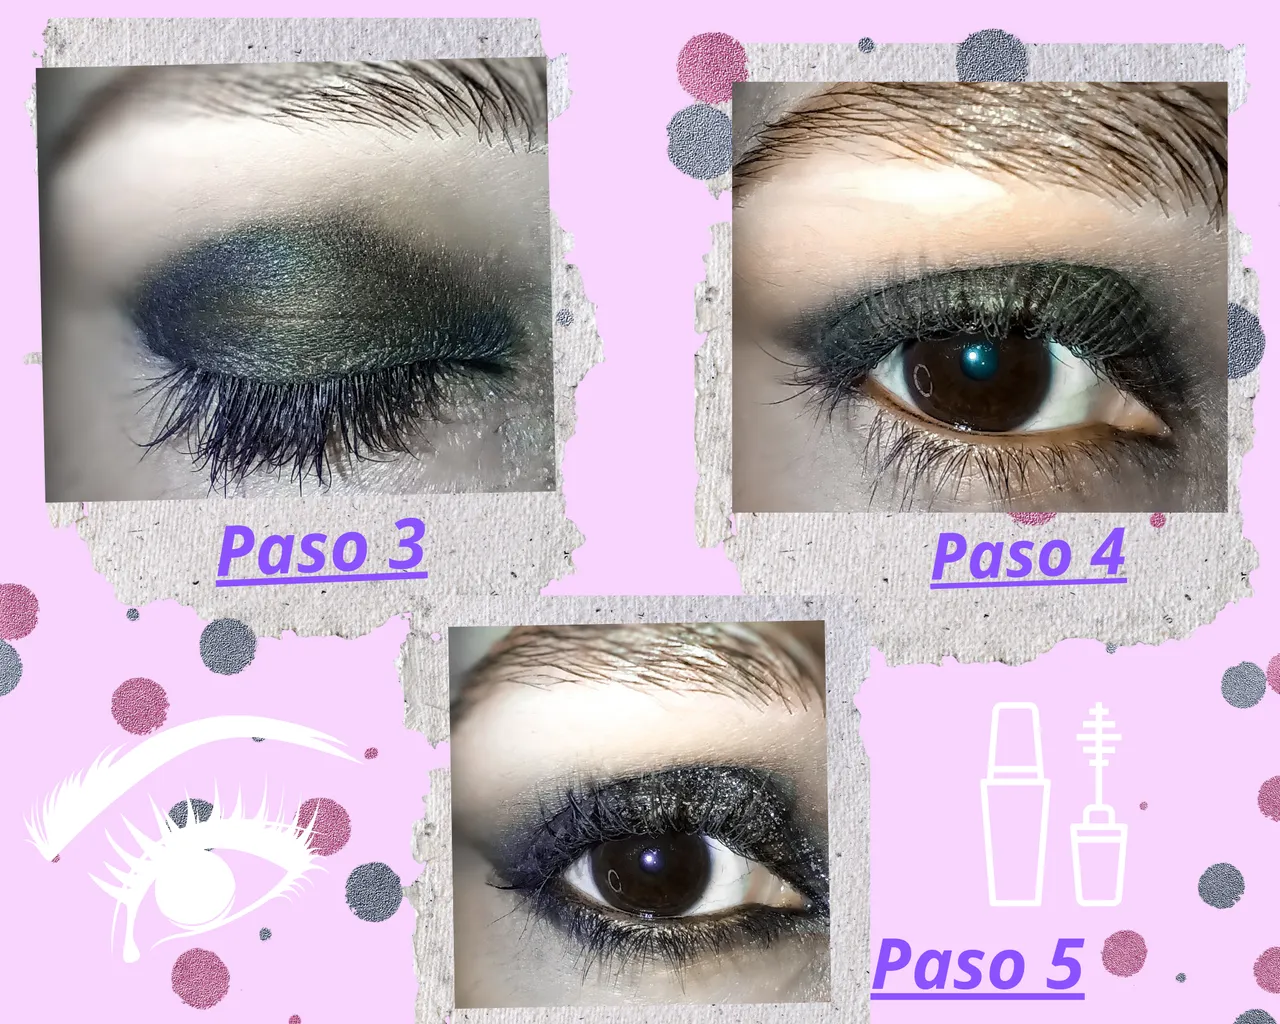
- Continuo con el paso 3:
Tomo sombra negra y con una brocha lengua de gato la aplico de a toquecitos para no desplazar el producto. Sino fijarlo en el párpado.
- Paso 4.
Tomo una brocha fluffy empieza mi intento de difuminar el color negro. (Para mí el paso más crucial)
- Paso 5.
Con un pincel biselado o angular aplicó sombra negra, me voy por la línea inferior de agua del ojo y la llevo hasta el lagrimal y difumino.
- I continue with step 3:
I take black shadow and with a cat tongue brush I apply it in dabs so as not to displace the product. But fix it on the eyelid.
- Step 4.
I take a fluffy brush and start my attempt to blend the black color (for me the most crucial step).
- Step 5.
With a beveled or angled brush I apply black shadow, I go along the lower waterline of the eye and bring it up to the tear trough and blend.
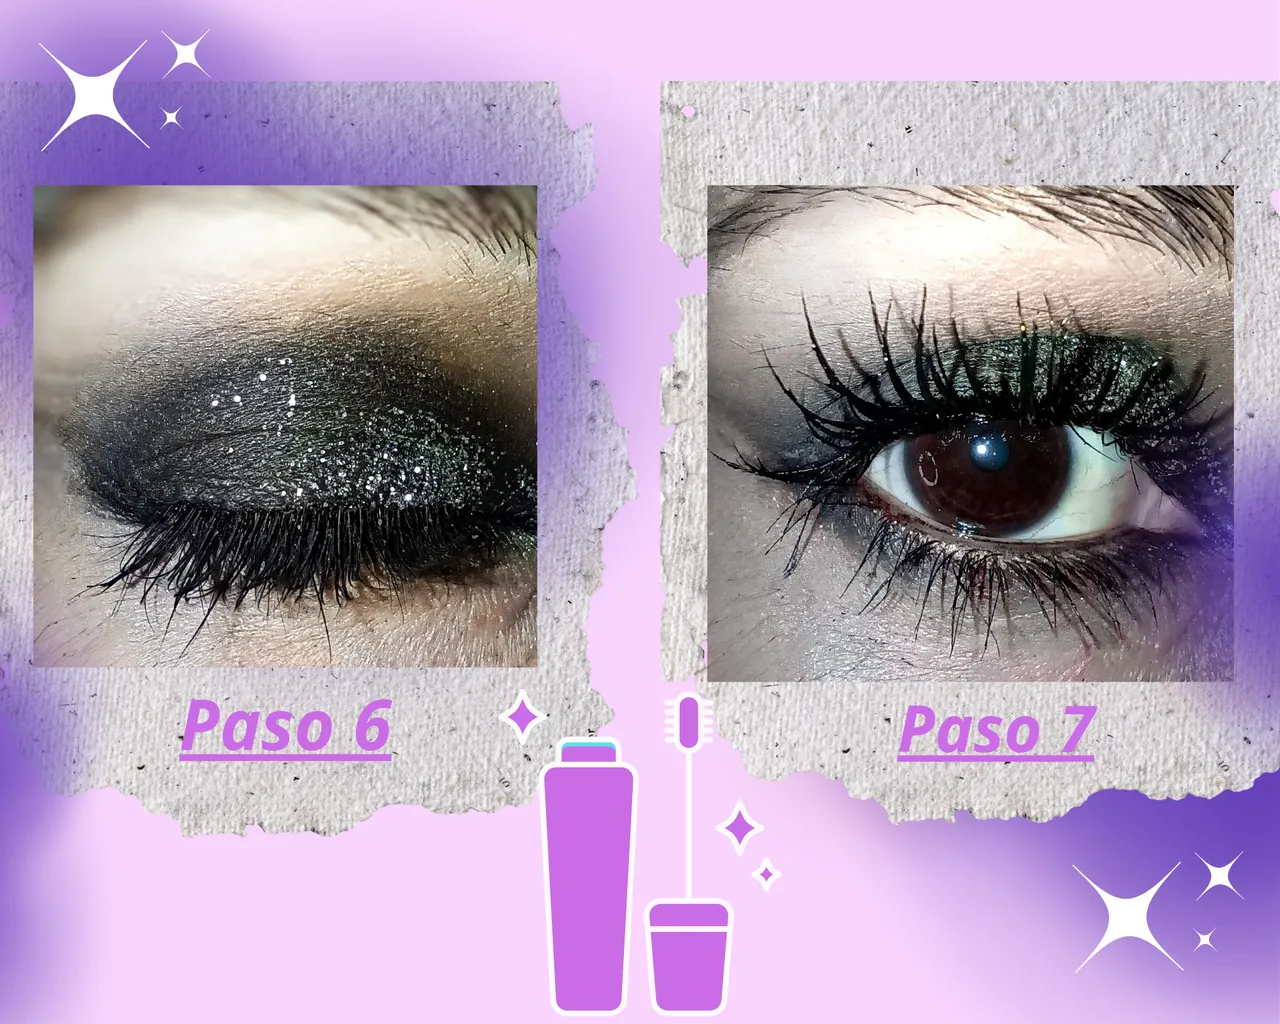
- Paso 6.
Antes de finalizar, limpie un poco el excedente de color negro por todo alrededor de mi ojo, con agua micelar y un cotton.
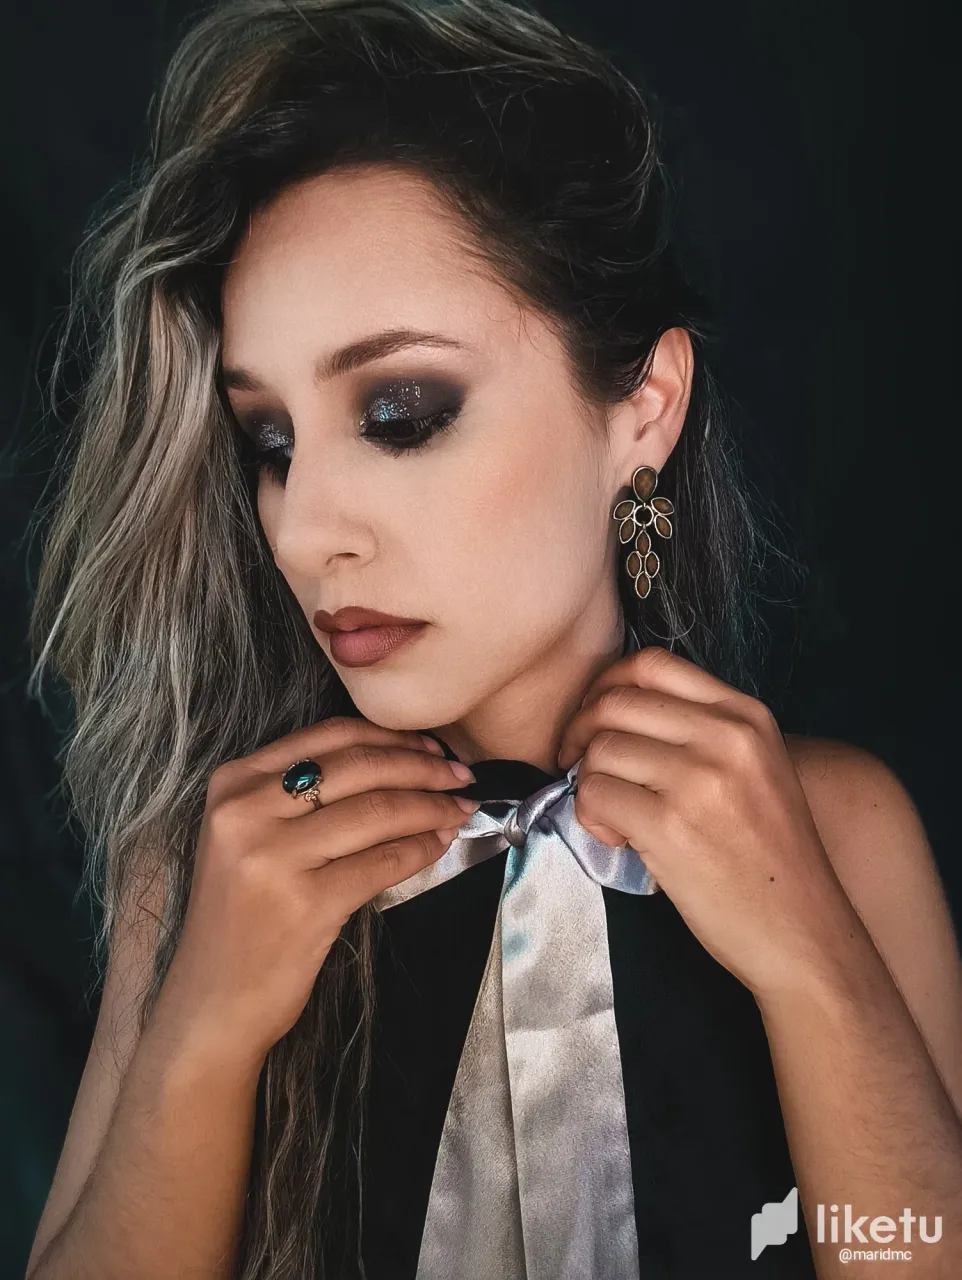
Apliqué un poco de glitter plateado cerca del lagrimal para darle luz a la mirada.
- Paso 7.
Y finalmente apliqué la máscara de pestañas, que en lo personal, siento que es lo que da el plus a unos ojos ahumados. (3 capas para ser exacta) 😁
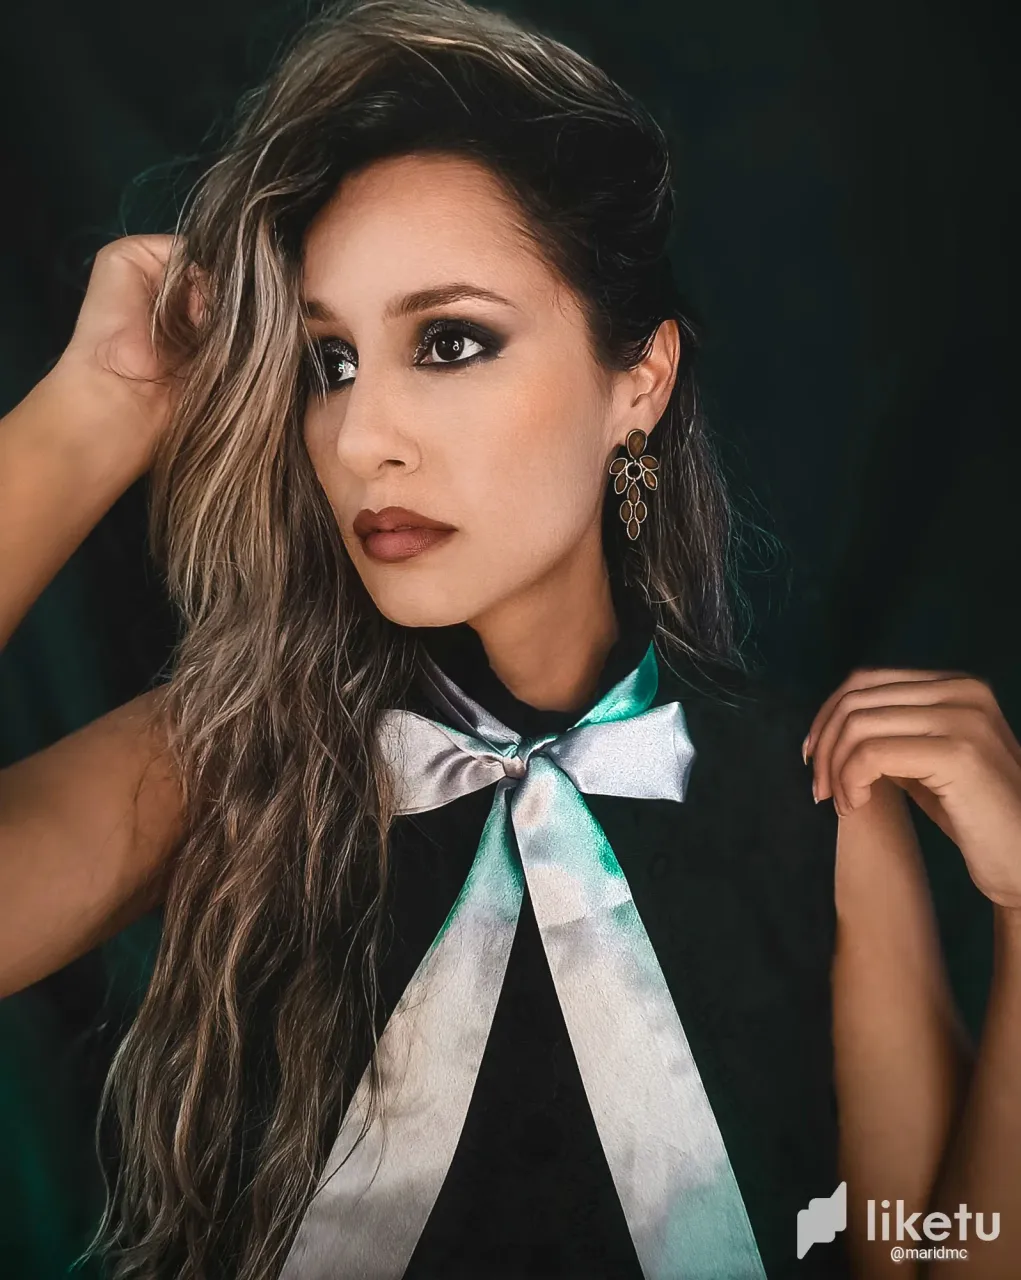
El restante solo fue aplicar la base, sellarla, aplicar los contornos, el Labial y listo.
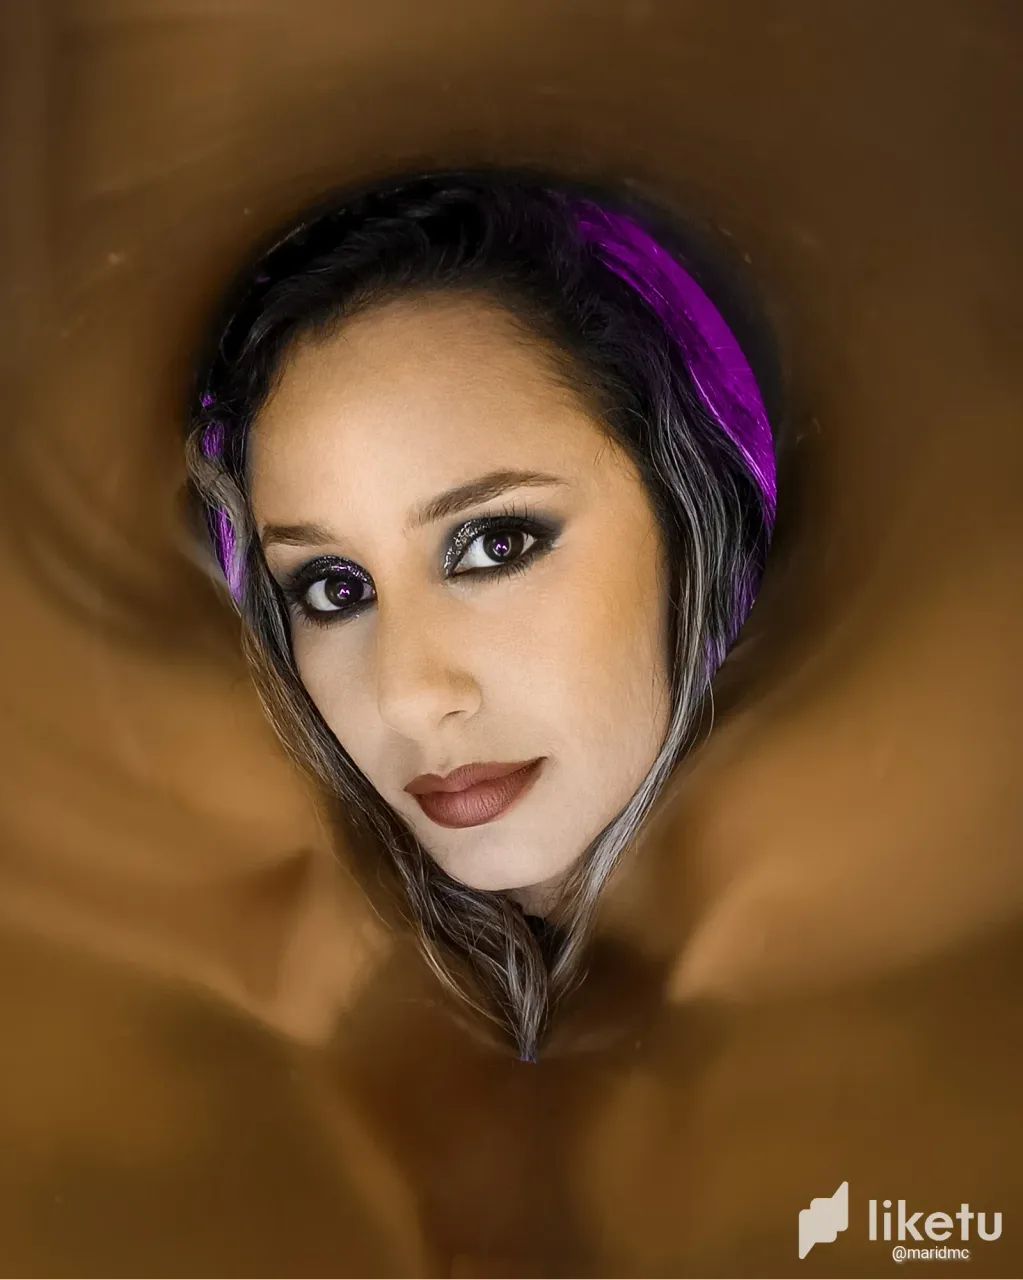
Estuve lista para unas cuantas fotitos.
- Step 6.
Before finishing, wipe some of the excess black color all around my eye with micellar water and a cotton pad.
I applied a bit of silver glitter near the tear trough to brighten up the look.
- Step 7.
And finally I applied the mascara, which personally, I feel is what gives the plus to a smoky eyes (3 coats to be exact) 😁.
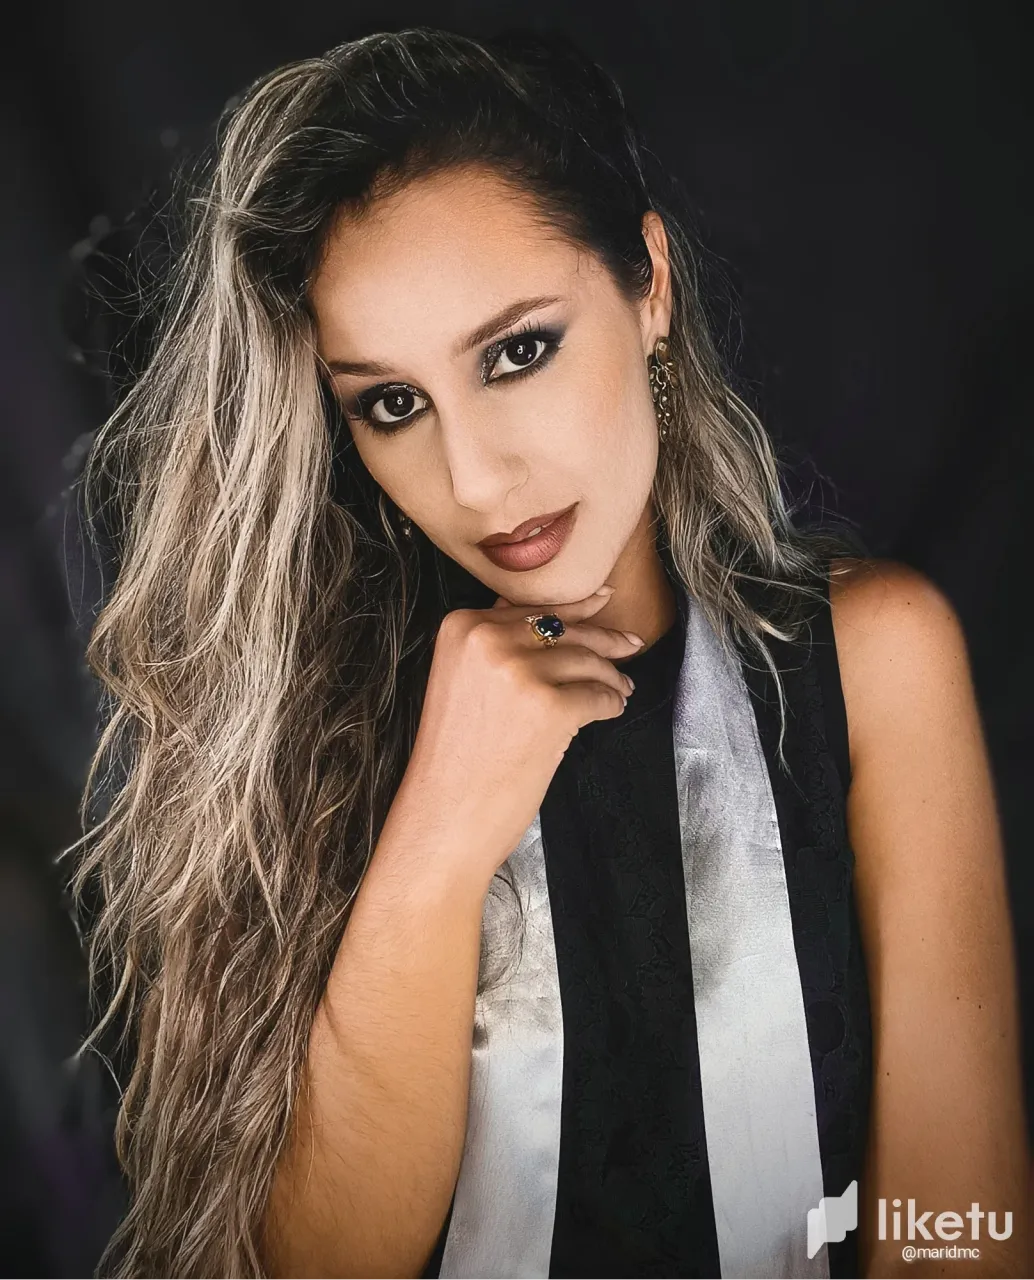
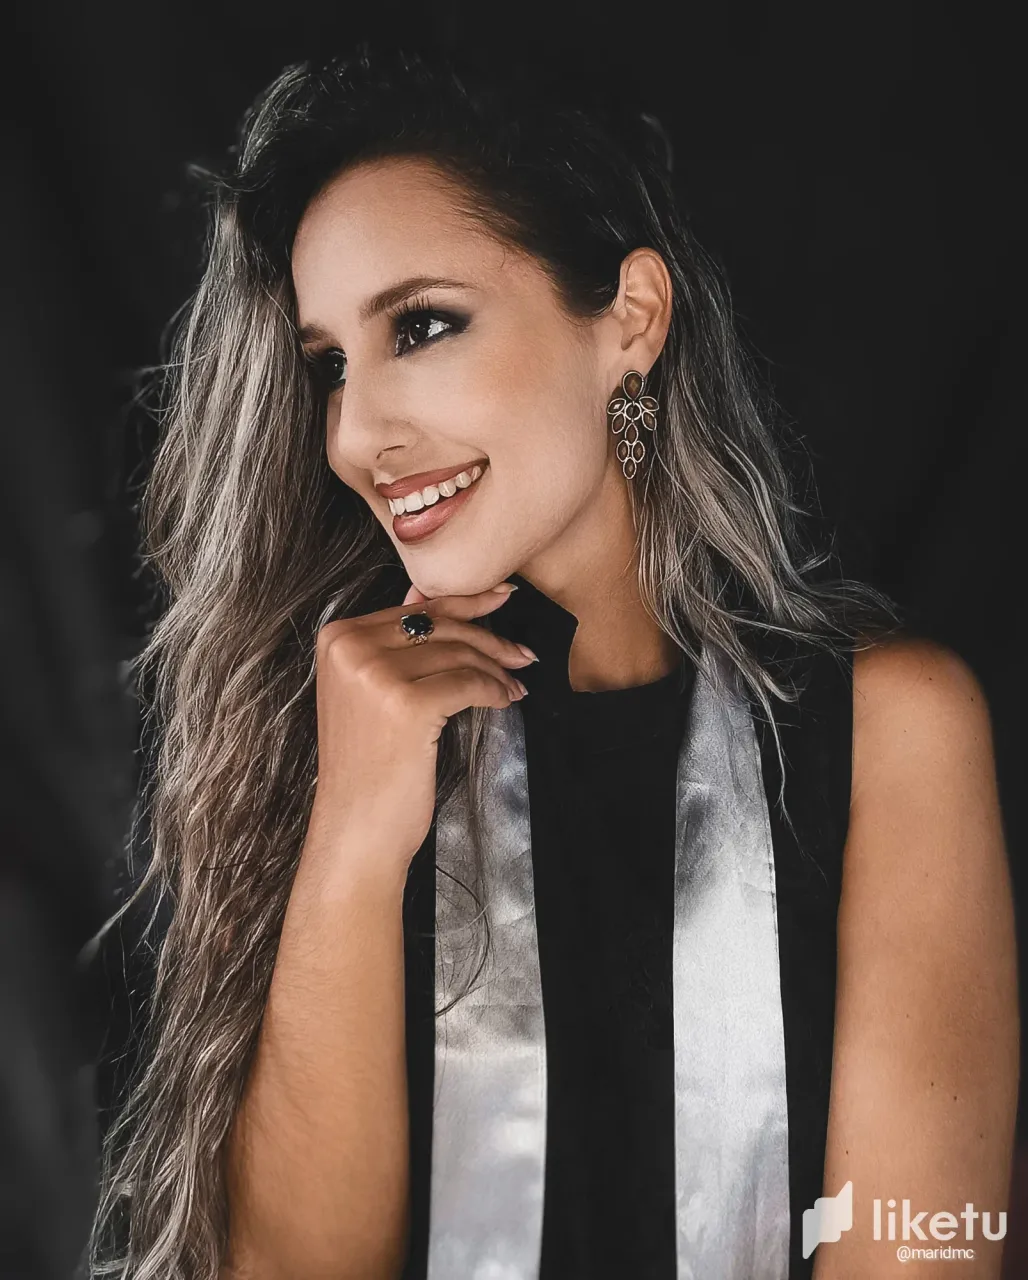
The rest was just applying foundation, sealing it, applying contours, Lipstick and that's it.
I was ready for a few pictures.
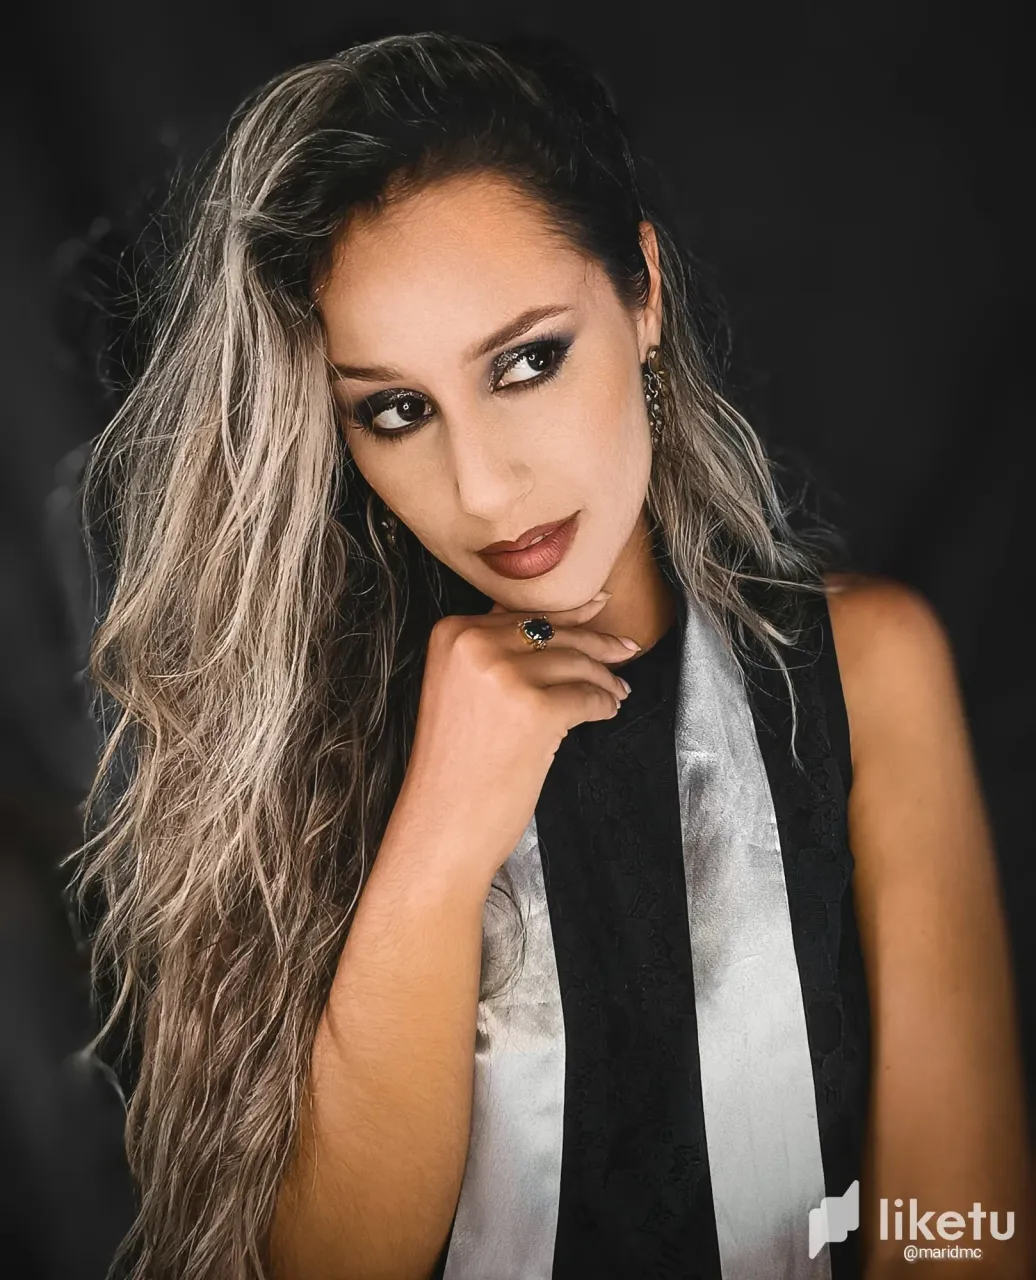

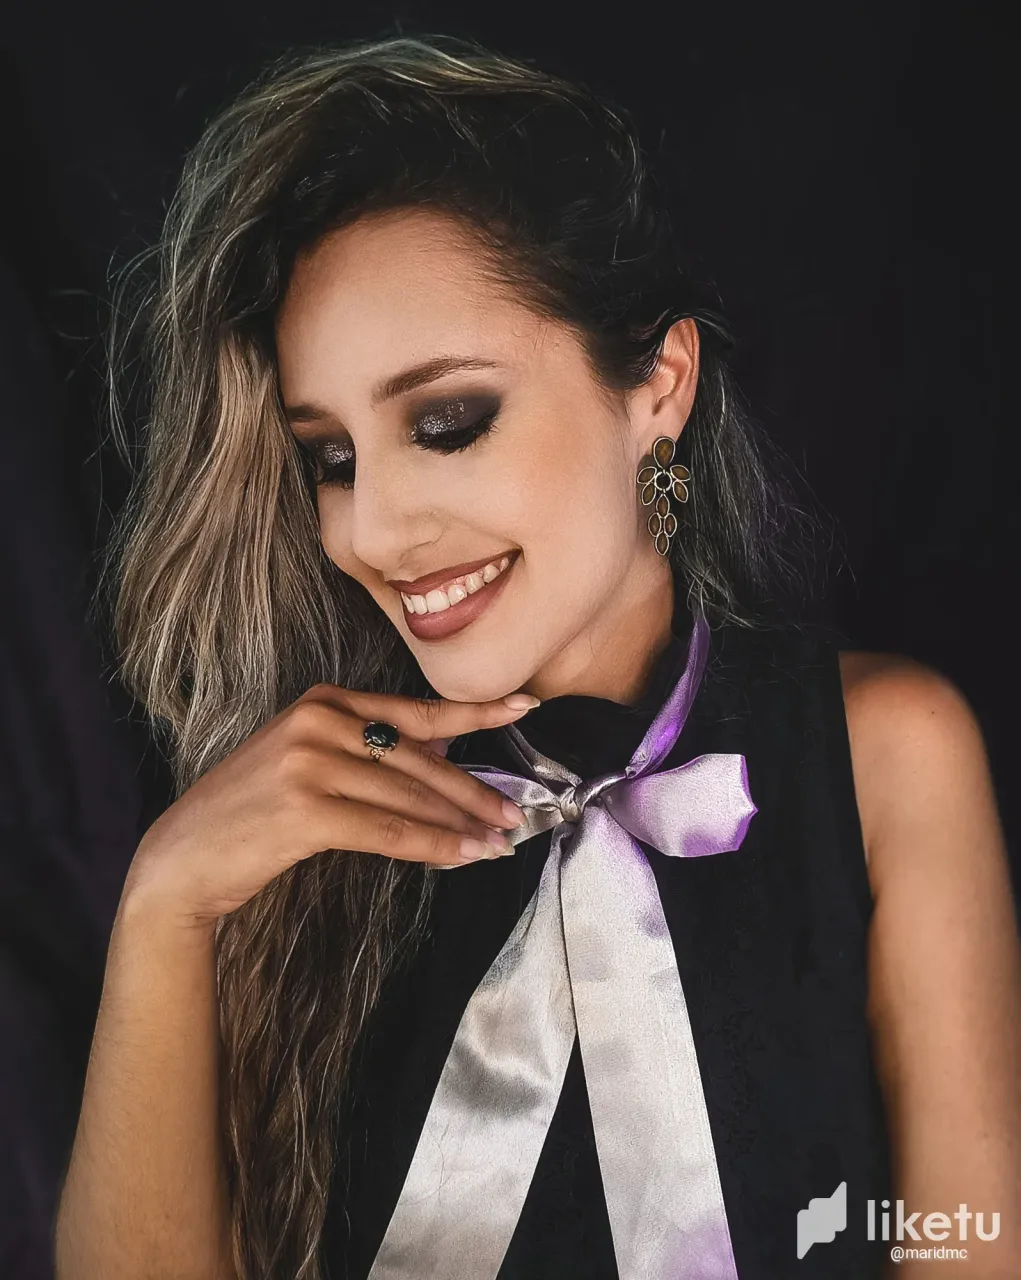
Siento que esté maquillaje quedó como quedan mis manicuras en ocasiones... "¡De lejos se ven más bonitas que de cerca!" Jajajajaj.
Hay que aprender a reírnos de nosotros mismos y disfrutar el proceso.
Gracias si llegaron hasta aquí por dedicar de su valioso tiempo a leerme.
Nos vemos en un próximo post!♥️
I feel like this makeup looked the way my manicures sometimes look.... "From far away they look prettier than up close!" hahahahahahahahah.
We have to learn to laugh at ourselves and enjoy the process.
Thanks if you made it this far for taking the time to read me.
See you in a future post! ♥️
Los divisores y collages fueron creados desde la App. Canva