
Spanish
Buenas buenas…
Hola querida comunidad, les traigo hoy a mi tigre feroz (jejeje…). En esta oportunidad le hice a mi hijo mayor un maquillaje inspirado en un tigre. Me pidió muchas veces esto y hoy decidí realizárselo, y lo comparto aquí con ustedes.
Materiales a usar:
Polvo compacto
Lápiz delineador negro
Pintura facial de color amarillo, blanco y negro
Paso a paso:
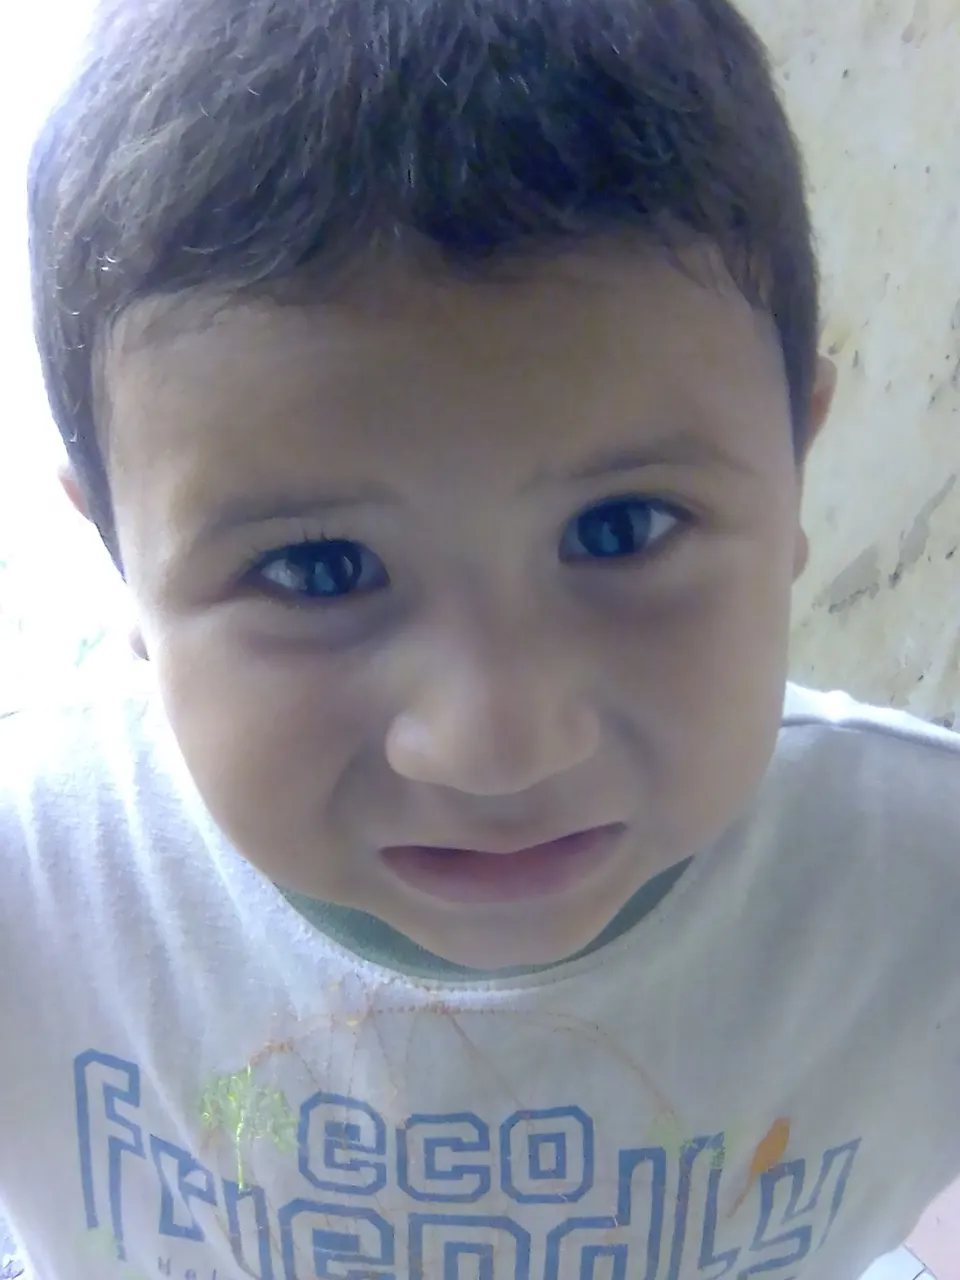
Lo primero que se hace es lavarse la cara, para quitar las impurezas y mantener la durabilidad de los productos a usar. Seguidamente le echo polvo compacto, para matizar y proteger que la pintura no le dé directo en la piel.
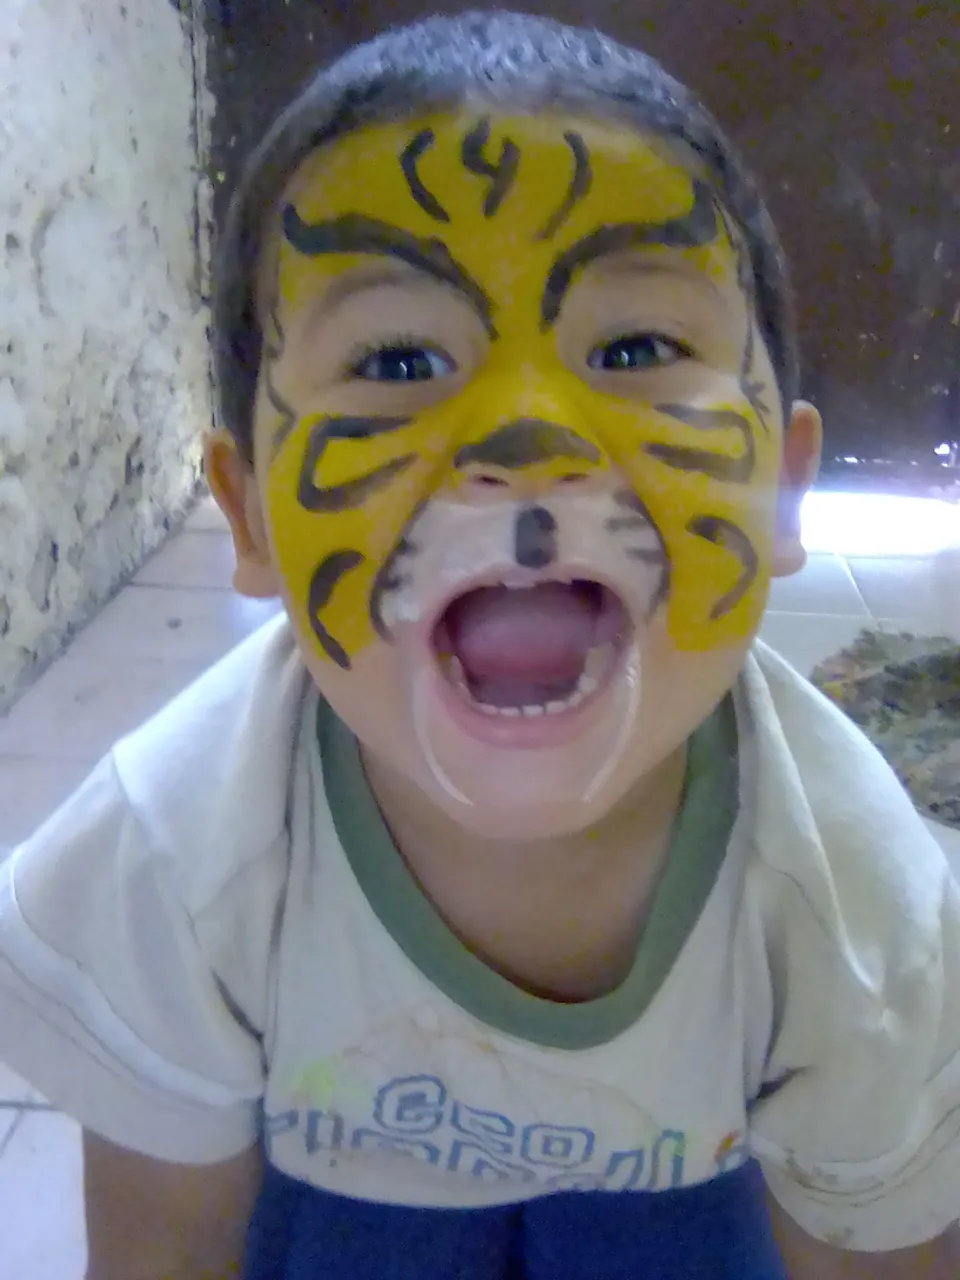
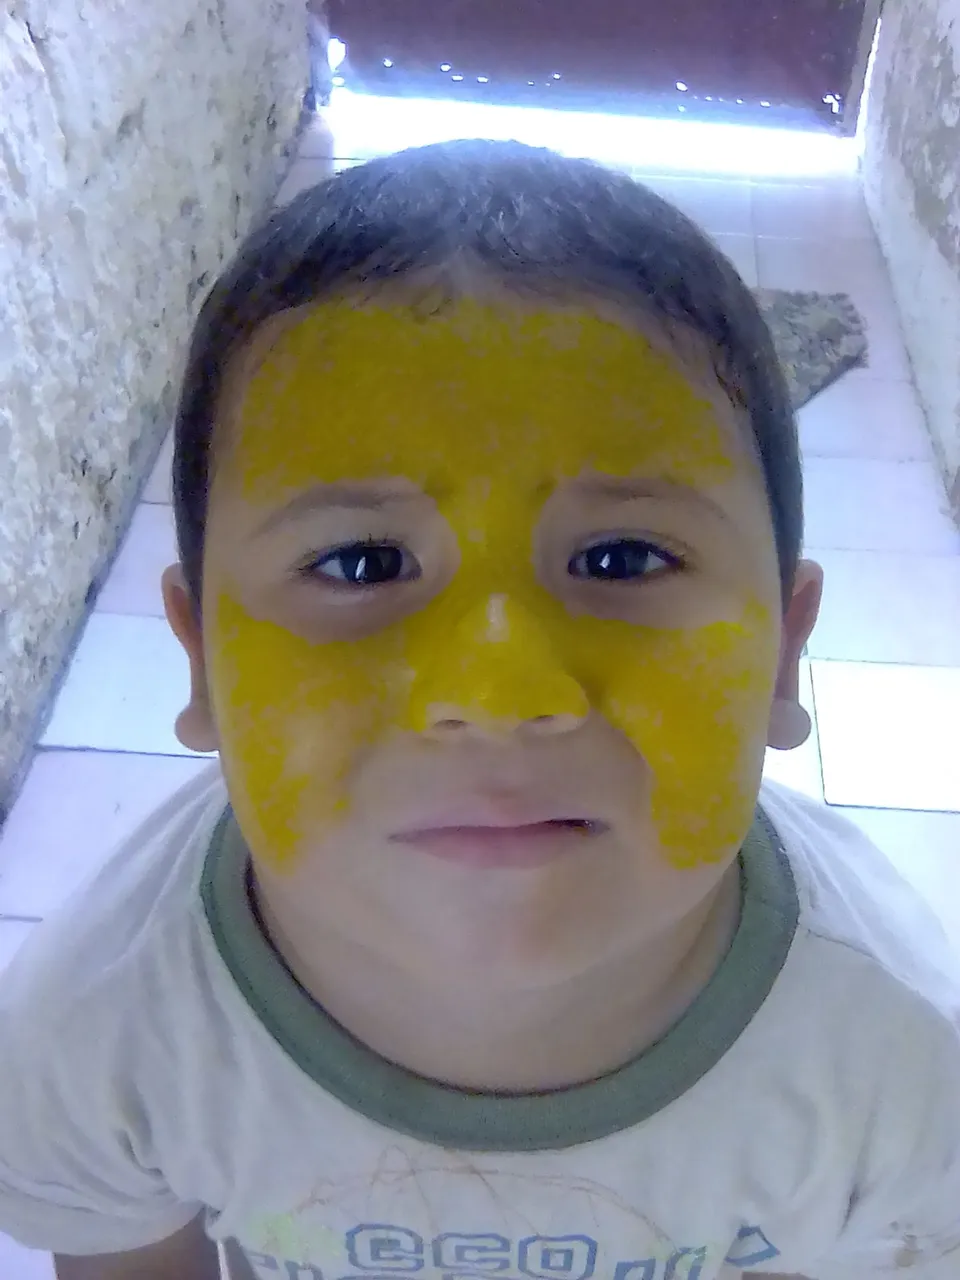
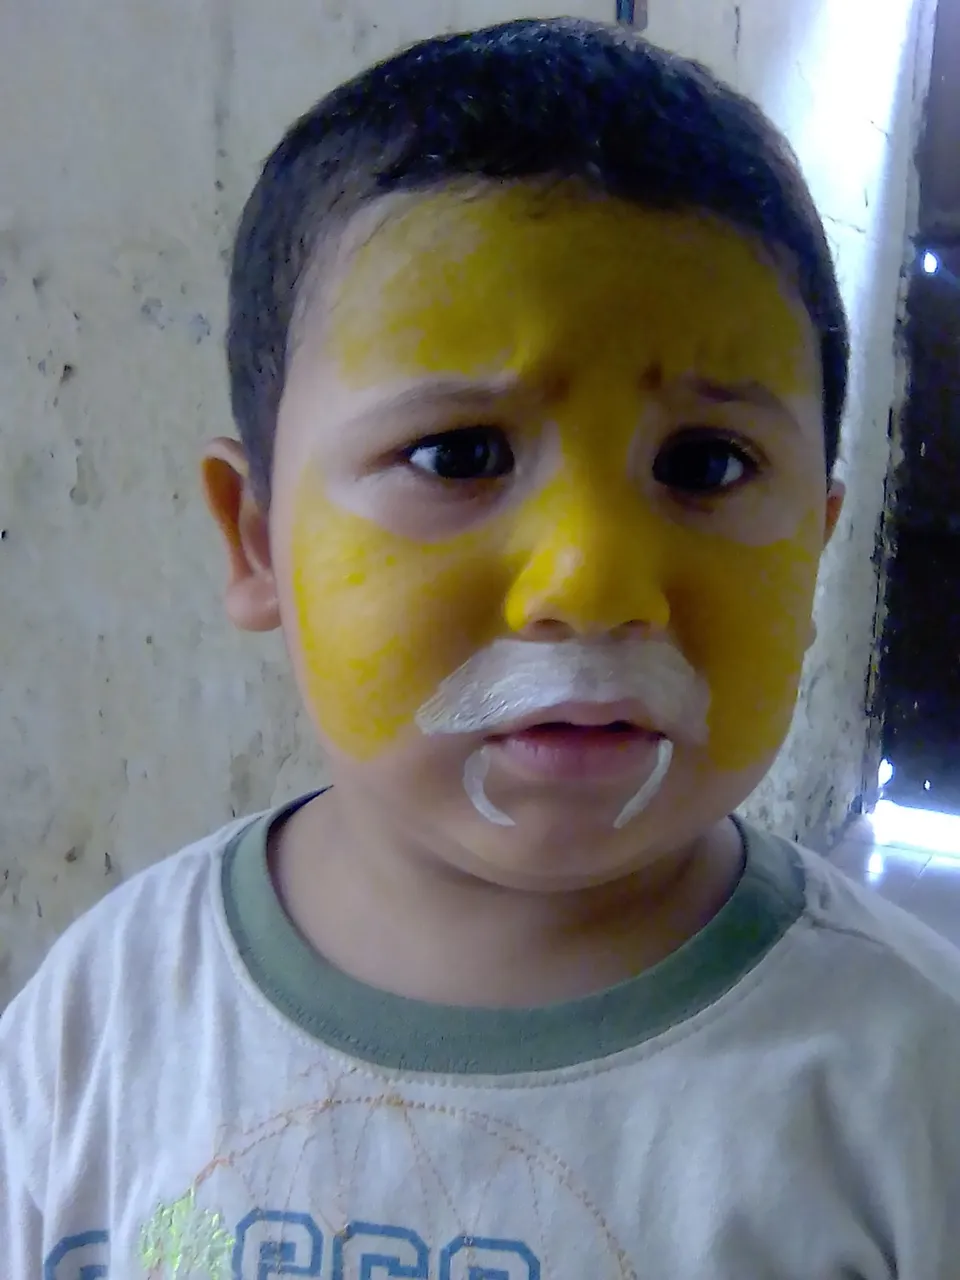
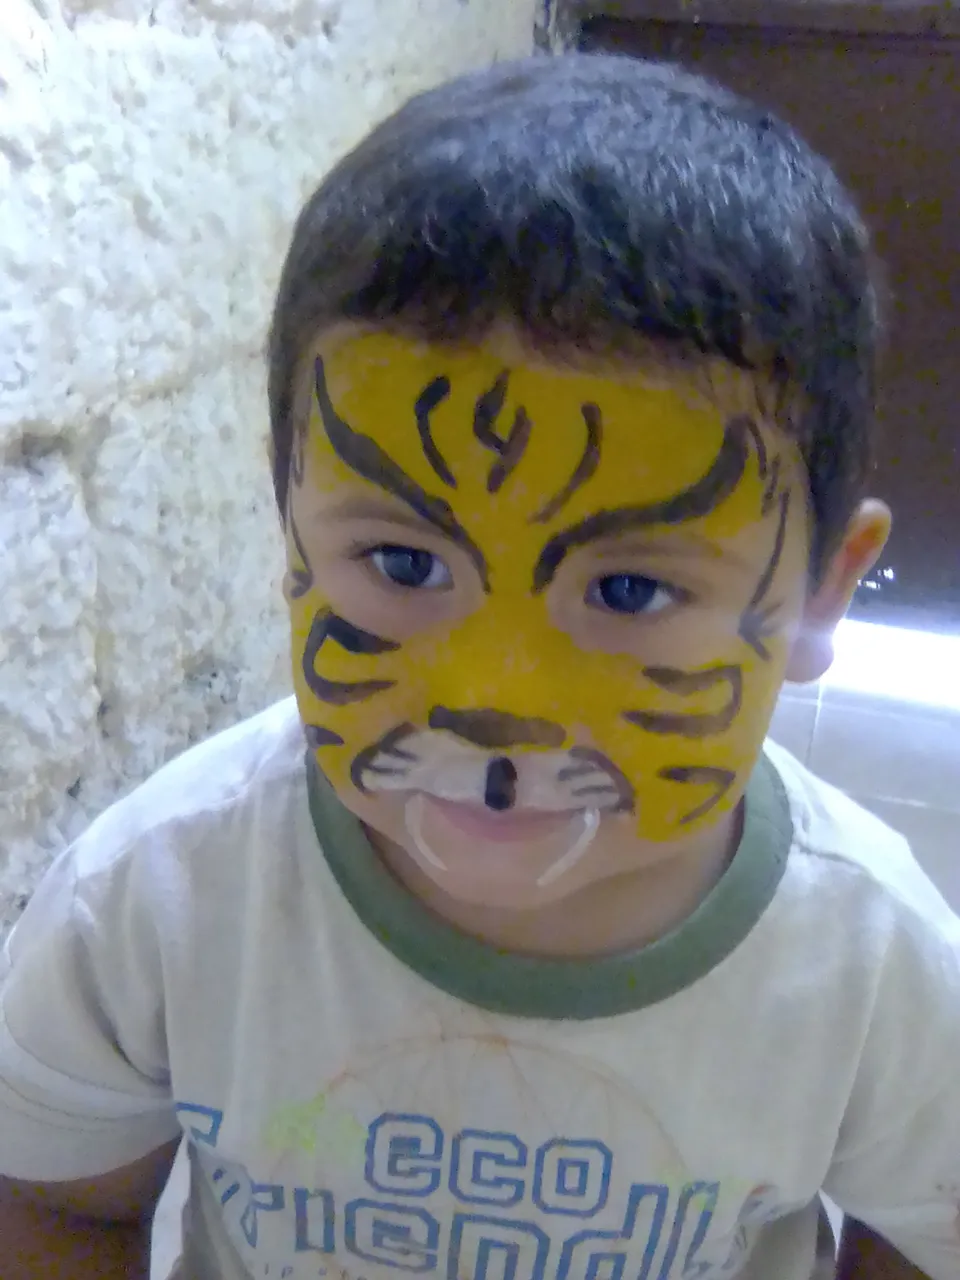
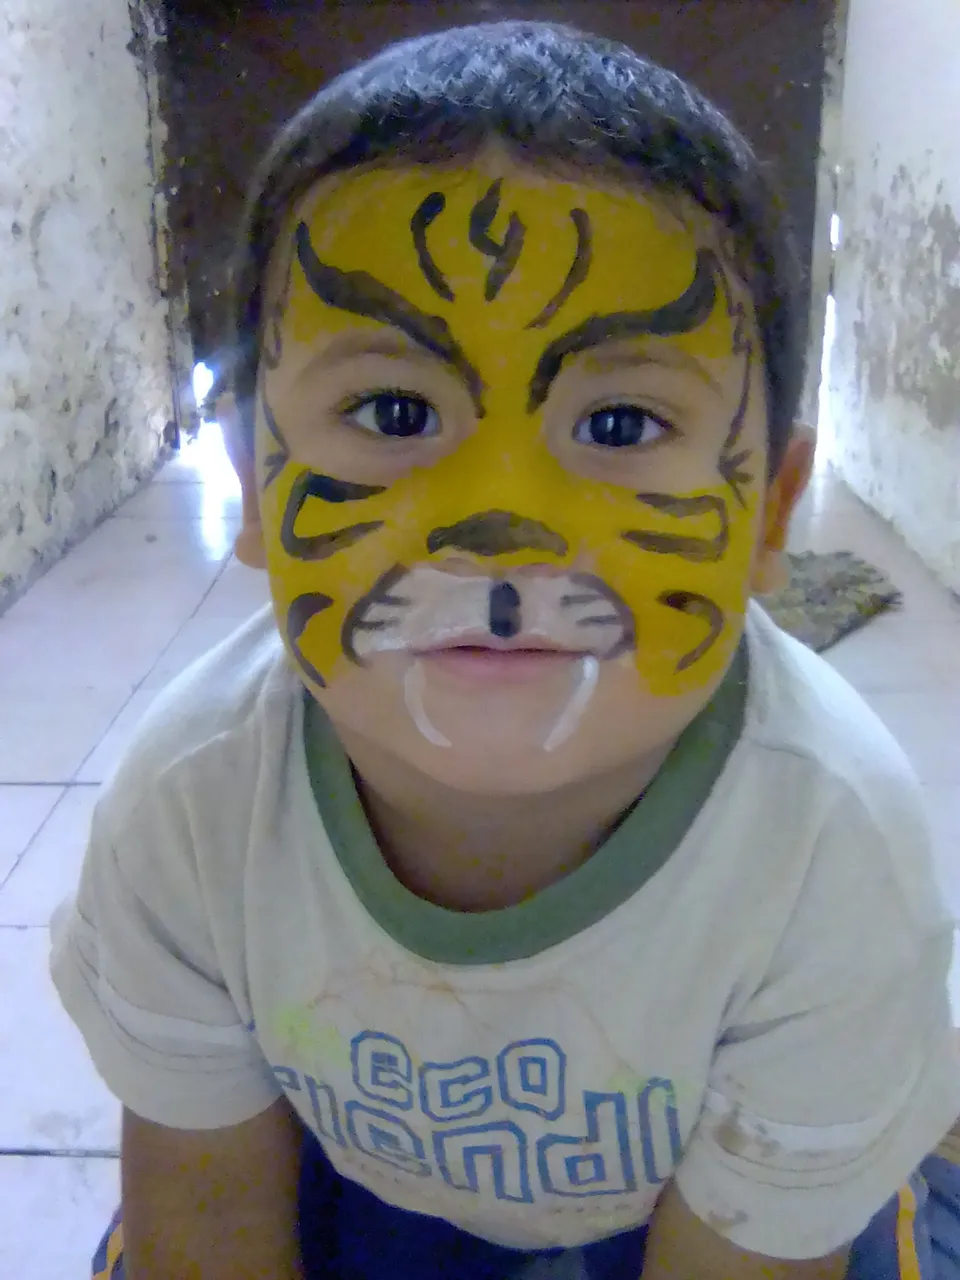
Ahora comienzo a colocarle la pintura amarilla en casi toda la cara, luego uso la pintura blanca debajo de la nariz, sobre la boca y dibujar los dos colmillos debajo de la boca, sucesivamente uso el lápiz delineador negro para darle unos detalles cerca de los ojos y los bigotes debajo de la nariz, es tiempo entonces de comenzar con la pintura negra, con ella voy a terminar de darle los toques finales, en la frente, mejillas y la línea que está debajo de la nariz y llega a el labio superior.
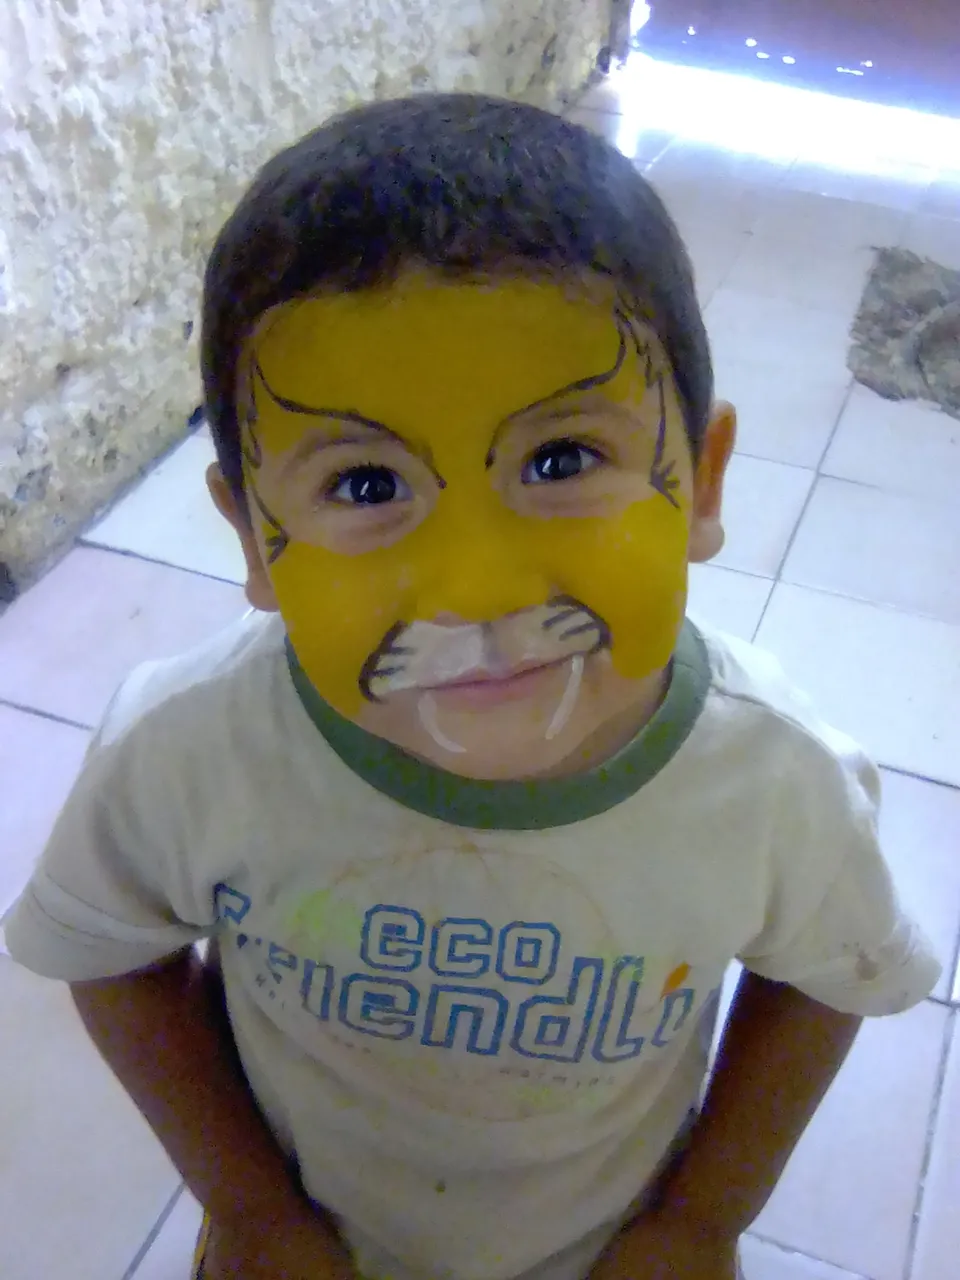
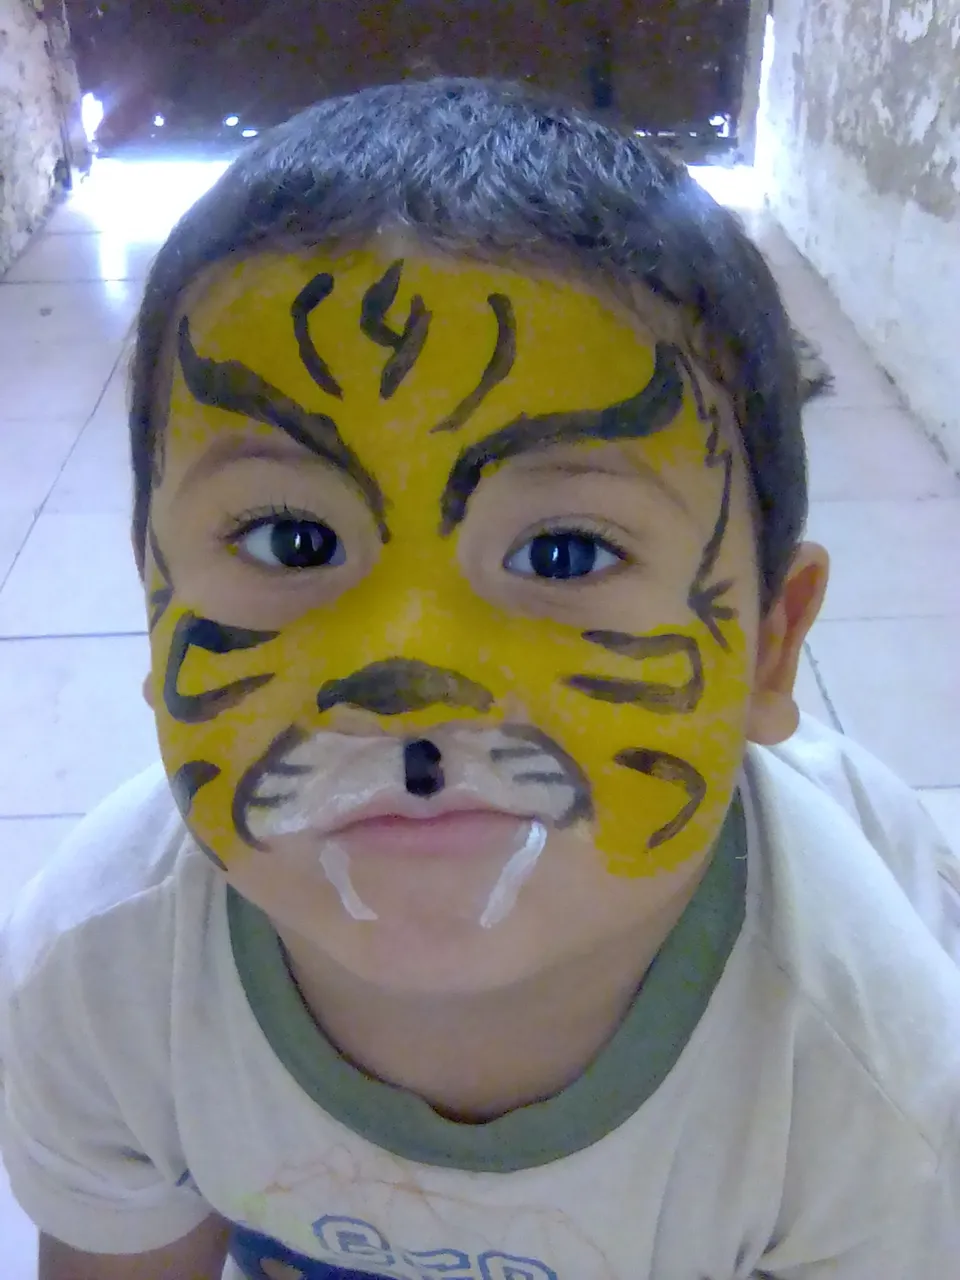
Les dejo una pequeña sesión de fotos con el resultado final. Espero que les guste.
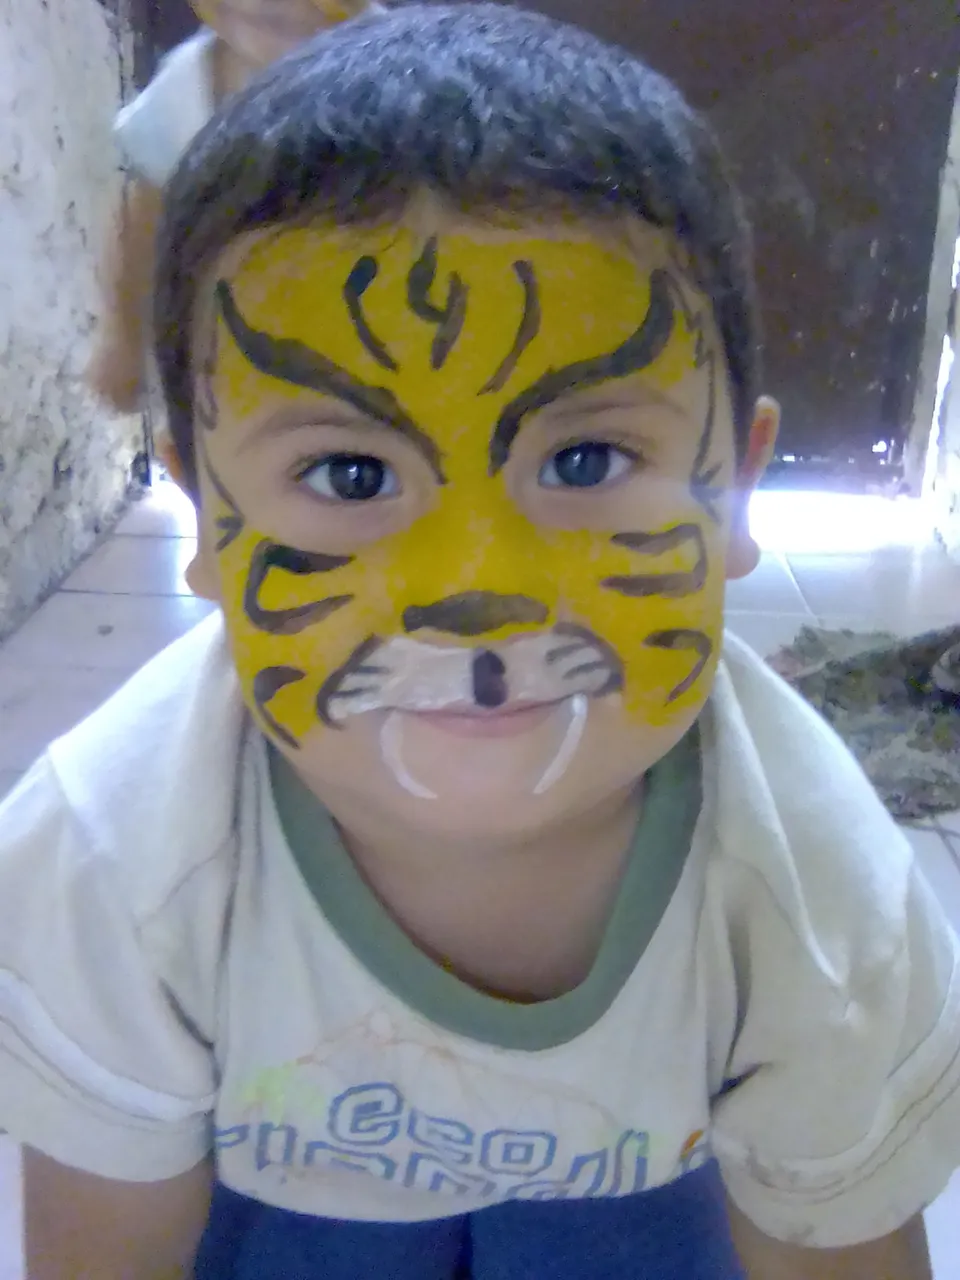
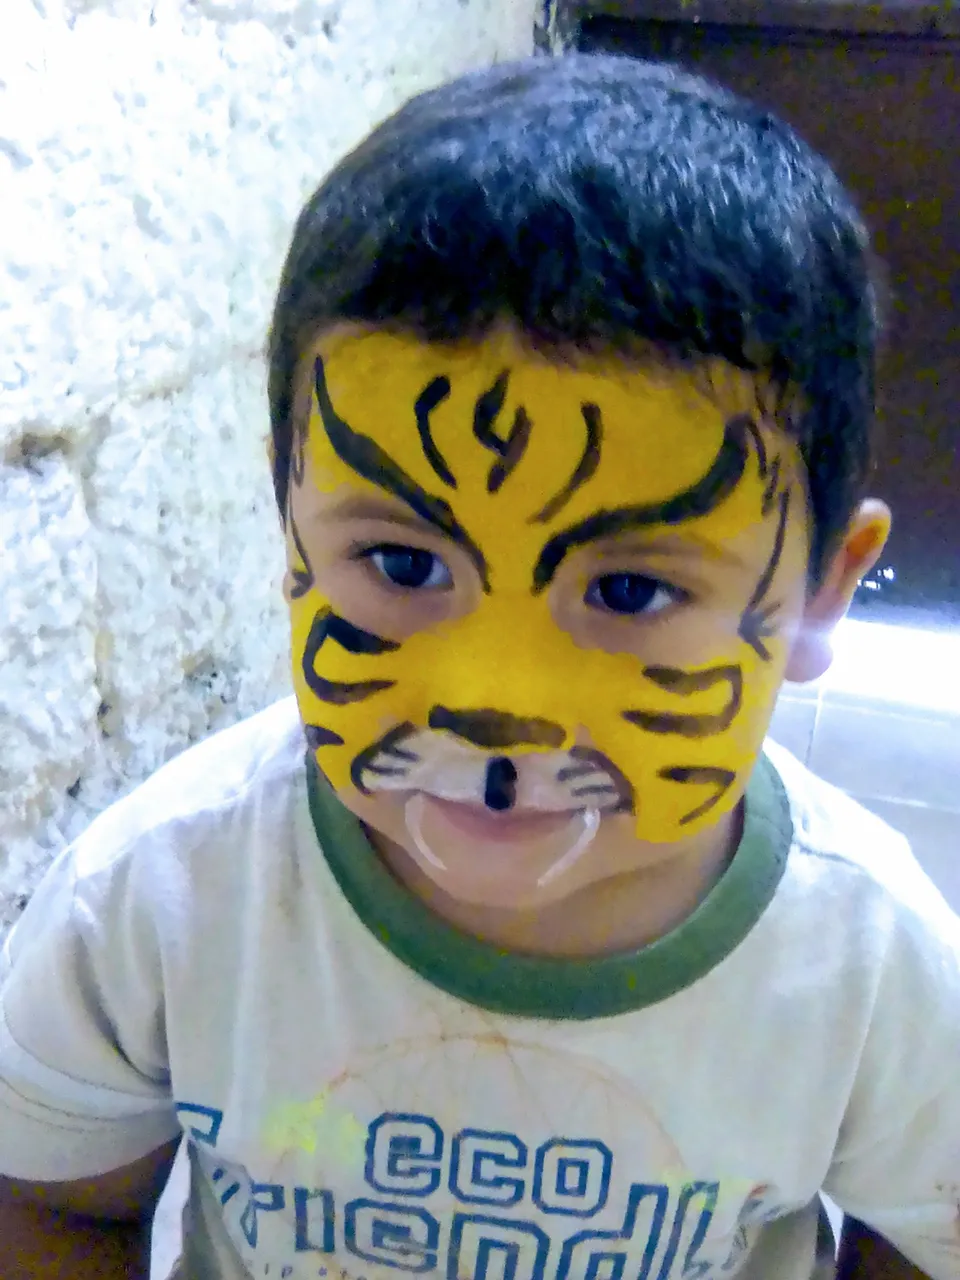
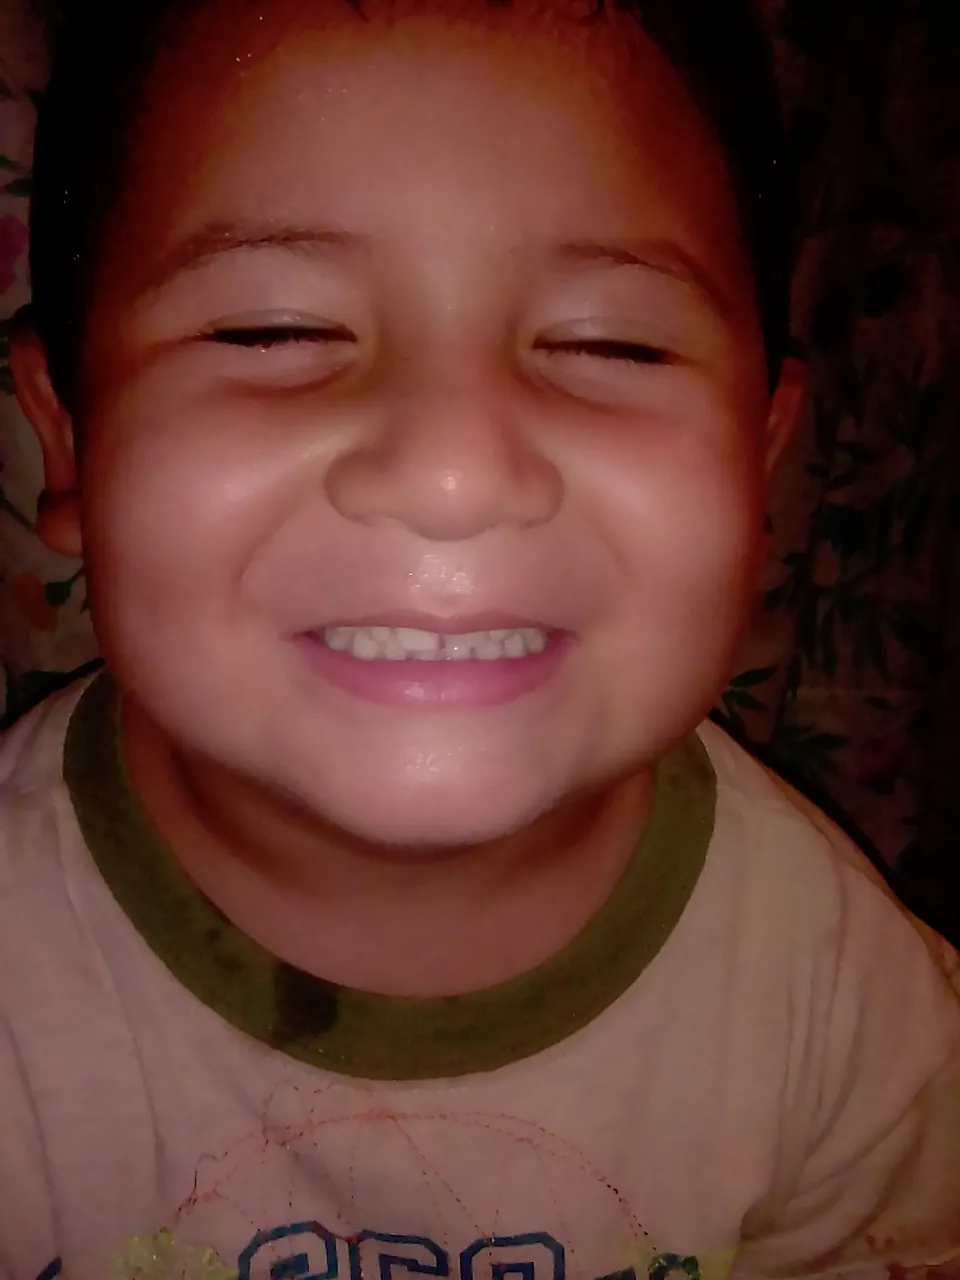
Así concluye este maquillaje, es algo sencillo, pero mi hijo no me lo hizo tan fácil esta vez. Al principio quería que lo maquillara pero a la mitad del maquillaje se lo quería quitar. Entonces me tomo más tiempo de lo previsto. Pero se lograron los objetivos. Quedo muy bonito el maquillaje y como lo apreciaron en las fotos finales se le ve feliz. Ah. La última foto la edite en el teléfono con un filtro Reel. Gracias por haberte quedado a leer.
Hasta una próxima publicación, Derzweile se despide.
English
Good good...
Hello dear community, today I bring you my fierce tiger (hehehehe...). This time I made my oldest son a makeup inspired by a tiger. He asked me many times for this and today I decided to make it for him, and I share it here with you.
Materials to be used
Pressed powder
Black eyeliner pencil
Yellow, white and black face paint
Step by step:
The first thing to do is to wash your face, to remove impurities and maintain the durability of the products to use. Next, I apply compact powder, to mattify and protect the paint from getting directly on the skin.
Now I start to put the yellow paint almost all over the face, then I use the white paint under the nose, over the mouth and draw the two fangs under the mouth, then I use the black eyeliner pencil to give him some details near the eyes and the whiskers under the nose, it is time then to start with the black paint, with it I will finish the final touches, on the forehead, cheeks and the line that is under the nose and reaches the upper lip.
I leave you a small photo shoot with the final result. I hope you like it.
That's how this make-up concludes, it's a simple thing, but my son didn't make it so easy this time. At first he wanted me to do his make-up but half way through the make-up he wanted to take it off. So it took me longer than expected. But the goals were achieved. The make up was very nice and as you can see in the final pictures he looks happy. Ah. The last photo was edited on the phone with a Reel filter. Thanks for staying to read.
Until next time, Derzweile bids you farewell.
Imágenes de mi propiedad
Texto traducido en Deepl
Baner y separador elaborado en Power point