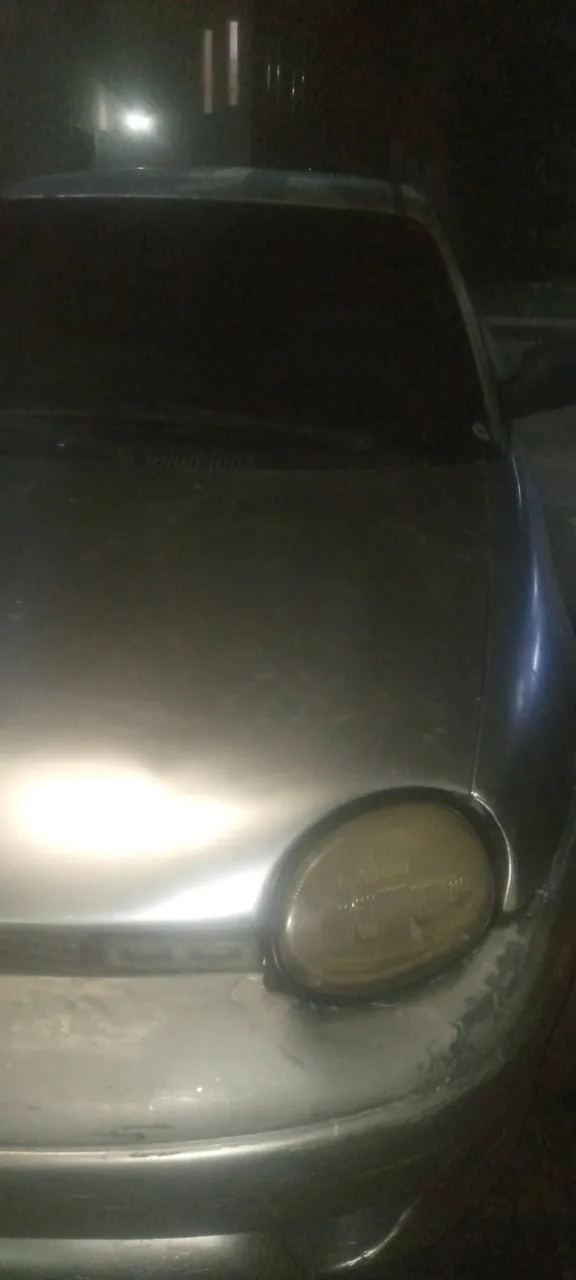


Hola, Hivers, buenos Días, Tardes o Noche depende de la hora que me estés leyendo, espero estén bien y gracias de antemano por darme su atención, hoy traigo está reparación qué le hice a este vehículo qué fue cambio de carbonera al motor de arranque el vehículo no presento hasta el momento que no prendió más 🤣🤣🤣
Para reparar un motor de arranque en un Neón de la primera generación yo digo que no es un trabajo para una persona que no tenga algún tipo de conocimiento de ellos. Pero les recomiendo que tengan a la mano las herramientas adecuadas, el equipo y un poco de curiosidad y cautela, para poder hacerlo sin consultar a un mecánico profesional. Vuelvo a recalcar que no recomiendo hacerlo si no conocen del vehículo, ya que este vehículo tiende a tener fallas eléctricas muy complicadas desde cosas muy mínimas que pueden generar la muerte de la computadora.
Una recomendación que para algunos podría sonar algo tonta, pero he visto quieres quieren ignorarlo en algunas oportunidades, es mejor esperar que el vehículo este completamente frío, ya que muchas de las piezas que tendremos que extraer es plástico y hierro, aluminio y hierro, mangueras, etc.
Hello, Hivers, good Morning, Afternoon or Evening depends on the time you are reading me, I hope you are well and thank you in advance for giving me your attention, today I bring is repair what I did to this vehicle which was change of carbonera to the starter motor the vehicle did not present until the moment that did not turn on more 🤣🤣🤣🤣
To repair a starter motor on a first generation Neon I say it is not a job for a person who does not have some knowledge of them. But I recommend that you have the right tools, equipment and a bit of curiosity and caution on hand to be able to do it without consulting a professional mechanic. I stress again that I do not recommend doing it if you do not know the vehicle, as this vehicle tends to have very complicated electrical failures from very minimal things that can generate the death of the computer.
A recommendation that for some might sound a little silly, but I have seen that they want to ignore it in some opportunities, is to wait until the vehicle is completely cold, since many of the pieces that we will have to extract are plastic and iron, aluminum and iron, hoses, etc.
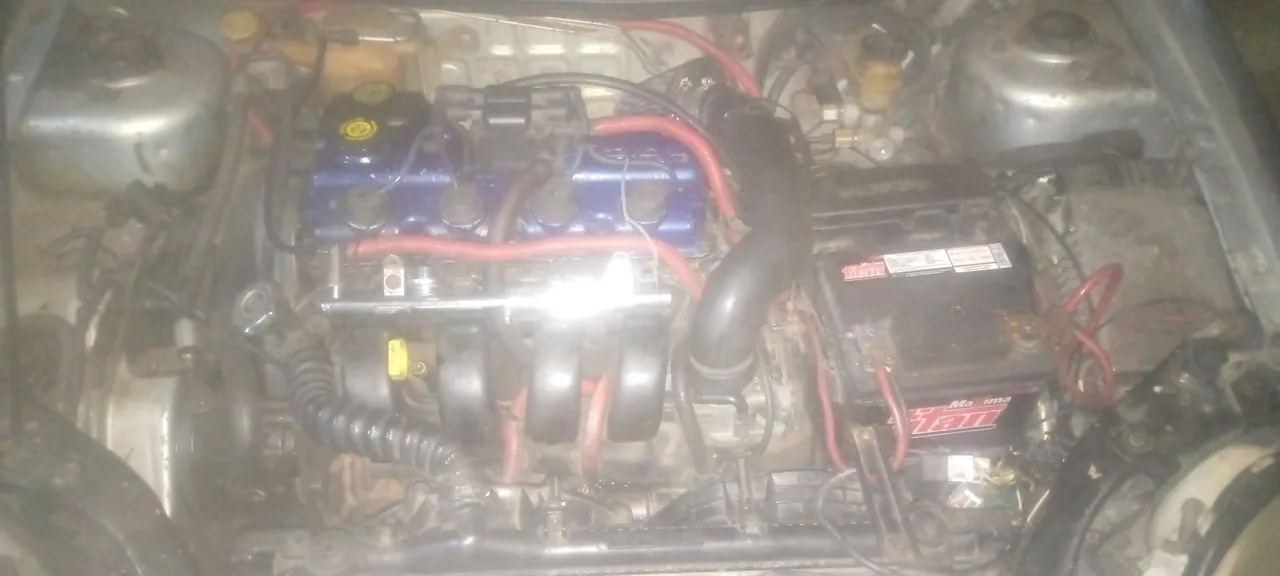
Foto tomada desde mi Android

Para realizar este trabajo solo para extraer el motor de arranque debemos tener
llaves milimétricas de los siguientes números
7, 10, 11, 13, 15 y 17
destornilladores
de pala y estrías
Con la llave 11 mm retire los bornes de la batería, retire la batería y la caja de la batería. Con la llave 13 mm y 15 mm, afloje los tornillos que sujetan la caja de la batería en su lugar. Debería haber 8 de ellos completamente. No todos ellos tienen que salir completamente, ya que la caja de la batería tiene unos en la parte de abajo que se deslizan en una ranura de la misma caja y sale hacia la parte superior.
Con un destornillador de pala, desconecte la manguera del radiador. Con la llave 10 mm, retire los cuatro tornillos que sujetan los electroventiladores en su lugar. Están situados a lo largo de la parte superior, retire de los electroventiladores hacia la parte superior y localice los cables para desconectarlos, ya que el reducido especial en la zona amerita retirarlos..
To perform this work alone to remove the starter motor we must have
millimeter wrenches of the following numbers
7, 10, 11, 13, 15 y 17
screwdrivers
blade and spline screwdrivers
With the 11 mm wrench remove the battery terminals, remove the battery and the battery box. With the 13 mm and 15 mm wrench, loosen the screws holding the battery box in place. There should be 8 of them completely. Not all of them have to come out completely, as the battery box has ones on the bottom that slide into a slot in the box itself and come out towards the top.
Using a spade screwdriver, disconnect the radiator hose. Using the 10 mm wrench, remove the four screws that hold the electric fans in place. They are located along the top, remove from the electric fans towards the top and locate the wires to disconnect them, as the special cutout in the area warrants removal.
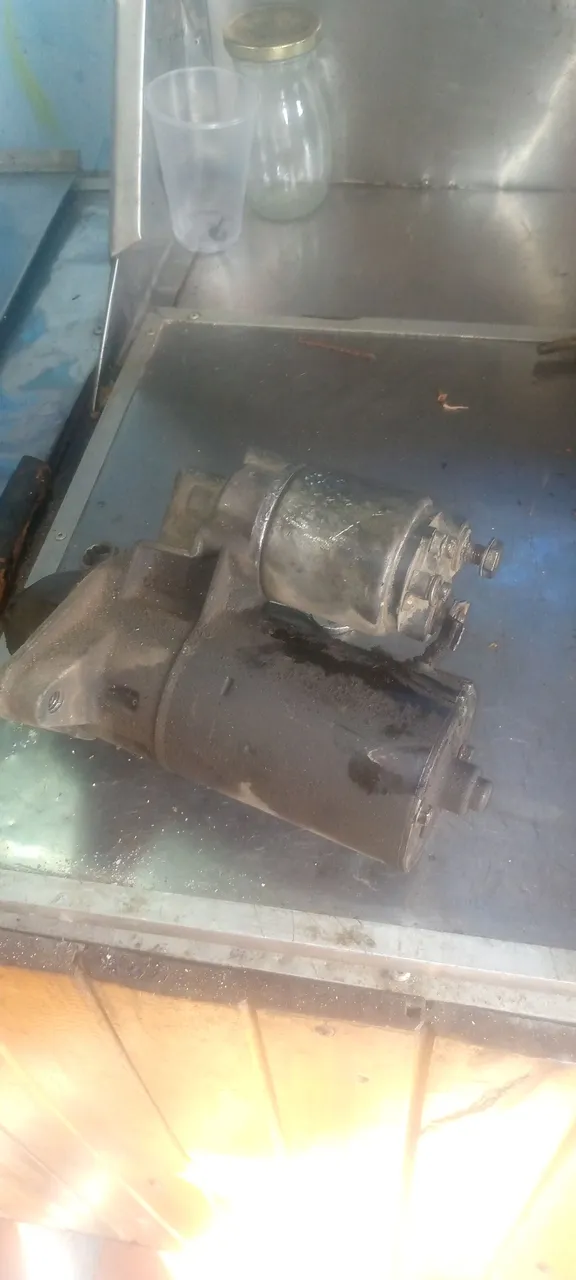
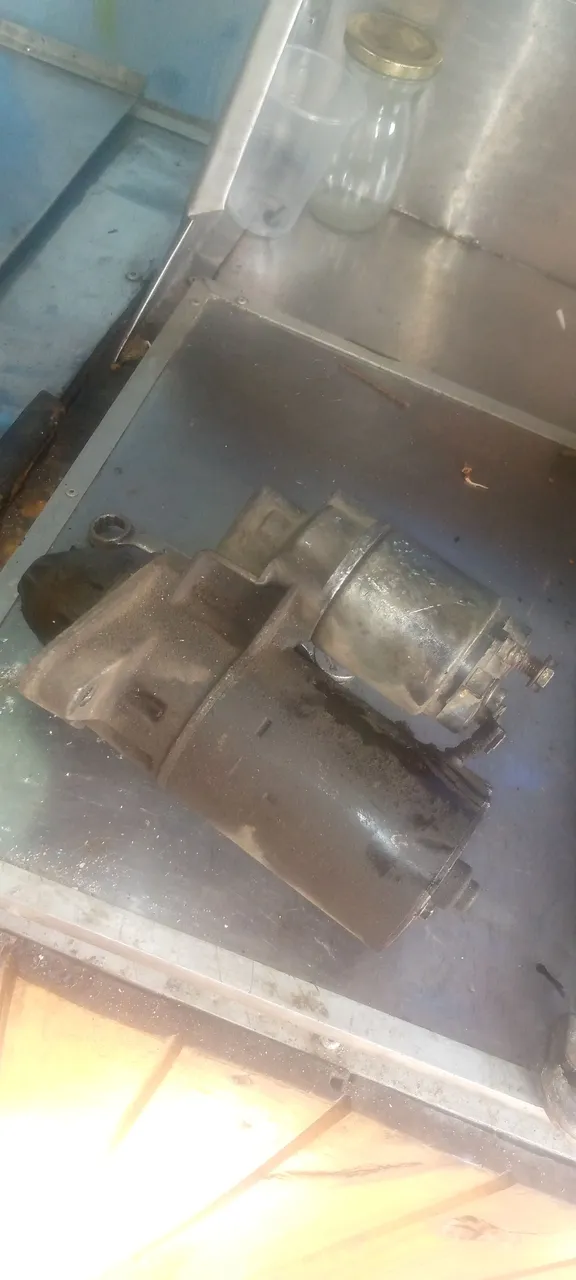
Foto tomada desde mi Android
En el automático o pistón de acción retire la tuerca de 13 mm que conecta los cables de la batería y proceda a retirar con la llave de 17 mm el tornillo superior del motor de arranque ubicado debajo de la caja de la batería y con la llave de 15 mm el de la parte inferior ubicado debajo del mismo haciendo un poco de juego el motor de arranque saldrá por la parte superior dónde normalmente se encuentra la caja de la batería.
Retire el motor de arranque y sustitúyalo por uno nuevo, si es el caso de solo cambiar. Vuelva a montar todas las piezas que ha retirado en el orden inverso. Pero como yo en este caso lo voy a reparar yo les cuento lo demás a continuación.
Al tenerlo afuera el motor de arranque procedemos a destapar la tapa de guarda el retén y la tapa con un destornillador de estrías, con ayuda de una llamé de 13 mm se extrae el retén, con la llave de 7 mm se retiran los 2 tornillos que tiene la que lleva la bocina y se llega a la carbonera en este caso tenía desgaste los carbones y mucho sucio interno.
On the automatic or piston action remove the 13 mm nut that connects the battery cables and proceed to remove with the 17 mm wrench the upper screw of the starter motor located under the battery box and with the 15 mm wrench the lower screw located under it, making a little play the starter motor will come out from the upper part where the battery box is normally located.
Remove the starter motor and replace it with a new one, if it is the case of only changing. Reassemble all the parts you removed in reverse order. But as I in this case I am going to repair it I tell you the rest below.
When having it outside the starter motor we proceed to uncover the cover of keeps the retainer and the cover with a screwdriver of grooves, with the help of a 13 mm flame the retainer is extracted, with the key of 7 mm the 2 screws that has the one that takes the horn are removed and it is arrived at the coal bunker in this case had wear the carbons and much internal dirt.
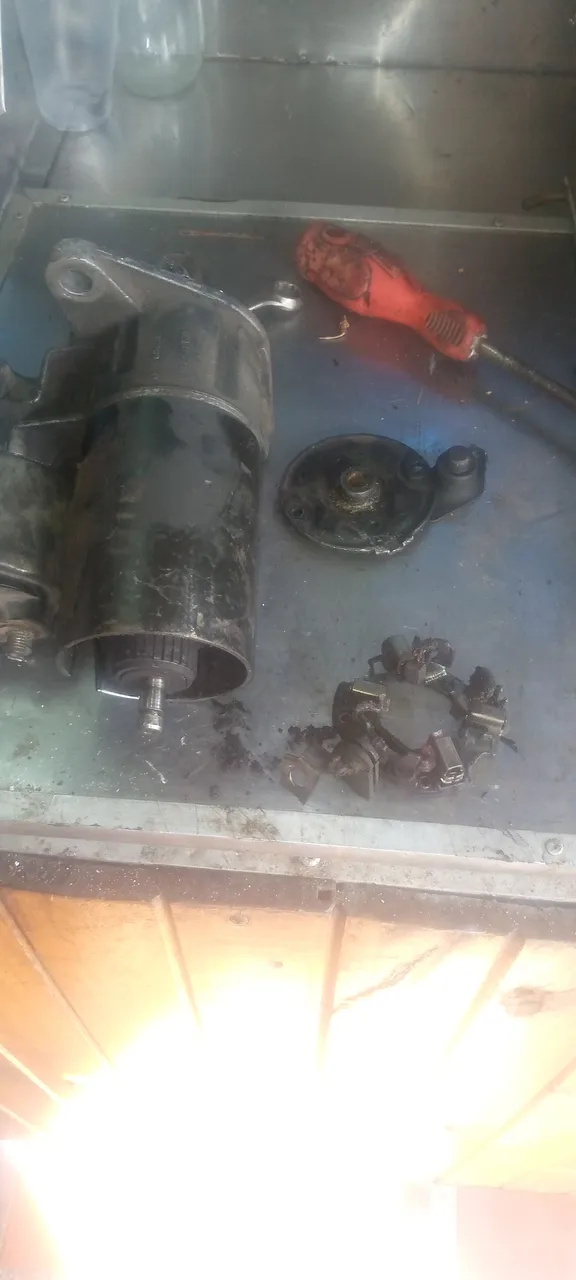
Foto tomada desde mi Android
Procedemos a limpiar todo y quitar la grasa vieja y suciedades que tiene. En todos lados engrasamos solo la parte donde están los engranajes del motor (parte mecánica no eléctrica) y procedemos a armar todo de nuevo.
Recuerden que no todos los motores de arranque no tienen las mismas fallas en este caso solo era falta de carbón, pero le hice mantenimiento a todas las piezas móviles para evitar daños a corto plazo.
Sin más que decirles me despido con un abrazo para todos los que se tomaron el tiempo de leer hasta el final espero sea educativo para ustedes espero traer más contenido de este tipo para esta excelente comunidad
We proceed to clean everything and remove the old grease and dirt. We grease only the part where the gears of the motor are (mechanical part, not electrical) and proceed to put everything back together again.
Remember that not all starters do not have the same faults in this case it was only lack of carbon, but I did maintenance to all moving parts to prevent damage in the short term.
Without more to say I say goodbye with a hug to all who took the time to read to the end I hope it is educational for you I hope to bring more content of this type for this excellent community.
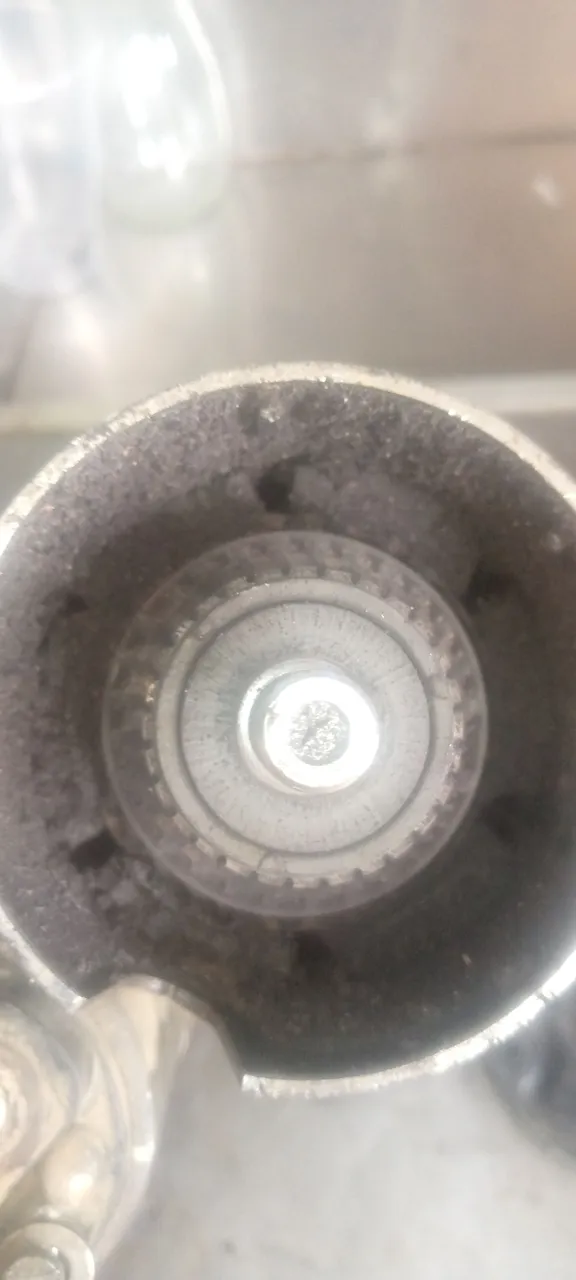
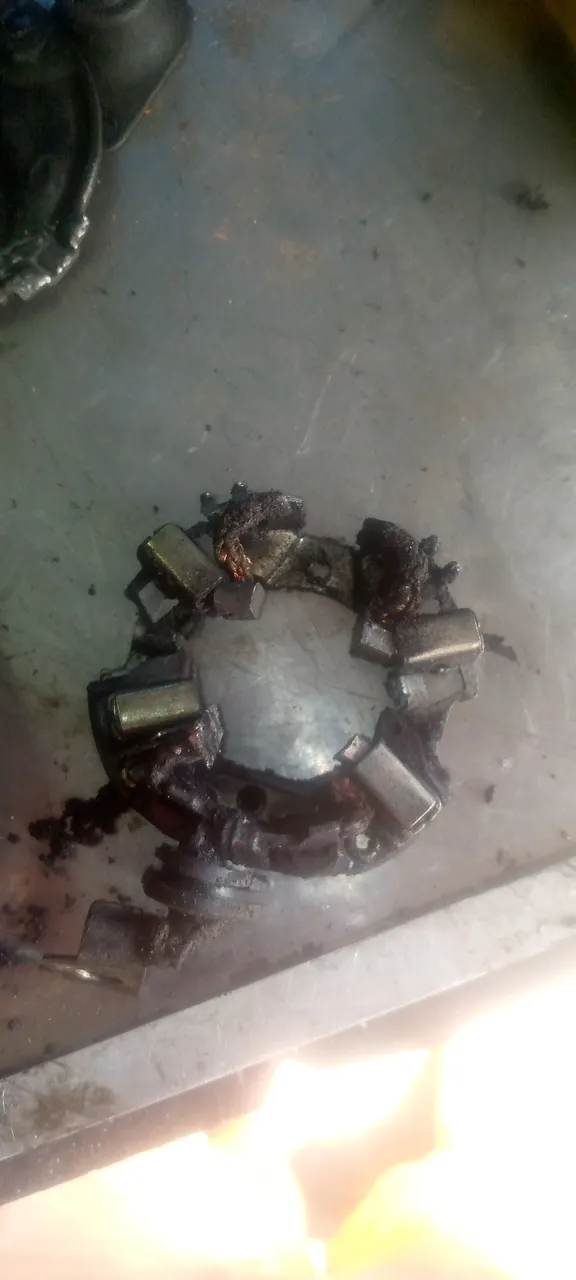
Foto tomada desde mi Android

(versión gratuita)
Translated with www.DeepL.com/Translator
(free version)

Wilfredo García
@wilfredojgf
