English
Hello What's up hive motor friends How are you? How are you doing, I'm Daniel.
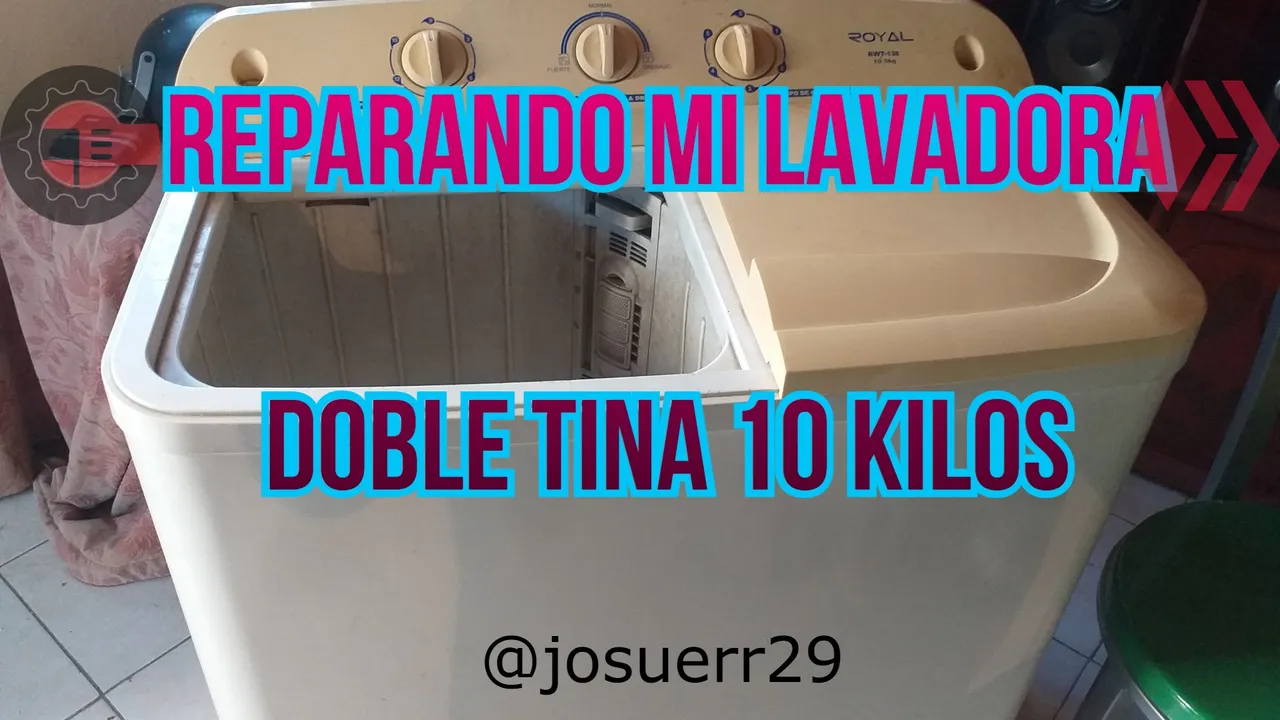
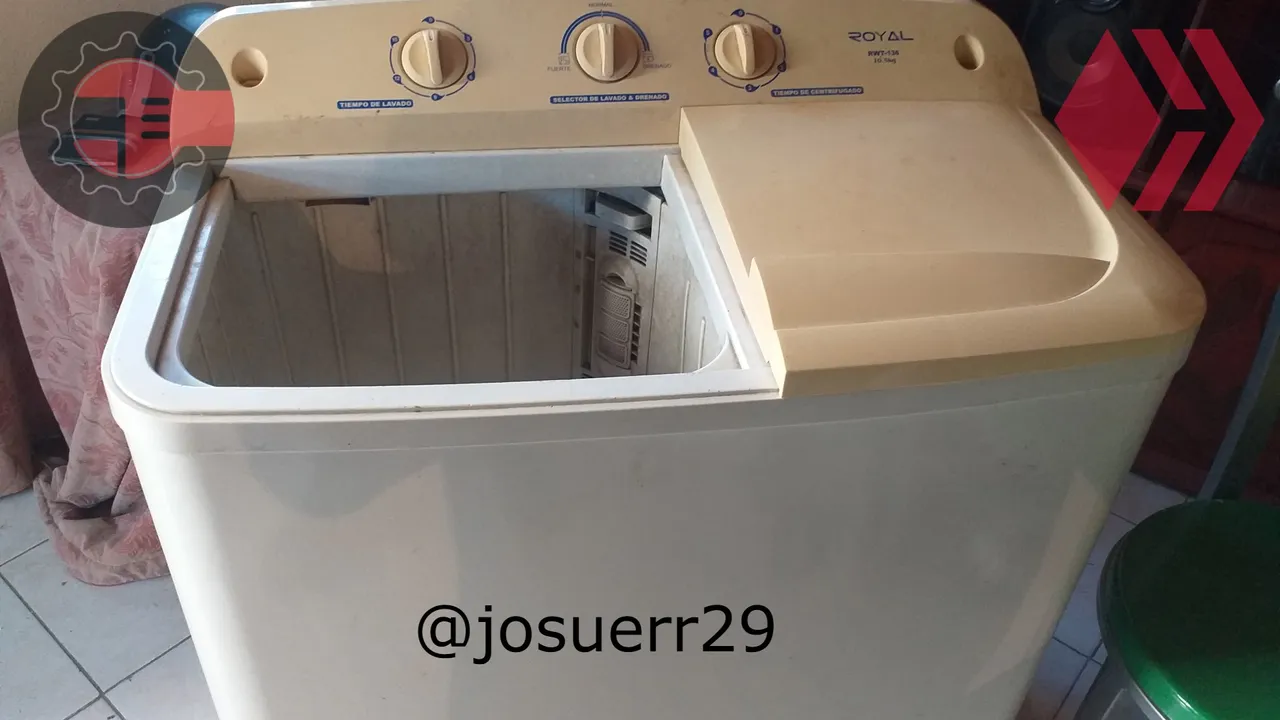
And this time I bring for you a repair content not very usual for me, because normally I share with you a repair that I do to my motorcycle but now I share with you a repair that I made to my washing machine.
It turned out that not long ago I was using my washing machine and it sounded a kind of electric spark that began to dispense smoke underneath, I turned it off and unplugged it and I thought it was because the motor overheated because I had to introduce many pants. I waited a day for it to dry, took all the clothes off if I left it to dry.
After all this I proceeded with the analysis of the problem.
The problem
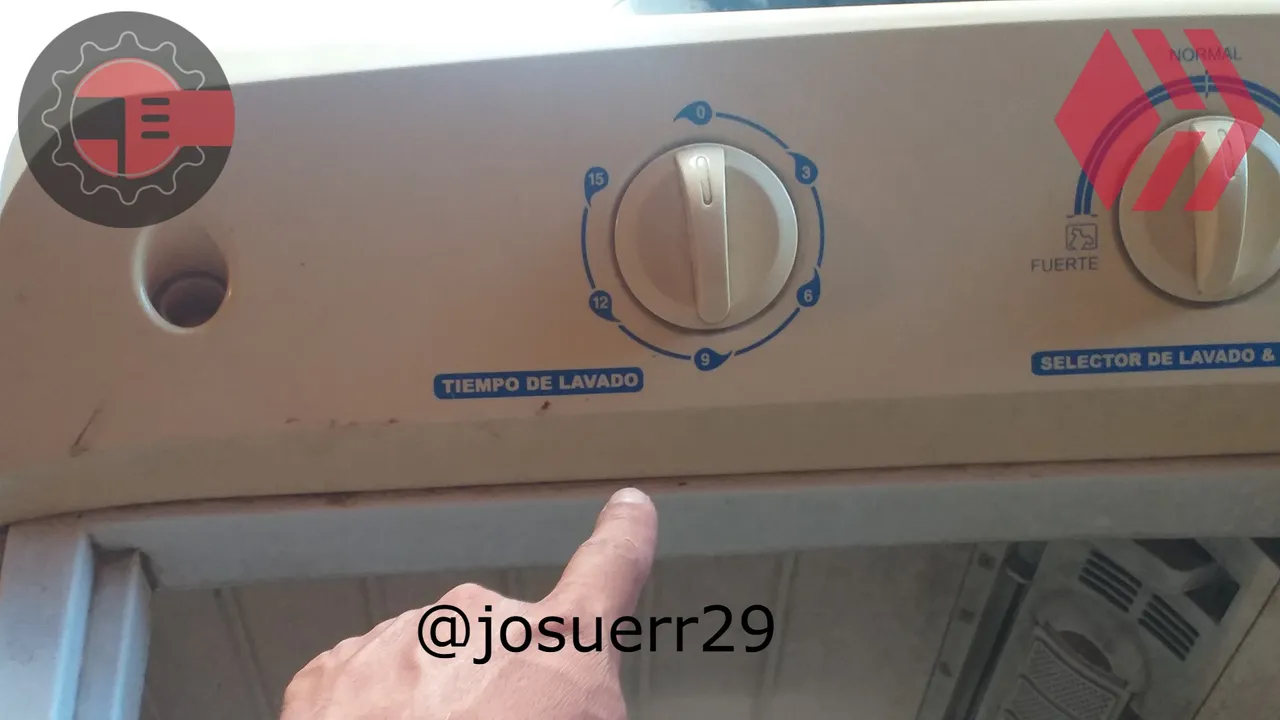
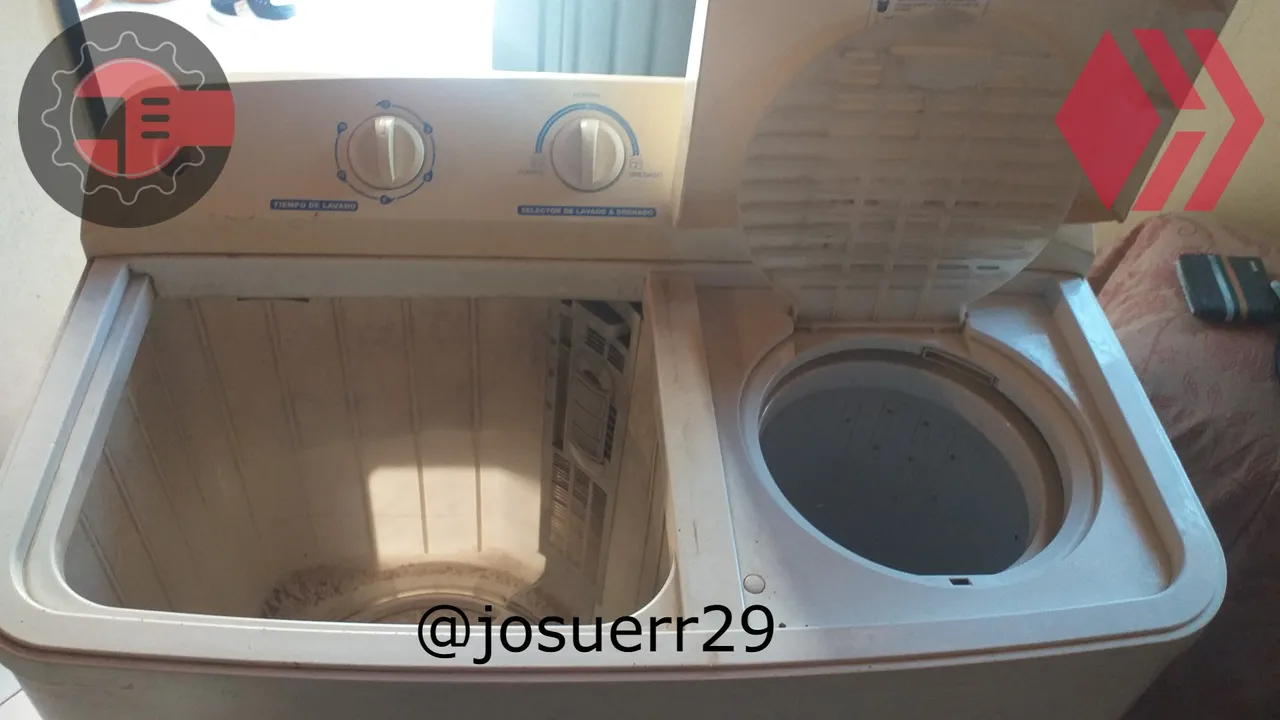
It was the following when I pushed to move the switch to start moving the motor to make the normal washing simply made the mechanical sound of the switch taking the time it had to take for the entire wash but did not make any electrical movement of the motor. In other words when I touched the switch it sounded like it was on but it was not moving at all.
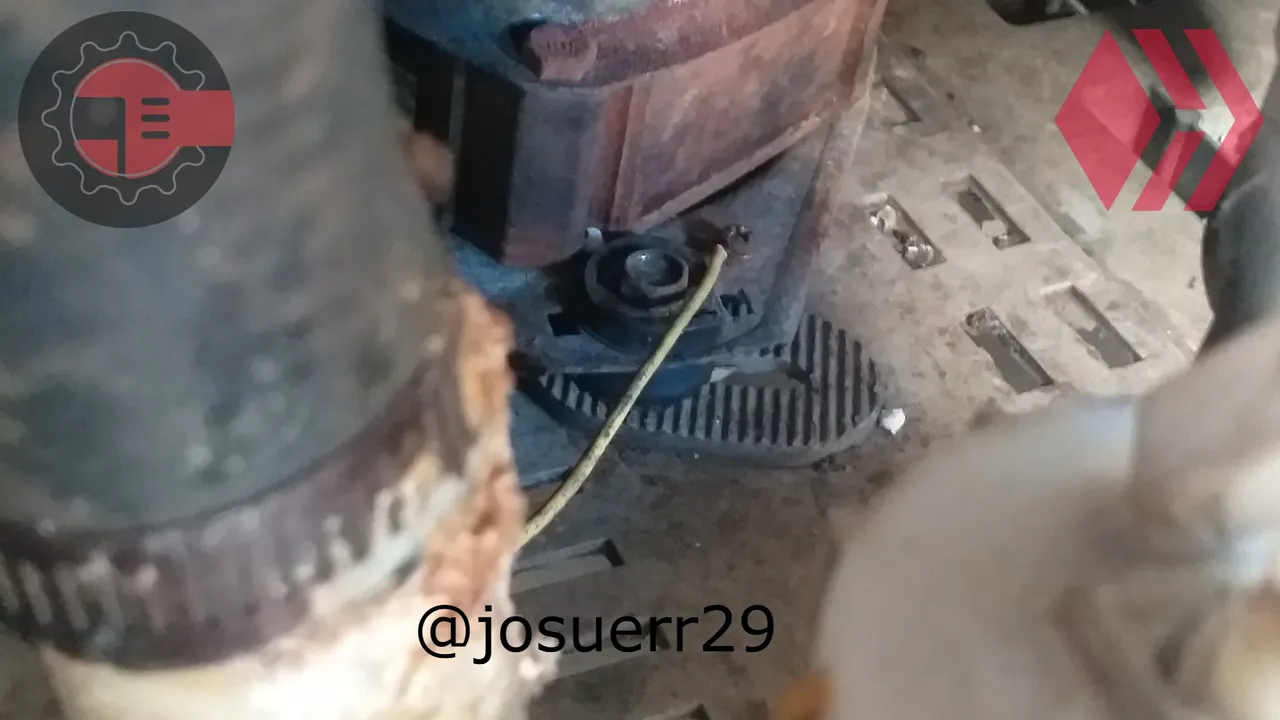
When I observed this I was very scared because my conclusion just by observing this failure was that the issue was in the mechanics and not electricity, however as I only know about electricity I proceeded to check it electronically because it could be that I was wrong and the fault was electrical. So for starters I removed the back cover What shows all the mechanical components, washer box, capacitor and everything else.
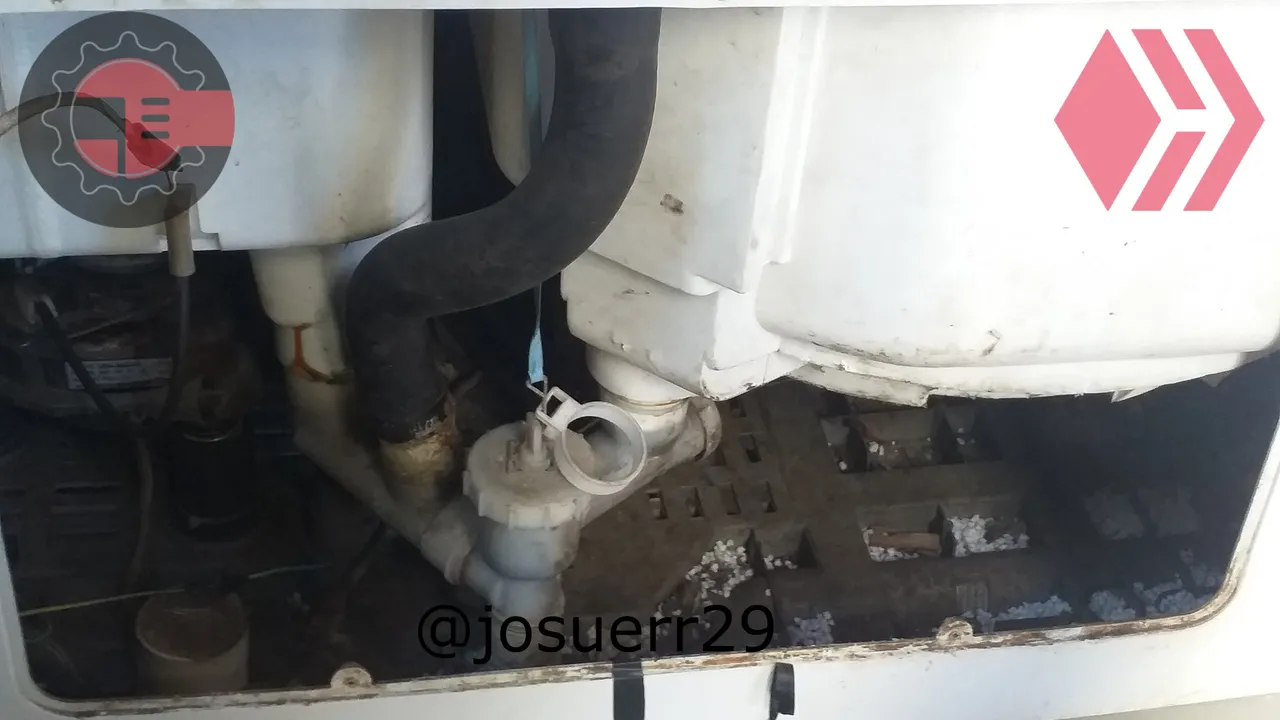
And I proceeded to do the diagnostics by turning off the same power switch to see what could be wrong. When I observed that there were two wires that were stripped and cut and also a white capacitor was already a little brown then I realized that this fault could be solved electronically .
! 5.jpg
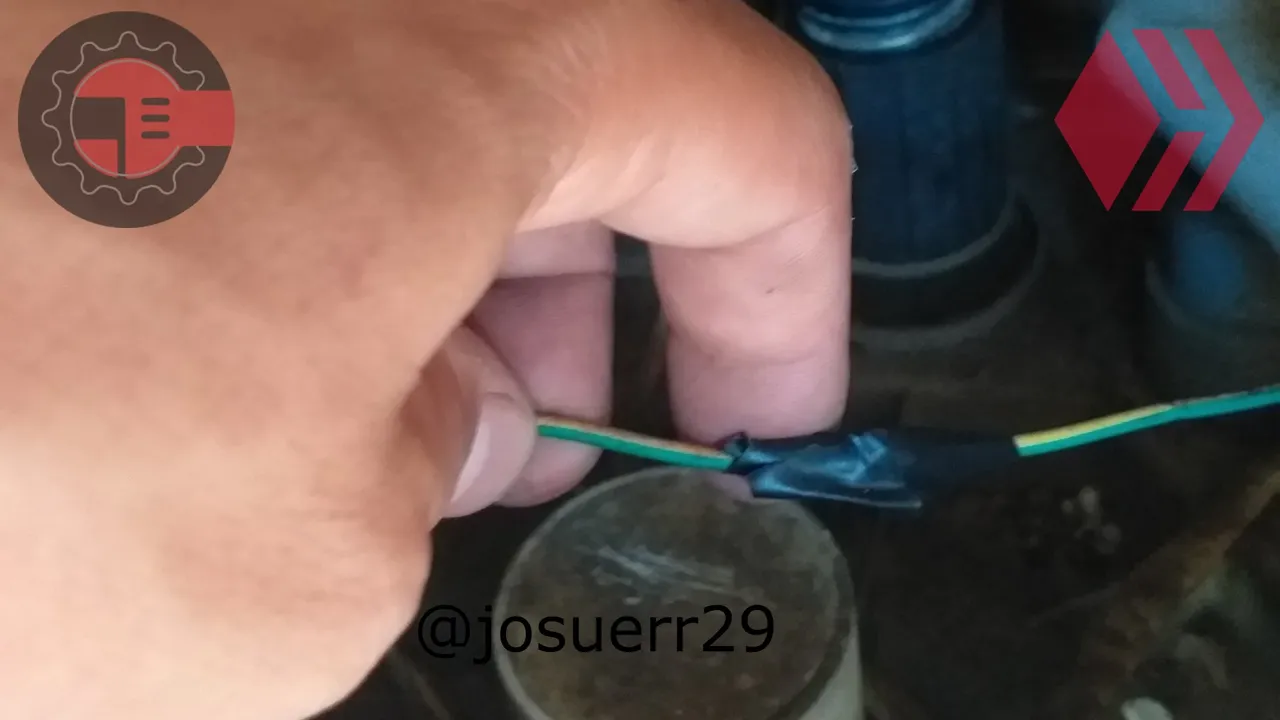
So without thinking twice I decided to grab the wires that were loose and go to where their connections were. It wasn't too difficult as I was able to quickly find the broken wire on the other side which was on some screws that lead to the negative side of the washer. In other words these wires that were broken lead to the ground side of the washer.

I proceeded with great care not to hit other wires and the motor to remove each screw it the ground connection and redo their connections to solve this problem.
Not satisfied with that I went to observe the capacitor that was of another color. When I am observing it I see that in the cables that take of this model in internet they were two, that is to say they only had two terminals but this condenser takes five cables approximately so it wants much more difficult than I believed to examine this device, So I had to leave by another side.
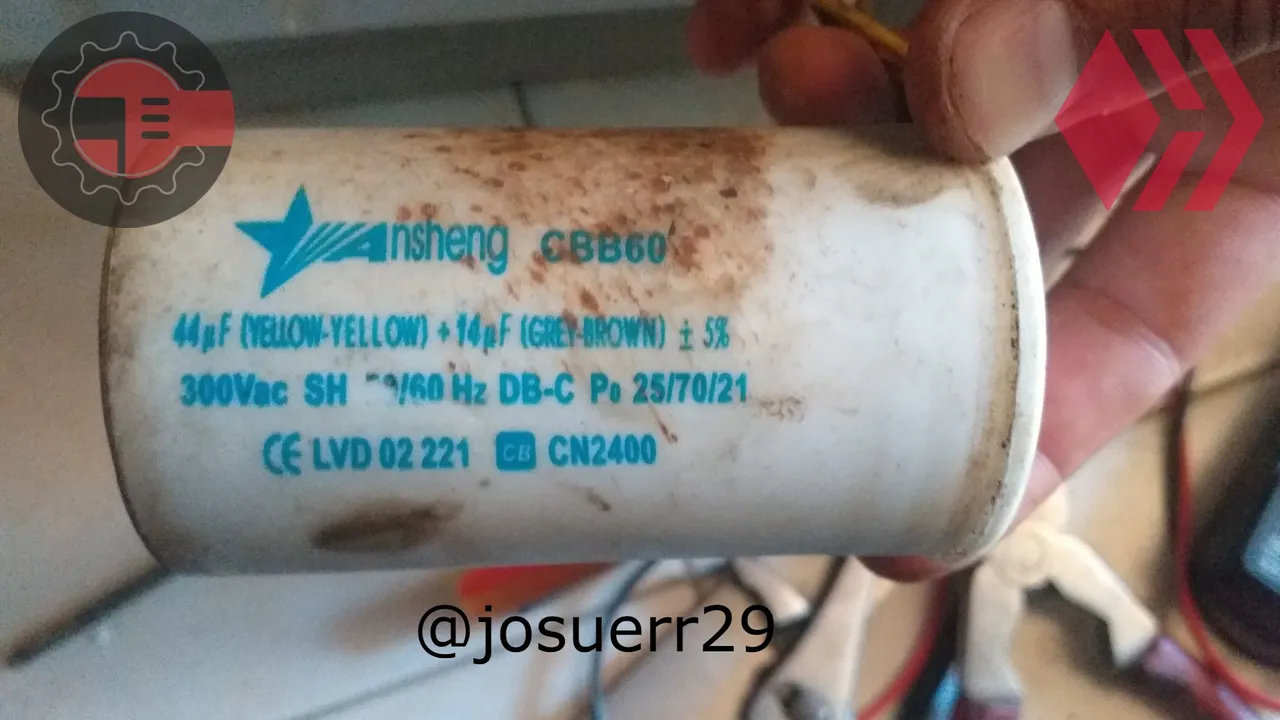
I could no longer test resistance or voltage and amperage on the capacitor as I had no table to tell me their values, so I could only test continuity and short so I proceeded to do so and found a wire of these five that were broken I proceeded to remove the bad part and establish the bridge between your cable and solve the problem that was seen with the naked eye.
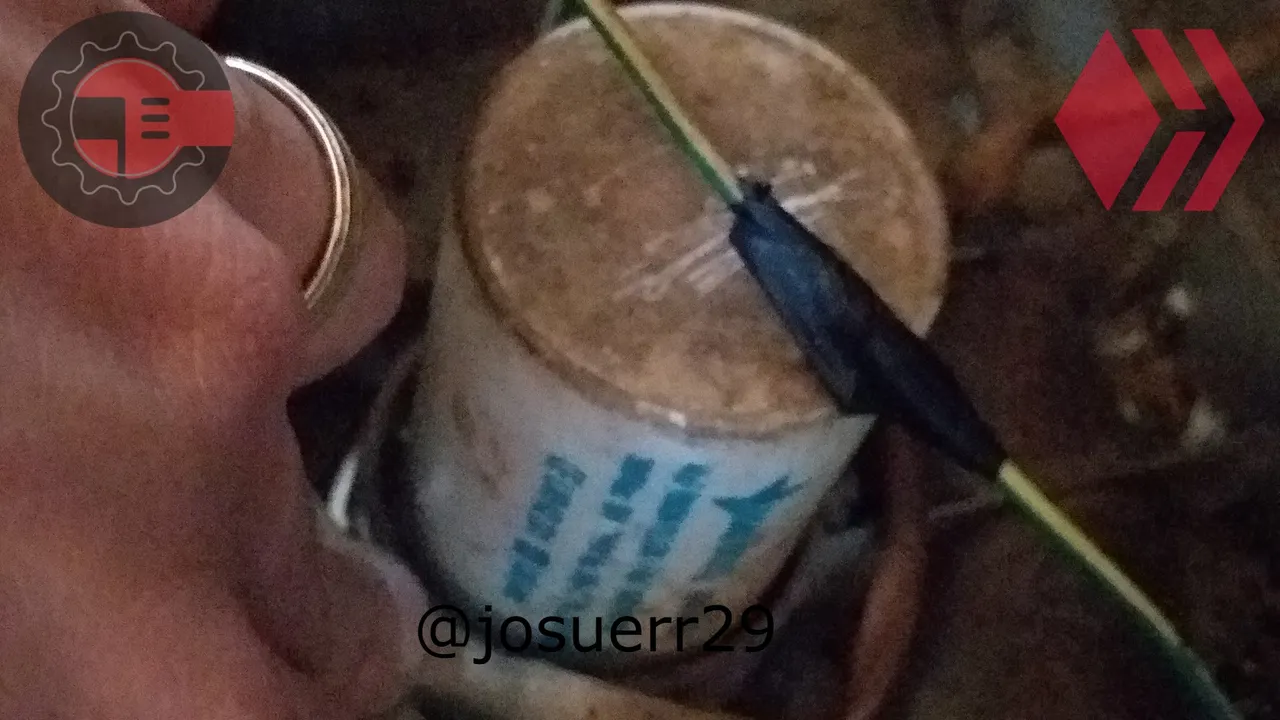
When making the connections I lined with black adhesive to avoid possible future shorts, possible partnerships I also put all the parts back in place and plugged the washer back in.
When I hit the power switch to get the washer fully operational !!! BONGO !!! great, the problem was solved.
The truth was not a single thing that was giving the fault was the excess voltage or overheating that made the ground burst and the capacitor also had that wire split but problem solved.
Español
Hola Qué tal amigos de hive motor ¿Cómo están? Cómo les va soy Daniel.
Y en esta oportunidad traigo para ustedes un contenido de reparación no muy usual para mí, pues normalmente Les comparto una reparación qué le hago a mi motocicleta pero ahora les comparto una reparación que le realice a mi lavadora.
Resultó que no hace mucho tiempo yo estaba usando mi lavadora y sonó una especie de Chispazo eléctrico que comenzó a dispensar humo debajo, la apagué la desconecté y pensé que había sido porque se recalentó el motor ya que debí introducir muchos pantalones. Espere un día que se secara, le saqué toda la ropa si la dejé secando.
Después de todo esto procedí con el análisis del problema.
El problema
Era el siguiente cuando yo impulsaba a mover el switch para que comenzará a mover el motor para hacer el lavado normal simplemente hacia el sonido mecánico del switch tardando el tiempo que tenía que tardar para todo el lavado más no hacían ningún movimiento eléctrico de el motor. En otras palabras cuando tocaba el switch sonaba como si tuviera encendida pero no estaba en ningún movimiento.
Cuándo observó y esto me asusté mucho ya que mi conclusión solamente por observar esta falla se afincada mucho en que el asunto estaba en la mecánica y no electricidad sin embargo como yo solo sé de electricidad procedí a revisarla de manera electrónica ya que podría ser que yo estuviera equivocado y la falla si fuera eléctrica. Así que para empezar le quite la tapa trasera Qué muestra todos los componentes mecánicos, la caja de la lavadora, el condensador y todo lo demás.
Y procedí a hacer el diagnostico colocando en off el mismo switch de encendido para observar que podía estar mal. Cuándo observó habían dos cables que estaban pelados y cortados y también un condensador blanco estaba ya un poco marrón entonces me di cuenta que está la falla podía solucionarse de manera electrónica .
Entonces sin pensarlo dos veces decidí agarrar los cables que estaban sueltos y ir hacia dónde estaban sus conexiones. No fue muy difícil ya que pude encontrar rápidamente el cable roto del otro lado que estaba en unos tornillos que llevan a la parte negativa de la lavadora. En otras palabras esto cables que estaban rotos llevan a tierra la parte de la lavadora.
Procedí con mucho cuidado de no golpear otros cables y el motor a quitar cada tornillo ella la conexión a tierra y hacer de nuevo sus conexiones para solucionar este problema.
No conforme con eso me metí observar el condensador que estaba de otro color. Cuando lo estoy observando veo que en los cables que llevan de este modelo en internet eran dos, es decir solamente tenían dos terminales pero este condensador lleva cinco cables aproximadamente así quiera mucho más difícil de lo que creí el examinar esté aparato, Así que tuve que irme por otro lado.
Ya no pude examinar resistencia ni voltaje y amperaje en el condensador ya que no tenía alguna tabla que me lo dijera sus valores, así que solamente podía probar continuidad y corto entonces procedí ha hacerlo y encontré un cable de estos cinco que estaban rotos procedí a quitar la parte mala y establecer el puente entre tu cable y solucione el problema que se veía a simple vista.
Cuando hago las conexiones forro con adhesivo negro para evitar posible corto futuro, posibles sociedades también devolví todas las partes a su sitio y enchufe de nuevo la lavadora.
Cuando le doy al switch de encendido para que la lavadora este completamente en funcionamiento !!BONGO¡¡ genial ya se había solucionado el problema.
La verdad no era una sola cosa que estaba dando la falla fue por el exceso de voltaje o recalentamiento que hizo el estallido de tierra y el condensador también tenía ese cable partido pero problema solucionado
fuentes del contenido
Traducción del texto: https://www.deepl.com
Creación de gift: https://www.canva.com.
Logo facebook
Logo instagram
Logo comunidad de hive motors
Logo hive
Ganar algunios pequeños tokens por buscar en google. Registrare aqui
presearch
 Instagram