Hello to all my dear #Hive friends 😁. Especially to the #HiveMotors 🏁 community, I hope you are having a wonderful day . This time I have come to bring you a demonstration on how to change porcelain sockets in a conventional home 💡. These need to be changed when they present problems, among the most common are that the inner contact separates from the base or the terminals are sulfated and make a circuit 🎇.
Be careful, because electricity is not a game ✋🏻. I recommend wearing insulating gloves or removing electricity during the process 🏠. To change one of these sockets we will first need:
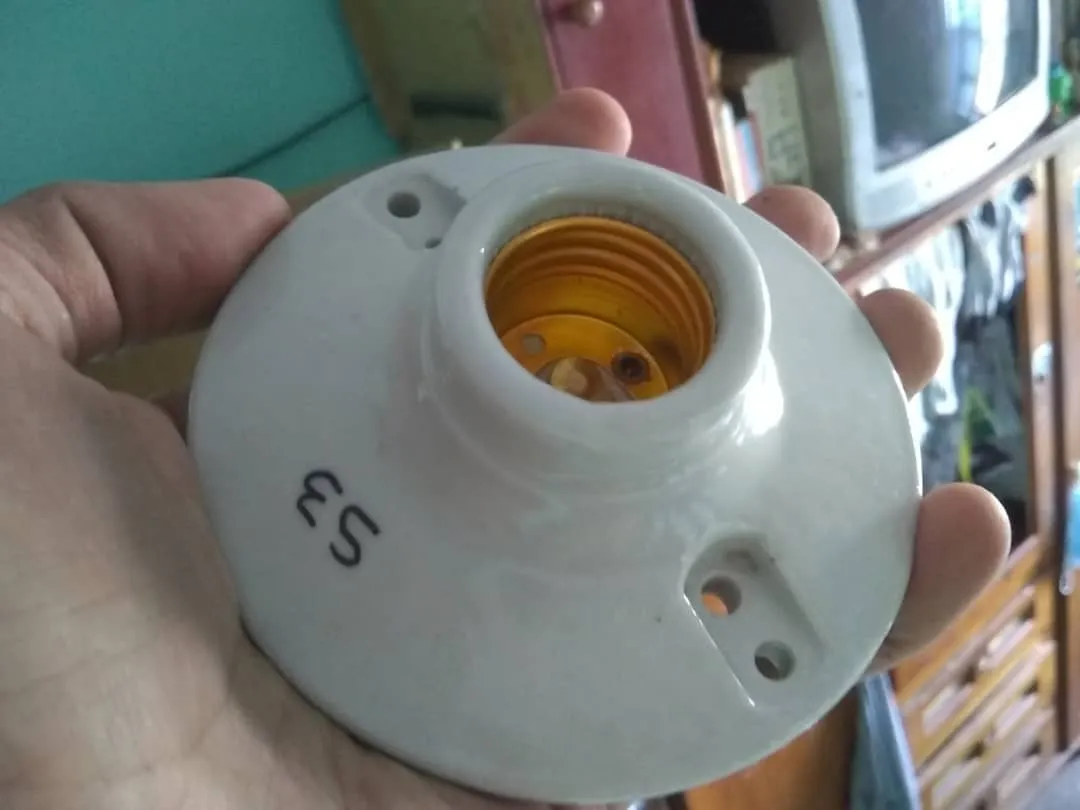
Piquette or wire cutters 💡
Screwdriver 💡
2 Screws 💡
The bulb 💡
And insulating tape 💡
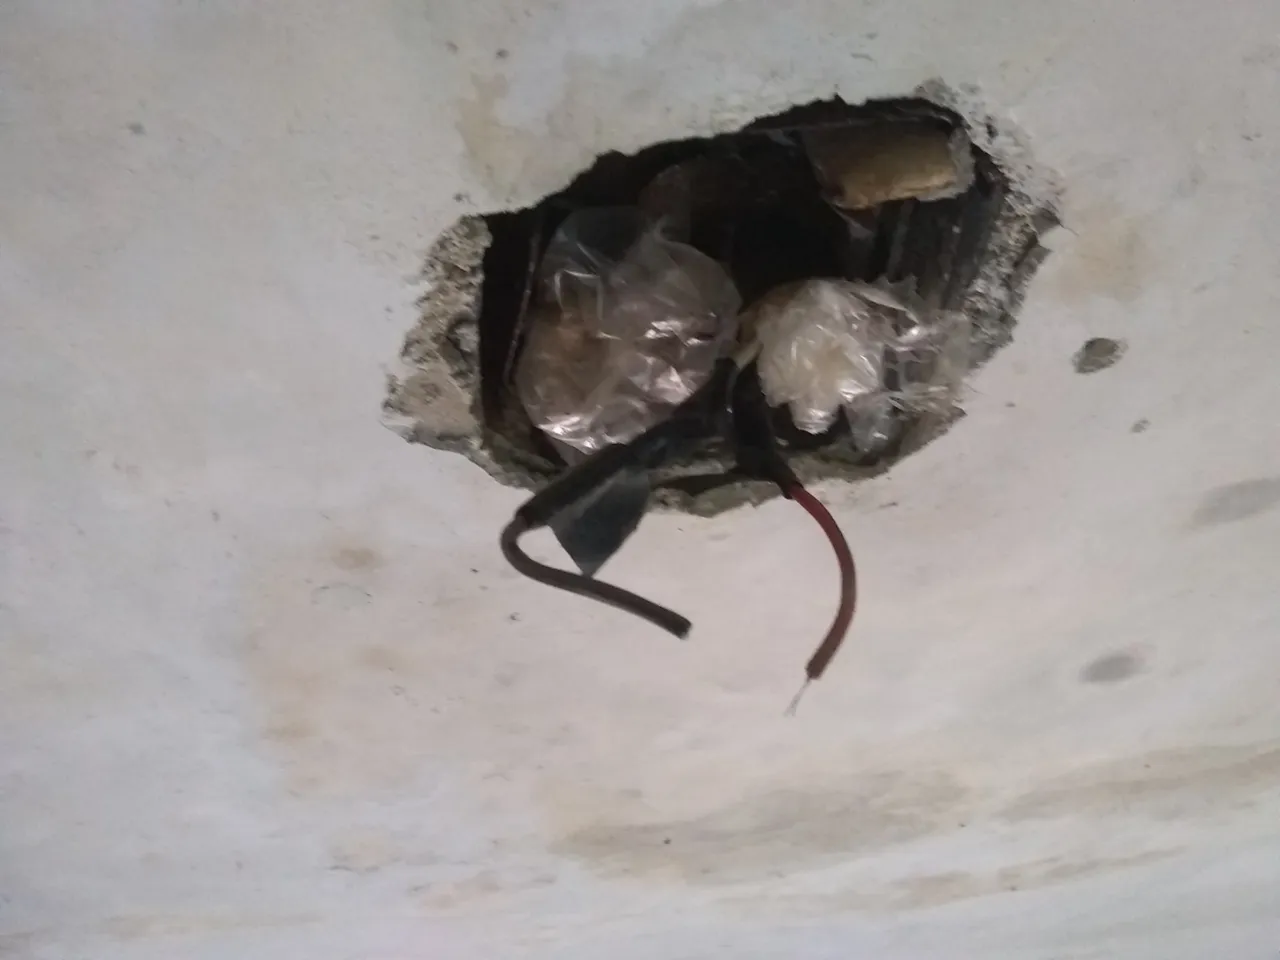
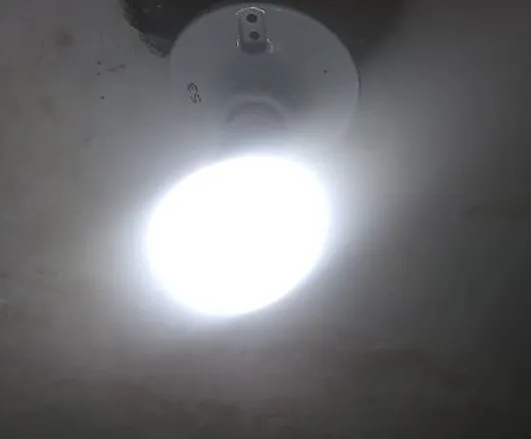
We start by unscrewing the old socket that is on the ceiling or wall 🔩, removing both screws that are on the sides of the socket. Once this is done we separate both wires, clean a little bit the wires of the cable or cut ✂ and take out the wires again cutting at least 1cm and removing the insulator⚡.
Hola a todos mis queridos amigos de #Hive 😁. Especialmente a la comunidad de #HiveMotors 🏁, espero tengan un maravilloso día . En esta oportunidad les he venido a traer una demostración sobre cómo se cambian los sócates de porcelana en un hogar convencional 💡. Estos necesitan ser cambiados cuando presenten problemas, entre los más comunes destacan que se separe el contacto interior de la base o se sulfaten los bornes y haga circuito 🎇.
Tener cuidado, pues la electricidad no es un juego ✋🏻. Recomiendo usar guantes aislantes o quitar la electricidad durante el proceso 🏠. Para cambiar uno de estos sócates primeramente vamos a necesitar:
- 💡Piquetas o corta cables.
- 💡Destornillador.
- 💡2 Tornillos.
- 💡El Bombillo.
- 💡Y Cinta aislante.
Comenzamos desatornillando el antiguo sócate que está en el techo o pared 🔩, quitando ambos tornillos que se encuentran a los lados del sócate. Una vez hecho esto separamos ambos cables, limpiamos un poco los alambres del cable o bien cortamos ✂ y sacamos los alambres nuevamente cortando al menos 1cm y retirando el aislante⚡.
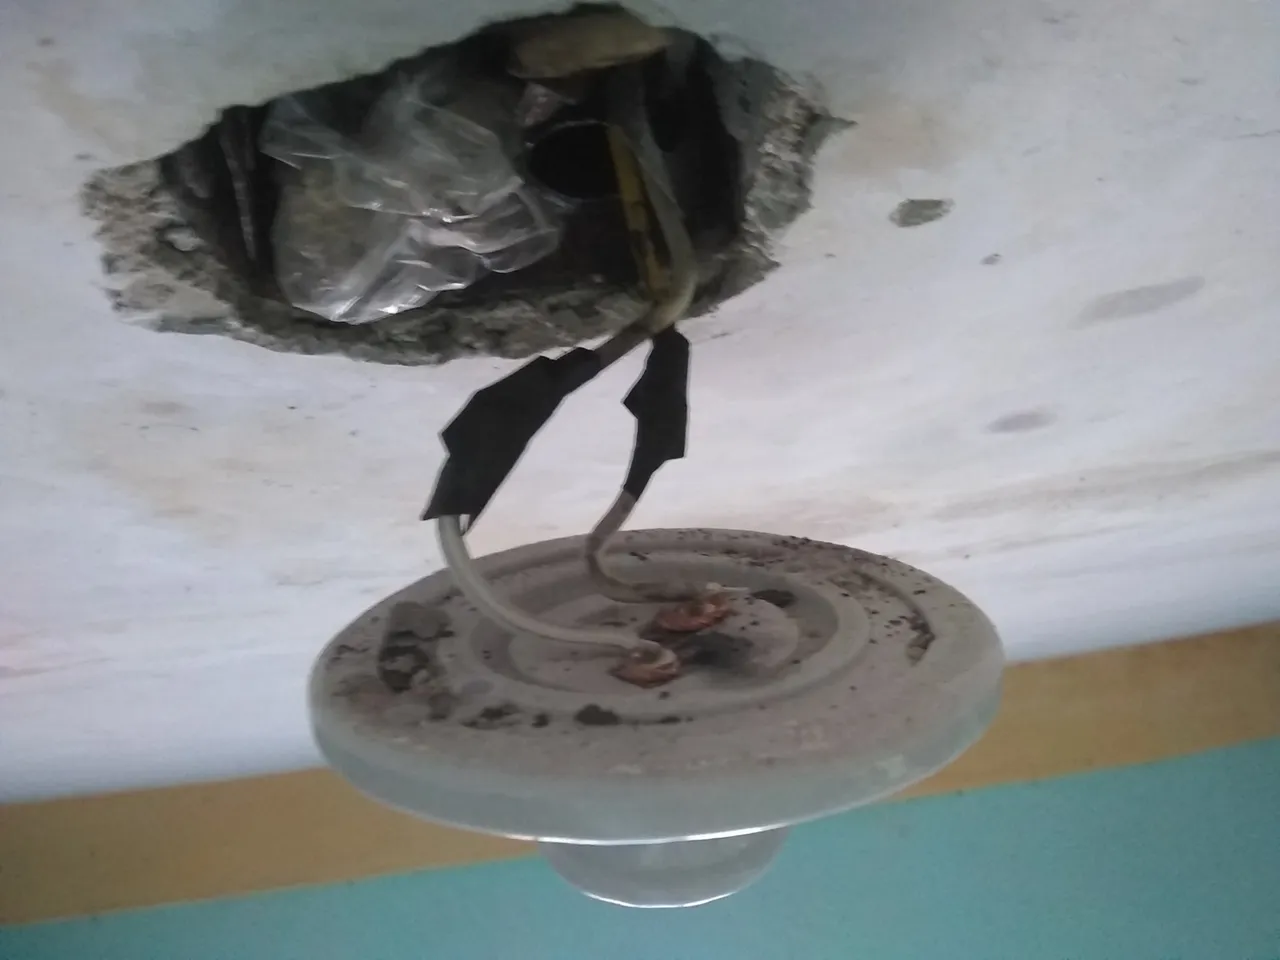
Once this is done we will take one of the ends and with the new socket in hand we will fix it to the base of the socket with a screw that it has 💡. In the same way with the other cable. Once both fixed, we will use the insulator to better cover the contact surface of both contacts or cover the excess wire 🔌. Remember that it is essential that these do not touch, since you could cause a short circuit 💥. Finally, once you are sure of your work, fix the socket to the ceiling again with the screws 💡. In my case I used 2 extra wires because the one I already had was too short and there I joined them with insulation, I did not cover the contacts because there was no excess wire 😄.
Una vez hecho esto vamos a tomar uno de los extremos y con el nuevo sócate en mano lo fijaremos a la base del sócate con un tornillo que este posee 💡. De la misma manera con el otro cable. Una vez ambos fijados, usaremos el aislante para cubrir mejor la superficie de contacto de ambos contactos o bien cubrir el excedente de cable 🔌. Recuerda que es imprescindible que estos no se toquen, puesto que podrías ocasionar un corto circuito 💥. Para finalizar y una vez seguro de tu trabajo, vuelve a fijar con los tornillos el sócate al techo 💡. En mi caso usé 2 cables extra porque el que ya tenía era muy corto y ahí los uni con aislante, no cubrí los contactos porque no hubo excedente de alambre 😄.
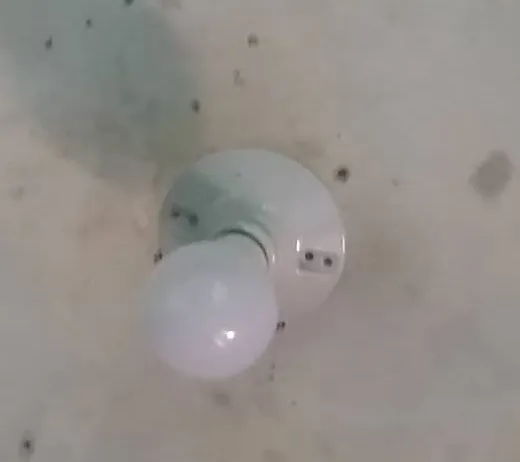
And ready, your new socket is installed to give illumination to that special corner of your home 💡🏠. It's good to have this knowledge, as over time these types of problems will come up very often in our life🎇. The first time I changed a socket I remember I made a light bulb explode 🤯, that caused me a tremendous scare hehe 😅, but with practice and a lot of research, simple things like this can get you out of trouble 👍🏻. Today I give this knowledge for those who do not know how to do it can achieve it. Without further ado thank you very much for reading my post and I hope you loved it ✌🏻. See you next time, bye😉.
Y listo, tu nuevo sócate está instalado para dar iluminación a ese rinconcito especial de tu hogar 💡🏠. Es bueno tener estos conocimientos, ya que con el tiempo este tipo de problemas se presentarán muy a menudo en nuestra vida🎇. La primera vez que cambié un sócate recuerdo que hice explotar una bombilla 🤯, aquello me causo un susto tremendo jeje 😅, pero con práctica y mucho investigar, cosas tan simples como esta te pueden sacar de un apuro 👍🏻. Hoy doy este conocimiento para quienes no sepan hacerlo puedan lograrlo. Sin más que agregar muchas gracias por leer mi publicación y espero que te haya encantado ✌🏻. Nos veremos en una próxima oportunidad, adiós😉.
Gracias por leer mi post 😁, Feliz y bendecido día. 😉Saludos y hasta la próxima.
Fotos de mi autoria usando mi Motorola MotoE5 Play, edición realizada con Canva. Texto de mi autoría, traducido con DeepL, Publicación realizada con Pc Desktop.